How to Get Rid of Weeds Fast and Keep Them Gone
Get rid of weeds fast without damaging grass or garden plants. Use this practical guide to match weeds to hand tools, mulch, mowing, tarping, and sprays.
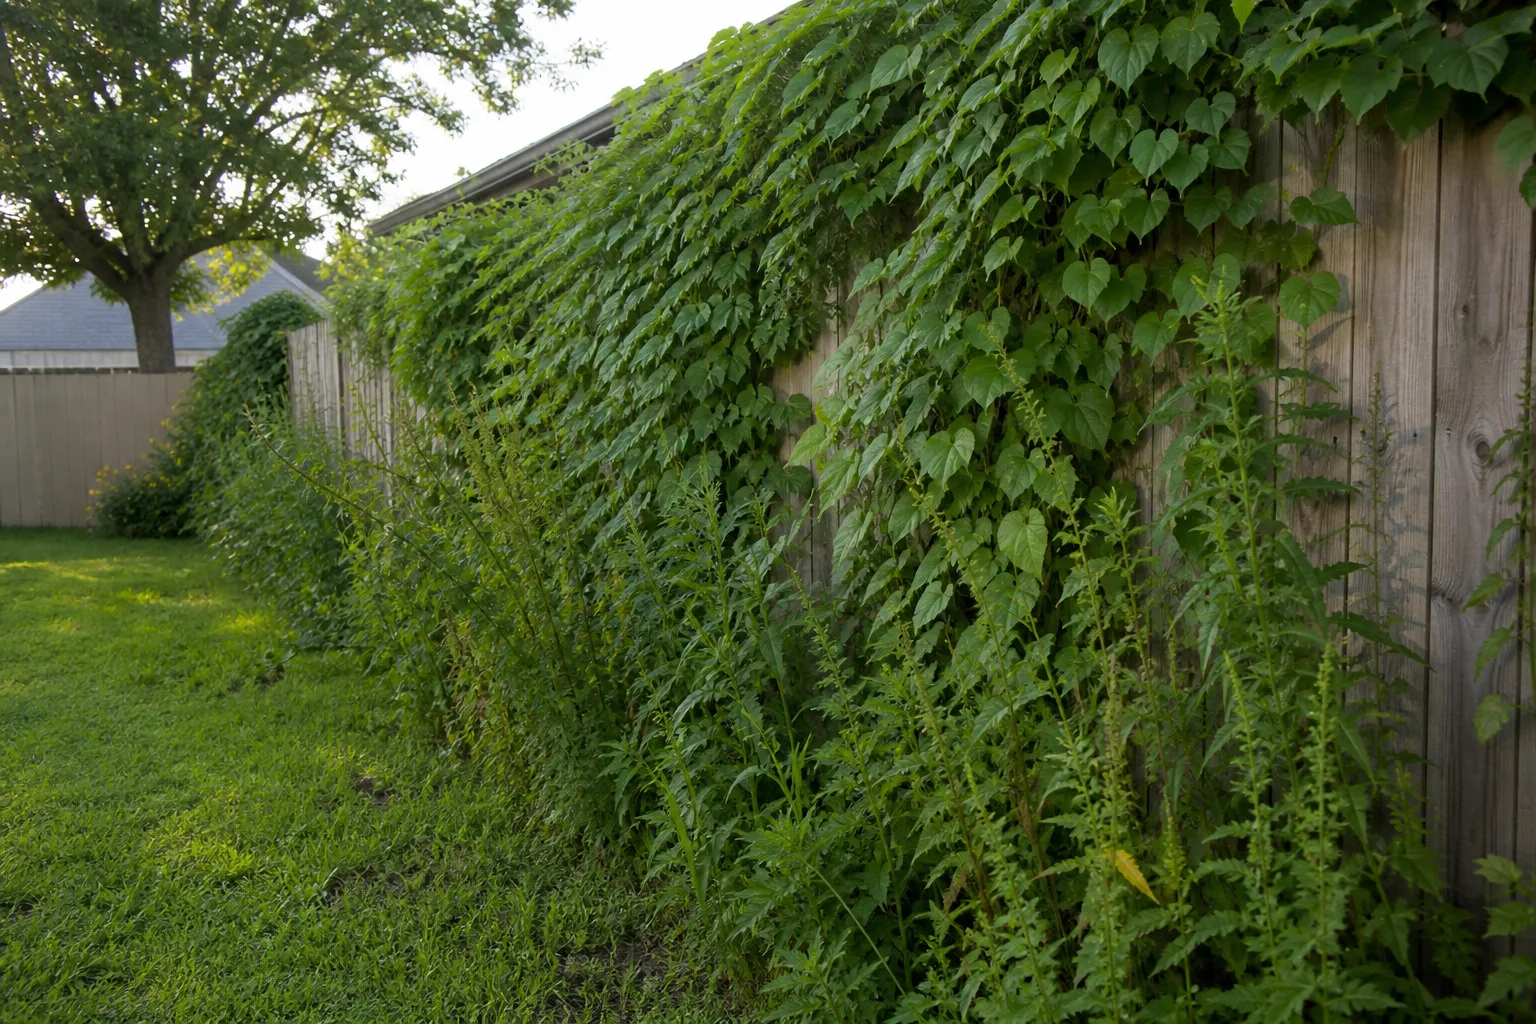
The fastest way to get rid of weeds is not to use the strongest product. It is to match the weed’s growth habit to the smallest effective intervention, then close the bare space that invited it in. A handful of soft seedlings in a damp flower bed needs a different response from a dandelion taproot in turf, a patch of bindweed, or grass rooted between pavers.
For a small or medium infestation, use this sequence: identify what you are looking at, loosen the soil if appropriate, remove or cut the plant before it sets seed, collect every risky fragment, and finish with mulch, a healthy lawn, or another barrier. That order gives you an immediate visual improvement without pretending that a perennial weed disappears after one tug.
Do This First: Triage the Yard Before You Pull
Walk the area once before reaching for gloves. Note where the weeds are growing, whether they are flowering or carrying seed, how wet or compacted the soil is, and whether desirable plants are close enough to be damaged by digging or spraying. This two-minute survey prevents the most expensive mistake in weed control: using a method that spreads the problem or kills the plant you meant to keep.
Think of control as a small integrated pest-management plan. King County recommends choosing methods around the site, your goal, the target species, and the season, then combining tools and planning follow-up rather than relying on one favorite technique.King County weed-control guidance In practical terms, you are asking two questions: “What is this weed built to do?” and “Where can I work safely?”
Identify annuals, perennials, taproots, and runners
Annual weeds complete their life cycle in one growing season. They are often easiest to remove when young, but they can produce a surprising amount of seed if you let them flower. Chickweed and many small bed seedlings fit this pattern. Pulling the whole plant before seed formation is usually the cleanest solution, followed by a light mulch layer or a quick hoeing pass over new seedlings.
Perennial weeds return from a crown, taproot, bulb, rhizome, or runner. Dandelions anchor themselves with a central taproot; wild violets and bindweed can spread through underground or creeping stems; nutsedge can leave small underground structures behind. These plants are why a snapped stem can look gone on Tuesday and reappear in the same spot the following week.
You do not need a perfect species identification for every ordinary seedling, but pause when a plant is thorny, milky-sapped, irritating, unusually vigorous, or unfamiliar. Never eat a wild plant because it looks like an edible one, and wear protective clothing for plants that can cause a rash. For invasive or regulated weeds, check local identification and disposal guidance before moving soil or plant pieces; control rules differ by location.
Match the method to lawn, bed, mulch, or hardscape
The same weed behaves differently in different surfaces. In a lawn, the goal is usually to remove or suppress the weed while preserving the grass canopy. In an ornamental or vegetable bed, you can dig more carefully around individual plants, cover exposed soil, and replace empty space with living ground cover. In mulch, the first job is to remove weeds without mixing more seeds into the surface. In a sidewalk crack, root removal and sealing the gap matter more than improving the soil.
Use this quick decision rule:
| Situation | Best first move | Why it fits |
|---|---|---|
| Young, shallow weeds in a bed | Hand-pull or hoe | Fast, low-cost, and precise around plants |
| Dandelion, plantain, or another taproot | Narrow weeder, fork, or dandelion tool | Reaches below the crown instead of snapping the top |
| Dense weeds in an empty bed | Cut or pull, then sheet-mulch | Removes the visible growth and blocks light to new growth |
| Crabgrass or broadleaf weeds in turf | Improve turf density; use a lawn-labeled treatment if needed | A bed herbicide or salt spray can injure grass |
| Weeds between pavers | Pry out roots, sweep debris, and repair the joint | The crack is the source of repeat germination |
| Persistent patch near desirable plants | Repeated cutting or careful species-specific treatment | Limits spread without excavating every nearby root |
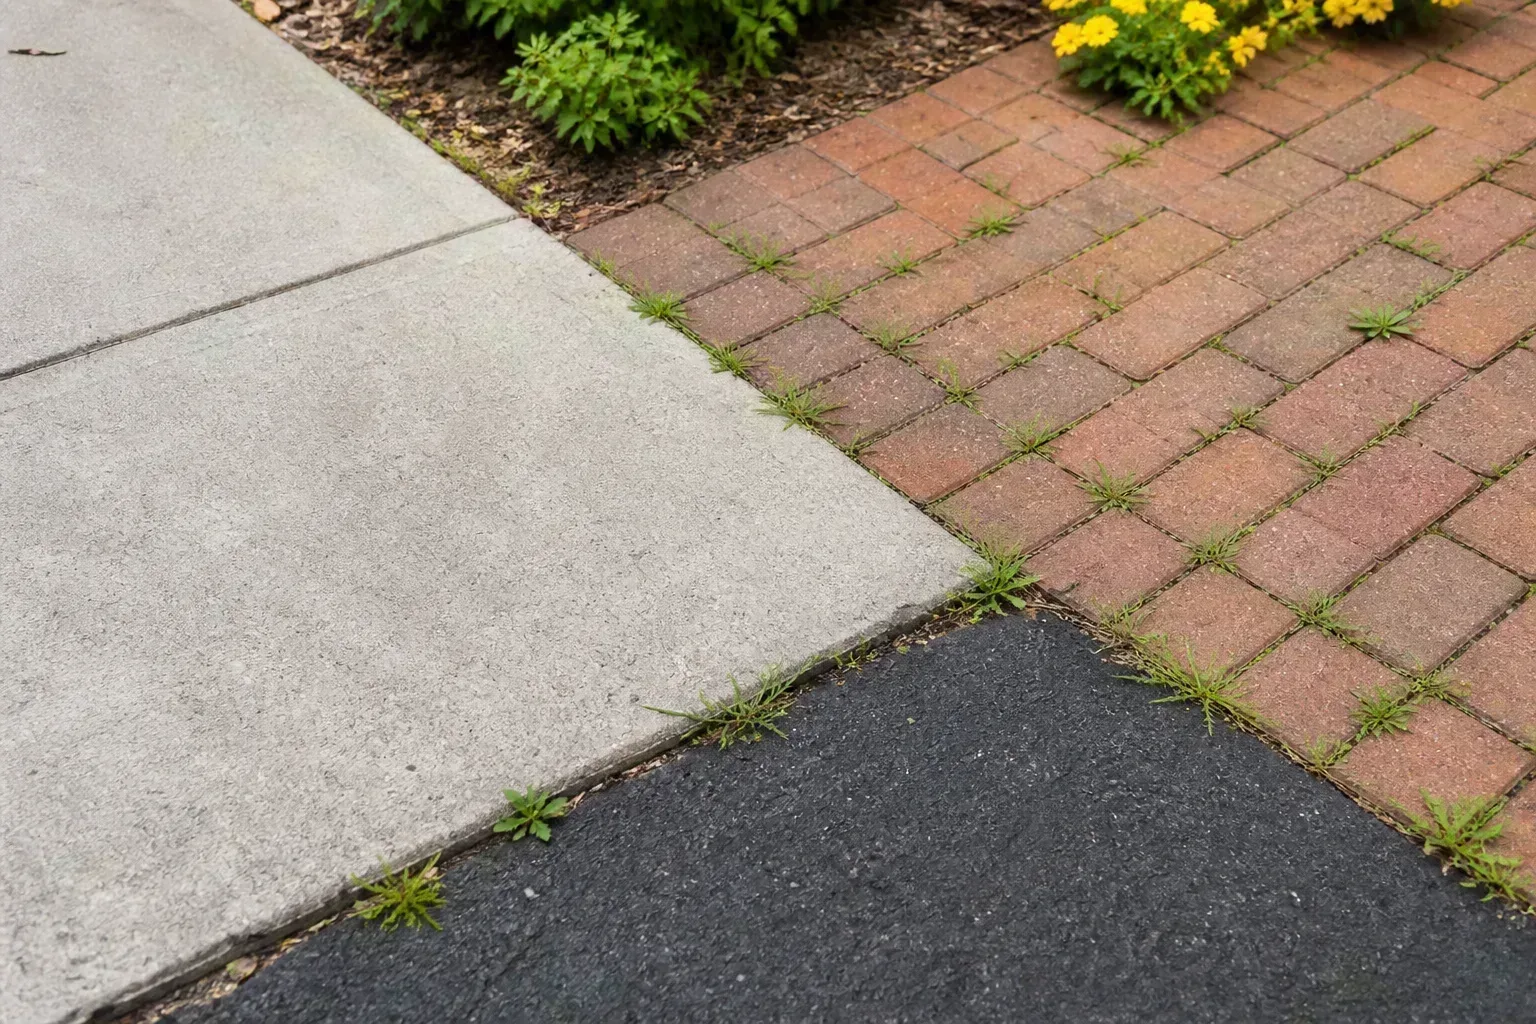
Reset a Small Weed Patch in One Pass
A one-pass reset does not guarantee eradication, but it can remove the current crop and make the next inspection easy. Bring gloves, a bucket or tarp for debris, a hand fork or narrow weeder, a trowel, and a sharp hoe. If the patch contains flowering or seeding weeds, keep the debris contained from the beginning.
Pull young weeds after the soil loosens
Moist soil releases young roots with less resistance than dry, baked soil. Pull after a light rain or after watering the bed, but wait if the ground is so wet that your shoes sink or your tools smear the soil; walking and digging in saturated ground compacts it. If the soil is dry, water the target zone deeply enough to loosen the root area and give it a little time to drain.
Grip the weed low, close to the soil line, rather than grabbing the leaves. Pull with steady pressure and a slight rocking motion that follows the root’s direction. For a small rosette, press your fingers or a weeder beside the crown, loosen the soil, and lift the plant rather than yanking until the leaves detach.
Inspect what came out. The hole should contain the crown and, for a shallow annual, most of the fine roots. Shake soil back into the hole, press the surface lightly, and place the weed in your collection container. Do not leave pulled plants on a path or on top of mulch where rain can wash soil around them and allow a stem to re-root.
Dig taproots and crowns instead of snapping them
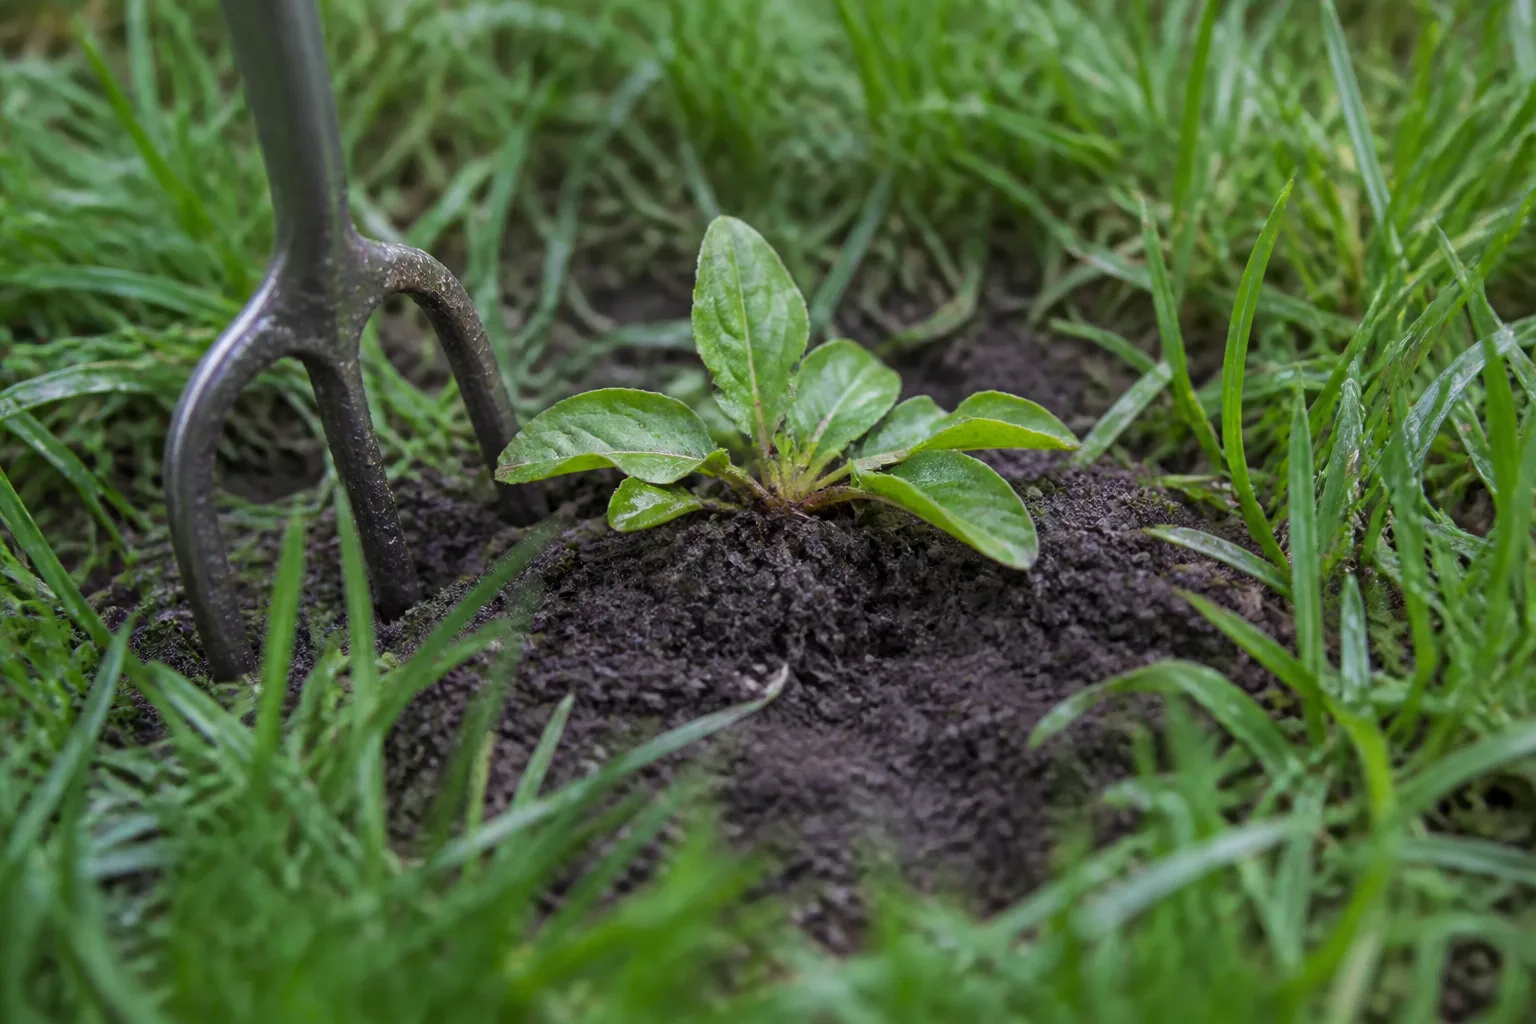
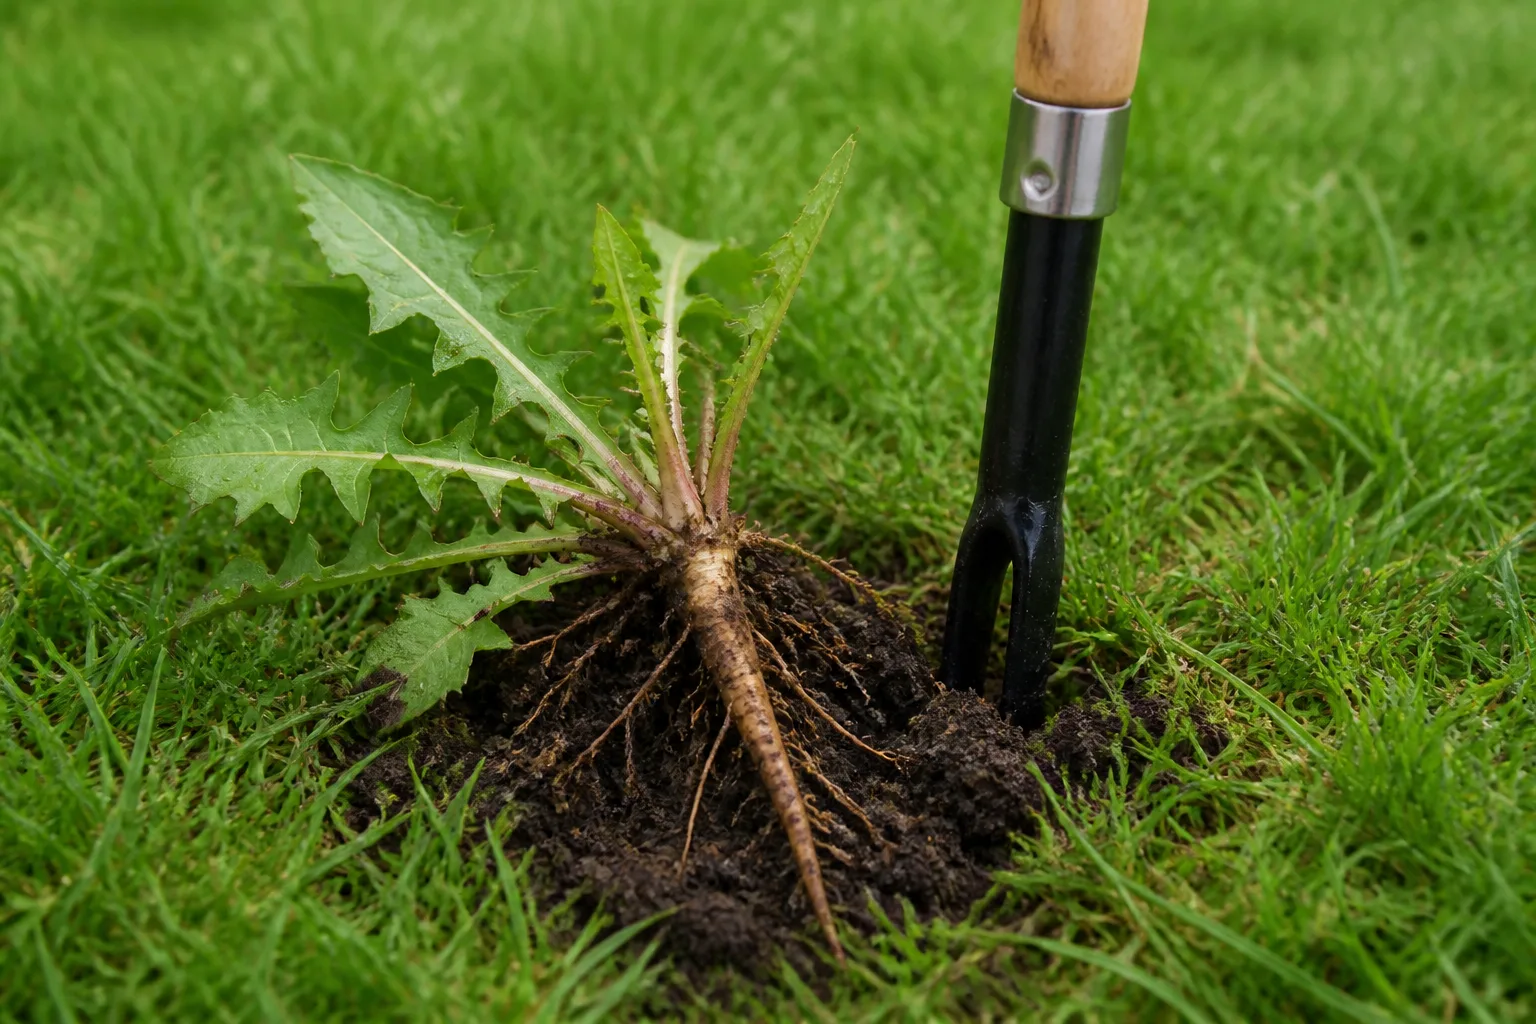
A taproot is a thick central root that grows downward; a crown is the short stem-and-root junction from which new shoots can emerge. If you feel a weed resist a straight pull, stop pulling harder. That resistance is information: the plant needs a tool that reaches below the crown.
Push a narrow hand weeder, dandelion tool, or hand fork beside the root, not directly through the crown. Work the tool down as far as the soil and nearby plant roots allow, lever gently, and lift the root mass. For a large dandelion or plantain in turf, cut a narrow circle or slit around the crown and remove as much of the central root as you can without tearing a wide divot in the lawn.
Deep digging is not always the best answer. In an established bed, turning over a large area exposes buried seeds and disturbs desirable roots. Dig only where the weed’s root structure justifies it, then smooth the surface and cover the open soil. Penn State Extension notes that some weeds can also indicate conditions such as compacted soil, poor turf density, or excess moisture; treat that underlying condition when the pattern repeats.Penn State Extension weed-management resources
Cut persistent weeds when roots cannot come out cleanly
Some weeds are tangled through ornamental plants, rooted beneath stones, or connected by brittle rhizomes. Trying to excavate every piece can spread fragments or damage the plants you want. In that situation, cut every visible stem at soil level and repeat whenever fresh growth appears.
Cutting is suppression, not a one-day cure. Leaves are the plant’s solar panels; repeated removal forces the root system to spend stored energy making new foliage. The RHS explains that regular removal of top growth can weaken persistent perennials over time, while root removal is still the more direct control when it can be done safely.RHS non-chemical weed-control advice
Set a return date instead of waiting to remember. Check a difficult patch every seven to fourteen days during active growth, sooner after warm rain. Always cut before flowering and seed formation, and collect seedheads rather than mowing or trimming them into the surrounding soil.
Pick the Control Method That Fits the Site
The right method is the one that solves the current problem without creating a larger one. Mechanical control is often fastest for a small patch; cultural control prevents the next wave; chemical control can be useful when a target is widespread or impossible to reach, but it demands accurate identification and label compliance.
Use mulch to block light in beds
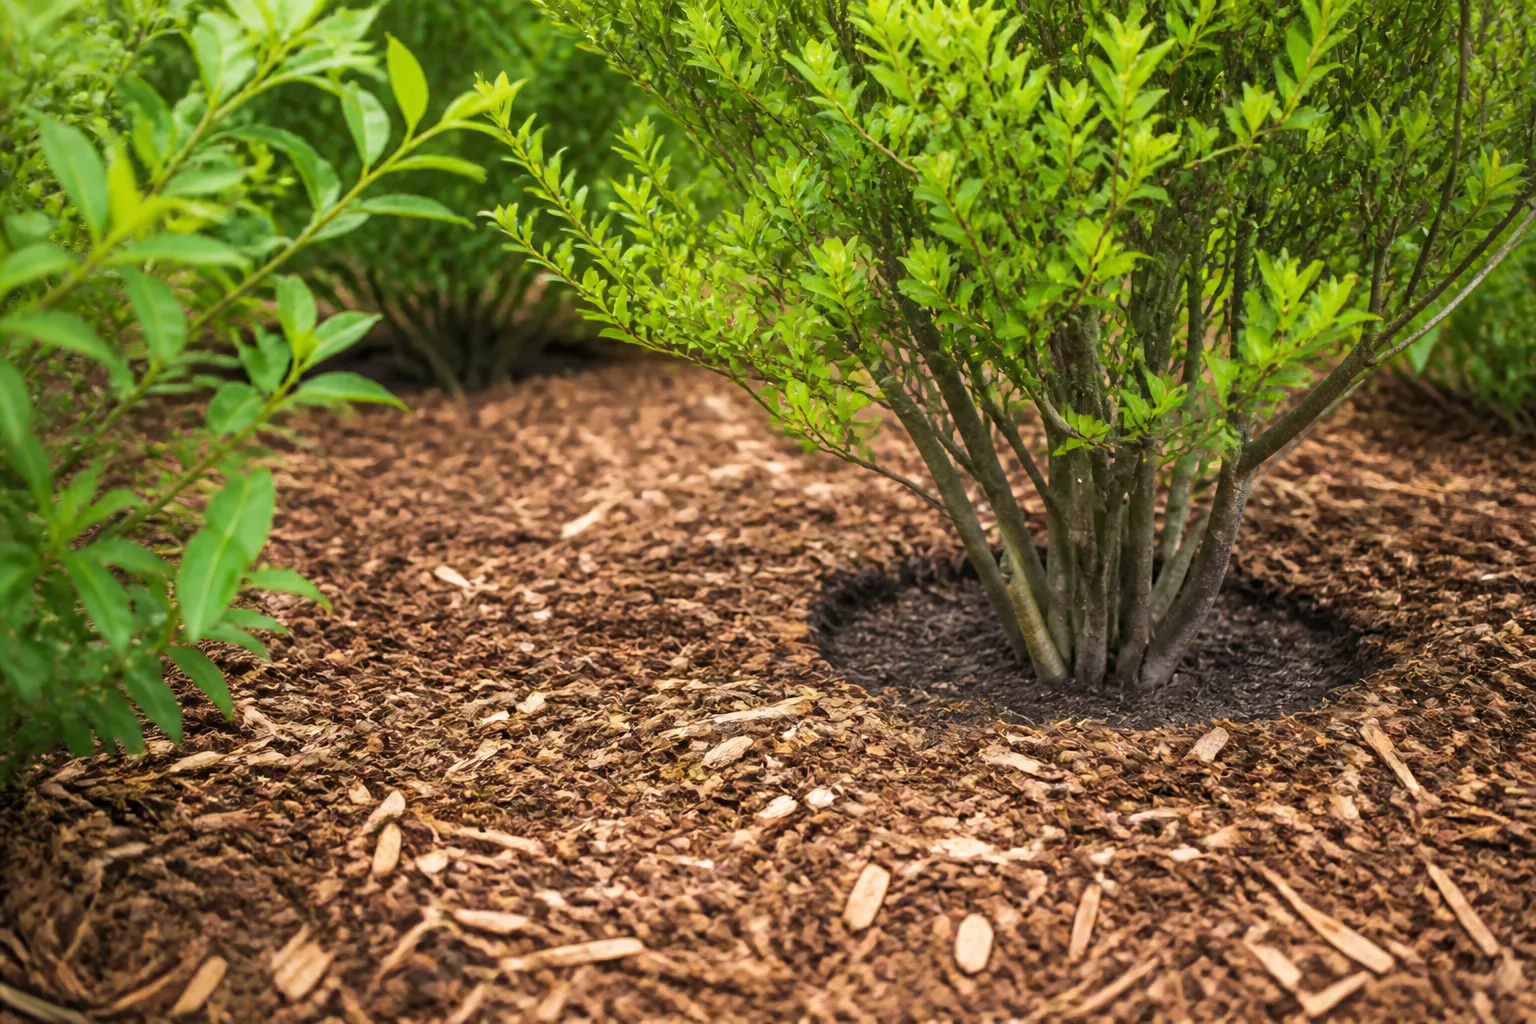
Mulch works by reducing the light that reaches the soil surface, moderating moisture and temperature, and making it harder for new seedlings to establish. It will not erase a mature perennial already rooted underneath. Pull or cut existing weeds first, then spread a consistent layer rather than sprinkling a thin decorative dust over the bed.
For most established beds, start around 2 to 3 inches of coarse organic mulch and keep it a few inches away from woody stems and perennial crowns. Finer material can compact more easily, while very deep mulch can hold too much moisture against stems or reduce air exchange at the soil surface. Gardening Know How notes that weeds can still emerge through mulch when seeds are already in the soil or arrive by wind and animals, so mulch should be treated as a barrier that needs maintenance, not a sealed lid.Gardening Know How mulch guidance
Refresh the surface when it thins, but do not automatically pile new material on top of a thick old layer. Rake aside loose mulch, remove weeds, check that water still reaches the soil, and top up only enough to restore an even barrier. If the bed has a persistent patch and no plants to protect, a single layer of plain, uncoated cardboard under a heavier mulch layer can provide stronger light exclusion; overlap seams and leave room around the plants you keep.
Hoe seedlings on a dry day
Hoeing is a high-speed option for rows, empty bed edges, and small seedlings that have not developed a strong root system. Use a sharp blade to slice just below the soil surface, then leave the severed seedlings on top to dry on a warm, dry day. The goal is a shallow cut, not a deep cultivation session.
Deep hoeing creates fresh disturbance and can bring buried seeds into the light. Work between rows with short, controlled strokes, and switch to hand removal when you are close to the root zone of an ornamental or vegetable. A scuffle hoe, stirrup hoe, or narrow draw hoe can each work; choose the head you can keep level and close to the surface without hitting plants.
Do not hoe a patch of mature rhizomatous or runner-forming weeds as if it were a bed of annual seedlings. Chopping those structures into pieces can multiply the number of pieces capable of regrowth. Dig, repeatedly cut, or use an appropriate species-specific plan instead.
Smother a larger bare area with cardboard or a tarp
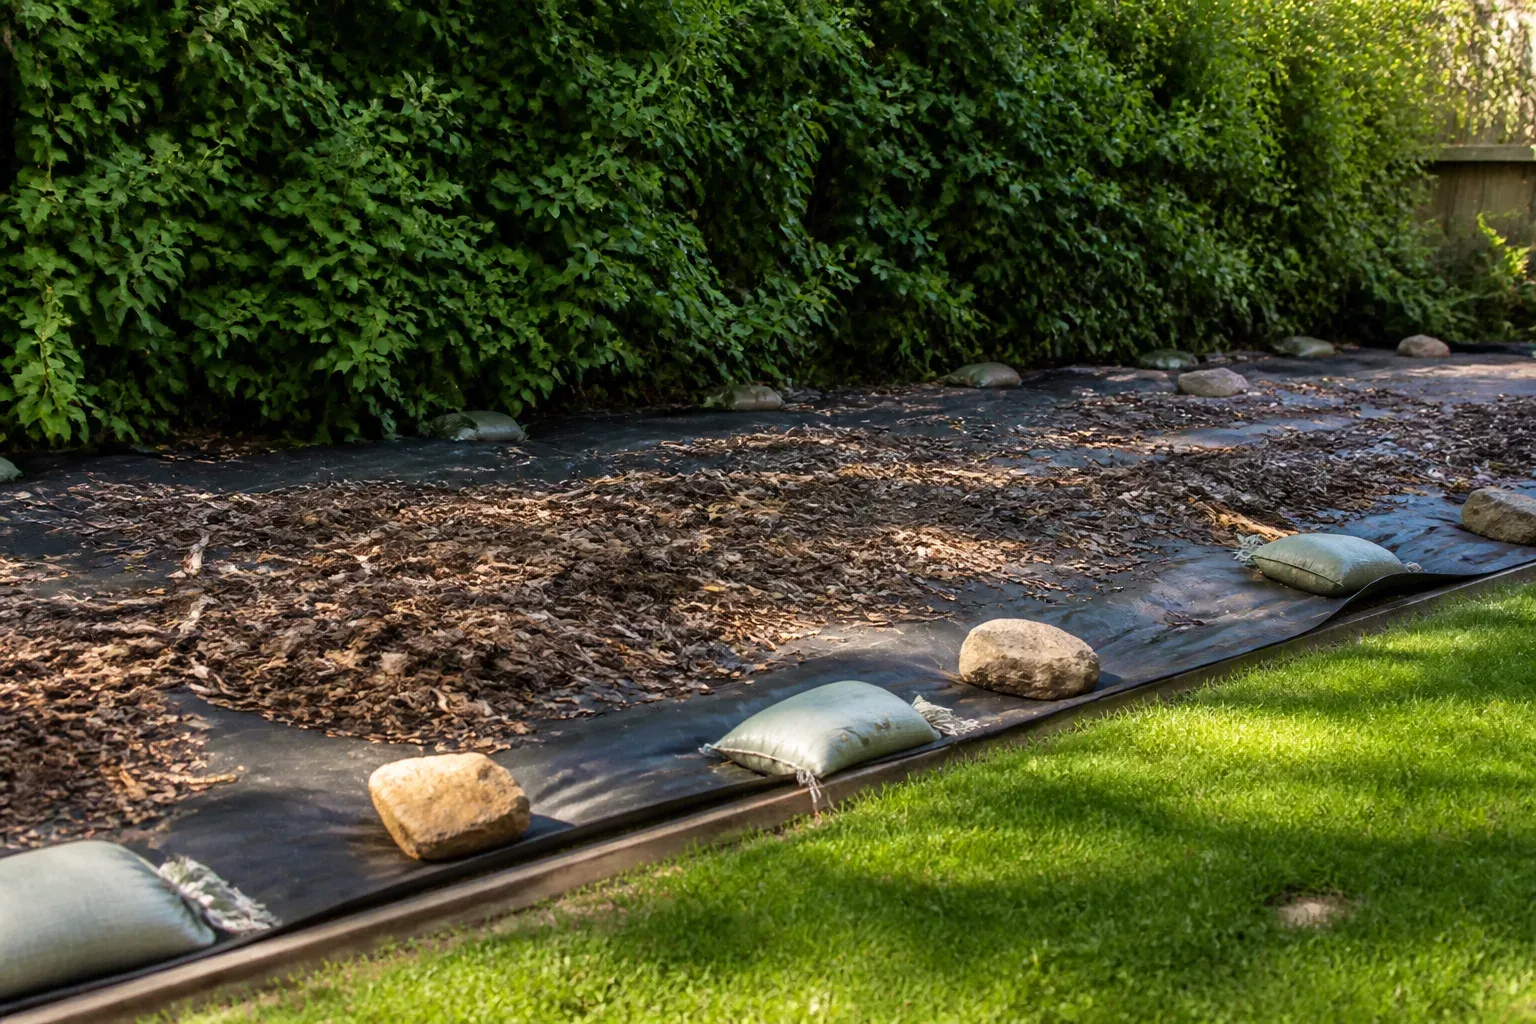
Sheet mulching is useful when the area is too large for comfortable hand weeding but will later become a bed, path, or planting zone. First mow or cut the existing growth low and remove seedheads. Lay plain, unlaminated cardboard with seams overlapped, wet it so it conforms to the ground, and cover it with enough coarse mulch to hold it in place and block light.
For a tougher or long-neglected patch, tarping or solarization may be more appropriate. Clear the surface, water the soil if using a heat-based solarization approach, pull the covering tight, secure the edges, and leave it in place for the necessary period. Warm-season solarization can take at least a month and often longer; opaque tarps rely primarily on sustained darkness and may need months or more. Do not promise yourself a weekend harvest from a treatment that needs a season.
Covering also has a cost. It temporarily removes light, air, water movement, and access for plants and soil organisms under the barrier. Keep it away from trees and established plantings unless you understand where their roots extend, and do not use an impermeable sheet where runoff will flood neighboring beds. RHS and King County both frame smothering as a site-specific control that is especially useful for bare areas and persistent weeds, not as a universal replacement for every method.RHS smothering guidance
Reserve herbicides for targeted, label-approved jobs
Herbicide can be the most practical option for a large infestation, a deep-rooted perennial woven through inaccessible ground, or a lawn problem with a product specifically labeled for that turf and weed. It is not a shortcut around identification. A non-selective product can injure grass, flowers, shrubs, and trees if spray drifts or touches green tissue; a selective product still may not be safe for every ornamental or grass type.
Read the entire label before mixing or applying anything. Confirm the weed, site, application timing, protective equipment, weather limits, re-entry interval, and planting restrictions. King County’s weed-control guidance emphasizes spot spraying only as needed, using the lowest effective amount, and following local regulations and label directions.King County chemical-control guidance
Avoid windy weather, rain that will wash product away, and spraying where children, pets, pollinators, edible crops, drains, ponds, or neighboring plants could be exposed. Use a shield or wick for a precise target only if the product label permits that method. If you cannot identify the weed or protect the desired plants, stop and ask a local extension office or qualified applicator rather than guessing.
Be skeptical of homemade “permanent” weed-killer recipes. Vinegar and similar contact sprays can burn foliage but usually do not provide reliable control of established roots, and salt can linger in soil and damage future plantings. Lawn Love’s practical comparison distinguishes household vinegar’s top-growth effect from more concentrated horticultural products and still warns that these sprays are non-selective and require care around flowers.Lawn Love flower-bed weed-control guide
Prevent Weeds From Reclaiming the Space
Weed prevention is mostly vacancy prevention. A seed landing on a covered, occupied, or actively managed surface has fewer chances to establish than one landing in bare, repeatedly disturbed soil. Prevention also means stopping the weed you already have from exporting seed or root pieces to the next bed.
Replace bare soil with plants, mulch, or turf
After removing a patch, decide what should occupy it. In a flower bed, install the intended plant, use an appropriate ground cover, or restore mulch. In a lawn, repair thin areas with the correct grass for your climate and site, following any waiting period on a weed-control product before reseeding. Along a fence or path, use a defined edge and a maintained strip instead of leaving a loose band of exposed soil.
Healthy turf is not weed-proof, but dense grass shades much of the soil and competes for water and nutrients. Mow at the height recommended for your grass type, avoid scalping, water deeply enough for the site, and address compaction or drainage when weeds repeatedly cluster in the same low spot. If the site cannot support turf because of shade or traffic, a ground cover or hardscape designed for those conditions is more honest than fighting the same bare patch every month.
Stop seeds and root fragments from traveling
Clean soil from tools, shoes, mower decks, carts, and pets’ paws before moving from an infested area to a clean one. Keep weeds from flowering and seed-setting, and bag suspicious seedheads instead of shaking them into the compost or yard-waste pile. A mower can suppress a lawn weed before flowering, but it can also distribute mature seed if you mow at the wrong stage.
Watch the edges. Weeds in driveway cracks, fence lines, gutters, and the strip behind a shed can seed the beds you just cleaned. Trim or remove those edge plants before they mature, and keep a narrow, inspectable boundary where mulch meets turf. A clean edge will not stop windborne seed, but it removes a major local source and makes the next patrol faster.
Dispose of weeds according to how they spread
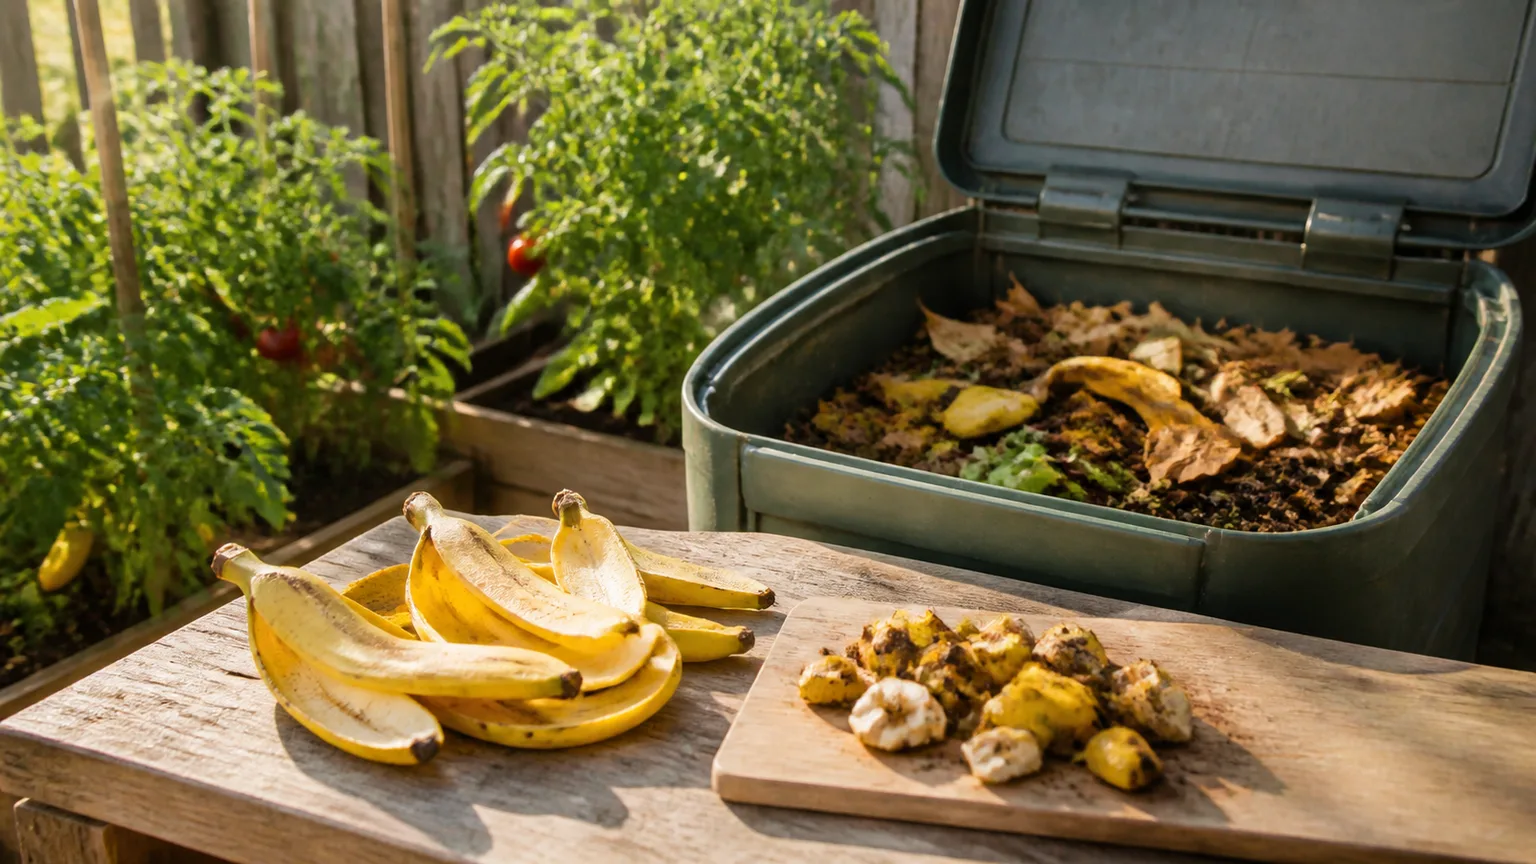
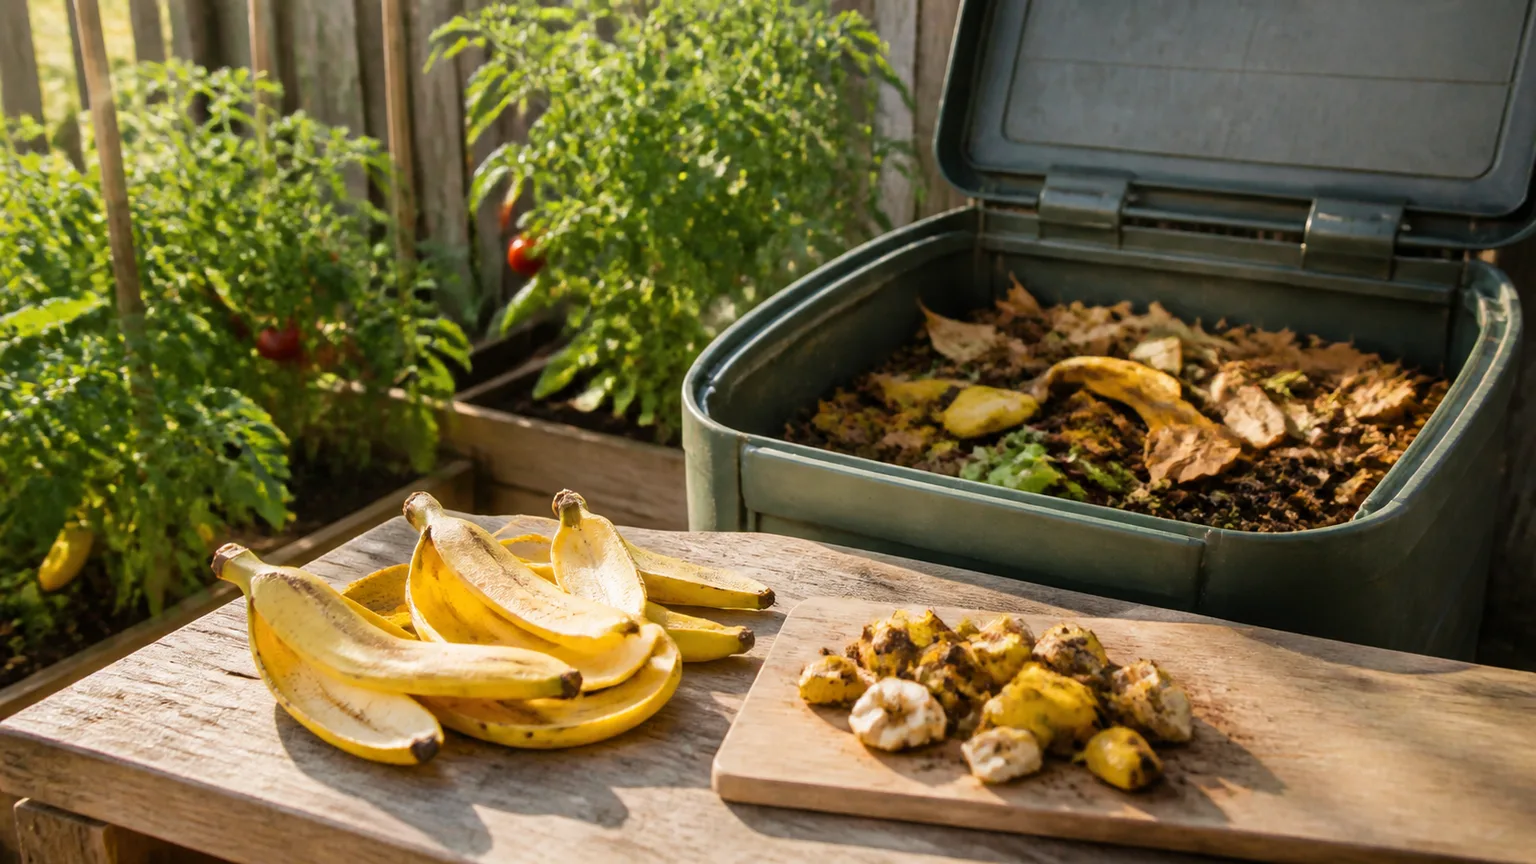
Do not put every pulled weed into the same compost bin. Soft, non-seeding annual weeds that have not re-rooted may be suitable for a properly managed compost system, but seedheads, bulbs, rhizomes, and pieces of aggressive runners deserve more caution. The RHS warns that home compost piles may not reach temperatures high enough to kill those structures, while King County recommends tailoring disposal to the plant’s reproductive strategy.RHS disposal guidance King County disposal guidance
When in doubt, seal the material in a bag and follow your municipality’s green-waste or trash rules. Do not dump invasive fragments at the back of the property, place them on a roadside, or leave them touching moist soil. If you are dealing with a regulated noxious weed, use the local authority’s disposal instructions rather than improvising.
Avoid the Shortcuts That Create More Work
Pulling the leaves and leaving the crown is the most common failure. The second is cultivating a mature creeping weed into fragments. The third is applying a thin layer of mulch over live plants and expecting it to smother them; if light still reaches the leaves, the weed may simply grow through the mulch.
Do not use salt in a planting bed or lawn just because it scorches a weed. Salt is not selective, can move with water, and may make the soil hostile to the plants you want later. Boiling water has a legitimate narrow use on isolated weeds in cracks, but it can kill nearby roots and soil life, scald you, and run into a bed; it is not a safe general treatment beside ornamentals.
Do not spray on a breezy day, mix products because a recipe online says they are stronger together, or assume “natural” means harmless. Natural contact sprays can burn desired leaves, and a product approved for a lawn may be inappropriate in a vegetable bed. When a label does not clearly cover your site and target, it is the wrong product for that job.
Finally, do not wait for a perfect free weekend. A ten-minute removal of young weeds every week is usually less disruptive than a once-a-season excavation. If a problem is visibly expanding through rhizomes, runners, or seed, spend the time on identification and containment before the patch reaches nearby beds.
Use a Ten-Minute Weekly Weed Routine
Choose one repeatable route around the property: bed edges first, then paths and cracks, then lawn trouble spots. Carry one hand tool, gloves, and a small bucket. Pull the easy annuals, flag or photograph the weeds you cannot identify, cut persistent plants before seed formation, and collect the debris before moving on.
At the end of the route, look at the soil rather than only the plants. Is mulch thinning? Is a lawn patch bare? Is water pooling? Are weeds arriving from an unmaintained edge? Fixing one of those conditions can save more time than pulling another dozen seedlings next week.
Every month during the growing season, inspect the roots of one or two repeat offenders and adjust the plan. A patch that is shrinking after repeated cutting is responding to suppression. A patch that is spreading after hoeing needs a different method, better containment, or help identifying the species. This feedback loop is what makes weed control efficient: use the result of the last treatment to choose the next one.
Conclusion
To get rid of weeds fast, start with the small decision that most quick tips skip: identify the weed and the surface it is occupying. Pull young annuals from loosened soil, dig below taproots and crowns, cut persistent growth before it seeds, mulch or cover bare ground, and reserve herbicides for accurately identified, label-approved situations.
The lasting improvement comes from the follow-up. Replace empty soil, maintain dense turf or healthy plantings, keep mulch at an effective depth, clean tools and shoes, and dispose of seeds and root fragments responsibly. You may still see a new weed after the next rain—wind and wildlife make a perfectly weed-free yard unrealistic—but the job becomes a short inspection and a precise response instead of a takeover.



