Spider Plant Brown Tips: 6 Causes and Fixes
Learn why spider plant leaf tips turn brown, how to separate water-quality issues from root stress, and what to change before trimming the leaves.
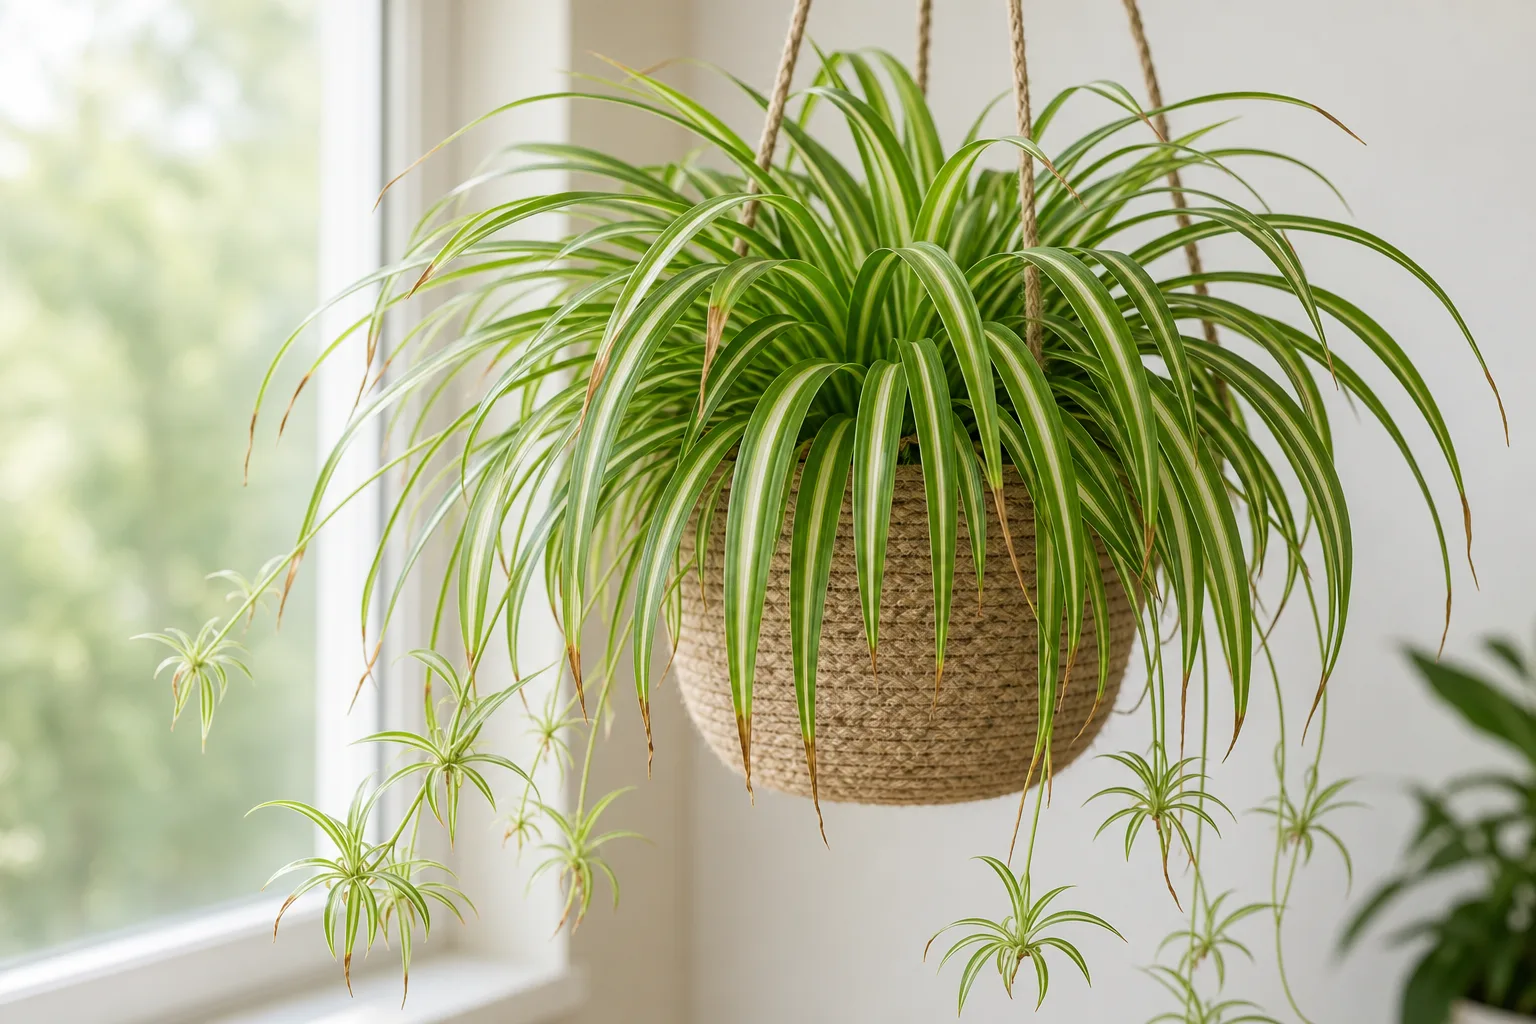
Brown tips on a spider plant are common, but they are not a diagnosis. The same dry-looking point can follow a long gap between waterings, fluoride accumulating in the leaf, fertilizer salts around the roots, or air and light stress. The useful clue is not the brown color alone; it is where the damage starts, how many leaves are affected, and what the soil and room have been doing.
More than one stress can overlap, as practical spider-plant troubleshooting from Get Busy Gardening also notes. Before watering, feeding, or repotting, check the plant in a consistent order. A few minutes with the pot, leaves, and water source can prevent the classic misstep: adding more water to a plant whose roots are already struggling.
What brown tips do—and do not—tell you
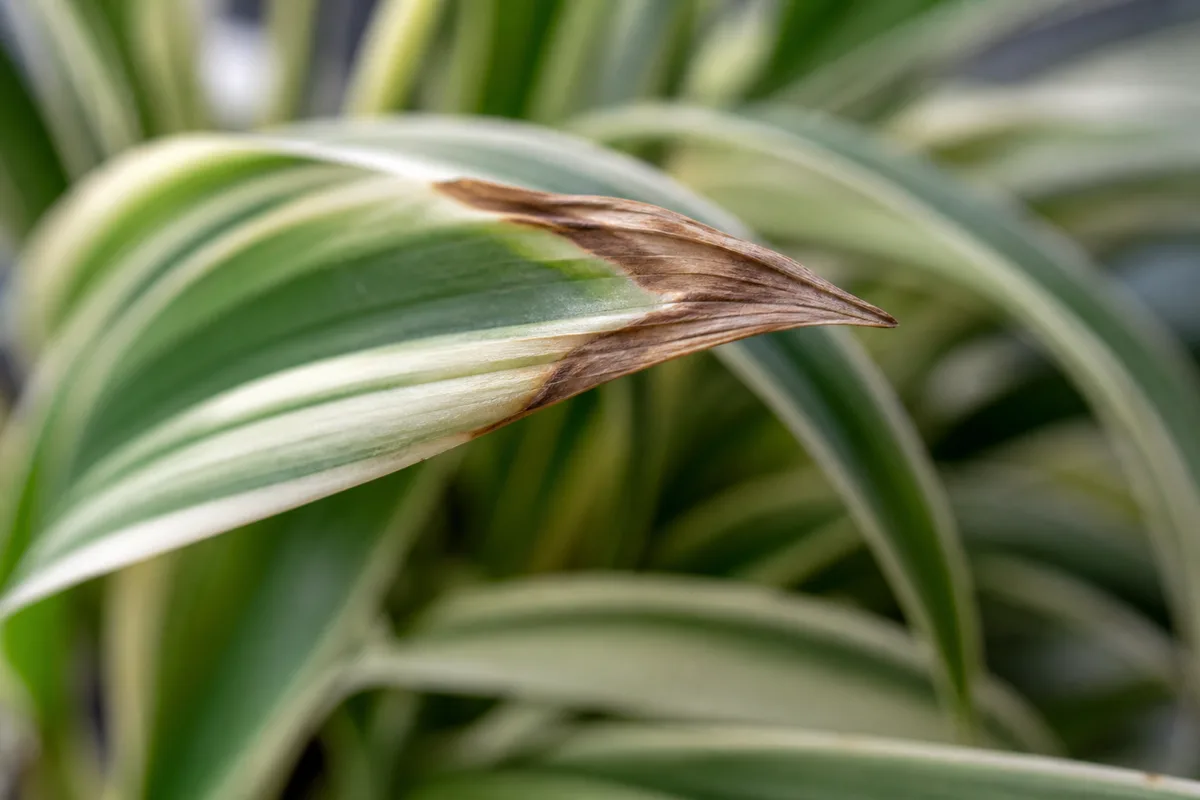
Spider plant leaves are long and narrow, so stress at the leaf margin often shows first at the pointed end. Brown, dry tissue means that part of the leaf is dead; it cannot turn green again. But the symptom does not tell you by itself whether the plant lacked water, took up excess salts, experienced root damage, or was scorched.
Look at the pattern across the whole plant. Similar crisp ends on many leaves suggest a repeated environmental or root-zone issue. One or two old outer leaves with brown tips, while the center keeps producing firm green growth, may reflect age or past stress rather than a crisis. The RHS likewise advises reading brown leaf damage alongside other signs and checking roots and growing conditions rather than treating the color in isolation. (RHS guidance on houseplant leaf damage)
Run this three-minute diagnosis before changing care
Start by noting whether the brown area is limited to the very tip, runs along both edges, or forms separate spots. Then check the soil several centimeters below the surface and lift the pot: a very light pot with dry mix points in a different direction from a heavy pot that stays wet. Do not use the top crust alone as a moisture test.
Next, check the water source and recent routine. Has the plant been receiving softened tap water, fertilizer more often than the label recommends, or water left sitting in its saucer? Is there a white crust on the pot rim or soil? Finally, look at placement: a hot vent, cold pane, or strong afternoon sun can affect the side of the plant facing it.
| What you notice | Check next | First likely lead |
|---|---|---|
| Pot is light; mix is dry well below the surface | How long the root ball stays dry | Underwatering or uneven watering |
| Pot is heavy and wet, with yellowing or drooping leaves | Drainage holes and root firmness | Root stress, not a need for more water |
| Several tips brown; white crust or frequent feeding | Water source and fertilizer label | Soluble mineral or fertilizer salts |
| Damage is strongest on the window or vent side | Light, temperature, and airflow | Scorch or localized heat/cold stress |
| A few oldest leaves brown while the center grows normally | Whether the symptom is spreading | Normal leaf turnover or old damage |
Choose the lead that best matches more than one clue. If the evidence is mixed, begin with the least disruptive test—soil moisture and placement—and change one condition at a time.
Cause 1: The root ball swings between dry and wet
Spider plants can tolerate some drying, but repeated cycles from very dry to saturated can injure fine roots and make water delivery uneven. A plant that is dry for too long may develop crisp tips, limp leaves, or a pot that feels unusually light. A thirsty plant often perks up after a thorough watering, although already-brown tissue stays brown.
For a practical check, Gardening Know How’s spider plant troubleshooting likewise recommends judging soil moisture rather than assuming a fixed watering frequency. That is useful as a starting habit, but your own pot’s mix, size, and drying speed still determine when it is time.
Overwatering can create a similar dry-tip appearance for the opposite reason: roots in persistently wet, airless mix lose function and cannot supply the foliage normally. Look for a pot that remains heavy for days, a sour smell, yellowing across more than one leaf, or roots that are dark and soft rather than firm. The RHS spider plant profile describes the plant as suited to moist but well-drained conditions, not waterlogged compost.
The fix is not to follow a weekly schedule blindly. Water thoroughly when the root zone has begun to dry, allow excess to drain, and empty the saucer. If the mix stays wet for an unusually long time, investigate light, pot size, drainage, and soil structure before shortening the watering interval.
Cause 2: Fluoride or unsuitable water accumulates
Spider plants are among the indoor foliage plants known to be sensitive to fluoride. The Pacific Northwest Plant Disease Management Handbooks lists Chlorophytum comosum as fluoride-sensitive and explains that fluoride injury can begin as tip or marginal necrosis and move inward. The same source notes that drought and salt injury can look similar, which is why brown tips alone cannot identify fluoride as the cause. (PNW Handbooks: fluorine toxicity in plants)
Water chemistry varies by municipality and by source. If the browning keeps appearing despite good moisture and sensible feeding—especially on several otherwise healthy leaves—check your local water report and consider a short trial with rainwater, distilled water, or reverse-osmosis water. Use a clean collection container for rainwater and let cold water come to room temperature before watering.
“Let tap water sit overnight” is not a reliable way to remove fluoride or dissolved minerals. Standing may allow some disinfectant residual to dissipate, depending on how the water is treated, but it does not make dissolved fluoride evaporate. A basic carbon pitcher filter also should not be assumed to remove fluoride unless its specifications explicitly say it does. Avoid water softened by a household sodium-exchange unit; it can add sodium rather than solve the mineral problem.
Cause 3: Fertilizer and dissolved salts concentrate
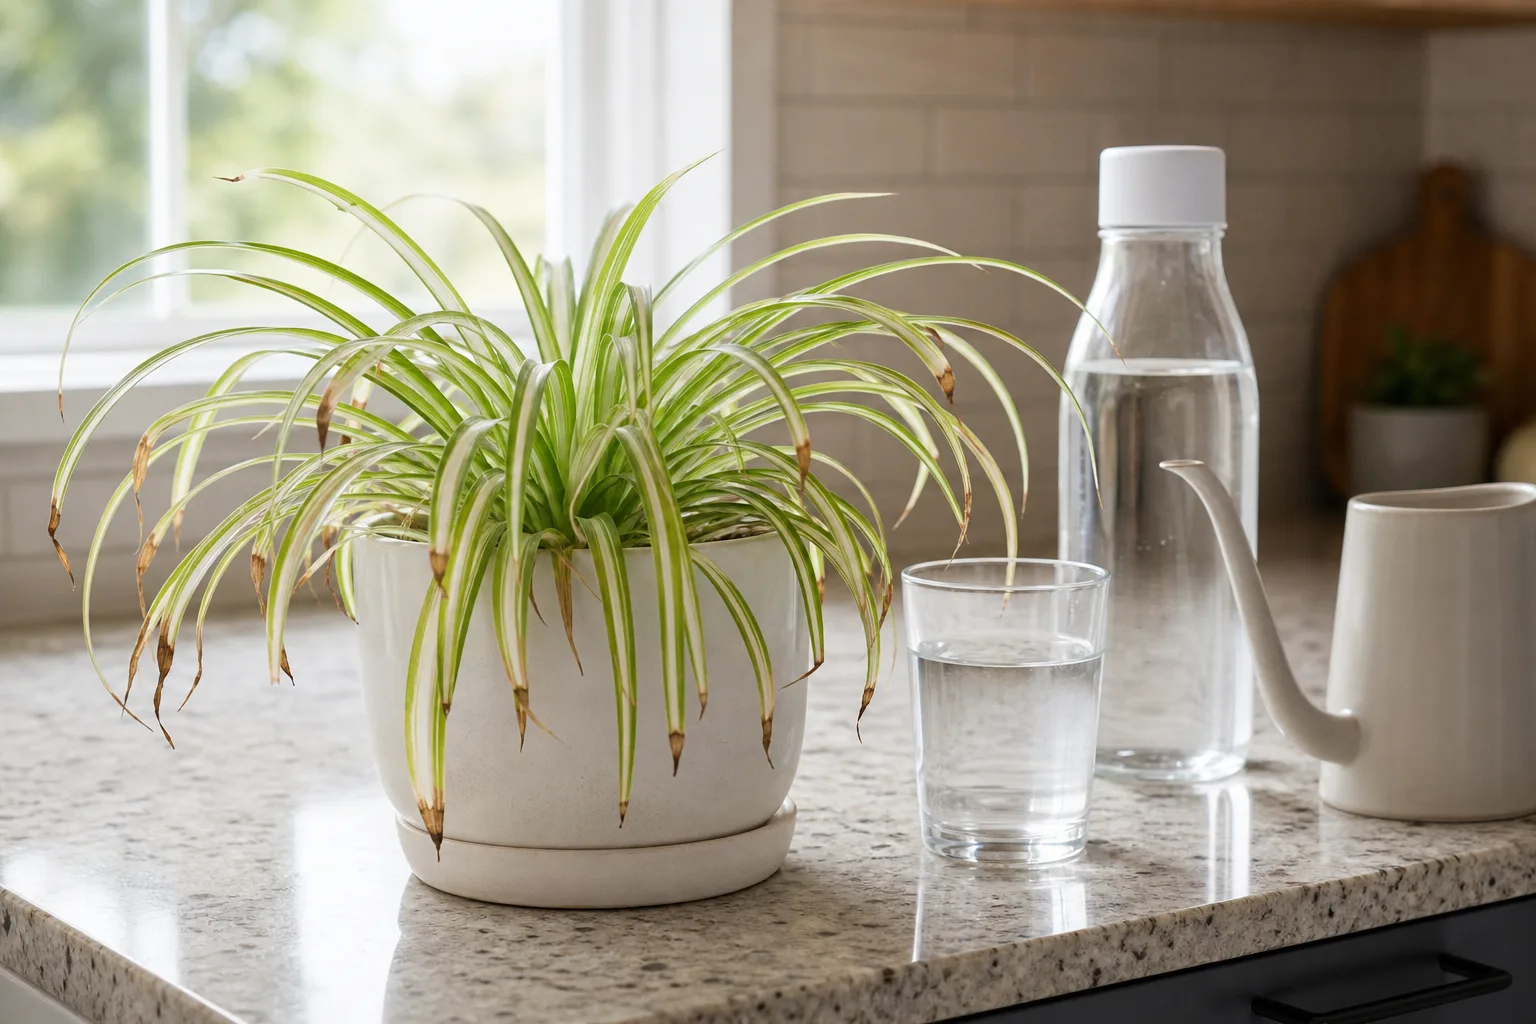
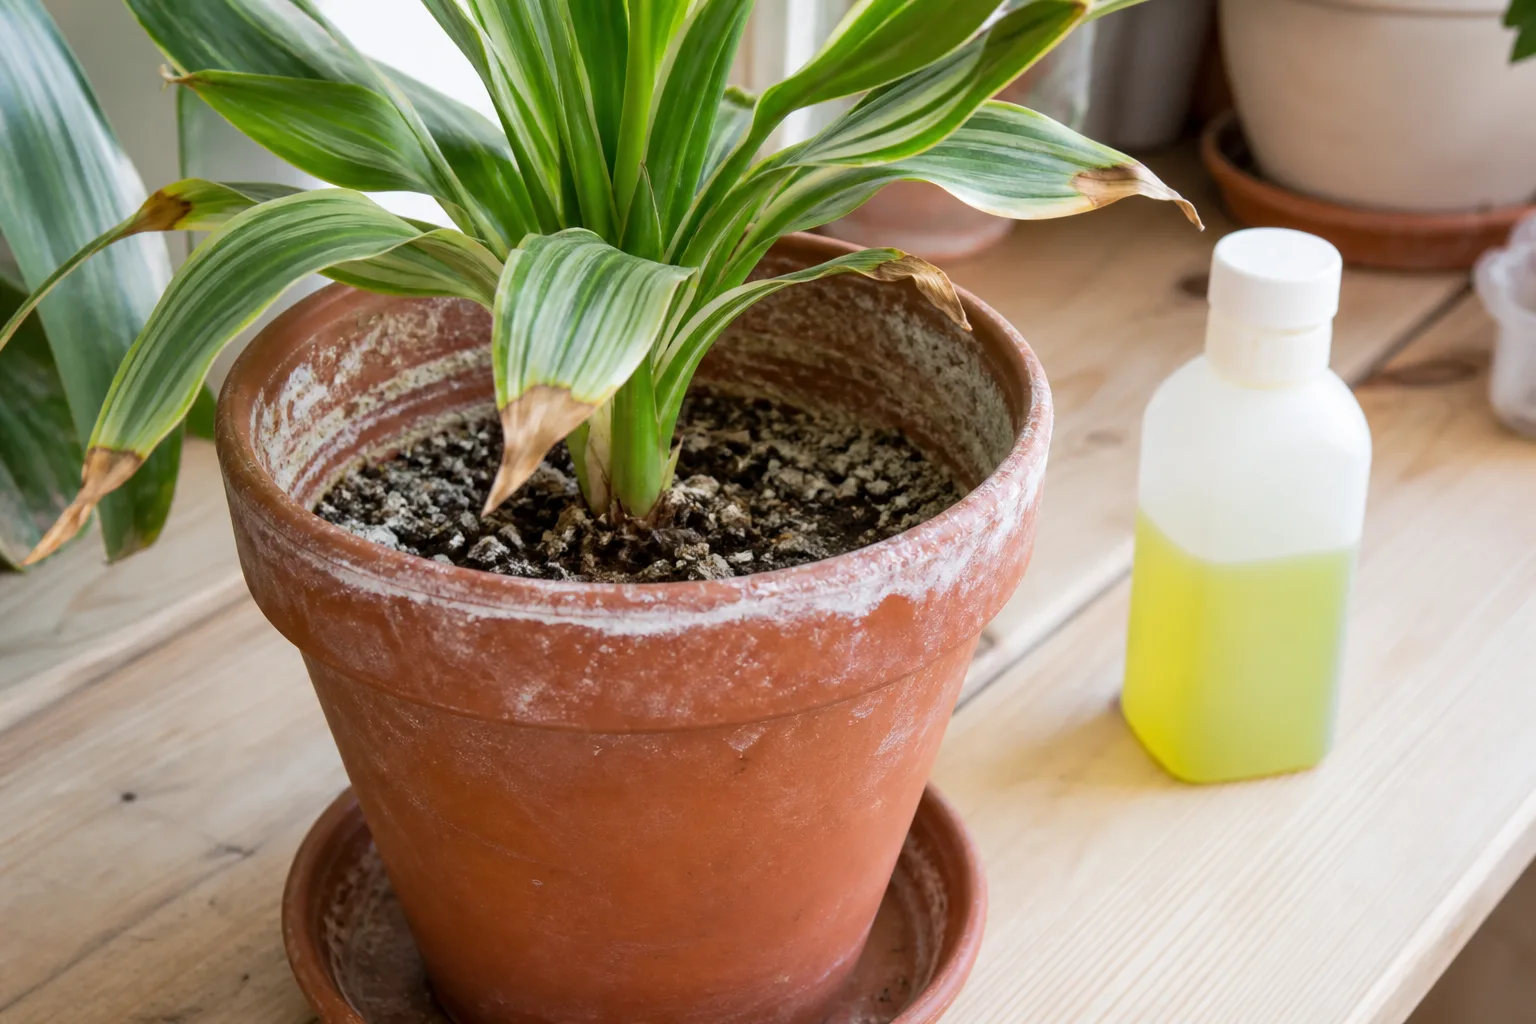
Fertilizer is not a treatment for brown tips. Spider plants grow well without heavy feeding, and fertilizer residues can build up when the plant receives too much, too often, or in a pot that is watered without enough drainage. Minerals in irrigation water can contribute to the same visible deposits, so a white crust is a clue to accumulated salts—not proof that fertilizer alone caused the problem.
Check the label and your recent routine before doing anything. If you have fertilized at every watering, used a stronger mix than directed, or applied fertilizer while the plant was not actively growing, pause feeding while you assess the roots and water source. The University of Maryland Extension guidance on fertilizer toxicity and soluble salts treats salt buildup as a root-zone issue that can damage indoor plants; adding another dose to a stressed plant can deepen the problem.
If the plant is otherwise healthy and the pot drains freely, a careful leaching with low-mineral water may help remove accumulated soluble salts. If the mix is compacted, the drainage holes are blocked, or roots are already soft, pouring more water through the pot can worsen root stress. In that case, correct drainage or repot only if the mix and roots truly require it.
Cause 4: Dry air and moving heat stress leaf edges
Low humidity can increase water loss from foliage, particularly when warm air is blowing directly across the leaves. A spider plant beside a radiator, furnace register, or air conditioner may dry unevenly even if the rest of the room feels comfortable. Brown tips that worsen during heating season or on the side nearest the vent make this explanation more plausible.
Spider plants are adaptable houseplants, so do not assume every brown tip means you need to turn the room into a greenhouse. Measure relative humidity near the foliage for a few days if the room feels very dry; a small hygrometer is more useful than guessing. If humidity is already moderate and the plant is not near moving hot or cold air, investigate the water and root zone before buying equipment.
When air is consistently dry, moving the plant away from the vent or using a room humidifier can reduce the direct stress. Misting may wet the leaves briefly but does not keep room humidity elevated for long. A pebble tray is not a substitute for correcting severe dryness, and it should never leave the pot sitting in water.
Cause 5: Direct sun or temperature swings scorch foliage
Spider plants do best in bright, filtered light; they can accept gentler morning sun, but intense sun through glass can heat and scorch leaf tissue. If damage is concentrated on the window-facing leaves, appears pale or tan before turning brown, or began after a move to a sunnier spot, test a position with bright indirect light. Do not hide the plant in a dark corner: low light slows drying and can make an existing watering routine too frequent.
Temperature stress has a location pattern too. Leaves touching cold glass, or foliage in the path of a heater, can develop damage on the exposed side while sheltered leaves remain healthier. Move the plant a little back from the pane or vent and observe new growth before making another major change.
The RHS lists excessive light, sudden temperature changes, and draughty positions among common causes of houseplant leaf damage. Those conditions can overlap with dry air, so check the actual leaf exposure rather than treating “humidity” as the explanation for every crispy edge.
Cause 6: Root congestion and poor drainage limit uptake
A crowded root ball can dry quickly, leaving the plant thirsty soon after watering. That is different from the idea that every root-bound spider plant needs immediate repotting. The thick, fleshy roots naturally occupy a container, and a snug pot alone does not prove it is harming the foliage.
Look for a combination of signs: roots densely circling the root ball, water running straight down the gap between soil and pot, the mix drying unusually fast, or the plant repeatedly wilting soon after a proper watering. Conversely, if the pot stays wet, roots smell sour, or leaves yellow widely, drainage or root damage is more urgent than pot crowding.
When repotting is justified, choose a container only modestly larger and make sure it has drainage holes. A very large pot holds more unused wet mix around the roots and can extend drying time. Repotting is not an instant cure for brown tips, and damaged tissue will remain visible afterward.
Do not cut away healthy roots just because they circle the outside of the pot. If the mix is still airy and the plant does not dry too fast, leaving a snug root ball alone is often less disruptive than repotting. When you do move it, loosen only roots that are tightly matted or damaged, and water according to the new pot’s slower or faster drying pattern rather than carrying over the old interval.
When age, handling, or a pest is more likely
An occasional old outer leaf can brown as the plant replaces it. If the center is firm, new leaves emerge normally, and the symptom is not moving through the plant, remove the spent leaf if you wish and keep observing. A crease, snapped tip, or browned point on a leaf that was bent during moving is also localized damage; changing the entire care routine will not repair it.
Pests and disease usually create other clues. Fine webbing, stippling, sticky residue, insects under leaves, or irregular lesions with halos are not the same pattern as a dry, uniformly browned leaf point. Isolate a plant with visible pests and identify the pest before treating it; do not apply a pesticide just because the tips are brown.
The RHS notes that houseplant discoloration can also be associated with pests and disease, and that context matters. If spots spread across the blade, new growth distorts, or the plant declines despite stable care, photograph the pattern and inspect both leaf surfaces and the crown rather than continuing to trim symptoms.
Use this order to fix brown tips safely
First, record the current condition: which leaves are affected, whether the pot is light or heavy, what water you use, and where the plant sits. Then choose the strongest lead from the diagnostic table. This small baseline lets you tell whether a change helped instead of relying on memory.
Make one correction for the leading cause. Water a genuinely dry root ball; hold water if the mix is still wet; move a vent-exposed plant; pause unnecessary fertilizer; or trial lower-fluoride water if moisture and placement do not explain the pattern. Do not simultaneously repot, flush, change water, increase humidity, and feed—the plant may experience more stress, and you will not know which action mattered.
Recheck the same leaves weekly, but judge success by whether the browning stops spreading and whether the center produces healthier new leaves. A damaged tip is a record of past stress, not a live meter of today’s conditions.
Set a watering rhythm by the pot, not a calendar
Use your finger or a wooden skewer to check the mix below the surface, and lift the pot to learn how it feels when moist versus dry. When the upper portion of the root zone has dried but the mix is not bone-dry throughout, water slowly and evenly until excess comes from the drainage holes. Empty the saucer after it drains; do not let the pot stand in runoff.
How long that takes changes with season, light, room temperature, pot material, and root density. A small plastic pot in warm bright light may dry much faster than a large ceramic pot in a cool room. Check more often after a move or seasonal shift, then let the plant—not a fixed weekday—set the interval.
If water refuses to soak into the mix, runs down the sides, or leaves the center dry, the root ball may have become hydrophobic or the soil may be compacted. Rewet it gradually rather than leaving the plant submerged, then reassess whether the potting mix needs renewal.
Change water only when the evidence points there
Do not switch to expensive bottled water because of one brown tip. Test this theory when browning is persistent, the plant is a spider plant known to be fluoride-sensitive, and basic moisture, drainage, and placement look reasonable. If you change water, keep the rest of the routine stable long enough to compare the next leaves.
Make the trial easy to interpret: note the date, keep the pot in the same light, and do not flush the soil or change fertilizer at the same time. Use the lower-mineral source for each normal watering, not as a one-time splash after months of tap water. Because the plant’s oldest leaves record earlier conditions, mark or photograph the newest leaf as it opens; a clean new leaf is more informative than an old leaf that remains tipped brown.
Rainwater, distilled water, and reverse-osmosis water are lower-mineral options. The trade-off is convenience and, with some very pure sources, the need to avoid overcorrecting fertilizer later. Continue feeding lightly and only during active growth, following the product label; do not compensate by adding extra fertilizer to low-mineral water.
If you cannot collect rain or use distilled water, check the filter’s published contaminant-reduction claims or ask the local water utility about its report. Do not assume that all “filtered” water removes fluoride, or that leaving water out overnight changes its dissolved mineral content.
Flush salts only when the pot drains freely
Leaching is appropriate only when the pot has open drainage, the mix lets water pass through, and the roots are not sitting in saturated soil. Use low-mineral water and let it run through the root ball into a sink or basin; then allow the pot to drain completely and empty the saucer. The goal is to move soluble residue out of the container, not to keep the roots submerged.
Skip this step if the plant is already waterlogged, the container has no drainage holes, or the mix repels water and channels it around the root ball. Correct the drainage problem first. If white deposits return quickly despite restrained feeding and low-mineral water, inspect the mix and pot rather than repeating a large flush every week.
Adjust humidity and placement without overreacting
Before adding a humidifier, identify whether the plant is actually in a dry microclimate. Move it out of direct airflow and away from cold glass; then measure humidity near leaf height. A humidifier is useful when the room is persistently dry and several tropical plants show similar stress, but it needs regular cleaning and should not create condensation or leave leaves constantly wet.
Choose bright indirect light, with mild morning sun only if the leaves are not heating or bleaching. Rotate the pot occasionally for even exposure, but do not keep moving it every few days. A stable spot and steady observations are more informative than repeated rearranging.
Trim brown tissue without sacrificing healthy leaves
Trimming improves appearance; it does not cure the cause. Use clean, sharp scissors and follow the natural tapered shape of the spider plant leaf, stopping just inside the brown tissue so you do not remove extra green area. If nearly the whole leaf is brown or collapsed, remove it near the base instead of cutting every leaf tip on the plant.
Do not expect the cut edge to stay perfectly green: a narrow tan line may remain where the blade ends. That is cosmetic. If new browning keeps appearing after trimming, return to the diagnosis rather than cutting progressively more of the leaf.
Track new growth to confirm the fix
Existing dead tissue will not recover, so success means the damage stops advancing and new leaves emerge without the same brown band. Mark the date you made the change and take a photo from the same angle every week or two. Spider plants may grow slowly in low light or during cooler months, so the confirmation window is longer when active growth is limited.
If fresh leaves still brown after several weeks, revisit the evidence in a different order: check the water source if you first changed watering, inspect roots if the pot remains wet, or move the plant if the pattern follows one exposed side. Persistent decline, widespread yellowing, a soft crown, or a sour root smell calls for a closer root inspection; brown tips alone do not.
Conclusion
Spider plant brown tips can point to inconsistent moisture, fluoride or mineral accumulation, excess fertilizer salts, dry moving air, scorch, or impaired roots. The pattern narrows the possibilities, but soil feel, drainage, water source, and placement together make the diagnosis stronger.
Start with the pot and the plant’s surroundings, choose one likely cause, and make one measured correction. Trim only the dead tissue if you want a neater look, then judge the result by the next healthy leaves—not by whether old brown tips turn green.