7 Ways to Refresh Your Backyard Without Spending a Dime
Refresh your backyard without spending a dime: clean strategically, rearrange what you own, divide suitable plants, reuse debris, and avoid costly mistakes.
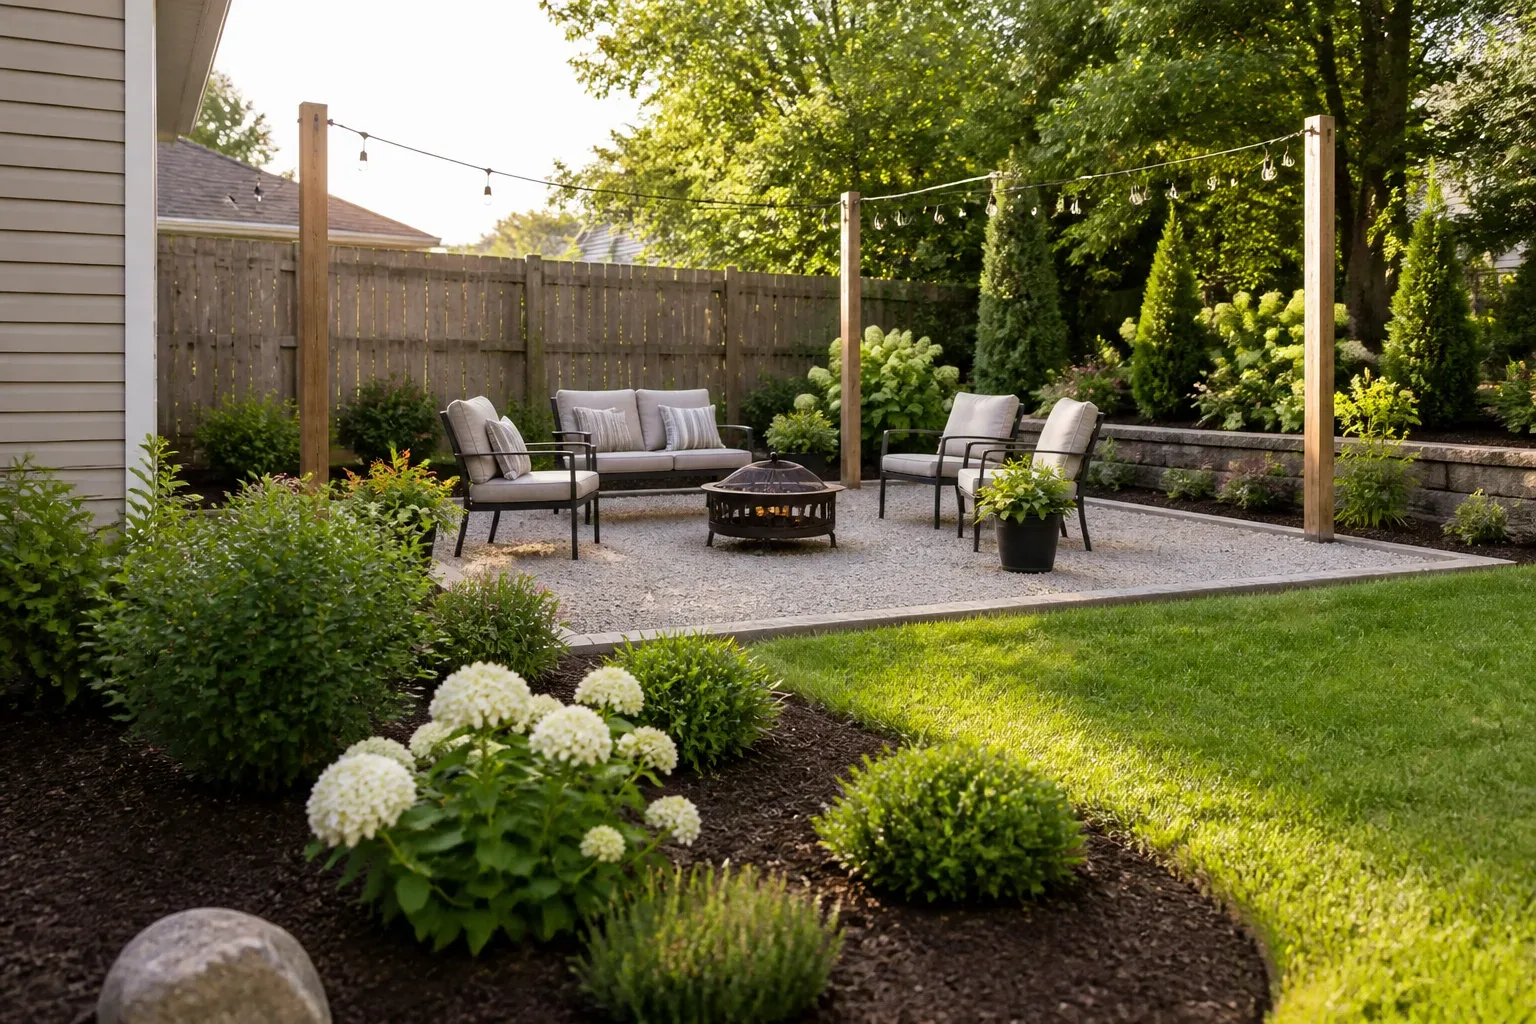
A backyard can feel neglected even when the plants are healthy and the furniture still works. Often the problem is visual noise: a crowded corner, a chair facing a fence, leaves pasted onto the lawn, or a bed whose edges have disappeared. A useful refresh starts by deciding what you want to see from the house, patio door, or favorite seat, then using what is already there to bring that view into focus.
“Free” still asks for time, attention, and sometimes a borrowed tool. Treat the project as a short edit rather than a full makeover: clean what is sound, move light objects before heavy ones, and leave plants that are stressed or badly timed to recover. The seven ideas below are ordered to create quick improvement first, then longer-term value without turning a pleasant afternoon into a repair bill.
Start With a Free Backyard Audit
Stand at the doorway you use most, then sit in the place where you actually relax. Notice three things: what catches your eye first, what blocks a useful path or view, and which area already looks good. That last item matters. A mature tree, an old stone path, or a productive bed may be an asset to feature rather than a problem to disguise.
Take a phone photo from the same viewpoint. It makes visual clutter easier to spot and gives you a before-and-after comparison without buying anything. On the photo, mentally divide the yard into a few simple zones: a route to walk through, a place to sit, a planting area, and any space that needs to stay clear for drainage, access, play, or equipment.
Choose one small target that will show from the doorway: a patio corner, one bed edge, or the view behind a chair. If the job needs a ladder, power tool, paint, replacement fabric, or several hours of digging, it may not fit a true no-spend afternoon. Put it on a separate future list so a free refresh stays genuinely free.
1. Reset the Space by Cleaning in the Right Order
Start with loose items and dry debris, not a dramatic wash. Return tools and toys to their usual storage, shake or brush off outdoor rugs, sweep a path, and wipe furniture with a damp cloth. Wash removable cushion covers only if their care labels allow it and you already have the right detergent; fabric that needs a special cleaner is not a free project if you do not own one.
Clean from the top down and from the house outward. Remove cobwebs from reachable eaves, brush dust from table surfaces, then sweep patios and steps so grit does not get tracked back onto clean furniture. A bucket, soft brush, broom, and garden hose are often enough. Avoid blasting aged wood, loose pointing, fragile paving, or painted surfaces with a pressure washer: a fast-looking shortcut can strip finishes or force water where it does not belong.
Prioritize the part you see and use. If the whole yard is large, clean the short path from the back door to a chair and clear the tabletop before tackling a distant corner. A neat, open strip can make the space feel cared for even when the rest of the yard is still in progress. Stop when the useful area is clean; do not wash a surface simply because a hose is nearby.
2. Weed, Edge, and Edit Plants With a Light Touch
Pull weeds when the soil is slightly moist, when roots are easier to loosen, but not saturated and easily compacted. Grip low around the crown and ease out as much root as the plant allows. For spreading perennial weeds, removing only the leaves may leave roots behind, so repeat the pull when new growth appears rather than scattering a quick spray near plants you want to keep.
Make a bed look sharper by restoring an existing edge. Use a hand trowel or flat spade you already own to trim grass that has crept over the border, then smooth the line with the soil already in the bed. The aim is a readable boundary, not a new trench or a perfect geometric outline. If tree roots cross the line, work around them; cutting large roots to create a crisp edge can harm the tree.
Edit only dead, broken, or clearly misplaced growth that you can reach safely with clean hand pruners. Remove spent annuals if they are finished, but keep seedheads that provide winter structure or food for wildlife. Before cutting a flowering shrub, identify whether it blooms on old or new wood; cutting at the wrong time may erase next season’s flowers. A small cleanup is useful. An unplanned haircut of every shrub is not.
3. Rearrange Furniture and Containers to Change the View
Move a chair before you move a plant. Try turning the existing seating a quarter turn, pulling it away from the wall, or angling it toward a tree, bed, or patch of evening light. Keep a clear path between doors, steps, and gates, and make sure furniture sits level on a firm surface. In a small courtyard, a diagonal arrangement can soften the boxy feel; garden designer and horticulturist perspectives in Fine Gardening’s small-lot garden design advice similarly show how sightlines and layers can make a compact space feel more expansive.
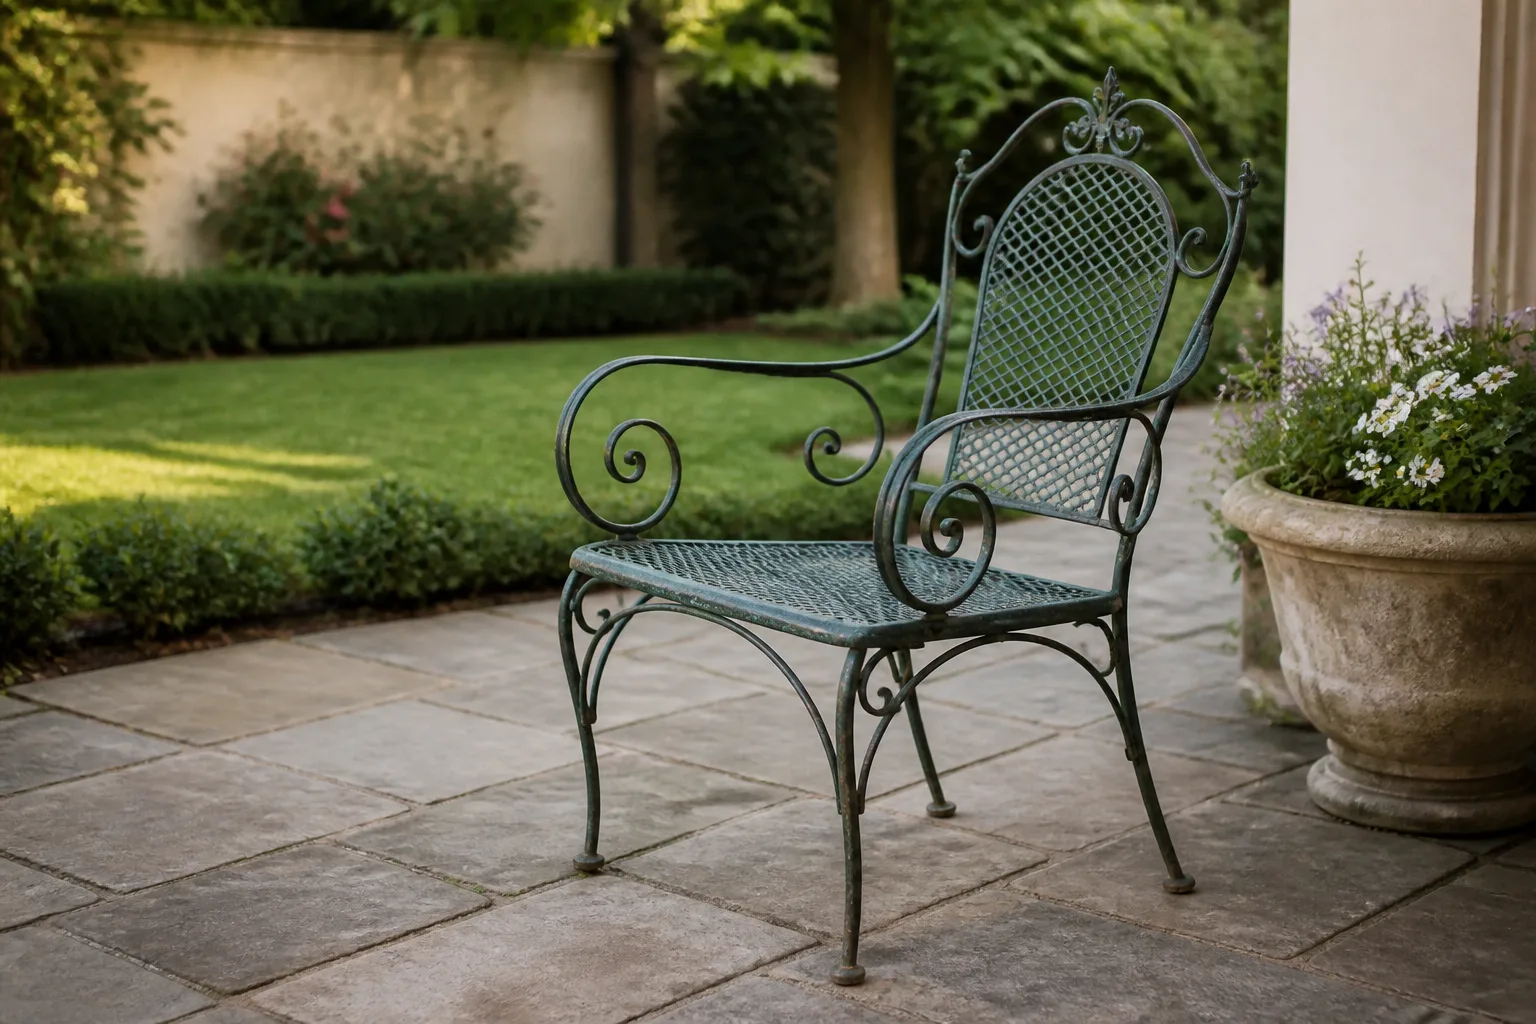
For containers, group pots that already share a color, shape, or plant height rather than spreading every pot evenly around the patio. Put the tallest container behind shorter ones, and leave enough clearance to open doors and water without moving the entire arrangement. Before shifting a heavy planter, check for drainage water, soil weight, and a safe lifting route; ask for help instead of dragging a pot that could crack or injure your back.
Give old furniture a quick condition check before styling it. Tighten a loose screw with a tool you own, remove dry leaves from a seat, or turn a faded but sound chair toward the garden. Painting, staining, sanding, and sewing may reuse leftover supplies, but they are not automatically free or appropriate: only use materials already on hand that are rated for the surface, and do not paint over rot, rust holes, or a wobbly frame. If a piece is unsafe, remove it from use rather than making it the focal point.
4. Divide or Relocate Plants Only When They Benefit
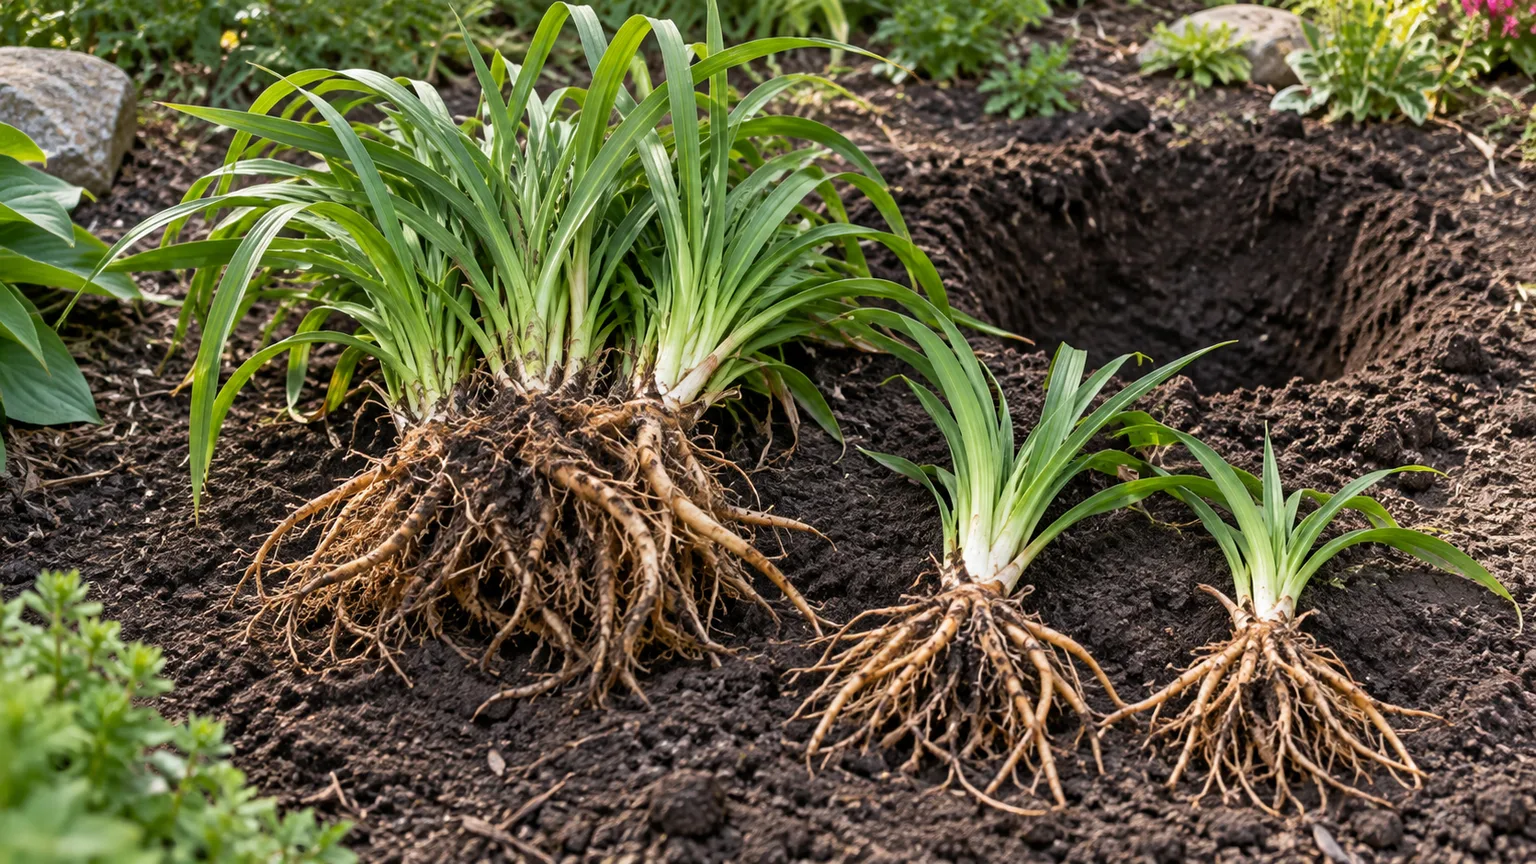
An established perennial can sometimes give you several plants and a cleaner bed at the same time. Division means lifting a clump and separating it into smaller pieces, each with viable roots and shoots. It can be an inexpensive way to multiply plants, but it is not a general rule for all garden plants: choose vigorous, clump-forming perennials that are crowded, flowering less, or bare in the center, and leave healthy plants alone.
Timing depends on the plant’s bloom cycle and your climate. In a cold-winter garden, the University of Minnesota Extension guide to dividing perennials recommends spring division for many fall-blooming plants and fall division for spring- and summer-blooming types, with enough time for roots to establish before the ground freezes. Warmer regions have different heat and rainfall patterns, so use local extension advice and the plant’s specific requirements instead of treating those dates as universal.
If the timing is right, water dry soil the day before, choose a cool or cloudy day, and lift only the section you intend to divide. Keep roots shaded and damp while you work; replant promptly at the same depth, water thoroughly, and check moisture as the plant settles. UMN’s practical steps advise keeping divisions shaded and moist until replanting and giving each piece healthy roots and several vigorous shoots. A plant with a deep taproot, a woody crown, or a reputation for resenting disturbance may be a poor candidate; look it up first rather than forcing a division.
Moving an intact plant to a better spot can also change a view, but transplant stress is real. Move smaller, manageable perennials when the soil is workable and the weather is mild; dig a wide root ball, replant immediately at its previous depth, and water it in. Do not casually move a mature shrub or tree, especially during heat or drought. Root loss, access to water, and the plant’s eventual size all matter more than whether its current spot looks inconvenient.
5. Propagate Plants and Share Extras
Propagation is a patient way to build future planting material from a plant you own. Some shrubs, vines, herbs, and perennials root from stem cuttings; others are better divided, grown from seed, or left alone. A cutting is a small piece of stem that can form roots under suitable conditions, not a guaranteed free plant. The plant, season, moisture, rooting medium, and protection from drying all affect success.
For woody plants, follow a species-specific guide rather than cutting random stems. Oregon State University Extension’s peer-reviewed stem-cutting guide explains that this method can produce more landscape plants from existing trees and shrubs and includes a reference list of plants that root readily. That publication is designed for the Pacific Northwest, so its calendar and plant list should be adapted to other climates. If you already have clean pots and a suitable propagation medium, take only a few healthy cuttings and label them with the plant name and date; if you do not have the basics, wait rather than improvising with unsuitable material.
Seeds from open-pollinated flowers or vegetables can be another no-purchase option, though offspring may not resemble hybrid parent plants and seedlings take time to mature. Let seedheads dry on the plant when appropriate, collect them on a dry day, and store them in a labeled paper envelope in a cool, dry place. Do not collect from a neighbor’s garden without permission or spread seeds from plants that are invasive or prohibited locally.
If friends or neighbors offer surplus plants, ask for the plant’s name, growing conditions, and whether it spreads aggressively before accepting it. A healthy division with roots is usually easier to establish than an unrooted cutting, but transport it in shade and plant it soon. Sharing is most useful when the plant matches the light, soil, and water conditions of the spot you have; free is no bargain if it becomes an invasive problem or fails because the site is wrong.
6. Reuse Leaves and Safe Yard Trimmings
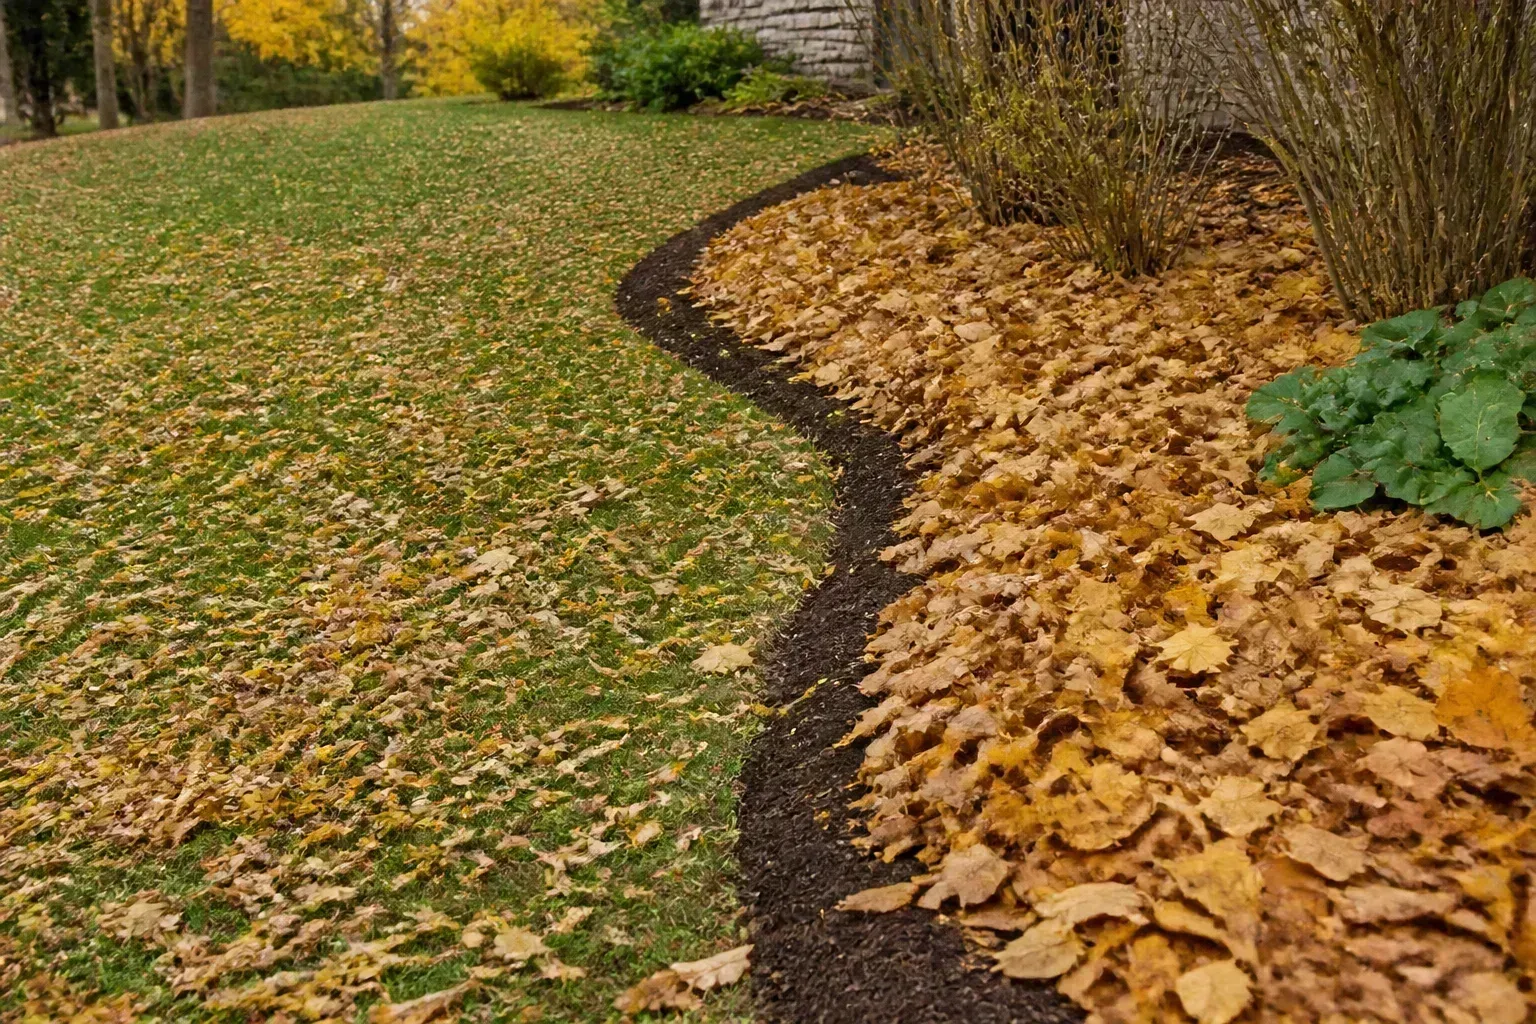
Fallen leaves can become free mulch instead of a haul-away chore. Shred dry leaves with a mower if one is already available, then use them in a thin, loose layer around beds. Penn State Extension’s leaf guidance recommends about 2 to 4 inches of shredded leaves on perennial beds and around trees and shrubs; water the layer lightly so it settles, and keep material away from trunks and plant crowns. Whole leaves can mat when wet, so keep thick, unshredded piles off lawn and delicate evergreen foliage.
You do not need to remove every leaf from every corner. Leave some natural leaf cover beneath trees or at the back of a bed where it will not smother turf or block a path. That small habitat pocket can shelter insects and other wildlife through winter, while the lawn edge and front-of-house view stay tidy. In a formal or high-use area, rake leaves from pavement and steps first because they can hide slick surfaces.
Grass clippings can be left on the lawn when mowing leaves them finely scattered, or used as mulch only when they are dry and the lawn has not been treated with broadleaf herbicide. Penn State Extension cautions that clippings from lawns treated with products such as 2,4-D, MCPP, or dicamba should not be placed around trees, shrubs, or garden plants. If you do not know what was applied or when, keep the clippings on the lawn or send them through the local yard-waste program instead of guessing.
Do not pile mulch against a trunk. Penn State’s landscape-tree mulching guidance explains that excessive depth can reduce oxygen and water movement to roots; for shredded leaf mulch, use the thinner end of the range if material is very fine, and leave the root flare visible. A modest bed refresh is enough. Turning leaves into leaf mold or a new sheet-mulched bed is useful too, but those are slower projects: they take months or longer, so do not count them as an instant patio makeover.
7. Borrow Indoor Style for a Temporary Outdoor Reset
An arrangement can feel different without a new object. Bring a table centerpiece outside for a meal, set a clean vase of garden stems on a stable table, or group existing lanterns and pots where they can be brought in again. A clipped sprig of rosemary, a few flowers, or foliage in a recycled jar can add color for the evening, but do not cut heavily from a plant that is stressed or has only a few blooms.
Treat indoor items as temporary guests, not weatherproof patio furnishings. Sun can fade fabric, dew can soak cushions, and rain can swell wood or damage paper and electrical items. Bring textiles and indoor pieces back inside before weather changes, and never leave an indoor rug where it could become slick or trip someone. If an item is difficult to carry back, choose a smaller accent or use something already rated for outdoor exposure.
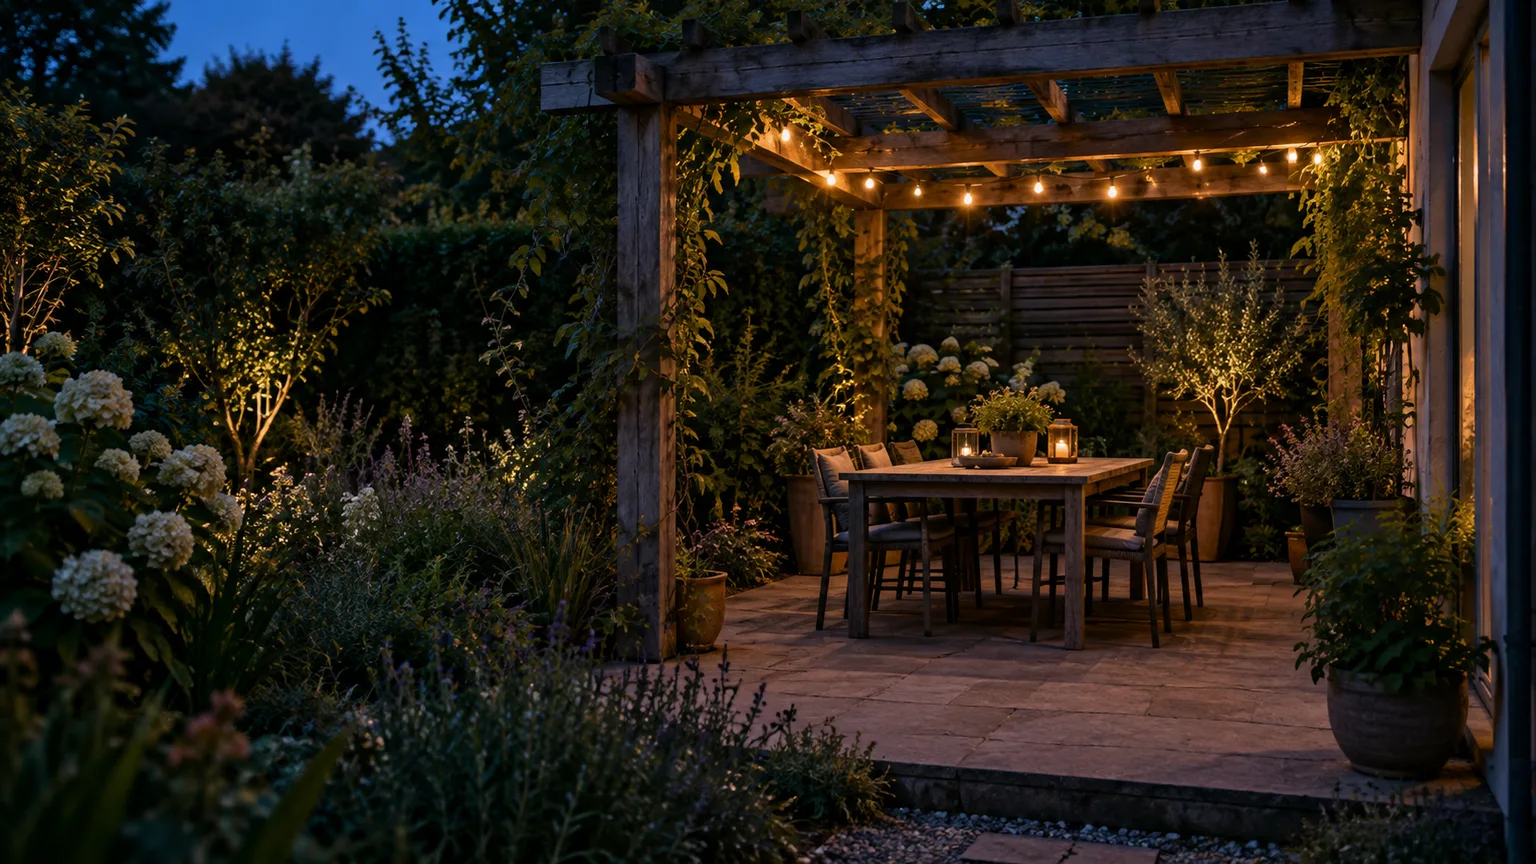
Use the lighting you already have, if it is suitable for outdoors. Switch on existing exterior fixtures, reposition an outdoor-rated lamp or string lights, or create a gathering point around the brightest safe area. Candles can tip, blow over, or ignite nearby fabric and dry foliage; avoid hanging open flames in jars or cans, and do not drill metal cans for a no-cost project unless you have the proper tools and safe handling setup. Battery-powered lights are a safer choice only when you already own them and can keep them dry as directed.
Choose the Right Season for the Job
The best no-cost task depends on weather and plant stage, not just the calendar. In cool, moist weather, weeding, bed cleanup, moving suitable perennials, and dividing clumps can be easier because plants lose less water. In a hot, dry spell, prioritize shade, sweeping, tidying containers, and repositioning furniture; delay lifting roots until you can water well and the plant has a realistic chance to reestablish.
In spring and early summer
Spring growth makes it easier to see what survived winter and where a bed has gaps, but wait until soil is no longer saturated before walking or digging in it. A fall-blooming perennial may be a better spring-division candidate than one that is about to bloom. Keep newly moved divisions watered as they establish, and avoid moving newly planted or drought-stressed specimens simply to create symmetry.
In hot weather and fall
During heat, do the visible work in the cooler morning or evening and leave root disturbance for a mild, cloudy period. In autumn, use fallen leaves thoughtfully and check local guidance for perennials that need several weeks to root before frost. A warm-climate gardener may have a longer transplant window than a northern gardener, while a dry-climate gardener may need to wait for reliable irrigation or seasonal rain. Let local weather and plant-specific advice overrule a generic “best month.”
Protect Your Time, Plants, and Property
Some free ideas carry hidden costs because they are easy to begin and hard to reverse. Before pruning or digging, ask whether the work can be undone, whether you know the plant, and whether you can finish safely with the tools you already own. When the answer is uncertain, choose an edit that does not damage a living structure: clear a path, move a chair, or regroup pots instead.
Leave risky tree work to qualified help
Do not top a tree, cut a large limb above shoulder height, work from a ladder with a saw, or prune near utility wires. The University of Minnesota Extension pruning guide says to avoid topping and leave hazardous large-tree work to qualified tree-care professionals. Pruning windows also differ among species and regions; some trees are more vulnerable to disease at particular times, so do not use a generic spring cleanup as permission to cut every branch.
For a low shrub you can identify, remove a small broken or dead twig with a sharp, clean hand pruner and stop if the cut is wider than the tool is meant to handle. Keep the natural form of the plant rather than shearing every shrub into a ball. If a branch is cracked, hanging, under tension, or too large to control from the ground, cordon off the area and ask for qualified help instead of making a risky “free” repair.
Keep temporary decor safe and weather-aware
Check that borrowed furniture is stable, surfaces are not splintering, and rugs do not slide. Do not use a decorative move to block drainage, a gate, a hose connection, a meter, or access required around equipment. Keep flames away from dry leaves, cushions, and branches; use only outdoor-rated electrical items as directed, and do not string cords across a walkway where people can trip.
Temporary styling works best when it has a clear return plan. Put cushions out only while people are using them, set an indoor vase on a sheltered table, and bring everything back before dew or rain. This preserves the idea’s no-cost benefit without shortening the life of a chair, rug, or textile you still need indoors.
A No-Spend Afternoon Plan
You do not need to finish the yard. Pick a visible zone and give the project an endpoint, such as a clear route from the door to one comfortable chair. If the space is larger, complete one zone and let that be the win; a half-cleaned yard with furniture scattered everywhere usually feels less finished than one carefully edited corner.
Clear the view before moving anything
Spend the first 10 minutes taking a photo, returning loose items to storage, and choosing the sightline you want to improve. For the next 20 minutes, sweep or brush the patio, wipe the table, and pull the most visible weeds by hand. Skip tasks that need supplies you do not own, and keep a small pile of yard debris separate until you know whether it is clean, diseased, or suitable to reuse.
Make one high-impact change and stop
Use the next 30 to 40 minutes to try a furniture arrangement or regroup containers. Walk the path as if carrying a drink, open the door fully, and sit in the chair to test the layout. If a suitable perennial is due for division and the weather is mild, schedule that as a separate garden task rather than rushing a root job after an hour of cleaning.
Finish by taking a second photo from the same position and comparing it with the first. Put borrowed items away, water plants you disturbed, and note what still needs a tool or a different season. If the main view is cleaner and the path works, stop there; adding more changes can erase the calm, simple result you just created.
Conclusion
The most reliable free backyard refresh is a sequence: notice the view, clear visual clutter, clean the surfaces you use, and rearrange what is already safe and sound. Then decide whether a plant task or a reuse project fits the season, the species, and the time you have. A cleaner path and a well-placed chair can change how a yard feels today; divisions, cuttings, leaf mold, and new bed areas are worthwhile only when you can give them the conditions and patience they need.



