How to Remove Grass From Your Yard
Learn how to remove grass from your yard by hand, sheet mulch, or tarp. Choose the right method, cut sod safely, and keep grass from returning with timing tips.
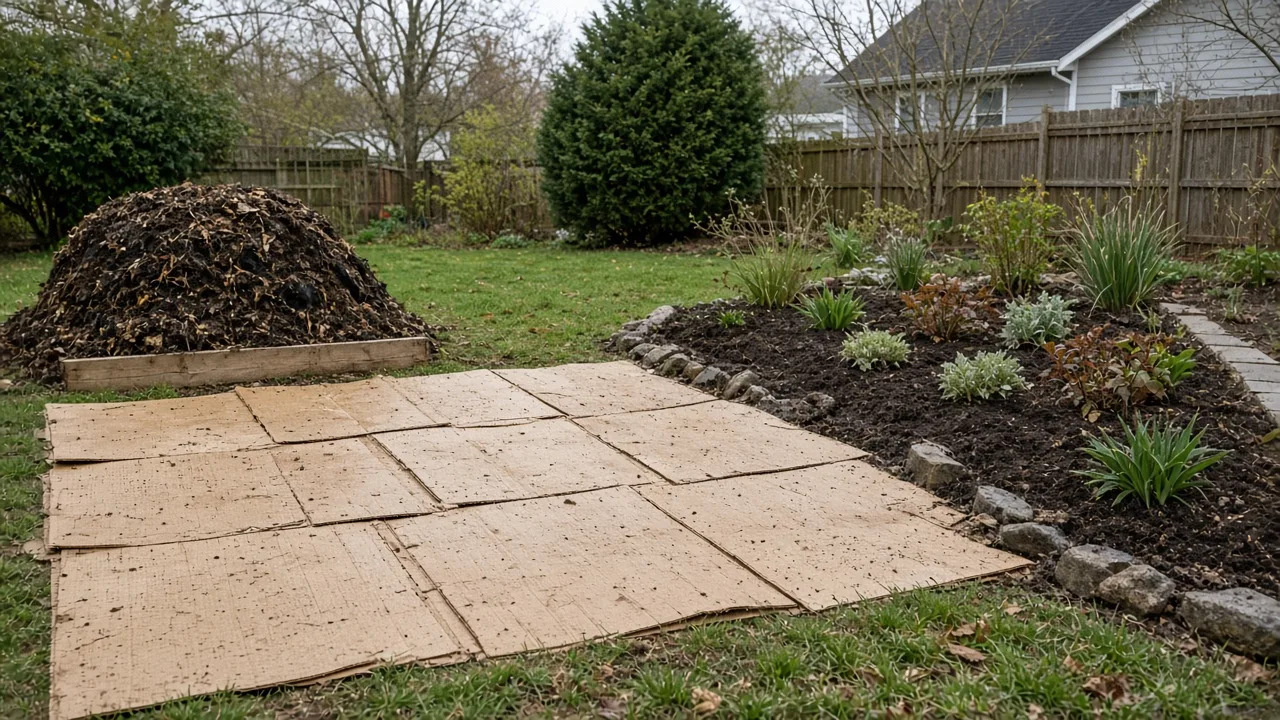
Choose the removal method by what you need the ground to do next. If a path, planting hole, or small bed needs a clean surface today, cut and lift the sod; if you are turning a broad lawn into a garden and can wait, sheet mulching or a covered tarp usually saves the most digging. The mistake that makes every method harder is treating all lawns the same: spreading grasses, steep slopes, buried lines, and a tight planting deadline change the best plan.
Removing grass means dealing with both the green blades and the root mat underneath. A clean-looking patch can still have living runners along its edge, while digging too deeply can remove good topsoil you could have kept. Plan the finish first, then remove only what the project requires.
Choose the method that fits the job
Think about three things: how much area you need to clear, when you need it ready, and whether you want to keep the soil profile intact. A small patch for a paver or a few shrubs is manageable with a spade; an entire future flower bed may be better covered for months. If the site has aggressive creeping grass or a steep grade, allow for more follow-up than a simple method chart suggests.
| Method | Best fit | Main trade-off |
|---|---|---|
| Hand-cut sod | Small patches or a project starting soon | Fast clearance, but heavy, repetitive work and some soil leaves with the turf |
| Sheet mulch | A future garden bed where waiting is acceptable | Preserves soil structure, but needs intact overlaps and months to work |
| Opaque tarp | Larger open areas where blocking light is practical | Less digging, but the cover must stay anchored and the grass may need extended coverage |
| Solarization | A sunny, hot-season site where soil preparation is possible | Can suppress susceptible weeds, but heat and timing determine results |
Match the method to the finished surface, too. A planting bed can tolerate a slower, soil-building cover method; a path, patio, or shed pad needs a measured excavation and stable base, so lifting sod is only the first step. If you are undecided between a bed and a hardscape, mark both possible footprints and check water flow before removing turf from either one.
Lift sod when the surface must be clear now
Cutting the turf is the most direct way to expose soil for a walkway, a small planting area, or a bed you plan to prepare right away. A flat-bladed spade works for small sections; a rented sod cutter can save time across a larger, reasonably open area. Either way, the aim is to slice beneath the root mat, not excavate a deep layer of the yard.
This method does not make the soil perfect automatically. It can leave shallow hollows, remove topsoil with the roots, and expose surviving grass at the margins. Use it when quick access to the ground matters enough to justify the lifting and cleanup.
Sheet mulch when you can wait
For a garden bed that can wait through a season, cover the grass with clean corrugated cardboard or several layers of plain newspaper, wet it thoroughly, and top it with mulch. The cover blocks light; the organic layers settle and break down over time. Penn State Extension describes letting a new sheet-mulched bed rest for a few months, with four to six months usually sufficient and fall a useful starting point for a spring bed (Penn State Extension’s sheet-mulching guide).
Overlap the cover generously and keep it weighted, especially at seams and edges. GrowVeg advises using plain, unwaxed cardboard with tape and labels removed, and notes that a cardboard layer needs to stay moist—an important caveat in a dry climate or near a house (GrowVeg’s guide to using cardboard in the garden). If you need to plant immediately, do not assume that a thin layer of soil over live grass will stop it.
Use a tarp or solarization for a large sunny area
An opaque tarp blocks light across a broad area without requiring you to slice up every section. Anchor the edges so wind cannot lift them, and check underneath periodically; if green growth returns through seams or exposed margins, extend the cover or remove the survivors. This is useful where a broad area can remain out of use, but it is not a quick way to prepare a bed for tomorrow.
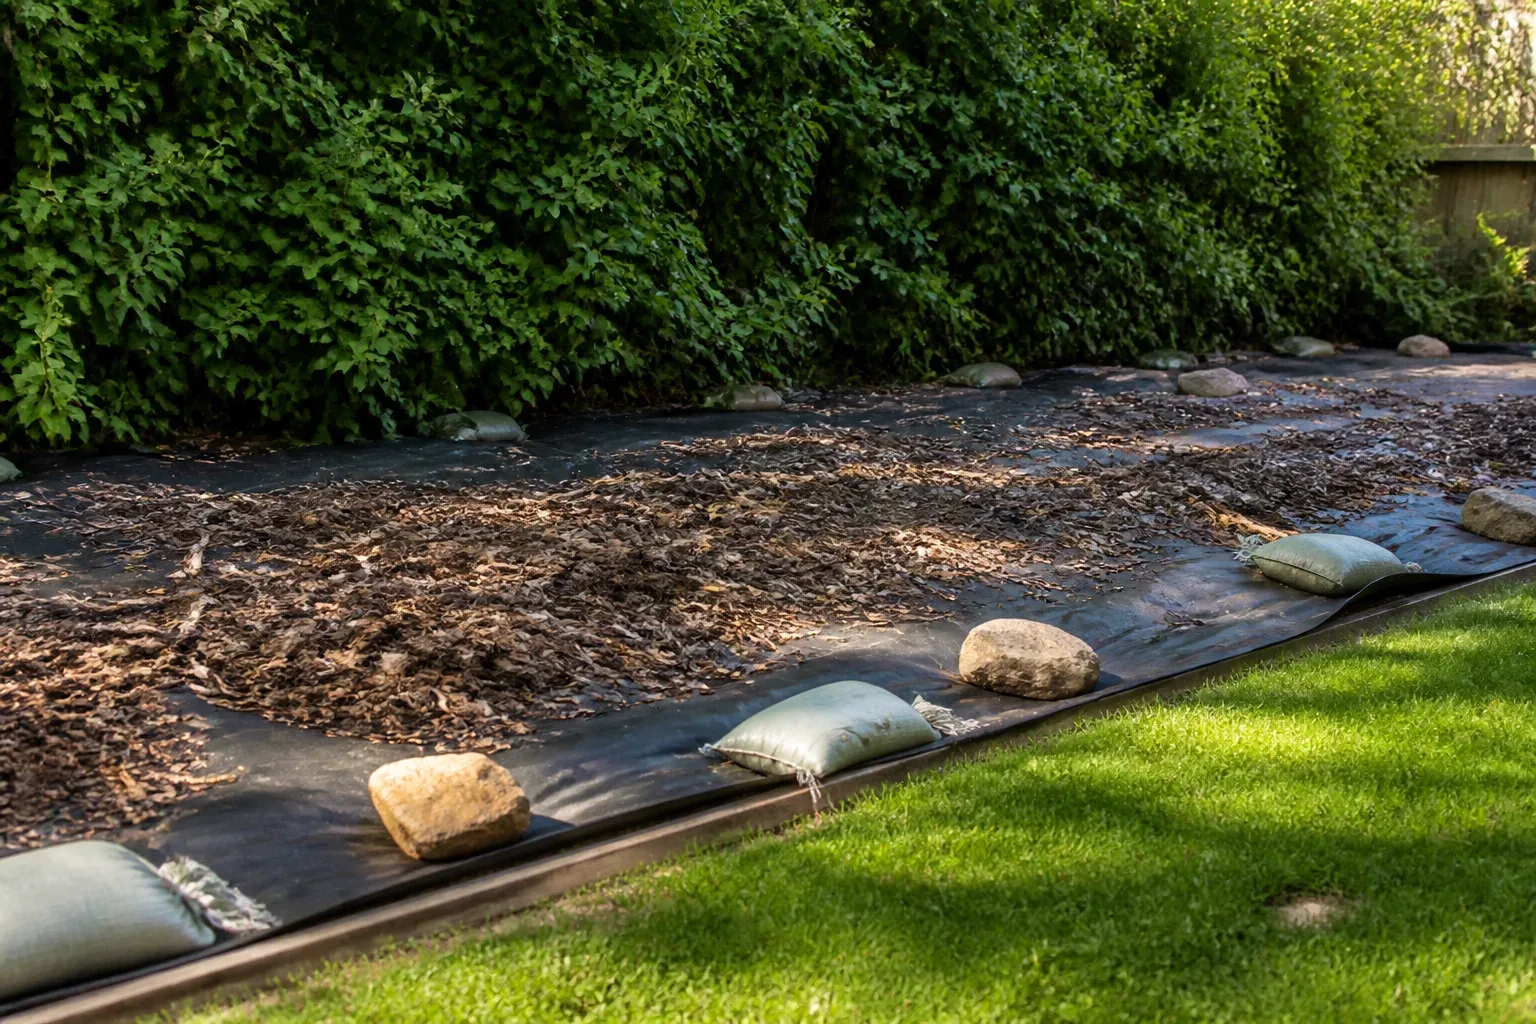
Solarization uses clear plastic and intense sun to heat prepared, moist soil. UC IPM’s turf site-preparation guidance calls for clear polyethylene, smoothed against the soil and sealed at the edges, during the hottest part of the year; the suggested cover period is four to six weeks (UC IPM’s soil-solarization instructions). It is not a universal fix for every perennial grass: UC IPM lists bermudagrass plants as unpredictably controlled, and notes that solarization alone does not control field bindweed rhizomes (UC IPM’s weed-control table). Choose it for a suitable hot, sunny site, not because transparent plastic sounds like a guaranteed shortcut.
Opaque covering and solarization are not interchangeable. One keeps light out; the other depends on heat reaching moist soil through clear plastic. If you cannot prepare and wet the soil surface, or your site does not get strong summer sun, a sheet mulch or opaque tarp is the more practical choice.
Check the site before you cut
Mark the exact area and decide what will replace the turf before you start. A clean edge helps you work in sections, while a clear plan for the finished grade prevents you from removing more soil than the new path or bed can usefully spare. Look for tree roots, irrigation heads, low-voltage lighting, drain lines, and any place water already pools.
Take a few minutes to observe the site after rain or irrigation. A low spot that stays soggy may need drainage attention before you create a garden there, while runoff from a downspout can wash mulch off a fresh bed. Mark the nearest lawn edge and any plants you intend to keep; roots and stems that cross the boundary can be damaged by a full-width sod cutter even when the grass itself looks uniform.
Mark utilities and protect irrigation
Before driving a spade into the ground, contact your local utility-locating service. In the United States, Call811 explains how to request marking before digging; service timing and requirements vary by location (Call811’s before-you-dig guidance). A shallow cut can still reach a buried cable or pipe, so do not treat hand tools as a substitute for a locate.
Find sprinkler heads and shallow irrigation tubing as well. Flag them before cutting, and use a hand trowel near anything you cannot identify confidently. If the new bed will sit beneath a mature tree, favor a low-disturbance method near major roots rather than chopping through them; keep added mulch away from the trunk and root flare.
Decide how much soil can be removed
Sod is a thin layer of living grass, roots, thatch, and attached soil. When you lift it, every extra inch of earth increases the load and lowers the remaining grade. Cut just beneath the root mat and shake or scrape loose soil back onto the site, unless the project requires a deeper excavation for a specific base.
If the area will become a vegetable bed, consider a soil test before adding amendments, particularly if the yard has an unknown history or you plan to grow food close to a structure. For a paver or path, follow the depth and base specifications for that installation instead of using sod removal as a reason to dig randomly. The goal is a level, suitable base—not the deepest possible cut.
Pick a good day and stage the work
Work when the soil is workable, not waterlogged and not baked hard. Slightly moist ground lets a spade slide under the turf; saturated sod is much heavier to carry and wet clay smears and compacts easily. If the surface is powder-dry and difficult to cut, water lightly the day before and let excess moisture drain.
For hand removal, choose a cool part of the day and pause before your grip or back gets tired. Clear a route to the drop point before cutting so you are not stepping over piles while carrying a slab. If you are reusing sod elsewhere, prepare the destination first and move the pieces promptly so roots do not dry out.
For sheet mulch, start far enough ahead of planting that the covering can stay in place through its working period. Penn State Extension describes fall installation as a way to leave the bed resting over winter for spring planting. In hot climates, do not assume the same calendar works everywhere: soil moisture, grass type, and the timing of the next project all affect how quickly a cover method works.
Tools and supplies
For a small patch, gather a sharp flat-bladed spade or half-moon edger, a garden fork or trowel, gloves, sturdy shoes, a rake, and a tarp or other low-to-the-ground carrier. Marking paint, stakes, or a hose can define the boundary. A wheelbarrow is useful for smaller loads, but a tarp lets you slide turf away without repeatedly lifting it up to the height of a barrow.
For covering grass, use plain corrugated cardboard or a purpose-made opaque tarp, a hose, weights, and mulch. Remove plastic tape, labels, and staples from boxes, then overlap the sheets so there are no light gaps. Gardening Know How’s no-till guide also emphasizes wetting the covering and topping it with compost and mulch; use its quantities as one practical recipe, not a rule for every plant community or site (Gardening Know How’s lawn-to-garden guide).
How to remove grass by hand
Hand removal is easiest when you set up the job to limit repeated lifting. Work toward the nearest exit or tarp, keep the pieces small enough to control, and stop if the ground is too wet or the cut requires force that makes the blade unstable. The sequence is simple, but the size and depth of each cut determine whether the job feels manageable.
Mark manageable squares or strips
Lay out the boundary with a hose, stakes, or line-marking paint. For a first test, cut a square about 12 inches across; if you can lift and carry it easily, lengthen the next pieces into strips. Smaller pieces are less impressive but are easier to pry loose, turn, and move without twisting your back.
For reusable sod, long strips make sense only if you can lift them without tearing or straining. Keep the cut lines visible and work one row at a time so you do not lose track of the layout. A sharp, straight edge also helps make the future bed boundary easier to maintain.
Cut the perimeter, then undercut the root mat
Slice around the marked patch first, pressing the spade down with a stable stance and keeping your feet and hands clear of the blade. Make the perimeter cut deep enough to separate the turf from the surrounding lawn, then use the blade to cut across the patch into squares or strips. Do not swing a sharp tool toward your legs or try to force it through a stone or woody root.
At one edge, push the spade almost horizontally under the roots and use short strokes to sever the mat from the soil below. Keep the blade shallow; if the turf resists, work the cut again rather than levering up a thick chunk of topsoil. A garden fork can loosen compacted ground at the edge, but prying with a fork alone often tears the grass into fragments and leaves more cleanup.
Lift and move sod without carrying too much
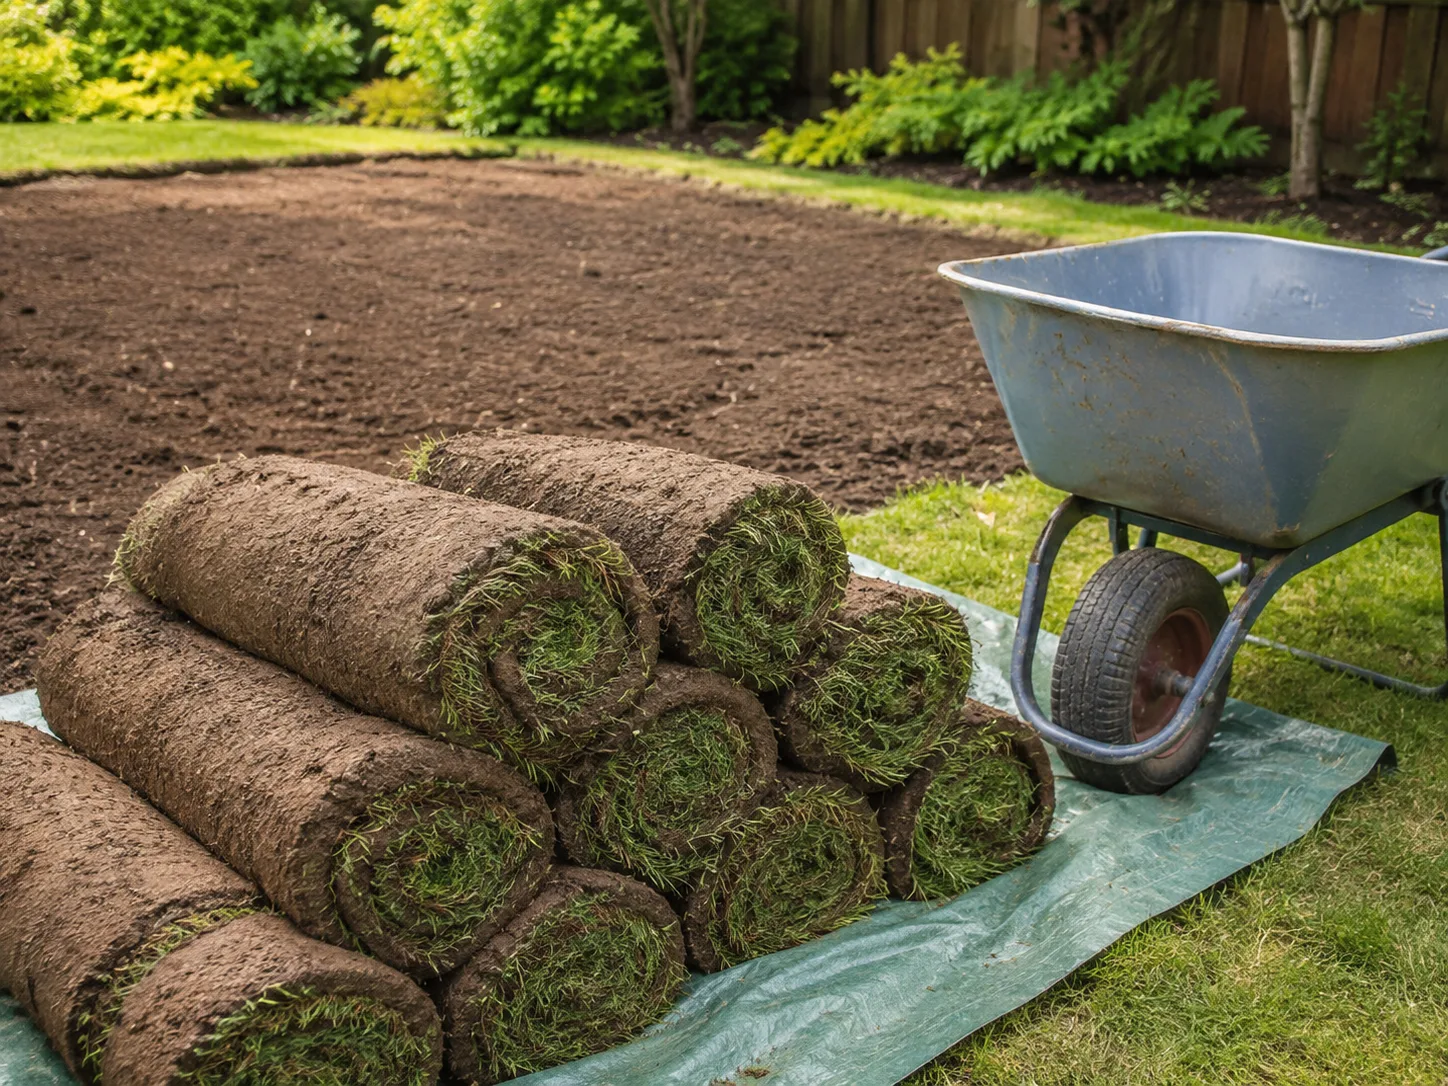
Once a section is free, tip it onto its side and inspect the underside. Scrape loose soil back onto the patch with a trowel, then lower the piece onto a tarp or sled placed beside you. Sliding the turf away at ground level reduces the extra lift that comes with loading and unloading a high-sided wheelbarrow.
If you intend to reuse sod, lay it immediately on prepared ground and water it in. If you do not need it, check local green-waste rules before composting or disposing of it. Turf with persistent runners or seed-bearing weeds can survive in a cool pile; do not scatter live fragments into a compost heap that will not heat thoroughly. A local yard-waste program may be the cleaner choice.
If you want to salvage the soil, shake each piece over the area you are clearing before stacking it. Keep sod that is clean and free of invasive weeds separate from turf that contains runners you have been trying to eradicate. Do not bury live sod face-down under a thin layer of loose soil and assume the roots are dead; if you are unsure whether a stack is decomposing, keep it isolated from the garden and inspect it before using the soil.
Turn the bare area into a usable surface
After the turf is gone, rake out loose roots and debris rather than immediately digging the whole area over. UC IPM’s lawn-renovation instructions call for removing debris by raking after digging or rototilling, with additional raking or tilling only as needed to clear remaining grass and weeds (UC IPM’s turf-removal guidance). For a garden bed, avoid unnecessary deep tilling: it can bring buried weed seeds upward and disturb the soil you just worked to preserve.
Check the grade with a board or rake and correct shallow dips before planting or laying a path. If you are making a bed, mix in only the amendments appropriate to the soil and intended plants; a deep blanket of rich compost is not automatically right for every native or low-fertility planting. If you are laying pavers, follow the base plan for that surface and keep the new finish below adjacent thresholds where needed so water drains away from buildings.
For a covered bed, remove the mulch locally when planting and set roots into soil or finished compost, not into a loose mulch layer alone. For a newly cut bed, water the exposed soil if it is dry and plant or cover it promptly; bare soil can crust in sun and wash in heavy rain. The next use of the space should determine whether you loosen, amend, grade, or simply cover the surface.
For a raised bed, place the frame only after you have checked the site level and confirmed where excess rain will drain. A cardboard layer under the frame can suppress turf, but it should overlap the full footprint and stay damp as it breaks down. Gardening Know How’s no-till sequence adds compost and mulch above the covering; adapt that depth to the plants and bed height rather than filling the area with material simply because more is available (Gardening Know How).
Avoid the mistakes that bring grass back
The most common failure is leaving a gap: an uncovered seam, a short edge, or a surviving runner that can reach light. With cardboard, overlap sheets widely, wet them as you lay them, and add enough mulch or weights to hold them down. When the cover settles or tears, patch it before grass pokes through; thin spots are easier to fix early than after roots weave into the new bed.
Do not till a living lawn just because a machine makes the surface look broken up. A tiller chops the turf but does not necessarily remove it, and fragments of some creeping grasses can remain alive in the loosened soil. If you use a tiller for a specific renovation, inspect and rake out the debris afterward rather than assuming the chopped grass has disappeared; UC IPM recommends clearing remaining turf and weeds through raking and repeat work where needed.
Avoid moving saturated sod, cutting sections you cannot lift, or stripping a deep layer of soil because it looks neater. Do not dump removed turf in a hidden corner and assume it will die; roots can stay alive in a damp pile. And do not use salt or household mixtures as a substitute for removal: they can affect the soil and nearby plants without solving the physical problem of a living root mat.
Grass that creeps in from a neighboring lawn needs an edge plan. Install a durable border suitable for the site or maintain a narrow, visible trench that you can recut, and inspect the boundary every week or two during active growth. Pull small returns while the roots are shallow; if a persistent grass reappears, remove the runner from the bed instead of covering a few inches and expecting the rest to stop.
When to rent a sod cutter or call a pro
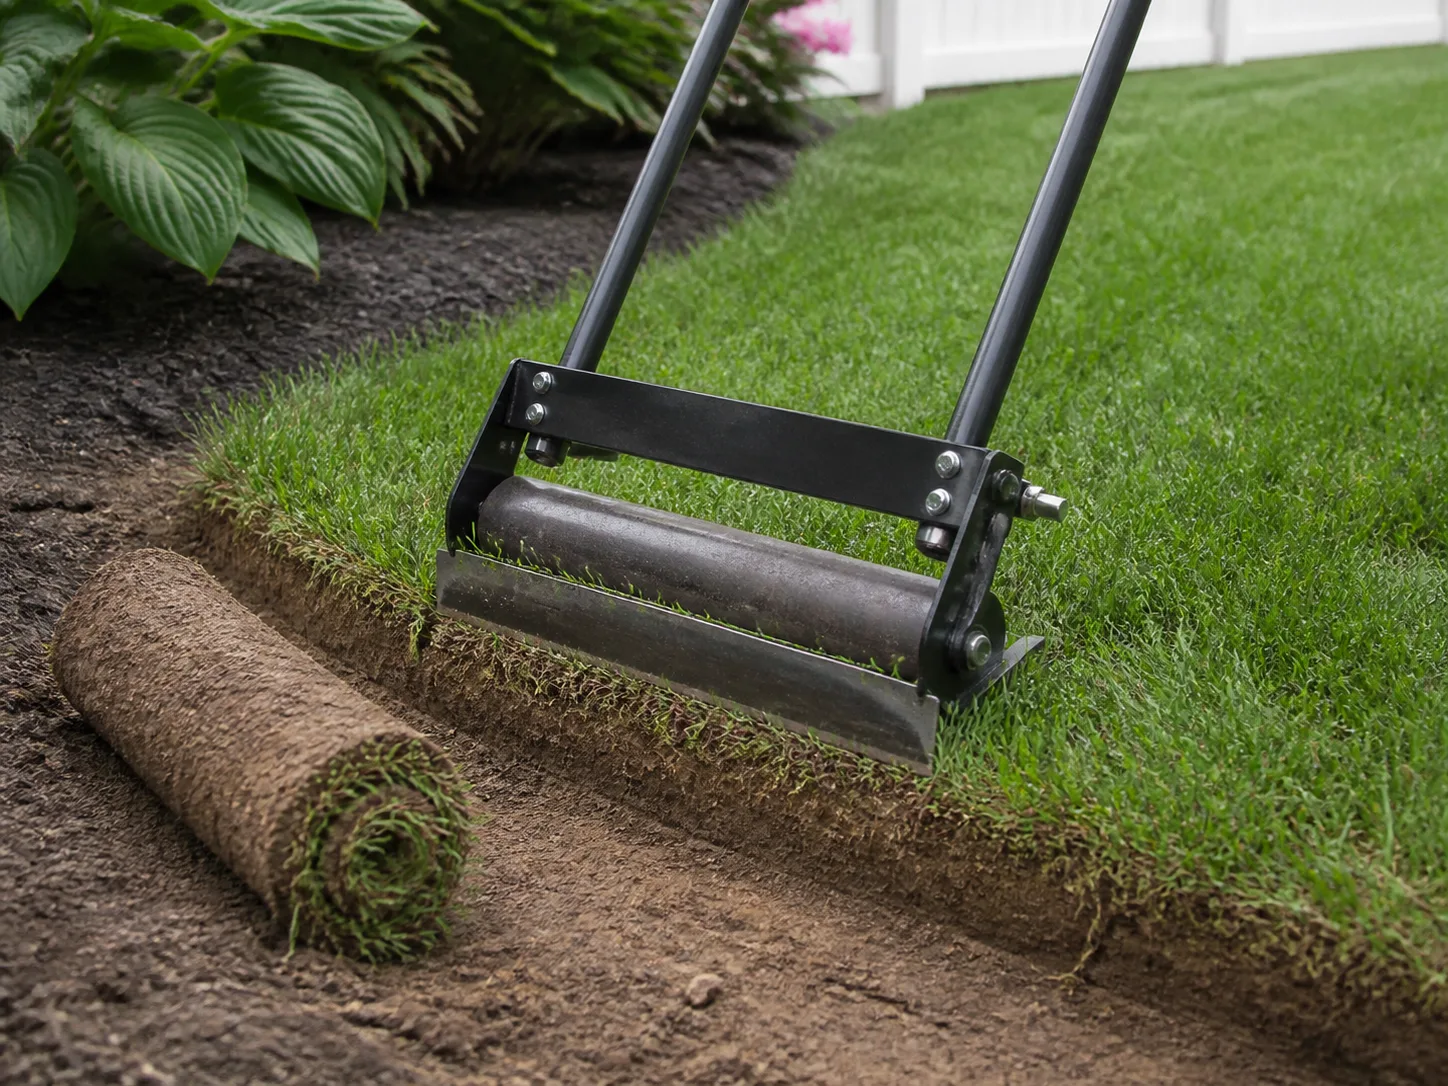
Rent a walk-behind sod cutter when a large, fairly level lawn must be removed quickly and you have a clear way to handle the rolls. The machine cuts a consistent layer, but it is heavy, loud, and difficult to steer around roots, sprinkler heads, and tight curves. Read the rental instructions, locate utilities first, and confirm where the removed turf will go before bringing the machine home.
Hire a landscaper when the area is too large for safe hand work, the grade is steep, access is difficult, heavy equipment could damage nearby trees or paving, or the next project needs precise grading and drainage. A professional can also help when you are unsure whether the grass is a persistent spreading type or the new plan must meet a particular base depth. Paying for the hard part can be cheaper than repairing a damaged line or redoing an uneven surface.
Conclusion
For a small patch that must be ready soon, cut shallow, manageable sections and lift the sod while preserving as much soil as possible. For a future garden bed, sheet mulch or cover the lawn and give the method enough time; reserve solarization for a hot, sunny site where its limits fit your grass and schedule.
Before you start, mark utilities, check irrigation, and plan where the turf will go. Afterward, rake the surface, finish the grade for the next use, and keep an eye on the edges while the grass is actively growing. Those decisions—not brute force—are what make lawn removal a one-time job instead of the first round in a recurring fight.



