How to Remove a Tree Stump Without a Grinder
No stump grinder? Compare manual digging, chemical rot, Epsom salt, natural decay, and safe burning—with size limits, safety gear, and when to call a pro.
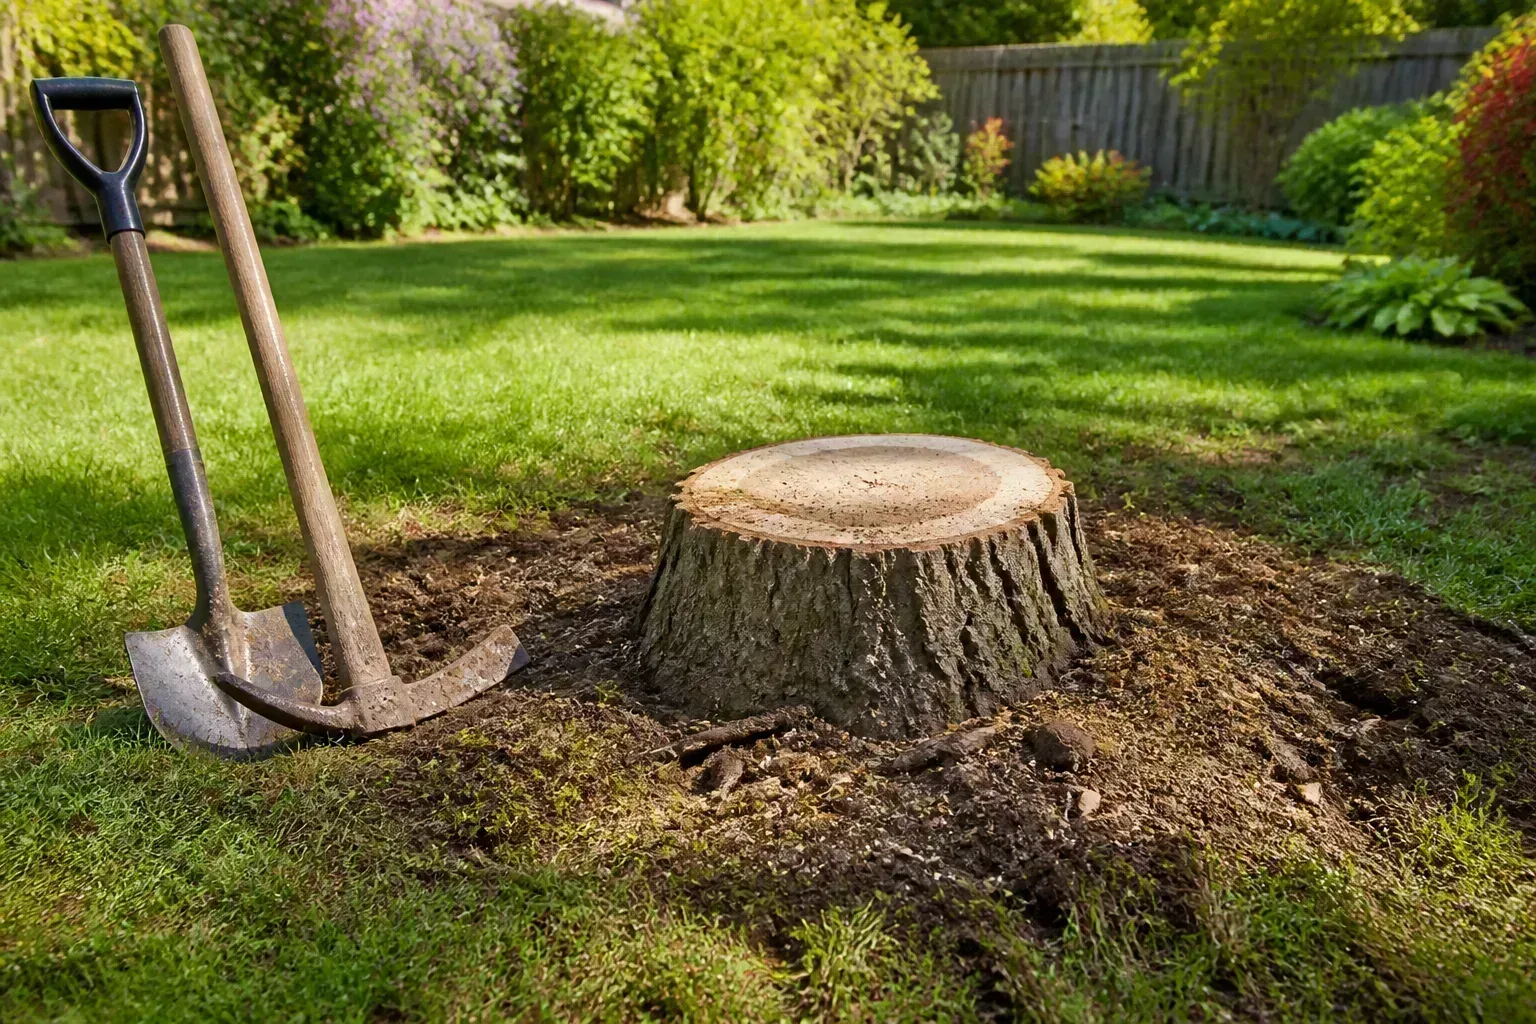
A stump grinder chews wood into chips in an afternoon, but most homeowners do not have one sitting in the garage—and renting a 1,000-pound machine is not always worth the haul for a single stump. You can still clear the spot with manual digging, accelerated rot, or—in places where it is legal—controlled burning. The right method depends on stump diameter, wood hardness, how fast you need the lawn back, and whether sprouts, utilities, or structures are in play.
The quick answer: match the method to stump size and your timeline
Under about 12 inches across and in open soil, hand digging plus root cutting is often the fastest no-grinder path if you are fit and have a mattock, bow saw, and a full afternoon. 12 to 24 inches, chemical rot with potassium nitrate or high-nitrogen fertilizer plus moisture usually beats brute force on labor, but plan on weeks to months, not a weekend. Larger than 24 inches, DIY without a grinder becomes a part-time project; many people hire grinding or accept natural decay over one to three years while managing sprouts.
Burning can be quick on porous, dry stumps where open fire is permitted, but it demands days of monitoring and is banned in many suburbs. Epsom salt dries wood slowly and works best as a low-toxicity experiment on small softwood stumps, not as a guaranteed kill on large hardwoods. Whatever route you pick, kill sprouting tissue or remove the stump fully—otherwise you are managing a “zombie stump” that sends up suckers every spring (Gardening Know How).
Why leaving a stump in the ground causes more work later
UF/IFAS Gardening Solutions notes that stump removal is never simultaneously easy, cheap, and fast—every method trades one of those (UF/IFAS Removing Trees). Leaving the trunk slice in place feels like postponing the bill, but the stump keeps interacting with your yard.
Sprouts, pests, and lawn obstacles
Cut trees often regenerate from stored energy in the roots. Fresh stumps push root suckers that look like a ring of saplings; the only way to stop that cycle is to kill or remove the stump crown (Gardening Know How). Decaying stumps also attract ants, termites, and beetles that may migrate to nearby wood structures or healthy plants. Above ground, the stump is a tripping hazard and forces you to mow around it, scalp turf on the crown, and dodge hidden roots years after the tree is gone.
Safety gear and prep for every stump removal method
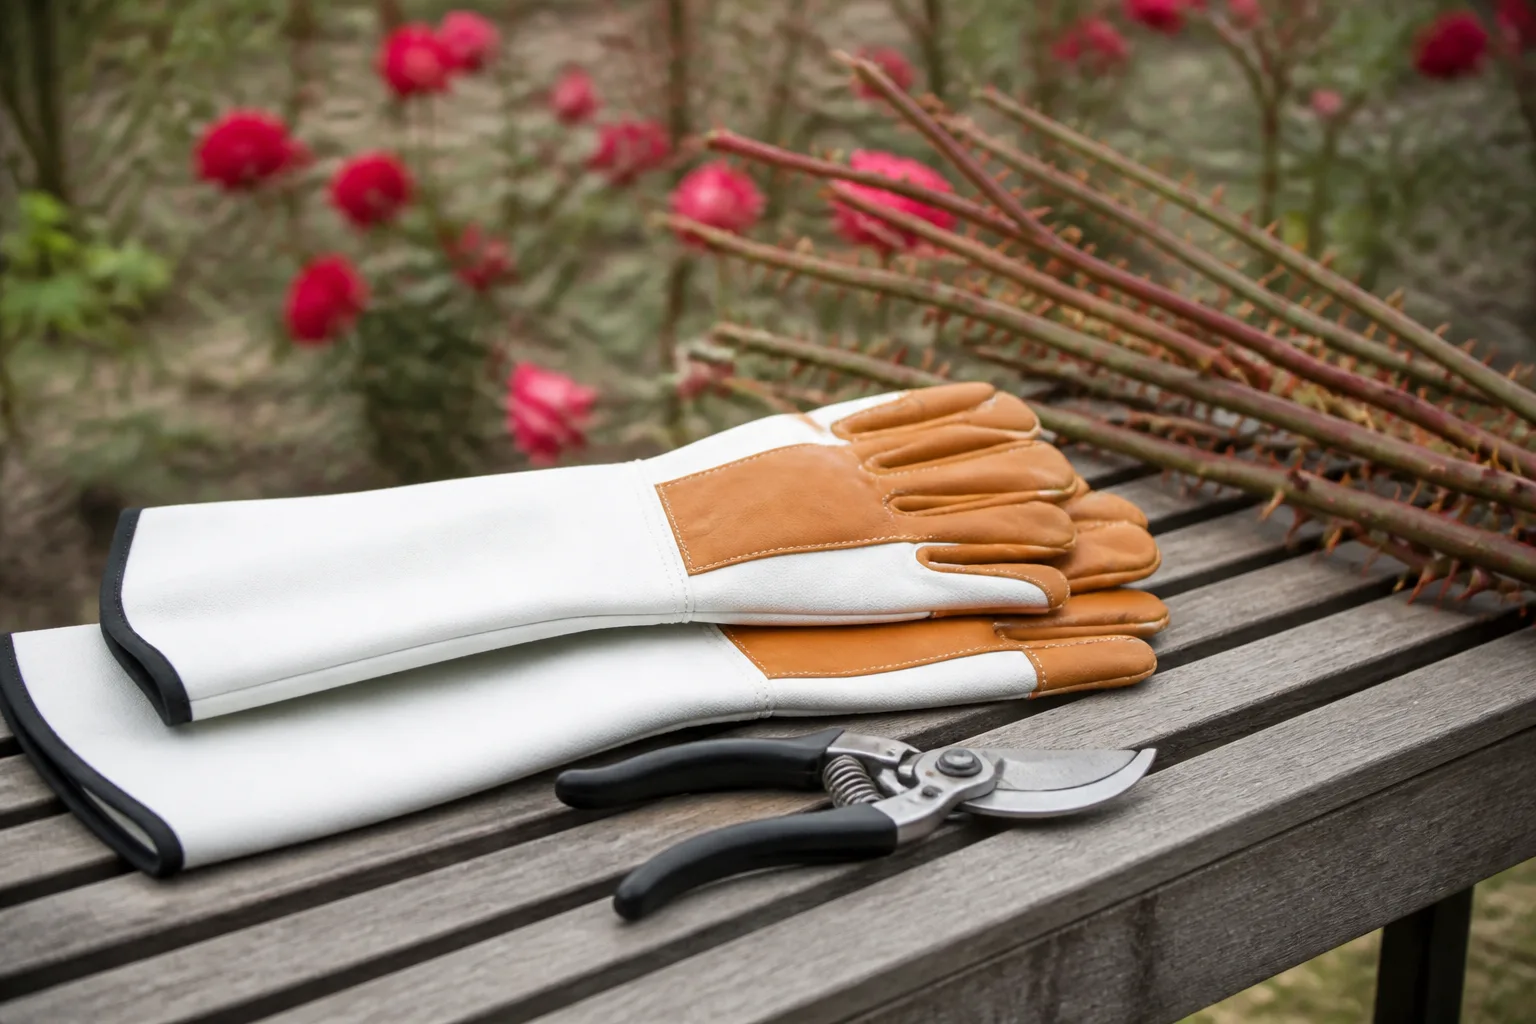
Stump work combines sharp tools, heavy soil, and sometimes fire or oxidizing chemicals—dress for the worst case in each method.
For manual removal, wear steel-toed boots, leather gloves, eye protection, and hearing protection if you run a chainsaw. Chainsaw chaps and a face shield are worth it when bucking thick roots. Keep pets and kids out of the swing radius of mattocks and axes; if you are not trained with an axe, favor a bow saw on exposed roots.
For chemical rot, use chemical-resistant gloves, goggles, long sleeves, and boots. Potassium nitrate is a strong oxidizer; the New Jersey Department of Health fact sheet lists fire and explosion hazards when it contacts fuels or reducing agents (NJ DOH potassium nitrate). Store granules in the original container away from charcoal, fuels, and grass clippings.
For burning, check local open-burning ordinances before you drill a single hole—many cities ban yard debris fires entirely. Keep a charged hose, shovel, and fire extinguisher within reach, never use gasoline, and stay on site until embers are cold. Burning near structures, wood mulch beds, or dry slopes is how stump projects turn into structure fires.
Before any digging, call 811 or your local utility locate service if the stump sits near driveways, sidewalks, or known septic lines. Cutting roots can damage buried utilities or septic tanks, and smoldering root channels have been linked to underground fires that travel farther than the visible stump.
Manual stump removal: dig, cut roots, and pry it out
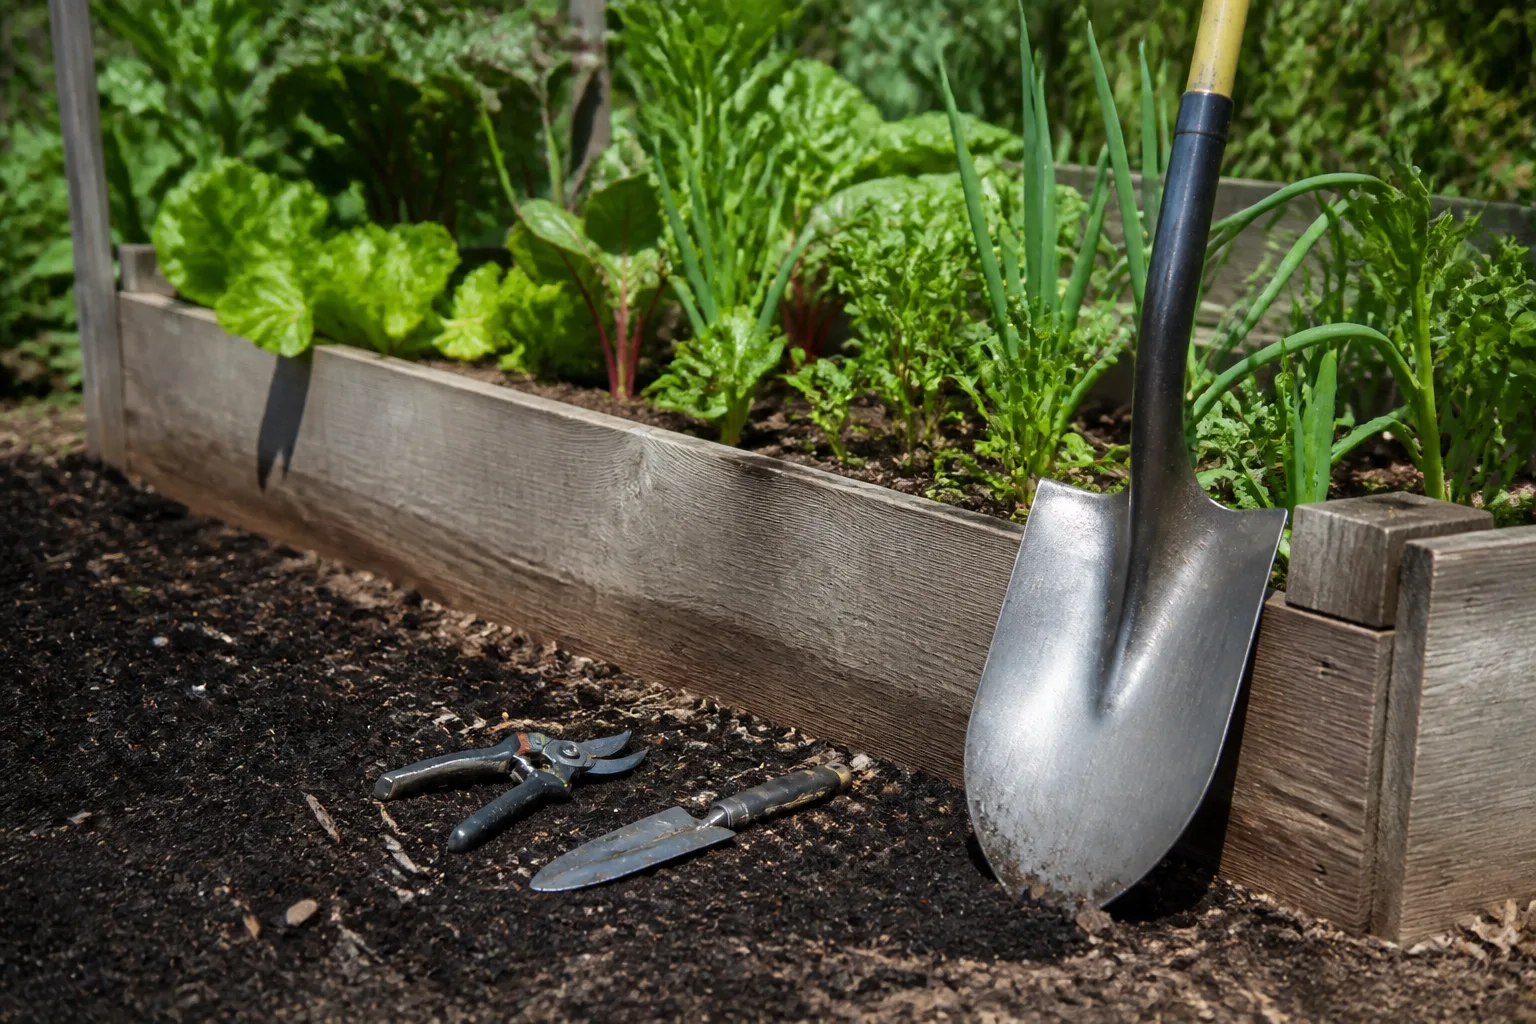
Hand extraction is the most straightforward no-grinder method on small to medium stumps with accessible roots. It is also the most physically demanding.
Tools you need for hand extraction
Gather a round-point shovel, mattock (pick end for chopping roots, hoe end for prying soil), digging bar, bow saw or pruning saw, loppers for pencil-thick roots, and optionally a come-along or chain rated for the stump weight. A garden hose or pressure washer helps wash soil off roots as you expose them. For extraction, a high-lift jack or vehicle hitch can pull a freed stump, but only if the stump is already severed from deep roots—never yank a partially cut stump toward people or vehicles.
Step-by-step digging and root cutting
Cut the trunk as low as safely possible so you are not fighting extra leverage. Dig a trench 18 to 24 inches out from the stump, going 12 to 18 inches deep on small trees and deeper on larger root plates. Work around the full circle, prying soil with the mattock hoe and removing it with the shovel.
As roots appear, sever lateral roots with the bow saw or mattock pick; save the axe for roots you can strike squarely without glancing toward your legs. Work inward until you reach the taproot or central root mass on conifers and many hardwoods. On multi-trunk clumps, you may find several anchor roots instead of one taproot.
Wash or wipe soil off the last thick roots so you can see your cut line. Clear the area of helpers and pets, then cut through the taproot. Rock the stump to test movement; if it will not budge, you missed roots—probe with the digging bar rather than forcing a pry bar that can snap.
Once free, roll or drag the stump out. Large root balls may need a tarp sled or mechanical help. Fill the void promptly with native soil, tamp in lifts, and oversettle slightly—loose fill will sink after rain.
Realistic scope: Manual removal on a 6-inch softwood stump might take an hour. A 20-inch maple in clay can be a multi-day project for two people. If the root plate exceeds what you can lever by hand, switch to chemical rot or professional grinding rather than risking injury with vehicles.
Chemical stump removal with potassium nitrate or nitrogen
Chemical methods do not vaporize wood overnight; they accelerate fungal decay by feeding microbes and softening fibers so you can break the stump apart with an axe or bar weeks later. Commercial stump removers are usually potassium nitrate based; garden guides also describe high-nitrogen fertilizer or rock salt in drilled holes (Gardening Know How stump removal).
Potassium nitrate is effective but classified as hazardous because it intensifies combustion—treat it as an oxidizer, not harmless garden dust (NJ DOH potassium nitrate). Never combine chemical rot with a burn plan on the same stump without fully removing residues.
How to apply stump remover correctly
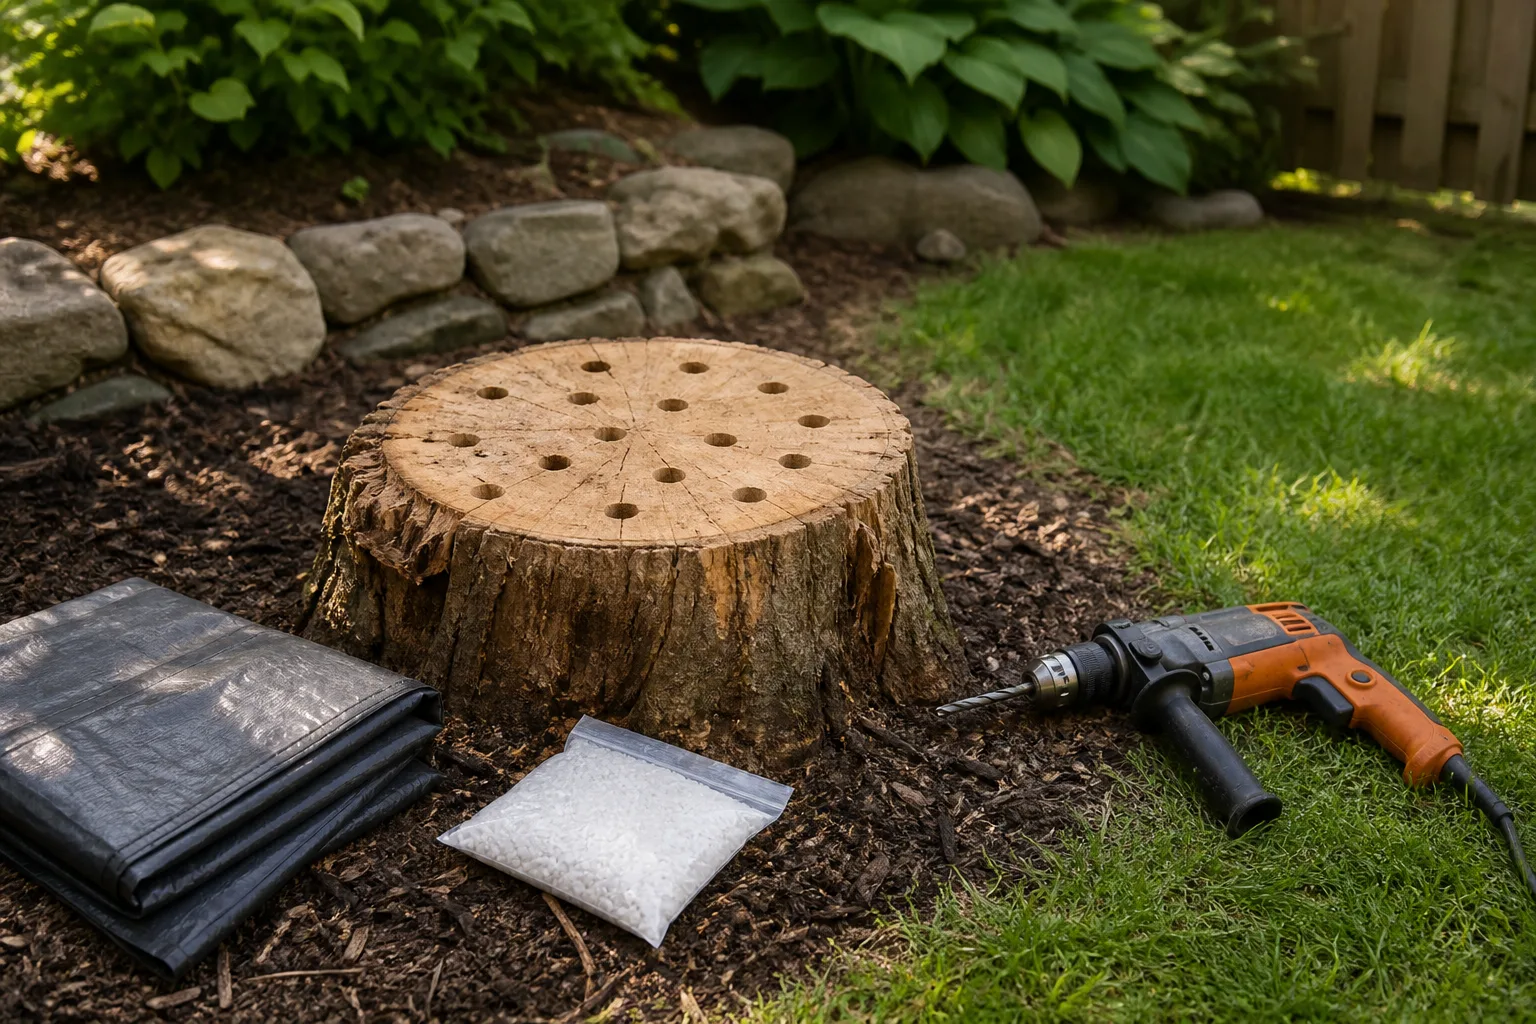
Use a 1-inch or larger spade bit on a corded drill (battery drills bog down in hardwood). Drill holes 8 to 12 inches deep, spaced a few inches apart across the entire top and outer face of the stump, angled slightly toward the heartwood. More surface area beats a handful of deep holes.
Fill holes with stump remover granules or nitrogen fertilizer per label rates—do not exceed label instructions thinking more is faster. Add water to dissolve crystals and carry them into vascular tissue. Soak the bark zone around the stump, then cover with a plastic tarp and 10 to 12 inches of mulch to hold heat and moisture. Weigh the tarp so wind does not peel it back.
Every few weeks, peel back the cover, add water and another dose if the label allows, and reseal. Soft, spongy wood may appear in four to eight weeks on small softwoods; large oaks and hickories often need a full season or two. When the stump yields to a mattock, break it apart, remove chunks, and treat any remaining hard core with another rot cycle or manual cuts.
Herbicide note: To stop suckers while the stump decays, Gardening Know How recommends applying labeled broadleaf herbicide to fresh sucker cuts or into frilled cuts on the stump surface—wear PPE and follow the label exactly (Gardening Know How zombie stump). This is separate from potassium nitrate rot and may have replanting restrictions on the label.
Epsom salt stump removal: what works and what it will not do
Social media loves Epsom salt stumps because magnesium sulfate feels safer than oxidizers. Fine Gardening is blunt: Epsom salts are not magic—they supply magnesium and sulfur, helping plants only when soil lacks those nutrients (Fine Gardening soil amendments). On a stump, the mechanism is desiccation: concentrated salt pulls moisture from wood cells, slowing growth and weakening tissue over time.
Drill ½-inch holes 6 to 10 inches deep, pack dry Epsom salt firmly, then add a small amount of water to dissolve crystals without flushing them out. Cover with a tarp to retain moisture paradoxically while the salt works inward. Expect months on small stumps; large hardwoods may barely shrink. Epsom salt is a reasonable low-toxicity experiment on landscaping stumps you do not need gone this season, not a replacement for grinding on a 30-inch oak blocking a patio install.
Do not confuse Epsom salt with rock salt (sodium chloride), which some guides mention for decay. Sodium can damage surrounding soil and desirable plants for years; keep it away from lawns and garden beds you plan to replant soon.
Let the stump rot naturally (the slow but cheap path)
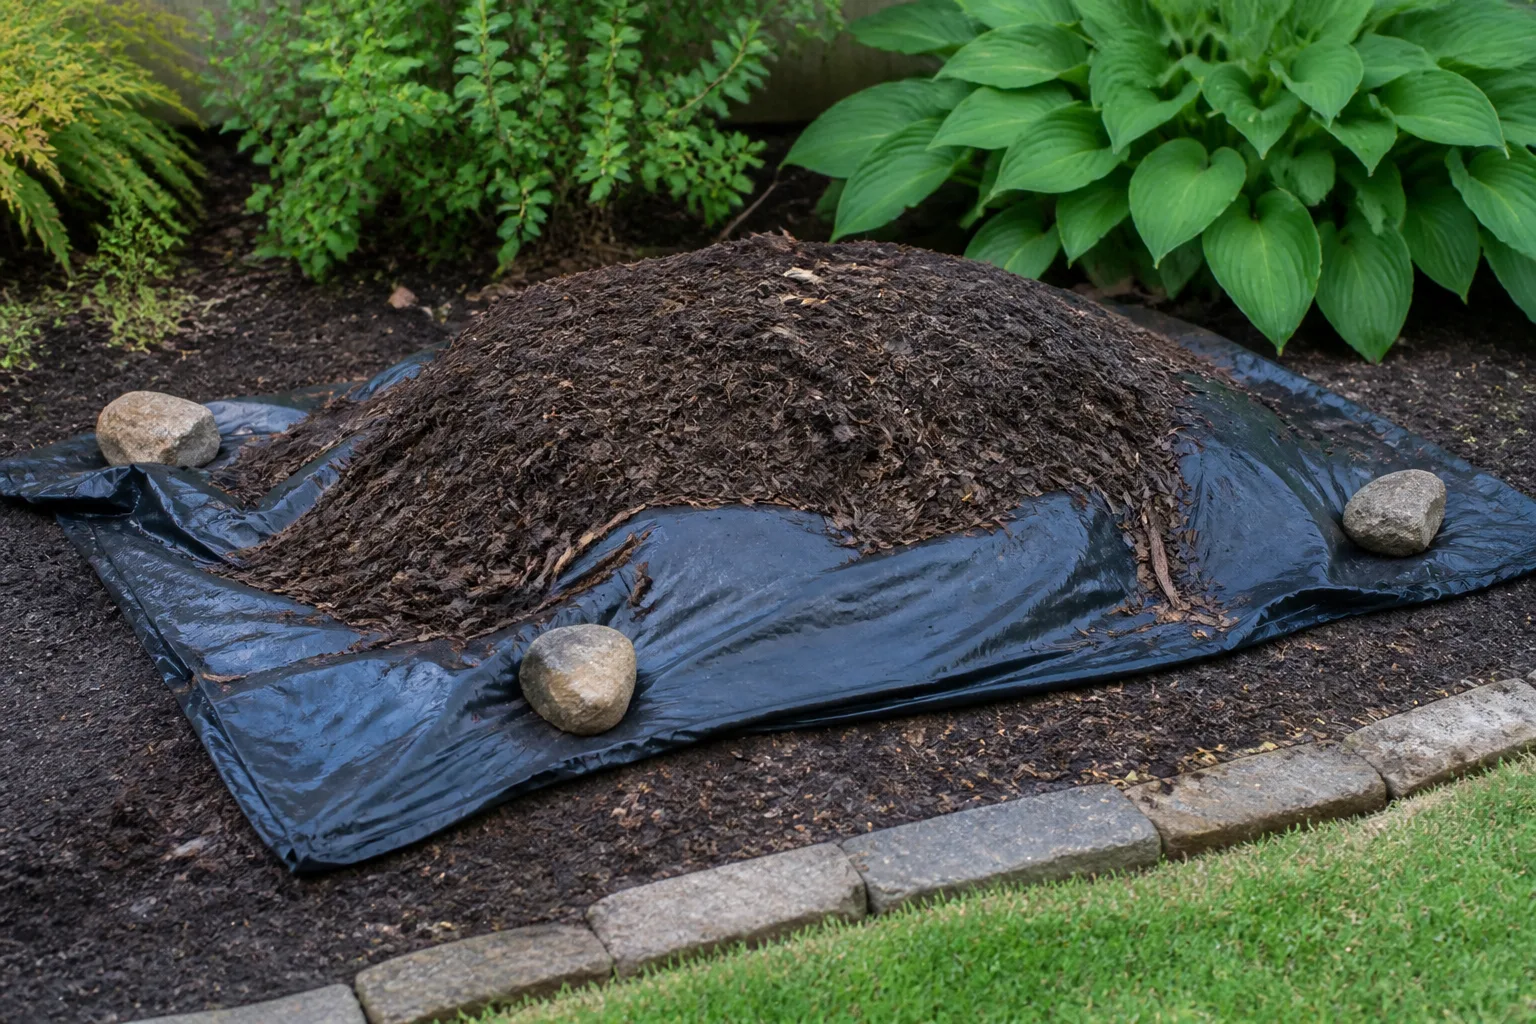
Natural rot is the lowest-cost, lowest-labor option if you can wait. Fungi colonize exposed wood, especially when the stump stays consistently moist but not waterlogged and temperatures sit roughly between 60°F and 90°F (Gardening Know How stump removal).
Cut the stump flush, drill inch-wide holes, and optionally add nitrogen fertilizer to feed decay fungi—not for instant kill, but to speed colonization. Cover with tarp and mulch as in the chemical method, keeping the pile damp through dry spells. UF/IFAS describes rotting as patience-friendly: regular watering alone advances decay without chemicals (UF/IFAS Removing Trees).
Species matter. Cedar, locust, and mulberry heartwood resists rot; budget extra seasons compared with soft maples or pines (Gardening Know How stump removal). While you wait, mow or clip suckers monthly so the stump does not rebuild carbohydrate reserves.
If aesthetics allow, repurposing beats fighting: UF/IFAS suggests using a stable stump as a pedestal for containers or a rustic seat until decay makes removal easy. That is valid landscape strategy, not failure—provided the wood is not structurally hazardous.
Burning out a stump: when it is legal and how to do it safely
Burning converts cellulose to ash quickly on dry, porous stumps in rural areas where open burning is permitted. Gardening Know How warns it can take up to two weeks of tending and is often illegal near structures or in urban districts (Gardening Know How stump removal).
Drill deep vent holes, apply labeled stump-out powder if directed, then soak with kerosene or fuel oil—never gasoline. Let fuel absorb 24 hours without pooling on surrounding soil. Ignite from a safe distance with long fireplace matches or a propane torch, keeping a hose ready. Ring the stump with nonflammable barriers (soil berm, stone ring) to contain embers.
Monitor continuously until the fire is out and the ground is cool to touch. Root channels can smolder underground, threatening septic lines and foundations; avoid burning within 50 feet of buildings unless local code allows closer. Check wind forecasts; embers travel farther than you expect on gusty days.
Ash plus charred wood counts as minimal volume to haul, but verify whether your municipality classifies ash as yard waste or requires cooling periods before bagging.
How to choose the right stump removal method
Use a simple decision stack: diameter → timeline → site rules → your labor budget.
| Stump size | Fastest no-grinder option | Typical timeline | Best if… |
|---|---|---|---|
| Under 12 in. | Manual dig and cut | Hours to 1 day | You want the hole filled this week and soil is loamy |
| 12–24 in. | Chemical rot (potassium nitrate) | 1–4 months | You can tarp the area and wait |
| Any size | Natural rot | 1–3+ years | Low priority area, no suckers bothering lawn |
| Small, dry, rural | Burning (if legal) | Days | You can monitor fire continuously |
| Over 24 in. | Hire grinding | Hours (pro) | DIY labor or wait time exceeds rental cost |
Size, species, and location matter
Diameter predicts root mass more reliably than stump height. A wide, shallow-rooted pine is different from a narrow but deep taprooted conifer—adjust trench radius if you hit a root plate wider than the trunk.
Species hardness changes saw time and rot speed; ring-porous hardwoods (oak, hickory) outlast soft maples in every method. Location rules out burning in most subdivisions and may rule out deep digging near septic tanks, gas lines, or retaining walls. Stumps on slopes risk erosion if you leave a crater; plan erosion fabric and quick turf repair.
Timing: Manual cutting is easier on stumps that have dried six to twelve months after felling because wood is lighter and slightly less binding in clay. Chemical rot, conversely, starts best on fresh, live cambium when vascular tissue still carries moisture—begin accelerated decay soon after cutting if that is your path.
Disposing of stump wood and filling the hole
Chunked stump wood is heavy. Small pieces fit yard waste bags or municipal brush drop-off if diameter limits allow; large root balls may need a transfer station fee. Some areas ban treated or painted wood in burn piles—stump wood is usually clean, but ask if the tree was recently injected with pesticides.
Do not bury fresh stump chunks in the same hole hoping they vanish; buried wood settles and rots unevenly, creating dips. Remove solids, backfill with mineral soil in 4-inch lifts, tamp, and seed or sod. Expect settling after the first rainy month; keep spare soil to top off.
If you ground chemically softened wood into the hole, ensure no concentrated fertilizer pockets remain that could burn new grass roots—mix thoroughly with native soil.
When to rent a grinder or hire a pro instead
DIY without a grinder stops making sense when:
- The stump exceeds 24 inches diameter or sits in tight clay with rock layers you cannot trench through in a weekend.
- Utilities, septic, or foundations fall within the root zone and you lack locate clearance.
- You need the area paved or built within weeks and rot timelines do not fit.
- Physical limitations make swinging a mattock unsafe; stump grinding is a professional specialty for a reason.
- The tree was a hazard removal with tension wood or lean—you may be dealing with a root plate under load.
Renting a stump grinder still means hauling a heavy machine and learning teeth engagement; for one stump, hiring an arborist or stump service often matches rental cost when you factor fuel, trailer, and half-day minimums. Grinding produces chips you can use as mulch immediately—something rot-and-dig methods delay.
Conclusion
Removing a tree stump without a grinder is absolutely doable when you match the method to the stump instead of copying a one-size social media hack. Dig out small stumps while roots are accessible, accelerate decay with potassium nitrate or nitrogen when you can tarp and wait, and treat Epsom salt as a gentle desiccant—not a sure bet on large hardwoods. Let natural rot work in low-priority corners, and reserve burning for legal, open sites you can babysit for days.
Whichever path you choose, stop sprouting, protect utilities, wear method-appropriate PPE, and fill the hole properly so the lawn you wanted when you felled the tree actually returns. When diameter, rock, or deadlines outgrow DIY patience, professional grinding remains the fastest clean finish—and that is a smart trade, not a defeat.



