5 Ways to Reuse Old Newspapers in Your Garden You Never Thought of
Reuse old newspapers in five useful garden jobs: compost, sheet mulch, seed pots, worm bedding, and dahlia tuber storage, with safe-paper tips.
That stack of yesterday’s newspapers can do more than line a recycling bin. Clean newsprint is absorbent, carbon-rich, foldable, and temporary, which makes it useful in several parts of a garden’s cycle: building compost, blocking weeds, starting seedlings, balancing a worm bin, and protecting tender tubers between seasons.
The useful distinction is that newspaper is a tool, not a miracle amendment. It does not replace compost, fertilizer, potting mix, or proper storage conditions. Used in the right thickness and paired with the right material, however, it can solve a surprisingly specific garden problem with almost no cost.
The short answer: use clean newsprint for five different jobs
Choose the job based on what the paper needs to do. Tear or shred it when you want microbes and worms to break it down. Lay it flat when you want a temporary light-blocking barrier. Fold it when you need a disposable container. Keep it loose and damp when it is bedding, or keep it dry and breathable when it is separating stored tubers.
Here is the quick decision guide:
- Need more carbon in a compost pile? Tear newspaper into strips and mix it with moist green material.
- Need to smother grass or annual weeds? Lay overlapping sheets, wet them, and cover them with a deep layer of natural mulch.
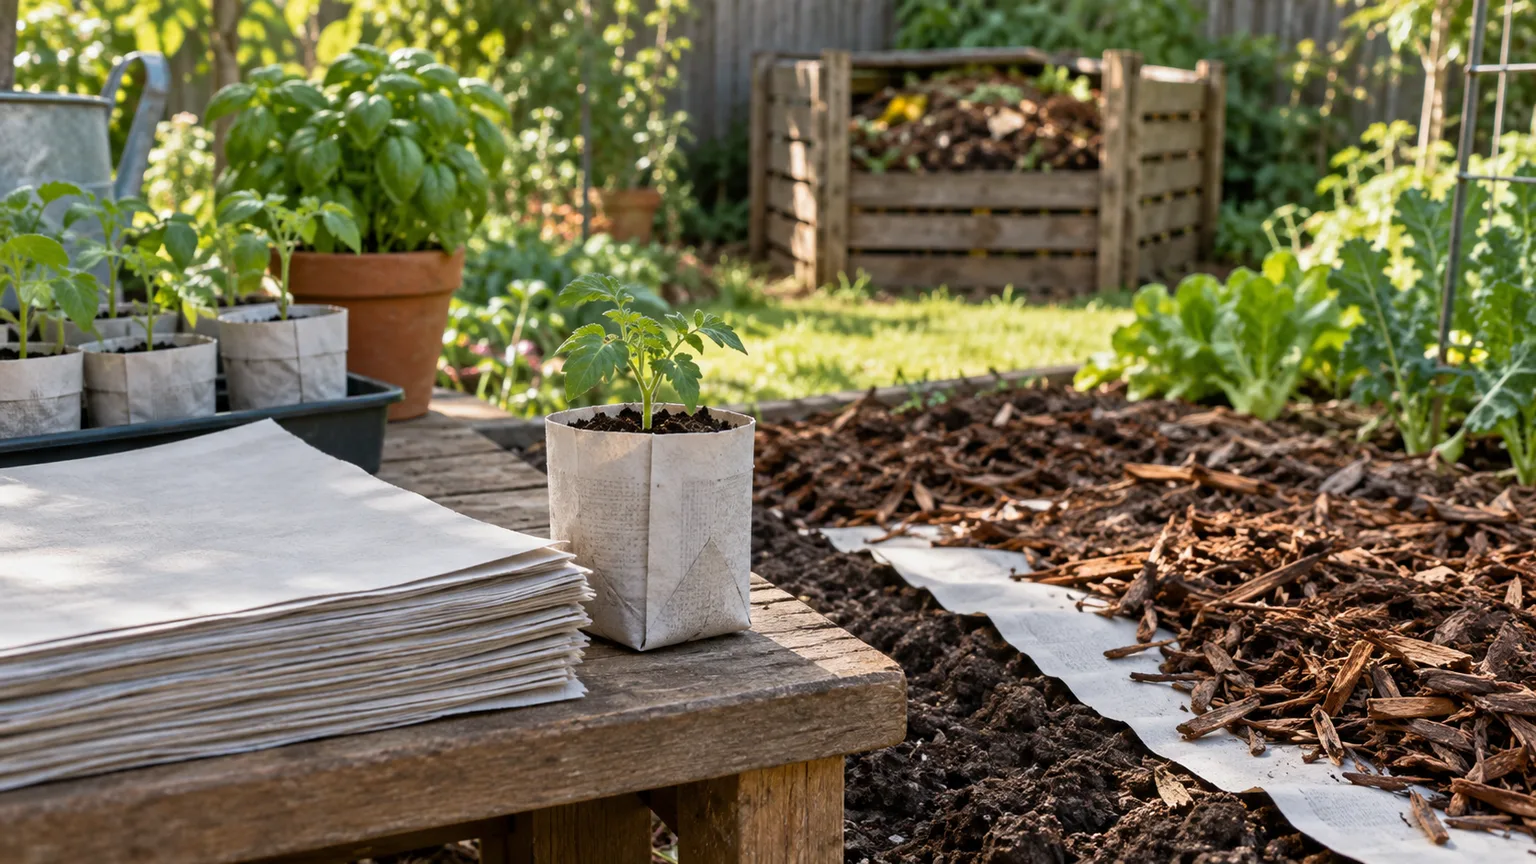
- Need inexpensive seedling pots? Fold plain newsprint around a straight-sided jar and plant the softened pot into the garden.
- Need bedding for red wigglers? Shred the paper, soak it, squeeze it nearly dry, and keep it fluffy.
- Need to separate dahlia tubers in storage? Use dry sheets as breathable dividers after the tubers have been cleaned, cured, and inspected.
Those uses all depend on the same preparation rule: sort the paper before it leaves the house. The guidance below is specific about which sheets belong in the garden and which ones should stay out.
Choose the right paper before it touches soil
Most ordinary newspaper is made from a relatively simple fiber that breaks down over time. The Cornell Waste Management Institute’s compost FAQ says newspaper is generally safe to compost and notes that modern newspaper inks are commonly water- or soy-based, with trace compounds not considered a significant toxicological concern in ordinary composting. That is useful reassurance, but it is not a reason to throw every printed paper product into a bed.
Paper to use
Use clean, matte, black-and-white newsprint that is dry, free of food grease, and not visibly treated. Full newspaper sheets work well for barriers and seed pots; torn strips work better in compost and worm bedding. If a page has a small piece of removable tape or a delivery label, take it off before the paper goes outside.
For compost or a worm bin, shred or tear the sheets rather than dropping in a dense folded bundle. Smaller pieces expose more surface area to moisture and decomposers. For sheet mulch, keep the pages intact so they overlap and block light, then wet them in place before the wind can lift them.
Paper to skip
Skip glossy magazine pages, shiny advertising inserts, laminated sheets, waxed paper, thermal receipts, carbonless forms, heavily colored coated stock, and paper with paint, chemical residue, or mildew. The Cornell FAQ specifically calls out glossy magazines as a more cautious category because vivid coatings and inks can contain materials you do not want repeatedly added to soil or a worm bin.
Do not add plastic windows, staples, rubber bands, synthetic packing tape, or thick mailing labels to compost. A little sorting now prevents a garden bed full of scraps later. When in doubt about an unknown coated page, leave it out of the soil system and recycle it according to local rules.
1. Turn shredded newspaper into compost “brown” material
Newspaper is most useful in a compost pile as a dry, carbon-rich “brown” ingredient. It balances wetter, nitrogen-rich “green” materials such as vegetable scraps, fresh grass clippings, and young weeds. It is not the part that makes compost fertile by itself; it gives the pile structure and carbon while the other ingredients supply more nitrogen and moisture.
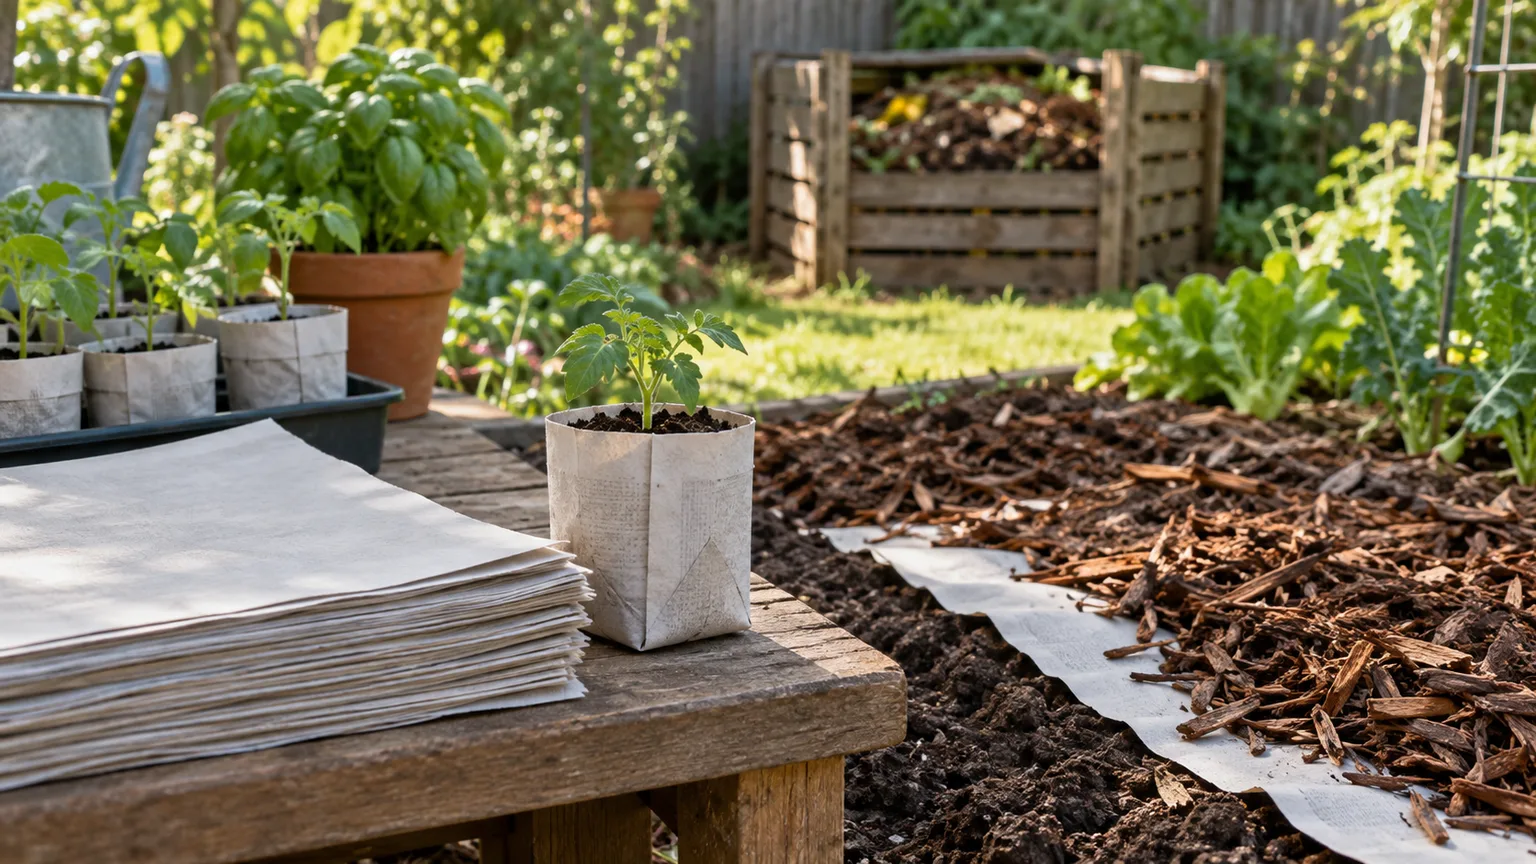
The simplest version is to tear newspaper into narrow strips and add it whenever a load of kitchen scraps looks wet or compacted. Mix it through instead of making a solid paper layer. A paper mat can shed water on top while staying soggy underneath, slowing the airflow that helps a pile heat and mature.
Cornell’s compost guidance explains that paper breaks down more slowly than many soft kitchen materials because of its fiber structure. That is an advantage when you need a steady carbon source, but it also means you should not judge a pile as finished just because the food scraps have disappeared.
Build a balanced pile
Start with a loose handful of torn newspaper for every small addition of wet scraps, then adjust by sight and feel. If the pile is soupy, sour-smelling, or sticking together, add more dry torn paper and other coarse browns such as dry leaves. If it is dusty and inactive, add moist green material and water while turning it.
An easy starting point is roughly two to three parts brown material to one part green material by volume. That is a practical starting ratio, not a formula that must be measured with a kitchen scale. The real targets are a pile that feels evenly damp, has air pockets, and contains a mix of particle sizes rather than a compressed layer of one ingredient.
Moisten paper as you build. Dry strips can remain dry in the center of a pile, while a soaked bundle can exclude air. A quick turn with a fork distributes water and keeps the paper from forming a single sheet. If you can squeeze a handful and see moisture without water streaming out, the balance is usually close enough to keep monitoring.
Let the pile finish before using it around plants. Finished compost should be dark, crumbly, and earthy, with no obvious hot center and few recognizable paper strips. Cornell cautions that unfinished compost can harm plants, and fresh compost is a poor choice for delicate seedlings. Use mature compost as a soil amendment or a thin surface layer, and keep seed-starting mixes purpose-built and clean.
2. Make a newspaper sheet mulch that actually stays put
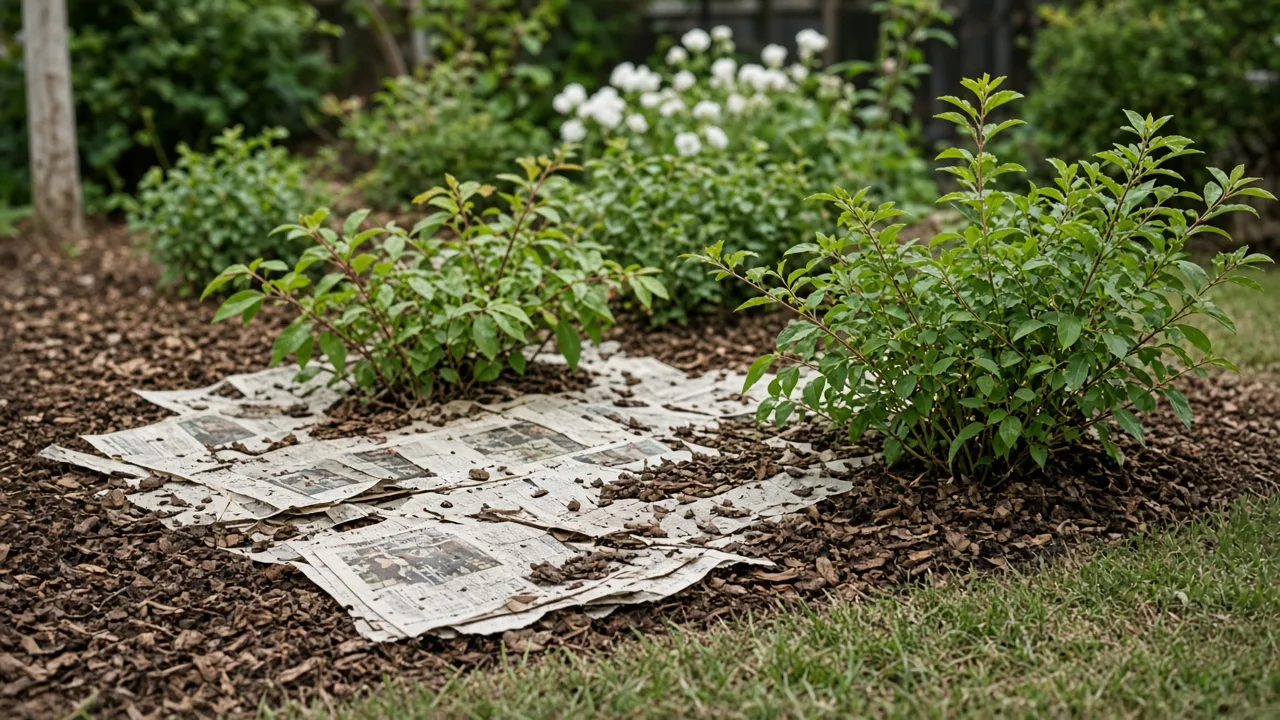
Flat newspaper is a temporary weed barrier for turning a patch of lawn into a bed, covering exposed soil between established plants, or slowing annual weeds along paths. It works by denying light to the foliage underneath while the mulch above it protects the paper from drying out and blowing away.
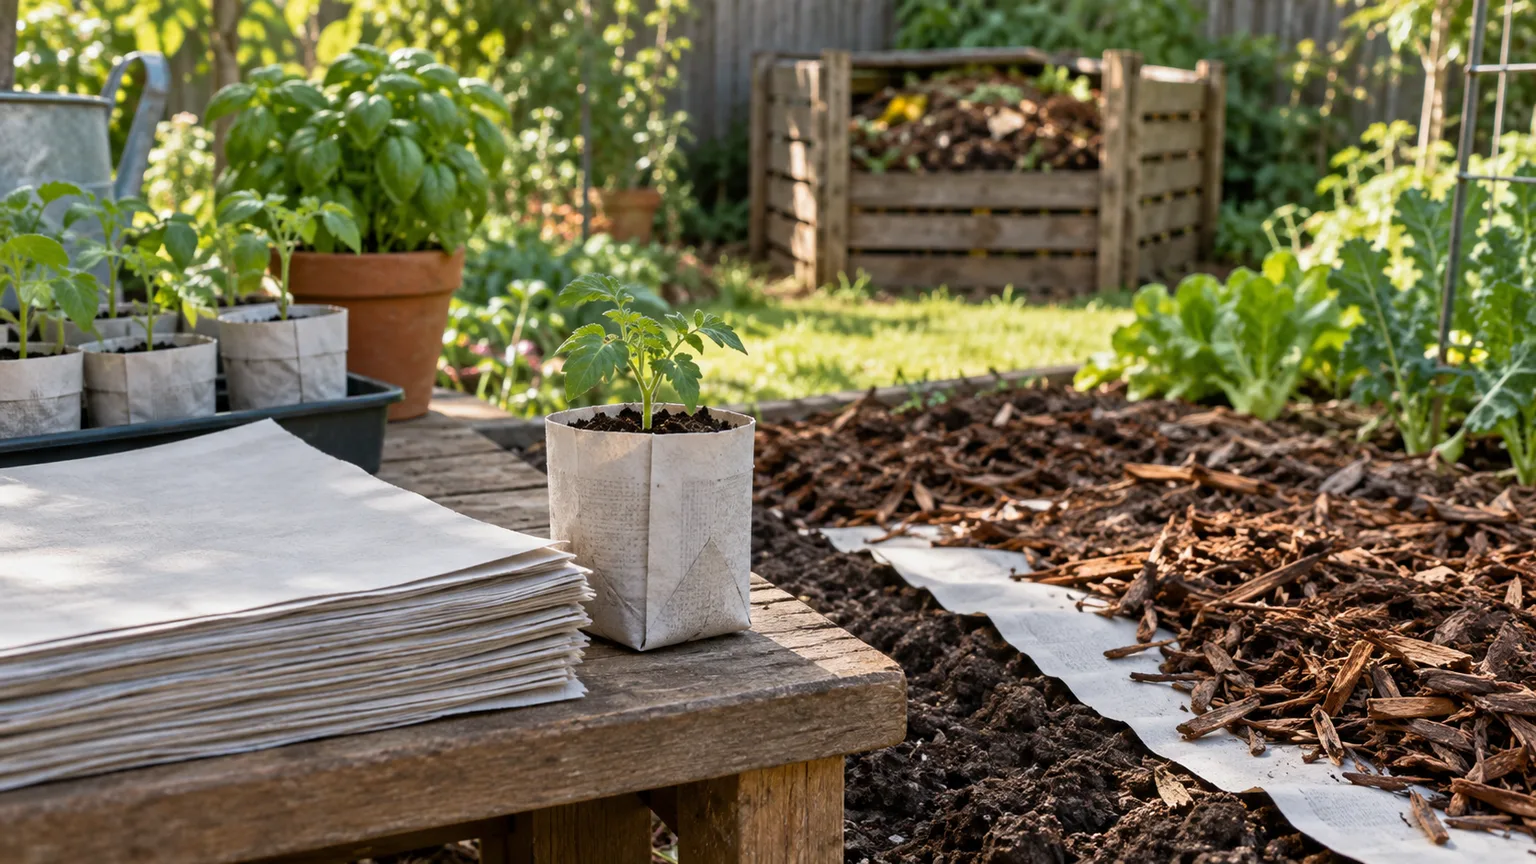
For a new bed, plan on patience. Penn State Extension’s sheet-mulching instructions describe a no-herbicide process that uses about ten sheets of newspaper, generous overlaps, water, and a 4–6-inch layer of natural mulch. The extension guidance also notes that a new bed may need to rest for several months before planting, especially when you are smothering lawn.
Build the barrier in the right order
Mow or cut the existing vegetation short, mark the bed, and water the ground. If you are converting lawn, define the edge clearly; Penn State recommends an edge about 4–6 inches deep so the new bed has a clean boundary and mulch is less likely to spill into the path.
Lay roughly ten sheets of plain newspaper over the soil. Overlap neighboring sheets by 8–10 inches and stagger the seams, because a tiny exposed gap is enough for persistent grass to find light. Work in manageable sections and wet each section as you go. The paper should cling to the ground, not become a floating dry blanket.
Cover the wet paper with 4–6 inches of natural mulch such as shredded leaves, pine needles, grass clippings that have not been treated with a persistent herbicide, bark, or wood chips. The mulch supplies weight and protects the newspaper from wind and sun. It also creates the surface where rain can soak through instead of running off the bare paper.
Do not expect a newspaper layer to defeat every perennial weed. Rhizomes and deep-rooted plants may need to be dug out, repeatedly cut, or managed with a longer smothering period. Newspaper is especially convenient for annual weeds and turf when the layer is continuous; it is not a substitute for knowing what is already rooted in the site.
If you are planting into a finished sheet-mulched bed, pull the mulch back, cut a generous opening in the softened paper, and plant into the soil below. Keep paper and mulch a few inches away from stems and crowns. A constantly wet collar can encourage soft, damaged tissue and give slugs a protected route to tender growth.
Watch the bed after heavy rain and wind. Thin or exposed spots are the first places weeds return, so add more mulch before the paper disappears. Oregon DEQ’s residential composting guidance describes the broader value of mulch and compost in reducing weeds, conserving moisture, limiting erosion, moderating soil temperature, and supporting soil life; the newspaper is the short-lived barrier underneath that surface layer.
3. Fold newspaper into biodegradable seed pots
A newspaper pot is useful when you want to move a seedling without buying another plastic cell. It is best for plants that will be potted up or planted out in a few weeks, while the paper still has enough strength to hold damp seed-starting mix.
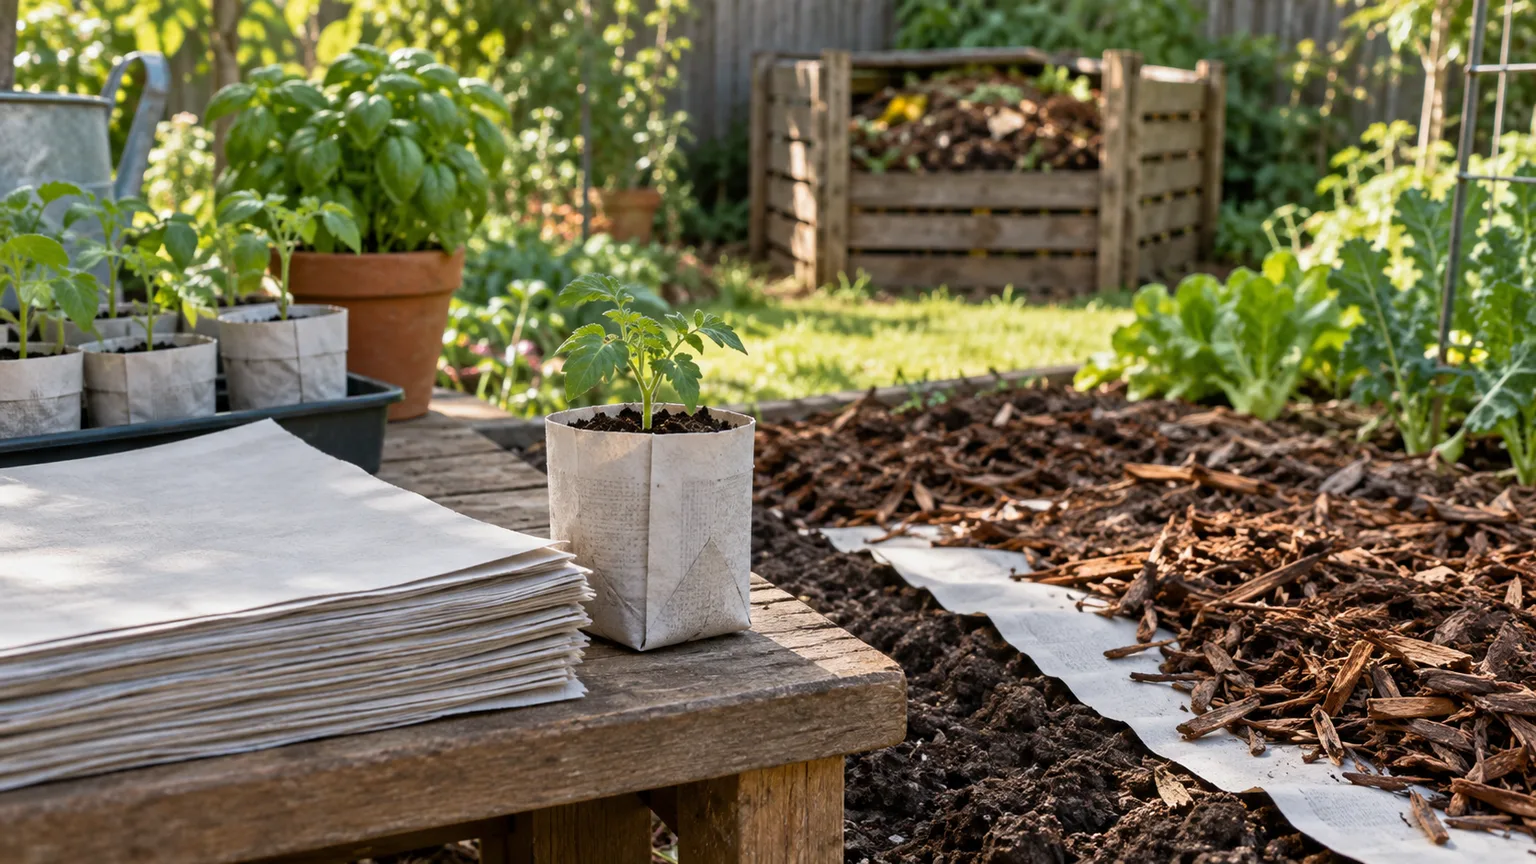
The Eden Project’s newspaper seed-pot method and a hands-on seed-pot tutorial from Ideal Home both use the same basic idea: wrap paper around a straight-sided form, tuck the bottom, fill it, and keep the pots together in a tray. The jar provides a repeatable shape while the tray supports the paper as it softens.
Make a sturdy pot without glue
Use a full sheet of clean black-and-white newsprint and fold it lengthwise to make a long, sturdy strip. Place a straight-sided jar or small drinking glass on its side near one end. Roll the strip around the jar, leave enough paper below the base to fold inward, and press the folded bottom flat against the jar.
Slide the paper sleeve off carefully and set it upright in a shallow reusable tray. Fill it with a quality seed-starting mix, not unfinished compost from the pile. The soil gives the softening paper support, and the tray keeps the pots from tipping while roots develop.
If the paper springs open, use a larger fold, a straight-sided form, or a tighter bottom tuck rather than reaching for lots of tape. Any tape or label left on a pot becomes a cleanup job at planting time. A slightly thicker folded wall is more useful than a glued seam because the entire pot can eventually break down in the bed.
Water gently at first. A newspaper pot sitting in a saucer of water can collapse from below, while a pot watered too forcefully can lose soil through the seam. Ideal Home’s practical directions recommend checking moisture with a finger and keeping pots spaced so air can move between them. A tray with drainage is safer than a watertight box.
Transplant before the paper becomes a problem
Plan to plant or pot up most newspaper pots after about four to six weeks, depending on the crop, paper thickness, temperature, and how wet the pots have stayed. The paper may begin to disintegrate within a couple of weeks after planting in consistently moist soil, which is helpful only if roots can escape.
Before planting, peel away any loose outer collar that would sit above the soil. A paper rim above the surface can wick moisture away from the root ball and dry the plant. Tear or slit the sides and bottom if the paper is still firm, then set the root ball at the correct depth and water the surrounding soil thoroughly.
The pot is a transition aid, not a reason to keep a seedling root-bound in a small container. Slow-growing plants that need a long indoor start may outgrow the pot before it is ready to go in the ground. For those, use a sturdier reusable container and reserve newspaper pots for fast-turnaround seedlings.
4. Use newspaper as worm-bin bedding
In a worm bin, newspaper has a different job than it does in compost. It is both habitat and moisture buffer: a loose, damp bedding where red wigglers can move, breathe, and retreat from food that is too wet or concentrated. The worms and microbes process the scraps, while the paper helps keep the bin from becoming a compact mass.
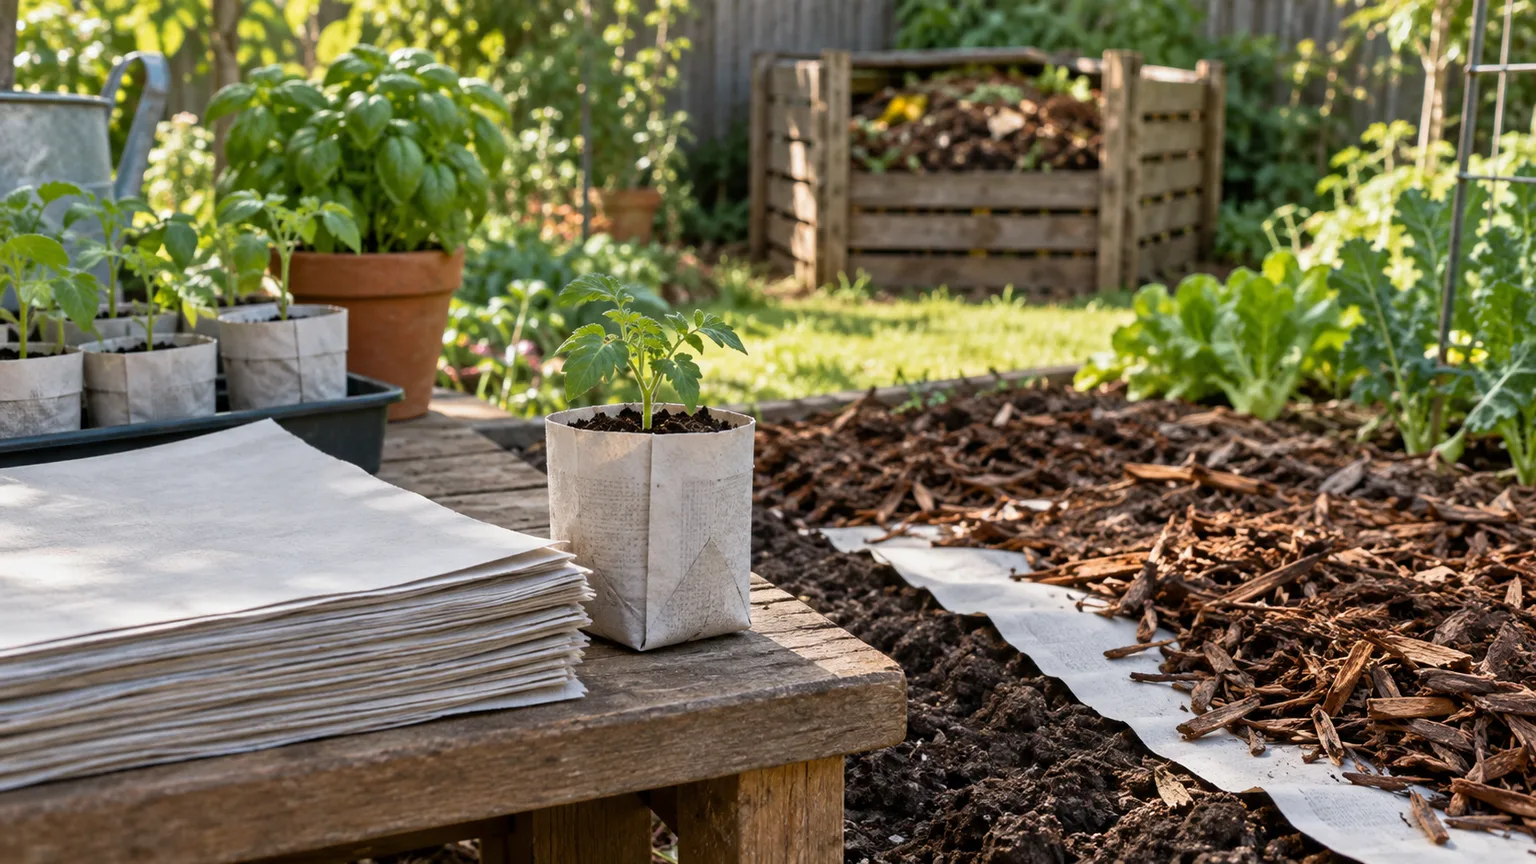
University of Georgia Cooperative Extension’s vermicomposting guide recommends traditional black-and-white newspaper cut into 1/2–1-inch strips and soaked until it reaches a damp-sponge texture. It also recommends keeping the bedding loose, adding a little native soil or finished compost, and burying food under the bedding.
Set the bedding to damp-sponge moisture
Tear or cut the newsprint into strips and soak it in a bucket of water. Lift handfuls out and squeeze them until water stops running. When you squeeze a handful of finished bedding, it should feel like a wrung-out sponge and release only a drop or two, not a stream.
Fill a shallow, ventilated bin about three-quarters full with the damp strips, but do not pack them down. Add a modest amount of native soil or mature compost to provide grit and microbial life, then place the red wigglers on top and let them work downward. Ordinary earthworms dug from a lawn are not the same as the surface-dwelling compost worms a small bin needs.
If the bedding is too wet, add dry shredded newspaper and fluff the bin. If it is too dry, mist or add a small amount of water rather than flooding it. A sour smell, slime, or standing liquid usually means the bin has lost air or received more wet food than the bedding can absorb.
Keep food buried and the bin airy
Bury small portions of vegetable scraps under the paper each time you feed. Cover exposed food with bedding to discourage fruit flies and keep the surface from drying into a crust. Avoid meat, dairy, greasy food, bones, pet waste, and large amounts of acidic or watery scraps while the bin is establishing.
Add paper whenever the food makes the bin look glossy, wet, or compressed. Fluff the bedding by hand or with a small cultivator, working gently so you do not tear the worms. The goal is a damp, airy matrix with pockets of paper, castings, and partially broken-down food—not a wet paper brick.
A healthy bin should gradually reduce the visible paper as it produces finished vermicompost. University of Georgia guidance places finished material on a months-long timeline rather than an overnight one. Harvest only when the material is dark and crumbly, then use it as a modest soil amendment or blend it into potting soil; do not treat the wet liquid at the bottom of a neglected bin as a guaranteed fertilizer.
5. Wrap tender tubers for cool-season storage
Newspaper can be a useful separator for tender tubers such as dahlias, cannas, and elephant ears after they are lifted for winter. The paper cushions them, keeps individual clumps from rubbing together, and absorbs a small amount of surface moisture while still allowing some air movement. It is not insulation, a fungicide, or a replacement for a dry, frost-free storage location.
For dahlia tubers, dig and clean according to the plant’s normal seasonal schedule, let them cure until the skin is dry to the touch, and remove obviously damaged or soft pieces. A practical dahlia overwintering guide from Get Busy Gardening emphasizes cool, dark, frost-free storage and regular monitoring; those conditions matter more than the wrapping material.
Fold dry sheets around individual tubers or use them as layers between groups in a ventilated cardboard box or crate. Leave room for air. Do not tightly compress the paper around wet roots, seal the entire package in airtight plastic, or store the box beside a furnace where warm, dry air can shrivel the tubers.
Separate, inspect, and recheck
Newspaper only helps if the tubers go into storage in good condition. A cut neck, wet crown, or soft spot can turn into rot regardless of how carefully it is wrapped. Keep questionable tubers separate, and do not allow one visibly rotting piece to touch the rest of the collection.
Place the box in a cool, dark, frost-free location, ideally one with steady rather than wildly fluctuating conditions. The exact temperature and humidity range varies by crop and storage method, so follow the instructions for your plant and region. For dahlias, many gardeners use a cool basement or unheated garage that never freezes; a thermometer is more useful than guessing.
Check the bundle every few weeks. If the paper is damp, replace it and improve ventilation. If a tuber is soft, leaking, or moldy, remove it promptly. If everything is shriveling, the storage area may be too warm or too dry, and newspaper cannot add enough moisture safely on its own. Keep healthy tubers separated and dry to the touch, then rewrap them in fresh paper.
Common mistakes that waste the paper
The most common error is assuming that more newspaper is always better. A dense pile of dry sheets can block water; a saturated pile can block air. Use enough material for the job, then pair it with the material that makes the system work: green scraps in compost, mulch above a weed barrier, seed-starting mix inside pots, airflow in a worm bin, and a stable storage space around tubers.
Avoid these predictable failures:
- Using glossy or coated pages: plain matte newsprint is the safer choice for soil systems.
- Leaving sheet-mulch gaps: overlap generously and inspect the bed after wind and rain.
- Burying paper against stems: give stems and crowns a dry breathing zone.
- Watering seed pots from below for too long: lift them from standing water and let the tray drain.
- Keeping seed pots past their useful window: transplant once the seedling and paper are ready, usually within a few weeks.
- Packing worm bedding tightly: loosen it so worms have air and dry paper can absorb excess moisture.
- Storing wet or damaged tubers: cure and inspect before wrapping, then recheck through winter.
- Treating newspaper as fertilizer: it supplies carbon and structure, but mature compost and appropriate plant nutrition do the feeding.
When a method goes wrong, remove the cause instead of adding another layer blindly. Pull back mulch to find a gap, add dry strips to a wet worm bin, repot a collapsing seedling, or isolate a rotten tuber. Newspaper is inexpensive enough to replace, so there is no reason to protect a bad batch at the expense of the garden.
Match the method to your garden
| Your goal | Prepare the newspaper | What to watch |
|---|---|---|
| Add carbon to compost | Tear into strips and mix with moist greens | Avoid dense mats and use compost only when mature |
| Suppress weeds | Lay about ten sheets, overlap 8–10 inches, wet, and cover with 4–6 inches of mulch | Keep paper away from stems and refill thin spots |
| Start seedlings | Fold around a jar, fill with seed-starting mix, and keep in a draining tray | Prevent collapse and plant before the paper dries or rots around the root ball |
| Bed a worm bin | Use 1/2–1-inch strips, soak, squeeze nearly dry, and leave loose | Maintain airflow and bury food |
| Store tender tubers | Use dry sheets as breathable dividers in a frost-free ventilated box | Inspect often and replace damp paper immediately |
This makes the material surprisingly versatile without pretending it is indestructible. The same fiber that breaks down slowly enough to block light can become a useful brown ingredient, and the same absorbency that helps a worm bin can damage a seedling if the pot sits in water.
Conclusion
Old newspapers are worth saving when you give them a precise job. Shred them for compost or a worm bin, lay them flat for sheet mulch, fold them into a short-lived seed pot, or use dry sheets to separate sound tubers in storage. Start with clean matte newsprint, control moisture, and check the material as it changes.
The best reuse is the one that solves today’s garden problem and leaves the fewest new materials to buy. Keep a small stack beside the compost area, seed-starting tray, or tool bench, and let the newspaper move through the garden before it finally moves to the recycling bin.