32 Rock Garden Ideas for a Beautiful Home Landscape
Find rock garden ideas for every site, from crevice gardens and alpine troughs to pollinator beds, with guidance on building stable, plant-friendly spaces.
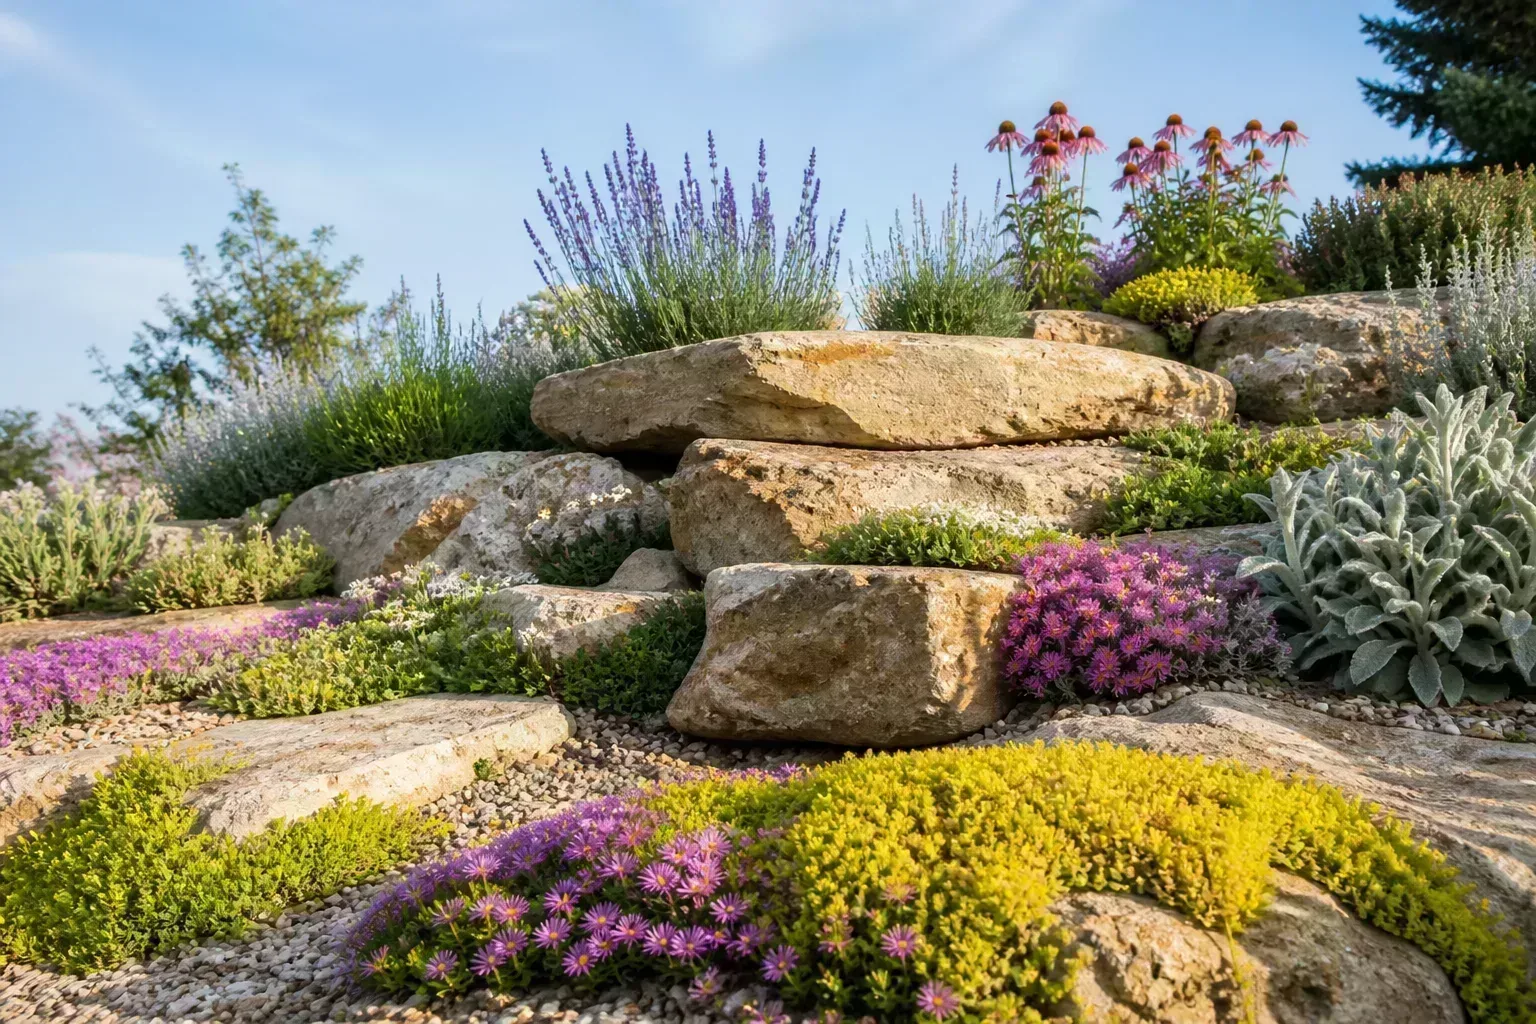
A successful rock garden is more than a bed covered in gravel. It pairs stone with plants that suit the site, then uses the rocks to shape space, hold planting pockets, slow foot traffic, or make a difficult slope feel intentional. The right design can work in a courtyard or across a hillside, but the best-looking version starts with conditions, not a shopping list.
Before choosing a style, watch where water flows after rain, note how many hours of direct sun the area gets, and decide whether people need to walk through it. Those observations determine whether an alpine mound, shade garden, dry creek, or simple boulder border will actually work.
Before you copy a rock-garden look, read the site
Map sun, water, access, and scale
Stand where the garden will go at different times of day. A sunny west-facing bed can be much hotter than a spot that receives gentle morning light, and a location under a tree may be dry because roots compete for water even when the soil looks shaded. Note the direction of runoff too: a decorative rock bed should not funnel stormwater toward a foundation, a neighbor’s yard, or a path where it can freeze.
Rock gardens are often associated with alpines, which generally need sharp drainage and open light, but the term also includes small perennials and shrubs chosen for a rocky setting. The Royal Horticultural Society’s rock-garden advice treats plant selection as a match between garden conditions and plant requirements, not a rule that every rockery must be dry and sunny. A woodland-style stone bed can suit shade; a wet low spot may need a rain garden instead of a conventional rock garden.
Check the mature dimensions of the plants and the rocks before drawing the footprint. Tiny ground covers disappear beside oversized boulders, while large shrubs can swallow a miniature alpine planting in a few seasons. If you need access for weeding or irrigation, leave a route into the bed rather than arranging stones as an attractive but unreachable barrier.
Choose one stone family and a plant community
Use one dominant local stone and repeat it. A mix of unrelated colors and shapes can look like leftover material rather than a deliberate landscape; a few smaller accents are easier to integrate when they share the main stone’s color or texture. Larger stones create the visual structure, while gravel and smaller pieces finish gaps and protect the soil surface.
Stone is also a growing condition. Alkaline or calcareous soils can be a poor match for acid-loving plants, and the actual effect depends on rock type, soil, water, and time. If you plan to grow plants with narrow pH requirements, test the soil and confirm the plant’s needs before committing to a limestone-heavy design; Penn State Extension’s guidance on soil pH explains why a mismatch can make nutrient uptake difficult.
32 rock garden ideas for different yards
Think of the ideas below as starting points, not recipes. Keep the rock and plant palette consistent across neighboring areas, then vary the size, height, and planting density to make the garden feel connected to the house and the rest of the yard.
Compact gardens and entryways
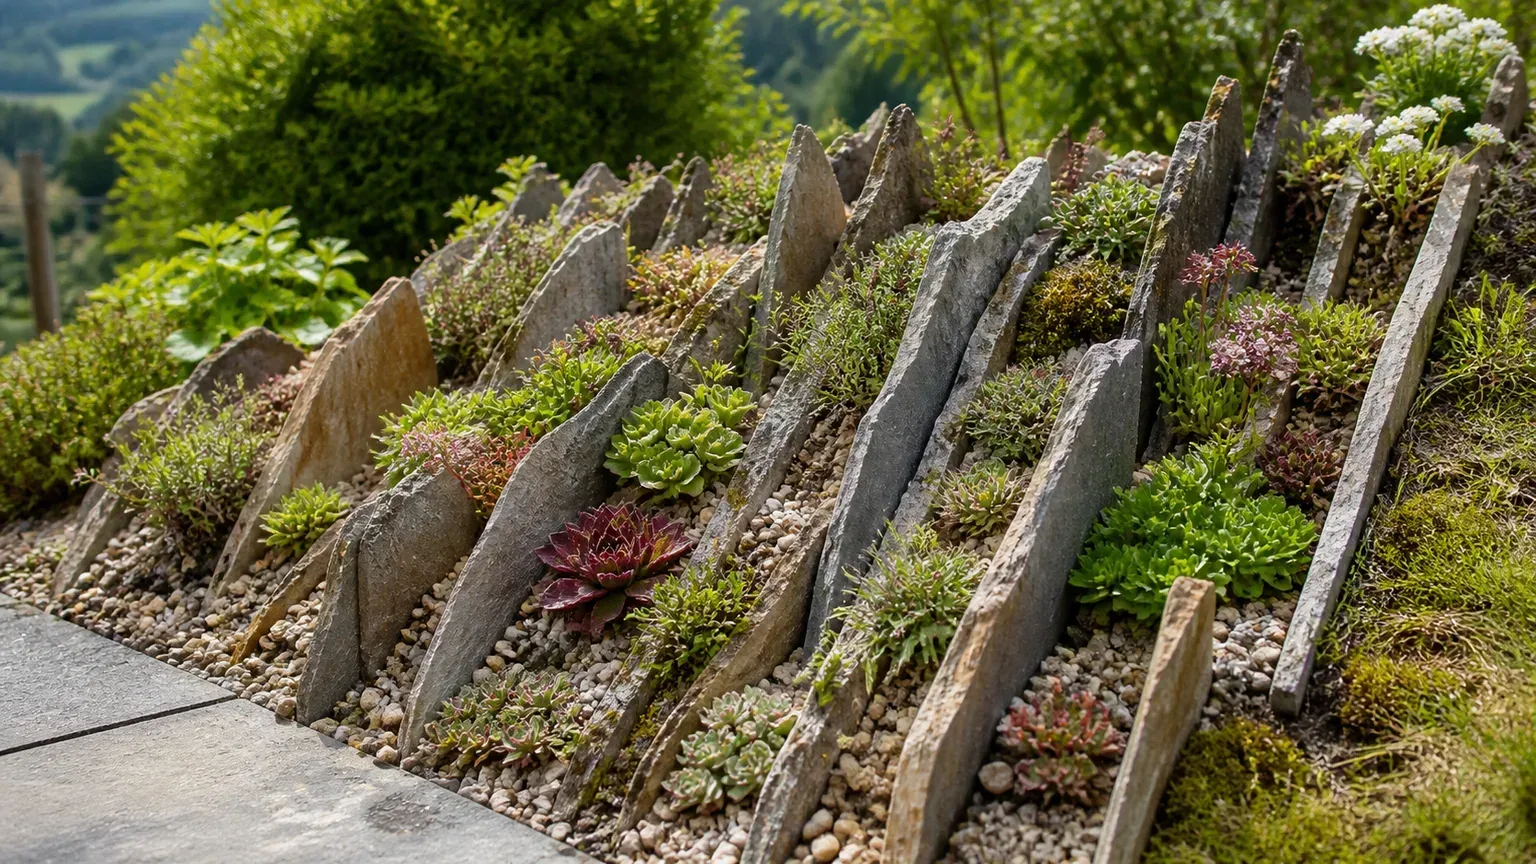
1. Build a small crevice garden. Stand flat stone slabs at slight angles in a low mound so narrow planting channels run between them. This format gives small plants a defined place to root and makes a strong focal point without a broad footprint; Penn State Extension’s crevice-garden overview describes this style as a way to create habitat between upright rocks.
2. Plant a trough-sized alpine scene. A stone, concrete, or frost-resistant container can hold a miniature version of a larger rock garden. Choose plants whose roots and mature spread fit the vessel, use a free-draining mix, and raise the container slightly on feet so the drainage holes do not sit flat against a patio.
3. Turn a courtyard corner into a rock pocket. Use a single cluster of boulders and a few low plants to soften the meeting point of walls or paving. Keep a generous strip of clear walking surface and choose a restrained palette so the space reads as a garden rather than a storage area for extra stones.
4. Frame a porch approach with gravel and planted islands. Two low beds can draw attention toward the door while preserving a clean path. Reserve the gravel for the ground plane and use plants in open soil pockets or containers; gravel is not a substitute for rooting depth or irrigation during establishment.
5. Run a pebble border beside a path. A narrow band of rounded or crushed stone can visually separate paving from a bed and catch soil that would otherwise spill onto the walkway. Match the stone size to the path and use a firm, contained edge where wheels, pets, or foot traffic could scatter it.
6. Set one boulder as the anchor. A large, well-proportioned stone can give a small bed more presence than dozens of scattered pebbles. Partly bury it so it appears grounded, then plant around one or two sides; the empty space is part of the design, so resist filling every gap.
7. Make a raised stone-edged planting pocket. A low, dry-laid border can lift a small bed above a flat patio or compacted yard. Keep the wall low and stable, and provide an outlet for water rather than trapping it behind stone; a decorative edge is not automatically a retaining structure.
8. Use a small rock garden as a front-door focal point. A compact mound, a few evergreen shapes, and a seasonal flowering ground cover can bring color to a small front yard without obscuring the entry. Keep mature shrubs away from house numbers, steps, and sightlines so the garden remains welcoming as it grows.
Slopes, steps, and boundaries
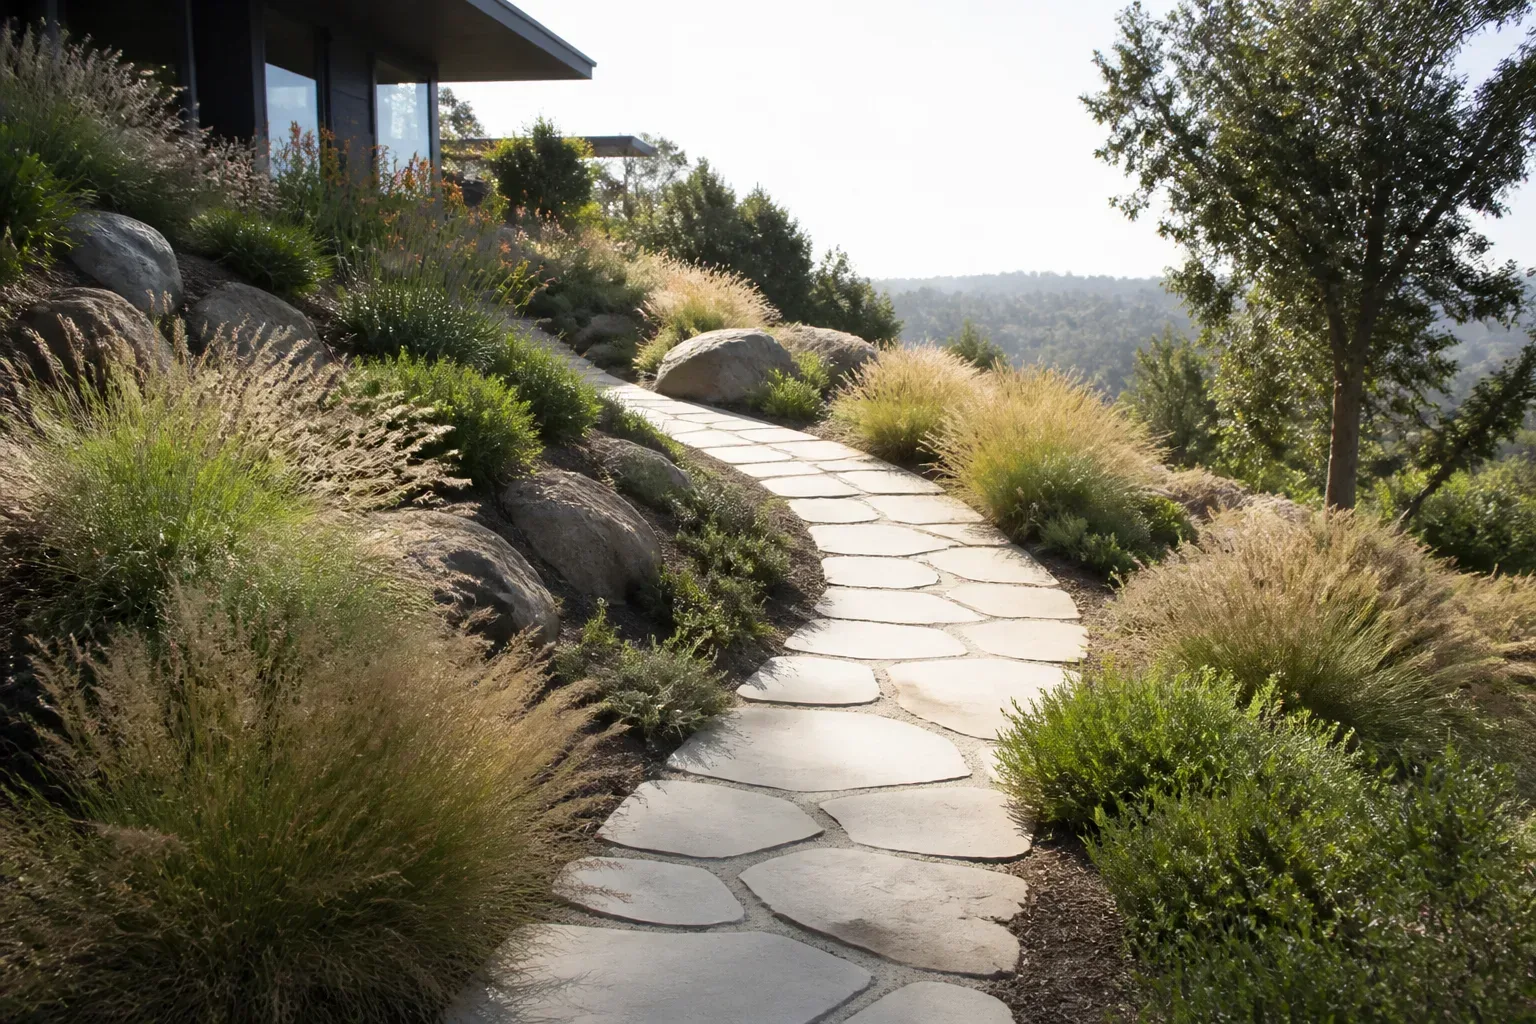
9. Let an existing gentle slope become the rock garden. Use the grade to expose different faces of the same stone and create shallow planting pockets between them. Place stable, larger rocks first and avoid excavating a steep bank casually; a landscape feature can slow surface movement but cannot replace proper slope stabilization.
10. Build low terraces instead of one tall mound. Several modest planted shelves are easier to reach and give water more than one place to slow down. The terrace walls need to suit the soil pressure and water behind them, so consult a qualified landscape or structural professional for a tall wall, a steep cut, or a site near a building.
11. Integrate broad steps into a rocky hillside. Use rough, slip-resistant stone treads with planted pockets along their edges. The steps should be comfortable and consistent in rise and depth; decorative stepping slabs that wobble or tilt become a fall hazard, especially in shade or winter weather.
12. Plant the top of a low retaining wall. A few compact, shallow-rooted plants can soften a wall’s upper edge and tie it to the bed below. Keep woody roots, irrigation, and extra soil load within the wall’s design limits, and do not plant into cracks in a wall that is already leaning or failing.
13. Create a dry creek as a visible runoff route. Arrange stones of several sizes along an existing shallow swale so the water’s path looks intentional when dry. First confirm where overflow will go; lining a channel with rock does not make water disappear, and a misdirected outlet can erode soil or send water toward a foundation.
14. Edge a winding garden path with grouped stones. Repeat a few boulders or flat stones along curves rather than lining both sides with evenly spaced rocks. This makes the path feel connected to the landscape and leaves openings for plants; keep the walking surface even and clear of loose stone.
15. Replace a narrow lawn strip with a planted gravel margin. A rock-and-plant band between a driveway and a bed can reduce awkward mowing and give the edge definition. Use a manageable width, keep sightlines open near driveways, and choose heat-tolerant plants only if the bed reflects pavement heat.
16. Soften a boundary with a low boulder rhythm. Repeating a few larger stones can mark a bed without building a continuous wall. Vary spacing slightly, leave room for plant growth, and set every stone securely where children, pets, mowers, or maintenance equipment could bump it.
Water-wise, native, and wildlife-friendly gardens
17. Create a regional rocky-outcrop garden. Choose plants native to your own ecoregion and pair them with stone that occurs locally, then design around their natural habitat. “Native” does not automatically mean drought-proof or low-water everywhere: Oregon State University Extension notes that native alpine and coastal plants may need specially drained soil, while woodland natives can need moisture and organic matter.
18. Make a dry-climate gravel garden with planted islands. Leave some open mineral surface and concentrate plants in repeated clusters rather than scattering them across the whole bed. Use species adapted to local heat and winter lows, and water new plants while they establish; water-wise design lowers demand only when the plant palette, soil, and irrigation are matched to the climate.
19. Use hens-and-chicks in sunny stone pockets. Rosettes of Sempervivum can add geometric form to shallow, sharply drained gaps. Give them room to offset and avoid placing them where winter water pools; many succulents tolerate dry spells once established but still fail in persistently wet soil or climates outside their hardiness range.
20. Let creeping thyme soften a sunny edge. Low thyme can spill between larger stones and release fragrance when brushed along a path. Choose a species and cultivar suited to your climate, avoid planting it in a soggy pocket, and keep it away from the center of high-traffic treads where it may be crushed.
21. Use flowering mats for a living color carpet. Creeping phlox, rock cress, and similar ground covers can fill selected gaps while leaving stone visible. Confirm mature spread and regional behavior before planting; a fast mat can hide the rockwork or escape its intended pocket, so clip its edges after bloom if needed.
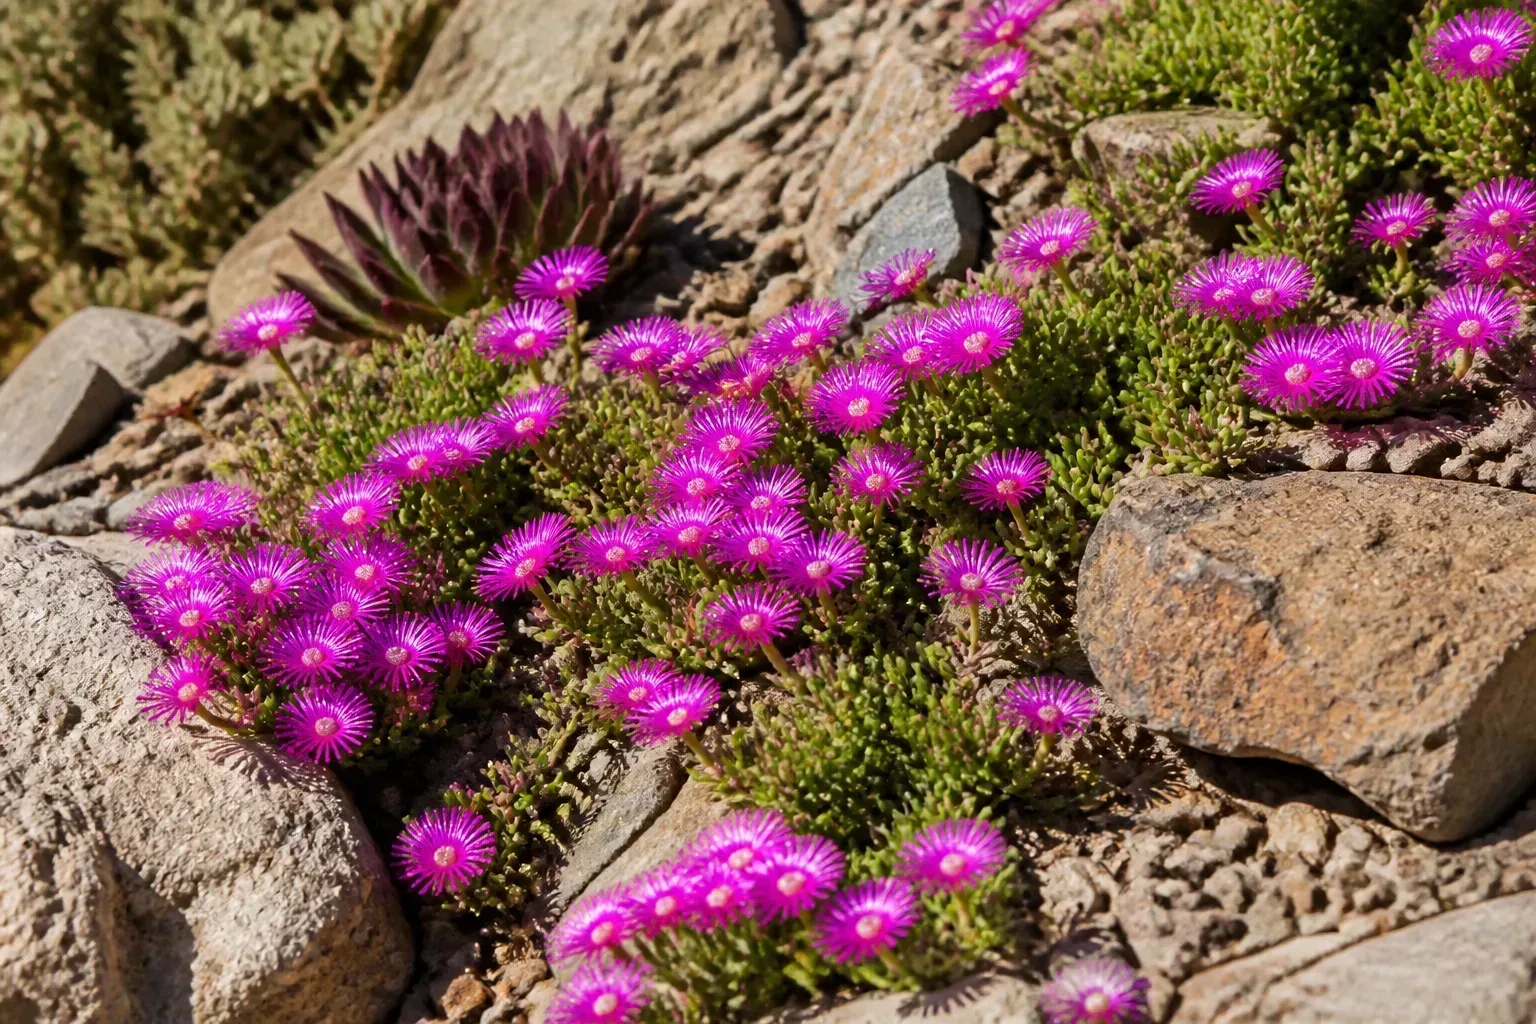
22. Build a pollinator-focused rock garden. Combine staggered bloom times, small native flowering perennials, and open bare patches where appropriate for the chosen species. The goal is a range of food and shelter, not simply a bright flower display; verify that each plant is noninvasive locally and suited to the site’s sun and water.
23. Make a coastal-style rock garden with salt-tolerant plants. Use wind-shaped forms, weathered local stone, and plants known to handle the salt exposure in your region. Coastal gardens can be windy and dry, but not every seaside plant tolerates inland heat or cold, so use local extension or native-plant guidance for selections.
24. Try a high-desert composition with upright grasses. A small number of clumping grasses can contrast with low mats and angular stone without making the bed feel crowded. Choose grasses with a mature size that suits the space, and leave enough clearance for their foliage and seed heads to move without covering tiny alpine plants.
Plant-led scenes and landscape features
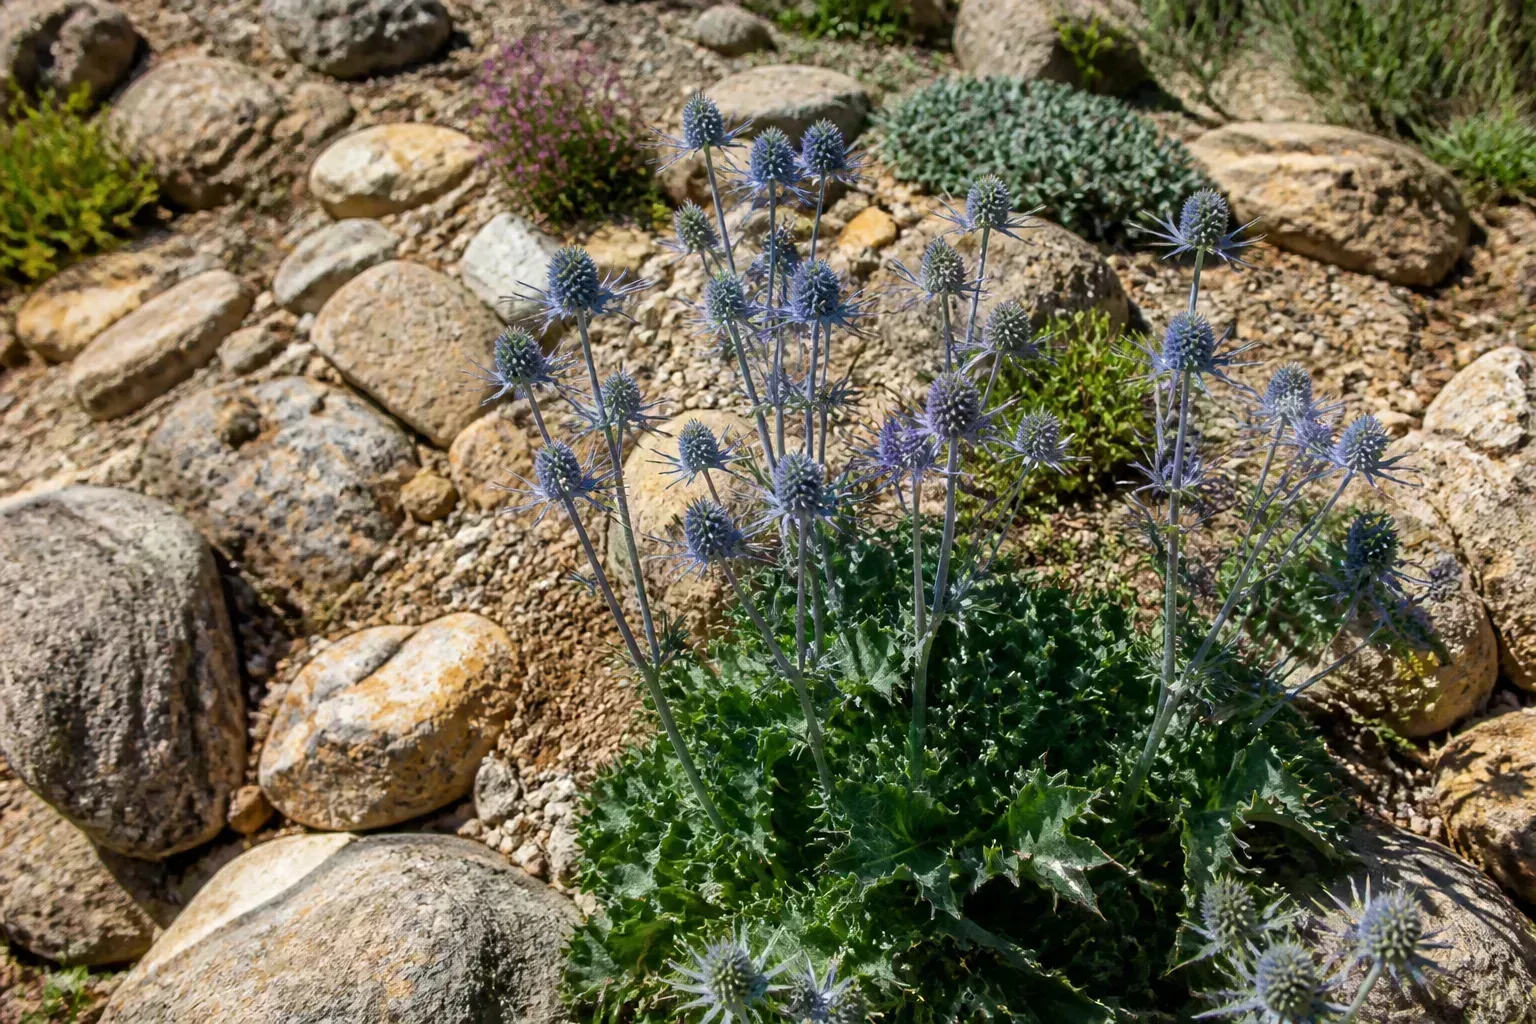
25. Create an alpine spring sequence. Pair compact bulbs or early-flowering alpines with later ground covers so the garden changes through the season. Check the needs of each plant rather than assuming all alpine species want the same moisture; many appreciate the open, well-drained conditions described in the Alpine Garden Society’s building notes.
26. Add sculptural sea holly for vertical contrast. A plant such as Eryngium can rise above low mats and repeat the garden’s spiky stone shapes. Select a species that fits your climate and bed size, and use it where its mature height will not block a view or snag people walking close by.
27. Use dwarf evergreens for year-round structure. A compact juniper or small conifer can hold the composition together after flowers fade. Read the eventual height and width on the plant label; a dwarf variety still grows, and a large evergreen can shade out the low plants that make a rock garden look like one.
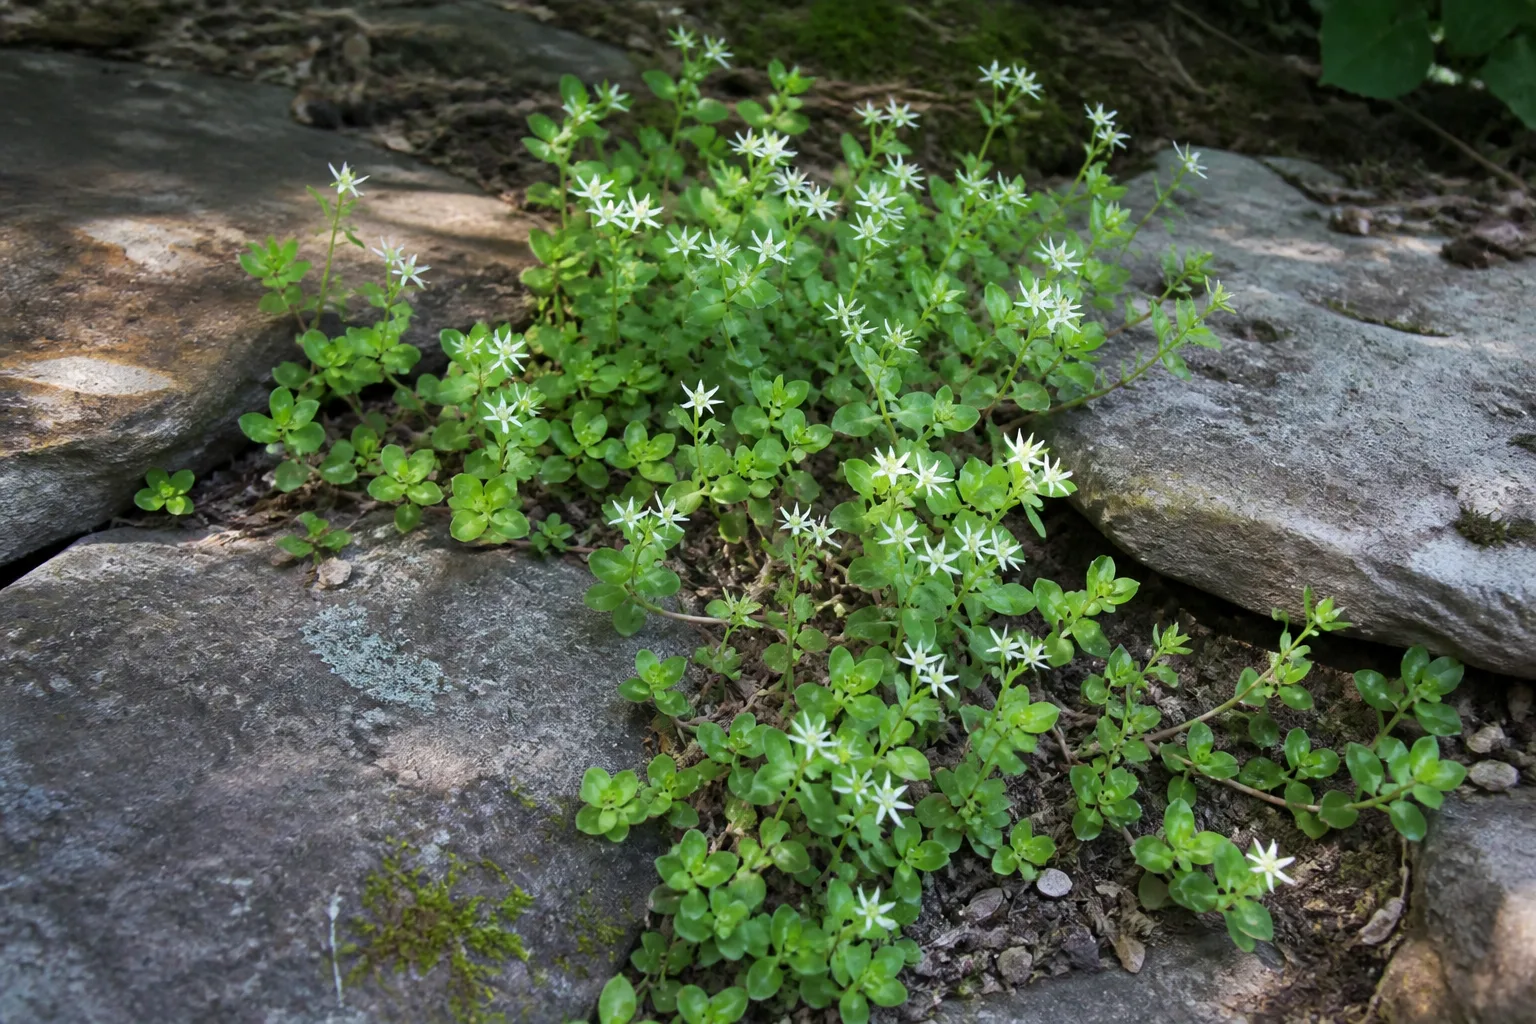
28. Add a woodland stone garden under light shade. Use small rocks, leaf mold, and plants that naturally tolerate the site’s moisture and light rather than forcing sun-loving alpines into shade. Small ferns and woodland stonecrop can work in appropriate regions, but check each species’ moisture needs; shade beneath mature trees can still be dry because roots compete for water.
29. Build a rock garden around one seasonal flower color. A restrained palette—such as spring purple, summer yellow, or white flowers against dark stone—can make a mixed planting feel intentional. Repeat the color in a few pockets and vary leaf texture, rather than buying many unrelated flowering plants that peak at different times and compete for attention.
30. Mix rock with bark mulch only where each material helps. Stone suits sunny, lean planting pockets and bark can protect moisture-loving shrubs or woodland plants in a nearby bed. Organic mulch can add soil matter as it decomposes, while rock lasts longer but does not improve soil fertility; Utah State University Extension’s water-wise mulch guidance explains these trade-offs. Avoid piling either mulch against woody stems or using hot rock mulch around sensitive plants.
31. Use gravel as a path-side seating frame. A small bench, chair, or fire feature can sit beside a planted rockery if the surface is level and the circulation area is stable. Keep combustible materials and plants at the distances required by the fire feature’s instructions, and do not let decorative gravel create a trip edge or obstruct access.
32. Compose a calm stone-and-plant focal bed. Instead of a random mosaic, choose a small number of repeated stone shapes and plant forms, then leave visible negative space. This can feel contemporary or quietly natural depending on the stone and planting; the key is proportion, not a particular design label.
Choose plants to fit the microclimate
Sunny, dry, fast-draining pockets
For a bright, dry bed, consider low-growing plants such as hens-and-chicks, suitable sedums, creeping thyme, creeping phlox, rock cress, or regional native penstemons. Treat these as a starting list, not a guaranteed palette: winter wet, summer heat, elevation, local invasiveness, and hardiness can change which species thrive. The RHS plant guide for rock gardens offers a useful species directory, but verify names and conditions for your region.
Put taller or more structural plants behind the low mats and keep them far enough apart for their adult spread. An Alpine Garden Society introduction to alpine plants notes that gardens can range from large landscapes to small containers; in either scale, selecting plants for the available habitat matters more than collecting a long list of labels.
Part shade and moisture-retentive pockets
Shade does not rule out stone, but it changes the planting palette and the reason for using rock. Ferns, woodland stonecrop, and other shade-tolerant ground covers may suit a partly shaded site if moisture and soil conditions fit. Place plants that tolerate drier shade beneath large trees only after checking root competition; irrigation may still be needed during establishment. Oregon State University Extension’s guide to native plants and their growing conditions distinguishes moisture-loving woodland plants from mountain and coastal species that need extra drainage.
Do not solve every wet pocket by pouring in gravel. Water moves through a soil profile according to its texture and structure, and a gravel layer over compacted clay can leave the root zone waterlogged rather than fixing it. Where water naturally collects, consider a planting that tolerates those conditions or a properly designed drainage feature, not a conventional alpine bed.
Build a rock garden for plants and water movement
Set stable stones before planting
Mark the outline with a hose or sand before digging. That simple mock-up helps you see whether a mound crowds the path, whether a boulder is too large for the house, and whether the bed’s curves work from the places people actually view it. Check for buried utilities before excavation, and protect existing tree roots from deep digging or heavy equipment.
Place the largest stones first and make them look as if they belong in the same landscape. The RHS construction guide recommends setting larger keystone rocks, burying them partly, and keeping visible strata consistent; Fine Gardening’s rock-garden primer similarly emphasizes scale and cohesion. Partly buried stones look grounded, but their exact depth should reflect size, soil, intended load, and stability rather than a one-size measurement.
Never balance a boulder on loose soil or on a sloped edge where children, pets, or maintenance equipment could shift it. Large stones can injure people and compact soil; arrange mechanical help for heavy pieces and use a qualified installer when the project involves large boulders, wall loads, or a steep grade.
Make planting pockets, not a generic gravel layer
Remove perennial weeds before building, then prepare the soil to suit the plants you chose. For a traditional alpine bed, a raised mound or slope and a gritty, open planting medium may help roots avoid prolonged saturation; other plant communities need more organic matter and moisture. The North American Rock Garden Society describes how crevice design uses upright, angled stones and soil-filled gaps to create distinct microhabitats.
Set plants in their pots before planting so you can see mature spacing and height relationships. Work each root ball into a real soil pocket, firm it gently, water it in, and add a thin top-dressing of gravel or grit where appropriate. The mineral finish can reduce splash and help the surface look cohesive, but roots still need access to suitable soil below it.
Avoid treating landscape fabric as a permanent answer to weeds. It can make future planting and division harder, and seeds can germinate in dust and organic debris that collect above it. University of Minnesota Extension’s recent mulch guidance also notes that hot stone can stress sensitive plants and that some barrier materials interfere with soil life; in planted areas, a clean bed, appropriate spacing, and timely hand-weeding are often easier to manage.
Keep maintenance low without calling it zero
Weed, water, and reset the design seasonally
Water new plants thoroughly at planting and monitor their root zones while they establish. A gravel surface can dry quickly in wind and sun even when deeper soil holds moisture, so check below the top layer before deciding whether to water again. Once plants are established, adjust irrigation to the species and weather rather than following a fixed schedule.
Remove weeds while they are small, before roots weave beneath stones. Lift leaves and debris before they decompose into a seedbed, top up washed-out gravel only where it is useful, and trim ground covers that are hiding the rock structure. Rock lasts longer than organic mulch, but it does not prevent all weeds or eliminate seasonal cleanup.
Reassess the design after the first full growing season. If a plant overruns its pocket, divide it or move it; if a shady crevice stays wet, replace a sun-loving alpine with a species that fits or change the drainage plan. Rock gardens are easiest to maintain when every plant has enough room and every hardscape element has a clear job.
Conclusion
The best rock garden ideas start with the conditions you have: sun, water movement, slope, soil, and the amount of space you can reach for maintenance. Choose one stone palette, plant for the actual microclimate, and make boulders and walls stable before planting. A thoughtful design can look natural and stay manageable, but its success comes from matching the details to your site—not from covering a bed in rocks and hoping for the best.



