How to Collect and Save Cucumber Seeds Step by Step
Learn how to save cucumber seeds from ripe fruit, avoid unwanted crosses, ferment and dry them correctly, then store a labeled seed lot for next season.
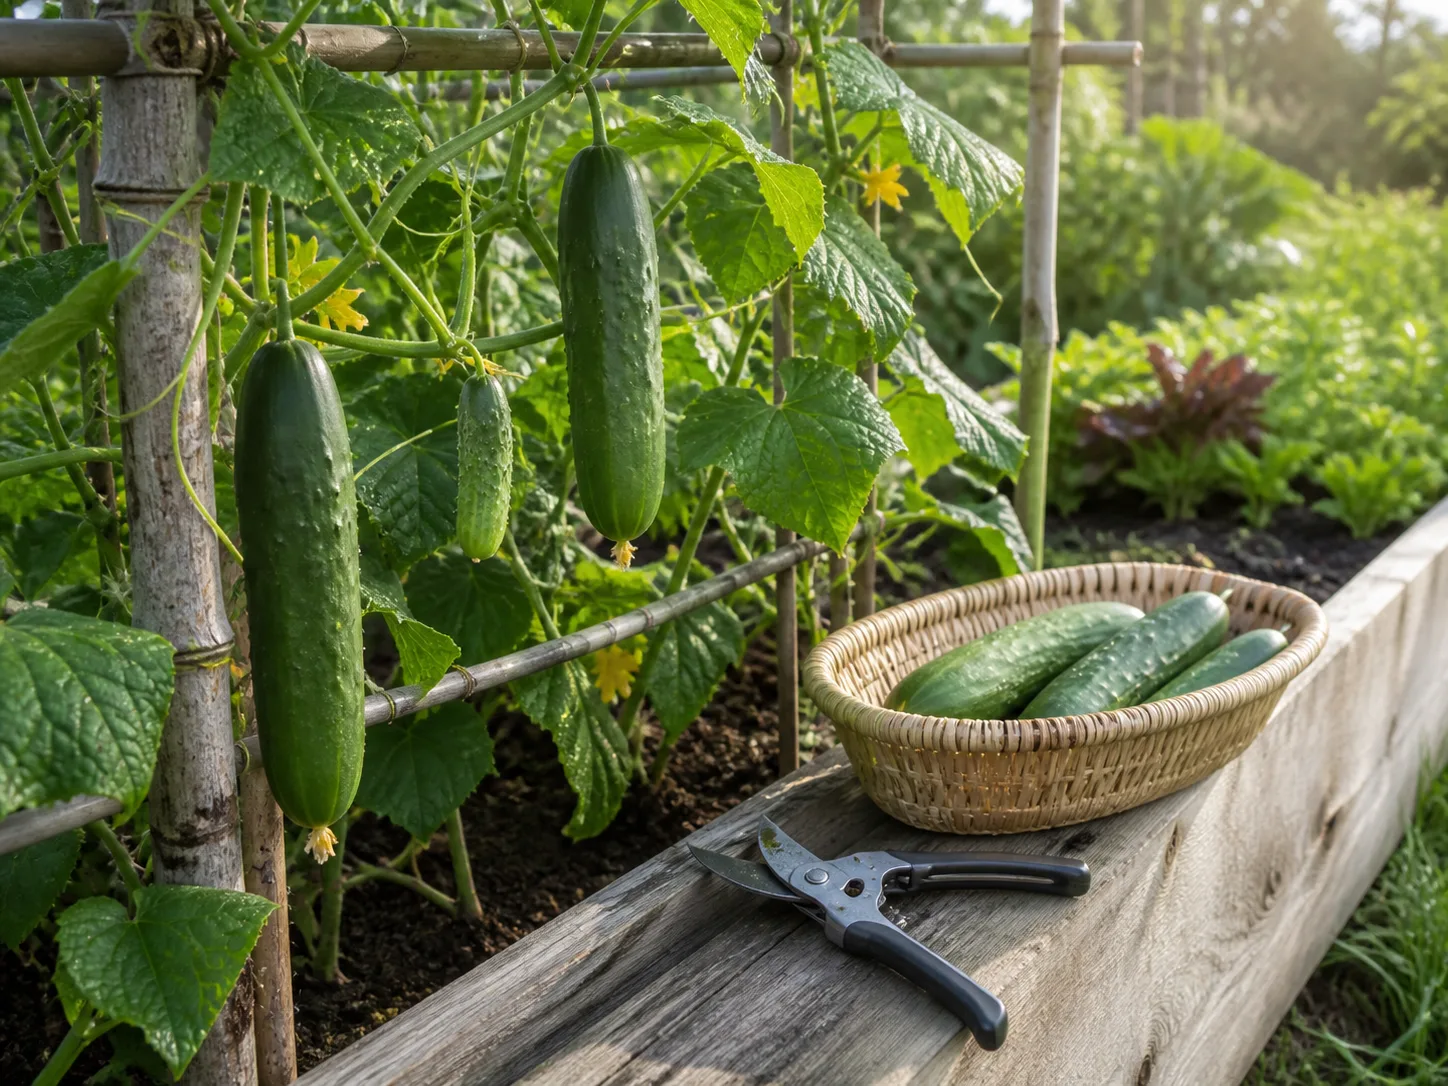
Saving cucumber seeds is straightforward once you separate two questions: will the seed germinate, and will the next plant match the cucumber you grew? The first depends mainly on maturity, cleaning, drying, and storage. The second depends on the variety and what pollinated its flowers.
For the best chance of a predictable crop, start with a healthy, identified open-pollinated cucumber, keep pollen from other cucumber varieties away from the flowers you intend to save, and leave the fruit on the vine until its seeds reach full maturity. Then remove the seed gel, dry the seeds thoroughly, and label the lot with the cultivar and harvest year. Seed Savers Exchange’s crop-specific guide puts cucumber seed maturity roughly 45 to 60 days after pollination and recommends cool, dark, dry storage; treat those timings and shelf-life estimates as guidance, not a promise for every garden or seed lot.
Check the variety before you save
Read the seed packet or plant label before setting aside a fruit. If it names an F1 hybrid, the seed may sprout, but the seedlings are unlikely to reproduce the same combination of fruit shape, flavor, yield, or disease resistance. A hybrid is created by crossing selected parent lines; its saved seed forms a later generation in which those traits can separate or vary.
That does not mean hybrid seeds are automatically sterile. They can produce plants, but their offspring may differ from the cucumber you harvested. If you want a dependable copy of a named hybrid, buy fresh seed; if you want to experiment, label the saved seed “F1 offspring” and expect variation rather than a true-to-type crop.
Open-pollinated varieties are better candidates for saving because they can reproduce their defining traits when pollinated by the same variety. “Heirloom” is a history or marketing description, not a synonym for guaranteed purity: an heirloom cucumber can still cross with a neighboring cucumber of the same species. Seed Savers Exchange explains that open-pollinated seed remains true to type only when it does not cross with another variety of the same species (Seed Savers Exchange).
Open-pollinated, heirloom, and F1 hybrid are different terms
A variety marked open-pollinated is intended to reproduce reliably when its pollen comes from the same variety. Heirloom usually describes a variety with a longstanding history, but the term has no single universal age threshold, and it does not by itself confirm which pollen reached a particular flower.
“F1” identifies the first generation from a controlled cross between two parent lines. Saving seed from an F1 is useful for learning or selection, but not for preserving the exact F1 plant. If a label is missing and you cannot verify the cultivar, keep the seed lot separate and mark its identity as unknown rather than promising it will grow true.
Understand cucumber pollination before choosing seed parents
Most garden cucumbers have separate male and female flowers on the same plant. The female flower has a miniature cucumber-shaped ovary directly behind its petals; the male flower sits on a slender stem without that swelling. Bees and other insects transfer pollen from flower to flower, so the fruit’s seeds carry genetic material from the pollen parent as well as the plant that produced the fruit.
This is why a cucumber that looks exactly like its parent can still contain seed from an unintended cross. The fruit’s flesh and skin develop on the mother plant, but the embryo inside each seed comes from fertilization. Ohio State University Extension’s seed-saving discussion emphasizes saving from fully ripe fruit and accounting for cross-pollination when you want seedlings to match their parents (Ohio State University Extension).
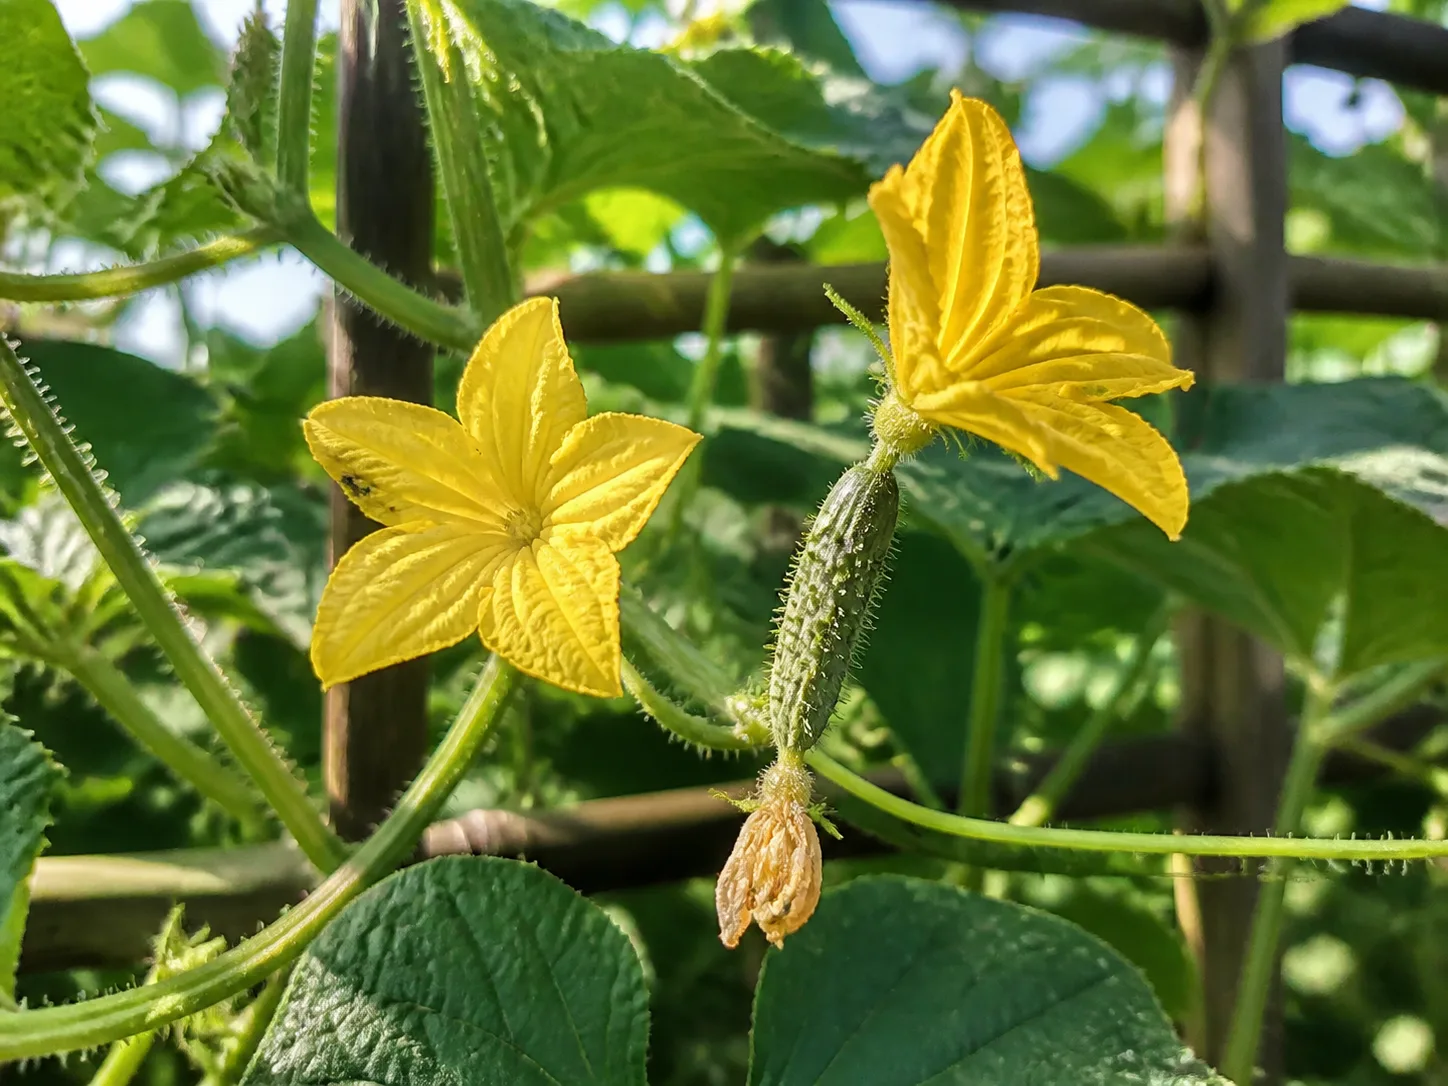
Which cucumbers can cross-pollinate?
Different varieties of Cucumis sativus can cross with each other. A slicing cucumber and a pickling cucumber are still cucumbers for this purpose, as are many English, Japanese, and Persian types. If they flower at the same time and bees can reach them, seed from either may carry a cross.
Most squash, pumpkins, and melons are different species, so they do not ordinarily cross with a true cucumber. Common names can mislead, though: Armenian cucumber is botanically a melon, and seed-saving decisions should follow the botanical identity on the seed packet rather than the word “cucumber” on a market sign. Epic Gardening’s cucumber pollination guide also distinguishes true cucumbers from other cucurbits and notes that different C. sativus varieties can cross (Epic Gardening).
Choose an isolation method that fits your garden
Seed Savers Exchange gives an isolation distance of about 800 feet to one-half mile between cucumber varieties when the goal is true-to-type seed. The range reflects the fact that pollinators move, landscapes differ, and distance is not a sealed barrier; a backyard gardener may have no control over neighboring gardens or bee flight paths (Seed Savers Exchange). A broader vegetable-pollination overview from Harvest to Table notes that many cross-pollinated crops need a quarter mile or more between varieties, underscoring why distance recommendations are guidance rather than a guarantee for every yard.
If you need reliable varietal purity in a small space, isolate individual blossoms and hand-pollinate them. Before a female flower opens, cover it with a fine mesh blossom bag; cover one or more male flowers on the same variety too. In the morning, when the flowers open, use pollen from the bagged male flower to dust the center of the female flower, then close or rebag it and tie a bright tag to the stem so the fruit is not picked for eating.
Keep the tag through harvest and write down the cultivar, pollination date, and method. This extra work is worthwhile when preserving a rare line or keeping a named variety consistent; it is usually unnecessary if you are happy to grow a surprise cross. Seed Savers Exchange notes that cucumber flowers are short-lived and hand-pollination is best done early in the day, so bag buds before they open rather than trying to isolate a flower after bees have visited.
Select a healthy, true-to-type parent plant
Choose fruit from a plant that has grown well in your conditions and shows the traits you want to keep: healthy vines, typical fruit shape and color, and good flavor before the fruit was left to mature. Avoid seed from a plant with serious disease, severe stress, or abnormal fruit if you do not want those problems represented in your next generation.
For a small home seed batch, one mature cucumber can provide many seeds. If you are maintaining a variety over repeated seasons, collect from several healthy plants rather than selecting from only one; Seed Savers Exchange recommends saving from five to ten plants to maintain a variety over time. That broader sample helps retain more of the variety’s diversity than a single fruit can represent.
A practical approach is to mark two or three promising fruits early, then keep the best one or two for seed as the season progresses. This lets you discard a fruit that develops rot or is accidentally damaged without losing the entire seed crop. Do not remove every cucumber from the vine for seed; the plant still needs healthy foliage and time to finish those fruits.
Wait for botanical maturity, not salad size
Cucumbers are usually harvested for eating while they are immature. A seed cucumber must stay on the plant long after it reaches normal slicing or pickling size so the seeds can finish developing. A mature fruit is oversized, often softer than an eating cucumber, and may shift from green toward yellow or orange, but color depends on cultivar.
Seed Savers Exchange says many varieties approach seed maturity around 45 to 60 days after pollination and advises waiting several weeks after a color change before extracting the seeds. Use that as a planning estimate, not a fixed countdown: record when a marked flower was pollinated, inspect the fruit as it grows, and look for a combination of size, color change, softness, and a fully developed seed cavity. Ohio State Extension describes a swollen yellow cucumber as a fully ripened fruit, unlike the firm green stage most people eat (Ohio State University Extension).
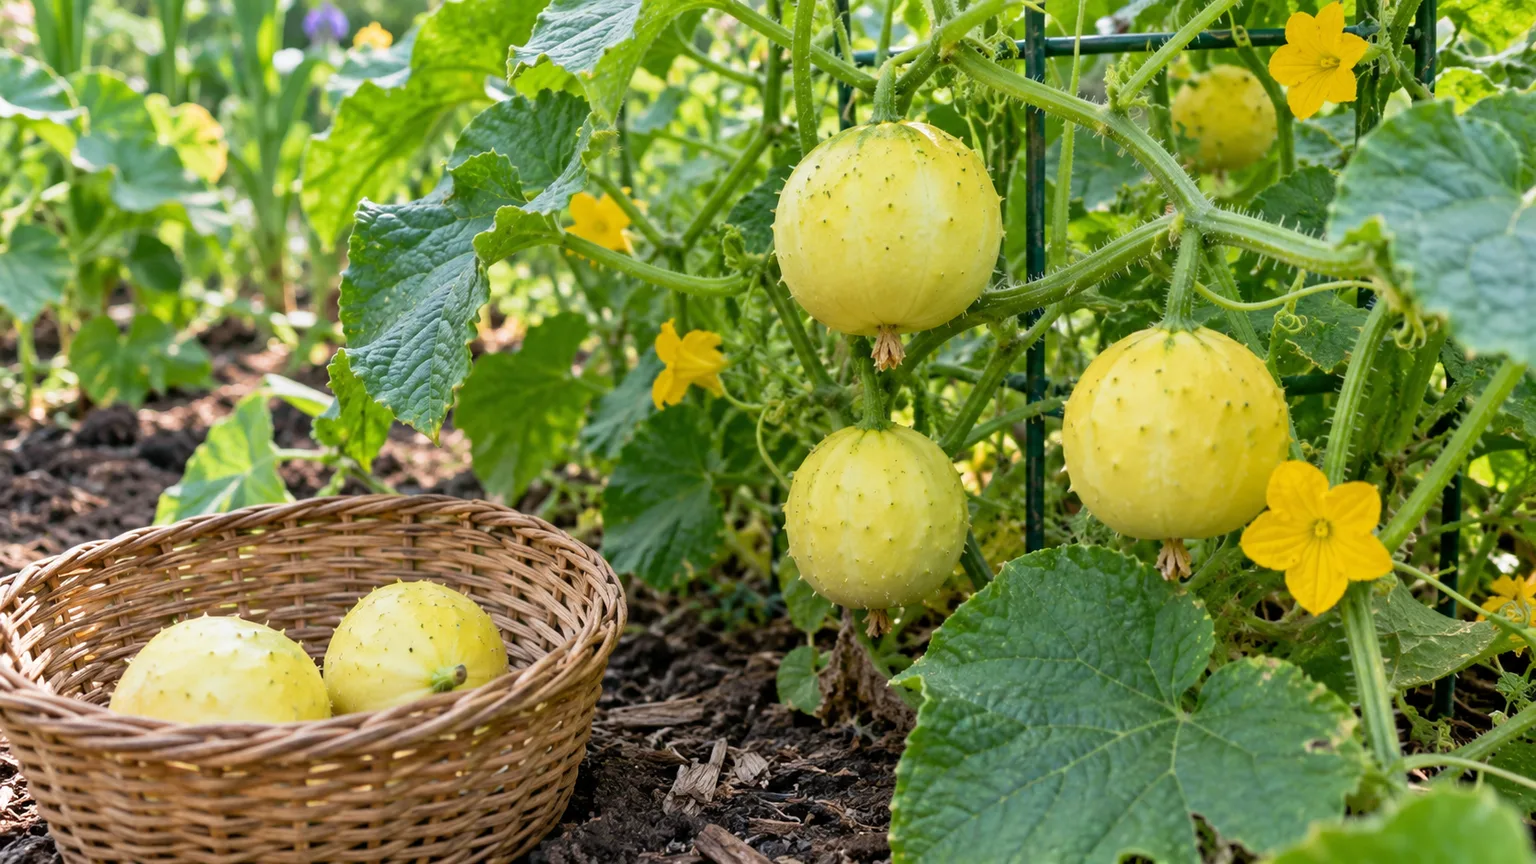
This lemon cucumber photo is a useful reminder that “yellow” does not mean the same thing for every variety. Lemon cucumbers are yellow at ordinary harvest, while many green slicing types turn yellow only as they over-ripen; identify your cultivar and use color with size and softness rather than as the only cue.
If frost, disease, or a dying vine threatens the fruit, harvest it when it has clearly reached mature size and begun changing color, then let it soften indoors in a ventilated container. This may allow a nearly mature seed crop to finish, as Seed Savers Exchange describes, but seeds picked too early can still have poor germination. Do not wait until a fruit is moldy, split open, or rotting into the soil; those conditions can damage seed and make it hard to judge quality.
Gather a few clean tools before cutting the fruit
You do not need specialized equipment. Set out a clean sharp knife or pruners, a small bowl or wide-mouth jar, a spoon, a fine strainer, water, a screen or coffee filter for drying, and a paper envelope or airtight container for storage. Add a plant tag, pencil, and notebook so you can keep the variety and harvest details attached to the seed lot.
Wash the bowl, strainer, and knife before processing a new variety, especially if you are saving more than one. Mixing seed lots is an easy way to lose cultivar identity even when pollination was controlled. If several fruits are being processed, handle and label one variety at a time and clean the tools between batches.
Collect and clean cucumber seeds step by step
Bring the mature fruit indoors and process it promptly. The gel around cucumber seeds is a normal part of the fruit, but it should be removed before the seeds are dried and stored.
Cut the fruit and scoop out the seed cavity
Cut the cucumber lengthwise through the seed cavity. Use a spoon to scoop the seeds and surrounding pulp into a bowl or open jar, keeping the fruit skin and excess flesh out of the batch. If you saved fruit from different plants or varieties, keep each container separate and attach a label before you start the next one.
Cucumber seed saving is a wet-processing job because the seeds are surrounded by moist pulp and a slippery coating. Do not try to dry the seeds while thick strands of fruit are still attached; trapped pulp slows drying and can encourage mold. Seed Savers Exchange’s crop guide uses a short fermentation to loosen the gel before rinsing (Seed Savers Exchange).
Ferment only until the gel loosens
Cover the pulp and seeds with a small amount of water, then leave the open container at a comfortably warm indoor temperature. Seed Savers Exchange recommends one to three days at about 70 to 80°F; stir once daily and check that the gel is loosening. The goal is to release the coating, not to let the mixture sit until the seeds begin to sprout or the container becomes a foul, moldy mess.
A thin layer of bubbles or surface film can appear during fermentation, but do not use smell or foam alone as the finish line. Pour a little clean water into the container and rub a few seeds between your fingers; when the slippery coating separates and the seeds feel cleaner, move on to rinsing. If you see fuzzy mold, the mixture has become heavily rotten, or seeds start to germinate, discard that batch rather than storing compromised seed.
Keep the vessel uncovered or loosely covered with a breathable cloth so gases can escape. Avoid sealing a fermenting jar tightly, adding household cleaners, or placing it in direct sun or near a heat source. Warmth speeds the process, but excessive heat and excess time can harm the embryos you are trying to preserve.
Rinse and sort without treating a float test as proof
Add water to the container and stir gently. Pulp and lightweight material may rise; pour off that cloudy water carefully, keeping the heavier seeds at the bottom, and repeat until the water is mostly clear. Then pour the remaining seeds into a fine strainer and rinse away any last gel or pulp.
Floating is a useful first-pass cleaning clue, not a definitive germination result. Air trapped on a seed, incomplete wetting, or an immature seed can affect whether it floats, and a seed that sinks is not guaranteed to sprout. Keep the cleanest, fullest seeds, but test a sample if the lot is old, valuable, or especially small instead of relying on a water bowl to certify viability.
Dry seeds completely before you package them
Spread rinsed seeds in a single layer on a screen, mesh tray, or coffee filter in a dry room with good airflow. Keep them out of direct sun and away from ovens, radiators, and hot dehydrators; slow, gentle drying protects the seed better than applying heat. Turn or separate clumps once they begin to dry, and keep the tray away from pets, children, dust, and rodents.
Seed Savers Exchange recommends drying cucumber seeds as soon as possible after rinsing, in a cool, dark place with airflow, and describes a seed that snaps cleanly as dry; one that bends needs more time. The seed should feel hard and dry rather than cool or tacky. If your room is humid, give the seeds additional time and check several, not just the first one that feels dry.
Do not put freshly rinsed seeds into a sealed jar, plastic bag, or closed envelope. Residual moisture can condense, clump, and support mold; a packet that feels dry on the outside can still hold damp seeds inside. If the seeds smell musty or show visible mold after drying, discard them rather than mixing them with a healthy lot.
Store, label, and track the seed lot
Once fully dry, place cucumber seeds in a paper envelope and then store that envelope in a tightly closed jar or other airtight container. Keep the container in a cool, dark, dry location, away from humidity and temperature swings; a cupboard away from the stove, sunny window, and damp basement is better than an open bowl on a shelf. If you use a refrigerator, seal the seeds well and let the closed container come to room temperature before opening so warm humid air does not condense on cold seed.
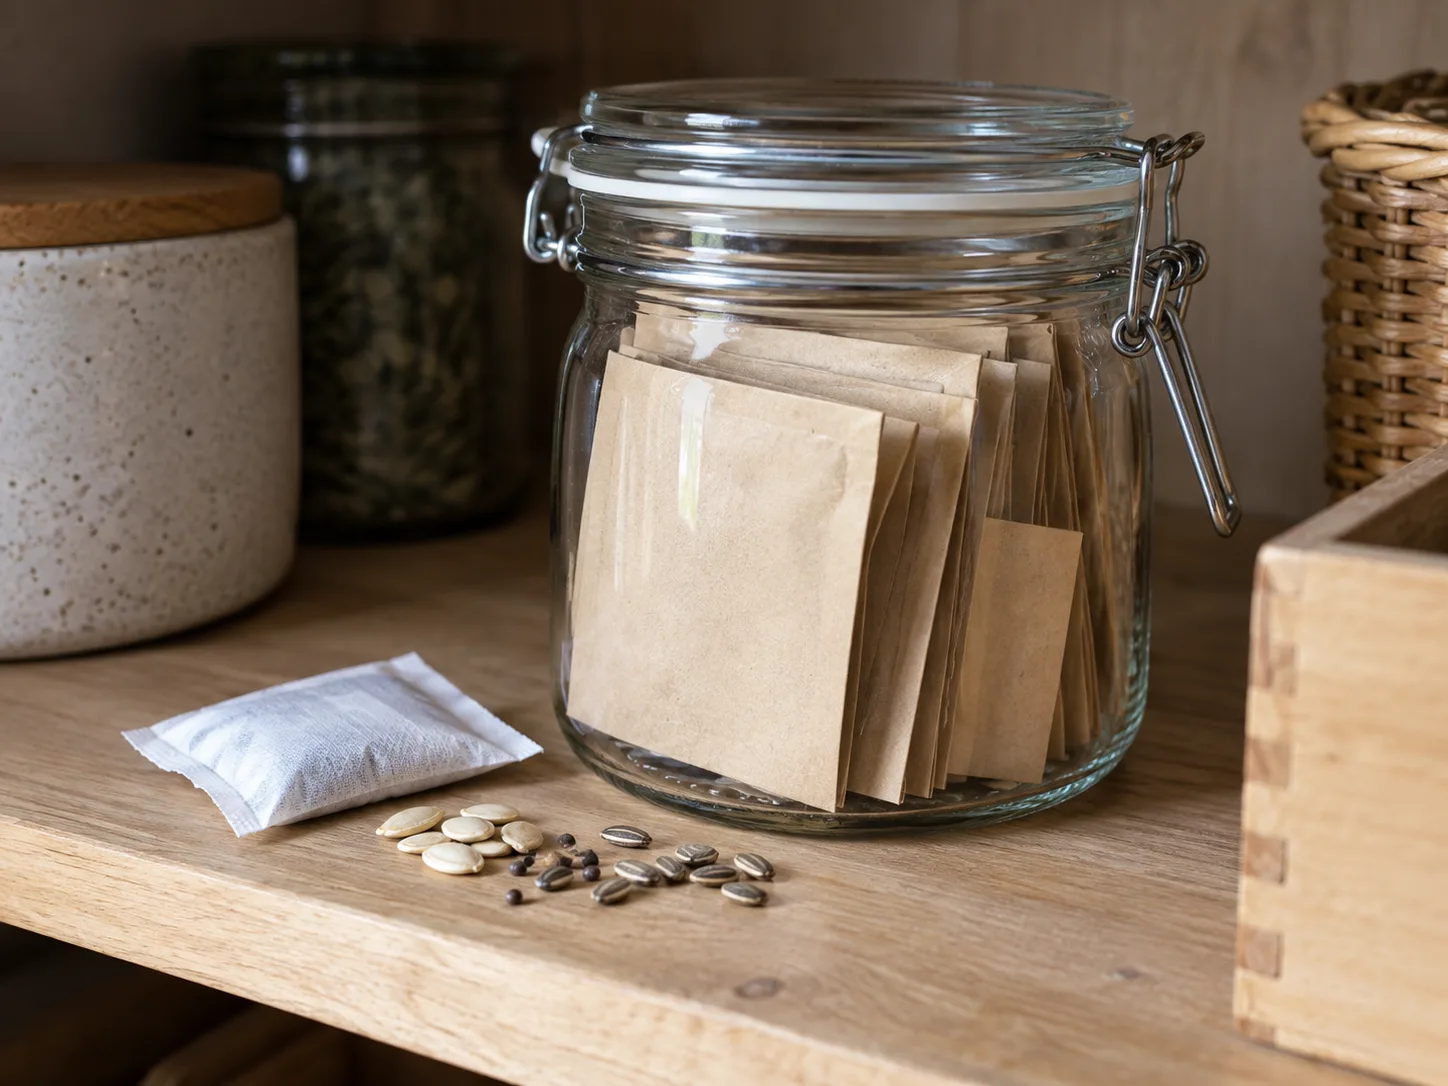
Write the crop, exact variety, year, and seed source on the packet. Add notes such as “hand-pollinated,” “distance isolation only,” or “neighbor cucumbers unknown” so next year you can tell how confidently the seed should reproduce the parent. A jar of unmarked seed may remain viable but still be useless if no one knows what it is.
Seed Savers Exchange gives about five years as a potential cucumber seed life when seed is stored cool, dark, dry, and airtight. Actual longevity depends on how mature and dry the seeds were when stored and how stable the temperature and humidity remain; no calendar date guarantees germination. Treat five years as a planning estimate and test older seed before depending on it.
Test older seeds before planting a full row
A quick germination check prevents a disappointing empty bed. Place ten seeds between damp paper towels or on a moist coffee filter, keep them warm, and check them at the germination interval on the packet or reliable crop guide. Keep the medium moist but not waterlogged, and count how many seeds produce healthy roots and shoots.
If eight of ten germinate, the lot is about 80 percent germinable under that test’s conditions; sow a little more thickly if you want a full stand, then thin seedlings as needed. If only a few sprout, use the remaining seed promptly and sow extra, or start with a fresh packet when uniform emergence matters. A home test is a useful estimate, not a laboratory purity or vigor test.
Mistakes that reduce seed quality or varietal purity
- Saving from an F1 hybrid and expecting a copy: the seed may sprout, but the next generation can vary. Label it as an experiment or buy the same hybrid again.
- Ignoring other cucumber plants: different C. sativus varieties can cross, including a neighbor’s patch. Distance may reduce risk, but bagged flowers and hand pollination are more dependable for a small garden.
- Picking at eating size: a firm green cucumber is usually not finished making seed. Leave a marked fruit until it is oversized and reaches cultivar-appropriate maturity.
- Using color as the only signal: some cultivars are yellow when ready to eat. Check the variety, time after pollination, size, and softness together.
- Letting the fruit rot on the vine: fully mature is not the same as decomposing. Harvest when seeds are mature, before deep rot, mold, or animals damage the fruit.
- Fermenting by the clock alone: warmth and pulp volume affect speed. Inspect the coating daily and rinse once it releases; do not leave the batch sitting for a week.
- Sealing damp seeds: incomplete drying is a common cause of mold and poor storage. Spread them in one layer and wait until the seeds are hard and snap rather than bend.
- Treating floating and sinking as a guarantee: decanting helps remove pulp and lighter material, but only a germination test tells you whether a sample sprouts.
- Forgetting the label: cultivar, year, and pollination notes matter as much as a clean seed. Label the lot before the envelope or jar leaves the work area.
Conclusion
To save cucumber seeds successfully, begin with a variety worth keeping and understand whether the seed can grow true to type. Select a healthy plant, prevent unwanted pollen from other cucumber varieties if purity matters, and let a marked fruit reach botanical maturity rather than picking it at salad size.
After harvest, scoop out the seeds, ferment briefly until the gel loosens, rinse, dry in a single layer, and store the labeled lot in a cool, dark, airtight place. A float test can help with cleaning, but it cannot promise germination; test older seed before you plant a whole bed. That small final check turns saved seed from a hopeful jar into a useful plan for next season.



