Should You Store Garden Tools Indoors for Winter?
Should you store garden tools indoors for winter? Learn which tools need shelter, how to clean and protect them, and what to do when you lack a shed.
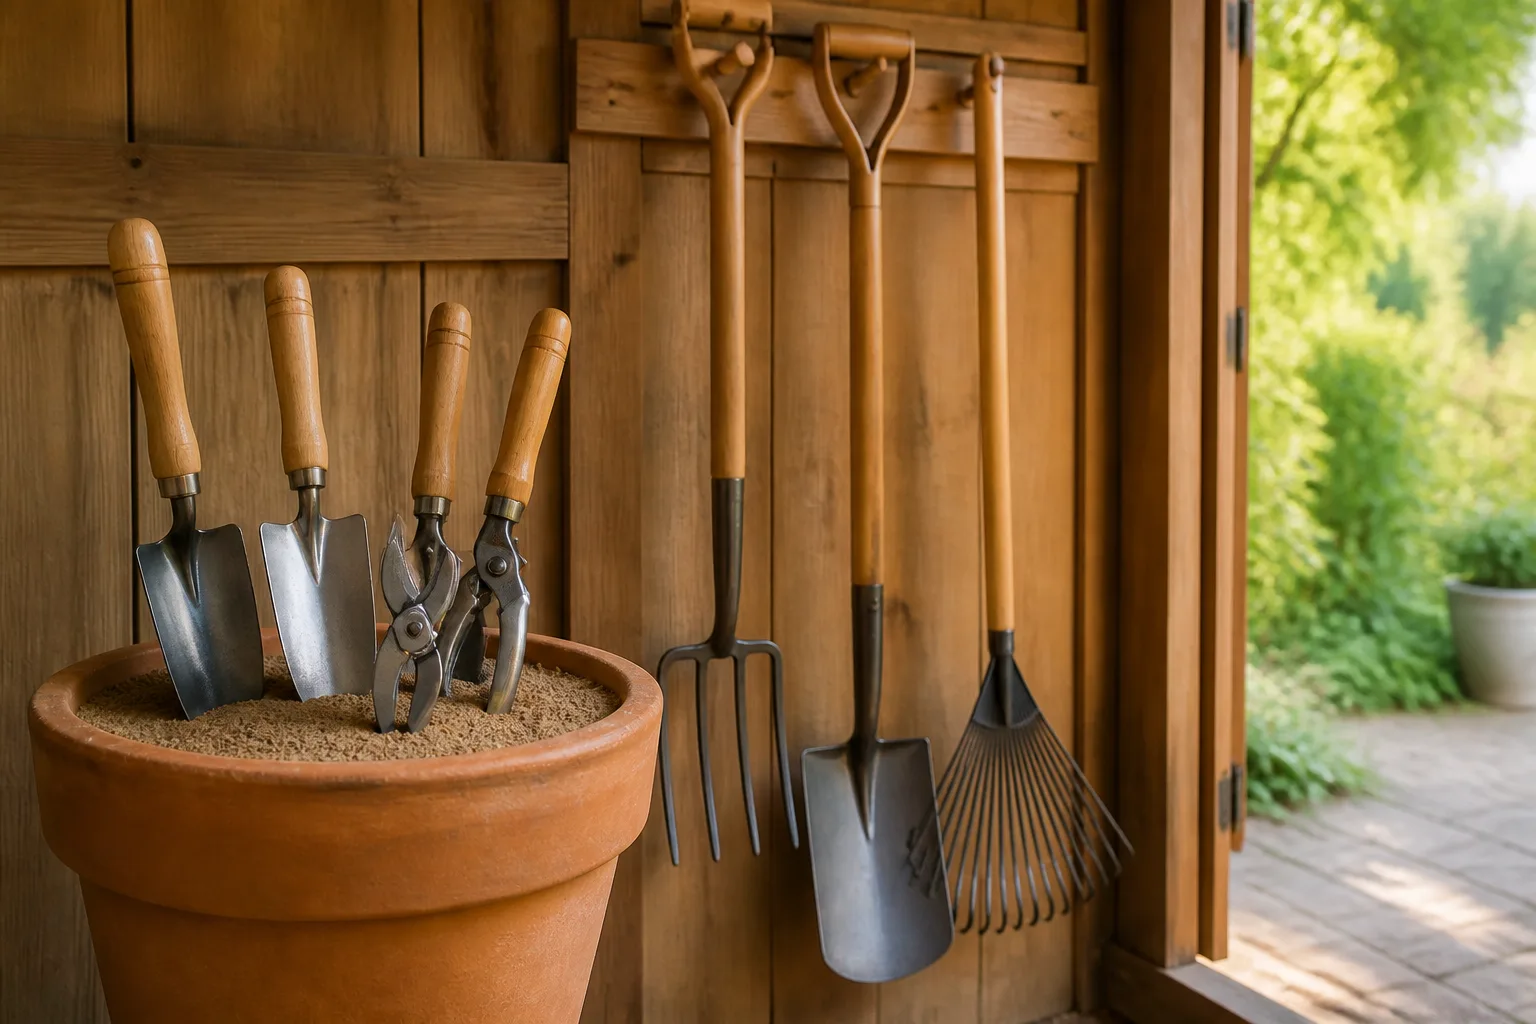
If “indoors” means a heated room in your house, no: most garden tools do not need to live beside your coats all winter. If it means a dry shed, garage, cabinet, basement, or other sheltered space, then yes—storing tools under cover is the best default for almost every climate and nearly every material.
The important distinction is not warm versus cold. It is protected and dry versus exposed and damp. A clean shovel can spend winter in an unheated shed and come out ready to work. The same shovel left on wet ground, under a tarp that flaps in rain, or in a sealed bin while still damp can rust, split, or arrive in spring with a problem that is harder to fix.
This guide gives you a tool-by-tool answer, a short winterizing routine, and realistic options if you do not have a dedicated garden shed.
The short answer: store tools under cover, not necessarily inside the house
Bring garden tools under cover before the season’s long stretch of rain, snow, or freezing weather. Hand tools with steel blades, wooden handles, moving joints, or cutting edges benefit most. Hoses and irrigation pieces should be drained and protected before a hard freeze. Mowers, trimmers, chargers, and other powered equipment need their own manufacturer-specific shutdown steps, but they also belong in a dry shelter.
Leaving tools outside is reasonable only as a short-term exception: the location is roofed, the tools are elevated off soil and standing water, and the weather is mild enough that repeated freezing and thawing will not trap water in joints or hollow parts. A plastic rake or inexpensive hand trowel may survive a season of exposure, but “survive” is not the same as “stay in good working order.”
The simplest decision rule is this: if a tool contains metal that can rust, wood that can absorb water, a hinge that can seize, a hose that can hold water, or a battery that should not freeze, store it in a dry sheltered place.
Your climate changes how urgent that move is, but not the basic logic. In a snowy or consistently wet region, direct cover and elevation are nonnegotiable. In a dry region with occasional frost, sun and overnight condensation still make a sheltered rack worthwhile. In a warm winter climate, the “winter” problem may be months of rain and humidity rather than ice; tools still need to be cleaned, dried, and protected from standing water.
| Tool or equipment | Best default destination | Main risk if left exposed |
|---|---|---|
| Shovel, spade, hoe, or fork | Dry shed or garage rack | Rust, loose handle, wood rot |
| Pruner, lopper, or garden knife | Indoor cabinet or dry tool chest | Sticky pivot, pitted edge, disease residue |
| Rake and plastic hand tools | Covered, elevated rack | Brittle plastic, warped handle, lost parts |
| Garden hose and nozzle | Drained reel under cover | Freeze splits, cracked washers, UV damage |
| Gasoline mower or trimmer | Dry, secure equipment shelter | Stale fuel, corrosion, unsafe startup |
| Battery tool, battery, and charger | Dry storage per the manual | Moisture damage, cold-soaked battery, lost charge |
Use the table as a triage tool, not a reason to buy more storage. If space is tight, move the items in the middle and right columns to the safest location first, then improve protection for the rest.
What winter weather does to garden tools
Winter damage is cumulative. One damp night rarely destroys a tool; months of wet soil, condensation, ultraviolet exposure, and freeze-thaw movement can quietly shorten its useful life. Kansas State University Extension notes that wooden handles deteriorate with sunlight, moisture, and other elements, while the RHS recommends cleaning, drying, and storing hand tools in a clean, dry place to help them work longer.
Metal, wood, and plastic fail in different ways
Uncoated carbon-steel blades and tool heads rust when moisture remains on the surface. Soil makes the situation worse because it holds water against the metal and hides early corrosion. Rust is not merely cosmetic: a rough blade creates drag, a pitted pivot can stick, and deep corrosion can weaken an edge or fastener.
Wood responds more slowly but can be just as troublesome. A wet handle can swell, then shrink as it dries, leaving rough grain, cracks, loose fittings, or splinters. Sunlight also dries and degrades exposed wood. Plastic handles and tool bodies are less vulnerable to rust, but cold, ultraviolet light, impact, and freeze-thaw cycles can make older plastic brittle. A tool that is “weatherproof” for occasional outdoor use is not automatically designed to sit outside for four wet months.
Moisture and freeze-thaw cycles matter more than cold alone
Cold, dry air is usually less damaging than water that repeatedly enters a joint or cavity. Meltwater can sit around a pruner’s pivot, inside a hose, behind a mower deck, or under a tool’s protective coating. When that water freezes, it expands; when it thaws, it leaves another opening for water to enter.
That is why an unheated garage can be safer than a warmer porch. The garage may freeze, but it prevents direct rain and snow from reaching the tools. The porch may keep tools above the deepest cold while still exposing them to wind-driven moisture and condensation. The goal is not a particular temperature. The goal is dry surfaces, good drainage, and limited exposure.
Which garden tools need indoor or cool sheltered storage?
Treat “garden tools” as more than shovels and pruners. Seasonal storage also includes hoses, nozzles, sprayers, wheelbarrows, mower attachments, fuel-powered equipment, battery packs, and chargers. Their storage needs differ enough that putting everything in one pile is a reliable way to miss a vulnerable part.
Hand tools with metal blades and wooden handles
Store shovels, spades, hoes, forks, rakes, trowels, hori hori knives, pruners, loppers, and pruning saws under cover. Cutting tools deserve the driest location because sap, small gaps, and spring tension give moisture plenty of places to linger. Hang long-handled tools from hooks or a rack, and keep small tools in a bucket, drawer, or bin where their edges cannot damage other equipment.
Wooden handles should not rest directly on soil, damp concrete, or a basement floor. Gardening Know How specifically warns that contact with soil or cement can contribute to rot. A rack, wall hooks, or a simple wood strip that lifts handles off the floor is more useful than an expensive storage system.
If you have only a porch, put clean tools on a covered rack rather than in a heap. Keep cutting edges closed or sheathed where the tool design allows, and orient tools so rain cannot collect in the hinge or hollow handle. Move the most valuable or vulnerable pieces—pruners, loppers, garden knives, and quality shovels—to a cabinet or indoor closet.
Hoses and watering equipment
Hoses should not be left full of water when a freeze is possible. Kansas State University Extension recommends disconnecting, draining, and storing hoses before a hard freeze; it also advises keeping them out of direct sunlight to prolong their life. Soaker hoses deserve extra attention because trapped water and small cracks are easy to miss.
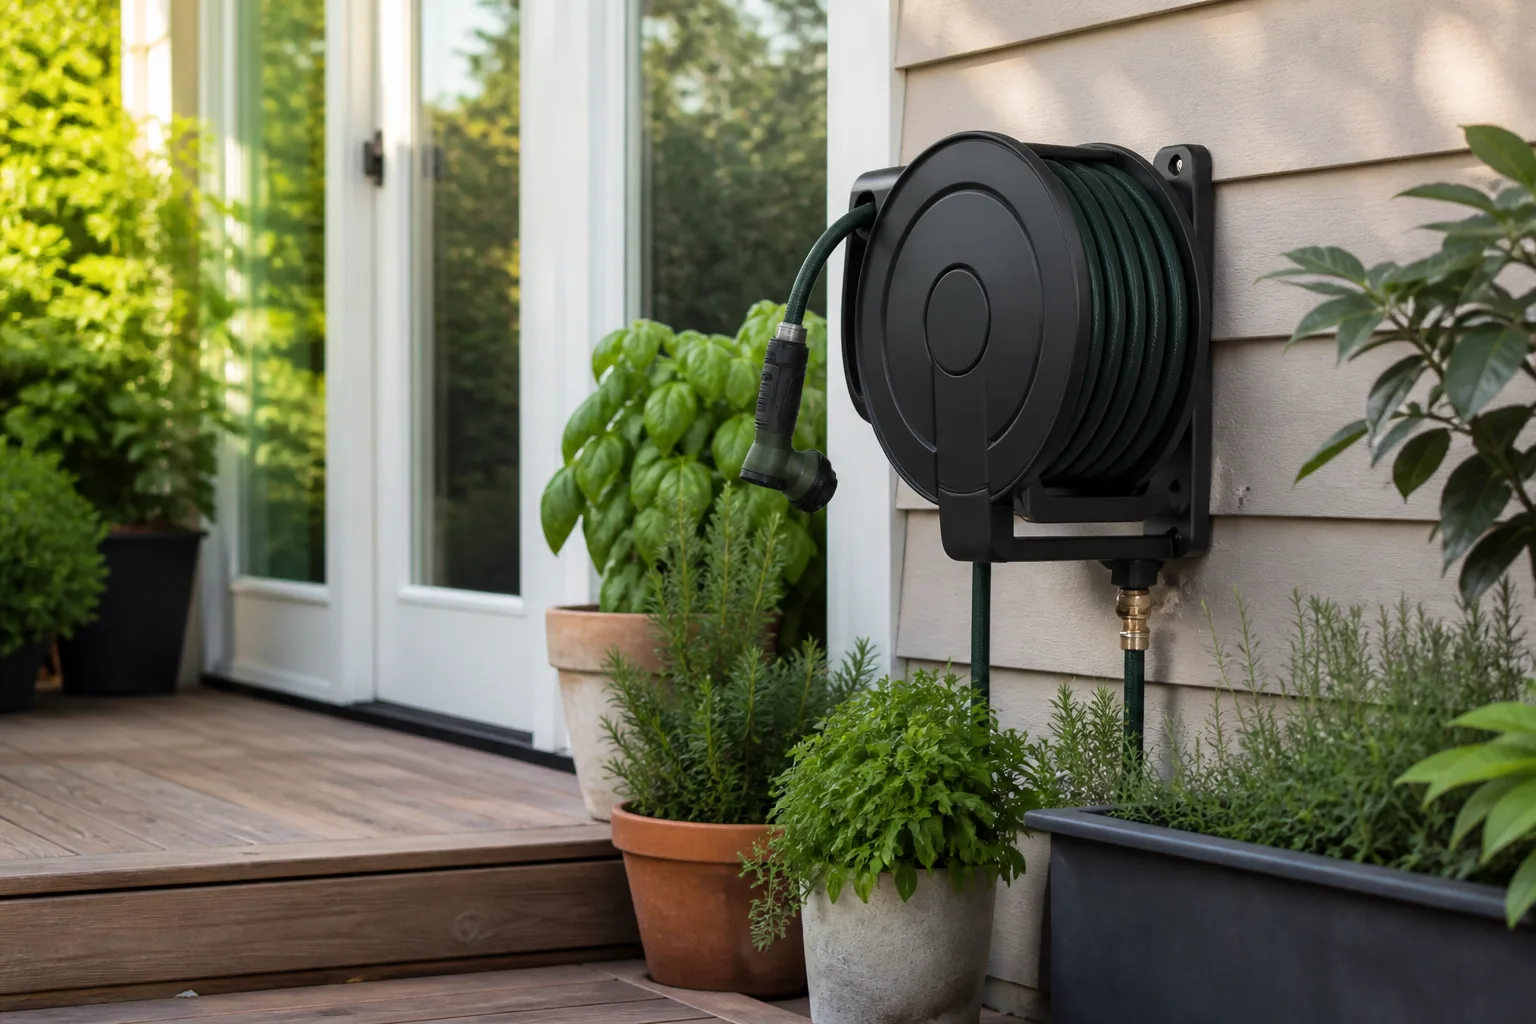
Disconnect the hose from the faucet first, then raise one end and walk the length toward the other end so water can escape. Inspect washers and couplings, patch or replace damaged sections, and coil the hose loosely enough that it does not kink. Store it on a reel, broad hook, or shelf—not folded under a heavy pot. Drain nozzles, sprayers, and watering wands as well.
If you have buried irrigation or a fixed sprinkler system, use its own winterization procedure or arrange professional blowout service when appropriate. Do not assume that draining the visible hose also drains the line underground.
Gasoline, corded, and battery-powered equipment
Powered tools need a dry, ventilated, secure location away from ignition sources and living areas. For a gasoline mower, tiller, blower, or trimmer, follow the owner’s manual for fuel stabilization or removal, oil changes, blade service, spark-plug steps, and storage position. Do not pour fuel into soil or a drain, and do not improvise with a procedure that conflicts with the manual.
For electric corded tools, clean grass and soil from vents and housings, coil cords without sharp bends, and keep plugs and connections dry. For battery tools, remove the battery if the manufacturer permits, store the pack and charger in a dry location, and inspect terminals before spring use. Do not leave a removable battery attached to equipment in a damp shed simply because the tool itself is covered.
A mower may be too large for a house, but it should still be inside a garage, shed, or weatherproof equipment cabinet. Never block a door, furnace, water heater, or vehicle path with stored equipment, and keep blades and sharp attachments secured so the spring cleanup does not begin with an avoidable injury.
When leaving garden tools outside is acceptable
Outdoor storage is a compromise, not a moral failure. Many gardeners do not have a shed, and a dry covered area can protect tools well enough when it is arranged thoughtfully. The standard is whether the storage location blocks precipitation and allows tools to dry—not whether the space has four walls.
The conditions that make outdoor storage safer
Leaving a tool outside for winter is most defensible when all of these conditions are true:
- It sits under a solid roof rather than a loose tarp.
- The rack or container keeps it off soil, grass, snow, and standing water.
- The tool is cleaned and completely dry before covering.
- The area has enough airflow to prevent trapped condensation.
- Metal surfaces have a thin protective film of appropriate oil or rust inhibitor.
- The location is sheltered from prevailing wind, direct sun, and blowing rain.
Even then, prioritize. A sturdy plastic rake can stay in a covered outdoor rack in a mild, dry climate. A quality pruner with a steel pivot and a wooden-handled spade deserve a garage or indoor cabinet if one is available. Recheck the storage area after the first major storm; a roof leak or windblown tarp can turn a good plan into an exposed one.
Best options when you do not have a shed
Use the driest available space in this order: an enclosed garage or outdoor cabinet, a basement or mudroom that is not damp, a covered porch with a raised rack, and finally a lidded tote placed in a dry indoor area. A tote is useful for small hand tools, but it is not a substitute for drying them first. A sealed container can preserve moisture, and a wet tool may emerge more corroded than one hanging in a ventilated shed.
For a porch setup, make a simple “wet side” and “dry side.” Leave a brush and towel near the entrance for tools that come in from the garden, but do the final oiling and packing only after the tools are dry. Keep sharp tools in a separate box, and avoid storing wood handles directly against masonry. Small improvements in airflow and elevation matter more than decorative storage.
Winterize garden tools before putting them away
Do the work in the order that prevents you from sealing in a problem: remove soil and sap, rinse if needed, dry completely, disinfect when disease risk calls for it, inspect, repair, sharpen, and protect. The full routine is easiest on a dry day before tools have been forgotten in the first storm.
That sequence is also the practical takeaway from Cornell Cooperative Extension: clean, dry, smooth the handles, sharpen, lightly oil, and put the tools away. The order matters because oil applied over grit or dampness hides the problem instead of solving it.
Clean, dry, disinfect, and inspect
Start with the least aggressive cleaning method that works. Brush dry soil from shovels, hoes, forks, and trowels. Use water for stubborn mud, then scrub with a stiff-bristle brush and towel-dry immediately. The RHS recommends cleaning cultivation tools, drying them to prevent wooden handles from absorbing water and metal from rusting, and keeping a brush and old towel near the storage area.
Epic Gardening likewise puts cleaning and drying before sharpening and oiling. If the weather is wet and humid, let the tools finish drying in a protected indoor spot rather than assuming that a few hours outside has removed moisture from a pruner pivot or hollow handle.
Cutting tools often need a separate sap step. Open pruners carefully, scrub the blades and pivot area, and use soapy water or a product intended for sap and resin. Avoid forcing a sticky hinge; loosen the residue first, then wipe the joint clean.
Disinfecting is different from cleaning. Washing removes dirt; disinfection reduces viable pathogens on a clean surface. It matters most after cutting diseased plants, handling contaminated soil, or moving between plants that are vulnerable to the same disease. UW–Madison Extension describes treating clean tools for at least 30 seconds with 70% alcohol, or with a properly prepared bleach solution, while the RHS emphasizes cleaning tools that contacted contaminated soil or plant material and following the required contact time for the chosen disinfectant.
Use one product according to its label, never mix disinfectants, and let the tool dry before oiling. Disinfect the brush or cloth if it touched diseased material. If there was no disease concern and the tool only handled ordinary soil, thorough cleaning and drying may be enough; do not turn every muddy trowel into a chemical-soak project.
When time is short, protect the tools most likely to become expensive problems first. Cutters with sap on the pivot, tools with visibly wet soil packed around the head, and hoses that still contain water should not be pushed to the back of the queue. A quick brush-and-dry pass today is safer than leaving a thick layer of mud to harden while you wait for a perfect maintenance afternoon. You can schedule sharpening and cosmetic rust removal later, but do not postpone drying and drainage.
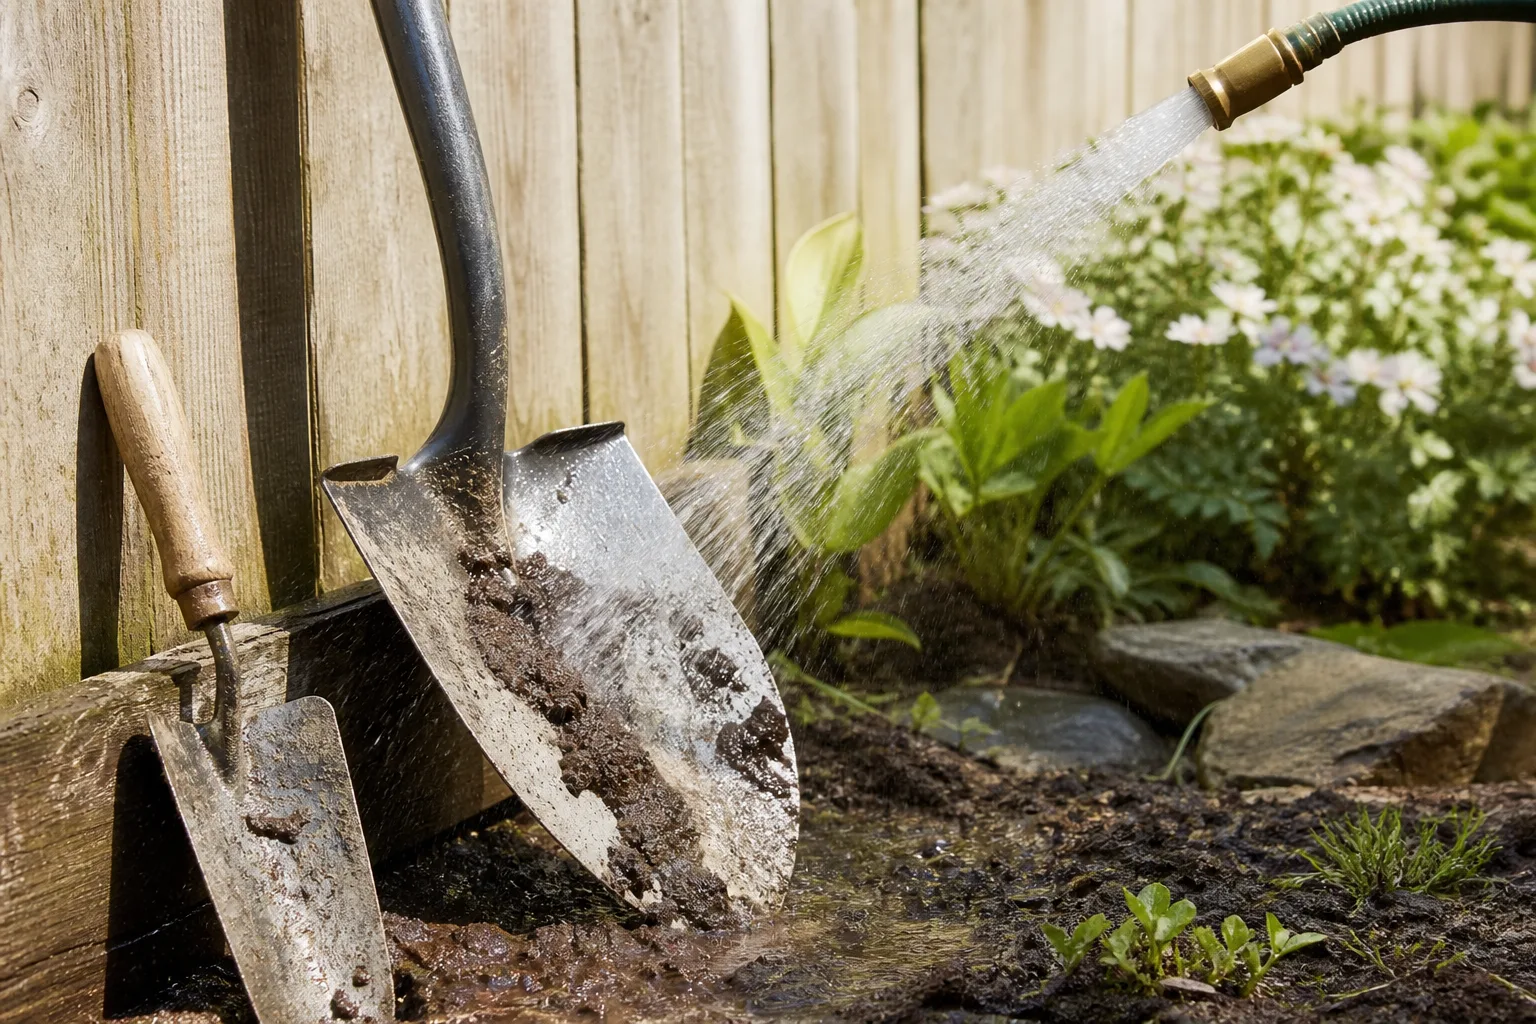
Remove rust, sharpen edges, oil metal, and condition wood
Once tools are dry, assess rather than automatically restore everything. Surface rust can often be removed with a wire brush, coarse steel wool, or lump pumice. UW–Madison Extension cautions that abrasive materials such as sandpaper and emery cloth can leave scratches where rust redevelops, so use them deliberately and finish by removing all loose residue.
Sharpen only the edges designed to be sharpened. A flat file works well for shovels and hoes; a file, whetstone, or purpose-made sharpener may suit pruners and loppers. Keep the tool’s original bevel instead of trying to create a razor edge. UW–Madison Extension explains that an edge that is too blunt cuts poorly, while one that is too sharp can wear prematurely. Secure the tool, wear eye protection and sturdy gloves, and face the cutting edge away from your body. Replace a badly bent or deeply pitted blade rather than grinding until too much metal is gone.
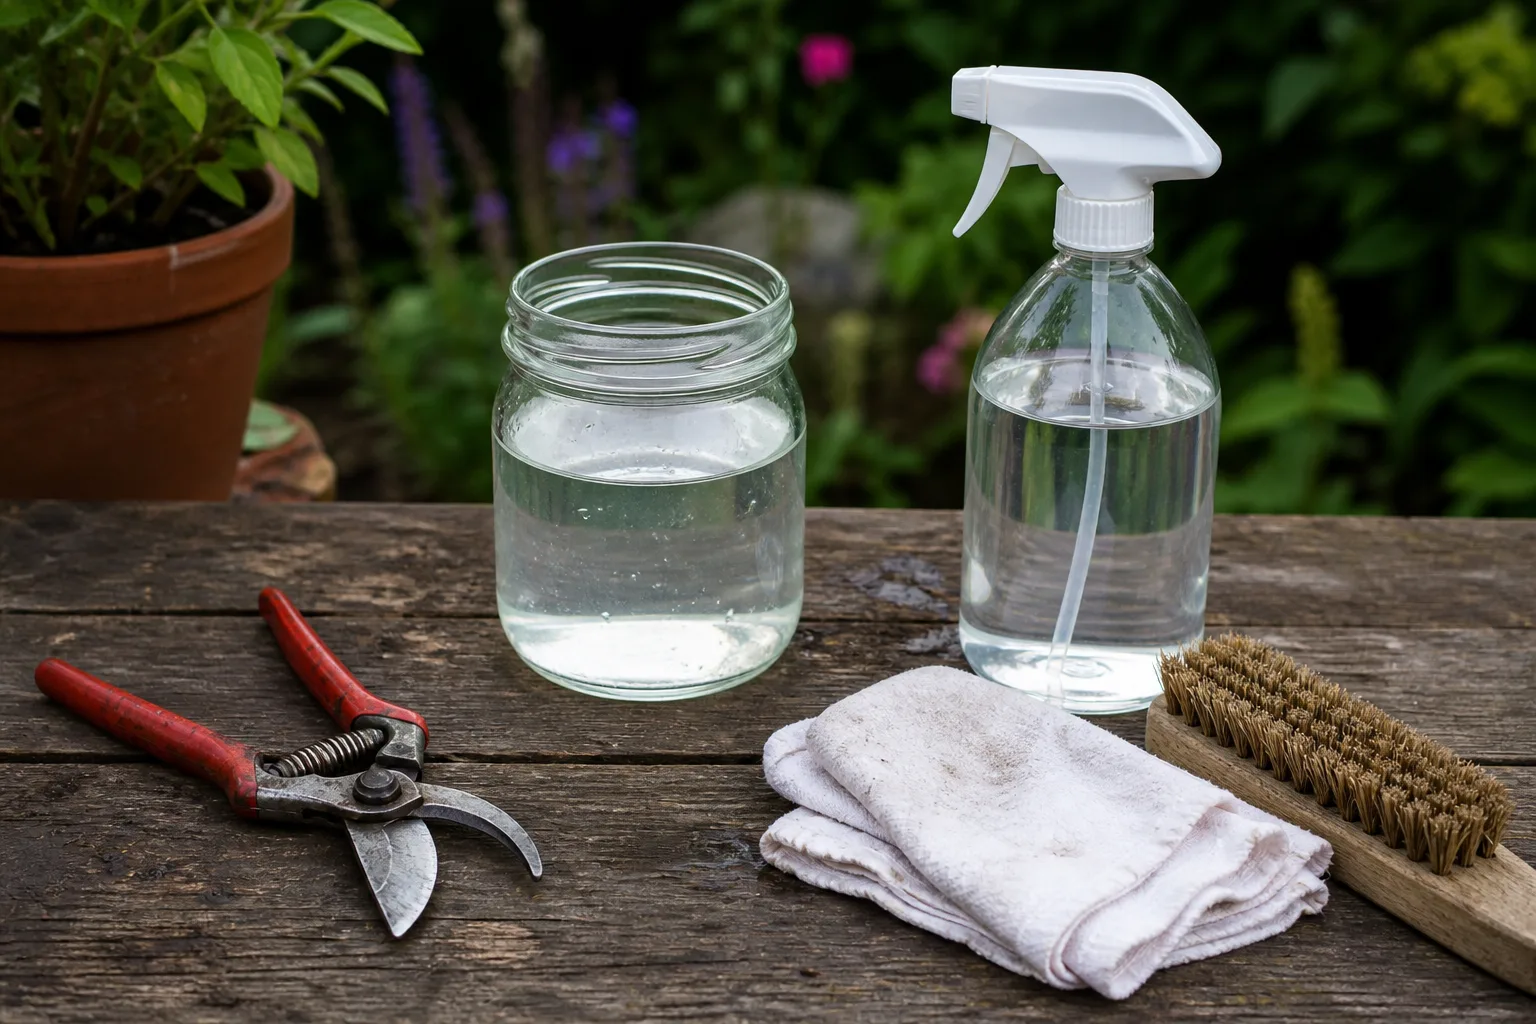
After cleaning, drying, and sharpening, apply a thin film of mineral oil, a tool oil, silicone spray, or another product approved for the tool. Work a small amount into pruner pivots, wipe away excess, and avoid leaving a dripping surface that can collect dust. Vegetable oil may be suggested for some general tools, but check whether the product becomes sticky during storage; a purpose-made rust inhibitor is often easier to manage.
Smooth rough wooden handles with medium-grit sandpaper and remove splinters without unnecessarily stripping sound finish. Apply linseed oil or another compatible wood finish according to the label. UW–Madison Extension warns that linseed-oil-soaked materials can spontaneously ignite if handled incorrectly, so spread rags flat to dry outdoors or dispose of them exactly as the product label directs. Never wad oily cloths into a closed bin.
Store tools so they stay dry and safe until spring
The best storage layout is boring: heavy tools supported, sharp tools controlled, wood elevated, and air able to circulate. Hang shovels, rakes, hoes, and forks from strong hooks or a rack rather than leaning them in a corner where they can slide down. Keep pruners closed, saw teeth protected, and small tools together so you can see what needs repair.
Use a clean, dry shed or unheated garage when available. Check the roof, look for puddles after rain, and do not place tools beneath a leak merely because the rest of the building is dry. If the floor is concrete, use a rack or pallet to keep wooden handles and tool heads away from condensation and occasional dampness.
Avoid the common “tarp tent” mistake: a tarp that touches tools or traps humid air can create a wet microclimate. If a cover is necessary, keep it above the tools, leave the sides open for airflow, and inspect after storms. Likewise, do not pack wet tools into a tightly sealed plastic tote. A vented container or a dry indoor cabinet is safer for small tools, provided sharp edges are separated.
If the storage building is unheated, open it briefly on a dry day when practical and look for condensation on metal surfaces. Do not place a space heater next to tools, fuel, oil, or a battery charger to “dry” them faster. Gradual air movement and a dry rack solve the problem with less fire risk. For a small collection, a wall-mounted board with hooks is enough; the useful feature is that every tool has a place where air can reach it.
Make the first-use tools easiest to reach. Put pruners, gloves, a hand trowel, and a hose nozzle near the front, while heavy digging tools can hang farther back. That small bit of organization reduces the temptation to grab a tool from the ground after the first warm day and skip the inspection entirely.
Spring restart checklist before the first gardening job
Winter storage is successful only if the tools are ready to use. Before the first major digging or pruning session, take five minutes to inspect every item rather than trusting its appearance.
- Check metal: Look for new rust, flaking coating, bent edges, loose rivets, and cracks.
- Check handles: Run a gloved hand over wood for splinters, looseness, swelling, or rot. Tighten screws and bolts.
- Check cutting tools: Confirm blades meet correctly, the pivot moves freely, and the edge is sharp without a rolled or jagged burr.
- Check hoses: Connect briefly, look for leaks at washers and couplings, and unwind the full length before putting it under pressure.
- Check powered tools: Follow the manual for battery charge, fuel, oil, guards, spark plugs, blade attachment, and safe startup.
- Check hygiene: Disinfect pruners again before cutting living plants if the tools were stored with old sap or were used on diseased material.
If a tool fails one of these checks, repair it before the garden is demanding your attention. A loose handle is easier to fix on a workbench than in hard soil, and a sticky pruner is easier to clean before a branch is in one hand and the blade is in the other.
Conclusion
You do not need to heat a room for your garden tools, but you should protect them from long exposure to rain, snow, sun, and trapped moisture. Store hand tools, hoses, and powered equipment in the driest sheltered place you have; use a porch only when tools are elevated, covered, dry, and ventilated; and reserve the most protected space for steel cutting tools, wooden-handled favorites, batteries, and anything expensive to replace.
Before storage, clean away soil and sap, disinfect when disease risk warrants it, dry every surface, remove surface rust, sharpen sensible edges, oil metal, and condition wood safely. That short routine turns winter storage from a pile of forgotten equipment into a spring-ready toolkit.



