How to Turn a Lawn Sprinkler System Back on in Spring
Turn your sprinkler system back on safely this spring with a step-by-step startup checklist—inspection, backflow setup, zone testing, and controller programming.
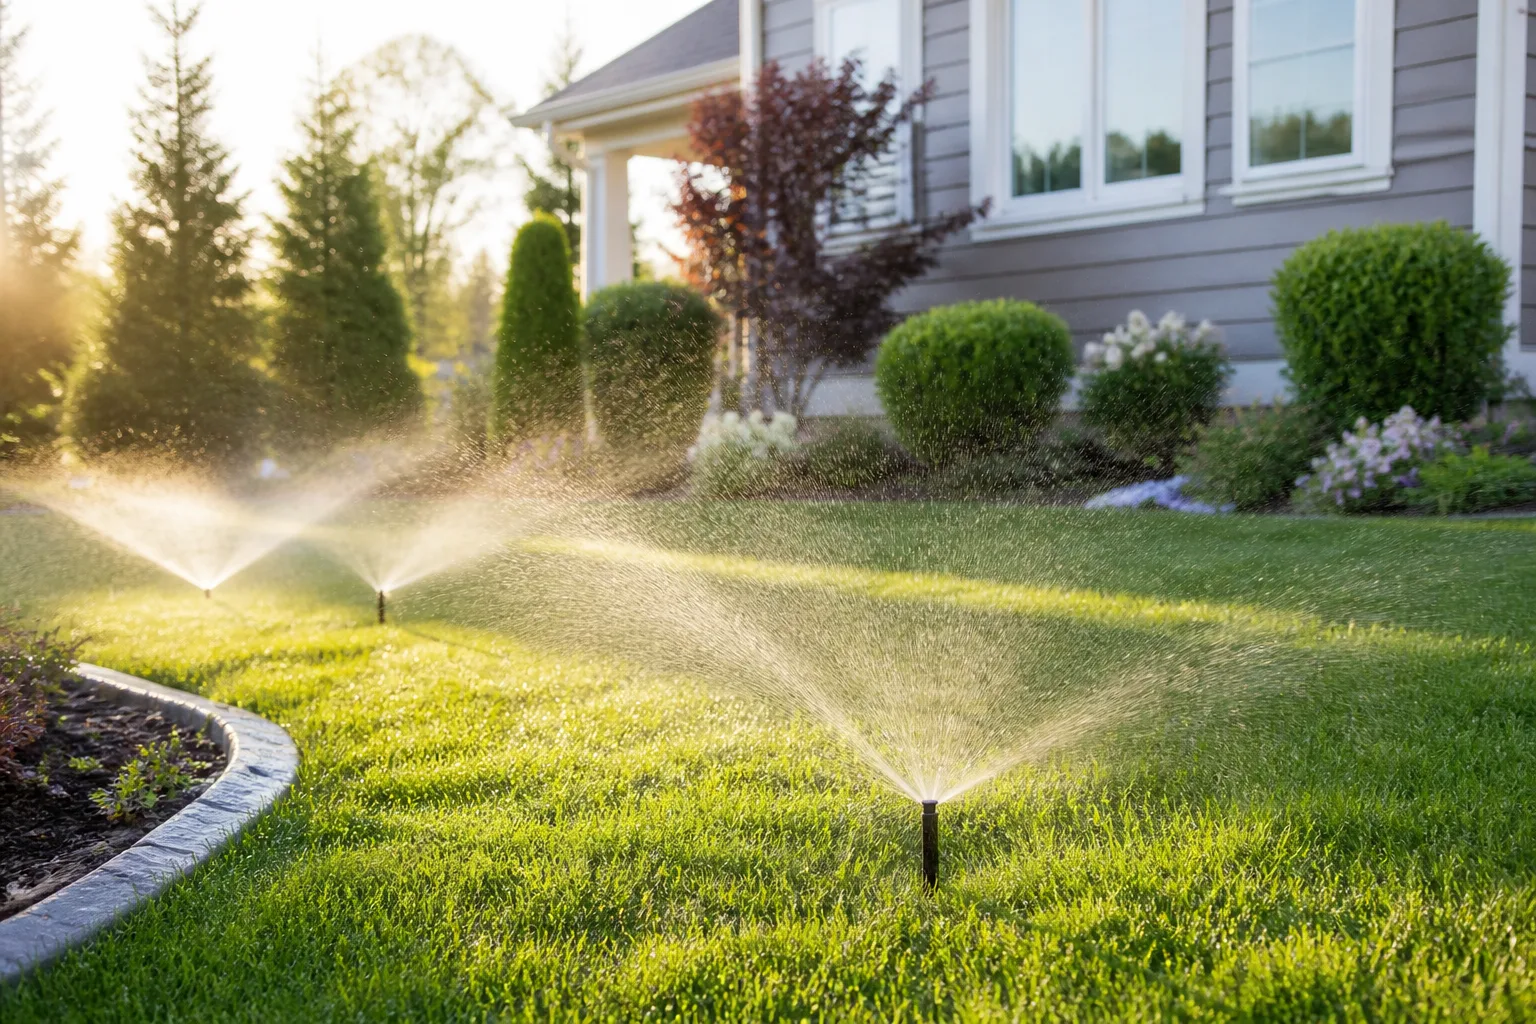
Turning a winterized lawn sprinkler system back on is the reverse of shutting it down—but sequence and speed matter more than most homeowners expect. Open the main valve too fast and you can trigger water hammer that pops off heads or splits a fitting. Pressurize while the soil is still frozen and you risk cracked underground pipe. Skip the backflow device setup and you may flood the valve box or compromise your home’s potable water line.
The good news: spring startup is usually a 30- to 45-minute DIY job if winterization was done correctly and you follow a deliberate order. This guide walks you through timing, inspection, valve orientation, slow pressurization, zone testing, and controller setup—so you can water the lawn without an emergency plumber on speed dial.
Why Spring Startup Deserves the Same Care as Winter Shutdown
Winterization removes water from lines so ice cannot expand inside fittings. Spring startup puts that water back under 60–80 psi of household pressure—often after months of freeze-thaw cycles that shift soil, crack PVC, and bury heads under mulch.
Rushing startup creates three expensive failure modes:
- Hydraulic shock (water hammer) from opening a closed valve instantly
- Freeze damage if underground pipe is still surrounded by icy soil
- Backflow misassembly that leaks outdoors or fails to protect indoor water supply
Industry guidance on spring restart consistently emphasizes inspection first, slow pressurization second, and zone-by-zone testing third (Irrigation Incorporated). Treat startup as a checklist, not a single lever pull.
Know When It Is Safe to Pressurize Your System
The most common timing mistake is matching startup to the calendar instead of the ground. Your neighbor may run sprinklers in mid-March; that does not mean your clay soil has thawed deep enough to absorb pipe movement and drainage.
The 12-Inch Ground Thaw Test
Before you touch a valve, verify the soil has thawed to at least 12 inches (about 30 cm). Use a shovel or soil probe in a garden bed or lawn edge away from buried utilities. If you hit solid frozen soil, wait another week and test again. Irrigation pros recommend this depth because shallow frost can linger while air temperatures feel spring-like (Irrigation Incorporated).
If the lawn needs water urgently but the ground is still borderline, hand-water with a hose until the thaw test passes. A cracked lateral line costs far more than a few weeks of manual watering.
Frost Dates, Soil Temperature, and Regional Timing
A practical rule: start after your area’s average last spring frost and after the 12-inch thaw test passes. In USDA zones 6–7, that often lands in late March through April; zones 8–9 may restart in February or early March; northern zones 4–5 may wait until late April or May.
Soil temperature matters as much as air temperature. Turf roots begin active growth near 50–55°F soil temperature, which is also when consistent irrigation starts to pay off. If you run sprinklers while grass is still fully dormant and rainfall is adequate, you mostly waste water—EPA WaterSense outdoor guidance recommends watering only when plants show need, not on a fixed calendar (EPA WaterSense).
Gather Tools and Know Your Winterization Type
Tools to keep within reach:
- Flat-head screwdriver (for test cocks on the backflow device)
- Sprinkler valve key or T-handle (for in-ground ball valves)
- Pliers (gentle bleeder-cap tightening only)
- Notepad or phone camera (to log problem heads by zone)
Materials: none required for a standard startup—just time and dry shoes.
Blow-Out Systems vs Gravity Drain-Down
How the system was winterized changes what you should verify before pressurizing:
| Winterization method | What was done | Your spring focus |
|---|---|---|
| Compressed-air blow-out | Air forced water out of lines; valves left open or at 45° | Confirm test cocks and stop valves are returned to run position; expect air purge at heads |
| Gravity drain-down | Drain valves opened; water emptied by slope | Confirm all drain ports are closed before pressurizing |
| Manual drain + indoor shutoff | Bleeder caps removed; main valve closed | Reinstall bleeder caps snugly; verify no open drains in valve boxes |
If a pro winterized the system, locate any tags or notes they left on the controller or backflow device—they often indicate valve positions.
Step 1 — Inspect Heads, Pipes, and Valve Boxes for Winter Damage
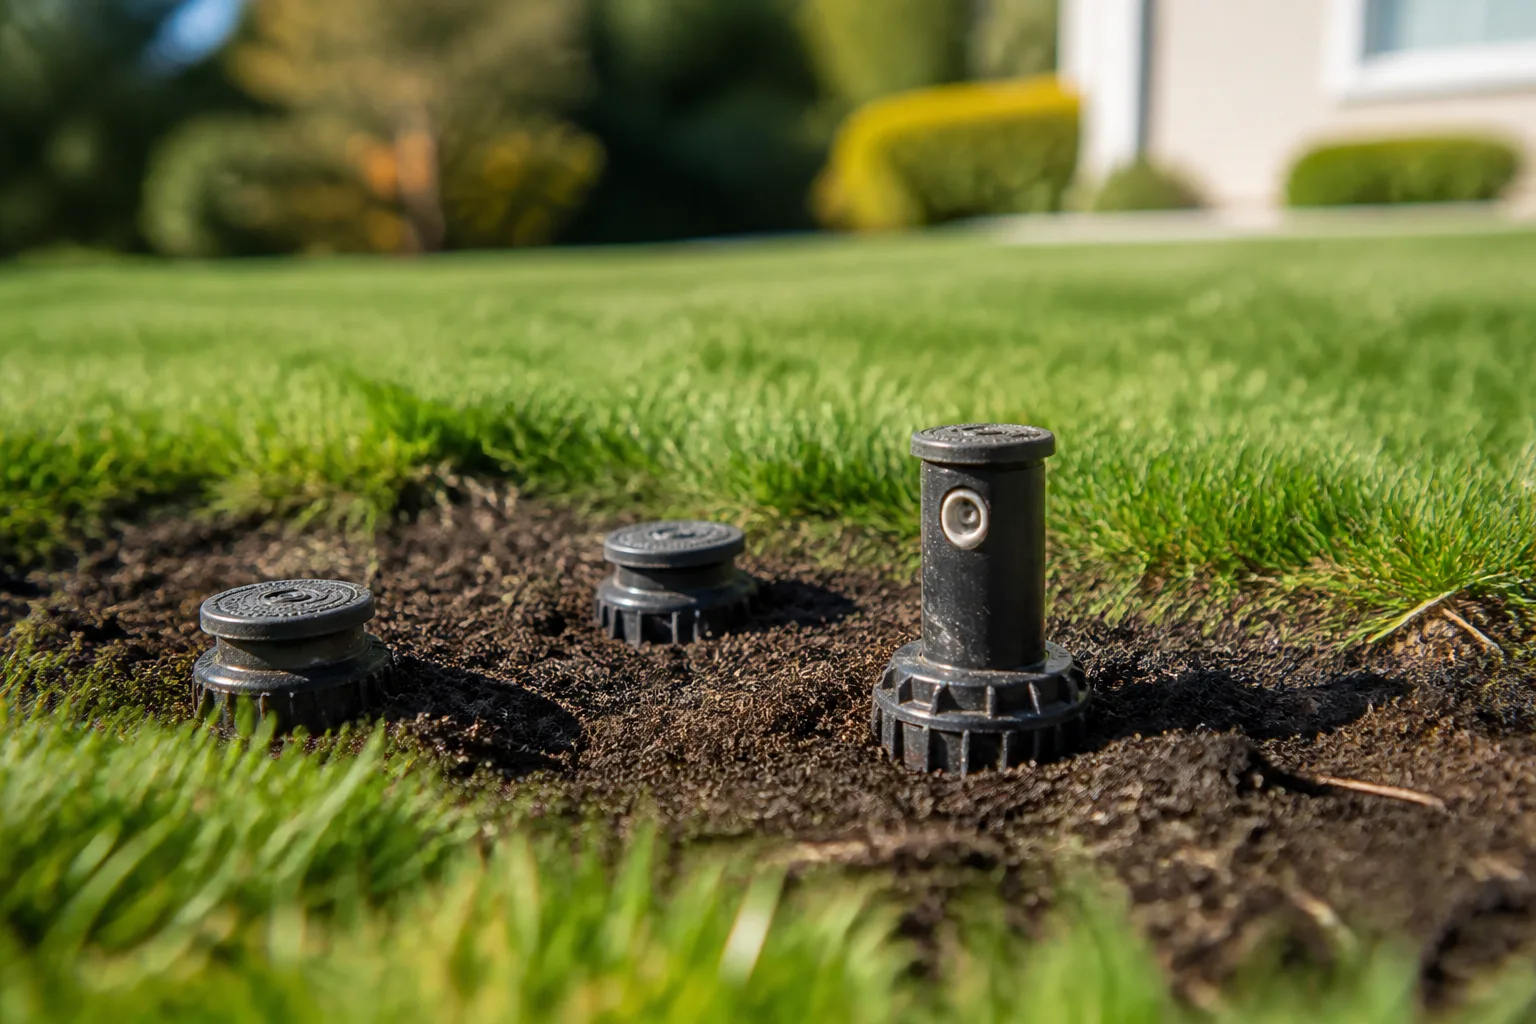
Walk the entire yard before water enters the pipes. Winter is hard on plastic and brass even when lines were blown dry—a small trapped pocket of water can crack a fitting.
Check each sprinkler head for:
- Cracked or missing caps
- Heads pushed out of grade by frost heave
- Clogged nozzles packed with sand or mulch
- Vehicles or edgers that sheared heads flush with soil
Clear debris with a soft brush; pull weeds away from pop-up bodies. Note any head that does not spin freely by hand—replace it before pressurizing so you do not send debris into the nozzle or create a high-pressure geyser.
Open every valve box lid you can find. Look for cracked manifolds, chewed wire nuts (rodents nest in warm boxes), and standing water that suggests a slow leak from fall. Inspect exposed piping at the backflow preventer and main shutoff for splits or frost damage.
Landscape maintenance checklists for late winter consistently recommend inspecting irrigation components before the growing season ramps up (The Grounds Guys). Fifteen minutes of walking beats an hour of digging up a flooded trench.
Step 2 — Locate the Main Shutoff and Backflow Device
You need two landmarks: the system shutoff that feeds irrigation only, and the backflow preventer that separates irrigation water from your house supply.
Main shutoff locations:
- Basement or crawl space — look for a pipe branch with a single ball valve and lever handle near where the water line enters the house
- Yard valve box — a large underground box, sometimes with a cross-shaped handle on a vertical stem (not the water-meter curb stop)
Do not confuse the house main water valve with the irrigation shutoff. The house valve controls all domestic water; the irrigation valve is on a dedicated branch. If you only see one valve indoors, follow the irrigation pipe outdoors to the backflow assembly— the shutoff is usually just upstream or downstream of that device.
The backflow preventer is typically above ground on the house wall or on a short pipe rack near the foundation. It has two vertical pipes with small shutoff handles and two test cocks (small slotted screws) on the elbows.
PVB, RPZ, and Double-Check Assemblies Explained Briefly
Most residential lawns use one of these:
- Pressure vacuum breaker (PVB) — tall copper or plastic assembly with two ball valves and two test cocks; common in mild climates
- Reduced pressure zone (RPZ) — bulkier valve with a center relief port; required in many municipalities and needs annual certified testing in most jurisdictions
- Double-check valve — installed underground in a warm climate or inside a heated space; less visible but same orientation rules apply
You do not need to be a plumber to restart a PVB, but you do need to know which device you have. RPZ units that fail relief tests or show constant dripping from the center port need a licensed backflow tester—not a DIY washer swap.
Step 3 — Set Test Cocks and Shutoff Valves in the Correct Order
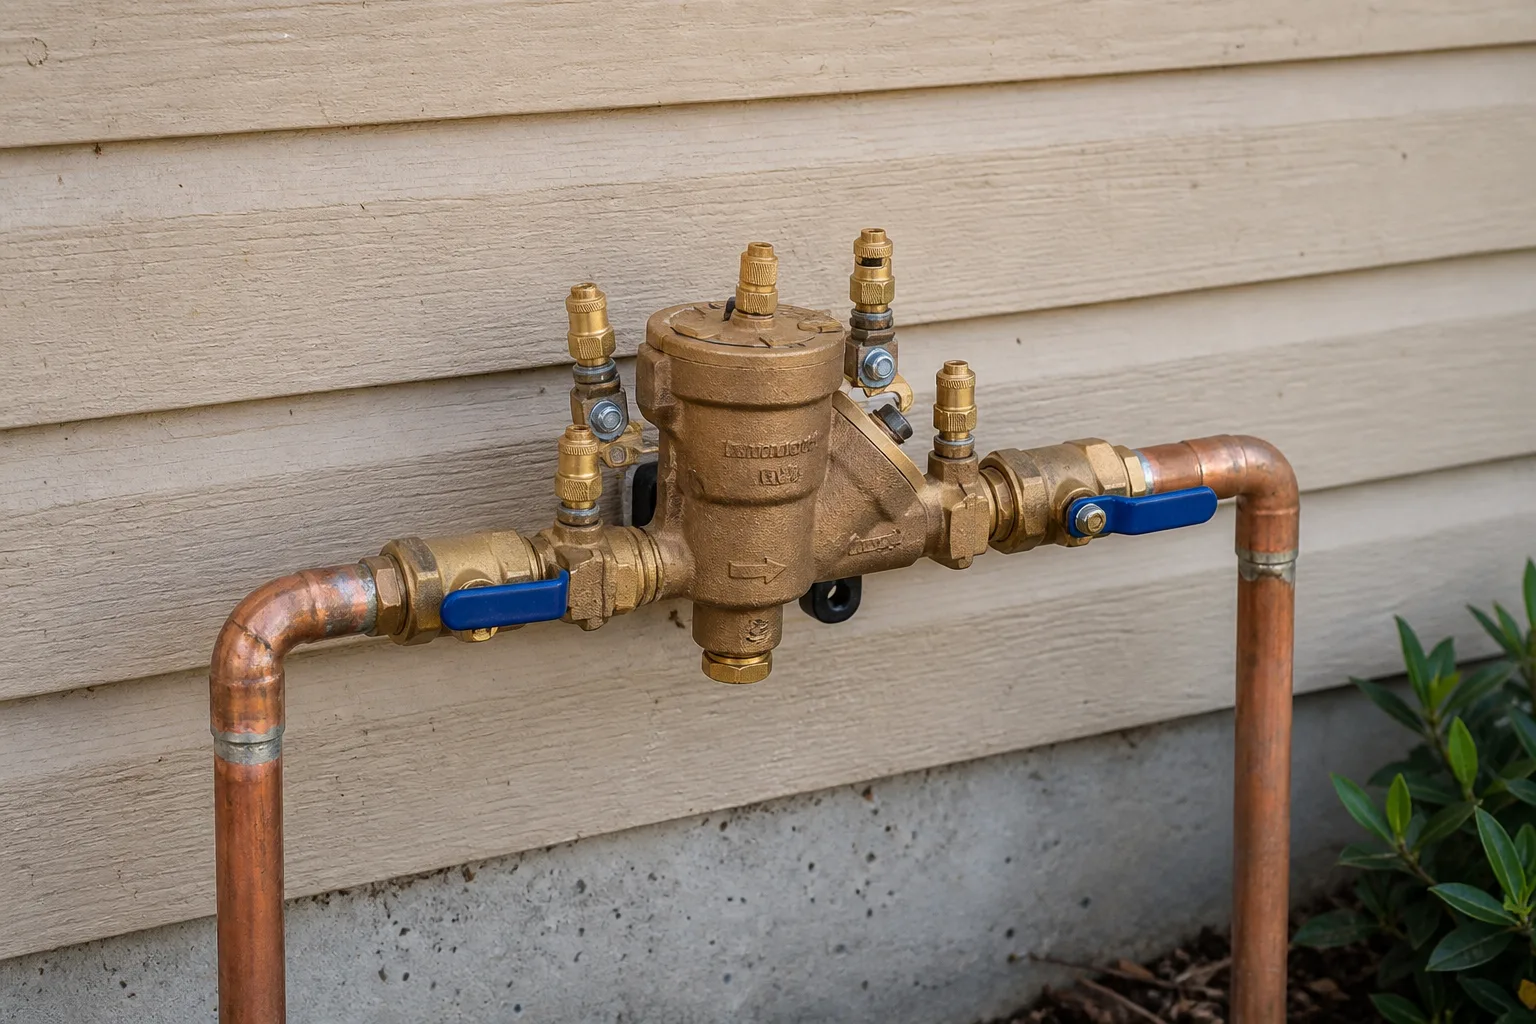
This is the step most guides gloss over, and it is where leaks happen. Work from the backflow device outward, not from the main valve first.
Ball-valve orientation rule (memorize this): handle parallel to the pipe = OPEN; handle perpendicular = CLOSED. Test cocks use a slot: slot perpendicular to the nipple = CLOSED; slot parallel = OPEN (some installers winterize at 45°—return test cocks to fully closed before pressurizing).
Startup sequence at the backflow preventer:
- Close both test cocks with a flat-head screwdriver (slot perpendicular to the small nipple).
- Open both shutoff ball valves on the assembly—handles parallel to their pipes. These were likely left perpendicular for winter.
- Confirm the irrigation controller is off or in manual test mode only—you do not want solenoids energizing while lines are still air-filled.
- Reinstall and snug the bleeder cap on the main shutoff if winterization removed it (hand tight plus a quarter turn with pliers—do not crush the nipple).
Only after the backflow valves are set should you move to the main irrigation shutoff.
Step 4 — Pressurize Slowly to Prevent Water Hammer
Water hammer is a pressure surge that happens when water moving at speed hits a closed valve or air pocket. Opening a dry, closed system instantly is like hitting the pipes with a hammer—literally (Irrigation Incorporated).
Slow-open procedure:
- Crack the main irrigation shutoff about one-quarter turn.
- Listen for water entering the line—a low hiss is normal.
- Wait 3–5 minutes so air can migrate and pressure builds gradually.
- Open another quarter turn; wait again.
- Repeat until the valve is fully open (handle parallel to pipe).
For in-ground stop-and-waste valves, use a valve key and turn slowly counterclockwise until you feel seat contact, pausing every half turn.
Watch the backflow assembly and any visible joints during pressurization. A little seep at a packing nut is different from a spraying crack—note it for tightening after the system is fully charged.
Step 5 — Run a Manual Zone Test and Read What You See
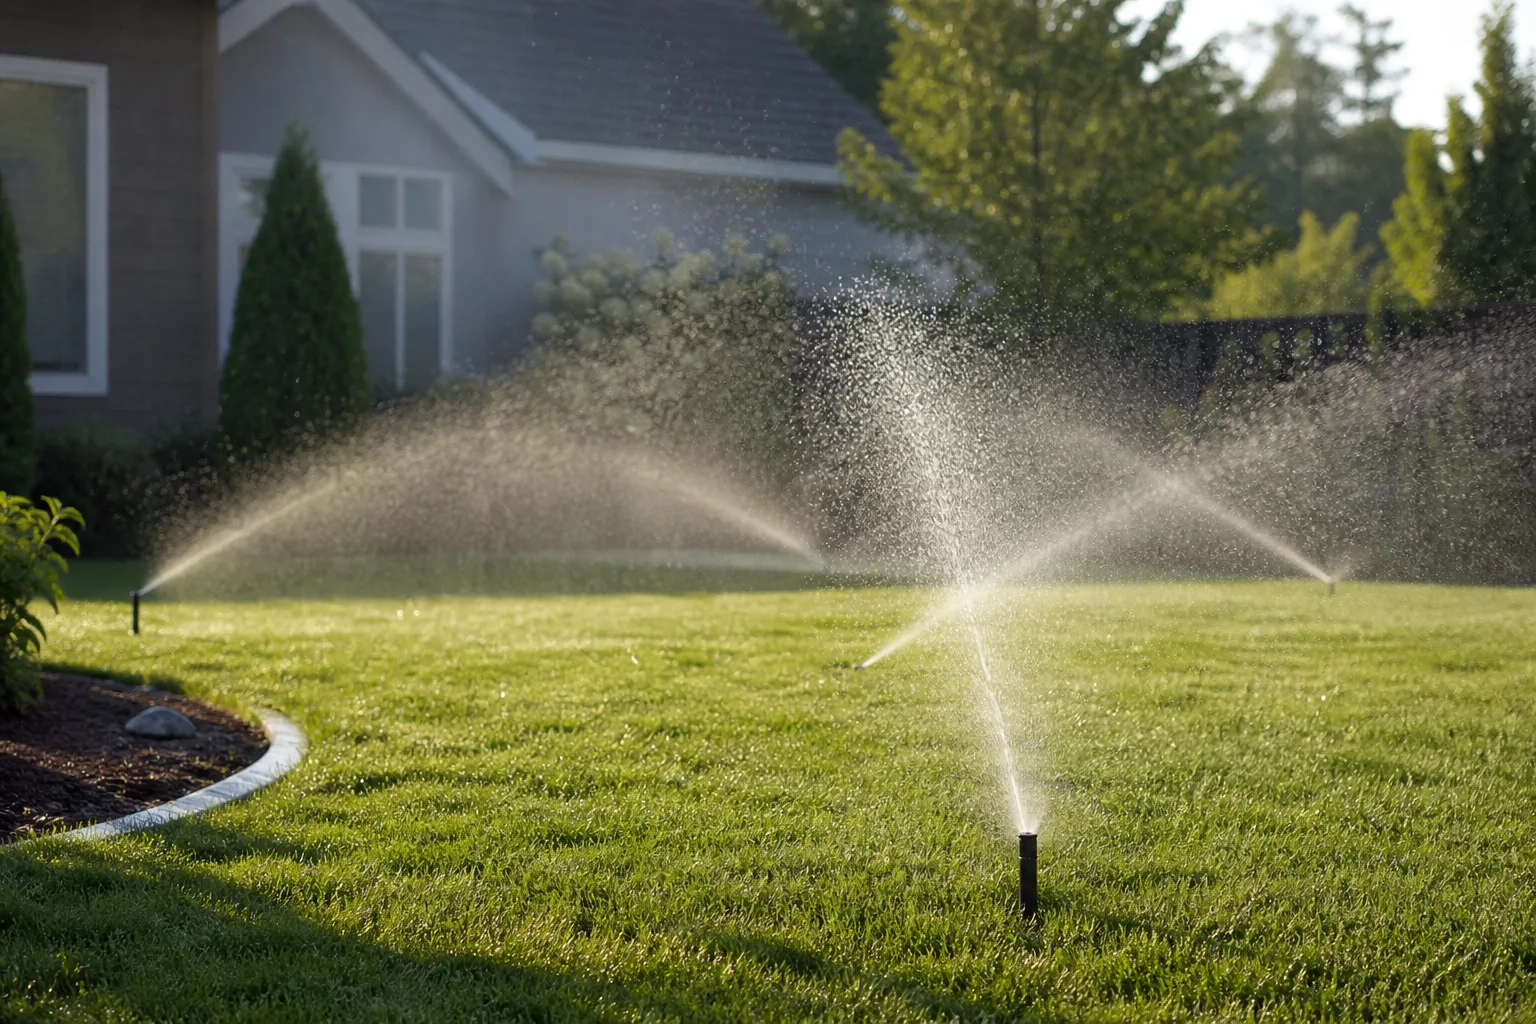
At the controller, enter manual or test mode and run each zone for 3–5 minutes—long enough for heads to fully rise and patterns to stabilize.
Normal first-run behavior:
- Heads sputter air and water for 30–60 seconds, then smooth out
- A slight hammer noise once, then quiet operation
Abnormal signs—shut the zone down and investigate:
- A geyser instead of a head (broken riser or missing nozzle)
- Water bubbling continuously from a valve box (cracked manifold or stuck solenoid)
- Heads that never pop up (clogged nozzles, seized bodies, or insufficient pressure from a partial main-valve opening)
- Constant flow from the RPZ relief port (failed check valves—call a pro)
Walk each zone while it runs. Flag heads spraying driveways, siding, or fences—you will adjust those before setting the automatic schedule.
Step 6 — Hunt Leaks and Fix Coverage Before You Automate
After the zone test, re-walk valve boxes, the backflow assembly, and the main shutoff bleeder. Tighten packing nuts gently—over-torquing brass cracks easily.
Coverage fixes to make now:
- Replace cracked or stripped heads with the same model and nozzle arc
- Adjust spray screw direction with the system on (use a nozzle adjustment tool if included)
- Raise sunken heads to grade with a riser extension so they clear turf
- Clear root intrusion around swing joints before they tear under pressure
Do not lock in a nightly schedule until leaks are resolved. A small weep in a valve box can waste thousands of gallons over a season.
Step 7 — Reprogram Your Controller (and Check the Rain Sensor)
Winterization often includes unplugging the controller or leaving it in rain-delay mode. Before you rely on automation:
- Set the correct date, time, and daylight-saving behavior
- Build a seasonal base schedule—start conservative; deep infrequent cycles beat daily light sprinkles for turf roots
- Confirm run times per zone match current plant needs (cool spring grass needs less than July heat)
- Test the rain sensor if one is installed—many controllers have a bypass terminal; a stuck wet sensor will block all irrigation (UF/IFAS Extension)
EPA WaterSense principles apply here: water when soil moisture is low, prefer early morning runs to cut evaporation, and split run times on slopes to reduce runoff (EPA WaterSense).
For the first automatic cycle, watch the system run once in daylight. After that, overnight or pre-dawn scheduling is fine.
Common Spring Startup Mistakes That Crack Pipes or Waste Water
| Mistake | Why it hurts | Fix |
|---|---|---|
| Opening main valve fully in one motion | Water hammer bursts fittings or heads | Quarter-turn increments with wait periods |
| Skipping the thaw test | Frozen soil + pressurized pipe = cracks | 12-inch probe; wait if frozen |
| Leaving a drain valve open | Floods valve box when main opens | Close every drain port before startup |
| Running all zones at once for “speed” | Hides which zone has the leak | One zone at a time in manual test |
| Ignoring a weeping backflow | Indicates failed checks or debris | Clean, retest; call for RPZ issues |
| Copying last July’s schedule in April | Overwaters cool-season turf | Reduce run times; increase as heat arrives |
When to Call an Irrigation Professional
DIY startup is reasonable when: winterization was standard, components look intact, you found the valves, and the manual test shows only minor head adjustments.
Call a licensed irrigator or backflow tester when:
- You cannot locate the shutoff or backflow device
- RPZ relief port will not stop flowing after startup
- A valve box fills with water faster than you can diagnose
- You see cracked PVC on the main line or manifold
- The system was not winterized and you suspect freeze splits
- Your municipality requires an annual backflow test before operation (common with RPZ devices)
Spending $150–$300 on a spring tune-up is cheap compared to trenching a shattered lateral line.
Conclusion
Restarting a lawn sprinkler system after winter is straightforward when you respect timing, valve order, and slow pressurization. Confirm the ground has thawed, inspect heads and boxes, set the backflow device correctly, open the main valve in stages, test each zone, fix leaks, then program the controller for spring—not last summer’s heat wave.
Done carefully, you will hear a minute of harmless air sputter, then even spray patterns and a dry valve box. Done hastily, you will hear one loud bang and spend the afternoon digging. Take the slow path—the lawn will green up either way, but only one path keeps your pipes intact.



