Horticultural Sand: What It Does in Potting Mix
Horticultural sand can add drainage and weight to a mix. Learn which grades to buy, what not to substitute, and how to test a small batch first.
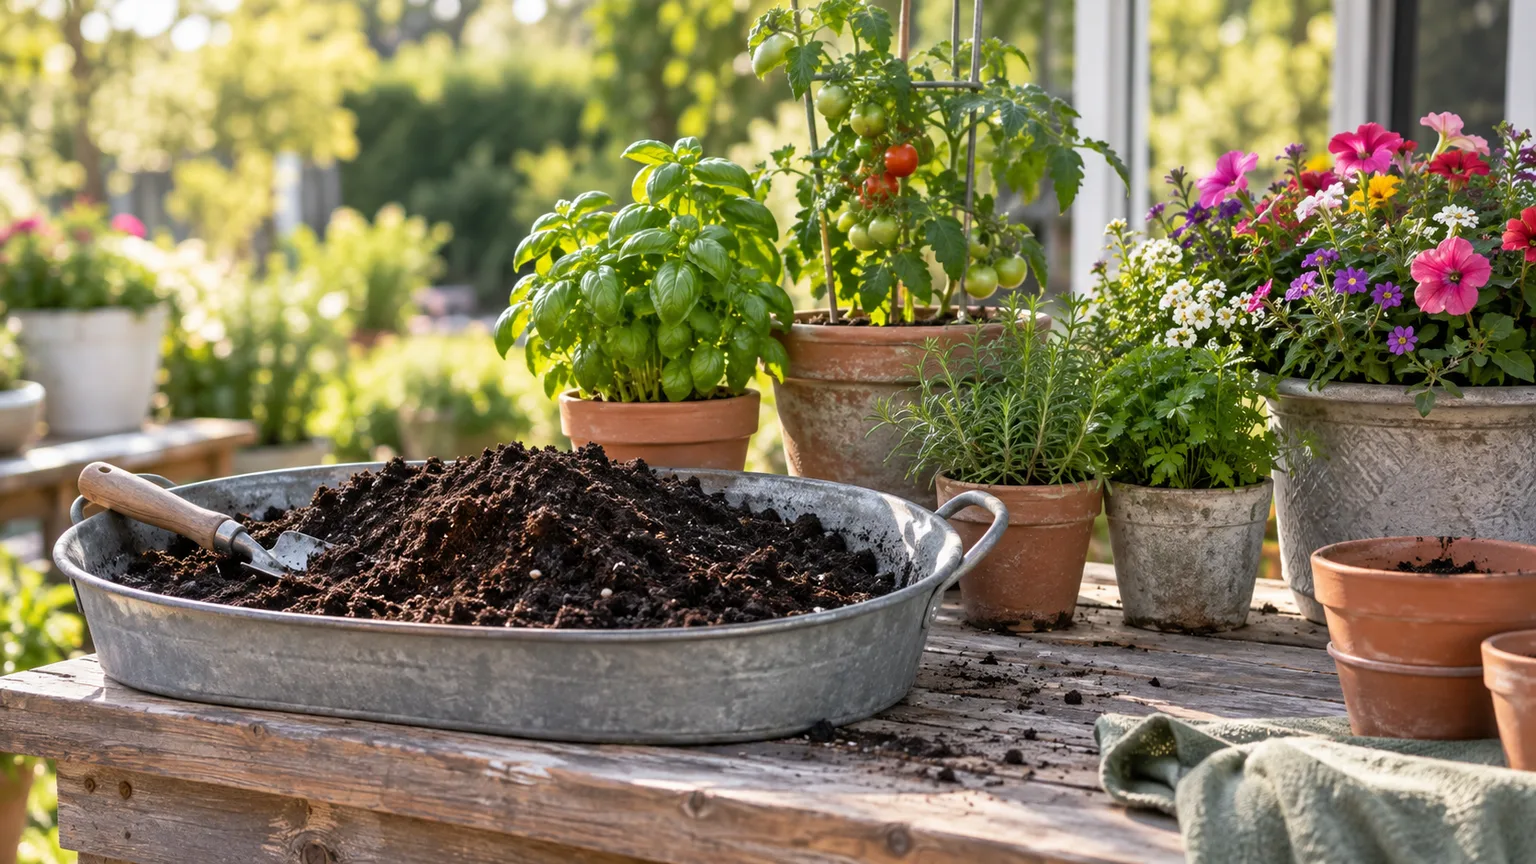
Horticultural sand is useful when a growing mix needs a stable, coarse mineral component that drains freely and adds weight. It is not a required ingredient in every seed tray or pot, and a bag marked “sand” is not automatically suitable for plants. The decision comes down to the grain size, the rest of the mix, the plant’s moisture needs, and whether the added weight is helpful.
The safest way to think about it is as a texture adjustment, not plant food or a cure-all for soggy soil. Use it when a recipe or growing situation calls for coarse particles; skip it when the existing mix already drains and holds moisture at the right pace.
What horticultural sand is—and what it is not
Horticultural sand is a coarse mineral material sold for use in growing media. It may be made from quartz, granite, sandstone, or another quarried rock, depending on the product and region. Gardeners may also see terms such as sharp sand, coarse sand, horticultural grit, or washed builder’s sand. Those labels overlap in everyday use, but they do not guarantee the same particle size, cleanliness, or mineral source.
The University of Connecticut Home and Garden Education Center describes coarse sand as a large-particle ingredient used to improve drainage and add weight to potting mixes, and advises using washed or horticultural-grade sand (UConn potting media guidance). That distinction matters: you are choosing a graded growing-medium ingredient, not just any granular material from a hardware store.
Sand is the mineral fraction of a mix; it does not supply the organic matter, fertility, or water storage that peat, coir, bark, or finished compost can provide. Perlite and vermiculite are not types of sand, either. Perlite is expanded volcanic glass used for aeration and drainage, while vermiculite is a mineral that helps retain moisture and nutrients. They can solve some of the same mix problems, but they do not behave the same way.
What sand changes in a growing mix
A potting medium has to do several jobs at once: support roots, let excess water drain, hold enough moisture for the plant, and leave air around the roots after watering. Coarse sand contributes mostly to the physical structure. It can open a mix, increase its mass, and reduce the amount of water it holds between irrigations.
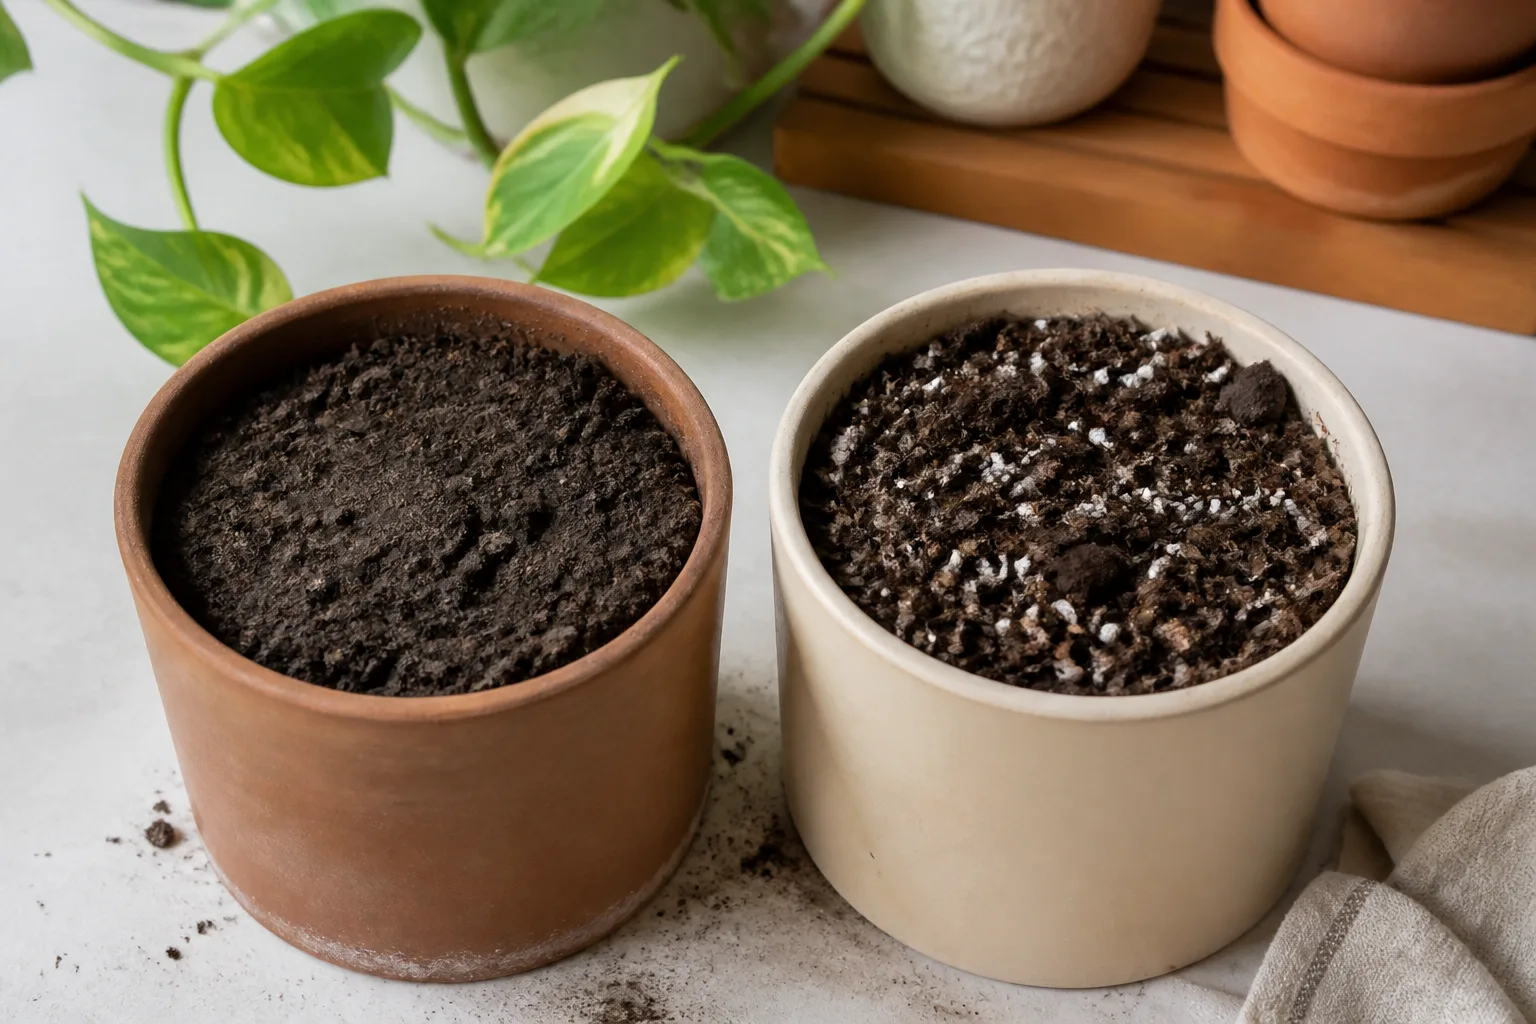
Coarse particles create larger air spaces
When coarse particles are mixed into peat, coir, compost, or another base, they can create a more open texture. Oklahoma State University Extension explains that growers favor coarse sand in growing media because larger spaces between grains increase aeration around roots (OSU soilless growing media). That is useful when a mix stays too wet for the plant or when a heavier, free-draining medium is wanted.
Drainage and aeration are related, but they are not identical to “dry as fast as possible.” Roots need both water and oxygen. A mix that drains almost immediately may force frequent watering and can leave little reserve for warm, sunny, or windy conditions. Conversely, if water lingers in a pot for days, adding a coarse ingredient may help only if the pot has open drainage holes and the base mix is not already too fine or compacted.
The visual difference between a fine mix and an open mix can help you evaluate the texture, but no ingredient guarantees healthy roots by itself. Container height, drainage holes, how tightly you pack the mix, and how often you water all affect the result. Horticultural sand is one lever in that system.
Mineral sand adds weight but little water or nutrition
Sand is heavier than perlite and most peat- or coir-based mixes. That extra mass can help anchor a top-heavy container or make a mix less buoyant and easier to settle around roots. UConn notes that heavier mixes containing sand or mineral soil can suit large or top-heavy houseplants, although that does not make them the best choice for every container.
Sand also contributes little water or nutrient storage. In a large proportion, it can make the medium dry faster, increase the weight of a pot you need to move, and dilute ingredients that hold moisture or nutrients. Oklahoma State Extension describes sand as heavy with low water- and nutrient-holding capacity in growing systems (OSU soilless growing media). That is why adding sand should be a deliberate trade-off, not a reflex whenever a plant looks unhappy.
When horticultural sand earns a place
Sand is most useful when you want a clean, durable coarse fraction in a mix that is otherwise too fine, too light, or too moisture-retentive for its intended use. It may be used in some cutting and propagation media, gritty mixes, and heavier container mixes. It is particularly worth considering when weight is helpful and the plant tolerates a quicker dry-down.
Cuttings and heavier container mixes
For cuttings, a mix that stays wet around the stem base can raise the chance of rot, while a mix that dries out completely can prevent rooting. Coarse sand can be part of a rooting medium when the recipe balances drainage with moisture retention; it is not a complete recipe on its own. A cutting still needs the right humidity, light, temperature, and watering, and fine seed-starting mix or perlite may be a better fit for delicate cuttings.
A heavier container medium can also be useful for a large plant that tips easily, especially outdoors where wind catches leaves or stems. But consider the full container before increasing weight: a large pot becomes difficult to move, and a balcony, shelf, or plant stand has a load limit. If stability is the only issue, a wider or heavier container may solve it without changing the root-zone mix.
For succulents and cacti, sand can be one component of a mineral-rich mix, but it should be coarse and clean. It does not replace a draining pot, an appropriately sized container, or careful watering. A succulent planted in fine, compacting material can still stay wet for too long.
Seed starting only when the recipe calls for it
A seed-starting mix is not simply a standard potting soil with sand added. It is typically fine and uniform so small seeds can be covered consistently and emerging roots can move through it. UGA Extension’s seed-starting guidance calls for a fine, loose, low-fertility mix and gives a basic recipe built from peat or coir, vermiculite, and perlite—not sand (UGA seed-starting mix). Penn State Extension likewise describes soilless mixes with peat, perlite or vermiculite, and compost or fertilizer as common media for developing seedlings (Penn State media and propagation).
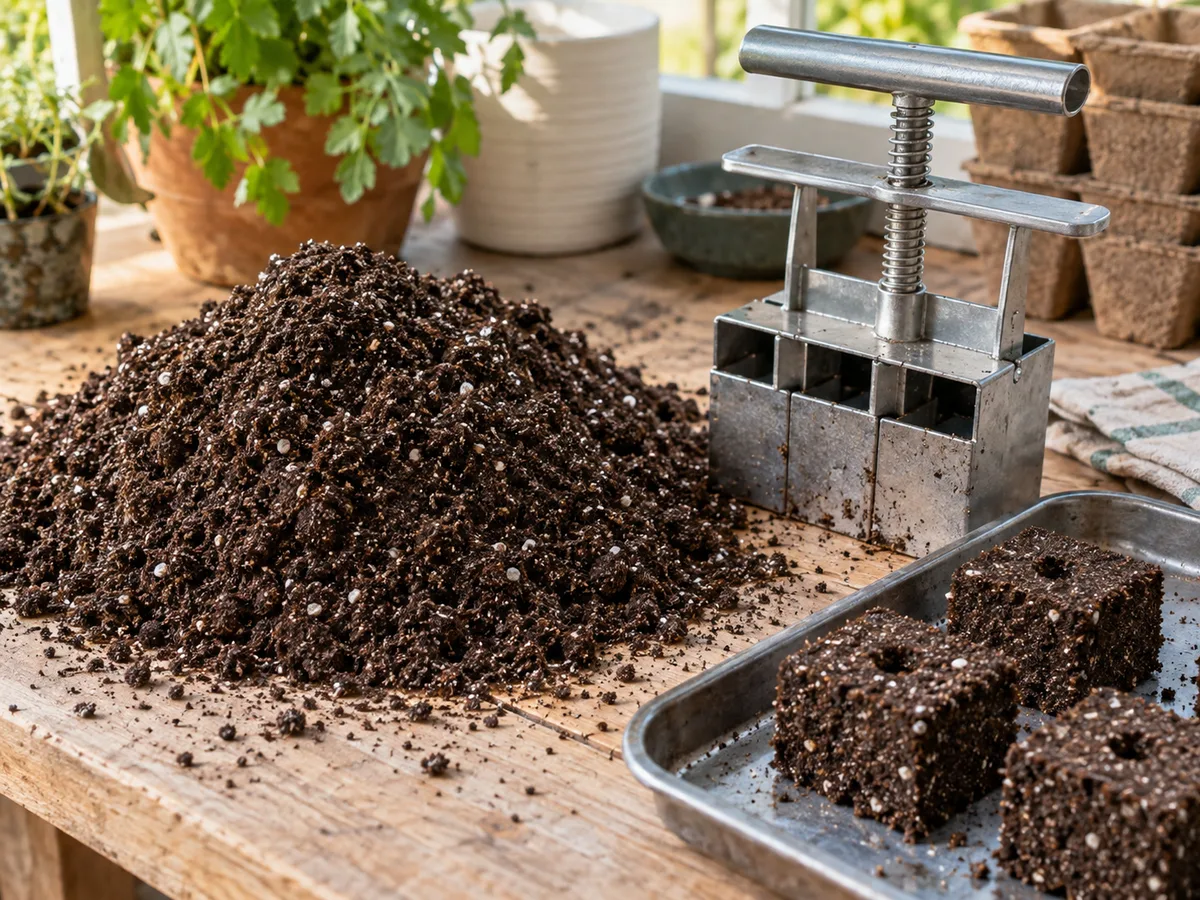
That does not mean sand can never appear in a seed recipe. Penn State includes coarse sand as an option in some soil-block mixes, and a recipe made for larger seeds or a particular propagation method may specify it (Penn State media and propagation). The important distinction is that the grade and amount are chosen for that mix. A coarse handful added to a fine plug tray can create uneven pockets, make shallow sowing harder, and make the tray heavier without improving germination.
If you are starting tiny seeds, using a ready-made seed-starting mix, or following a recipe that does not list sand, do not add it just because the ingredient is associated with drainage. Use the mix as designed unless you have a specific reason to change it.
Horticultural sand vs. grit, sharp sand, and substitutes
Names vary by location and supplier, so compare products by what they are and how they behave rather than by label alone. Gardening Know How uses “sharp,” “coarse,” and “quartz” sand for horticultural sand and notes that builders’ sand may be a substitute; that practical advice still needs a product check because construction aggregates are sold for different jobs (Gardening Know How on horticultural sand).
| Material | What it can do | When it may fit | Main trade-off |
|---|---|---|---|
| Horticultural sand | Adds a coarse, mineral fraction and weight | A recipe or potting mix calls for coarse sand | Verify grade, washing, and source |
| Horticultural grit or sharp sand | Similar gritty structure, depending on grading | When particles suit the pot size and plant | The label does not tell you every product’s exact size |
| Washed coarse builder’s or masonry sand | Can substitute when it is clean, coarse, and free of additives | Larger batches or a confirmed aggregate grade | Construction product specifications vary; avoid blends |
| Perlite | Adds air space with little added weight | Seed mixes or containers where lighter drainage is wanted | Lightweight and dusty; can float or shift to the surface |
| Vermiculite | Holds more moisture and nutrients while keeping a loose texture | Seed starting or mixes that dry too quickly | It is not a direct substitute when the goal is less water retention |
| Play or sandbox sand | Usually a fine, smoother material | Not a reliable substitute for coarse horticultural sand | Fine particles may pack rather than create the larger pore spaces wanted |
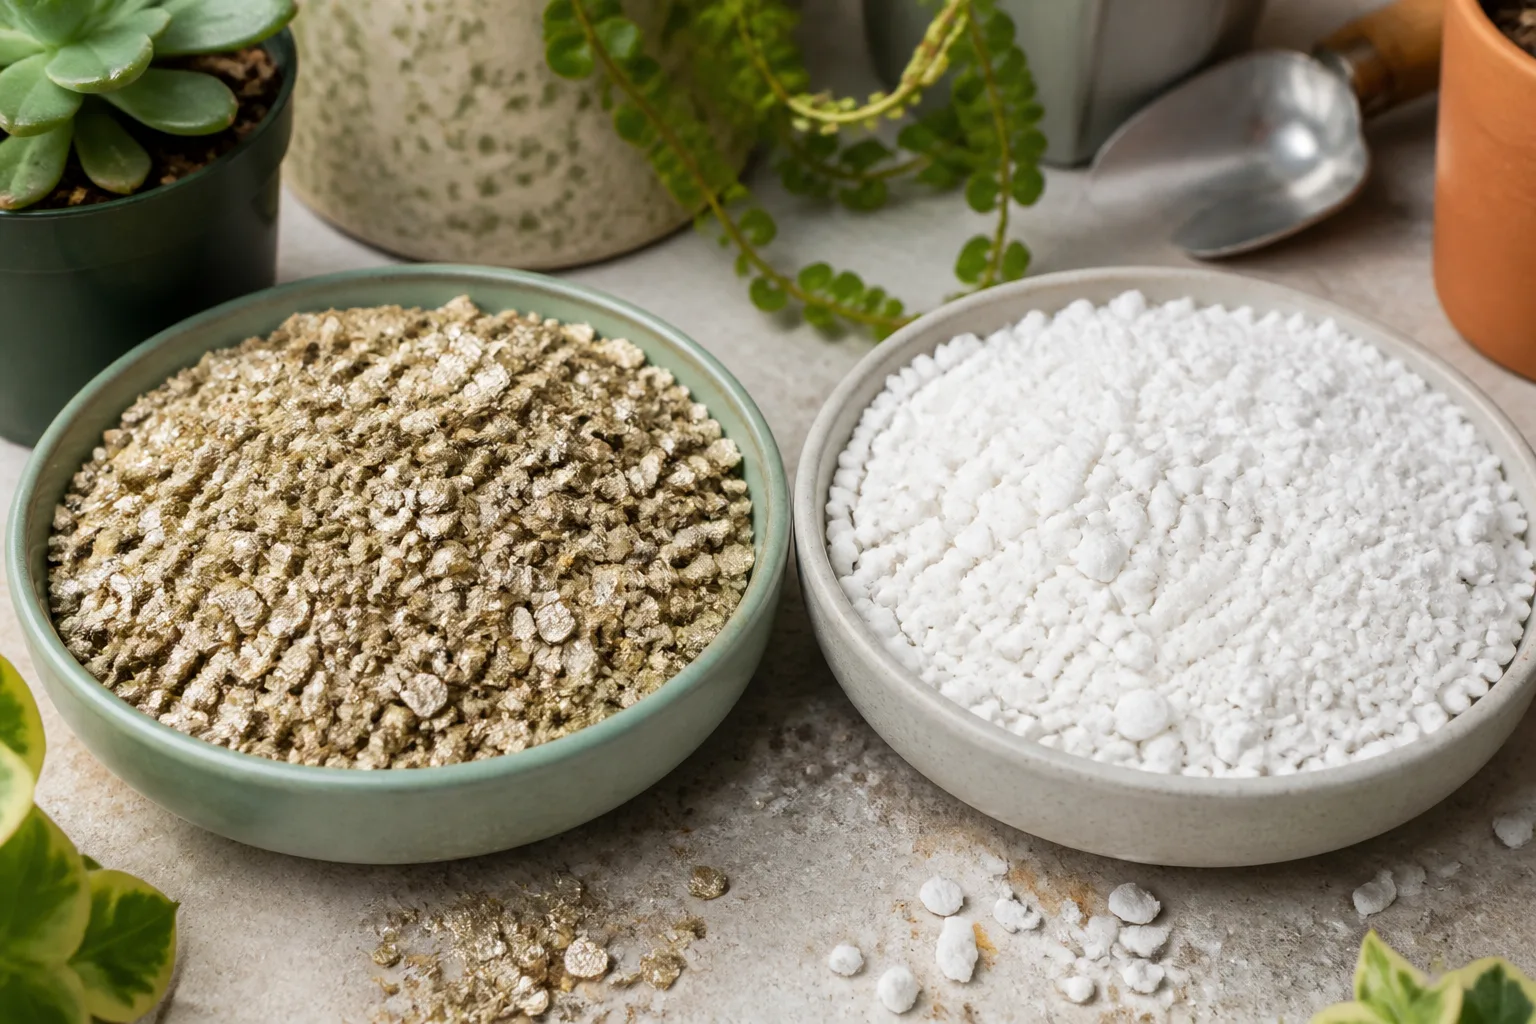
For a drainage-focused change, perlite is often easier to handle in small pots because it is much lighter than sand. For a moisture-retaining change, vermiculite is more appropriate. For added ballast or a mineral texture, coarse sand may be the better match. This distinction is clearer than treating every substitute as interchangeable.
Horticulture magazine offers a useful example of sand’s specific role: a container recipe combines coarse sand with screened compost and bagged garden soil, while warning against adding sand to high-clay native soil (Horticulture’s homemade potting mix). It is an example for a heavier container mix, not a universal seed-starting formula.
How to buy the right sand
A useful bag tells you enough to decide whether it fits your mix. Look for a product described as washed, clean, coarse, horticultural grade, sharp, or suitable for growing media. If the package or supplier lists particle grading and source rock, compare those details with your recipe and plant needs. “Builder’s sand” alone is not a complete specification.
Ask the supplier whether the sand has been washed or screened and whether it is a standalone aggregate or a construction blend. Do not use mortar mix, paver jointing sand, or any product containing cement, lime, salt, fertilizer, or other additives as if it were plain horticultural sand. For a large area, call the landscape or masonry supplier and request the product specification before arranging delivery.
Check grain size and grading
The grain size has to fit the job. In container media, larger, gritty particles create more open spaces than fine particles do. For seed-starting trays, a very coarse grade can interrupt the fine, even texture that shallow-sown seeds need. A label that only says “sand” gives you little assurance that the product will behave like horticultural-grade material.
If you cannot find a grading description, examine a small amount in a clear cup or on a tray. The grains should remain visibly distinct rather than turning into a fine paste when damp. This quick look is not a lab test, but it can help you reject dusty or very fine sand before mixing a full batch.
Particle size should also match the container. A coarse aggregate that works in a large pot may be awkward in a small cell tray where the root ball is only a few centimeters across. If the intended mix needs a fine, uniform texture, choose a seed-starting medium or fine-grade perlite instead of forcing coarse sand into it.
Check washing, additives, and rock source
“Washed” is useful because it signals that excess dust and loose fines have been reduced, but it does not tell you everything about the source or chemical behavior. UConn specifically recommends washed or horticultural-grade sand in potting mixes. If a seller cannot say whether the material is clean and screened, buy a smaller packaged product with a clearer description.
Do not assume that all horticultural sand is lime-free from its name alone. If the source rock is limestone or another carbonate material, its effect depends on the material and how much is mixed in. If you are growing a plant that requires a narrow pH range, ask the supplier for the source or pH information; UConn notes that ground limestone is used to raise growing-medium pH (UConn potting media guidance). For an ordinary container mix, do not add lime or try to adjust pH unless the plant and mix call for it.
How to adapt a seed-starting mix
Start with the recipe and the seed size, not with the sand you happen to have. Seed-starting media are commonly soilless because they provide a predictable, light texture and avoid introducing garden soil that may carry weed seeds or disease organisms. The goal is steady moisture, enough air, and a surface that does not obstruct emerging seedlings.
If the recipe specifies sand
Use horticultural-grade or washed coarse sand at the recipe’s stated amount. Measure by volume if that is how the recipe is written, and blend thoroughly so one cell does not get a pocket of dense sand and another a pocket of peat or compost. Moisten the mix before filling trays, then fill them loosely rather than pressing the medium into a hard layer.
If you are replacing a named product with a different sand, compare the grain size, not just the bag weight. A very fine substitute may hold and channel water differently from coarse sand. A very coarse substitute can make a shallow seed bed uneven. When the recipe is intended for soil blocks or seed flats, sift all ingredients to a similar size if the instructions call for it.
Use the seed packet and recipe to determine depth. Some seeds need light to germinate and should not be buried under a coarse top layer. Sand is not a universal cover for seeds; use the sowing depth recommended for the crop.
If the recipe uses perlite or vermiculite
Do not swap one-for-one just because all three ingredients look gritty in the bag. Perlite contributes lightweight pore space; sand adds much more weight and usually less water storage; vermiculite is used partly because it holds water. Replacing vermiculite with sand can leave seed cells drying too quickly. Replacing perlite with sand may create a much heavier tray and change the balance between air and water.
If you cannot get a recipe’s ingredient, the simplest option is often to choose a commercial seed-starting mix made for your crop or use a published recipe that specifies materials you can source. UGA Extension’s basic mix uses equal parts peat or coir, vermiculite, and perlite, and advises keeping it loose and moist rather than compacting it (UGA seed-starting mix). That is a good reminder that sand is optional, not an automatic upgrade.
When trying an altered mix, make a small comparison batch first. Keep the container, fill level, and watering the same, and change only one ingredient. If the seed mix is for valuable or large-scale transplants, Penn State Extension describes testing unfamiliar media with a greenhouse-media test or a small bioassay using a fast-germinating crop (Penn State media and propagation). A trial cannot diagnose every cause of poor growth, but it can keep an untested mixture from becoming a whole tray problem.
Why a thin layer of sand will not fix clay
Sand can improve the texture of a purpose-built potting mix, but that does not mean sprinkling it into a clay garden bed will turn the bed into a loose, free-draining soil. Garden soil is a much larger system with a high proportion of very small clay particles. A small amount of sand is unlikely to change that overall texture enough to solve waterlogging, and the resulting mix may become dense.
University of Minnesota’s horticulture text explains that soil texture depends on the relative proportions of sand, silt, and clay; sand has the largest particles and drains and aerates well, while clay particles are much smaller and hold water and nutrients (UMN soil texture overview). Changing the texture of a whole bed with sand would require a large and well-planned amendment, not a token scoop. Horticulture magazine similarly warns against adding sand to high-clay native soil in its container-mix discussion (Horticulture’s homemade potting mix).
If a garden bed stays saturated, first check whether the problem is compaction, a low spot, a hardpan layer, roof runoff, or a high water table. Raised beds, drainage improvements, organic matter, and choosing plants suited to the site may be more appropriate than mixing sand through the soil. For a large garden amendment, use local extension advice and a soil test rather than guessing at a volume.
Common mistakes and dust precautions
The most common mistake is buying the first bag that says sand and treating it as horticultural-grade material. Fine play sand, unknown construction aggregate, and mixes with additives can behave differently from coarse, washed sand intended for growing media. Another mistake is using so much sand that the pot becomes heavy and the medium loses too much water-holding capacity.
A second mistake is adding sand to fix a symptom without checking the cause. A pot without drainage holes, a container that is too large, compacted old media, or overly frequent watering can keep roots wet even when some sand is present. If the medium drains slowly, identify the underlying issue before changing the recipe; do not rely on a surface layer of sand to correct a root-zone problem.
Sand and rock products can create airborne dust when scooped or poured. Many sands contain silica, and inhaling fine silica dust is a recognized lung hazard, especially with repeated occupational exposure. The American Lung Association recommends controlling silica dust with water or other dust-control methods in relevant work settings (ALA silicosis overview). For home potting, avoid pouring a dry dusty bag indoors, work outside or in good ventilation, handle gently, and dampen dusty material before mixing. Large construction jobs need the supplier’s safety instructions and appropriate workplace controls.
Test your mix before filling every pot
A quick physical trial will tell you more than a product label alone. Fill two or three small identical pots loosely: one with your original mix, one with the planned sand addition, and, if useful, one with a different amendment such as perlite. Water each slowly until the mix is evenly moist, let excess water drain, and compare how heavy each container feels and how damp the mix remains afterward.
The point is not to make the pot drain as fast as possible. The best mix for a succulent may be too dry for a leafy annual, and a blend that behaves well in a tall pot may stay wetter in a shallow tray. If one sample dries much faster than you can realistically maintain, reduce the sand or use a more moisture-retentive ingredient.
For seed starting, sow a few fast-germinating seeds in the trial medium and keep a control tray in the mix you already trust. Watch for even germination, roots that can move through the medium, and a surface that stays moist without becoming waterlogged. If the test mix is lumpy, too coarse, or hard to water evenly, do not scale it up just because it contains the ingredient a recipe mentioned.
Conclusion
Horticultural sand earns a place when a growing medium needs coarse mineral particles for a more open texture, extra weight, or a recipe-specific drainage adjustment. Buy it by grade and cleanliness rather than by the word “sand,” and keep in mind that it adds little moisture or nutrition.
Most seed-starting mixes do not require it. If the recipe uses perlite or vermiculite, choose a substitute based on whether you need air space or water retention; if the existing mix already performs well, leave it alone. A small side-by-side test is the simplest way to see whether sand improves the mix for your plant and watering routine.



