Scotts Clover Lawn: How to Fix Brown Lawn Patches
Learn how to overseed brown lawn patches with Scotts Clover Lawn, test the soil first, water new seed, and avoid trade-offs that surprise dog owners.
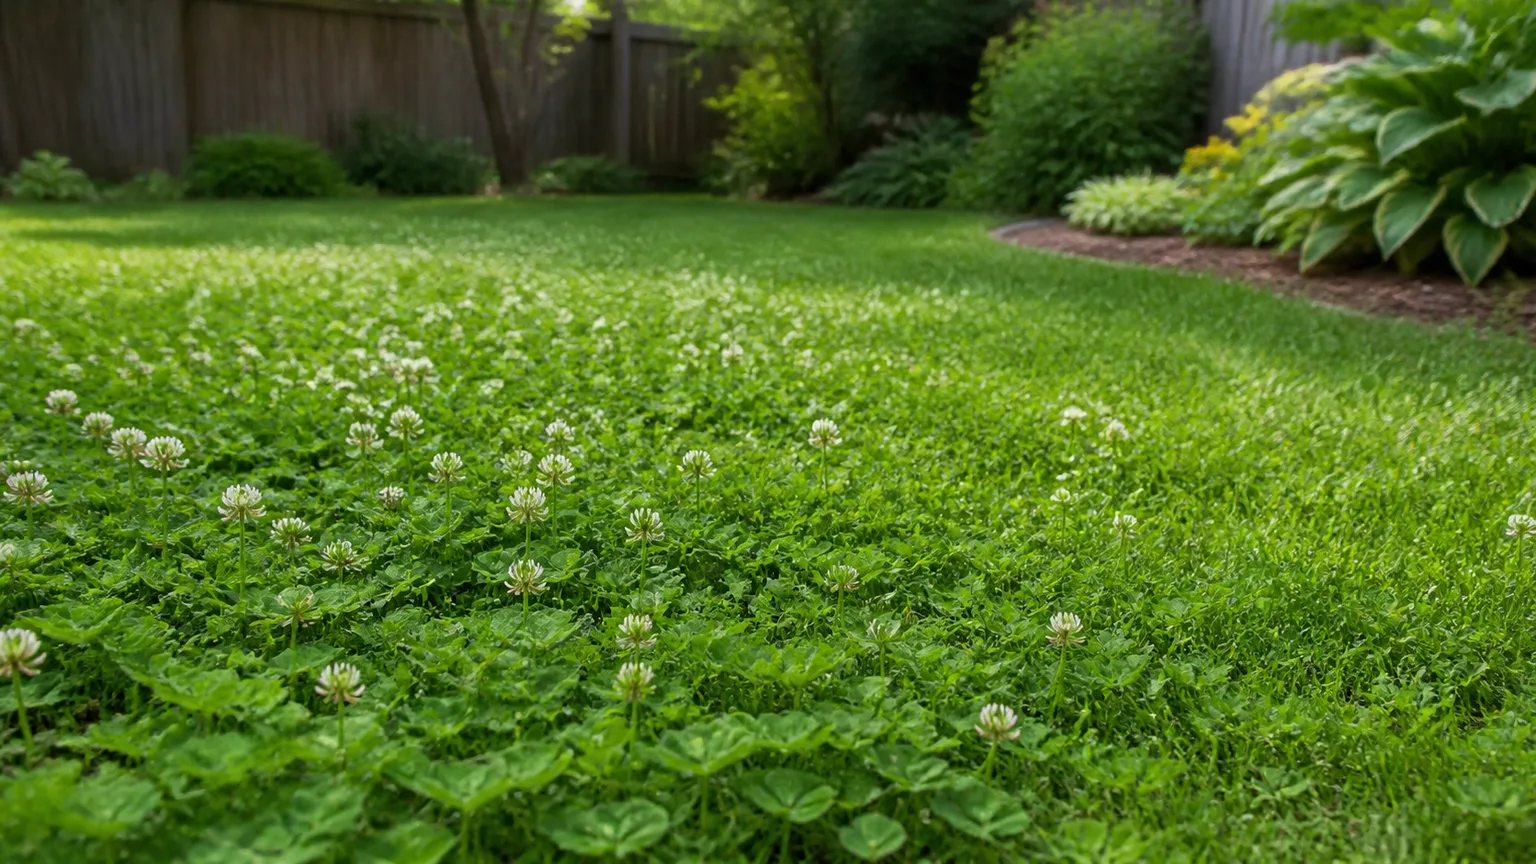
If a dog, a thirsty summer, or a tree has turned parts of your yard brown, clover seed can be a remarkably quick way to make the surface look green again. Scotts Turf Builder Clover Lawn is designed for exactly that kind of overseeding job: the product page says its strawberry clover starts growing in five to seven days, and a two-pound bag covers 1,000 square feet.
That does not mean the seed is a magic eraser. Clover can fill thin turf because it tolerates conditions that make some grasses struggle, but it will not correct a broken sprinkler, compacted soil, a waterlogged low spot, or a patch that a dog uses as a racetrack. The most reliable result comes from treating the seed as one part of a lawn-repair plan.
Is Clover the Right Fix for a Brown Lawn?
Clover is a good fit when the goal is a lower-input, mixed or alternative lawn that can stay presentable through short dry spells and ordinary household use. It is especially promising for thin areas where turf repeatedly fails from summer stress, light-to-moderate pet traffic, or a mismatch between the grass and the site.
It is a poor first move when the brown area is spreading in a ring, stays wet after the rest of the yard dries, has almost no sun, or has compacted soil that does not accept water. University of Nevada, Reno Extension lists uneven irrigation, mowing too short, dog urine, compaction, thatch, buried debris, grazing, and excess fertilizer among the possible causes of brown lawn spots. The practical lesson is simple: identify the pattern before you buy seed.
Use clover when you are willing to accept a lawn that may flower, attract pollinators, and look a little less uniform than a single grass species. Choose grass repair instead when you need maximum wear tolerance, a tightly controlled appearance, or the ability to use ordinary broadleaf weed-and-feed products without injuring the lawn alternative.
What Scotts Turf Builder Clover Lawn Actually Contains
The name matters because “clover” is not one predictable lawn plant. The current Scotts product page identifies Turf Builder Clover Lawn as a strawberry clover product, gives a coverage rate of two pounds per 1,000 square feet, and recommends spring or early summer application after frost danger has passed when temperatures are in the 60–80°F range. It also directs the user to cut the existing lawn short, spread the seed over the turf, keep the soil surface wet twice a day for the first two weeks, and return clippings after the clover is fully established.
Those are product directions, not universal rules for every clover lawn. Read the package label that comes with your bag, because availability, packaging, and directions can change; the online listing currently shows the product as out of stock. The same page warns against using it if Scotts Halts Crabgrass Preventer with Lawn Food was applied in the previous five months, which is an easy timing conflict to miss when repairing a lawn in spring.
The product’s five-to-seven-day germination claim is plausible only when the seed is in contact with moist soil and temperatures are favorable. It does not promise a fully filled lawn in a week. Germination is the first visible milestone; density, rooting, and resistance to mowing or dog traffic take longer.
Why Clover Can Stay Green When Turf Fails
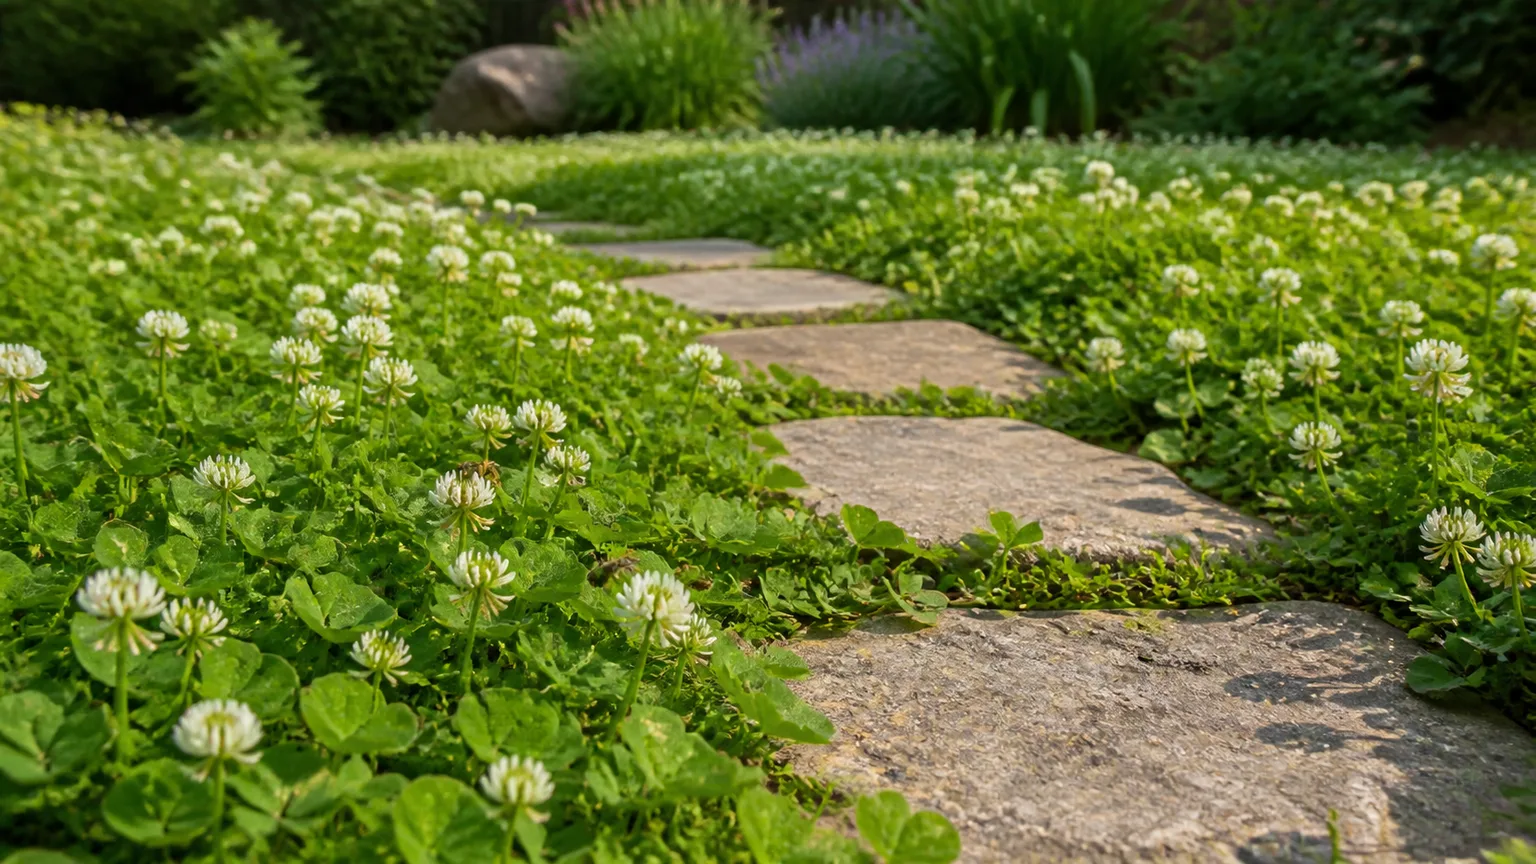
Clover is a legume, not a grass. Members of the pea family can form a relationship with nitrogen-fixing bacteria in their roots, allowing the plant to use atmospheric nitrogen in a way turf grass cannot. The RHS explains that clovers are drought tolerant, can make their own nitrogen, provide nectar for bees and butterflies, and tolerate some foot traffic, which helps explain why they often persist in lawns that look tired.
That advantage is about resource use, not immunity. An established clover stand may need less irrigation and fertilizer than a conventional grass lawn, but newly sown seed still needs consistent moisture. A clover patch can also thin when a site is repeatedly compacted, deeply shaded, flooded, scalped, or worn along the same path every day.
Dog urine is only part of the problem
Dog urine can create a brown center with a darker green edge, especially where the same small area is used repeatedly. The concentrated salts and nitrogen can injure grass, while the surrounding flush of nutrients sometimes produces unusually green growth. Clover may be more forgiving in that spot, but sowing it does not neutralize urine in the soil or stop the dog from wearing the ground bare.
If you catch a dog using a valuable patch, University of Nevada, Reno Extension recommends flushing the area with water as soon as possible. Long-term, redirecting bathroom traffic, alternating preferred spots, or creating a durable path works better than expecting any plant to absorb unlimited concentration and footfall.
This is why clover often appears to “fix” pet damage: it fills the visual gap and can tolerate routine use better than stressed grass. If the same location remains compacted or receives daily concentrated traffic, expect to reseed it or redesign that small zone rather than repeatedly scattering more seed.
Shade, traffic, and soil still set the limits
Clover can handle some shade, but “under a tree” covers several different conditions. Dappled light with open air movement is very different from dense canopy shade where grass roots and tree roots compete for water, and where fallen leaves stay wet on the soil. If the patch receives only a short stripe of weak light, clover may germinate and then thin as the season progresses.
Traffic is another threshold. Moderate walking is realistic once the stand is rooted; concentrated running, repeated ball play, or a dog’s favorite turn at the gate can still create bare soil. A grass-clover mix usually spreads wear across two different growth habits more effectively than a pure clover patch, while stepping stones or a defined path can remove the most damaging traffic from the planting altogether.
Choose Between Clover, Grass, or a Mix
The right choice depends less on whether clover is fashionable and more on what the square footage must do. A front-yard strip that is mostly decorative can tolerate flowers and seasonal shifts; a backyard used for fetch, parties, or children’s games needs a tougher surface and a repair plan for high-wear lanes.
| Your priority | Best starting direction | Why |
|---|---|---|
| Fill thin, dry, low-traffic areas | Clover or a clover-heavy mix | Lower water and fertilizer demand after establishment |
| Keep a conventional uniform look | Grass seed with limited clover | Grass supplies the familiar texture and color pattern |
| Repair a heavy-use play or fetch zone | Turf grass selected for the region | Grass generally handles concentrated wear better |
| Support bees and accept flowers | White clover or a bee-lawn mix | Flowering clover provides nectar and visual diversity |
| Work around dense tree shade | Shade-tolerant grass or a redesigned bed | Seed choice cannot overcome near-total shade and root competition |
Clover types are not interchangeable
Many online lawn guides discuss white Dutch clover or microclover, but the Scotts product page identifies this bag as strawberry clover. Those plants can differ in leaf size, height, flowering, spread, and how well they blend with an existing grass stand. Do not buy one product and judge it against promises made for another cultivar.
White clover is the familiar low-growing lawn clover that creeps through stems and flowers readily when allowed to grow. Microclover is a dwarf white-clover selection bred for a finer, more turf-like appearance, although it can be slower to establish and may change behavior when exposed to heat, drought, or mowing. Strawberry clover is the product-specific plant named on the bag, so use its label and your local growing conditions as the final authority.
When a grass-clover mix is smarter
A mix is usually the most forgiving compromise. Grass contributes structure and wear tolerance, while clover can occupy thin spaces, add nitrogen to the plant community, and remain attractive when the grass slows during a short drought. The National Garden Bureau describes microclover and fine fescues as complementary options for homeowners who want a lower-input lawn without abandoning the familiar feel of turf.
The trade-off is management. Nitrogen fixation does not guarantee that the neighboring grass will always receive enough available nutrition, and heavy nitrogen fertilization can favor grass so strongly that it crowds out clover. If you want both plants to persist, avoid treating the entire yard as if it were a high-input grass monoculture.
Diagnose the Patch Before You Spread Seed
Spend five minutes examining the brown area before you rake. Look at the shape, the edge, the soil surface, and what happens after irrigation; those clues tell you whether seed is likely to help or simply become expensive bird food.
Five-minute tests for water, compaction, and thatch
First, compare the patch with a nearby green section. If the brown area sits at the edge of sprinkler coverage, place several shallow cans or straight-sided containers across the lawn during a watering cycle and compare the depth collected. Uneven distribution is a system problem, not a seed problem.
Next, push a screwdriver into the soil after watering. If it will not enter easily even though the ground is moist, compaction or thatch may be blocking roots and water movement. Dig a small plug at the edge of the patch: a dense, spongy layer of undecomposed stems and roots suggests thatch, while hard soil with few roots suggests compaction.
Finally, check the mowing pattern. Brown strips or furrows that appeared after a very short cut point toward scalping, dull blades, or mowing when the lawn was stressed. If the patch forms a ring with a dark green margin, or if it stays wet long after rain, investigate drainage and disease-like patterns before overseeding.
Do not automatically add fertilizer to a brown patch. The University of Nevada, Reno Extension notes that excess fertilizer can burn a lawn, while underfeeding is only one of many possible causes. If the same area fails repeatedly, a soil test and a look at drainage, sun, and irrigation are more useful than another unmeasured application.
How to Overseed Brown Patches With Clover
Once the cause is manageable, overseeding is straightforward. The sequence is more important than the tool: shorten the existing turf, expose enough soil for tiny seed to reach it, distribute the labeled amount, and keep the surface moist without washing seed downhill.
Step 1: Mow and expose the soil
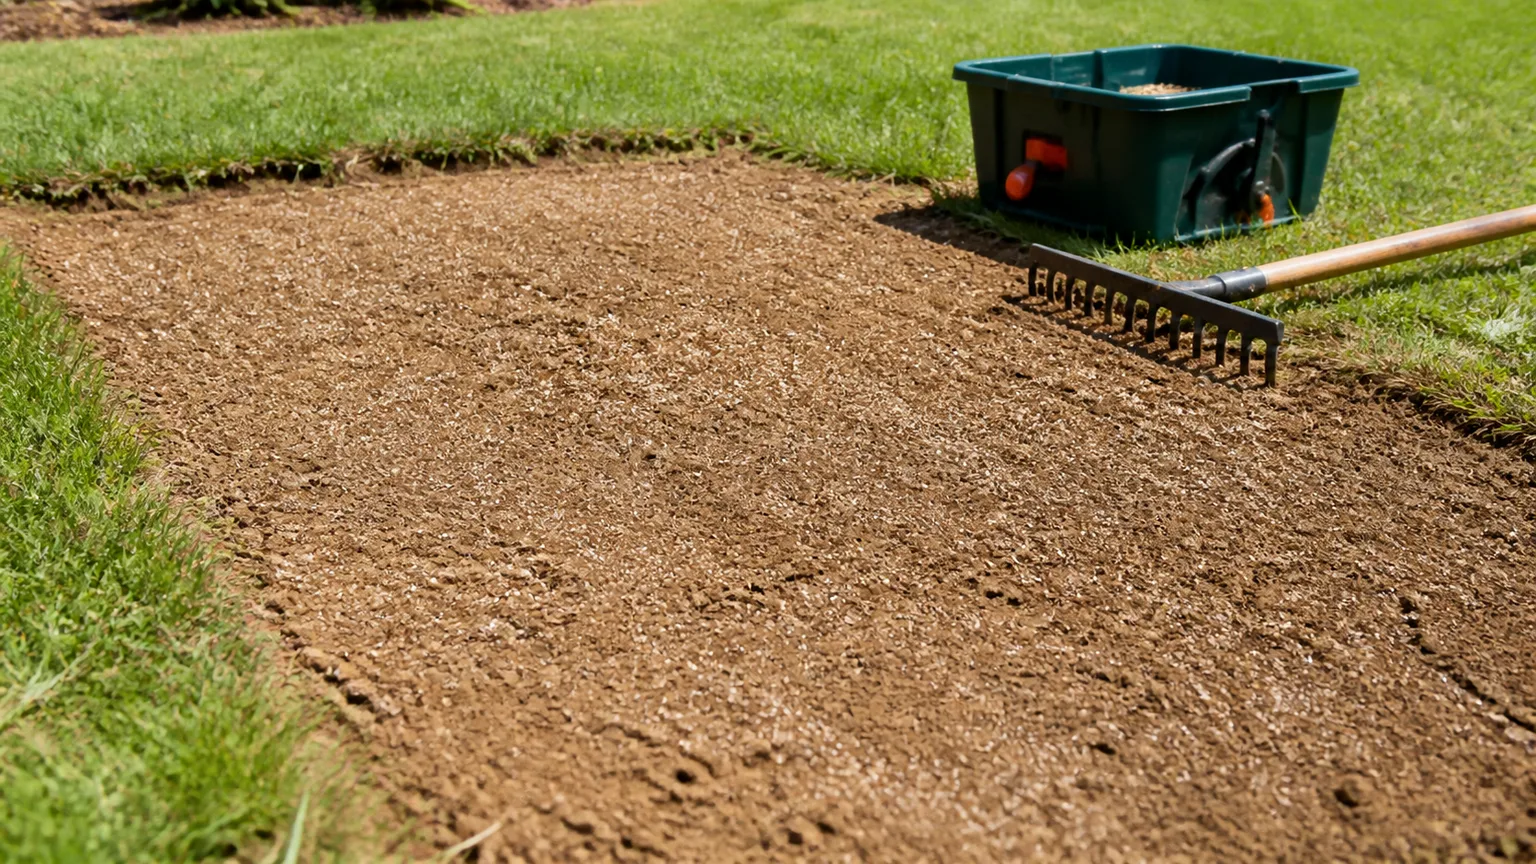
Mow the surrounding lawn short enough to reduce competition and let seed reach the soil, following the product label. The Scotts directions call for the lowest mower setting before application, but do not confuse “short” with repeatedly scalping a drought-stressed lawn; if the grass is already damaged, correct the stress and remove clippings rather than shaving it down until the crown is exposed.
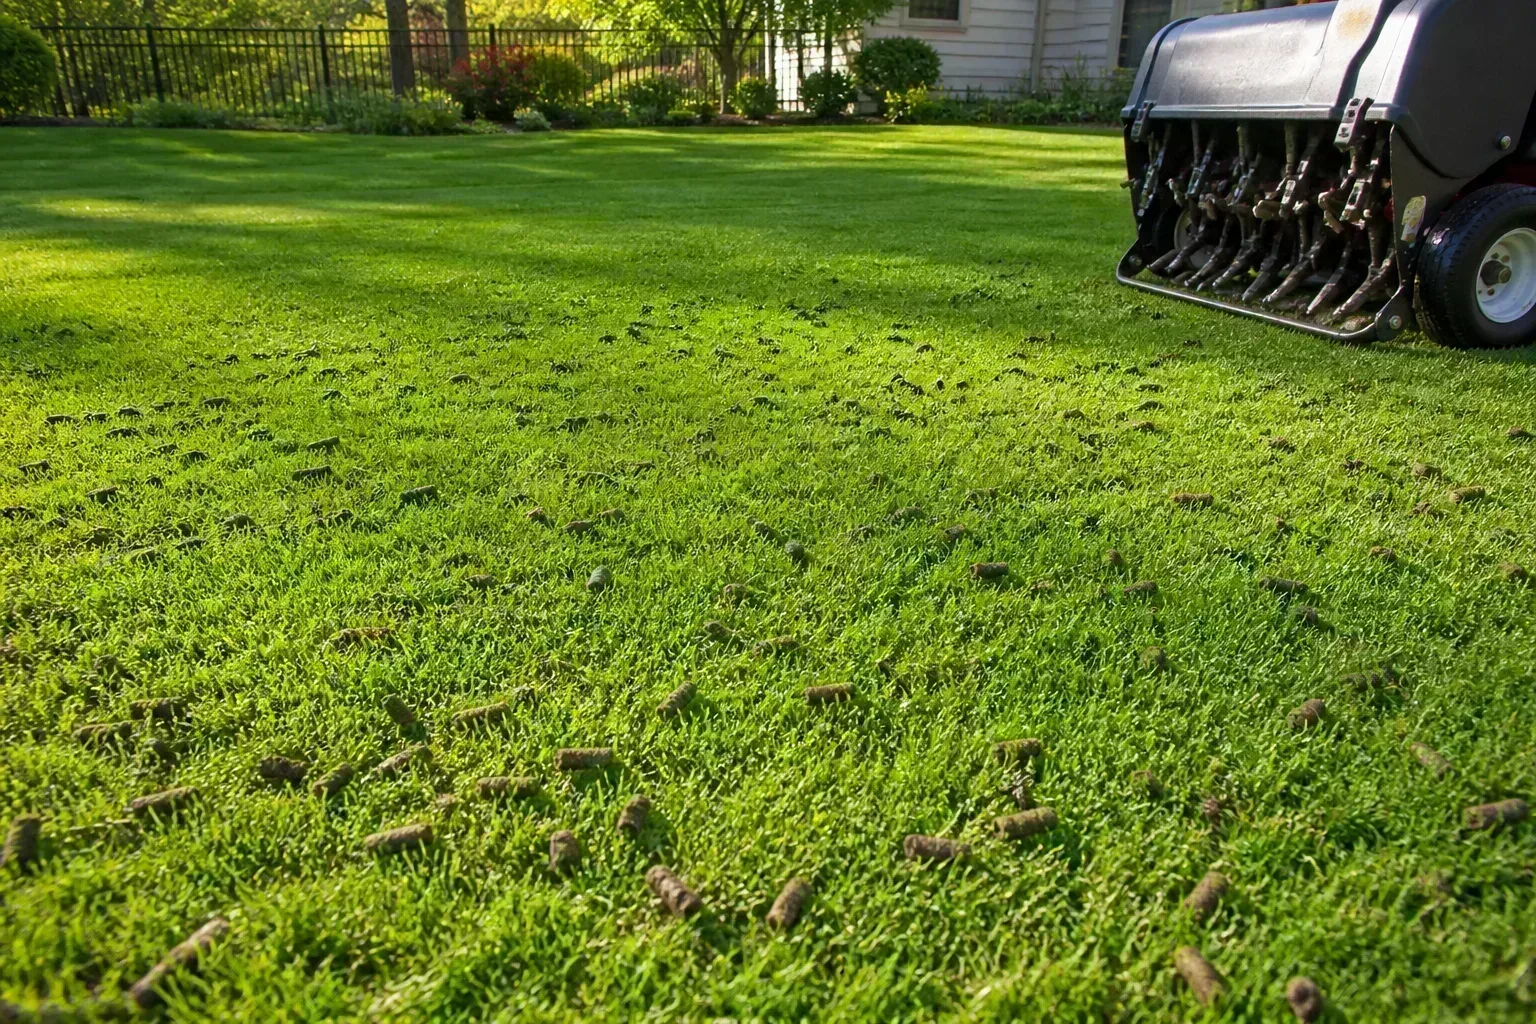
Rake the patch firmly enough to lift dead material and loosen the top surface. If thatch or compaction is substantial, core-aerate or remove the obstruction first, because seed sitting on a dry mat will not benefit from the excellent germination rate printed on the bag.
Edge the repair zone so you know how much area you are treating. A clean boundary makes it easier to measure seed and to judge whether the patch is improving instead of slowly expanding.
Step 2: Apply seed evenly
The product’s stated coverage is two pounds per 1,000 square feet. That works out to roughly 0.2 pound, or 3.2 ounces, for a 100-square-foot patch; weigh the seed when possible instead of guessing what a handful looks like.
Divide the measured amount into two portions. Spread one portion walking north to south and the other east to west, then lightly rake or press the surface so the seed contacts soil. Clover seed is small, so burying it deeply is more likely to slow emergence than to help it; aim for a thin soil covering rather than a trench.
Do not blend in grass seed just because the bag is beside another bag in the shed. Grass and clover have different temperature, moisture, and competition preferences, and a random mixture can produce a fast flush of clover with little grass. If you want a mixed lawn, choose a grass species suited to your region and follow both labels rather than doubling the total rate.
Step 3: Keep the seed zone moist
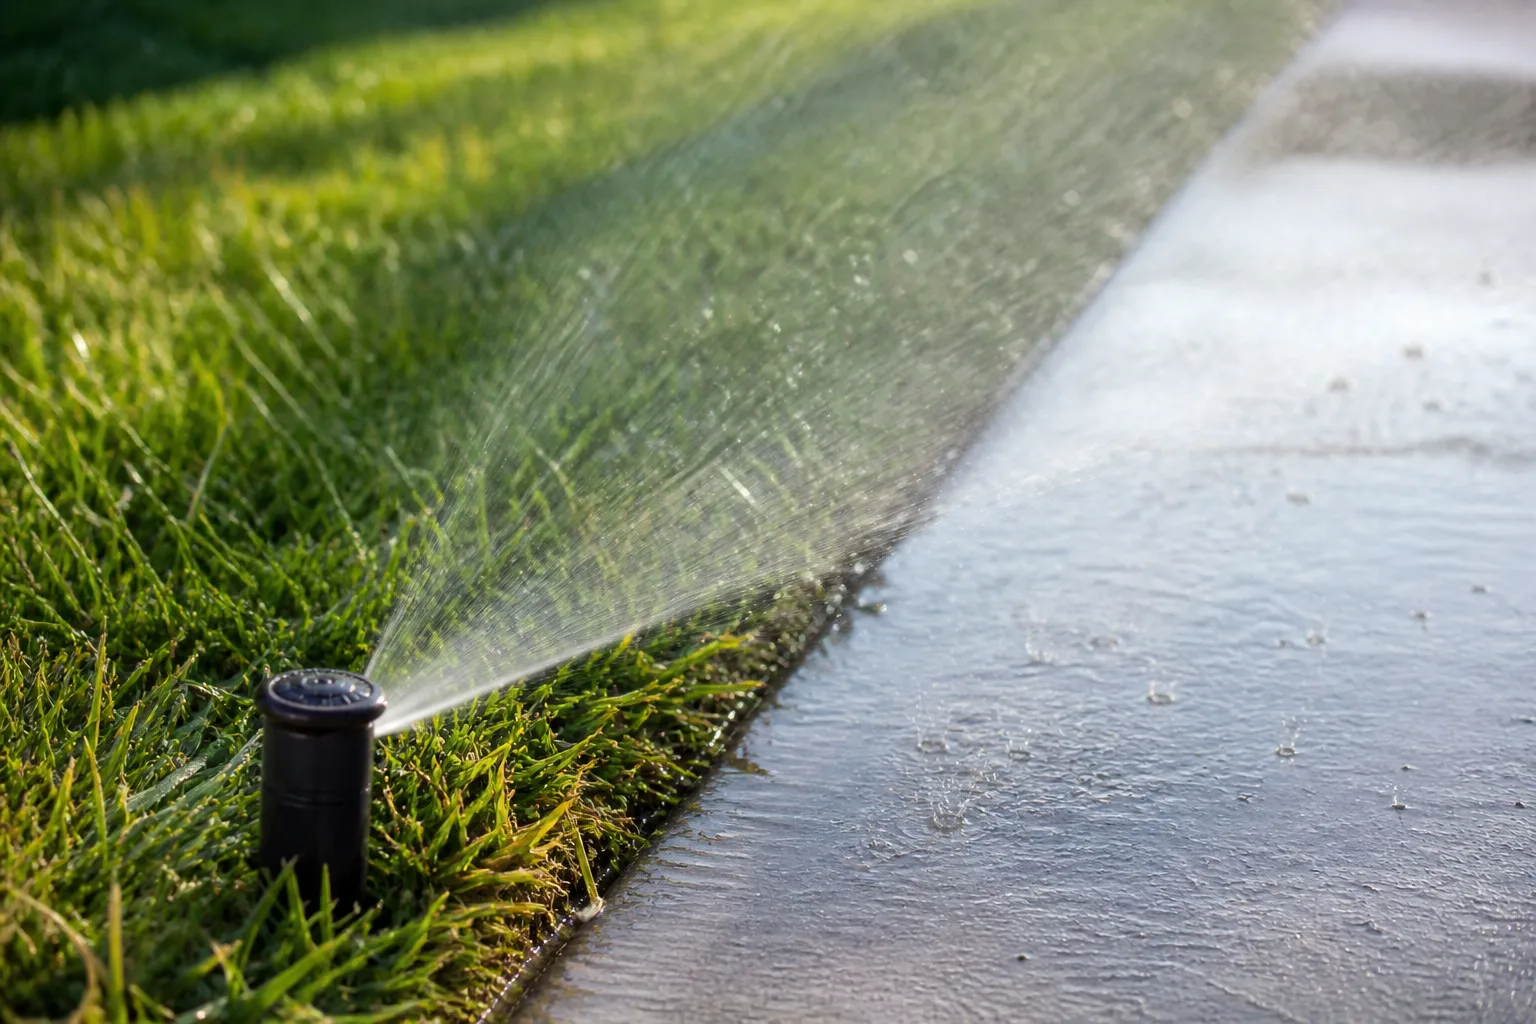
The Scotts product directions say to water twice daily for the first two weeks and keep the soil surface wet. That means frequent, gentle irrigation that keeps the top layer from drying out, not a heavy blast that forms puddles or moves seed to the lowest corner.
Use a fine spray or a sprinkler with low runoff. Check the patch after watering: if water beads and runs, reduce the application or break it into shorter cycles; if the surface turns pale and dusty between cycles, increase duration slightly or add a temporary windbreak. Warm, windy weather can dry a shallow seed zone in hours.
Once seedlings are visible across the patch, gradually lengthen the time between waterings while letting moisture penetrate deeper. The goal is to move from germination support to root development, not to maintain a permanently saturated surface.
Step 4: Protect the new stand while it roots
Keep people and pets off the repair area as much as your household can manage during early establishment. A single careful pass is not the same as repeated turning, digging, or bathroom traffic, especially when the soil is wet and the roots are barely anchored.
If the patch cannot be protected, seed a smaller test zone first. That honest trial tells you whether the product fits the site and your routine before you spend seed on the entire yard. It also reveals whether the real problem is traffic rather than plant choice.
Watch for seedlings beyond the intended boundary. Clover spreads by seed and creeping stems, and the RHS notes that it can form large patches where conditions are favorable, especially where bare soil is available. Containment is easier when the lawn is dense and the edges are mowed regularly.
Mowing, Watering, and Feeding After Germination
Do not mow simply because the calendar says it is lawn day. Wait until the clover is fully established enough to resist ordinary mowing and the soil is dry enough that mower wheels will not rut the repair. If you tug a small area and the seedlings lift easily, they need more time.
After establishment, set the mower based on the plant, the remaining grass, and the look you want. A slightly higher cut protects crowns and preserves more leaf area during heat, while a lower cut can reduce flowering but may thin a stressed stand. Follow the product’s instructions and never remove more than about one-third of the visible height in a single mowing session.
Return clippings after mowing once the stand is established, as the product directions recommend. Clippings recycle nutrients, but they are not a substitute for a soil test, and leaving thick wet clumps on a struggling patch can block light and air.
Established clover often needs less fertilizer than turf because of nitrogen fixation. The RHS identifies that self-fertilizing relationship as one reason clover stays green with fewer inputs, but “less” is not the same as “never under every condition.” If the grass component is pale or the soil test identifies a deficiency, correct it deliberately instead of applying a high-nitrogen product by habit.
Do not use a broadleaf weed-and-feed product without checking its label for clover compatibility. A treatment designed to remove broadleaf plants may injure the clover you intentionally planted. Hand-pulling small weeds, improving density, and correcting the conditions that allow weeds to establish are safer first moves for a mixed lawn.
The Trade-Offs Most Clover-Lawn Stories Skip
The first trade-off is appearance. Flowering clover makes a lawn look alive and supports pollinators, but it will not resemble a perfectly uniform grass carpet. Garden Gate’s bee-lawn guidance recommends allowing flowering plants to bloom and mowing according to height rather than an inflexible weekly schedule; that is useful if wildlife value matters to you, but it may conflict with a formal landscape standard.
The second is bee activity near the ground. A flowering clover lawn is not automatically unsafe, but bees forage where the flowers are, so barefoot play, a dog with a sting allergy, or a household member with a serious allergy deserves a site-specific plan. Mowing before flowers open, using a less-flowering clover type where appropriate, or keeping the flowering area away from the main play zone can reduce the conflict.
The third is winter appearance and regional fit. Some clovers go dormant or thin in cold weather, while some grasses provide better year-round structure. A clover-grass mix can look more stable through seasonal change than a pure clover stand, but no seed can perform outside its climate and soil range.
The fourth is that clover does not replace lawn design. It will not solve a downspout that floods one corner, a path that channels dogs through a turn, or tree roots that leave no plantable soil. In those cases, drainage work, stepping stones, a mulched tree zone, or a durable groundcover may be the more permanent repair.
A Practical 30-Day Recovery Plan
Use this schedule as a working framework, then adjust it to your label and local weather.
Day 0: diagnose and measure. Mark the brown area, test sprinkler coverage, probe the soil, inspect thatch, and estimate square footage. If the patch is wet, deeply shaded, badly compacted, or still receiving concentrated traffic, fix that constraint before sowing.
Day 1: prepare. Mow according to the product directions, remove clippings, rake away dead material, and aerate or loosen compacted soil where needed. Do not add a blanket fertilizer unless a soil test or a documented deficiency justifies it.
Day 1: sow. Measure the labeled seed rate, split it into two directions, broadcast evenly, and lightly press or rake it into contact with the soil. Keep the seed on the repair area rather than scattering it across dense turf where it has little chance to compete.
Days 1–14: maintain the seed zone. Water gently twice daily if that is what the product label directs, keeping the surface moist but not muddy. Inspect after rain and wind because runoff can uncover one side of the patch and bury the other.
Days 5–10: look for germination, not a finished lawn. The product claims a five-to-seven-day start under favorable conditions, but uneven emergence is a clue to moisture, temperature, or seed-contact problems. Do not immediately double the rate; find out whether the first seed is actually failing.
Days 15–30: transition to rooting. As the seedlings establish, reduce the frequency of shallow watering and protect the patch from routine traffic. Delay mowing until the plants are anchored and the lawn is dry enough to avoid ruts.
At the end of 30 days, judge the project by density and cause, not just color. If clover is green but the soil is still bare between plants, improve contact and reseed thin spots; if the patch is still brown with no seedlings, revisit water, temperature, shade, compaction, and product compatibility before applying more.
Conclusion
Scotts Turf Builder Clover Lawn can be a smart way to fill damaged lawn patches, particularly where ordinary grass keeps losing the fight against short droughts, light pet traffic, or thin soil. Its product-specific advantage is speed: the label says strawberry clover can begin growing in five to seven days when seed has moisture, soil contact, and temperatures in the recommended range.
The better way to use it is as a repair tool, not a promise. Diagnose the brown area, correct the site problem, measure the patch, sow evenly, water the surface carefully, and accept the flowers, seasonal shifts, and herbicide limitations that come with a living clover lawn. When you match the seed to the job your yard actually has to do, green coverage becomes much more likely to last.



