How to Grow Artichokes: Planting, Care, and Harvest
Grow globe artichokes as annuals or perennials with a realistic plan for seed starting, cool spring weather, drainage, summer care, and harvest timing.
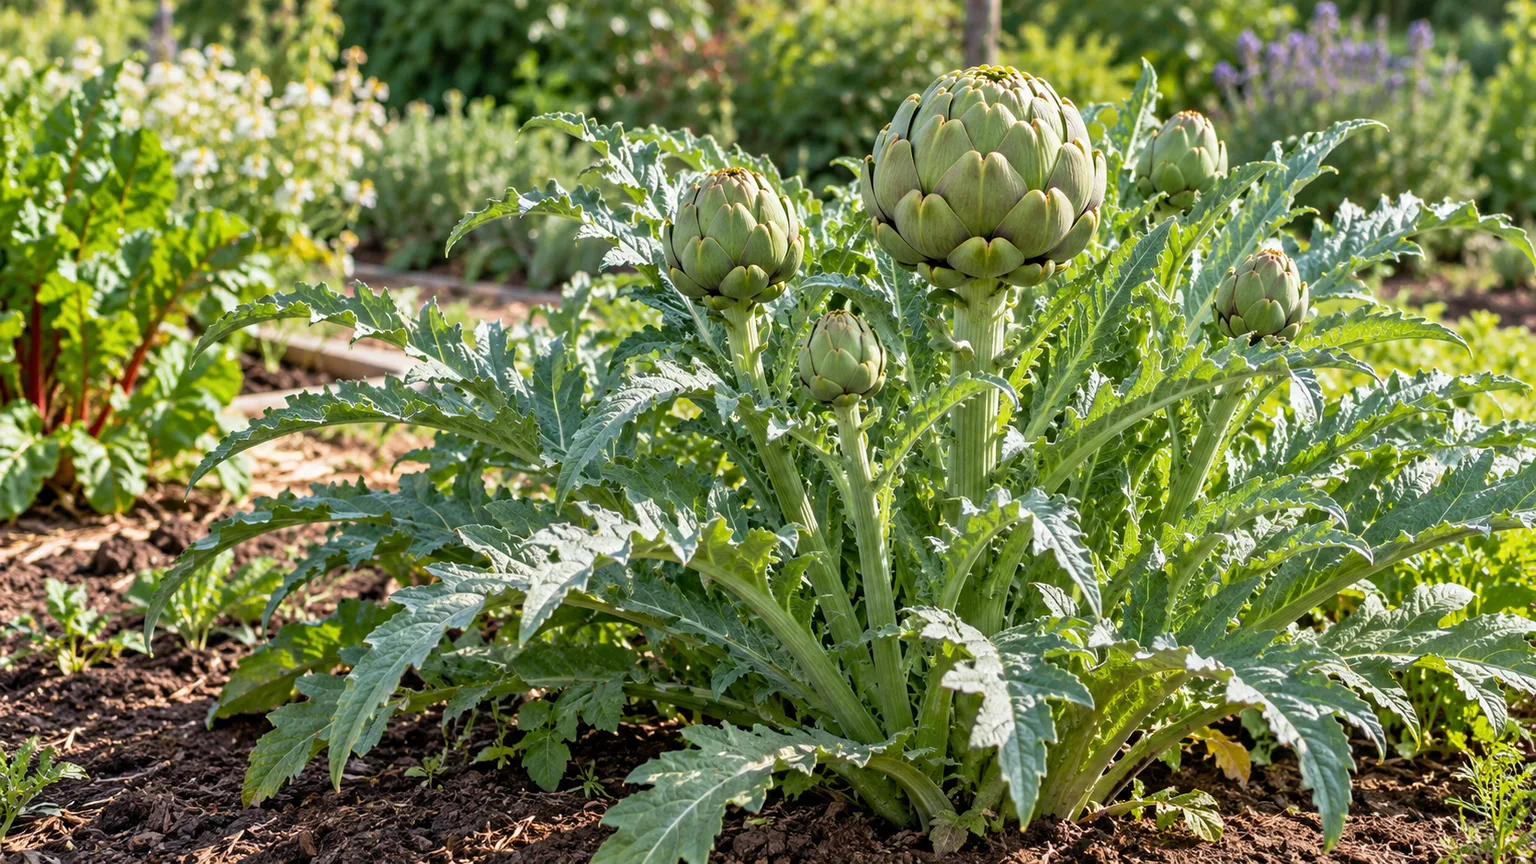
An artichoke is a vegetable garden crop with the scale of an ornamental perennial: its silver-green leaves can spread several feet, and the edible part is an unopened flower bud. That combination makes site choice and climate planning as important as watering. Start by deciding whether you want a one-season crop or a plant that returns for several years; the variety, planting date, and winter plan follow from that choice.
Globe artichokes (Cynara cardunculus Scolymus Group, also sold under the name Cynara scolymus) grow best with sun, fertile soil, dependable moisture, and good drainage. In mild regions they can be long-lived perennials. In colder places they may need a protected crown, lifting for winter, or an annual strategy using a variety selected to produce in its first season.
Decide whether to grow artichokes as annuals or perennials
The word “perennial” describes the plant’s potential, not a guarantee that it will live through every winter. A crown can return for years where winters are mild and the soil drains freely, while a cold, wet winter can kill it even if the temperature minimum seems manageable. Local winter pattern, cultivar, drainage, and protection all matter more than a hardiness-zone label by itself.
An annual crop is a better fit when winter reliably freezes the ground or you do not want to protect a large perennial. A first-year cultivar such as ‘Imperial Star’ can form buds after the cool exposure that encourages flowering, while many traditional cultivars spend the first season building foliage and a crown. For a perennial planting, reserve a permanent bed and plan for plants to broaden rather than treating them like a short-lived row crop.
The crop also has a seasonal rhythm. In mild-winter areas, artichokes often grow through the cooler months and produce buds in spring; in cooler-summer regions, planting early enough to establish before warm weather is important. Use your cooperative extension’s local calendar as a starting point instead of copying a date from a different state or country.
Pick a variety that fits your season
Variety names are a shortcut to the crop you want, but they are not interchangeable. Utah State University Extension lists ‘Imperial Star’ as a strong annual choice and ‘Green Globe’ as a variety better suited to maintenance over several years. Cornell Garden-Based Learning’s growing guide also recommends ‘Imperial Star’ for shorter seasons and lists ‘Violetto’ and ‘Grande Buerre’ among options for New York conditions; the RHS describes ‘Green Globe Improved,’ ‘Purple Globe,’ and the hardier French ‘Gros Vert de Laon’ for its climate.
| Growing goal | Cultivar direction | What to expect |
|---|---|---|
| One-season crop in a short summer | ‘Imperial Star’ or another locally recommended annual type | Start early and follow instructions for cool exposure; results still depend on cultivar and local weather. |
| Multi-year planting in a mild region | ‘Green Globe’ or a perennial type recommended locally | Larger plants need permanent space and winter conditions they can tolerate. |
| Purple ornamental buds as well as food | ‘Violetto’ or ‘Purple Globe’ | Bud color and plant size vary; confirm the named variety from a reliable nursery. |
Seed-grown artichokes can vary in thorniness, bud shape, and vigor, so choose a reputable seed source and keep the strongest plants. If you already know a productive plant in your area, ask about an offset or division; vegetative propagation preserves the parent’s characteristics more reliably than seed.
Choose seeds, transplants, or divisions
Seeds cost less and provide more variety choice, but they take longer and introduce more variation. The RHS notes that seed-raised plants can be variable and spiny, while Cornell cautions that seedlings may not match the parent and says plants often do not flower in their first year. A named first-year cultivar is the exception gardeners choose when they want to try for buds from seed in the same season.
A nursery transplant reduces the early seedling stage and is often the most straightforward route for a first attempt. Check the tag for the cultivar and ask whether it is intended for annual or perennial culture; a label that says only “artichoke” does not tell you which growing strategy will work. A division or rooted offset is the quickest way to establish a known perennial, provided it is taken from a healthy, productive plant.
Starting seeds for a first-year crop
For a short-season garden, sow indoors roughly eight to twelve weeks before the local last-frost window, following the packet’s temperature and depth directions. Cornell Garden-Based Learning reports germination around 70–80°F and emergence in about 8–12 days under suitable conditions. Use individual cells or small pots so you can transplant without tearing up the developing roots, and keep the mix evenly moist rather than saturated.
Some annual-production systems expose seedlings to a cool period before planting to encourage flowering. Cornell describes about ten days between 35°F and 50°F for this purpose; that is a controlled chilling treatment, not permission to expose tender seedlings to freezing weather. Follow the seed supplier or local extension method for the variety you have, because the useful timing and temperature depend on cultivar and stage.
Choose a sunny site with enough room
Choose a site that receives full sun for most of the day, is sheltered from strong wind, and can remain in place for several years if you are growing a perennial. Mature plants commonly reach several feet tall and can approach three feet or more across, so leave room for the outer leaves and for access when cutting buds. Crowding reduces airflow, makes harvest awkward, and encourages you to damage leaves while reaching through the plant.
Spacing guidance varies with region and whether the crop is grown as an annual or a large perennial. As a practical home-garden starting point, allow about three to four feet between full-size plants; a compact annual type may be planted closer if its supplier recommends it. If you plan a row, leave a path wide enough to reach each side without stepping into the root zone.
Containers are possible but less forgiving than open ground. The RHS recommends a pot at least 45 centimeters (18 inches) wide and deep; a larger container gives the roots and crown more room and dries out less rapidly. Use a container with drainage holes and a stable base, because the plant’s broad leaves can catch wind and the pot needs frequent moisture checks during hot weather.
Prepare fertile soil that drains well
Artichokes need soil that holds enough moisture to support their large leaves but lets excess water drain away from the crown. Work mature compost or another well-rotted organic matter through the planting area before setting plants, not just into a small pocket beneath each root ball. If water stands in the bed after rain, choose a raised bed or another site rather than trying to fix chronic saturation with a little grit in the planting hole.
Cornell describes a preferred pH range of about 6.5–8.0 and recommends deep, fertile soil rich in organic matter. Those figures are useful context, but a soil test is the right way to decide whether the garden needs a pH adjustment. Avoid adding lime, sulfur, or concentrated fertilizer by guesswork; a correction that suits one garden can create a nutrient problem in another.
Keep the shallow working area around the crown free of weeds, especially while plants are young. Apply a loose mulch after the soil has warmed, leaving a small gap around the base so the crown is not buried in wet material. Mulch slows evaporation and reduces hoeing, which is valuable because cutting or repeatedly cultivating close to the plant can injure roots.
Plant at a time that suits your climate
In cool-summer regions, get transplants outdoors early enough to establish and receive the spring conditions that support flowering, while protecting them from a hard freeze. Utah State University Extension advises planting several weeks before its local frost-free date, whereas RHS guidance for the UK recommends planting young plants after the last frost. Those calendars differ because the climates differ; use local advice to balance cool-season growth against freeze risk.
In mild-winter climates, fall planting may give a young plant time to root before the main spring growth period. In cold-winter climates, spring planting is usually the safer route unless you are intentionally managing an annual crop from early-started seed. Do not plant into waterlogged soil just because the calendar says it is time; wait until the bed drains and can be worked without smearing into hard clods.
Set a transplant at the same depth it was growing in its pot, firm soil gently around the roots, and water the entire root ball. Harden indoor-grown seedlings off gradually before planting; The English Garden’s growing guide also stresses this adjustment before young plants move outdoors.
Keep the crown at the soil surface rather than burying it under a mound of compost. Space plants according to their expected size, and mark the row so you do not later dig into the crown while planting quick crops between young artichokes.
Water consistently without keeping the crown soggy
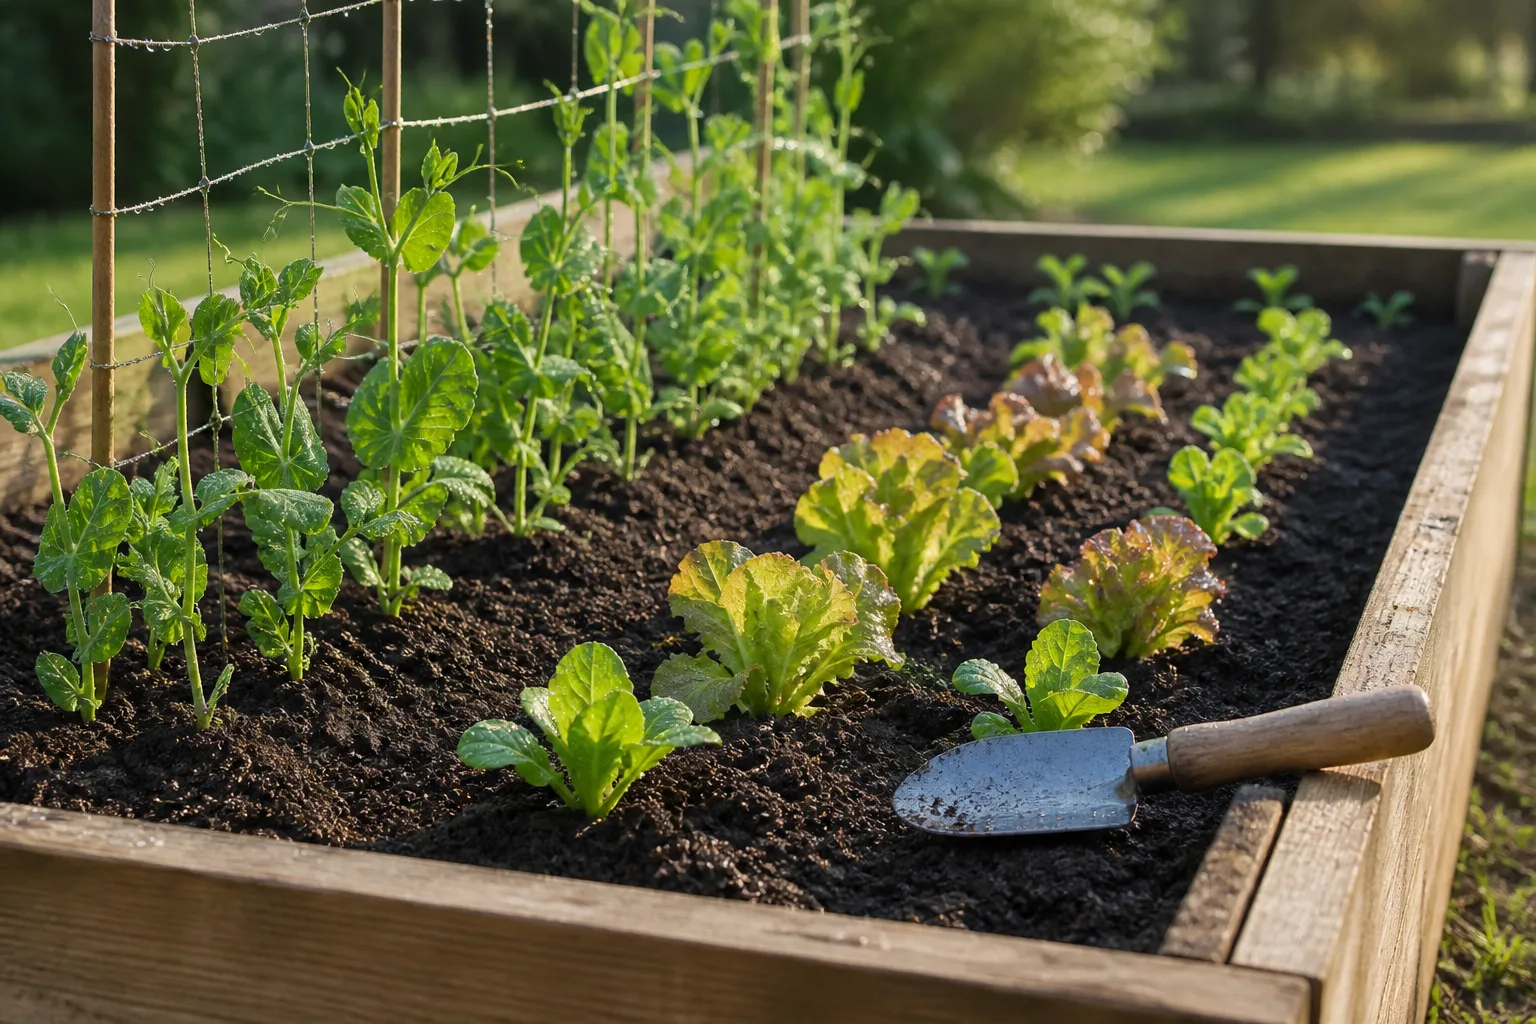
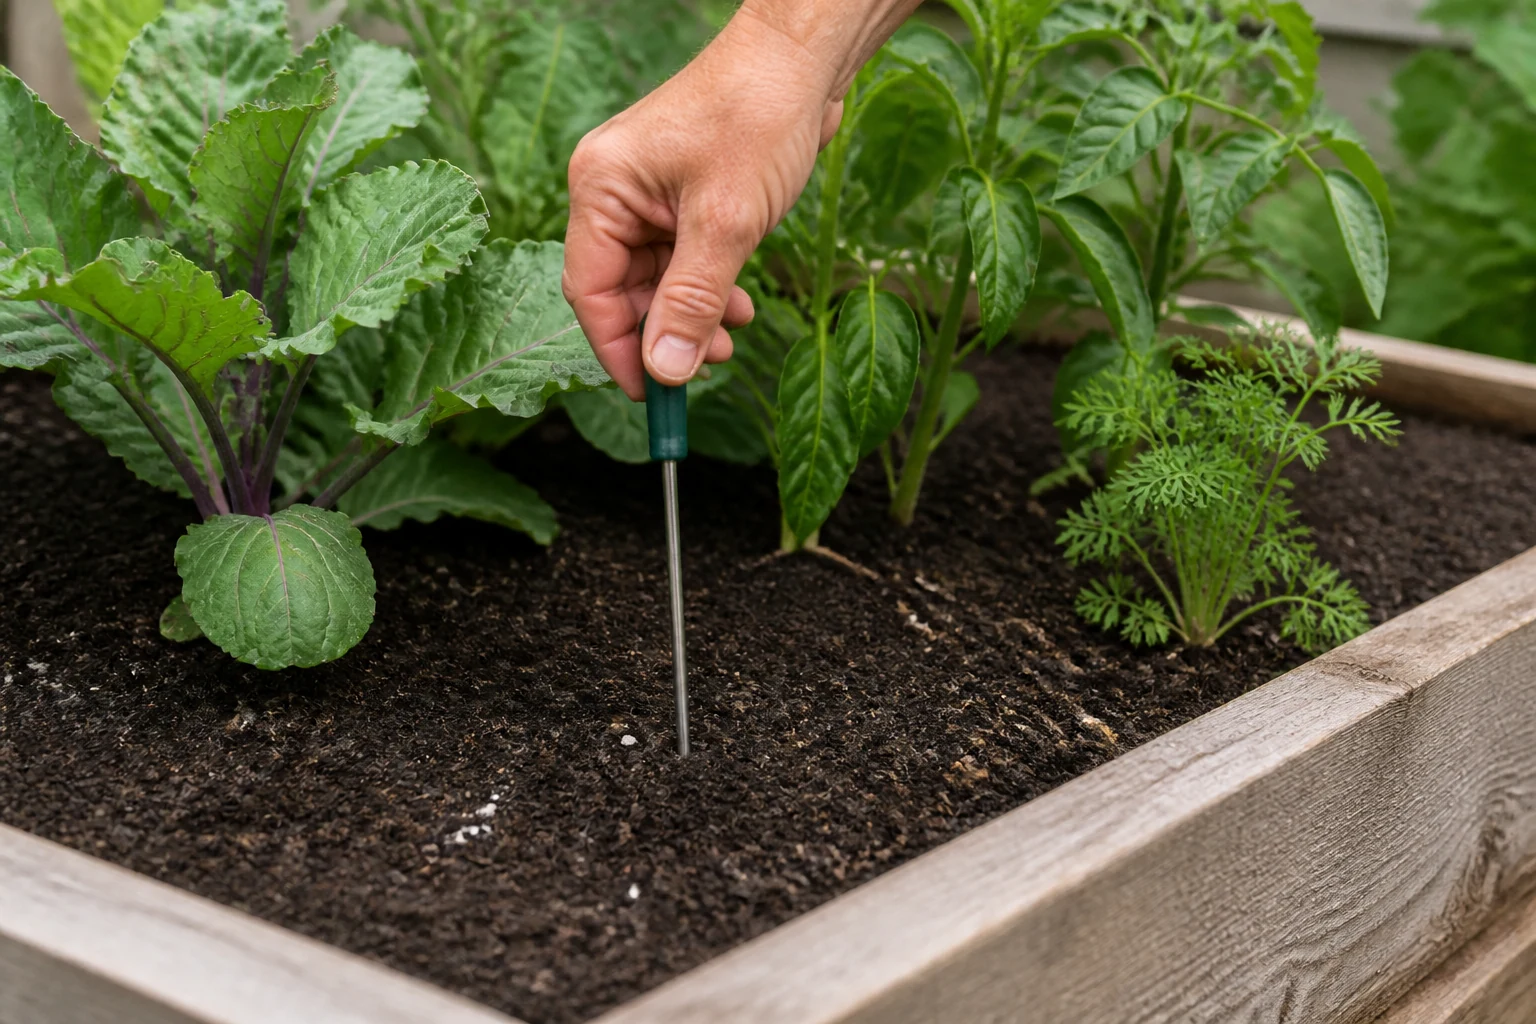
Artichokes have a large leafy canopy and need steady moisture while establishing and while buds are swelling. Utah State University Extension gives 1–2 inches of water per week as a regional guideline, but rainfall, soil texture, heat, and container size change how much a particular bed needs. Use that range as a reference, not a timer: check the soil a few inches down and water deeply when the root zone is beginning to dry.
A long soak at the soil line is more useful than frequent light sprinkling that wets only the surface. Drip irrigation or a soaker hose can deliver water without repeatedly wetting the leaves, and a mulch layer helps the bed stay evenly moist. Reduce watering if the soil remains saturated or the crown smells sour; extra water cannot compensate for poor drainage.
During hot, dry weather, pay particular attention to the plant as flower buds form. Drought stress can leave buds smaller and reduce production, while waterlogging can damage roots and invite crown problems. For a pot, check moisture more often than for an in-ground planting because exposed container mix can dry quickly even when the surrounding garden looks damp.
Feed according to soil and plant growth
There is no single fertilizer formula that fits every garden. Utah State recommends regular nitrogen for its conditions, Cornell suggests a lower-nitrogen fertilizer with more phosphorus and potassium, and the RHS says established plants often crop well without feeding but may benefit from a high-potassium feed if production is poor or the plant is in a container. These differences are a reason to start with a soil test and local recommendations rather than applying one source’s rate everywhere.
Before planting, incorporate finished compost to improve soil structure and provide a modest nutrient base. If plants are pale or growth is weak, first check drainage, watering, sunlight, and competition from weeds; then use a fertilizer labeled for edible crops at its label rate if a soil test or local extension advice supports it. Too much fertilizer can create lush leaves without solving a root, climate, or cultivar mismatch.
Containers lose nutrients as water drains through the mix, so a pot-grown plant may need a regular, modest feed during active growth. Follow the product label and stop feeding as the plant slows toward dormancy. Do not mix fertilizer into a dry root zone or pile it against the crown, where concentrated salts can injure roots.
Maintain the plant through the growing season
Keep the planting area mulched and free of competing weeds, and remove dead or badly damaged leaves with clean pruners. Avoid stripping healthy foliage: the leaves make the energy that supports the crown and next round of growth. If a plant is exposed to strong wind, a discreet stake can prevent a tall stalk from leaning, but most plants with a suitable site do not need elaborate support.
For perennial plants, let the first season focus on establishment. The RHS recommends removing flower stalks that form during the first summer so the young crown can build strength, then harvesting from the following summer. That advice differs from the goal with a first-year annual cultivar such as ‘Imperial Star,’ which is selected specifically for a same-season crop; identify the growing strategy before deciding whether to remove a bud.
If you want flowers for pollinators or as a dramatic garden feature, allow one or two buds to open after you have harvested what you need. Their purple thistle-like blooms are ornamental, and the RHS notes they attract bees and other pollinating insects. Once flowering is over, cut spent flower stalks down while leaving sound foliage until it naturally declines.
Troubleshoot leaves without edible buds
Large leaves with no buds do not automatically mean the plant is diseased. First check the cultivar and age: a perennial type may spend its first year establishing, while a seedling from an unknown variety may not behave like a first-year annual. Then consider whether it was planted too late to experience the cool conditions associated with flower-stalk initiation in your region.
Next check for stresses that reduce vigor: dry soil during bud formation, roots sitting in water, heavy weed competition, too little sun, or a plant crowded by neighboring crops. A plant that is shaded for much of the day or repeatedly wilts in summer may stay leafy and make few usable heads. Correct the limiting condition before adding more fertilizer, since feed cannot make up for unsuitable temperature or damaged roots.
In warm climates, planting season may be opposite to a cold-winter garden’s schedule; artichokes may grow during the cooler part of the year and slow during extreme summer heat. Ask a local extension service whether fall planting, summer dormancy management, or annual production is most successful in your area. If the crown is healthy and the cultivar is appropriate, give it another suitable growth cycle rather than discarding a vigorous plant after one disappointing season.
Watch for aphids, slugs, and crown problems
Inspect young leaves and the undersides of bracts for aphids, which can cluster on soft new growth and weaken small plants. A firm stream of water can dislodge a light infestation; check again after a few days and leave lady beetles, lacewings, and other beneficial insects undisturbed. Cornell Garden-Based Learning describes this water-jet approach for aphids on artichokes. Slugs and snails are most likely to damage seedlings and tender transplants, so remove hiding places near the bed and inspect plants after damp evenings.
Yellowing, stalled growth, or small tough buds can come from more than one cause. Utah State Extension lists root-rot diseases among artichoke problems and emphasizes reducing stress from overwatering, drought, insects, and overharvesting. If the crown is soft, dark, or foul-smelling, stop watering, improve drainage if possible, and remove a plant that is clearly decaying rather than spreading the rot through a shared bed.
Use pesticides only if a problem is correctly identified and a product label permits use on edible artichokes; follow all label directions and local rules. Most gardeners should begin with monitoring, spacing, drainage, and gentle physical controls. A broad pesticide spray can harm pollinators and beneficial insects, particularly if flowers are open.
Harvest artichoke buds at the right stage
Harvest when a bud has reached a useful size for its cultivar, feels firm, and still has tightly closed bracts. Bud size varies, so a fixed diameter is less useful than watching the scales: once they loosen and begin to separate, the bud is close to opening and can become tough. Check plants every few days as weather warms, because side buds may develop quickly after the central head is cut.
Use a sharp knife or pruners to cut the bud with a short length of stem attached, making the cut just above a leaf joint. The main central bud is usually ready first; smaller side buds follow and are worth harvesting while firm. Utah State Extension advises leaving about 2–3 inches of stem and reports that harvested buds keep for several days under refrigeration, so cool them promptly and plan to use them while fresh.
The edible heart sits at the base of the bud, and the fleshy lower portions of the bracts are also eaten after cooking. As a bud opens, the fuzzy center becomes more developed; at that point it is better left as a flower than treated like a full-size edible head. If you miss a bud, enjoy the purple bloom or cut it for an arrangement instead of removing the whole plant.
Protect plants through winter
Winter care depends on whether the crown will remain in the ground. In a mild region with free-draining soil, remove spent flower stalks and cover the crown with a loose organic mulch after growth slows. The mulch buffers temperature swings and reduces drying, but it should not turn into a wet, compacted blanket over the crown.
Young plants are less dependable in their first winter than established clumps. In colder climates, use a sheltered site and a thick but breathable layer of dry leaves or straw after the foliage has died back; remove excess covering as growth resumes. Cornell recommends heading plants back and adding leaves held in place by a basket or box, while Utah State describes heavier protection for its conditions, which shows why local winter severity matters.
Where the ground freezes deeply or winter remains wet, mulch may not be enough. Some gardeners lift the crown or store root divisions in a cool, nonfreezing place in slightly moist material, then replant in spring. If lifting is impractical and the cultivar is not reliably hardy locally, treat the crop as an annual rather than counting on a perennial return.
Divide offsets to renew mature plants
Established artichokes send up offsets around the base. In spring, choose a vigorous young shoot with a section of attached root, separate it cleanly with a sharp spade or knife, and replant it promptly at the same depth in prepared soil. Water the new division thoroughly and keep it evenly moist until new growth confirms that it has rooted.
Division is the best way to preserve the traits of a named cultivar; seedlings may vary from the parent. Mature clumps eventually become crowded or less productive, so dividing every few years can refresh the planting and give the new plants room to grow. Do not divide a weak or diseased crown, and avoid taking so many offsets that the parent loses the healthy growth it needs to recover.
Conclusion
Successful artichoke growing starts with an honest climate decision: choose a first-year variety for an annual crop, or commit a sunny, well-drained bed to a perennial that can survive your winters. Then give the plant room, keep moisture steady without saturating the crown, and use local advice for planting dates and fertilizer rather than relying on a generic calendar.
Harvest firm buds before their bracts open, and let a few flowers bloom if you want their ornamental and pollinator value. If plants make leaves but no edible heads, check age, variety, cool-season exposure, water, drainage, and light before changing anything else; those clues usually point to the adjustment that matters most.



