8 Unexpected Ways to Use Coconut Oil Around the House
Try eight practical coconut oil uses around the house, from cast iron and wood care to sticky residue, laundry stains, glass, and hinges—with safety tips.
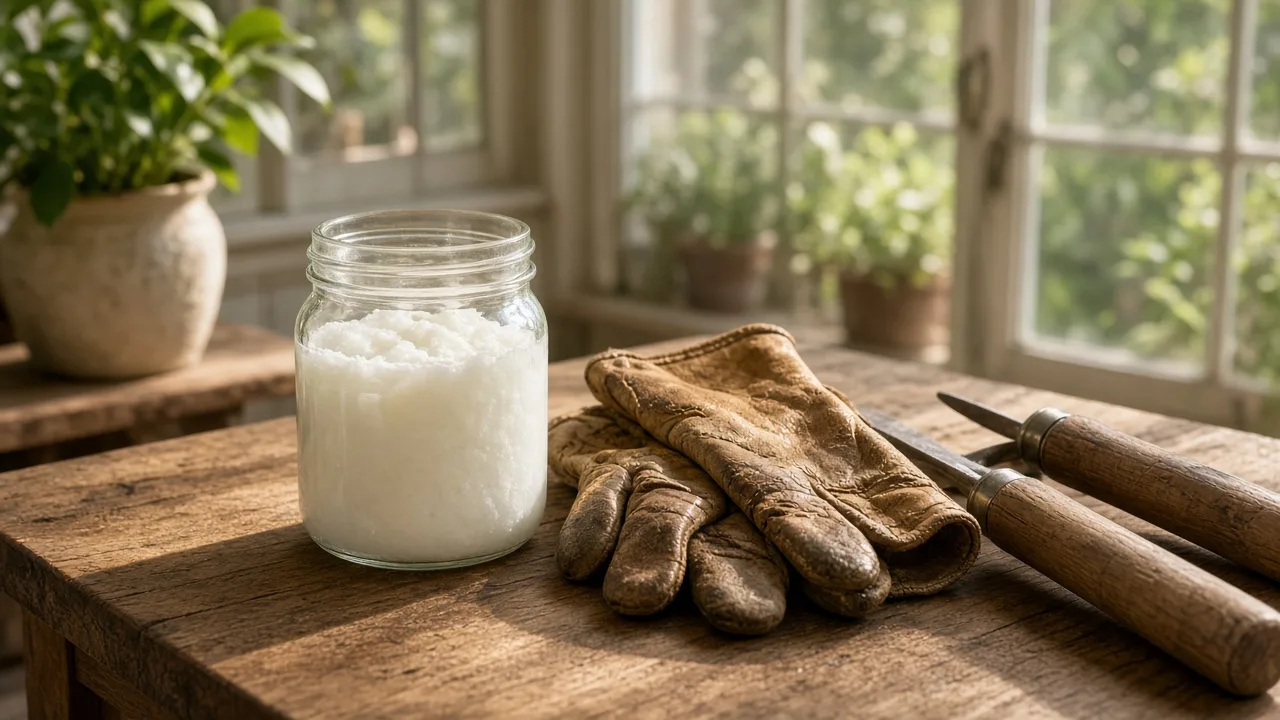
A jar of coconut oil can do more around the house than sit in the pantry waiting for the next baking project. Its useful quality is not that it is a magical all-purpose cleaner; it is that a small amount can soften oily residue, condition some materials, and reduce friction.
That distinction matters. Coconut oil can leave a greasy film, attract dust, darken a finish, or create a new laundry stain if you use too much. The best results come from treating it as a tiny-dose conditioner or residue loosener, followed by the right cleaning step for the material.
The eight uses below are practical, but they are not equally good for every home. I have included the safer method, the follow-up step, and the point at which a dedicated cleaner or finish is the better choice.
Before You Use It: Coconut Oil Is a Conditioner, Not a Universal Cleaner
Coconut oil is most useful when the problem is oily, waxy, sticky, or related to dryness. It can make a surface look richer because it fills microscopic texture and leaves a thin film, but that visual improvement is not the same as removing dirt. On a genuinely dirty surface, clean first, then decide whether a trace of oil adds anything.
For a household job, use plain coconut oil with no fragrance, essential oils, herbs, sugar, or other additives. Virgin and refined oils can both work for non-food applications, but a scented or contaminated jar is a poor choice for cutting boards, utensils, or cookware. If the oil smells sour, paint-like, or stale, reserve it for a non-food test—or discard it rather than spreading the odor through your home.
Start with a patch test and the thinnest possible film
Put a pea-sized amount on a cloth rather than applying a spoonful directly to the surface. Test an inconspicuous area, wait long enough to see whether the material darkens or becomes tacky, and then buff with a dry part of the cloth. If the surface still feels oily after buffing, you used too much.
The same “less is more” rule applies to mixtures. Do not fill a spray bottle with coconut oil and water; they separate, and the result is hard to dose evenly. Do not mix coconut oil with vinegar in a sealed bottle and assume it is a stable cleaner. The TURI Laboratory’s household recipes treat oil as a conditioner and vinegar as the cleaning ingredient, which is a useful model: keep the jobs separate, and dry the surface promptly.
1. Maintain Cast Iron Between Cooks
A small amount of coconut oil is easiest to control when it is prepared beside the surface you plan to test and buff.
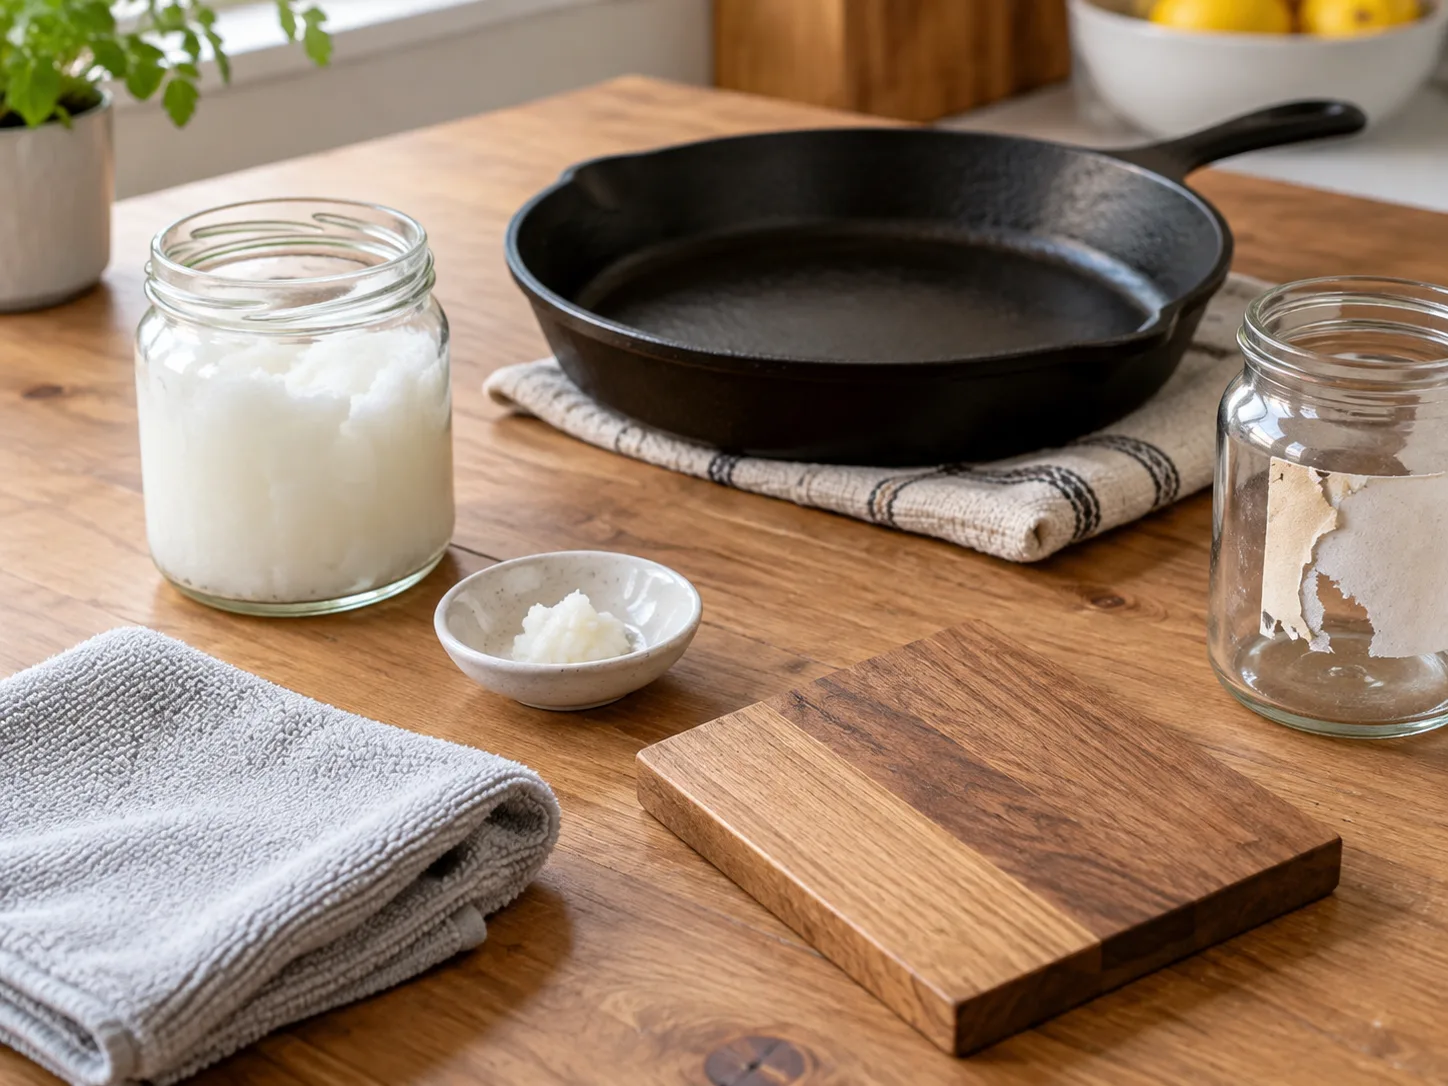
Coconut oil can be used as a light maintenance coat on a cast-iron skillet after washing and drying. It is especially handy when the pan looks dry and you want a temporary protective sheen before its next use. It is not the oil I would choose for building a complete seasoning layer from scratch, because a dedicated high-smoke-point neutral oil is easier to control for oven seasoning.
The manufacturer Lodge recommends a very thin layer of cooking oil and emphasizes that high-smoke-point neutral oils are the usual choice for reseasoning. That guidance gives coconut oil a sensible role: a light wipe after routine care, not an excuse to flood the pan or skip drying.
How to apply it without a sticky pan
Wash the skillet as needed, rinse it, and dry it completely with a towel. If water tends to hide in the handle or around the pour spouts, warm the pan briefly on the stovetop until the remaining moisture is gone, then turn off the heat and let it become safe to handle.
Use a cloth to spread a barely visible coat inside, outside, and around the rim. Then take a clean section of the cloth and wipe again until the pan looks satin-like rather than wet. If you can see a puddle, a streak, or a thick shine, remove more oil.
For a true oven reseasoning, follow the cookware maker’s temperature and oil guidance instead of improvising with a thick layer of coconut oil. Excess oil can bake into a gummy coating, and any oil heated past its limits can smoke. Never leave an oil-coated skillet unattended on a burner.
2. Condition Wooden Cutting Boards and Utensils
A small amount of coconut oil can make a dry-looking wooden board or spoon feel smoother, and some household-care guides include it as a food-contact conditioner. The important qualification is that conditioning comes after cleaning, not instead of cleaning. Oil will not sanitize a board or remove raw-meat juices trapped in knife grooves.
The Academy of Nutrition and Dietetics’ cutting-board guidance recommends washing boards thoroughly in hot, soapy water after use and replacing boards with cracks, deep grooves, or excessive knife scars. Treat coconut oil as an optional finishing step only when the board is intact and completely dry.
Food-contact safety comes before shine
Wash the board, rinse it, and let it dry upright so air reaches both faces. Apply a tiny amount of plain, fresh coconut oil with a clean cloth, leave it for a few hours, and buff until no slick residue remains. Before the board returns to food preparation, wipe it once more with a clean cloth and make sure it does not feel greasy.
Use a separate cloth for food-contact items, and never dip a used cloth back into the jar. If the coconut oil has picked up crumbs, cleaning chemicals, pet hair, or a musty smell, it no longer belongs on a cutting board. A food-grade board oil or board wax formulated for repeated food contact may be a more predictable long-term choice, especially for a heavily used butcher block.
Do not oil a board that is cracked, splitting, swollen, or persistently sour-smelling. Oil can improve the appearance while leaving a hygiene problem untouched. In that situation, replacement or professional resurfacing is more useful than another coat.
3. Polish Finished Wood Furniture
Coconut oil can add temporary luster to finished wood furniture, cabinet doors, and some wooden handles. The finish—not the wood species—is the deciding factor. A sealed surface can tolerate a carefully buffed film more readily than raw, waxed, chalk-painted, or visibly failing wood.
Dust first so you do not turn grit into an abrasive paste. Put a tiny amount of oil on a soft cloth, work it over a small section, and immediately follow with a dry cloth. The Better Homes & Gardens coconut-oil method similarly recommends testing first and using only a small amount on finished wood.
This is a polishing experiment, not a restoration treatment. Stop if the finish becomes cloudy, streaked, darker than the surrounding area, or sticky after buffing. Avoid using coconut oil on floors, stairs, chair seats, or any surface where a slick film could create a fall hazard. For valuable antiques, open-grain wood, or a piece with a flaking finish, use the conservator or manufacturer’s recommended product instead.
4. Lift Sticker Glue and Other Sticky Residue
Oil can soften the tacky residue left by price labels, tape, and stickers on glass, glazed ceramic, and some hard plastics. Coconut oil is useful here because you can apply it in a controlled dab, let it sit briefly, and then wipe the softened adhesive away. It is not a universal adhesive solvent, so the surface test is still essential.
Peel away as much paper as possible first. Put a small amount of coconut oil on a cloth or cotton swab, work it into the remaining glue, and wait five to ten minutes. Loosen the residue with a plastic scraper or an old gift card, then wipe and wash the surface with grease-cutting dish soap.
The follow-up wash is not optional on food jars, glasses, pans, children’s items, or anything that will touch food. Good Housekeeping’s adhesive-removal guidance also stresses testing delicate plastics and painted finishes before using a residue treatment. Coconut oil can migrate into porous plastic, unfinished wood, paper, fabric, and matte paint, where removing the oil may be harder than removing the original glue.
Never use an oily residue treatment near an open flame, hot burner, or heating element. Move the item away, let it cool, and work on a stable, dry surface.
5. Loosen Crayon, Gum, and Oily Kitchen Messes
The same oil-on-oil idea can help with a thin crayon smear, chewing-gum trace, oily label glue, or baked-on cooking splash on a hard, washable surface. Coconut oil softens the greasy or waxy part; it does not magically lift pigment, dissolve mineral scale, or disinfect the area.
For a countertop, glazed backsplash, stainless-steel appliance, or washable plastic, scrape away the bulk of the mess without scratching. Apply a thin film of coconut oil to the residue, let it sit for several minutes, and wipe with a soft cloth. Follow with warm water and dish soap, then dry. On a wall, use the smallest possible amount and test the paint first; oil can leave a darker halo that is more noticeable than the crayon.
For grease splatters on a stovetop or range hood, wait until the surface is completely cool. Coconut oil can loosen a stubborn oily film, but a degreasing dish soap is the cleaner that removes the oil. Wipe repeatedly until the surface no longer feels slick, and keep oil away from burner ports, vents, electrical controls, and the floor.
If the mess is mineral-based—white hard-water crust, rust, or alkaline residue—choose a cleaner designed for that chemistry instead. Adding more oil to a mineral deposit usually creates a cloudy film without addressing the deposit.
6. Pre-Treat an Oil-Based Laundry Stain—Not Every Fabric
Air-dry a treated garment until the mark is gone; dryer heat can set any oil left in the fibers.
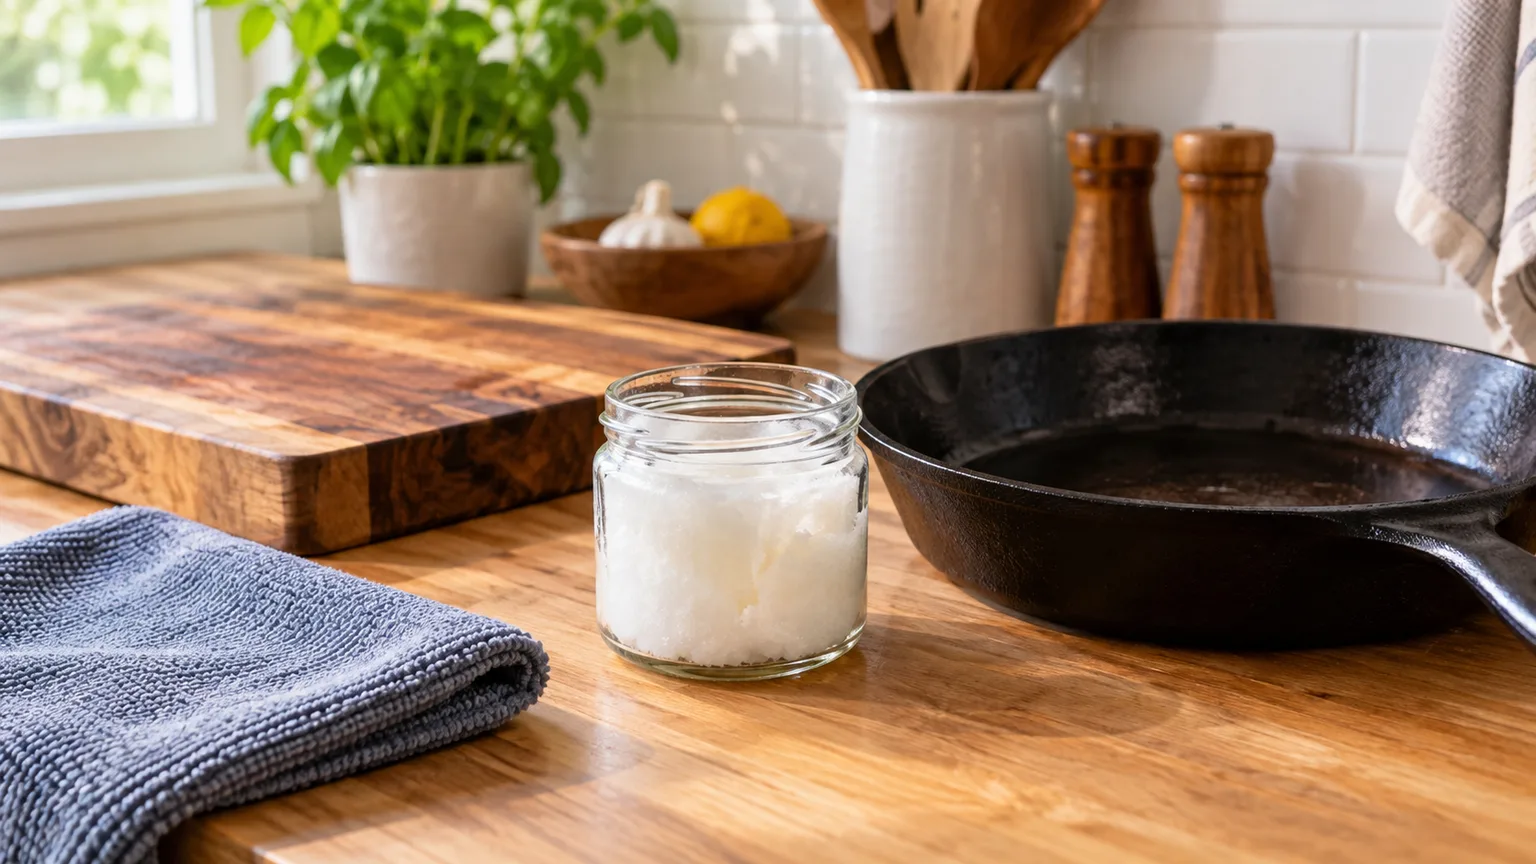
This is the most counterintuitive use: a tiny amount of coconut oil can sometimes help loosen a greasy, waxy, or oily spot before washing because like materials can soften one another. The approach is conditional, not guaranteed, and coconut oil itself is a fat. If you overapply it, you have simply made the laundry stain larger.
Use this only on a washable, colorfast, sturdy fabric after reading the care label. Blot away excess grease, place a towel behind the spot, and touch a pinhead-sized amount of coconut oil to the residue. Work from the outside in, wait about ten minutes, and then apply a grease-cutting liquid laundry detergent directly to the area. Rinse or wash according to the label, and air-dry until the stain is gone; dryer heat can set remaining oil.
The Consumer Reports stain-removal guide emphasizes acting quickly and matching the treatment to the stain, while BHG’s coconut-oil guidance recommends an inconspicuous fabric test. Those two ideas are more important than the hack itself. If the fabric is expensive, dry-clean-only, dark, stretchy, textured, or prone to water marks, take it to a cleaner instead.
Why coconut oil is not a fabric softener
Do not pour coconut oil into the washing machine as a general fabric softener. It can coat fibers, transfer to the drum, leave a stale odor, and reduce absorbency in towels. The same warning applies to synthetic athletic fabrics, microfiber cloths, silk, wool, lace, and delicate blends.
If your goal is softer laundry, use a product labeled for that purpose and follow its directions. If your goal is a grease-stain treatment, use the smallest possible pre-treatment, wash it out thoroughly, and do not assume the result is safe just because the ingredient came from the pantry.
7. Refresh a Glass Shower Door After Descaling
Use coconut oil only as a controlled post-cleaning polish on glass, and keep every oily product off the wet shower floor.

Coconut oil can help loosen soap film and may leave a temporarily polished look on a glass shower door, but it is not a hard-water descaler. Mineral scale needs an acidic or manufacturer-approved descaling step first. An oil film laid over white crust can make the glass look cloudy and make the next cleanup harder.
For a cautious version of this use, clean and dry the glass, test a corner, and apply a tiny amount of coconut oil to a microfiber cloth—not directly to the door. Buff a small section, then remove every trace with warm water and a clean cloth. Keep the oil off the shower floor, tub floor, grab bars, and door threshold; a slippery film in a wet area is a safety problem.
Some household methods pair melted coconut oil with lemon and then use a water-and-vinegar wipe to remove the mixture. If you try a version of that approach, use it only on compatible glass, keep acids away from natural stone and sensitive metal finishes, and never combine vinegar with bleach or chlorine products. TURI’s tested glass-cleaner guidance is a useful reminder that vinegar can etch acid-sensitive stone even when it works well on glass.
In practice, a squeegee after each shower and a dedicated glass or descaling cleaner are usually better for recurring mineral buildup. Think of coconut oil as an occasional polishing aid after the real cleaning work, not the main answer to limescale.
8. Quiet a Squeaky Hinge or Stiff Zipper
A tiny dab of coconut oil can quiet a lightly squeaking interior door hinge or help a stiff zipper move. It works by reducing friction at the contact point, and the solid texture makes it easier to control than a large pour of liquid cooking oil. The fix is temporary, so it is best for a minor squeak rather than a hinge that carries a heavy door or shows corrosion.
Use a cotton swab, small brush, or the corner of a cloth to place the oil on the hinge pin and moving joint. Open and close the door several times, then wipe away any visible excess. Protect the floor and trim below the hinge because a warm room can soften the oil and let it run.
For a gate, garage door, exterior hardware, or a hinge exposed to dust and weather, choose a lubricant made for that job. Coconut oil can collect grit and may need frequent reapplication. A zipper deserves the same caution: use a trace on a washable garment or bag, then wipe the teeth so the oil does not transfer to fabric.
What Not to Use Coconut Oil On
The fastest way to make a household hack useful is to define its no-go list. Do not treat every shiny surface as an invitation to add oil.
Skip leather, silk, delicates, and absorbent finishes
Avoid coconut oil on leather, suede, silk, delicate fabrics, upholstery, unsealed stone, unfinished wood, waxed floors, porous plastics, painted walls, and matte or anti-glare finishes unless the manufacturer specifically approves it. The oil can darken, soften, stain, or leave an uneven patch that is difficult to reverse.
Keep it away from electronics, screens, optical lenses, brake or bicycle components, oven interiors, air vents, and anything that must remain non-greasy for safe operation. Never use it as a substitute for a food-safe sanitizer, disinfectant, degreaser, descaler, or mold treatment. It may improve a surface’s appearance while leaving the underlying problem in place.
When in doubt, ask three questions: Can this material absorb oil? Would a slick film create a safety problem? Do I need actual sanitation or chemical removal rather than conditioning? If the answer to any question is yes, skip coconut oil.
How to Store Coconut Oil for Household Use
Store the jar tightly closed in a cool, dark cupboard, away from the stove, sink splash, sunlight, and strong odors. Use a clean, dry utensil each time, and keep the tool used for cleaning projects separate from the one used for cooking. A jar that has collected crumbs or moisture should not return to food preparation.
Check the oil before each non-food use. A stale, sour, musty, or paint-like smell is a reason to avoid it on cutting boards, cookware, clothing, and upholstered items. Even when an old jar is technically usable for a low-stakes hinge experiment, the odor may linger on wood or fabrics, so disposal is often the more sensible choice.
Label a dedicated household jar if you regularly use coconut oil for cleaning. That small bit of organization prevents the most avoidable mistake: returning a dirty cloth, used spoon, or contaminated oil to the pantry.
Conclusion
Coconut oil earns a place in a household-care kit when you use it for the job it is actually good at: adding a controlled conditioning film, softening oily or waxy residue, and reducing light friction. The strongest uses are small-scale cast-iron maintenance, careful wood conditioning, adhesive removal from washable hard surfaces, and limited hinge or zipper lubrication.
The boundaries are just as important. Wash food-contact surfaces, remove every trace from laundry and shower areas, test finished materials, keep oil off slip-prone floors, and choose a dedicated cleaner when the problem is mineral scale, sanitation, corrosion, or deep contamination. A dab can be useful; a coating is usually where the trouble starts.