How to Use a Fork to Pull Weeds Safely
Learn how to use a fork to pull weeds near flowers and vegetables, including the right soil moisture, lifting motion, root check, and follow-up.
A fork can be surprisingly good at removing a small weed wedged beside a flower, vegetable, or young shrub. Its thin tines can enter a narrow gap in the soil, loosen the root zone, and give you enough leverage to lift the weed without turning over an entire patch.
The trick is not simply pushing a fork into the ground and pulling. Use it when the weed is still manageable, the soil is crumbly rather than saturated, and you can place the tines close to the unwanted plant without cutting through the roots of the plant you want to keep. The Royal Horticultural Society’s guide to weeding a bed treats a hand fork as a precision tool for persistent weeds and recommends careful hand removal around border plants.
Does a Kitchen Fork Really Work for Weeding?
Yes, a regular kitchen fork can loosen and lift small weeds, especially seedlings and young annual weeds with shallow roots. It is best thought of as a light-duty substitute for a hand fork, not as a full replacement for a proper weeding tool.
The narrow tines let you work in a smaller opening than a spade or broad trowel. That matters in a crowded bed: you can aim at the weed’s base instead of digging a wide circle that exposes the roots of a nearby perennial. The fork also gives you a little leverage, so you do not have to yank hard on a stem and leave the root behind.
There are limits. A thin kitchen fork may bend in compacted clay, snap against a woody crown, or lack the depth needed for a long taproot. A sturdy hand fork, weeding knife, dandelion weeder, or border fork is safer when the root is deep, the soil is hard, or the weed is established.
The most useful rule is simple: use the fork to loosen the soil beneath a weed, then lift the weed with as much of its root system as the planting allows. If reaching the root would require tearing through a desirable plant, stop trying to win with one pull and switch to a weakening strategy.
Pick the Right Weed Before You Reach for the Fork
Do not pull an unidentified plant just because it is in the wrong place. “Weed” describes a plant growing where you do not want it; it does not tell you whether the plant is a harmless annual, a valuable volunteer, a toxic species, or a perennial that spreads underground. The University of Minnesota Extension’s diagnostic garden tools include weed-identification resources for exactly this reason.
Look at the plant’s growth habit before choosing a tool. A tiny plant with a single soft stem usually needs a shallow loosening and a careful lift. A plant with a thick central root, a running underground stem, a rosette, or a network of brittle roots deserves more attention because the part you see may be only one piece of a larger system.
Small annual weeds are the easy win
Annual weeds complete their life cycle in one growing season. Many are shallow-rooted when young and can be removed with your fingers or a fork before they flower and set seed. Pulling them early saves effort because the root system has had less time to anchor itself and the plant has not yet added more seeds to the bed.
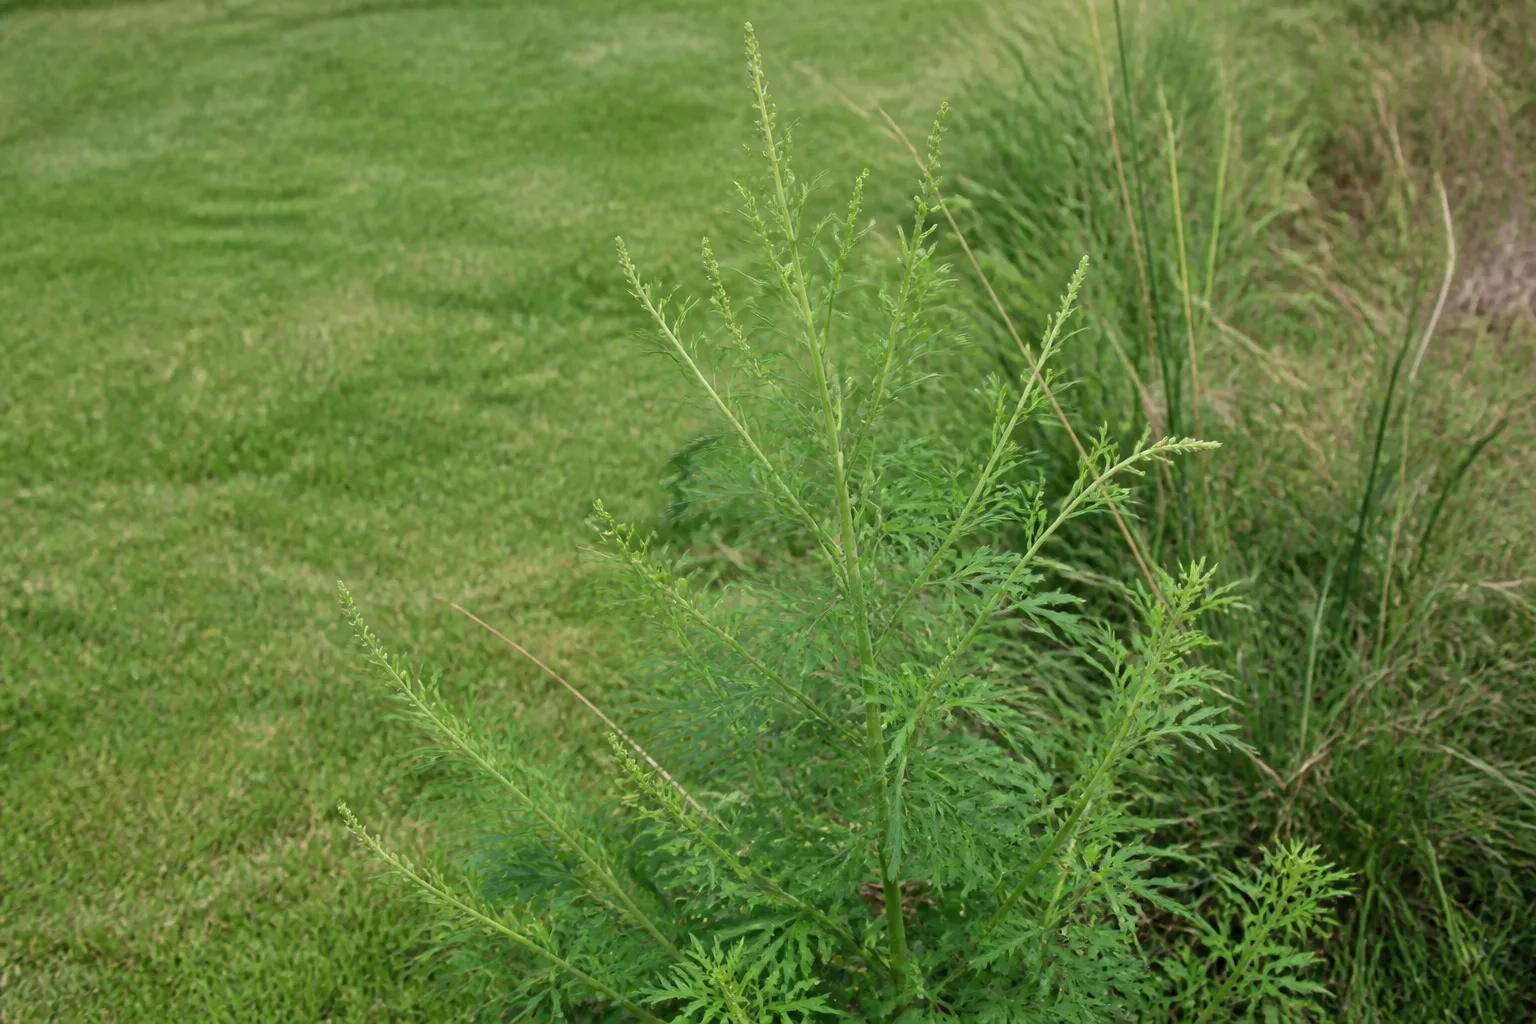
The fork is most useful when the weed is big enough to see but still small enough that its root zone fits under the tines. Chickweed, bittercress, young grass seedlings, and many volunteer broadleaf weeds often fall into this category, although exact identification varies by region and garden.
If the weed breaks at soil level, treat that as information rather than success. The root may still be alive, and some plants can regrow quickly. Check the hole for a pale root, a thin taproot, or a connected runner. If you cannot find it, return to the spot in a few days while the replacement shoot is still small.
Deep-rooted and spreading weeds need a different plan
Perennial weeds return from established roots, crowns, bulbs, or rhizomes. Removing the whole root system is usually the most direct solution, but breaking a spreading root into pieces can make the job harder if each piece can produce new growth. Penn State Extension’s landscape weed-management guidance explains that cultivation can propagate some perennial weeds when underground structures are cut apart, so aggressive sideways digging is not a harmless shortcut.
Use the fork only when you can get underneath the weed and ease the root system out intact. If you see a long taproot disappearing straight down, a fork may help loosen the upper soil, but a dedicated taproot weeder is more likely to reach the full root. If you see thin runners traveling through the bed, follow them as far as possible instead of chopping across them.
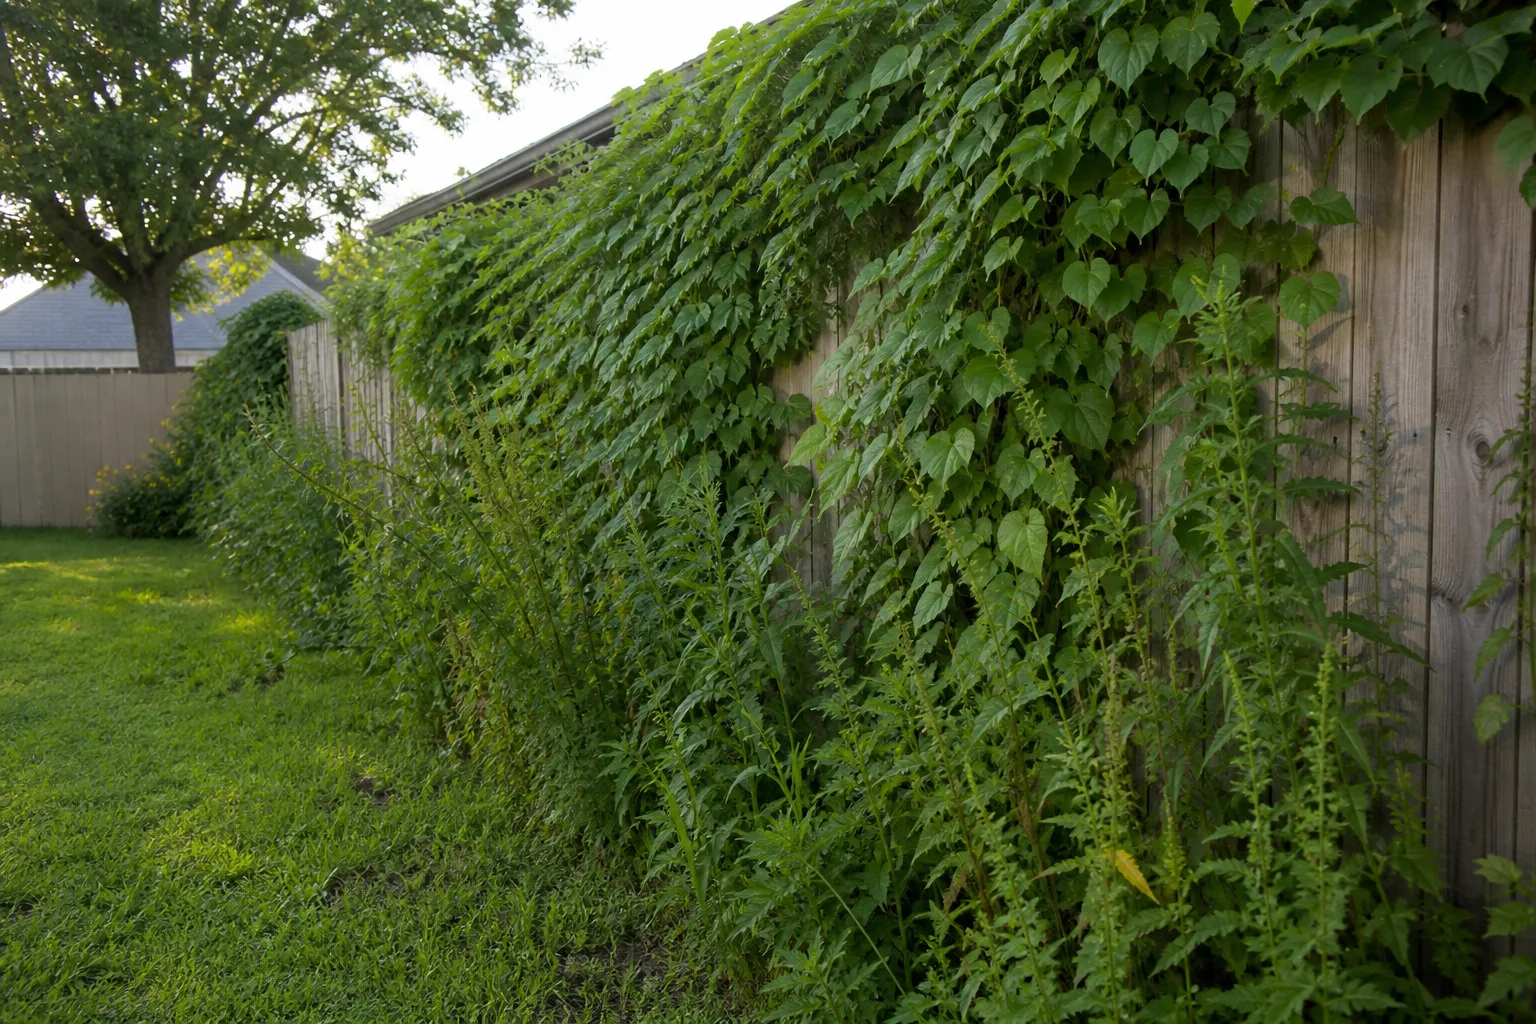
If a perennial is already woven through the crown or roots of a desirable plant, complete extraction may be more damaging than leaving a small amount of weed root for now. In that case, remove the top growth before it flowers, mark the spot, and plan short repeat visits. Weakening the weed over time is slower, but it can protect the plant you are trying to save.
Check Soil and Weather Before You Pull
The best soil for fork weeding is slightly moist and crumbly. After light rain or a targeted watering, soil often releases a small root ball with less force; Gardening Know How’s garden-weeding guidance also recommends working after rain or watering, when roots are easier to release. Wait if the bed is saturated and your shoes sink into it; working wet soil smears pores, compacts the surface, and makes it easier to slide the fork into roots you did not intend to disturb.
Dry, hard soil creates the opposite problem. You may need so much pressure to enter the ground that the fork slips, bends, or lands in the neighboring plant’s root zone. Water the small target area slowly, wait for the moisture to move down, and test again later. Do not soak the whole bed just to remove one weed if the surrounding plants prefer a drier cycle.
Work when you can see the base of the weed. Low, angled light can help reveal the stem-soil junction, while a windy or rainy session makes delicate stems harder to hold. Gloves protect your skin from rough handles, sharp debris, and unknown plants; they also give you a steadier grip when you use the fork as a lever.
Set Up the Fork So You Protect Nearby Roots
Start by clearing loose mulch or fallen leaves from a small ring around the weed. You only need to expose enough soil to see where the stem enters the ground. Avoid stripping the entire bed, because bare, disturbed soil is an invitation for more weed seeds to germinate.
Position your body so your hand and the fork move toward an open space, not through the leaves or crown of the desirable plant. If a flower stem, vine, or low branch is in the way, gently support it with your free hand or move it aside without bending it sharply. Never use the plant as a brace for the fork handle.
A regular fork’s tines are usually short and broad compared with a purpose-built hand fork. That makes accurate placement more important. Insert only as deep as needed to get under the weed’s root zone, and keep the tines parallel to the nearby plant’s root direction when you can see it.
How to Pull a Weed With a Fork
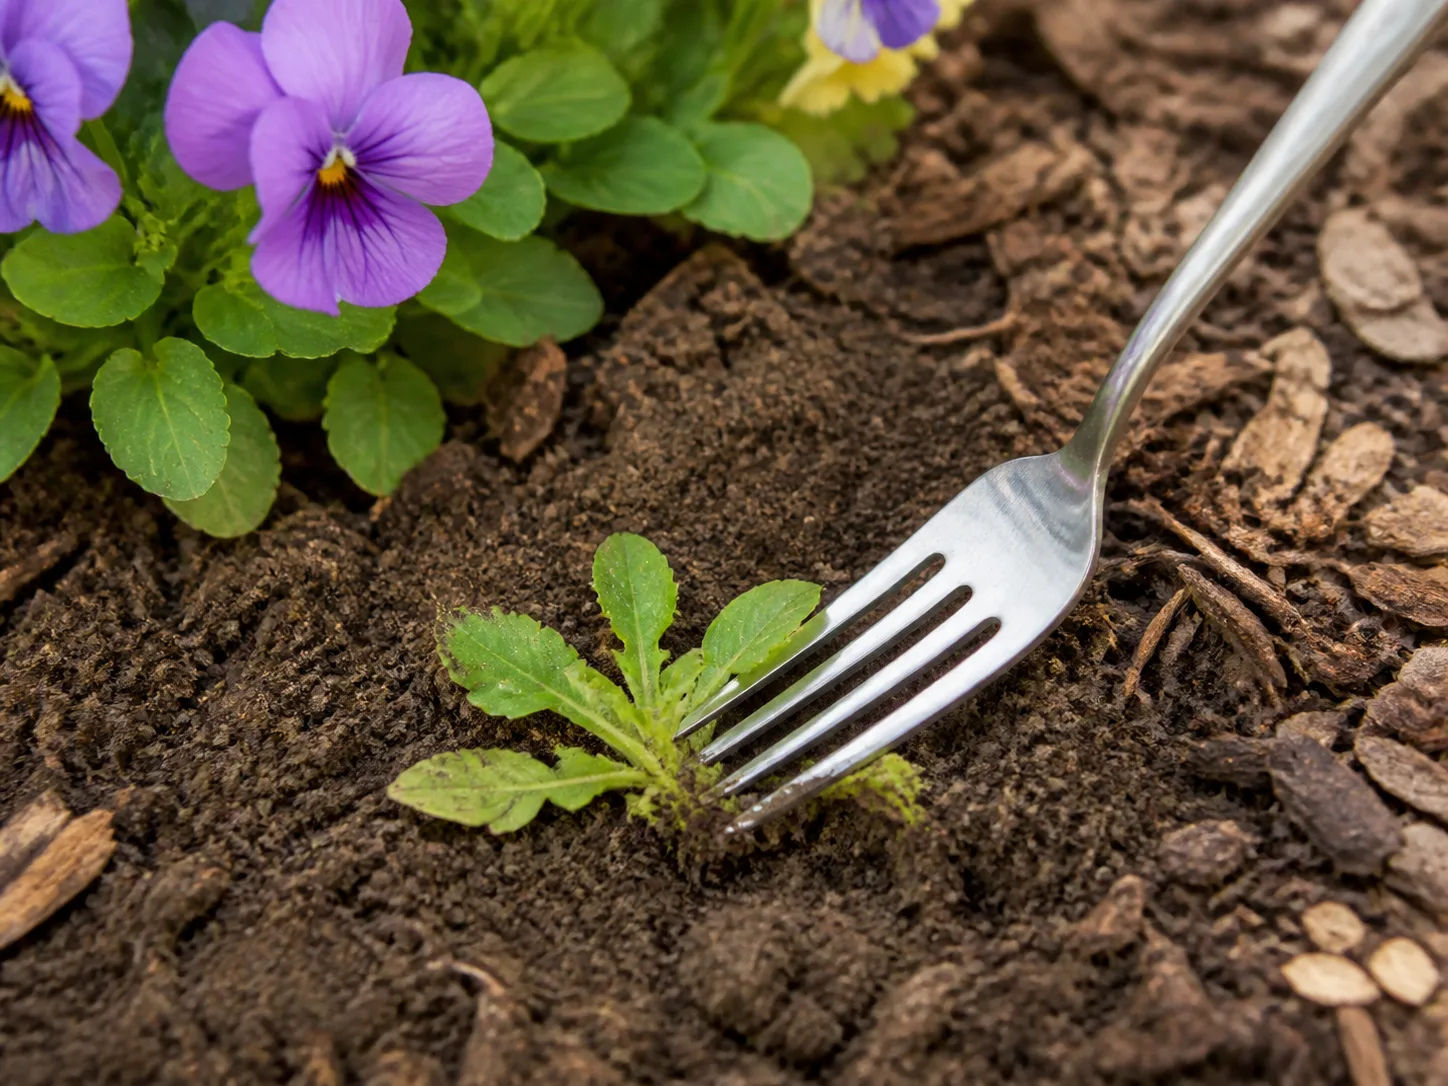
Use this sequence for a small weed in a bed or border:
- Identify the plant and check for seeds. If you are unsure what it is, photograph it before disturbing it. If it is flowering or carrying mature seed, keep the plant upright as you remove it so you do not shake seed through the bed.
- Choose a clear entry point. Look for the side of the weed that has the most open soil and the greatest distance from a desirable stem or crown.
- Loosen the surface lightly. If a crust has formed, break only the top layer around the weed. Do not rake through the bed or churn a broad circle.
- Insert the fork beside the base. Push the tines down close to the stem, but not into the stem itself. Aim under the root ball rather than directly at the center of the plant.
- Rock the handle a small amount. Use a controlled forward or backward motion to open a narrow gap under the root. The movement should be a lift, not a sweeping scrape.
- Raise the weed slowly. Keep the fork under the root zone and lift while holding the stem near its base. If the stem stretches or the fork starts to twist, stop and reposition.
- Inspect what came out. Compare the removed root with the hole. If a thick section or runner is still attached to the soil, loosen that section before filling the hole.
- Close the soil. Press the disturbed soil back with your fingers and return a thin layer of mulch. Leaving a large open cavity dries nearby roots and creates a new germination pocket.
Place the tines at the weed’s base
The base is the narrow transition where the stem becomes root. Insert the fork just to one side of that point, as close as the surrounding plant allows. If you insert several inches away, the tines may lift soil without lifting the weed; if you insert directly through the crown, you can sever the root you hoped to remove.
For a seedling, the tines may need to go only an inch or two below the surface. For a larger weed, press down in stages rather than forcing the entire fork at once. A slight rocking motion can create the gap you need while keeping the disturbance local.
The goal is contact with the underside of the root zone. You should feel a small resistance from the root ball, followed by a little release. If the fork dives into loose soil without resistance, move closer to the stem instead of increasing force.
Lift, don’t rake sideways
Sideways scraping is the easiest way to turn a precision tool into a root-chopping tool. Pulling the fork across the soil can cut stolons, rhizomes, or fine roots from a nearby plant, and it may leave several weed pieces behind.
Use the handle as a short lever. Keep one tine edge under the root zone, apply gentle pressure, and lift the soil plug toward the surface. A fork is not a tiny hoe; its value here comes from reaching down and lifting up.
If the weed resists, do not jerk the handle. Check whether a stone, a woody root, or compacted soil is blocking the tines. Remove the obstruction only if you can do so without widening the hole into the neighboring plant’s root zone.
Inspect the hole and root piece
After the weed comes out, look at both the plant and the soil. A clean root with a small amount of attached soil is a good sign. A bare stem with a snapped root, a missing runner, or several pale root fragments in the hole means the job is not finished.
Do not automatically dig wider. First feel the soil gently with a gloved finger or use one tine to trace the remaining root. If the root leads toward a healthy plant’s crown, stop excavating and switch to repeat cutting. The correct result is not the largest possible hole; it is the best balance between reducing the weed and preserving the plant you want.
What to Do When the Weed Is Tangled in a Plant
A weed growing between stems is where the “fork trick” needs the most restraint. Pulling harder may bring up a desirable plant’s fine roots, shift a young transplant, or tear a runner from a groundcover. Before you attempt extraction, separate the foliage and locate the weed’s base on both sides.
If the weed has its own clear root zone, use the fork from the open side and lift in the direction away from the plant. If the roots cross, remove the top growth first and leave the soil mostly undisturbed. Return when new shoots appear and remove them again while they are small.
This repeated approach is especially useful for a vine or spreading perennial that has entered the middle of a mature plant. The RHS guidance on non-chemical weed control describes repeated cutting as a way to weaken persistent perennials when removing every root is not practical.
When the desirable plant is dormant and the weed problem is severe, a larger renovation may be appropriate: lift the plant, tease or wash soil from the root ball, remove the weed roots, and replant. That is a different project from quick fork weeding and should be timed around the plant’s tolerance for disturbance.
When a Kitchen Fork Is the Wrong Tool
Switch tools when the job exceeds the fork’s leverage or precision. The fork is not a good choice for every stubborn weed just because it is nearby.
| Situation | Better choice | Why |
|---|---|---|
| Tiny annual weed in loose soil | Fingers or kitchen fork | Small root zone and little disturbance needed |
| Small weed beside a perennial | Hand fork or kitchen fork | Narrow entry point lets you work around roots |
| Long taproot such as a mature dandelion | Dandelion weeder or narrow weeding knife | The tool needs to reach below the crown |
| Thick, compacted soil | Sturdy hand fork after targeted watering | Thin kitchen tines may bend or slip |
| Large established perennial | Border fork or spade, often in a planned bed cleanup | More leverage and depth are required |
| Weed threaded through plant roots | Pruners for top growth plus repeat visits | Extraction could injure the desirable plant |
| Unknown, irritating, or toxic plant | Identification help and appropriate protective equipment | Tool choice is secondary to safe handling |
Fine Gardening’s discussion of a small hand hoe makes the same useful distinction: a shallow tool is excellent for early, shallow weed growth, while deep-rooted weeds need a different tool. Treat that as a general tool-selection rule, not a reason to force a fork beyond its design.
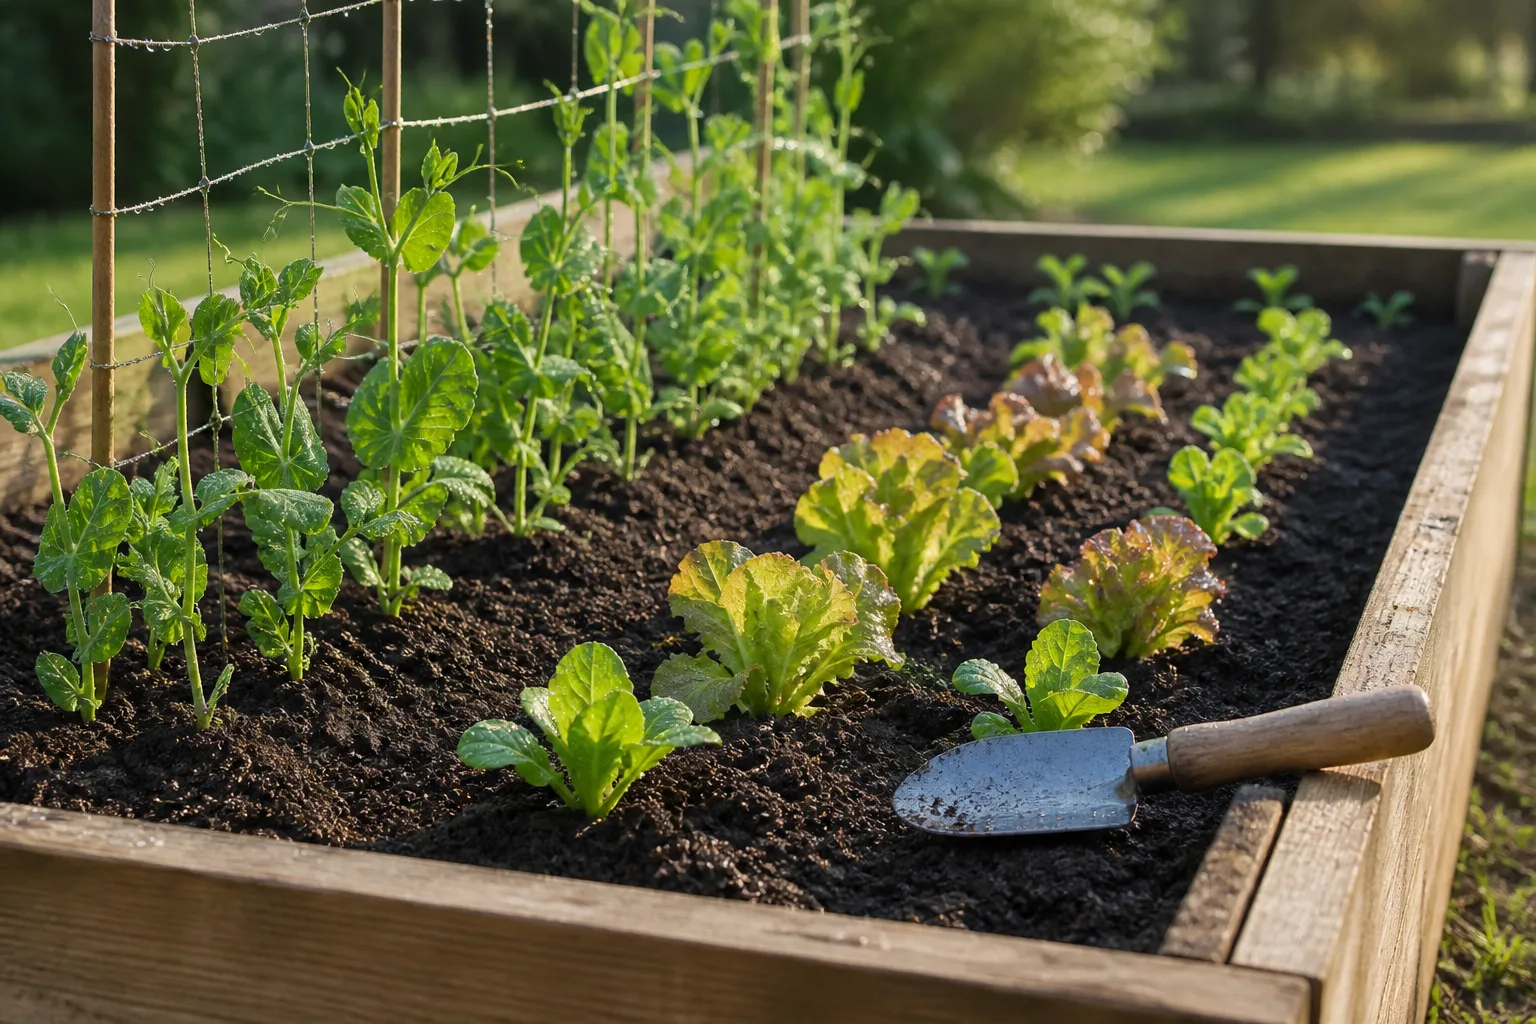
Do not use a kitchen fork as a substitute for a digging fork when you need to clear a whole bed. A proper garden tool will be more comfortable and less likely to break. If the fork has a loose handle, bent tines, rust flakes, or a sharp edge on the handle, retire it from the garden rather than risking a cut.
Dispose of Weeds Without Replanting Them
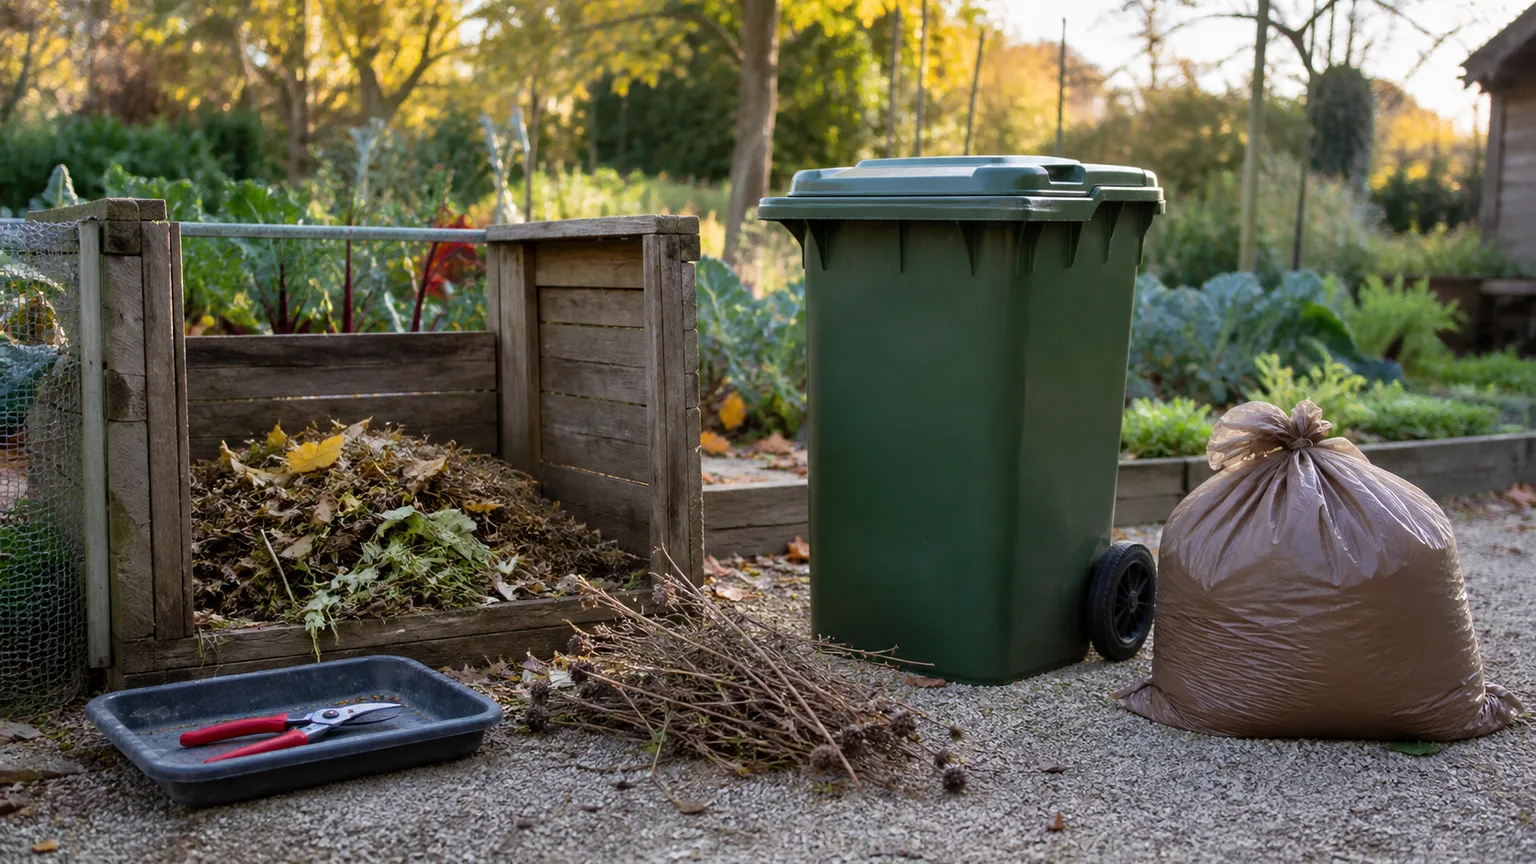
Carry pulled weeds away from the bed before shaking soil from their roots. A seedhead can release more seeds when it is tossed into a wheelbarrow, and a piece of a persistent root can survive long enough to start again in a damp compost pile.
Annual weeds without mature seedheads are generally easier to manage. They can be left on a dry surface to wilt, placed in an appropriate compost system, or disposed of according to local garden-waste rules. If the plant is diseased, unknown, invasive, or carrying seed, choose the cautious route and do not add it to home compost.
Keep rhizomes, bulbs, and other pieces that can regrow out of a casual backyard compost bin unless you know the pile reaches conditions that destroy them. The RHS specifically warns that persistent roots and seedheads can survive home composting. A sealed bag, a municipal green-waste program, or a local extension recommendation may be safer depending on the weed and your area.
Do not leave uprooted perennial weeds on wet soil at the edge of the bed. Some plants can re-root when moisture is available. Let the material dry completely on a non-soil surface only when you are confident it is safe to do so, and never spread unknown plant material where children or pets may handle it.
Stop the Next Flush of Weeds
Fork weeding solves the plant in front of you; prevention reduces how often you have to kneel down with the tool. Start by filling the space that weeds exploit: bare soil, open edges, and gaps between young plants.
Cover bare soil after hand-weeding
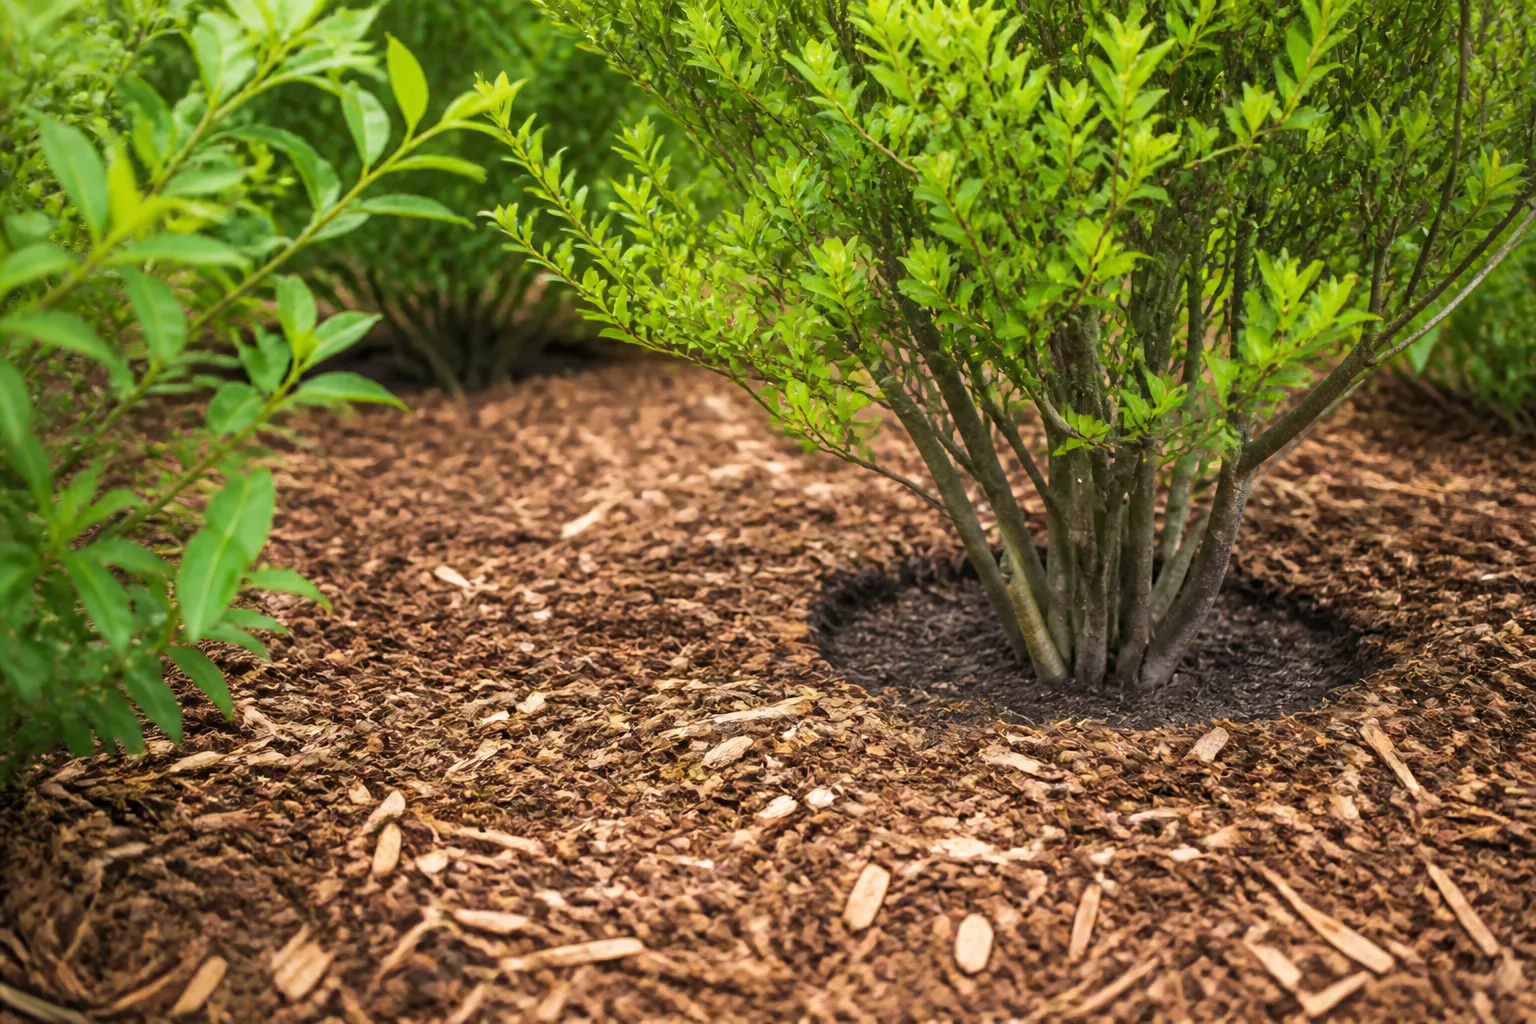
Once the hole is closed, add a loose layer of suitable mulch around—not against—the desirable plant. Mulch blocks light at the soil surface, slows evaporation, and makes new seedlings easier to pull, but it is not a permanent barrier and it cannot stop a vigorous perennial emerging from below.
The RHS mulch guidance notes that mulch is most useful when it is applied to prepared soil and kept away from plant stems. Avoid piling mulch over crowns, low foliage, or woody trunks, where prolonged moisture can create a different set of problems.
For an empty bed, cardboard beneath mulch can suppress a larger flush of annual weeds. In an established planting, work around stems and crowns rather than burying the garden in a thick layer. A smaller, well-placed barrier is better than a deep blanket that traps moisture or hides new shoots.
Dense, healthy planting also reduces open ground. Choose plants that fit the site, keep them watered according to their needs while they establish, and avoid creating bare patches through repeated unnecessary digging. The aim is not to eliminate every volunteer plant; it is to reduce competition where weeds would steal light, moisture, or space from a valued crop.
Use repeated cutting for roots you cannot remove
When a weed is too entangled to lift safely, cut it at soil level whenever you see new growth. The plant will continue trying to make leaves, while you repeatedly remove the tissue it needs for photosynthesis. This may take weeks or seasons for a persistent perennial, but it is more controlled than pulling up the neighboring plant.
Watch the timing. Remove flower heads before they release seed, and inspect the same patch after rain or irrigation, when new shoots are easiest to spot. Keep a small note or marker if the weed is difficult to distinguish from the desirable plant; repeated, accurate visits beat repeated guesswork.
Common Fork-Weeding Mistakes
Pulling only the leaves. A clean-looking bed can hide a root that will regrow. Loosen below the base and inspect what came out.
Working in saturated soil. Wet soil can collapse around roots and compact underfoot. Wait for workable moisture unless the weed is spreading rapidly and a different intervention is more urgent.
Using the fork like a rake. Sideways scraping slices roots and distributes fragments. Lift from below with small, controlled movements.
Digging farther because the first attempt failed. A wider hole is not automatically a better result. Trace the root, then stop if it enters the nearby plant’s root zone.
Ignoring the seed stage. A flowering weed is a timing problem, not just a tool problem. Remove the seedhead carefully, bag the material if necessary, and clean up any spilled seed.
Assuming every green plant should go. Some volunteers provide flowers, habitat, or ground cover. Identify an unknown plant before removing it, especially in a wildlife-friendly area.
Composting every pulled root. A hot municipal system and a small backyard pile do not behave the same way. Keep persistent roots and seedheads out of home compost unless you have verified a safe process.
Using chemicals because the fork is slow. A spray can drift onto a desirable plant and is not a shortcut when the weed is intertwined with its roots. If a chemical becomes necessary for a specific invasive or difficult weed, identify the plant and follow the current product label and local guidance exactly.
Conclusion
A fork works best as a close-quarters loosening tool. Use it on a small, identifiable weed in slightly moist, workable soil; place the tines beside the base; lift from below instead of scraping across the bed; and inspect the root before you close the hole.
The most important safeguard is knowing when to stop. If the weed’s roots are tangled with a desirable plant, repeated cutting, careful monitoring, and a layer of well-placed mulch may protect the garden better than one aggressive pull. A kitchen fork can solve the right weed neatly, but good judgment is what keeps the nearby plant safe.



