How to Clean Garden Tools: Vinegar, Rust, and Disease Care
Learn how to clean garden tools, remove rust and sap, disinfect pruning shears, oil blades, and store every tool dry for a healthier garden.
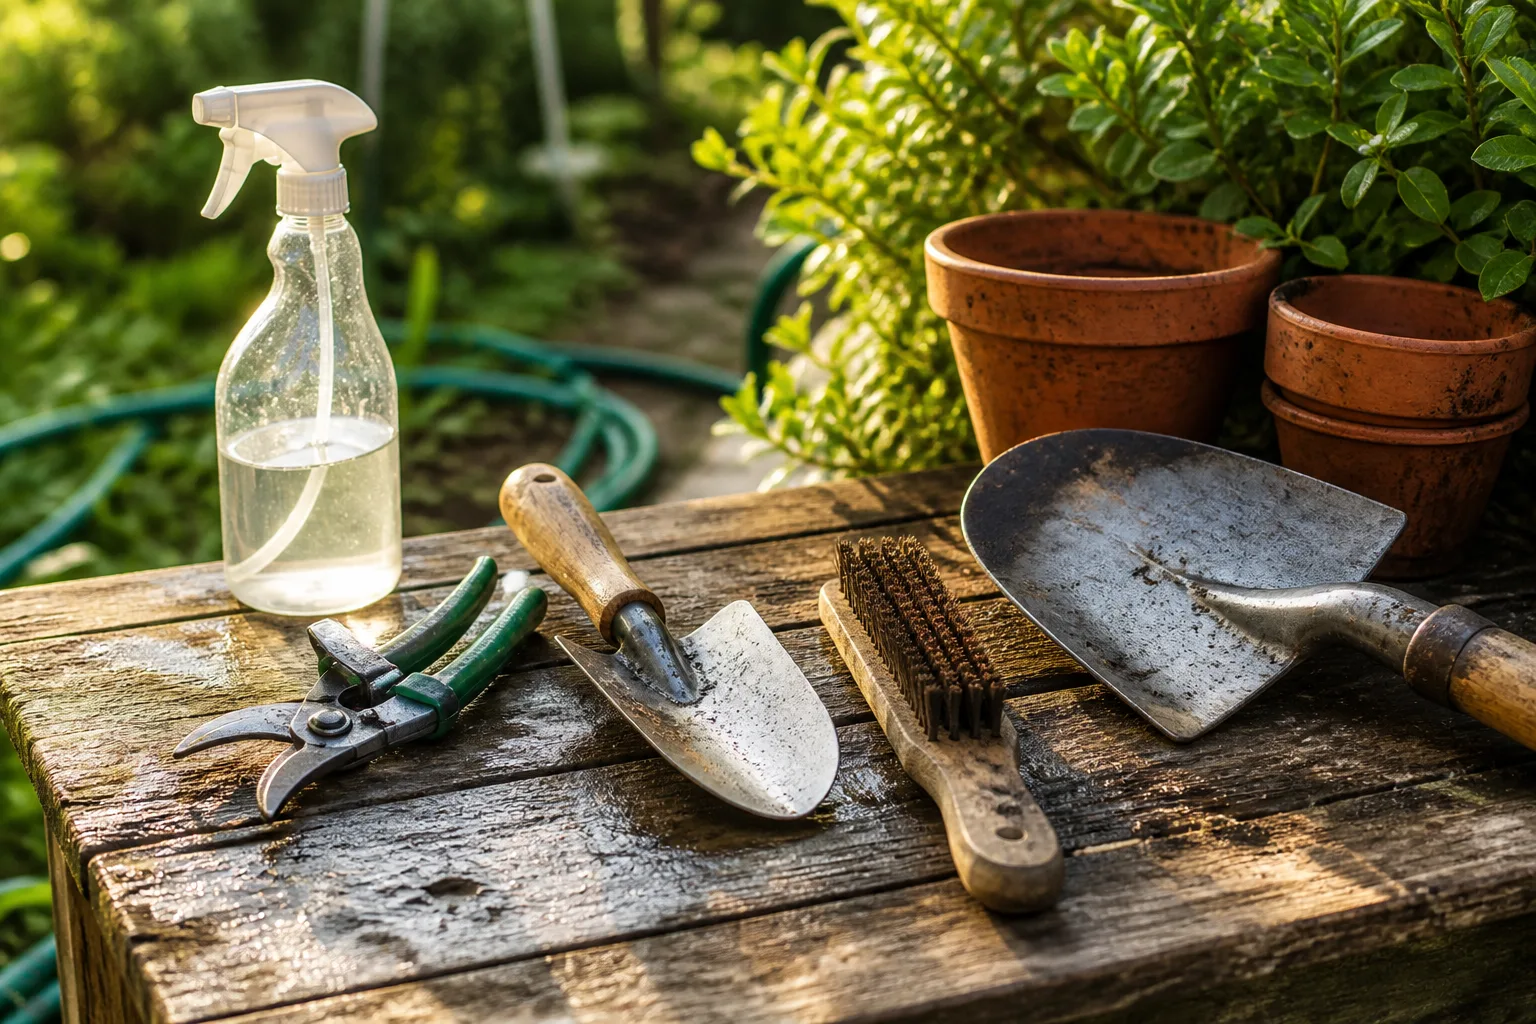
Vinegar is useful in a garden shed, but it is not a magic disinfectant. It can help loosen light rust and mineral residue; it does not turn a dirty pair of pruners into a reliably pathogen-free tool. The better routine is to clean first, disinfect when the disease risk calls for it, then dry, maintain, and store the tool so it is ready for the next cut.
That distinction matters most in summer, when wet foliage, frequent pruning, and warm storage conditions make sap and residue build quickly. The Royal Horticultural Society recommends cleaning hand tools regularly because clean, well-maintained tools work more efficiently and safely, and it specifically links tool hygiene with limiting the spread of plant diseases. (RHS cleaning hand tools)
The Three Jobs People Confuse: Cleaning, Rust Removal, and Disinfection
Cleaning removes soil, sap, plant tissue, grease, and other visible residue. It is the step that lets you inspect a blade and makes a later disinfectant more effective. Rust removal deals with oxidation on metal and is a maintenance job, not a disease-control treatment. Disinfection reduces viable microorganisms on a cleaned surface; it requires an appropriate product, concentration, coverage, and contact time.
Treat those as three separate decisions. If you just dug potatoes with a spade, brush and wash it. If you cut a diseased tomato stem, clean the pruners and disinfect them before touching a healthy plant. If the blade has orange scale, remove the rust, rinse away the acid, dry it, and oil it; vinegar alone has not completed the job.
What vinegar can and cannot do
White distilled vinegar contains acetic acid, which can loosen some rust and dissolve certain mineral deposits. A soak may make a crusty tool easier to scrub, especially when the corrosion is superficial. It is also inexpensive and easy to find.
Do not label a vinegar bath “sterilization.” Better Homes & Gardens notes that distilled vinegar is not strong enough to thoroughly sanitize gardening implements, while its guidance for pruning shears separates vinegar-based rust removal from actual disinfection. (BHG pruning-shear guidance) Vinegar is a rust helper; choose a tested or label-directed disinfectant when plant-pathogen transfer is the concern.
Match the Routine to the Tool and the Risk
The dirtiest-looking tool is not always the highest-risk tool. A shovel carries soil, but a bypass pruner slices directly through living tissue and can move residue from one plant to the next. The decision table below keeps the response proportional.
| Situation | First action | Is disinfection needed? | Finish with |
|---|---|---|---|
| Dry soil on a shovel or rake | Brush it off at the bed | Usually no, unless it contacted known contaminated material | Dry and oil bare metal if needed |
| Muddy trowel used around healthy plants | Rinse, scrub, and dry | Not usually | Inspect for rust |
| Sap-stuck pruners | Open the blades and remove residue | Yes if moving between plants or after questionable growth | Lubricate the pivot |
| Cutting a visibly diseased stem | Remove debris, wash, then disinfect | Yes, before the next plant | Dry and re-oil |
| Rusty hand tool | Brush or soak to loosen corrosion | Only after the tool is visibly clean | Rinse, dry, and protect |
| Tool stored wet or under soil for months | Full wash and inspection | Consider it if it will touch plant tissue | Repair or replace unsafe parts |
Soil tools versus cutting tools
Spades, forks, hoes, and rakes generally need debris removal and corrosion prevention. Pay attention to the soil line, the socket where a handle meets a blade, and any rivets or seams that hold damp grit. A quick brush beside the bed prevents you from carrying clods into the shed.
Shears, scissors, loppers, and saws deserve closer attention because they create wounds. Clean the cutting surfaces, the anvil or bypass face, the pivot, the spring, and the handle grips. If a tool cannot open fully, do not dunk it blindly; work a damp brush into the joint and follow with a product that is compatible with the tool’s finish.
When disease changes the schedule
After ordinary weeding, a same-day wash may be enough. After pruning a plant with suspicious lesions, wilt, cankers, mildew, or a confirmed pathogen, disinfect before the tool touches another plant. The RHS calls out hygiene around diseases including Phytophthora, bacterial canker, and box blight, and advises cleaning tools that contact contaminated soil or plant material. (RHS tool sterilising guidance)
Set Up a Safe Garden-Tool Cleaning Station
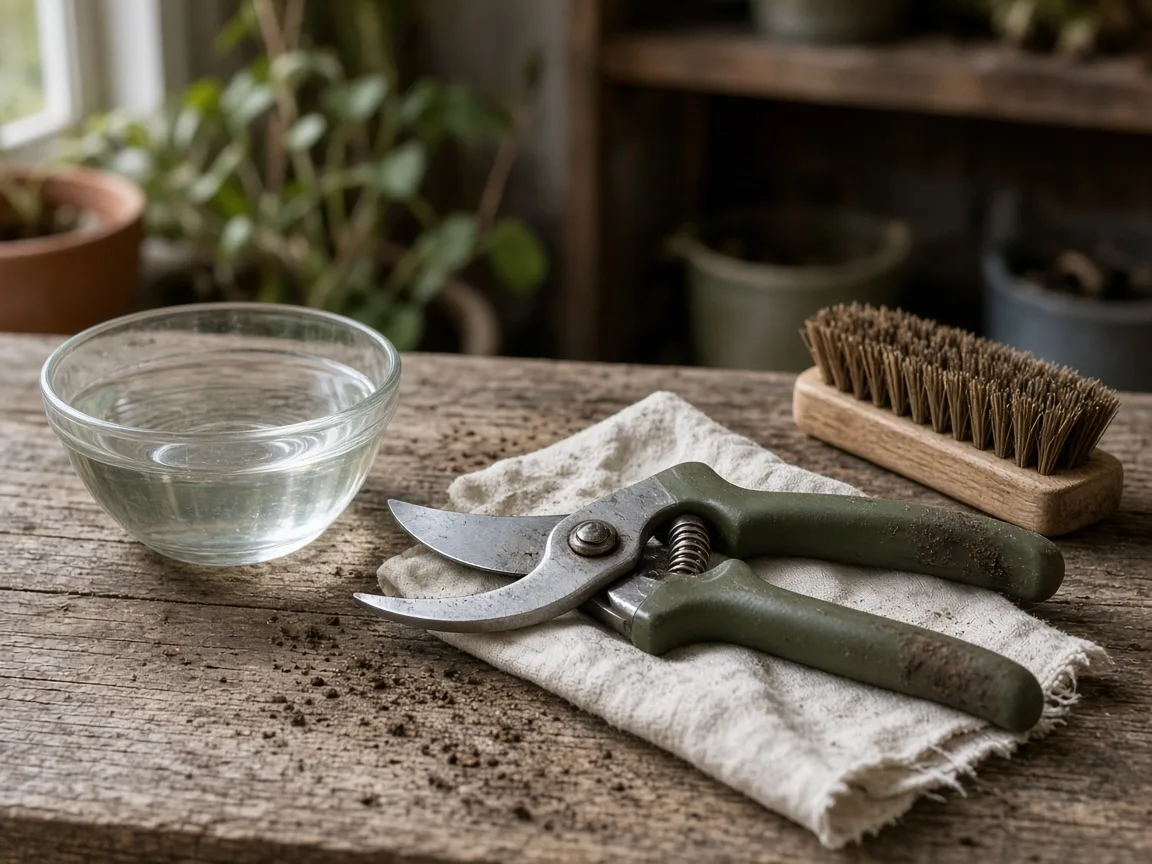
Choose a stable work surface with drainage, good ventilation, and enough room to keep dirty and clean tools apart. Put down cardboard or a washable mat so loosened soil does not become a new source of grit. Keep a small bucket for wash water, a separate container for any disinfectant, a stiff nylon brush, an old toothbrush, clean rags, gloves, eye protection for splashes, and the oil or sharpener you plan to use afterward.
Do not use the kitchen sink for muddy tools, and do not clean chemical containers beside food, animal bowls, or children’s play areas. Wear gloves when handling rust scale, wire wool, sap, or chemical disinfectants. The RHS safety guidance also recommends appropriate protective clothing and equipment for garden hazards, including sharp tools and substances that can irritate skin. (RHS garden safety)
Read the label for any commercial disinfectant before mixing or applying it. Never combine bleach with vinegar, ammonia, alcohol, or another cleaner. A chemical reaction can release hazardous gases or create an unsafe mixture, and “natural” does not mean harmless.
The Seven-Step Cleaning Routine
1. Brush off dry soil before adding water
Start with the tool dry whenever possible. Knock the blade against a scrap of wood or tap it gently over the bed, then use a stiff brush to work soil out of serrations, hinge gaps, sockets, and the underside of a spade. Dry brushing uses less water and prevents you from turning loose dust into sticky mud.
For a shovel or fork, brush at the garden edge so soil stays in the bed where it belongs. For secateurs, open the blades carefully and hold the tool by its handles, never by the cutting edge. Use a toothbrush around the pivot rather than forcing a rag into a sharp gap.
2. Rinse and wash with mild detergent
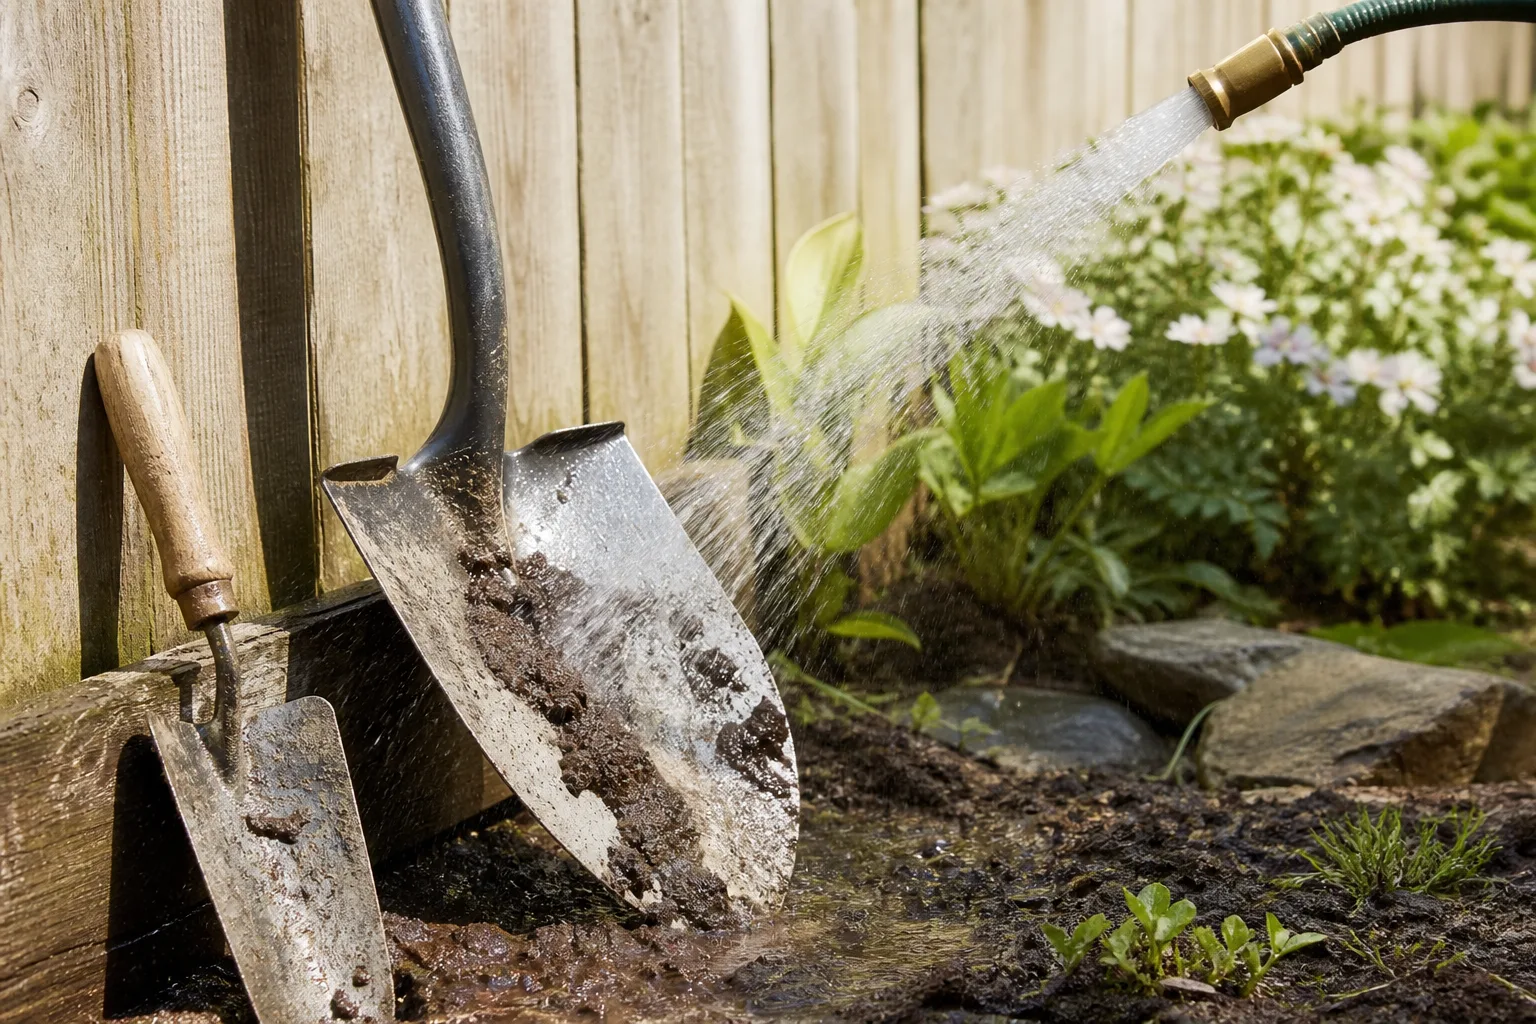
Rinse remaining soil with a hose or a bucket of warm water, then scrub with a small amount of ordinary dish detergent. The goal is to remove the film that a brush cannot lift, not to create a long soak for every tool. Keep wooden handles out of standing water; repeated saturation can swell wood, loosen the metal socket, and encourage cracking as it dries.
On cutting tools, wash the closed exterior first, then open the blades and clean each face. Flush grit away from the pivot rather than driving it deeper. If sap is present, pause and use the residue method below instead of scrubbing harder until you scratch the blade.
3. Rinse until no cleaner or grit remains
Soap left on metal can trap moisture and attract dust. Rinse with clean water, paying special attention to the pivot and the inside of a hollow handle. If the tool was soaked in vinegar for rust removal, rinse it thoroughly; leftover acid is not a protective coating.
Do not pour heavily contaminated wash water into a pond, storm drain, or vegetable-washing sink. If you removed diseased plant fragments, keep them out of home compost unless local extension guidance says the material will be processed hot enough to destroy the pathogen. The RHS recommends prompt, careful disposal of infected material as part of garden hygiene. (RHS diseased-material guidance)
4. Disinfect only after the surface is clean
Visible dirt shields the surface from a disinfectant, so cleaning comes first. Apply the chosen product to the entire cutting area and the parts that contacted the plant, then respect the product’s stated wet contact time. A quick wipe that evaporates instantly may not equal the label’s required exposure.
For a fast between-plant reset, many gardeners use 70% isopropyl alcohol on a spray, wipe, or clean cloth. It is convenient because it evaporates quickly, but it still needs full coverage and should be kept away from flames. For a batch of tools, a labeled bleach solution or 3% hydrogen peroxide may be more practical, but each can affect finishes and requires its own directions. University of Maryland Extension and Iowa State University Extension both maintain pruning-tool sanitation resources; use the current product label when their general guidance and your product instructions differ. (University of Maryland Extension pruning tools, Iowa State Extension pruning-shear sanitation)
5. Dry immediately and completely
Wipe the blade, shaft, fasteners, and handle with a clean towel. Open and close pruners while wiping so water is not trapped around the pivot. Leave tools in a dry, ventilated place until every joint is dry; do not put them away just because the outside feels dry.
Sunlight can warm a tool, but it is not a substitute for wiping or for disinfection. The useful finish is dryness. The RHS notes that drying prevents wooden handles from swelling and stops metal from rusting. (RHS hand-tool maintenance)
6. Inspect before sharpening or oiling
Look for a bent blade, a missing rivet, a loose handle, a cracked grip, mushroomed metal, deep pitting, or a spring that no longer returns the handles. A sharp edge cannot make a structurally unsafe tool safe. Replace a tool when the cutting surfaces no longer meet correctly or corrosion has weakened the metal around a fastener.
7. Restore the tool and store it off the ground
Apply a thin film of suitable oil to bare metal and a drop to the pivot, wipe away excess, and hang the tool or place it on a dry shelf. Put cutting tools away closed or with a blade guard fitted. Store them under cover, protected from rain, condensation, and damp soil rather than standing in a bucket where the handles or blades can stay wet.
How to Use Vinegar for Rust Without Damaging Tools
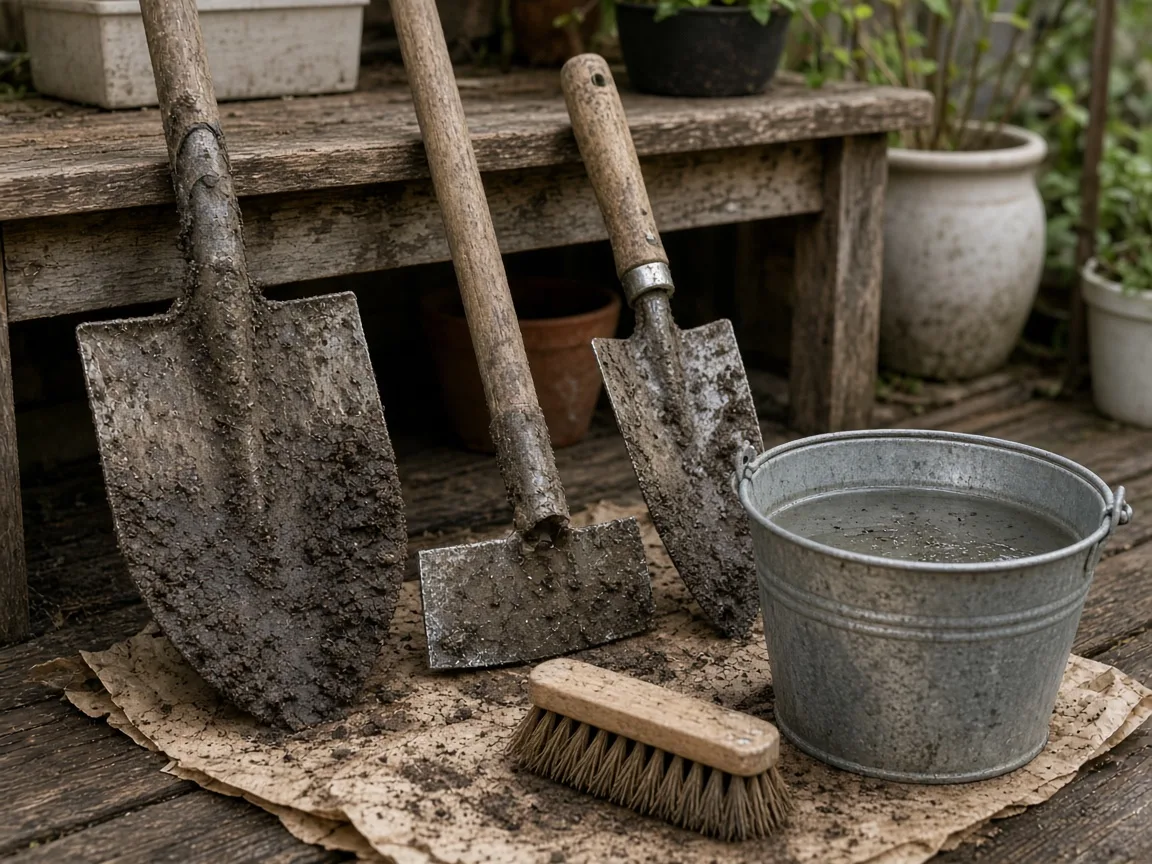
Vinegar works best as a controlled rust-loosening step, not as the whole maintenance routine. Remove loose scale first, then place only the corroded metal in a container of white vinegar. Keep wooden handles, painted grips, springs, and unrelated hardware out of the bath. Check the tool periodically instead of leaving it forgotten overnight; prolonged acid exposure can dull finishes and attack some metals.
After the rust softens, scrub with a nylon pad or appropriately fine abrasive. Wire wool can work on robust bare metal, but it can scratch plated or polished finishes and leave fragments that rust. Rinse the tool thoroughly with clean water, dry it immediately, and apply a light protective oil. If the tool will cut plants, wipe away every visible oily excess from the blade before use.
Avoid adding salt to a vinegar bath for routine tool care. Salt can accelerate corrosion if residue remains in a joint or on a blade. A stubborn, deeply pitted tool may need a commercial rust treatment used exactly as directed, or it may be cheaper and safer to replace it.
How to Disinfect Pruning Shears and Other Cutting Tools
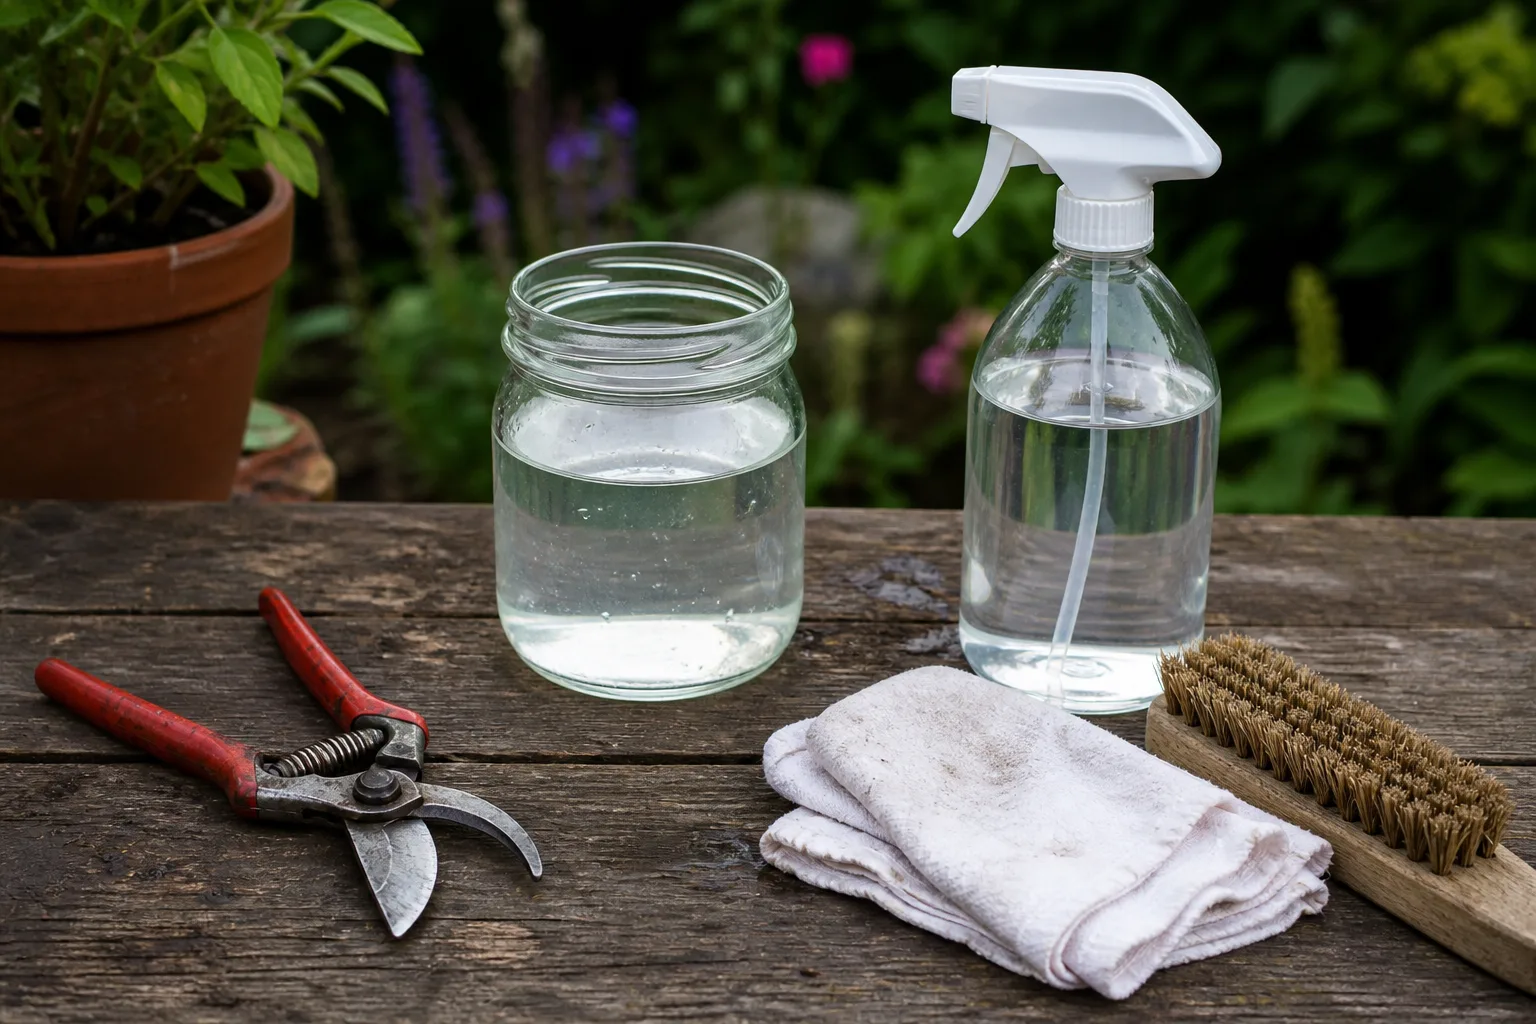
Choose the method by speed, scale, and tool compatibility. 70% isopropyl alcohol is useful between plants when the tool is already clean and you can wet the cutting surfaces fully. A labeled bleach product is better suited to a group of tools or a deeper cleanup when you can provide the required contact time, ventilation, gloves, and rinsing. 3% hydrogen peroxide can be convenient for some end-of-day jobs, but do not assume that a shelf-stable household bottle is interchangeable with a registered plant-pathogen product.
Bleach recipes deserve particular care. A common gardening instruction is one part household bleach to nine parts water, but bleach strength varies, solutions lose activity, and the product label controls the safe use. Mix only what you need, never add vinegar or ammonia, and rinse and dry compatible metal tools afterward to limit corrosion. If the label does not permit the use, do not improvise.
Heat is not a casual shortcut for household pruners. Boiling or heating can damage plastic grips, springs, lubricants, and temper in a blade. Use heat only for small, heat-safe items and only when you understand the material and method.
Disinfection also cannot erase a disease problem in the garden by itself. Remove affected tissue with a clean cut, handle the debris carefully, wash hands and gloves, and follow local extension advice for diagnosis and disposal. A disinfected pruner is one barrier in a larger hygiene system.
Remove Sap, Grease, and Stubborn Residue
Sap is often the reason a freshly cleaned pruner feels worse than a muddy shovel. Start by wiping fresh residue before it dries. For hardened sap, use a small amount of penetrating oil or a tool-safe solvent on a cloth, keeping it away from plant tissue and flames. Work the blades open and closed, then wipe until the metal is clean rather than leaving a greasy film.
The RHS recommends a nylon pan scourer or wire wool for dried sap and notes that a penetrating, water-displacing spray can help loosen grime; it also advises wiping the spray away and oiling the pivot afterward. (RHS sap and secateur care) That sequence is important: a product that loosens residue is not automatically the final lubricant or a disinfectant.
Never put oily rags in a warm, enclosed pile. Lay them flat to dry in a safe area or follow the product’s disposal instructions. Clean the cloth or discard it before using it on a different tool, especially if the first tool touched diseased material.
Sharpen Blades Only After They Are Clean
A dirty blade hides its true edge, and sharpening over grit can drag abrasive particles across the cutting surface. Once the tool is washed and dry, identify whether it is a bypass pruner, anvil pruner, hedge shear, knife, or saw; each has a different edge and should be sharpened according to the manufacturer’s geometry.
For a bypass pruner, maintain the existing bevel on the cutting blade and make controlled strokes with a suitable file or stone. Do not grind the flat inner face aggressively or create a new angle by eye. After sharpening, close the blades slowly and check that they meet cleanly rather than rubbing past one another.
Test on a small branch of the correct diameter. If the tool crushes instead of slices, the problem may be misalignment, a damaged anvil, a loose pivot, or a blade that is too worn to rescue. A clean cut is useful to the plant, but safe hand position and sound hardware come first.
Oil Metal, Protect Wood, and Fix Loose Hardware
Use a light, non-resinous oil on bare metal and a small drop at moving joints. Wipe off the excess so dust does not stick to the blade. Food-garden users may prefer a food-contact-compatible mineral oil for tools used around edible crops; whatever you choose, follow the label and keep the bottle out of reach of children and pets.
Wooden handles need a different approach. Wipe them clean rather than soaking them, let them dry, sand only rough splinters carefully, and apply a thin coat of a suitable wood oil if the product directions allow it. Inspect the socket for movement before using a long-handled tool; a handle that shifts under force is a replacement or repair issue, not an oiling issue.
Tighten loose nuts and bolts only as far as the tool requires. Over-tightening can stop a pruner from opening smoothly or distort the alignment. After maintenance, operate the tool several times and wipe away any oil that migrates onto the grip.
A Cleaning Schedule That Works All Summer
Use a two-minute reset after each use: knock off soil, wipe visible residue, rinse only when needed, and leave the tool open or positioned to dry. This is realistic enough to repeat, and it prevents the hard crust that turns a small job into a seasonal project.
Disinfect cutting tools between plants when disease is suspected, confirmed, or especially easy to spread. If you are taking routine cuttings from visibly healthy plants, a regular clean plus periodic disinfection may be sufficient, but the moment the plant looks questionable, change the sequence.
Do a monthly inspection during heavy summer use. Check blades, pivots, handles, fasteners, rust, and storage conditions. At the end of the season, complete a deeper wash, rust check, sharpening pass, oiling, and dry-storage check. The RHS says tools should ideally be cleaned after every use and kept in good working order because that improves efficiency and safety. (RHS cleaning schedule)
Common Mistakes That Shorten Tool Life
The most common mistake is putting a wet tool away. The second is using vinegar as if it were a disinfectant. Other avoidable failures include pressure-washing delicate pivots, soaking wood, sharpening a dirty blade, leaving salt in a rust bath, spraying an oily product and never wiping it off, and mixing cleaning chemicals.
Another mistake is disinfecting only the shiny cutting edge. Sap can sit on the pivot, plant tissue can cling to the anvil, and a gloved hand can transfer residue back onto a cleaned handle. Cover every surface that contacted the plant, then clean the brush, cloth, gloves, and work surface too.
Finally, do not confuse a clean-looking tool with a healthy garden. Tools can move pathogens, but infected leaves, prunings, soil, boots, containers, and hands can do the same. Tool hygiene helps; diagnosis, removal, sanitation, and resistant plant choices may still be needed.
What to Do After Working on a Diseased Plant
Stop before moving to the next plant. Place the pruners on a clean surface, keep removed tissue contained, and clean off every visible fragment. Wash the tool with detergent and water, rinse, then apply a compatible disinfectant with full coverage and the required wet time. Dry and oil the pivot before returning to work.
Clean your gloves and wipe down the handles of tools that were held while cutting. If a brush or cloth touched diseased material, disinfect it or discard it. Wash hands with soap and water, and avoid carrying contaminated soil on boots into a greenhouse, propagation area, or another bed.
If you do not know whether the plant has a disease, take a clear photo and contact a local extension service or plant clinic before making a large treatment. The RHS notes that good hygiene includes prompt removal and careful disposal of infected material, not just wiping the tool afterward. (RHS diseased plant disposal)
Store Tools So the Next Use Starts Clean
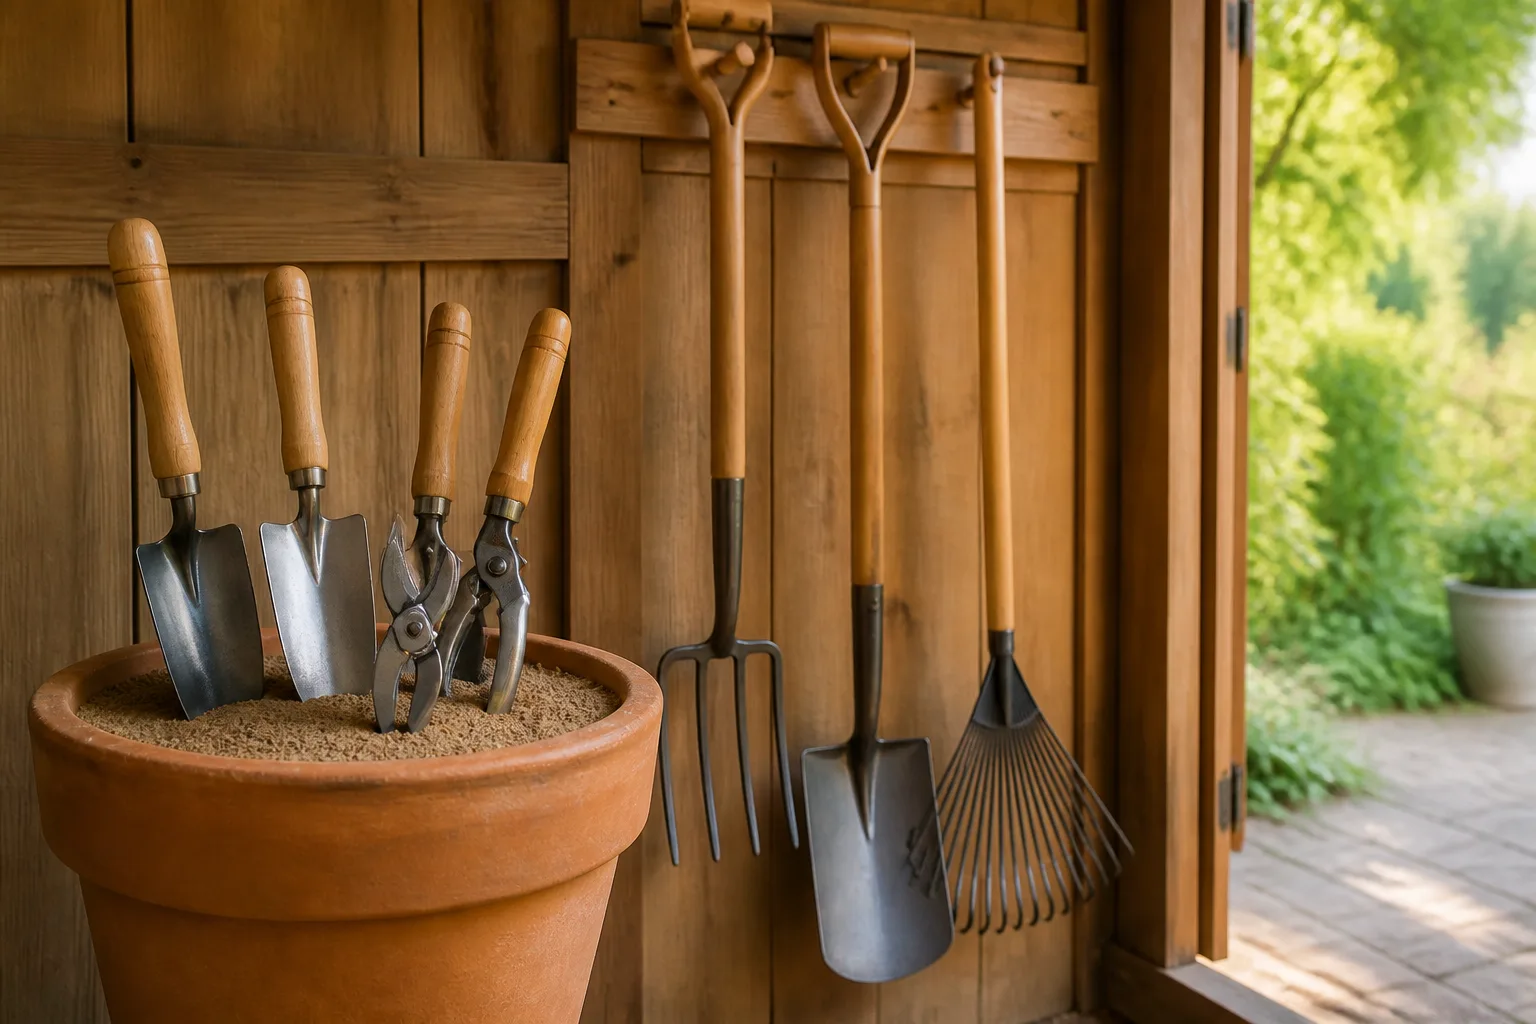
Storage is the final cleaning step. Hang long-handled tools so their blades are off the floor, keep pruners closed or guarded, and store small tools where they cannot sit in damp soil or a leaking pot. Ventilation matters more than a decorative storage bin; condensation inside a sealed box can undo an excellent wash.
If you use a sand-and-oil bucket as a storage aid, keep it clean and reserve it for tools that have not contacted diseased material. A communal abrasive medium can spread residue from one tool to another. For propagation shears and high-risk work, a clean dry rack and a dedicated disinfectant routine are easier to audit.
Conclusion: Make Clean Tools the Last Garden Task
The dependable summer routine is simple: brush off soil, wash visible residue, rinse, disinfect when plant-disease risk warrants it, dry completely, then oil and store the tool under cover. Use vinegar for what it does well—loosening light rust and residue—not as a substitute for a proper disinfectant.
Once the brush and cloth live beside the shed door, cleaning stops feeling like a separate chore. Two minutes after each session protects the edge, pivot, handle, and the plants that receive your next careful cut.



