7 Ways to Keep Indoor Plants Warm in Winter
Keep indoor plants warm in winter with seven practical fixes for drafts, cold windows, low light, dry air, heat mats, watering, and heaters.
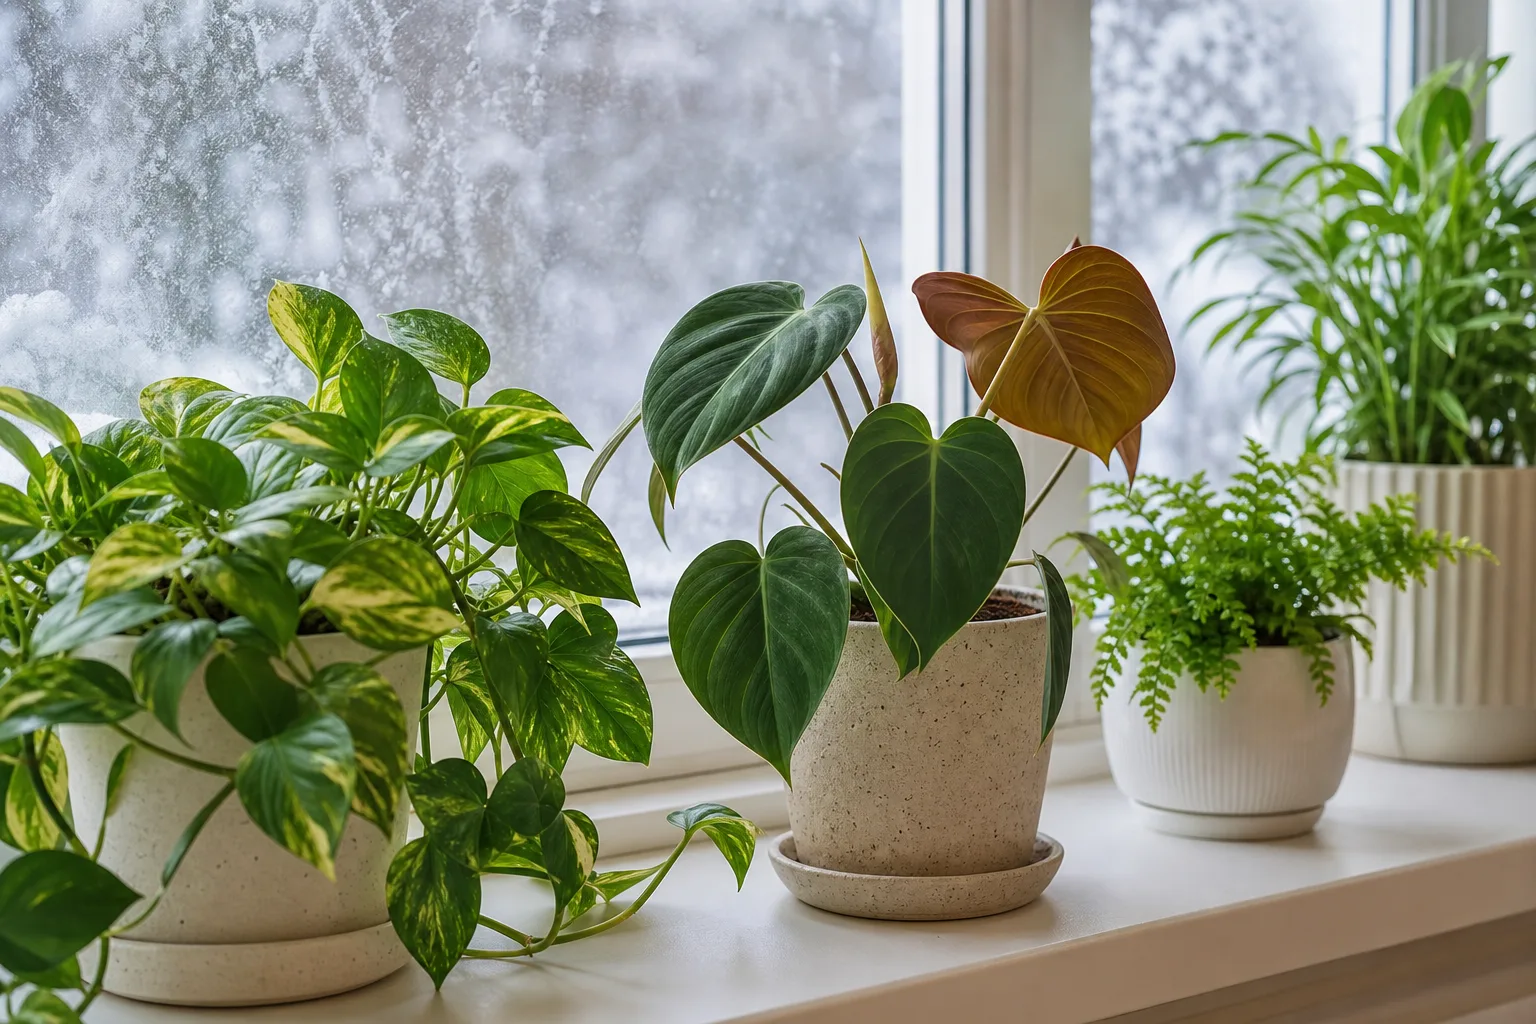
The safest way to keep indoor plants warm in winter is usually not to turn your home into a greenhouse. Start by finding the coldest spot in the room, then reduce drafts, keep pots off chilled surfaces, preserve enough light, and adjust watering to the slower winter dry-down. Those steps solve more problems than placing a plant beside a radiator.
Most houseplants can tolerate a cooler season if temperatures are reasonably steady. The trouble comes from cold glass, moving air, hot blasts, wet soil, and sudden changes happening at the same time. Use the seven strategies below in order of cost and risk: placement first, equipment last.
What “Warm Enough” Means for Houseplants
There is no single winter temperature that suits every plant. Cornell Cooperative Extension lists 65–75°F (18–24°C) daytime temperatures and 60–65°F (16–18°C) nights as a useful winter range for most houseplants, while the New York Botanical Garden’s houseplant basics gives a similar daytime range with nights around 55–65°F. These are practical starting points, not a promise that a plant will fail the moment the thermometer moves one degree outside them.
The more important rule is to avoid repeated extremes. Many tropical houseplants begin to show stress around 50°F (10°C), especially when the drop is sudden or the soil is already wet. A cactus or some succulents may prefer a cooler, drier winter rest, while a tropical fern, calathea, anthurium, or young cutting may need a warmer and more humid pocket.
Your room thermostat can mislead you. A pot beside a window, exterior door, uninsulated wall, or floor-level heating vent may be much colder—or hotter—than the air near the thermostat. Put a simple thermometer beside the foliage for a cold night and again during the day; that small measurement tells you whether the problem is room temperature, a draft, or a cold surface.
1. Move Plants Out of Drafts Without Losing Light
Drafts are often more damaging than a gently cool room because they create a fast change in leaf and soil temperature. Move plants away from opening doors, leaky window frames, stairwells, and rooms that are unheated at night. Do not wait for leaves to turn black: a plant that is repeatedly chilled may stop growing before it shows obvious damage.
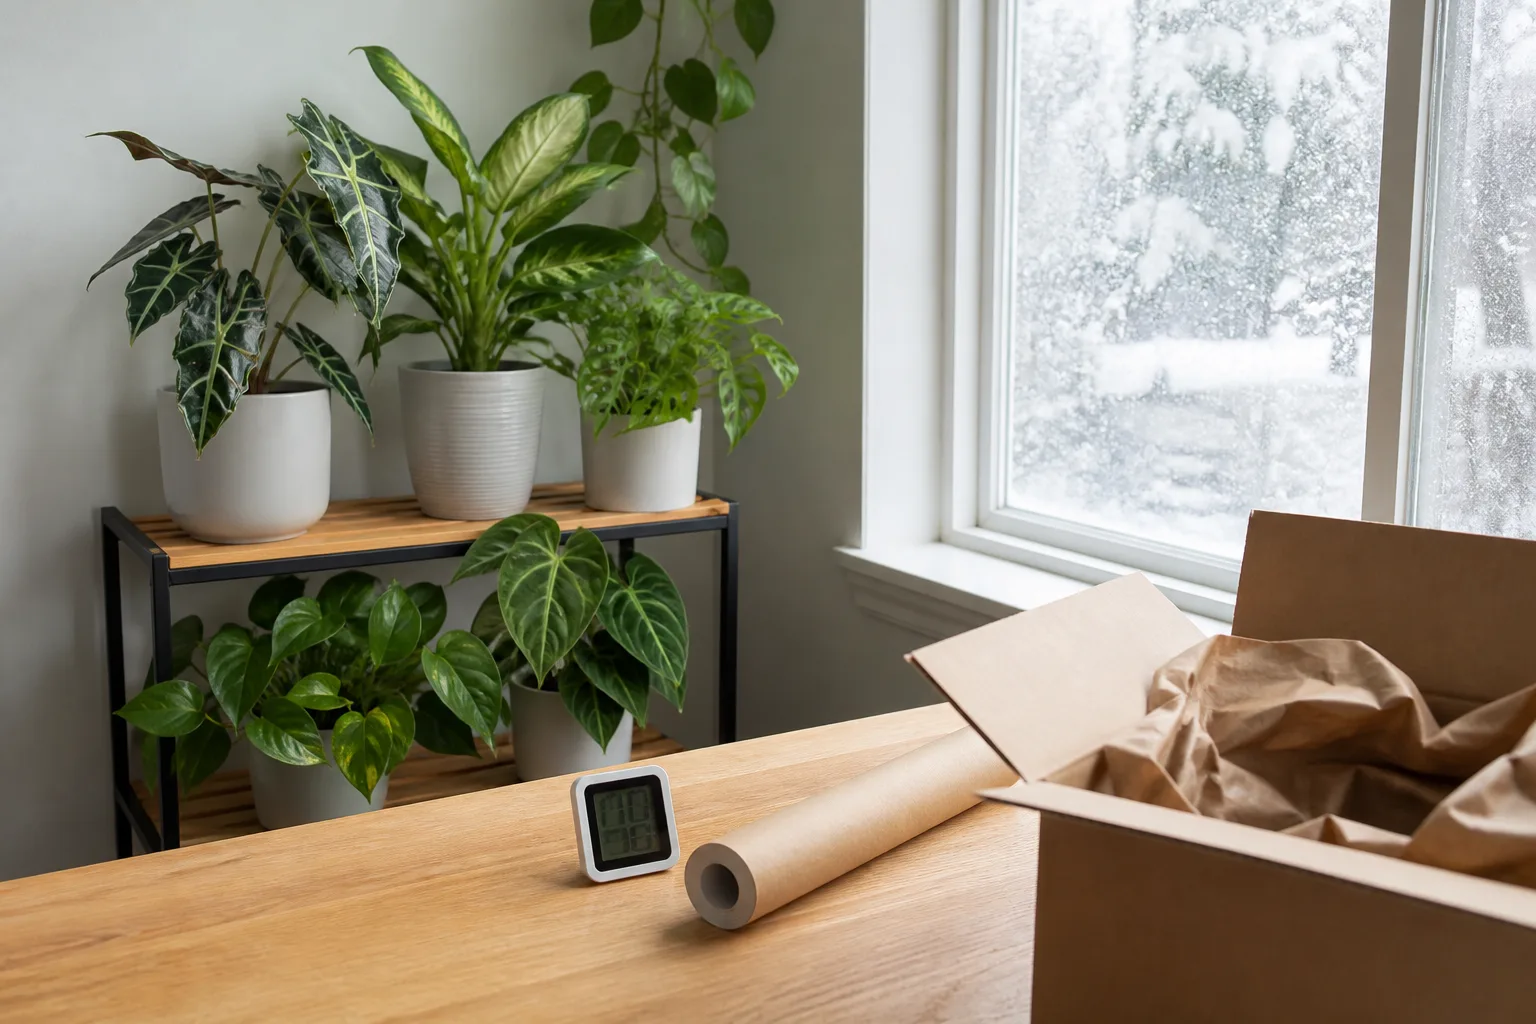
The best winter location is often near a bright window, not pressed against it. Leave enough space that foliage does not touch cold glass, and check the spot after sunset when the outside temperature has fallen. If the plant becomes too dark after you move it, compensate with a grow light or a brighter room rather than putting it back into a freezing pocket.
Window and Door Placement Rules
Use this quick placement test: stand where the plant sits and feel for moving air with the back of your hand. Look for condensation, a cold sill, a gap under the door, or a curtain that traps cold air directly against the leaves. A few feet of relocation can be more effective than raising the thermostat for the entire home.
Keep foliage away from radiators, baseboard heaters, and forced-air vents as well. A hot, dry stream can crisp leaves even when the room’s average temperature is comfortable. If a plant must remain near a vent, redirect the airflow away from it and use a thermometer and a hygrometer to confirm that the new position is stable.
2. Lift Pots Away From Cold Surfaces
Cold air is only one part of the problem. A pot sitting on a stone sill, tile floor, metal shelf, or uninsulated concrete surface can lose heat through the container and chill the root zone for hours after the room warms. Roots in cold, wet mix are especially vulnerable because the plant is using less water while the pot remains slow to dry.
Raise containers on a cork trivet, wood plant stand, thick saucer, or insulated shelf liner. This does not create heat; it simply breaks direct contact with a cold surface and improves air circulation around the pot. Keep the drainage holes open and make sure the stand can carry the full weight of a watered container.
Safe Pot Insulation
For a small plant, placing the nursery pot inside a slightly larger cachepot can reduce rapid temperature swings. Leave an air gap rather than packing the space with wet material, and remove the inner pot when watering so excess water can drain completely. Newspaper or a dry insulating sleeve may help around the outside of a container, but never wrap a pot so tightly that you cannot inspect drainage or discover standing water.
Do not confuse warmer roots with constantly warm roots. A heat-loving plant still needs oxygen at the roots, and insulation that keeps a saturated mix warm can accelerate root problems. Check the soil before every winter watering and empty the saucer after the pot has drained.
3. Seal the Room and Protect Nighttime Heat
Small home repairs can protect a whole collection of plants. Weather stripping around a leaky window, a draft stopper at an exterior door, and a curtain that closes after sunset all reduce cold-air exchange without forcing the furnace to work as hard. Open curtains during daylight when the window is a useful light source, then close them at night; keep fabric from resting on leaves or blocking needed air movement.
Window film can help in a genuinely leaky room, but do not cover a window in a way that removes the light your plants depend on. Likewise, do not seal vents, block a heater’s safety clearance, or create an airtight enclosure around foliage. The target is a more stable room—not a sealed, overheated plant box.
If the room drops sharply overnight, move the most sensitive plants into a central interior location before bedtime. Grouping plants can make care easier, but it cannot replace a warm room: a tight cluster beside a cold window is still a cold cluster.
4. Use Winter Light to Keep Plants Working
Warmth and light are separate needs. Winter days are shorter, the sun sits lower, and a window that was bright in summer may provide far less usable light now. Plants respond by slowing growth, stretching toward the glass, dropping an older leaf, or using water more slowly.
Move plants closer to a bright window in small steps, while keeping leaves and pots away from the coldest glass. Clean dusty leaves and rotate pots periodically so one side does not remain shaded. The New York Botanical Garden explains that a south-facing window can provide the strongest indoor light, but the distance from the window and the season change what the plant actually receives.
When a Grow Light Is Worth It
Use a grow light when a plant needs bright light but the warmer part of your home is too dim, or when a window is both cold and inadequate. Choose a fixture designed for plants, follow the manufacturer’s distance guidance, and start farther away if you are unsure; a light that is too close can bleach or scorch foliage. A timer helps keep the routine consistent, but plants still need a dark period.
A grow light is a light source first and a heater second—if at all. LEDs usually add very little radiant heat, so do not use one to solve a cold room. Put the fixture where it supplies the needed light, then solve the temperature problem with placement, insulation, or controlled room heat.
5. Raise Humidity Without Keeping Leaves Wet
Winter heating often dries indoor air, which is a separate stress from cold. Cornell Cooperative Extension recommends humidifiers, plant grouping, and correctly built pebble trays, while Better Homes & Gardens’ winter houseplant guidance notes that many homes become much drier during the heating season and that misting is not a dependable long-term fix.
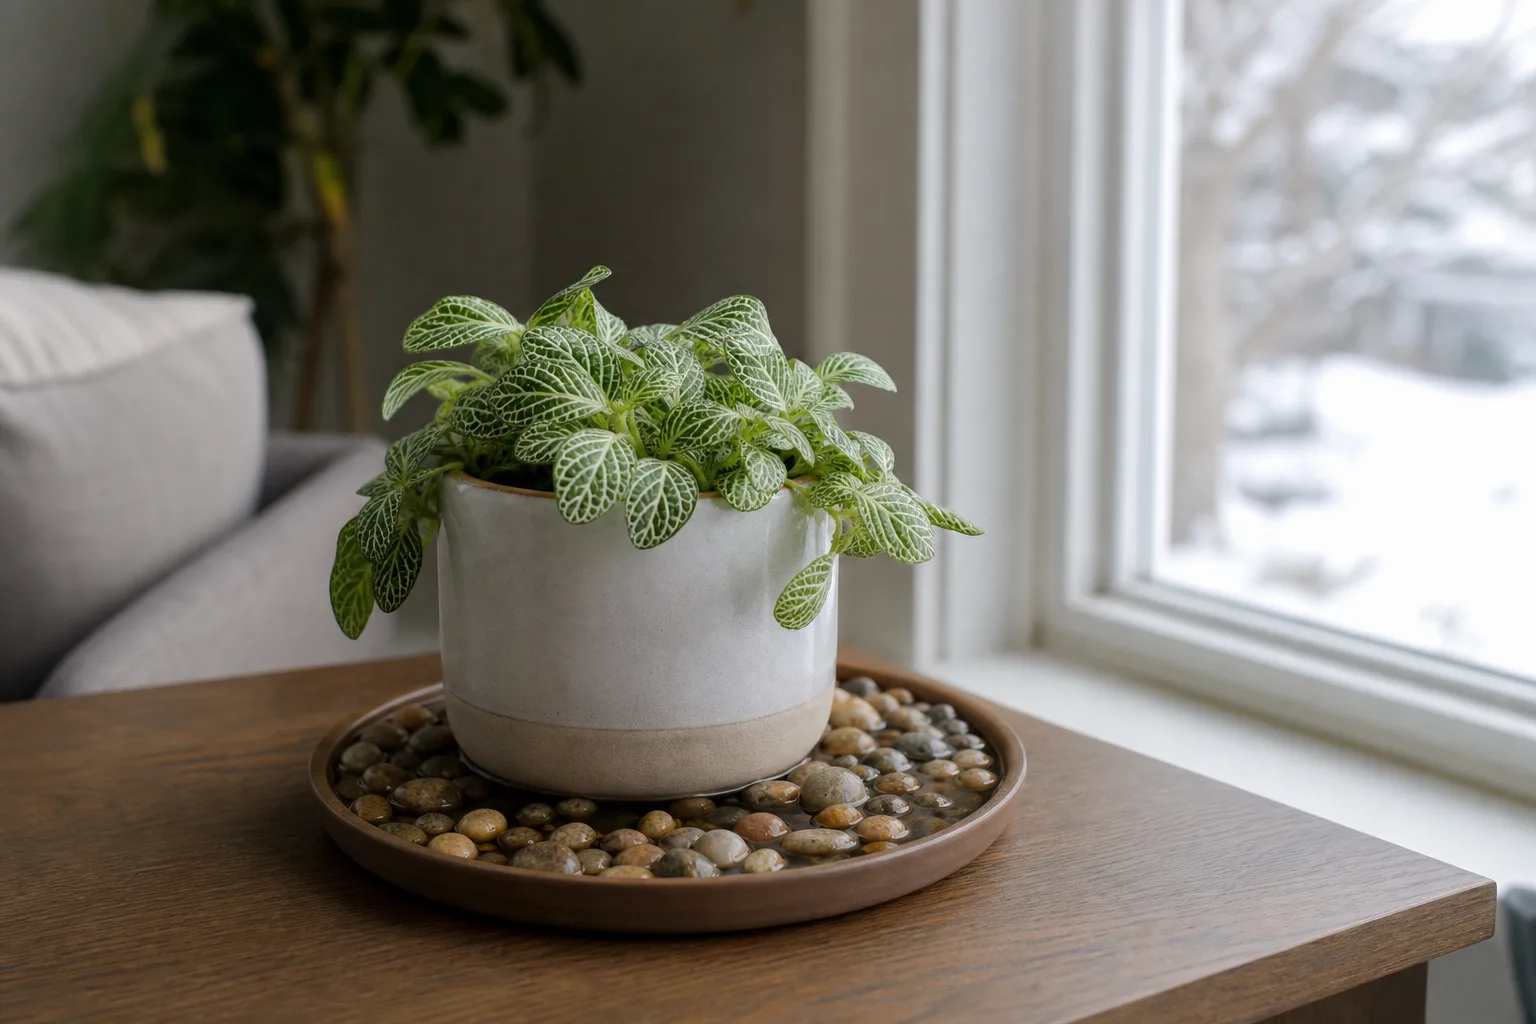
A humidifier is the most useful option when several plants share a room and the humidity is consistently low. Use a hygrometer at plant height rather than guessing from how the air feels, clean the humidifier as directed, and leave enough space for air to move around the foliage. More humidity is not automatically better: wet leaves, stagnant air, and a cool room can invite fungal problems.
Pebble Tray or Humidifier?
Use a pebble tray for a small local boost, not to warm the plant and not as a substitute for room-wide humidity control. Set a pot on pebbles in a watertight tray, add water below the top of the stones, and keep the pot base above the waterline. If the roots sit in water, the tray becomes a root-rot risk rather than a humidity aid.
Grouping plants can also raise humidity near the leaves, but leave enough room to inspect each pot and keep pests from spreading unnoticed. A bathroom can be a good temporary location if it has adequate light and ventilation; steam is not a reason to place a plant in a dark, permanently wet corner.
6. Add Supplemental Heat Only Where It Helps
Supplemental heat is most useful when you have measured a real root-zone or room-temperature problem that placement cannot solve. It is not the first response to a brown leaf, slow growth, or dry soil. Those symptoms can also come from low light, overwatering, low humidity, fertilizer salts, or pests, and extra heat may make some of them worse.
When a Plant Heat Mat Makes Sense
A plant heat mat can be useful for seedlings, freshly rooted cuttings, and small tropical plants whose root zone is demonstrably too cool. Choose a mat made for horticulture, use it on a dry, stable surface, keep water away from electrical connections, and follow the product’s temperature and thermostat instructions. Check the pot temperature rather than assuming the mat warms the entire plant evenly.
For a mature houseplant, a heat mat is often unnecessary. A large pot may not sit flat on the mat, the leaves may remain cold while the roots are warm, and the plant may continue to struggle if its light is inadequate. If you use one, make sure the root-zone benefit is solving a measured problem and that the mix is not staying wet simply because it is being warmed.
Why Space Heaters Need Guardrails
Never aim a space heater directly at foliage or use it as a substitute for safe home heating. Hot airflow can dry and scorch leaves, while a heater placed too close to curtains, paper, water, or a crowded plant shelf creates an avoidable fire and electrical hazard. Follow the heater’s clearance instructions, plug it into the type of outlet specified by the manufacturer, and do not leave a portable heater running unattended or while sleeping.
If one room is genuinely too cold, warming the room evenly is safer for plants than creating a narrow hot blast. Keep a thermometer near the plants, recheck the spot after the heater cycles, and move the plants away if the leaf temperature or humidity swings sharply.
7. Change Watering, Feeding, and Pruning
Most houseplants use less water in winter because growth and light levels slow down. The Cornell Cooperative Extension winter-care guidance recommends less frequent watering during winter and says fertilization is generally unnecessary when plants are resting; Get Busy Gardening’s winter care guide likewise recommends checking the mix instead of following a calendar.
Push a finger about an inch into the potting mix, lift the pot to feel its weight, or use a moisture meter if the container is too large to move. If the mix is still cool and damp, wait and check again. When it is dry to the depth appropriate for that plant, water thoroughly with tepid water, let the pot drain, and empty the saucer; small sips on a schedule can leave the root ball unevenly wet.
Pause routine fertilizer when a plant is barely growing, and wait on hard pruning and nonessential repotting until new growth returns. Winter is a good time to remove dead leaves, clean dusty foliage, and inspect stems and leaf undersides. Epic Gardening’s winter houseplant overview also points out that pest checks matter during the warm, dry indoor season, when spider mites and other pests can become easier to miss.
Exceptions for Actively Growing Plants
Do not force every plant into the same winter schedule. A plant under strong supplemental light, a warm humid growing setup, a newly purchased plant still actively pushing leaves, or a winter-blooming orchid may continue using water and nutrients. Watch the plant and the potting mix: new growth and a faster dry-down are better signals to resume normal care than a date on the calendar.
Succulents and cacti may need brighter light and less water rather than extra humidity. Tropical foliage plants may need more humidity but still need drainage and airflow. The right winter routine is the one that follows the plant’s growth and the measured conditions around it.
Winter Troubleshooting: Diagnose Before Adding More Heat
When a plant declines in winter, adding heat is tempting because the season is cold. First check the sequence: measure the temperature at the plant, look for moving air, assess the light, test the mix, inspect roots only if wetness or odor suggests a problem, and turn over leaves to look for pests. This prevents you from treating a low-light or overwatering problem as if it were simply cold stress.
Brown Edges, Yellow Leaves, and Leaf Drop
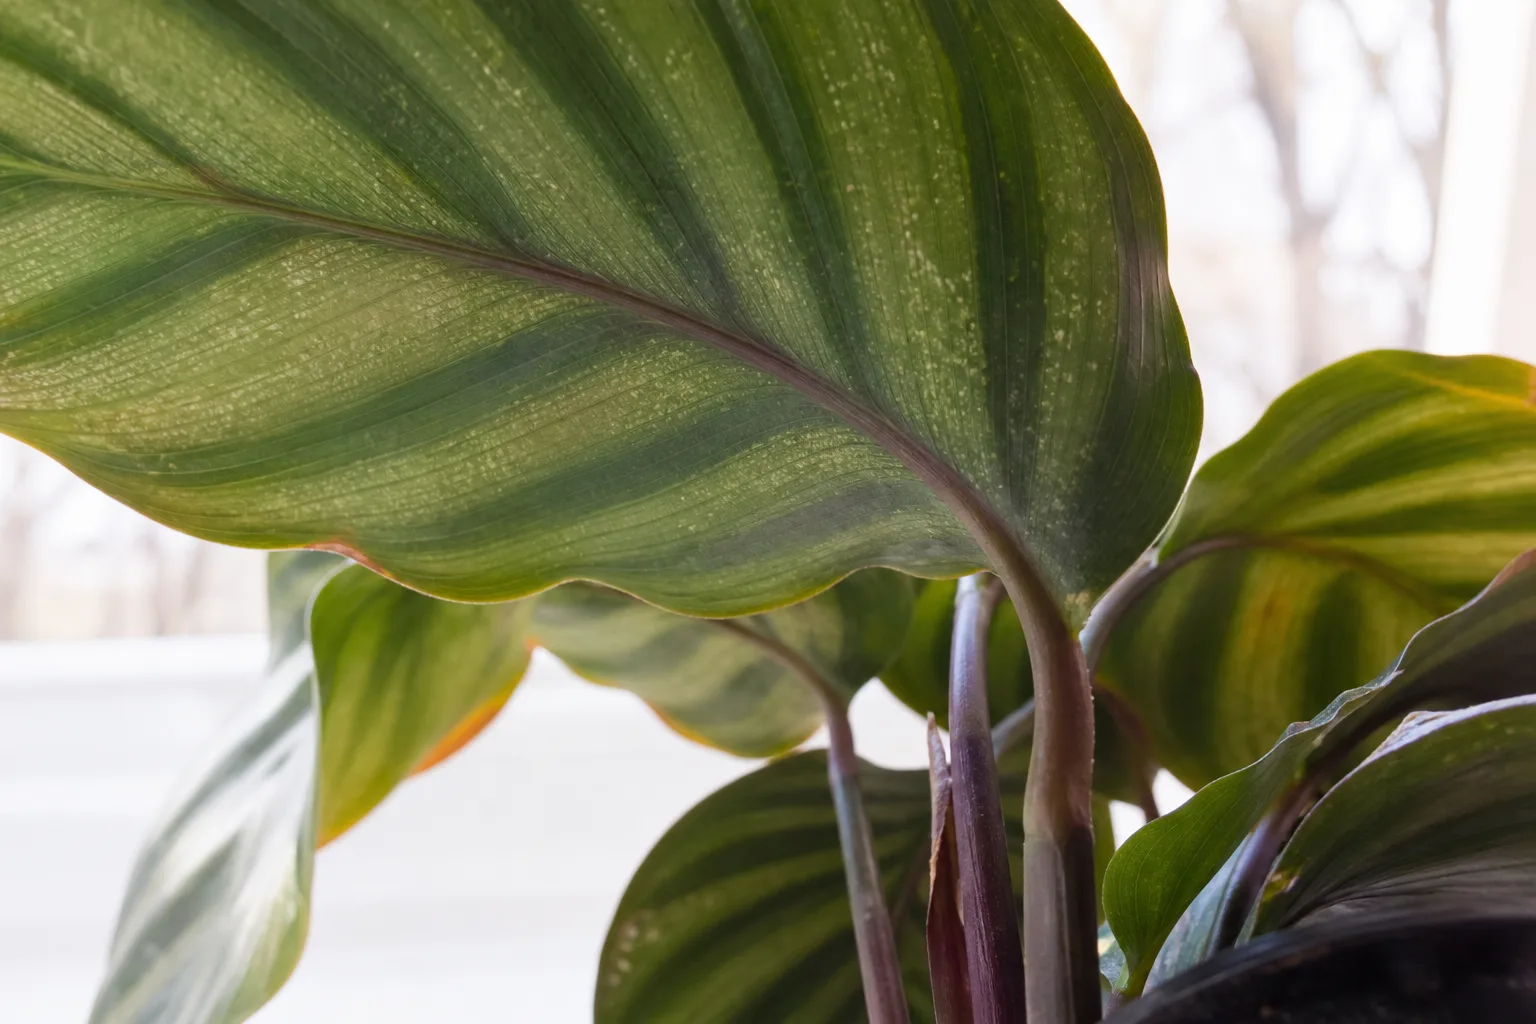
Brown, crispy edges can follow dry air, hot vent air, inconsistent watering, salt buildup, or cold-damaged tissue. Move the plant away from the stress source, check the mix before watering, and inspect the leaf pattern; do not respond by watering every day. A humidity increase helps only if dry air is part of the cause.
Yellow leaves with persistently wet soil point more strongly toward overwatering or root trouble than toward a need for more heat. Yellowing in a dim room can also reflect low light, while stippling, fine webbing, or distorted new growth suggests pests. Correct the environment first and avoid fertilizer until the roots and moisture pattern are understood.
One older leaf dropping after a move indoors can be an adjustment to lower light. A rapid cascade of leaves, limp stems, blackened tissue, or damage on the window-facing side deserves a closer look for cold shock, root damage, or a severe temperature swing. Remove only tissue that is fully dead; green leaves cannot be repaired, but stable care can protect new growth.
A 10-Minute Winter Plant Check
Once a week, make the round before you water. A short, repeatable check catches the conditions that a central thermostat and a calendar routine miss.
- Measure the spot. Check temperature beside the foliage in the coldest part of the night and during the day.
- Find the draft. Feel around windows, doors, vents, and exterior walls for moving or unusually hot air.
- Check the light. Look for leaning stems, smaller new leaves, bleached patches, or a plant that has become shaded as the sun angle changed.
- Test the mix. Water only when the plant’s soil has dried to the depth its species prefers; drain the pot fully.
- Inspect the undersides. Look along veins, petioles, and stems for stippling, webbing, scale, or sticky residue.
- Match the response. Move, insulate, add light, add humidity, or adjust watering based on the evidence—not on the fact that it is winter.
This routine also tells you when to stop intervening. If the plant is stable, the soil is drying at a reasonable pace, and new damage has stopped, more equipment is unlikely to improve it.
Conclusion
To keep indoor plants warm during winter, aim for a steady, well-lit microclimate rather than maximum heat. Move pots out of drafts and away from cold glass, lift them off chilled surfaces, close curtains after dark, use grow lights for light rather than warmth, raise humidity without wetting the roots, and reserve heat mats or room heaters for measured problems with clear safety boundaries.
The final piece is restraint. Water when the mix is ready, pause fertilizer and major work while growth is slow, and diagnose brown leaves or leaf drop before changing several variables at once. A plant that rests through winter but reaches spring with sound roots and undamaged new buds has been cared for successfully.



