How to Kill a Tree Stump: 4 Practical Methods
Learn how to kill a tree stump with four options—covering, slow decay, cut-stump herbicide, or a legal controlled burn—plus when grinding is safer.
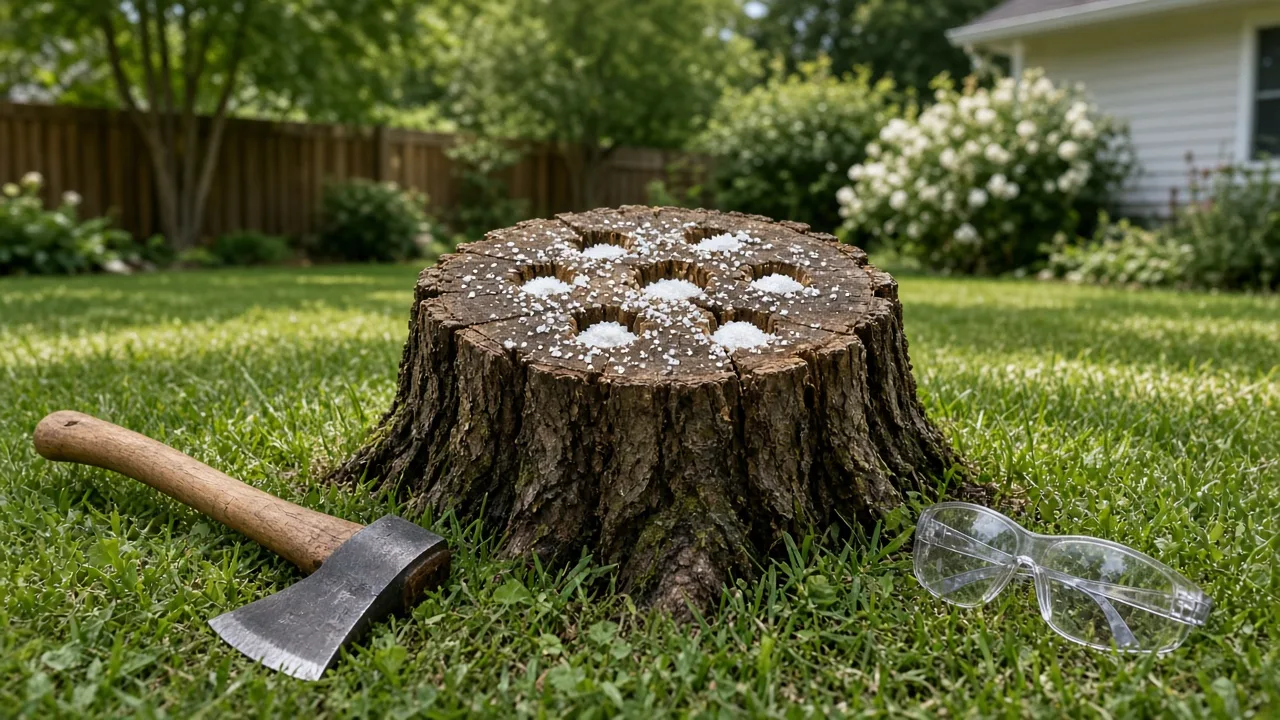
A cut tree is not always a dead tree. If the stump still has living tissue in its outer ring or connected roots, it can send up shoots long after the trunk is gone. The right fix depends on what you actually need: stop the sprouts, make the wood decay, or remove every visible trace so you can lay lawn or build a bed.
The four approaches below are covering and natural decay, a limited salt treatment, a labeled cut-stump herbicide, and a controlled burn. Digging and grinding are included as removal alternatives because killing a stump does not make the wood disappear. For most residential yards, covering, physical removal, or professional grinding is the sensible starting point; chemicals and fire require tighter conditions and more ways to go wrong.
Why a Cut Tree Stump Can Keep Living
The leaves may be gone, but the stump and roots can contain stored carbohydrates and living cambium—the thin, active tissue just inside the bark. When the tree is cut, that stored energy can be redirected into shoots from the stump, the root collar, or roots that run beyond the original trunk. Fast-growing or suckering trees such as willow, poplar, and some maples can be especially persistent.
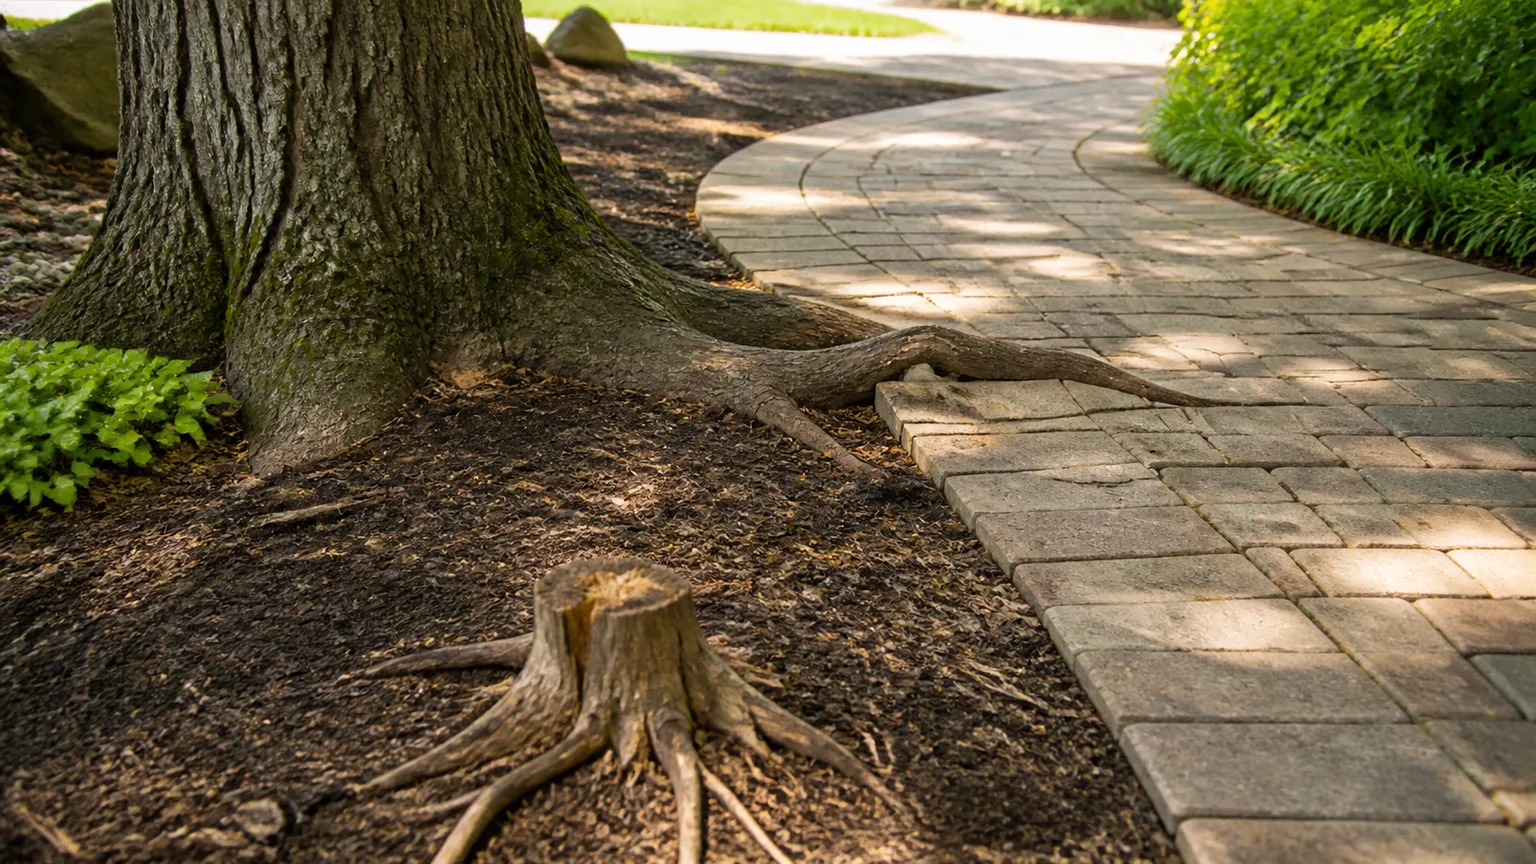
That distinction matters because a stump can be dead while the root system is still an obstacle, or the stump can be alive while the wood looks dry. A pale shoot with flexible green tissue is evidence of regrowth; mushrooms, cracks, or soft wood are evidence of decay, not proof that every root has stopped trying. Penn State Extension describes cut-stump treatment as a way to prevent resprouting from remaining plant tissue, while noting that treatment success varies by species and that monitoring is still necessary.
If the original tree died from a serious disease, pause before choosing a casual decay method. RHS guidance on removing trees and stumps notes that soil-borne diseases can remain in the soil and may make removal of the stump and large roots more important. Do not move diseased wood into a home compost pile or use it as garden mulch without checking the disease and local disposal advice.
Pick the Outcome Before the Method
Start with the finish line. If the stump is out of the way in a back corner and the only problem is new shoots, you can focus on stopping regrowth and let the wood break down in place. If it sits in a lawn, blocks a fence, attracts children to climb on it, or occupies a future planting bed, removal is usually more honest than waiting for decay.
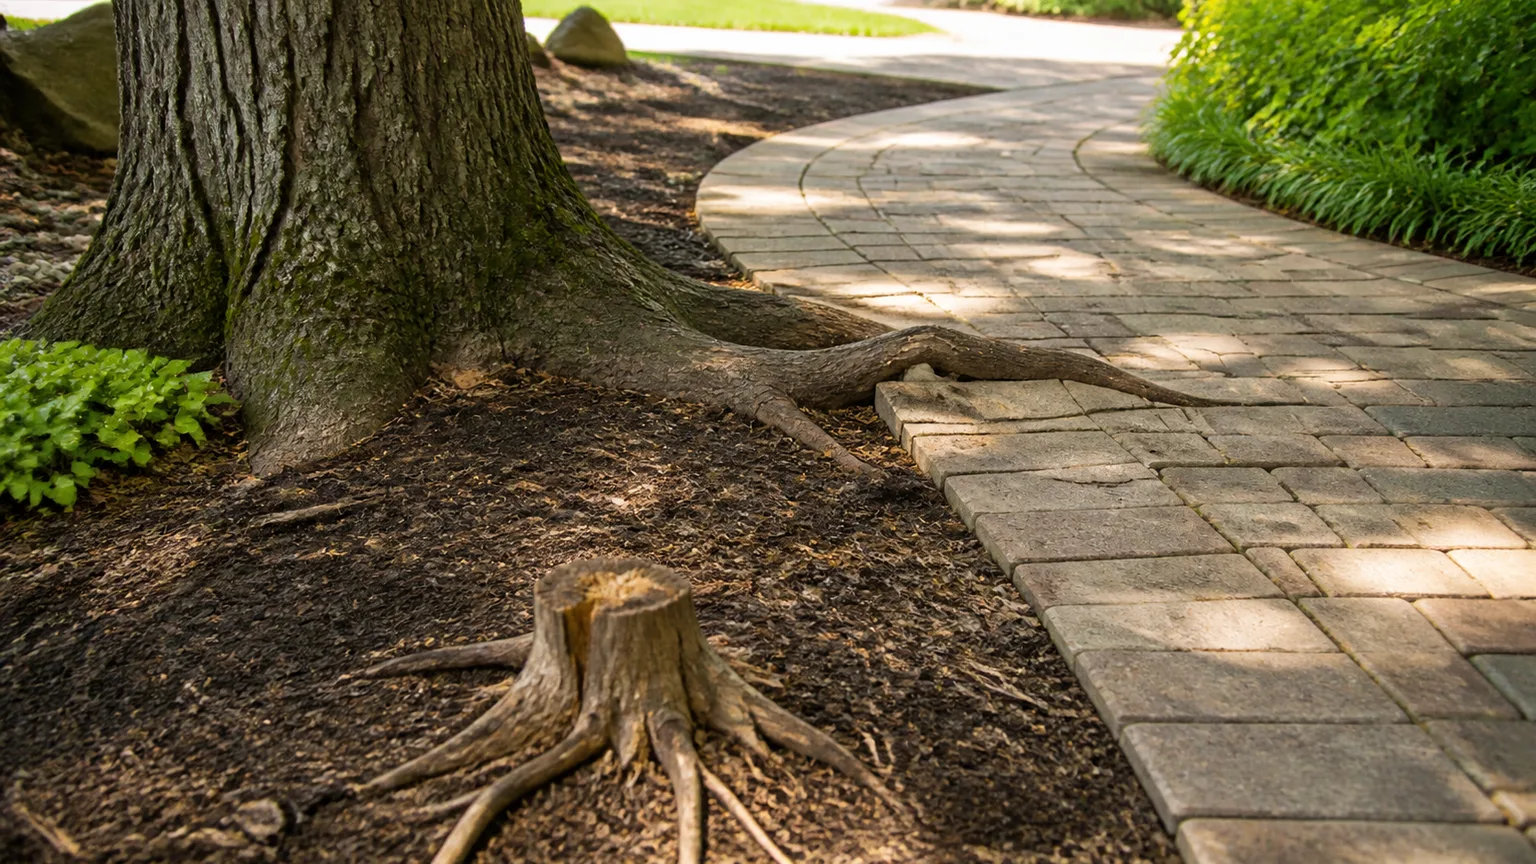
Measure the stump at its widest point and look for conditions that change the decision: nearby shrubs or trees, irrigation lines, a septic system, a building, overhead branches, a slope, and the distance to a waterway. A 6-inch stump in open soil is a different project from a 30-inch stump with surface roots under a patio.
Use these practical rules:
- Choose covering when you want the lowest-input, nonchemical option and can wait through at least one growing season.
- Consider salt only as a slow, localized aid when no desirable roots, lawn, or future planting area is close enough to be affected.
- Reserve cut-stump herbicide for persistent regrowth when physical removal is impractical and you can follow a product label exactly.
- Treat burning as an exceptional option, not a shortcut. If local officials do not clearly allow it, or the stump is near anything combustible, stop there.
- Choose digging or grinding when you need a level surface, want to replant, or cannot tolerate months of checking and retreatment.
Compare the Four Stump-Killing Methods
| Method | Main job | Realistic timeline | Main drawback |
|---|---|---|---|
| Opaque cover | Stops light and encourages decay | Several months to several years | Slow and visually untidy |
| Epsom salt in drilled holes | Dries a small, localized area and may aid decay | Months, with uncertain results | Can disrupt soil and nearby plants |
| Labeled cut-stump herbicide | Stops many types of stump regrowth | Often weeks to a growing season for confirmation | Non-target injury and label/PPE obligations |
| Controlled burn | Destroys dry wood where legal and safe | Hours to a week or more | Fire can spread or smolder underground |
 |
These timelines are not guarantees. Oklahoma State University Extension calls grinding the easiest and safest removal route, describes rotting as the least expensive but slowest route, and warns that chemical burning may be hazardous and ineffective. That is a better starting hierarchy than choosing the most dramatic method because it sounds fast.
Safety Checks Before You Start
Call 811 or your local utility-locating service before digging, grinding, or driving stakes near a stump. A stump can sit above buried electric, gas, irrigation, drainage, or communications lines, and a root that appears harmless may be wrapped around a utility. If a tree was removed after storm damage, have an arborist assess unstable limbs or hung-up branches before working below them.
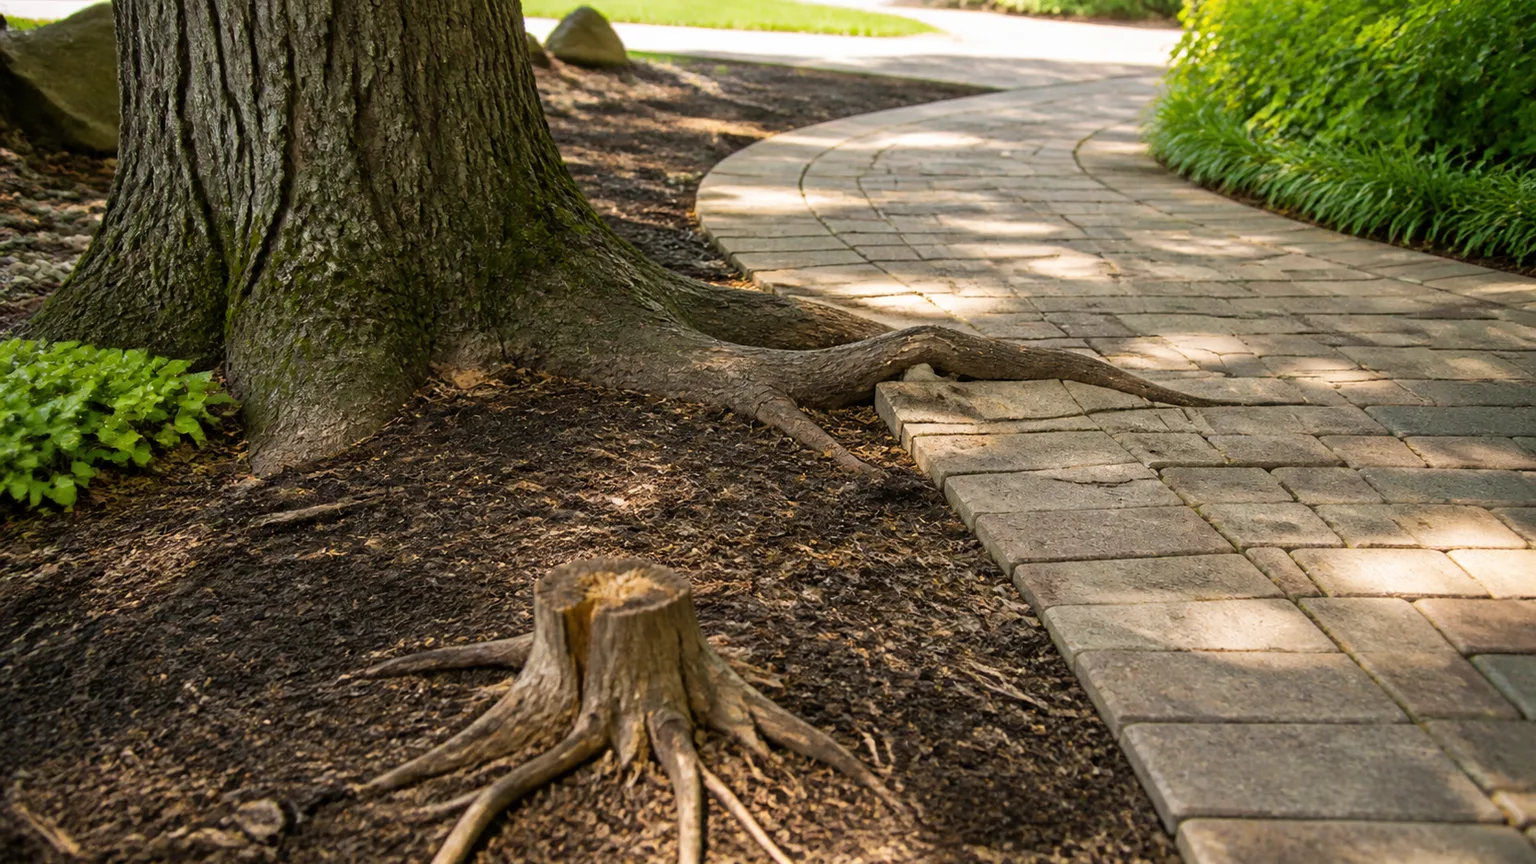
Wear eye protection, sturdy footwear, long trousers, and gloves for every method. A mattock, ax, drill, chainsaw, and grinder can throw chips or shift suddenly; use the tool only if you know how to control it. Keep children and pets away from the work area, and do not attach a chain to a vehicle to yank a stump free—an overstressed chain can recoil with dangerous force.
Do not pour bleach, gasoline, diesel, motor oil, drain cleaner, or other improvised liquids into a stump. They do not provide a reliable, controlled treatment and can contaminate soil, create toxic fumes, or turn a later fire into a far more dangerous event. For herbicides, fire, and any product marketed as a stump remover, the label and local rules outrank internet recipes.
Method 1: Cover the Stump and Encourage Natural Decay
Covering is the best first method when you want to avoid herbicide and fire. An opaque, waterproof cover blocks light from reaching any shoots, keeps rain from repeatedly flushing the surface, and creates a darker, more stable environment for the fungi and microorganisms that break down wood. It does not magically kill deep roots, but it removes the stump’s ability to keep photosynthesizing through new growth.
How to Set Up the Cover
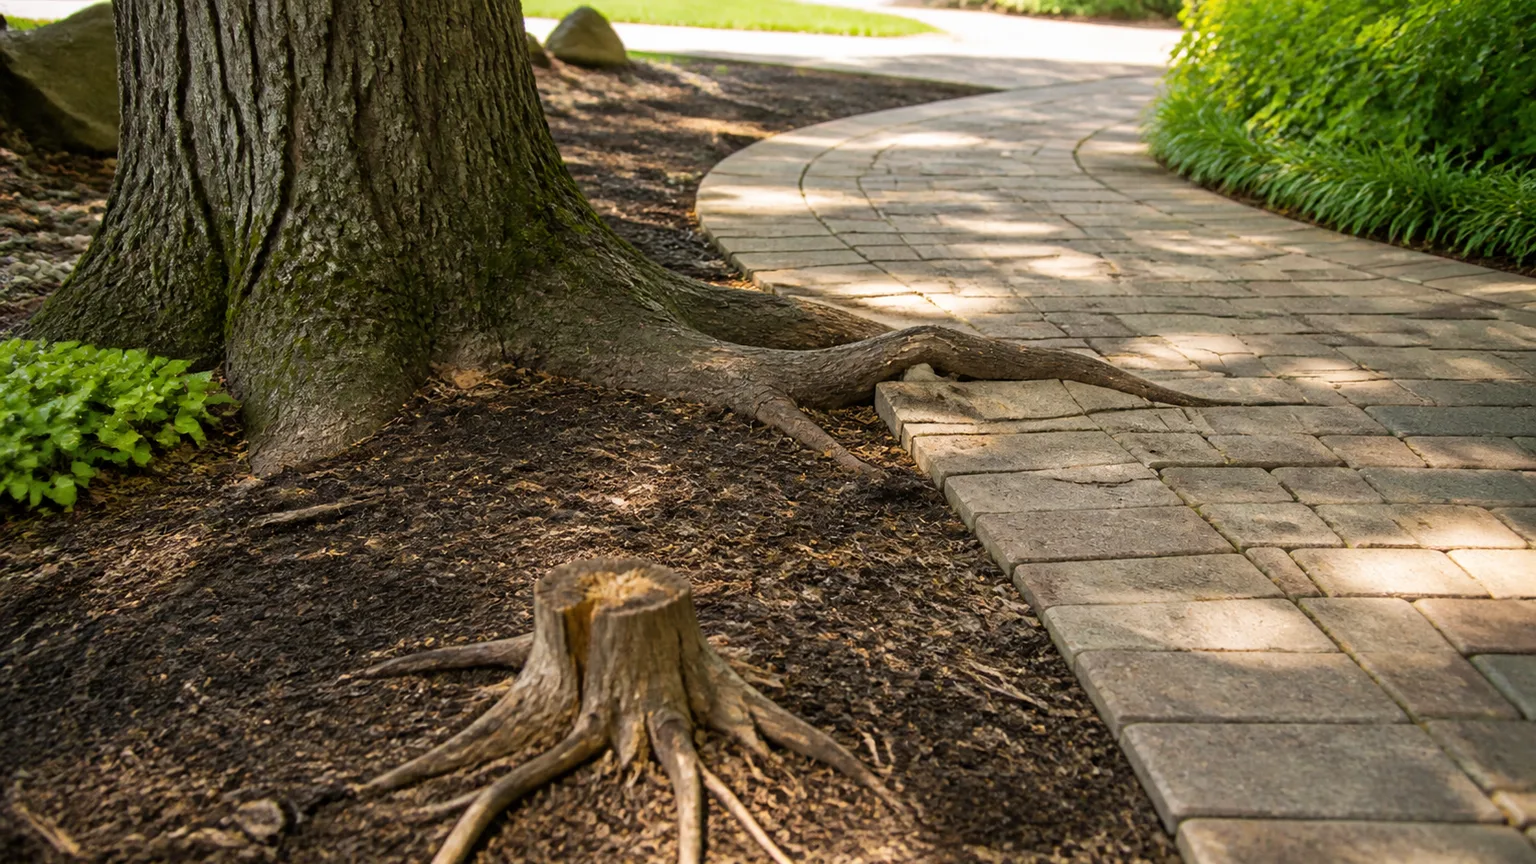
Cut the stump as close to the ground as you can do safely, without grinding a chainsaw into soil or stones. Drill several large holes into the top to expose more wood, then brush away loose sawdust. The holes are not a chemical dose; they simply increase contact with air and moisture as the stump decays.
Add a thin layer of site soil, finished compost, or mature wood mulch over the cut surface if you want to seed decomposition. Keep the material damp rather than waterlogged. A waterlogged stump can smell, shed runoff, and remain structurally sound while the interior stays oxygen-poor.
Use a dark, opaque tarp or heavy plastic that reaches well beyond the stump and any exposed surface roots. Wrap it tightly, overlap the edges on the ground, and secure it with landscape staples, rocks, or a weighted board. Check after storms: a lifted edge is enough to let light reach a new shoot. University of Minnesota Extension’s buckthorn guidance likewise describes covering a cut stump with black plastic as a way to prevent future sprouting, while emphasizing follow-up when regrowth appears.
Signs the Decay Plan Is Working
Inspect the cover every few weeks during the growing season without leaving the stump exposed for long. Remove any shoot that reaches out from under the edge, repair tears, and add a little moisture if the wood is bone-dry. Do not keep the area saturated or pour fertilizer into the surrounding lawn simply to chase a faster result.
After several months, the top may darken, crack, and yield to a screwdriver or the back of a digging bar. Soft outer wood is progress, not a signal to excavate aggressively; work in small pieces and stop if roots remain hard and alive. Gardening Know How gives a useful practical expectation of one to two years for sufficient decay in many stumps, with harder woods taking longer.
Method 2: Treat Epsom Salt as a Slow, Localized Aid
Epsom salt is magnesium sulfate, not a dependable stump herbicide. The popular method—drill holes, add salt, moisten it, and cover the stump—may dry a small stump and contribute to later decay, but the result depends on stump size, moisture, species, and how much of the root system remains. It should not be described as a guaranteed way to kill every root.
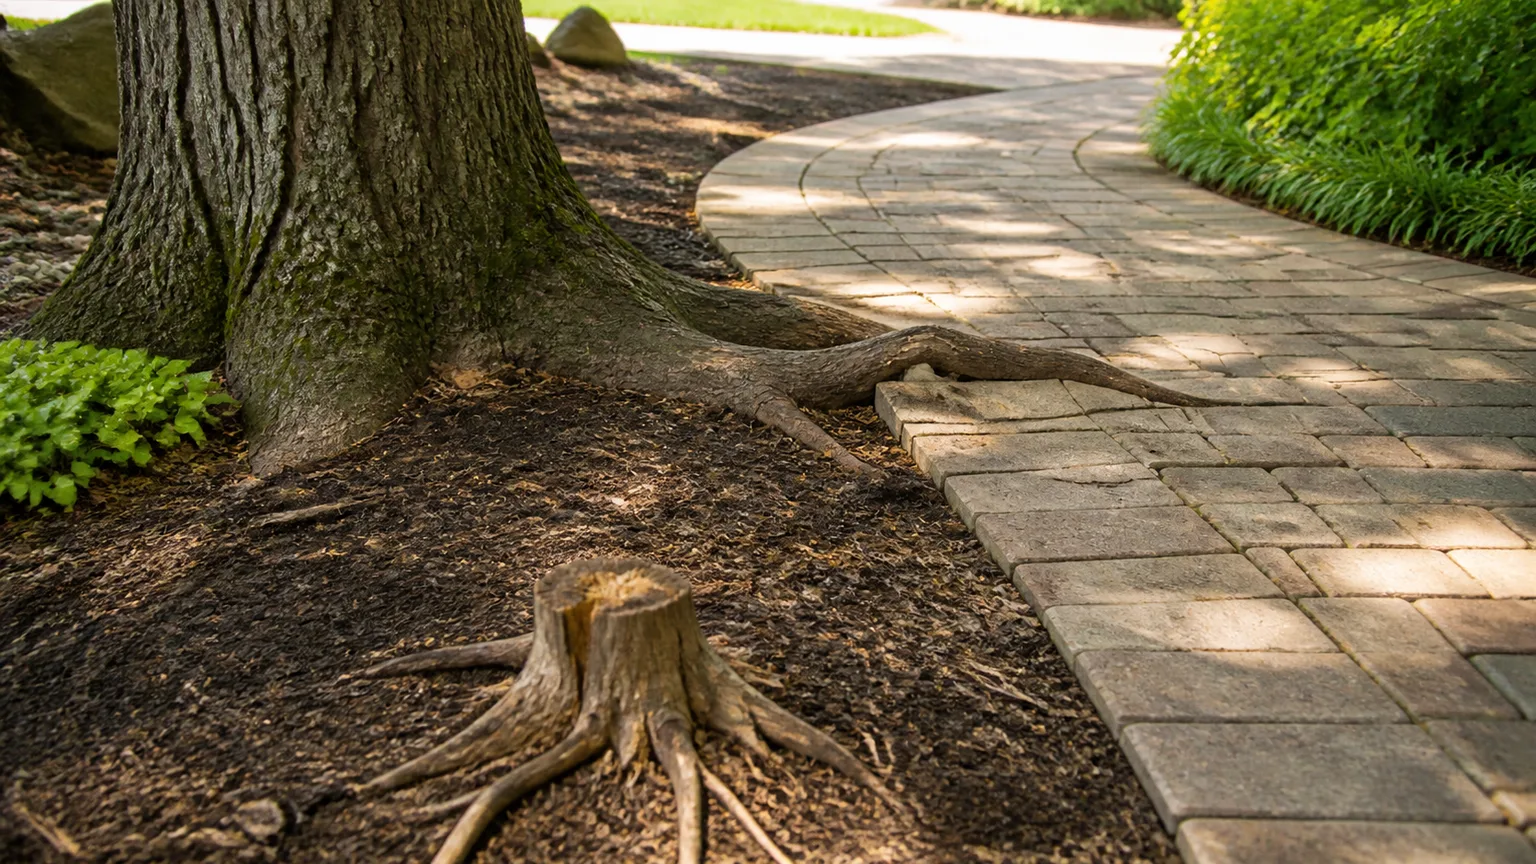
If you still choose this method, use it only where surrounding soil and plants are expendable. Drill several holes into the top, roughly 1 inch wide and 6 to 12 inches deep where the wood allows, and space them across the stump rather than concentrating one large pocket. A practical Family Handyman stump-removal guide uses evenly spaced deep holes to open more of the wood to a slow treatment, but hole size is not a substitute for patience or a product label. Add a modest amount of plain Epsom salt, moisten the holes lightly, and cover the stump as described above. The goal is a localized treatment, not a salt bath for the yard.
Check the stump every month or two. If you see vigorous new shoots, cut them back and reconsider physical removal or a labeled cut-stump treatment. If the top becomes soft, chip away only what is loose; do not assume the root plate has decomposed just because the surface crumbles.
Where Salt Is a Bad Choice
Skip Epsom salt beside a lawn, vegetable bed, young tree, shallow-rooted shrub, pond, well, or drainage swale. Soluble salts can move with irrigation and rain, and excess magnesium can upset nutrient balance. WSU Extension’s Epsom-salt reference collects research on magnesium sulfate as a nutrient material; that context is a reminder that Epsom salt is not chemically inert just because it is sold for household use.
Avoid table salt and rock salt entirely for garden soil. Sodium and chloride are poor neighbors for future planting, and a salt-damaged patch can outlast the stump. If you need to plant or reseed the area soon, grinding or careful digging gives you more control over what remains in the soil than repeated salt applications.
Method 3: Use a Labeled Cut-Stump Herbicide
Cut-stump herbicide is the most targeted chemical option for a stump that keeps sending up shoots, but “targeted” does not mean risk-free. A systemic product can move from living stump tissue into roots, while spray, runoff, or root contact can injure desirable plants. The exact active ingredient, formulation, concentration, permitted sites, protective equipment, and re-entry directions belong to the product label.
For many woody plants, extension guidance discusses glyphosate or triclopyr formulations for cut-stump work. That does not authorize every bottle containing those ingredients for every yard. Alabama Cooperative Extension’s cut-stump guide specifically cautions against soil-active products in residential areas, says products differ in concentration, and directs users to read and follow the label.
How to Apply It Correctly
The best timing is usually immediately after a fresh cut, before the surface seals and while the outer living tissue is still receptive. For a large stump, the most important target is the narrow living ring just inside the bark; soaking the dead center wastes product and increases runoff. For a small, thin-stemmed stump, the label may direct treatment of more of the cut surface.
Use a small brush or low-pressure applicator that lets you wet the target without puddling. Wear the label-required gloves and eye protection, keep the product off bark and foliage of desirable plants, and do not spray when rain is expected within the label’s stated window. Penn State Extension explains that water-soluble formulations are especially timing-sensitive on larger stumps, while some oil-soluble formulations can be used after cutting but before resprouting; that is why a generic recipe is unsafe.
Mark the treated stump and store the product as directed. Do not compost the brush, gloves, or contaminated paper. Keep people and pets out for the label’s re-entry period, and dispose of leftover material through the approved local route rather than pouring it into soil, a drain, or a storm grate.
Why Herbicide Sometimes Fails
Failure is not always a sign that you need more product. The stump may have been cut too long ago, the wrong tissue may have been coated, the application may have been washed off, or the tree may be one that moves little herbicide from stump to roots. Penn State’s cut-stump treatment guidance notes that some species respond poorly because the treatment controls the stump but not the connected roots, and recommends monitoring for resprouts and retreating only when appropriate.
Do not spray a broad area around the stump to chase shoots. Instead, identify whether the shoots are coming from the stump, the root collar, or several feet away from the original trunk. A distant sucker may require a different plan, such as cutting and spot-treating the new stem under a label that specifically permits that use, or digging out the remaining root section.
Avoid cut-stump treatment during strong spring sap flow if the stump is visibly bleeding water. Alabama Extension and Penn State both describe early spring upward sap movement as a poor application window. Late summer through fall is often more favorable for translocation in many woody species, but the product label and your local conditions still control the decision.
Method 4: Burn a Stump Only Under Strict Conditions
Burning can destroy a dry, seasoned stump, but it is the method with the highest consequence when conditions change. A stump fire may smolder below the surface for days or a week or more, travel through connected roots, damage buried structures, or reignite after it appears out. It is not appropriate near buildings, fences, decks, trees, dry grass, wood piles, mulch, utility infrastructure, septic systems, or any location where a fire department cannot reach the site quickly.
Before considering it, contact the local fire department or fire authority and ask whether stump or debris burning is allowed, whether a permit is required, and whether a burn ban or wind restriction is active. Rules can change with weather; Oregon’s forestry agency, for example, notes that debris burning may require a permit or be prohibited during fire season. Your local rule—not a product label or an old neighbor’s advice—decides whether the method is legal.
If officials allow the burn and the site truly passes a professional safety check, follow their exact instructions. Clear combustible material, establish the required fire line, keep an appropriate extinguisher and charged hose ready, have another adult present, and stay until every ember is cold. Never use gasoline, never add accelerant to a lit fire, and never leave a smoldering stump overnight. In most residential yards, the safer answer is to grind, dig, or cover the stump instead.
Remove the Stump Instead of Waiting
Killing the stump stops growth; removing it solves the space problem. RHS advice recommends hand removal for small stumps, professional help for large ones, and different grinding depths depending on whether the final use is turf or replanting. That distinction prevents a common mistake: grinding just below grade and then discovering that a new bed needs a much deeper, cleaner cavity.
Dig Out a Small Stump
Digging works best on a small stump in workable soil, especially when the main roots are visible and you can reach all sides. Expose a trench around the stump with a shovel, mattock, or digging bar, then wash or brush soil away from thick roots so you can cut them cleanly with a saw. Leave enough trunk above ground to rock the stump and use it as a lever.
Work around the root ball rather than chopping blindly downward. Once the lateral roots are severed, pry the stump back and forth, find the taproot or central anchor, and cut it only after the stump is stable. Do not pull with a vehicle or stand in line with a loaded rope. For a large stump or a stump close to a foundation, hire a tree-care professional with the right equipment and insurance.
Grind for the Fastest Level Surface
Grinding is usually the best choice when you want a lawn-ready patch quickly and do not need to extract the entire root system. A grinder chips the stump and the main root plate below grade, but it does not remove every lateral root. Mark utilities, clear rocks and debris, protect nearby windows and people from flying chips, and follow the rental machine’s instructions exactly.
Ask for the right depth before the work begins. Shallow grinding can be enough for turf, while a future planting bed, patio, or replacement tree may need a deeper cavity and removal of more woody debris. RHS guidance suggests roughly 8 to 10 inches below grade for turf and at least 12 inches for replanting or landscaping; actual depth depends on the project and the contractor’s equipment.
Renting a grinder is not automatically a beginner project. The machine is heavy, noisy, and capable of throwing stones and wood at high speed. If access is tight, the stump is large, the ground slopes, or the root plate is close to a structure, a professional operator is often cheaper than repairing a damaged lawn, fence, foundation, or machine.
Repair the Hole and Dispose of the Wood
Rake out loose chips, exposed roots, and ash before filling. Do not bury a deep layer of fresh sawdust in the planting zone: it will continue to settle and can temporarily tie up nitrogen as it decomposes. Purdue Extension advises that grinding and time are generally preferable to caustic copper sulfate treatments, and explains that remaining roots usually create settling depressions as they break down rather than poisoning a new tree.
Fill the cavity with clean topsoil in lifts, tamping gently between layers. Leave the finished surface slightly high because the remaining roots and chips will settle; return after rain and top up low spots. RHS recommendations likewise favor good-quality topsoil for the hole and a waiting period before final leveling.
For lawn, rake seed into the topsoil, keep it evenly moist, and avoid heavy traffic until roots establish. For a bed, allow the soil to settle, then test drainage before planting. If the removed tree died from a soil-borne disease, do not automatically replace it with the same species in the same hole; investigate the disease and select a resistant or unrelated plant where appropriate.
Healthy chips and logs can be reused as a separate mulch or wildlife pile, but keep fresh woody material off the trunk crowns of living plants. Do not use chips from a diseased tree around healthy trees, and do not use wood that has been treated with herbicide or contaminated by fuel. When in doubt, use municipal green-waste guidance or an arborist’s disposal recommendation.
Troubleshoot Sprouts, Mushrooms, and Settling Soil
New shoots after covering: Check whether light is entering at the tarp edge or through a tear. Cut shoots at their base, repair the cover, and give the plan more time. If shoots keep emerging several feet away, the remaining root system may be the real target; switch to careful excavation or seek species-specific advice.
New shoots after herbicide: Do not immediately increase the dose or spray the surrounding soil. Confirm the label, application timing, target tissue, and weather, then identify where the shoots originate. Some stumps need a fresh cut and a correctly timed follow-up; some species respond better to a different method.
Mushrooms on or around the stump: Fungi are normal participants in wood decay, and mushrooms alone do not prove that the stump is dangerous or that the roots are dead. Remove children’s access to unknown mushrooms, keep pets from eating them, and investigate if mushrooms appear with declining nearby trees, extensive root decay, or a suspected soil-borne disease.
The hole keeps sinking: Remaining roots and buried chips are decomposing. Add topsoil in stages and correct drainage before reseeding or planting. If a depression is widening near a foundation, retaining wall, path, or utility, stop adding fill and ask a professional to inspect the void.
A new tree will go in the same place: Grinding or digging is usually better than salt, fire, or herbicide because it gives you more control over what remains. Remove as much woody debris as practical, bring in clean soil, and consider shifting the new planting outside the old root plate if the space allows.
Conclusion
There is no single best way to kill a tree stump. Covering is the lowest-risk patient option, salt is a limited and uncertain aid, cut-stump herbicide can stop persistent regrowth when used exactly as labeled, and burning belongs only on a legally approved, genuinely low-risk site. If you need a clean surface soon, digging a small stump or hiring a professional to grind it is usually the more predictable answer.
Whichever route you choose, monitor for regrowth, keep unsafe materials out of the soil, and finish the job by repairing the cavity with clean topsoil. The goal is not merely a brown stump—it is a stable, safe patch of ground that will not surprise you with shoots, fire, disease, or a sinking hole next season.



