D-Limonene Weed Killer: How to Use It Safely
Use Avenger d-limonene weed killer with a pro-style plan: choose the right rate, protect wanted plants, spray in good weather, and manage regrowth.
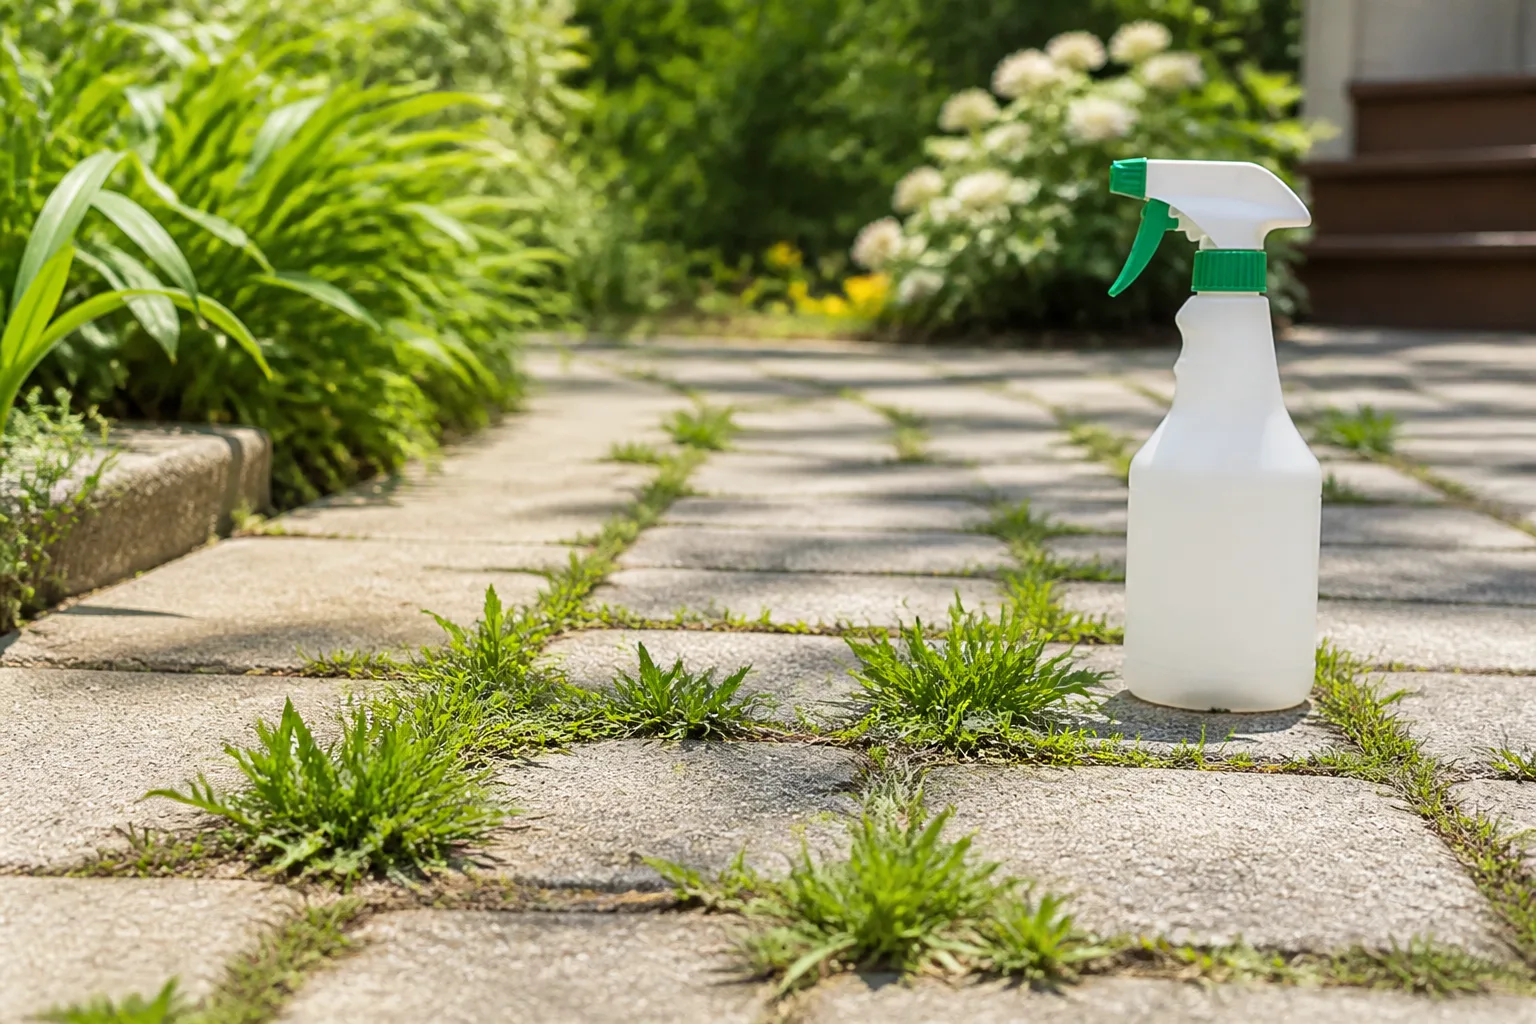
The professional-looking result is not really about finding a magic weed killer. It comes from matching a contact herbicide to a place where pulling is awkward, then applying it precisely enough that the spray hits the weed and nothing you want to keep. A citrus-oil product such as Avenger Weed Killer Concentrate can be useful on weeds rooted in driveway cracks, paver joints, gravel, and other bare hardscape.
The important limitation is easy to miss: d-limonene mainly injures the green tissue it touches. A weed can look finished while its crown, taproot, or rhizomes are still alive. The method below treats the spray as one tool in a weed-control sequence—not as permission to coat a lawn, flower bed, vegetable garden, or drainage path.
The short answer: use a contact spray where roots are hard to pull
Use d-limonene weed killer when three conditions line up: the unwanted plant is growing in a spot you want to remain vegetation-free, you can identify the plant and see all or most of its foliage, and you can spray without contacting nearby desirable plants. Small annual weeds in hardscape cracks are the clearest use case because there is little soil worth preserving and hand tools often leave pieces behind.
For a lawn, mixed border, or productive garden, the answer is usually different. A d-limonene product is non-selective, so grass, flowers, vegetables, and weeds are all plants from the sprayer’s point of view. The product’s registered use sites and target weeds are summarized in the EPA registration record for Avenger Weed Killer Concentrate; the current label on the container remains the authority for your location and application.
Think of the job as a three-part decision: target the right place, choose the right rate, and plan what happens after the foliage browns. That is the part that makes a landscaper’s treatment look effortless.
What makes d-limonene different from a systemic herbicide
D-limonene is a citrus-derived active ingredient used in a registered herbicide formulation. The concentrate covered here is listed with d-limonene as its active ingredient and a Caution signal word in the pesticide registration information. That is useful context: a natural-origin ingredient can still be a pesticide with a label, exposure precautions, and limits on where it should be used.
Contact action is fast but stays where the spray lands
A contact herbicide damages the plant tissue it wets. The practical benefit is speed: once the foliage is thoroughly coated and the weather lets the spray dry, the leaves can lose color and collapse quickly. The practical drawback is coverage. A hidden leaf, protected crown, or underground rhizome does not receive the same treatment simply because the top of the weed was sprayed.
This is why the product’s directions emphasize spraying the foliage until it is thoroughly wet. The application guidance published for the concentrate also describes it as non-selective and notes that deep-rooted weeds may need a second treatment or a stronger labeled concentration. That is not a guarantee of root kill; it is a reminder to judge success by whether the plant produces healthy regrowth, not by the first day of browning.
A systemic herbicide works differently: the active ingredient is absorbed and moved within the plant, which can make it more useful for some established perennial weeds. Systemic products have their own risks and site restrictions, so do not improvise a tank mix or borrow a rate from a different product. The correct choice depends on the weed, the site, nearby plants, and the label.
Why “natural” is not the same as harmless
“Citrus-based,” “organic,” and “natural” describe origin or formulation—not a promise that the spray cannot irritate skin, injure plants, or affect water. Penn State Extension makes the broader point clearly in its research-based guidance on organic herbicides: many naturally derived weed killers are contact products, and some require substantial care and personal protective equipment.
Treat the concentrate like a pesticide. Read the entire label before opening the bottle, use only the listed rate and site, keep people and pets away according to the label, and wear the label-specified protection. Do not spray into a pond, storm drain, ditch, or stream, and do not assume that a product is safe around pollinators or aquatic life because its active ingredient comes from citrus.
Is Avenger the right tool for your weed problem?
The fastest way to avoid plant damage is to decide where this tool does not belong. A contact spray is convenient when you can isolate the weed; it is a poor fit when every direction from the weed leads to a plant you value.
Good fit: small annual weeds in cracks, paths, and bare hardscape
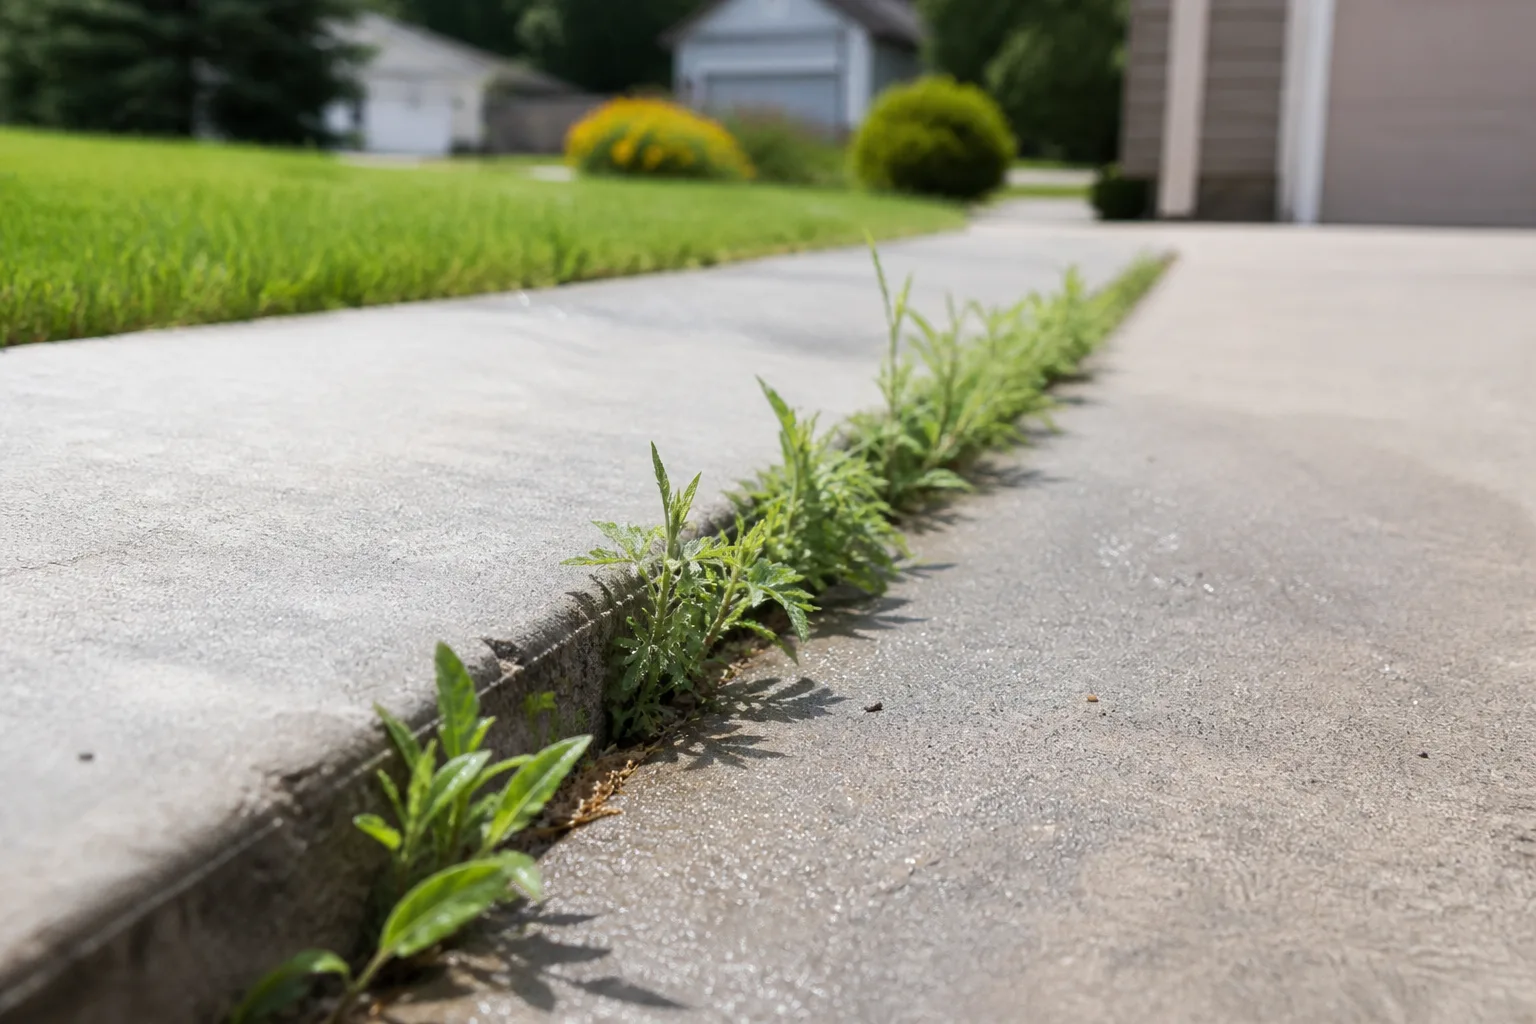
Use it for young weeds in sidewalk and driveway joints, gravel paths, patio edges, fence lines, and other non-crop areas where you want to keep the surface clear. It is especially practical when the weed is too low or deeply wedged for a clean pull, but the foliage is still visible enough to coat.
Small annuals are the easiest targets because they have less stored energy below ground. Spray on a dry, calm day while the leaves are actively growing, then check the area later for green tissue. If the soil in a bed is valuable and a fork can lift the whole weed, pulling is often the cleaner choice.
Bad fit: lawns, planted beds, and mature root-heavy weeds
Do not treat a lawn with a non-selective spray unless you intend to remove the turf too. Even a narrow fan of drift can stipple or brown grass, and a “careful” application around a flower or shrub can still land on low leaves, suckers, or exposed roots.
Be cautious with mature ivy, bindweed, nutsedge, bermudagrass, and other weeds that spread through crowns, stolons, bulbs, or rhizomes. Contact sprays can remove the top growth while leaving the underground system ready to resprout. Penn State Extension notes that organic herbicides are generally most effective on young growth and often need repeat applications for large perennial infestations; Fine Gardening’s practical organic weed-control guidance likewise treats mulch, barriers, and early physical removal as important parts of the long game.
If the weed is poisonous, climbing a tree, near a water feature, or covering a large area, pause before spraying. Correct identification and a site-specific plan matter more than choosing the strongest-looking bottle.
Choose the mix rate from weed size, not guesswork
The concentrate’s label-linked directions use more dilute mixes for small annual weeds and stronger mixes for larger or harder-to-control weeds. The rates below summarize the product guidance; verify them against the label in your possession before measuring because formulations and labels can change.
| Target | Concentrate-to-water ratio | Practical interpretation |
|---|---|---|
| Small annual weeds under 6 inches | 1:6 | Start here when the weed is young and fully exposed. |
| Larger annual weeds over 6 inches | 1:4.5 | Use the labeled stronger mix when the foliage is larger or tougher. |
| Ivy and difficult perennial weeds | 1:3 | This is a stronger contact treatment, not a promise that deep roots will die. |
The product application directions also say to mix thoroughly and wet the foliage completely. Use a measuring cup reserved for garden chemicals, not a kitchen utensil, and label the sprayer with the product name and mix date. If you only have a few weeds, make a small batch using the same ratio rather than mixing a full gallon that will sit in the shed.
Do not add vinegar, dish detergent, salt, bleach, fertilizer, or another herbicide unless the current label specifically directs that combination. Homemade “boosters” can change how the spray behaves, increase plant injury, complicate cleanup, and create a use that is no longer covered by the label. The EPA label linked from the product record is the document to follow for application, storage, and disposal details.
How to spray it without damaging the plants you want
Precision matters more than speed. Walk the site first, identify every plant within the spray path, and decide whether you can make a clean application before you mix anything.
Set up the site and shield nearby foliage
Remove toys, dishes, hoses, harvestable produce, and anything else the label says to keep away. Turn off irrigation long enough to keep leaves dry, and postpone the job if wind is moving foliage or carrying spray toward a bed, neighbor’s yard, or waterway.
For a single weed beside a valued plant, use a physical shield such as an open-ended cardboard sleeve, spray shield, or piece of stiff plastic held between the nozzle and the plant. The shield is not a substitute for calm air: drips can run out of the bottom, and a gust can carry fine droplets around it. Keep the nozzle close, use the lowest pressure that gives you control, and spray only the visible weed.
Wear the label-required gloves, long sleeves, long pants, closed shoes, and eye protection. Do not spray overhead, kneel in wet treated vegetation, or walk through the area before the label’s reentry directions allow it. Keep the original container nearby so you can check the first-aid, storage, and cleanup instructions if something goes wrong.
Wet the weed’s foliage, not the surrounding soil
Aim for even coverage on the green leaves and stems without creating runoff. “Thoroughly wet” means the leaf surface is coated; it does not mean the ground should be puddled. Contact products reward careful coverage, so a controlled pass over every exposed leaf is more useful than soaking the soil around the crown.
Avoid spraying flowers, tender new growth from wanted plants, suckers at the base of shrubs, and foliage that hangs over a path. If a desirable plant is too close to separate, do not spray that spot. Pull, dig, cut back, or cover the weed instead.
Best weather and timing for a clean kill
Spray when the weed is actively growing and its foliage is dry. Warm, bright, calm conditions are generally the easiest for a contact spray because the leaves are exposed and the solution can dry without being diluted, but the product label’s weather and rain restrictions always win.
Skip a treatment when rain is imminent, dew is heavy, irrigation will wet the leaves, or wind is strong enough to move the spray. A rain-free interval is not a license to ignore runoff: sloped driveways and paths can still carry wet product into planting beds or drains. Check the forecast for the whole label-specified window and choose the smallest workable treatment area.
Growth stage matters as much as temperature. Young annual weeds are easier to coat and have fewer reserves to rebuild. A drought-stressed perennial may have less green tissue to absorb a systemic product, while a contact product may still scorch the exposed leaves; either way, a brown top is not proof that the root system is gone.
Morning after dew dries or a calm late-morning period can work well. Avoid rushing to spray at the hottest possible moment if it makes you careless, increases drift, or conflicts with the label. A precise application on a merely warm, dry day beats a sloppy one in perfect sunshine.
What to expect after spraying
The first visible change is usually a loss of gloss, wilt, browning, or crispy tissue on the foliage that received the spray. Some weeds show injury within hours; others take longer depending on leaf thickness, weather, growth stage, and how completely they were covered. Do not keep adding product because a weed is still green a few hours after application.
Instead, mark the treated patch mentally or with a temporary note and inspect it again after the label’s stated interval. Look for new green shoots at the crown, living leaves hidden under the canopy, or untouched runners extending into the surrounding ground. These signs tell you whether you missed tissue or the weed is recovering from a contact hit.
Recent research has evaluated d-limonene among plant-derived herbicides for perennial weeds in field settings (one field study), but a field study is not a guarantee for every species, soil, climate, or homeowner mix. Treat published research as context, then use the product label and the actual response of your identified weed to decide what happens next.
What to do when the weed comes back
Regrowth is not automatically evidence that the spray “did nothing.” It often means the treatment reached leaves but not the underground crown, taproot, stolon, or rhizome—or that a second seedling emerged nearby. Contact products are excellent at removing exposed top growth and much less dependable as a one-pass solution for established perennials.
First, check whether the new shoot is attached to the original crown or is a fresh seedling. If the soil is loose and the plant is small, dig below the crown with a weeding fork and remove the root system. If the weed is in a crack, scrape out the remaining crown and soil as far as the hardscape allows, then watch the joint for another flush.
For a large perennial patch, do not automatically increase the concentration beyond the label. Follow the minimum retreatment interval and maximum application limits, and stop if the site cannot be protected from drift or runoff. A professional may recommend a different, registered strategy for a mature infestation, especially around trees, water, food crops, or sensitive ornamentals.
If the plant is poison ivy or another rash-causing species, use the safety practices described by Penn State Extension and do not burn or compost contaminated material. The safest “next treatment” may be better personal protection and a professional assessment, not a stronger spray.
How to make the result last longer
Use the spray to reset a problem spot, then remove the conditions that keep refilling it. Weeds return from seed, roots, windblown debris, and disturbed soil; a spray only addresses the green plant present on treatment day.
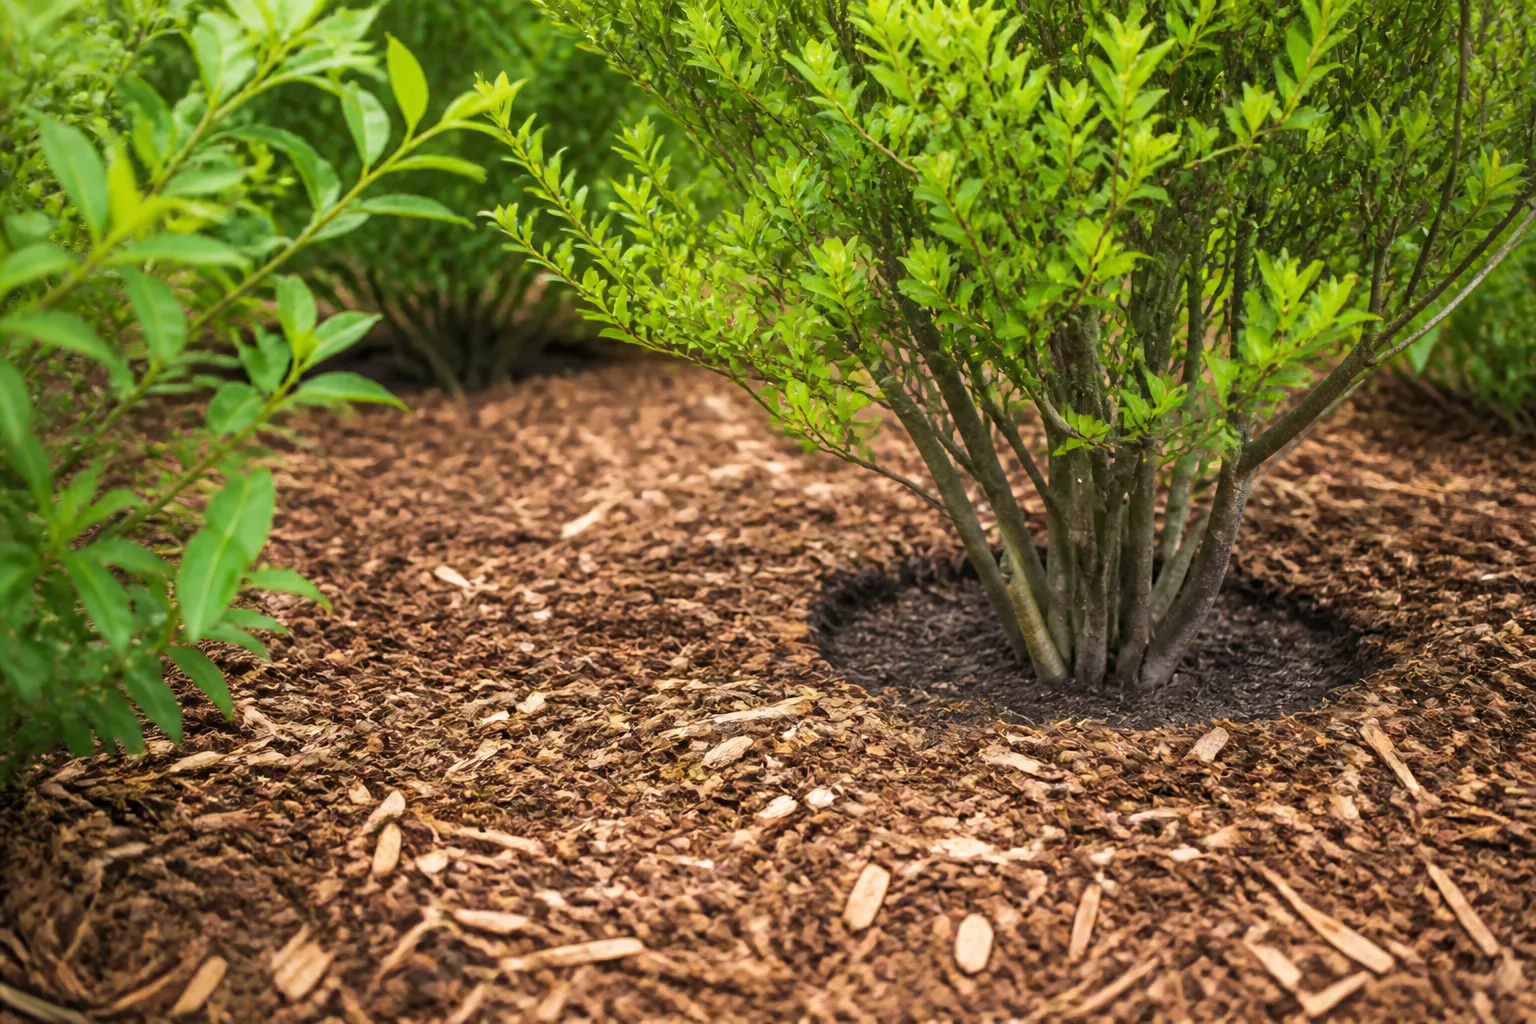
In beds and around shrubs, cover bare soil with a suitable mulch layer while leaving space around stems. Mulch and other physical barriers reduce light at the soil surface, slow new seedlings, and make the next hand-pull easier. Fine Gardening’s organic weed-control guidance also points out that mulch can help conserve moisture while limiting weed space, which is a better long-term use of a planted bed than repeated non-selective spraying.
Along paths, sweep seeds and soil out of joints, repair wide cracks, and remove weeds before they flower. In gravel, rake shallow roots out before they set seed and top up thin areas so bare soil is not exposed. In lawns, improve turf density and mow at the appropriate height for the grass instead of using a non-selective spray across the canopy.
The most efficient schedule is often a short inspection every week during the growing season. Catching a weed at two inches tall can turn a chemical problem back into a one-minute hand-weeding problem.
Safer alternatives for sensitive areas
Choose a non-spray method when the weed is surrounded by valued foliage, the soil will be replanted soon, or water could carry the treatment away. A narrow hand fork can lift a small crown; a hoe can sever tiny annuals just below the surface; and a thick physical cover can exhaust light-loving seedlings over time.
Pull after irrigation or rain has softened the soil, but grip low on the stem and remove the crown rather than only the leaves. For a perennial with a long taproot, loosen the soil around the root instead of yanking until the top snaps. If a piece breaks, treat it as a signal to inspect the hole rather than assuming the job is finished.
For an empty area being converted from lawn to bed, sheet mulching or a season-long cover can be more appropriate than repeated spray. For a narrow hardscape joint, scraping and refilling the crack may be faster than making several treatments. And for weeds that are valuable wildlife plants or that you cannot confidently identify, waiting for an identification is safer than spraying first.
These alternatives are not always faster on day one. They are often safer when the goal includes keeping soil plantable, protecting ornamentals, avoiding drift, or reducing repeated pesticide use.

Common mistakes that waste a treatment
- Using the product on a lawn. A non-selective herbicide cannot distinguish a weed from turfgrass. Spot-treat only where every contacted plant can be sacrificed.
- Choosing a rate by guesswork. More concentrate is not automatically better. Match the label category to weed size and difficulty, then measure accurately.
- Spraying only the top leaves. Contact action requires complete coverage of exposed foliage. Hidden leaves and missed runners can keep the plant alive.
- Treating before rain or irrigation. Water can dilute the spray on the leaf and move wet product off the target. Wait for the label-compliant dry window.
- Assuming “natural” means safe. The concentrate still has a signal word, exposure precautions, and a non-selective effect. Use the label-specified PPE and keep it away from water and wanted plants.
- Repeating too soon. Brown leaves do not tell you that the label permits another application. Observe the site, follow the retreatment interval, and do not exceed the label.
- Ignoring the cause of the weed wave. If bare soil, open joints, or seed-producing plants remain, new weeds will replace the ones you removed. Add mulch, repair, or regular early removal.
Conclusion
D-limonene weed killer earns its place when pulling is impractical and the target is isolated: a young weed in a paver joint, gravel path, driveway crack, or other bare hardscape. Its strength is fast, targeted contact with visible foliage; its weakness is that it is non-selective and may not finish a mature plant’s underground system.
Read the label, choose the rate by weed size, spray on dry calm foliage, shield everything worth keeping, and judge the result over time. Then pair the treatment with pulling, mulch, crack repair, or another site-appropriate prevention step. That sequence is what turns a quick brown patch into more dependable weed management.



