What Is Pre-Emergent Herbicide? A Practical Use Guide
Learn what pre-emergent herbicide does, when to apply it, how to spread or spray it, and why timing, watering, seed plans, and labels matter.
Pre-emergent herbicide is a weed-prevention treatment, not a cure for weeds you can already see. It is designed to be in the soil before a target weed’s seeds germinate, so the tiny seedling cannot establish a root or shoot and reach the surface. That distinction explains nearly every success or failure: the right product applied too late is still the wrong treatment.
The most reliable approach is to identify the weeds you are trying to prevent, check whether the product is labeled for your lawn or planting bed, time the application to that weed’s germination window, and apply it evenly. Granular products usually need rainfall or irrigation to move into the surface soil; liquid products still need accurate coverage and label-directed activation.
The quick answer: prevention at the seedling stage
Pre-emergent herbicides leave a residual zone near the soil surface. When a weed seed germinates in that treated zone, the emerging root or shoot encounters the active ingredient and stops developing. The seed itself is not sterilized, and the product does not make the soil permanently weed-free.
NC State Extension describes the key point clearly: pre-emergence means before weeds emerge, and more importantly, before they germinate. Its teaching guidance says most products remain effective for roughly eight to 12 weeks, although some last for shorter or longer periods; the product label and local Extension guidance determine the actual reapplication window (NC State Extension’s preemergence herbicide guide).
That residual action is useful against a new flush of annual weeds, but it creates trade-offs. The same chemistry that interrupts a weed seedling can also interfere with desirable grass seed, wildflower seed, or vegetable seed. A treatment that is appropriate for an established lawn may be inappropriate for a newly seeded lawn or a bed where you plan to sow flowers.
How pre-emergent herbicide works in soil
Think of pre-emergent as a timed filter at the soil surface. It does not need to contact a mature leaf, and it does not need to kill every seed in the ground. It needs to be present at the right depth and concentration when the target seed begins the short, vulnerable stage between germination and establishment.
Rainfall or irrigation usually incorporates the product into the surface layer. Once there, soil microbes and environmental conditions gradually reduce its activity. Heavy rain soon after application can move a product away from the intended zone, while too little water can leave a granular product sitting on leaves, thatch, or the pavement. The label’s activation and weather directions matter more than a generic watering rule.
Pre-emergent versus post-emergent control
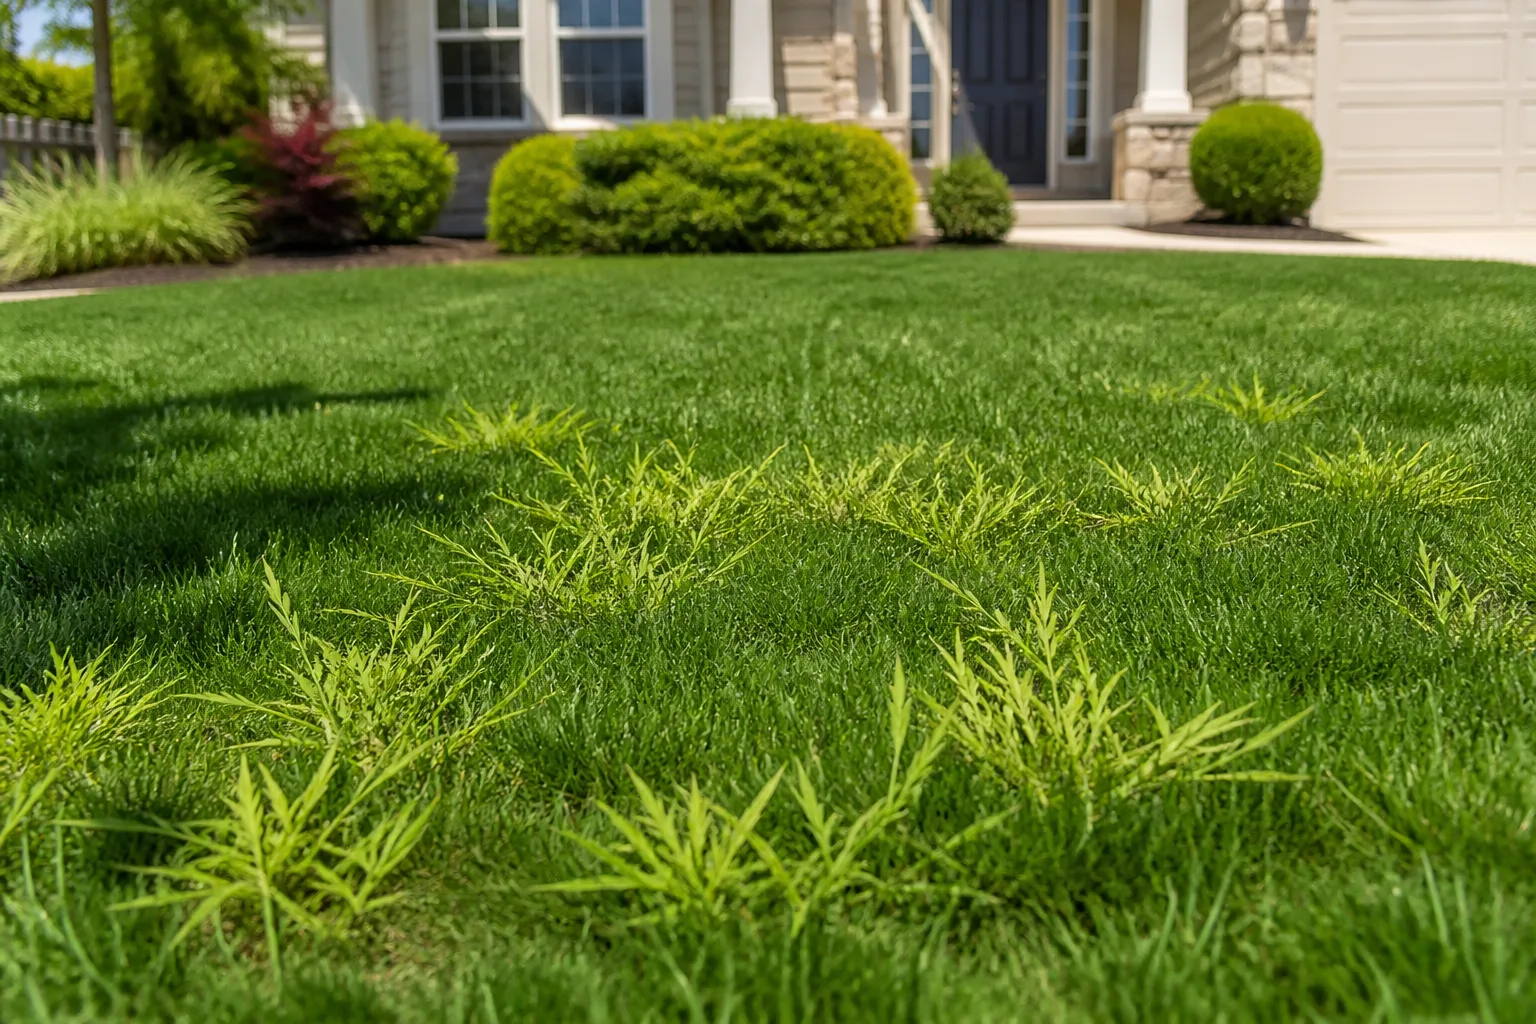
Pre-emergent is for weeds that have not emerged. Post-emergent control is for weeds that are already visible and actively growing. If crabgrass, goosegrass, chickweed, or spurge is already above the soil, applying more pre-emergent will not reliably remove that plant; use the label-approved post-emergent option, hand removal, mowing before seed set, or another method suited to the site.
This is also why “I applied it, but the weeds are still here” does not always mean the product failed. It may have prevented a later flush while leaving the first flush untouched. Photograph or mark the existing weeds before treatment, then inspect new seedlings separately. That simple distinction prevents repeated applications that add risk without solving the original problem.
Annual weeds versus perennial weeds
Pre-emergent is most useful when a weed population is driven by seeds that germinate in a predictable season. Crabgrass and goosegrass are common warm-season examples; chickweed, henbit, and annual bluegrass are common cool-season examples. Annuals live through one growing season and depend heavily on seed production, so interrupting establishment can meaningfully reduce the next wave.
Perennial weeds are a different challenge. A perennial may regrow from an established crown, rhizome, bulb, or other underground structure even when its seeds are prevented from establishing. Pre-emergent may reduce seedlings around it, but it is not a complete strategy for a mature perennial infestation. Identify the plant and choose a control method that addresses the structure actually keeping it alive.
Choose the target weed before choosing a product
Start with the question, “Which weed am I trying to prevent, and where is it growing?” A product’s active ingredient, label, and site restrictions determine what it can control. A product that performs well on annual grasses may be weak on broadleaf weeds, nutsedge, or perennial weeds; a product suitable for a woody shrub bed may injure herbaceous plants.
Make a short target list rather than buying a broad “weed preventer” and hoping it covers everything. Note the weed’s common name or take a clear photograph, classify it as grass, broadleaf, or grass-like, and record whether the site is an established lawn, a woody landscape bed, a perennial border, a vegetable area, or bare soil. Then use the label’s weeds-controlled list and site directions.
NC State’s landscape guidance treats weed control, plant safety, longevity, equipment, environmental impact, and label restrictions as separate selection factors. That is a better decision model than choosing by brand name alone. For example, herbicides in the dinitroaniline group include products based on oryzalin, pendimethalin, trifluralin, or prodiamine, but the same active ingredient can have different permitted uses and rates in different formulations.
When to apply pre-emergent herbicide
Apply before the target weed’s main germination window, not after the first visible flush. The window varies with species, climate, soil temperature, rainfall, and the product’s label. A calendar date can be a useful reminder, but it is a poor substitute for observing the season and knowing the weed.
Use soil temperature and plant cues
Warm-season annual grasses such as crabgrass often begin germinating when soil temperatures are around the mid-50s Fahrenheit and remain favorable. UGA Extension uses about 55°F as a practical cue for warm-season weed germination in established lawns, while also emphasizing the distinction between cool-season and warm-season weed seasons (UGA Extension’s winter weed control guidance). Use local soil-temperature data when available, and treat a sustained warm-up as more useful than a single warm afternoon.
Plant cues can help confirm the window. In many regions, the bloom of forsythia is used as a rough reminder for crabgrass prevention, but it is not a universal rule. Elevation, exposure, soil moisture, and the species you are targeting can shift the timing. The safest rule is to combine a local cue with the product label and the weed’s known life cycle.
Spring and fall timing in different regions
In a warm region, a spring application may be needed earlier than a gardener in a cool northern climate expects. A long warm season may also require a labeled follow-up application because the residual period ends before the weed season does. Neil Sperry’s regional lawn guidance, for example, describes different timing across southern, central, and northern Texas and recommends a follow-up roughly 90 days later for a long warm season (Neil Sperry’s pre-emergent timing notes). That is a regional example, not a universal schedule.
Cool-season weeds often germinate in late summer or fall, so a late-summer or early-fall treatment may be more relevant than a spring treatment. In other regions, the same weeds may be managed with mowing, hand removal, or a post-emergent treatment because a pre-emergent option is not labeled for the turf or planting. The target weed’s season is the organizing principle.
When pre-emergent is the wrong tool
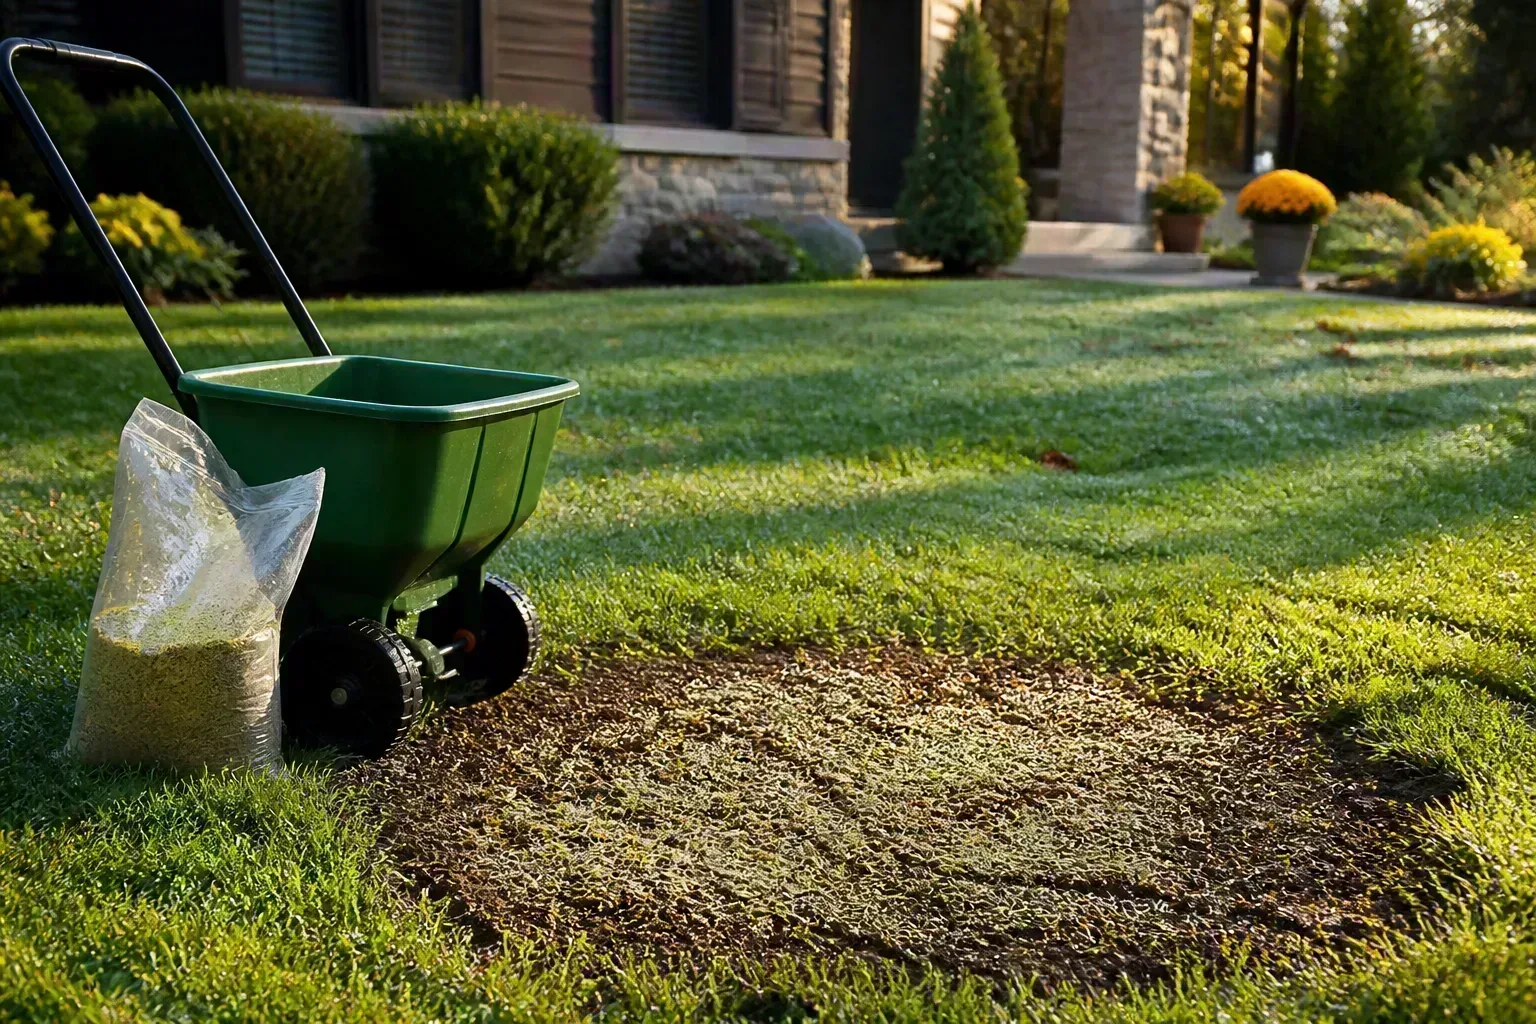
Do not apply it simply because the lawn looks thin or because you want a bare bed to stay bare. Pre-emergent can block the desirable seeds you are about to sow, and many products have waiting periods or reseeding restrictions. If you are overseeding, repairing a lawn, direct-sowing vegetables, establishing a wildflower patch, or planting a fresh bed from seed, check the label before treating.
It is also the wrong first tool when the main problem is an established perennial, a weed that has already emerged, poor turf density, compacted soil, or a drainage route that keeps bringing in new seed. A dense, well-adapted lawn, a correctly applied mulch layer, prompt removal before seed set, and better soil or water management can reduce pressure without blanket treatment.
Lawn applications versus garden beds
Established turf is comparatively simple: one grass species or a limited mix, a measured area, and a spreader or sprayer intended for that use. Garden beds are more complicated because the product may contact shrubs, perennials, bulbs, annuals, seedlings, and exposed roots. A treatment that is safe for a mature woody bed can still be risky around herbaceous plants or newly planted material.
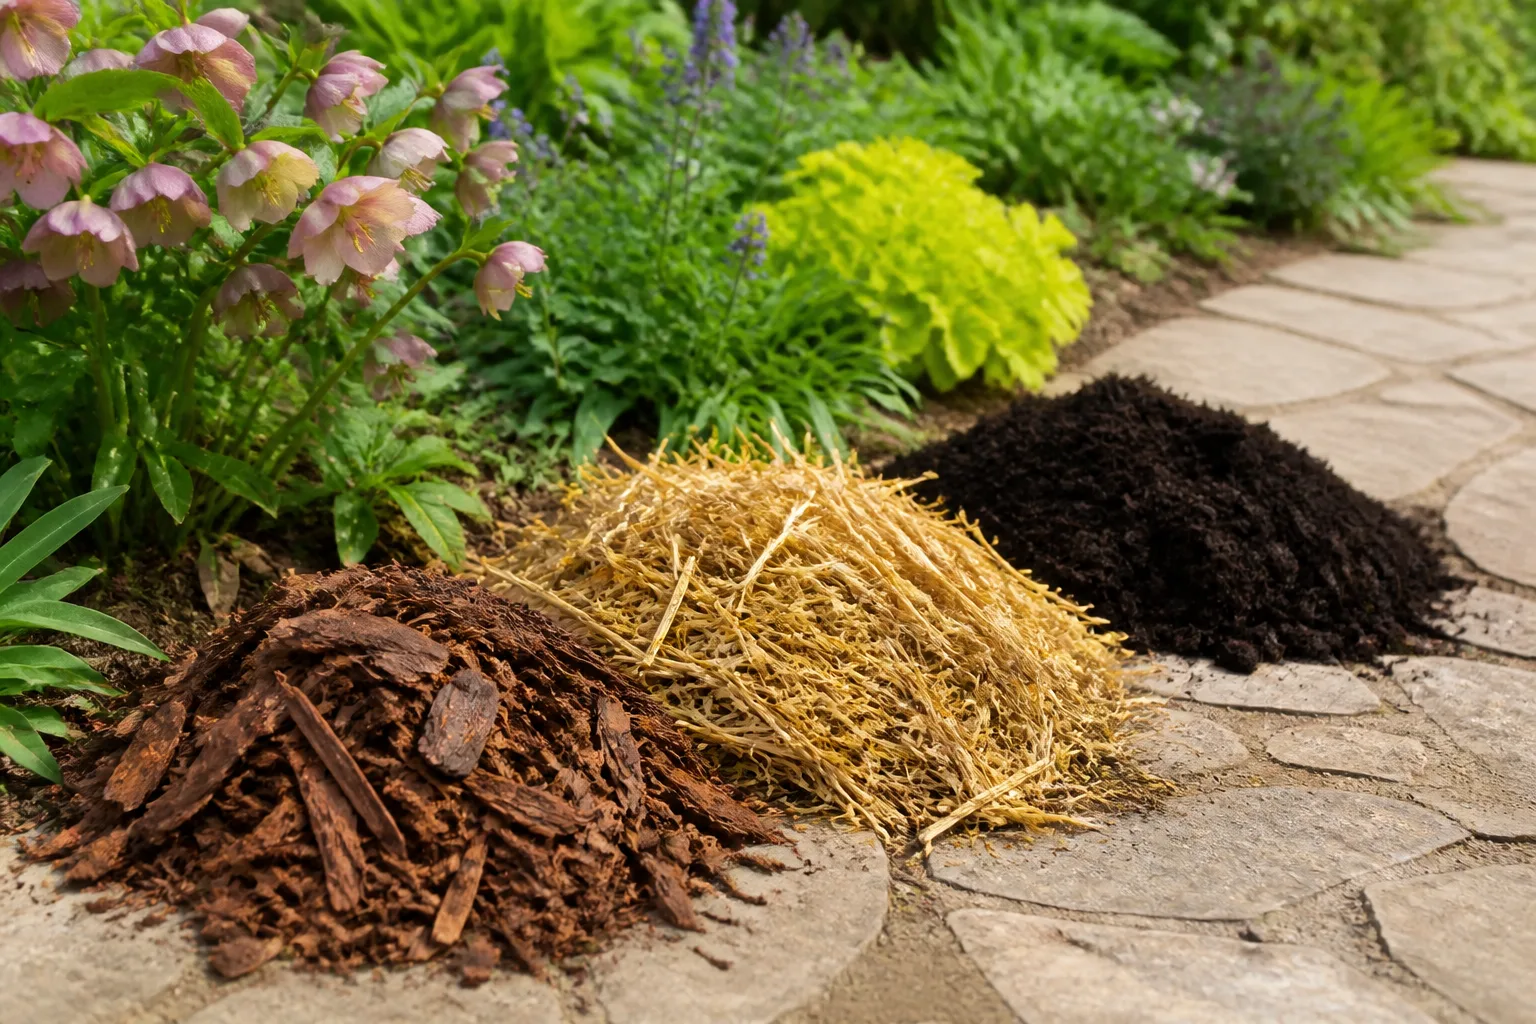
In a bed, keep the target area narrow and avoid treating the root zone or foliage of plants not listed on the label. A coarse mulch layer can suppress many weed seedlings by reducing light and creating a physical barrier, though mulch is not a substitute for identifying perennial weeds or correcting a thin layer that has become mixed with soil. The safest choice may be mulch, hand weeding, or spot control rather than a broad pre-emergent application.
Do not use a lawn application as a shortcut for a mixed planting bed. Turf products may include fertilizer, different active ingredients, or use restrictions that have no place around vegetables, bulbs, seedlings, or pollinator plants. Even a product with a familiar active ingredient can have different directions in a granular formulation and a spray formulation. Read the label for the exact product in your hand, not a search result for a similarly named product.
If you are planting a new ornamental bed, finish the planting plan first. Mark the plants you want to keep, decide where seeds will be sown, and reserve untreated pockets if the label requires them. A narrow, deliberate treatment that leaves room for desirable regeneration is usually more useful than treating the entire bed and discovering later that the weed prevention also prevented the flowers you wanted.
How to apply granular pre-emergent
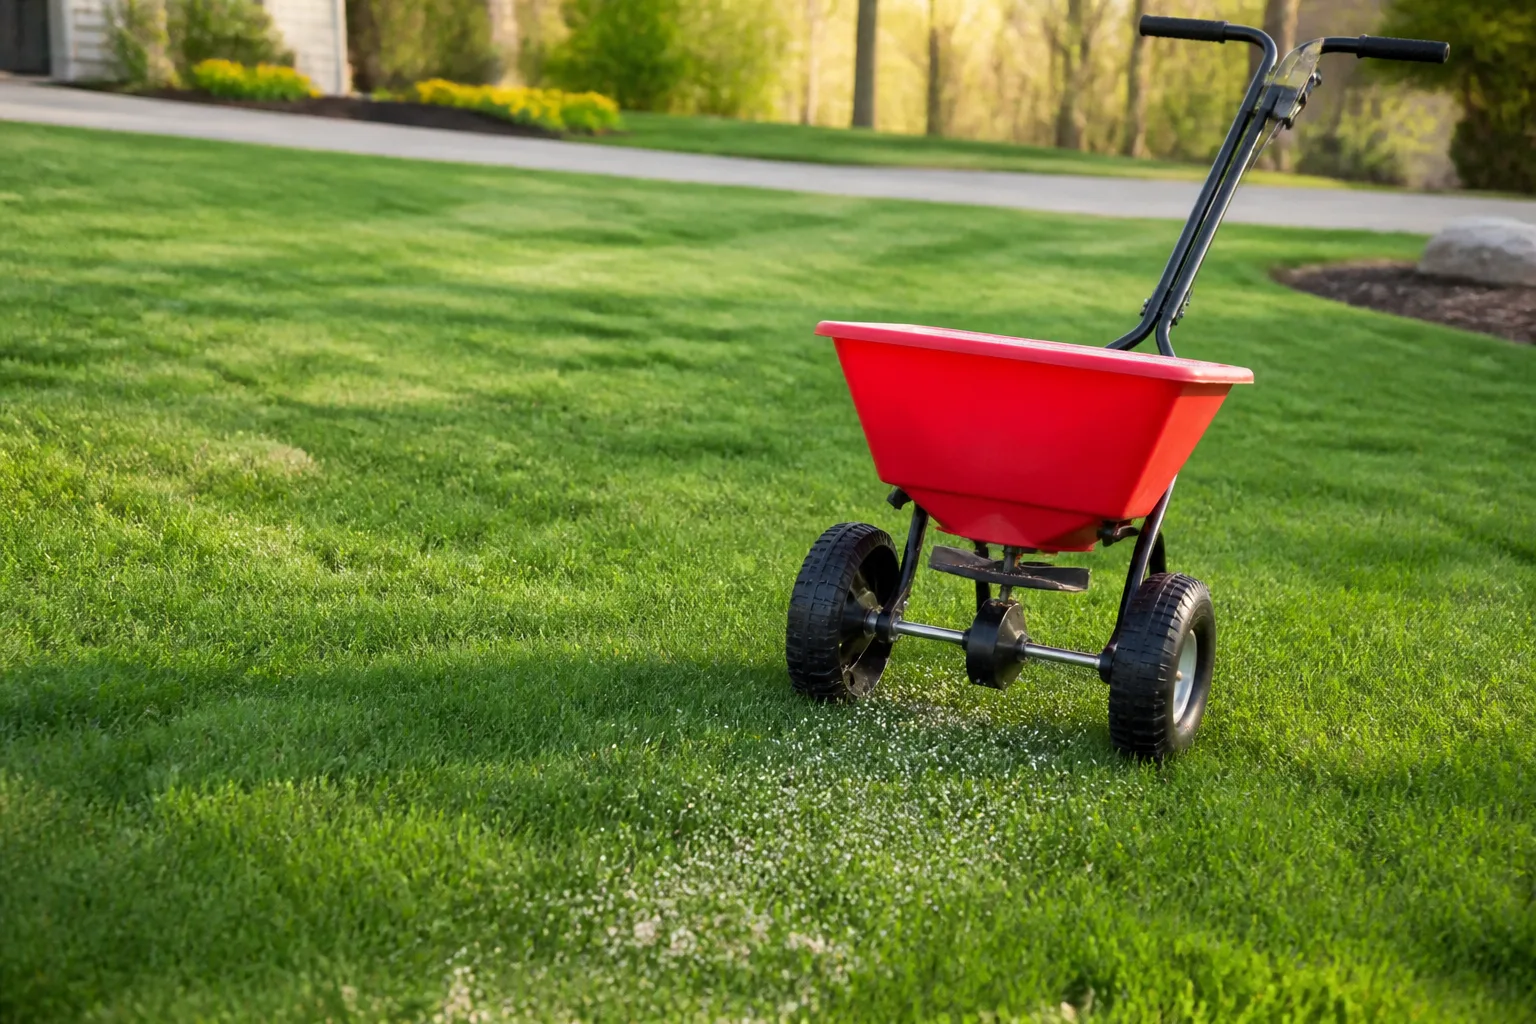
Granular products are convenient because they can cover a lawn or bed without mixing a spray tank, but convenience does not remove the need for accuracy. Read the label before opening the bag, calculate the treatment area, and keep the product away from surfaces and plants the label excludes.
Measure the area and calibrate the spreader
Measure length times width for a rectangle, break irregular areas into smaller shapes, and add the sections. Use the label rate for the actual product and area; do not copy a neighbor’s spreader setting. Spreader models, granule size, walking speed, and gate position change the output.
Calibrate on a clean, non-plant surface or a measured test strip. Put only the test amount in the hopper, walk at your normal pace, and collect or measure what comes out. Adjust until the output matches the label’s area rate. Close the hopper while turning, start moving before opening it, and overlap passes lightly enough to avoid untreated strips without creating a heavy double dose.
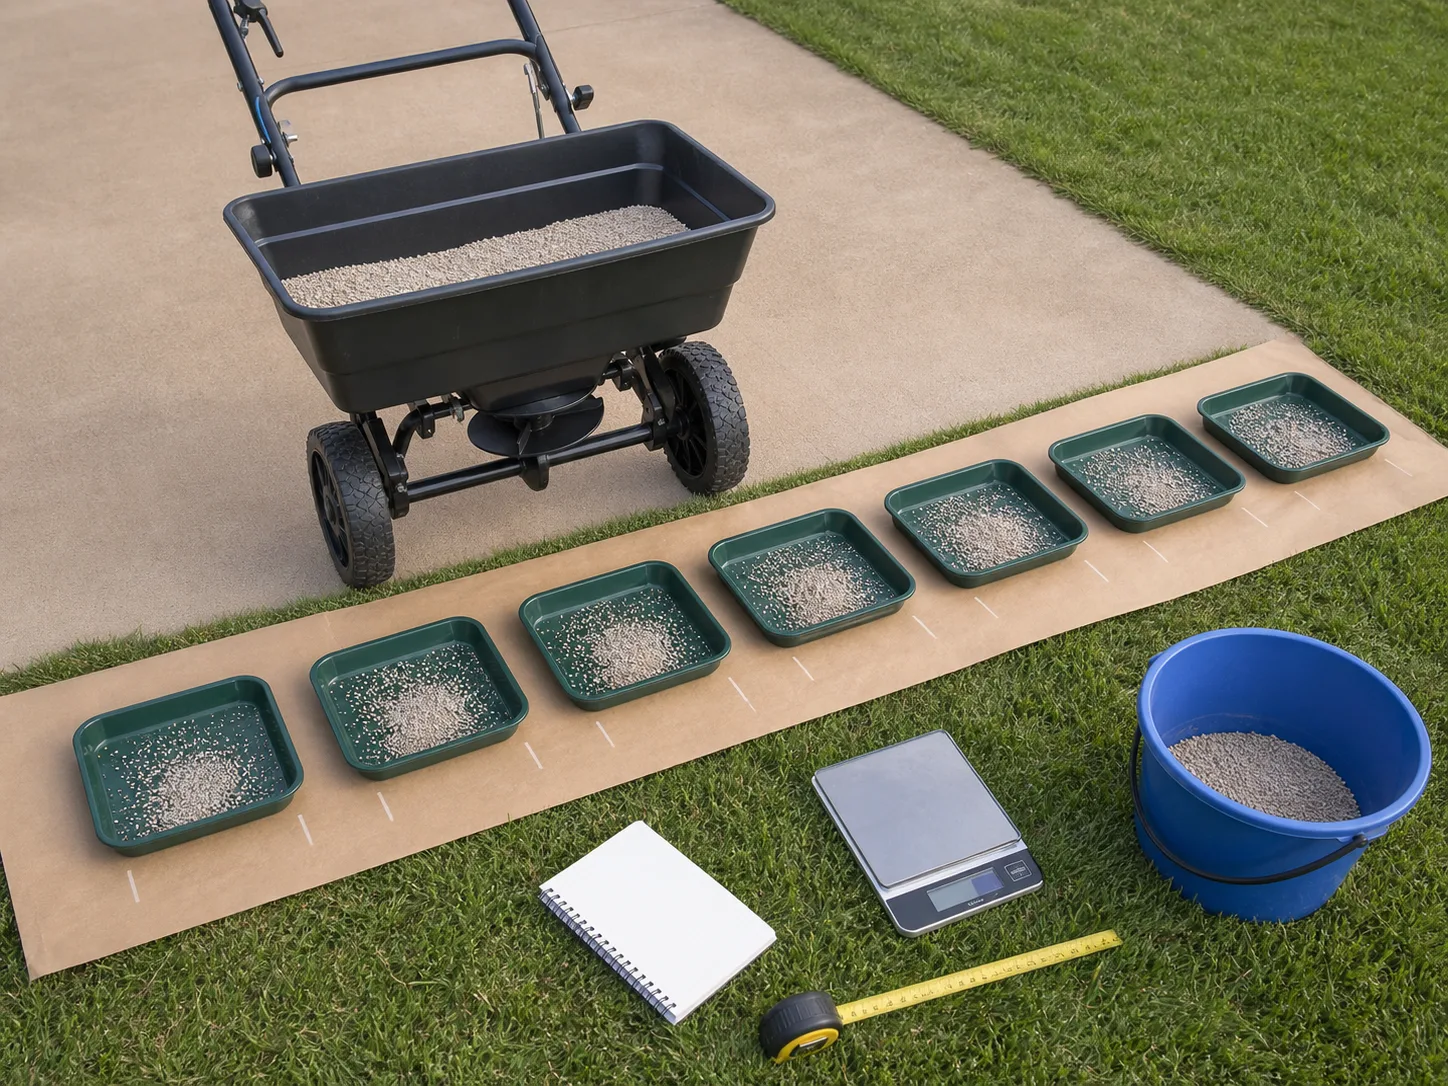
Mark edges near beds, ponds, drains, driveways, and vegetable areas. A drop spreader gives tighter control near boundaries; a broadcast spreader is faster on open turf but needs more attention to wind and overlap. Sweep granules off pavement into the intended treatment area only if the label allows it, and never wash them into a drain.
Water it in without moving the product
Activation usually means moving the product into the surface soil with rainfall or irrigation. Follow the product label for the required timing and amount. A common mistake is to water so forcefully that granules wash into low spots, off the lawn, or into a storm drain. Use a gentle, even application that wets the target area without producing runoff.
Do not assume the next rain is helpful just because it is rain. A short shower may not activate the product, while a severe storm can move it out of the zone. If irrigation is needed, use cycles with pauses on compacted or sloped soil so the water infiltrates. Keep people and pets off the treated area for the label’s restricted-entry period, and store the remaining product in its original container.
How to apply liquid pre-emergent
Liquid products require careful mixing, sprayer calibration, and coverage. Measure the area, determine the label’s amount of product and carrier water, and mix only what you can use during that application. Wear the label-required protective equipment and avoid skin, eye, clothing, and inhalation exposure.
Choose a calm, dry weather window that fits the label. Keep the nozzle close to the target surface to reduce drift, walk at a steady speed, and maintain a consistent spray pattern. Overlap passes just enough to prevent gaps. Do not spray ornamental foliage, edible crops, water, or neighboring pavement unless the product is specifically labeled for that location.
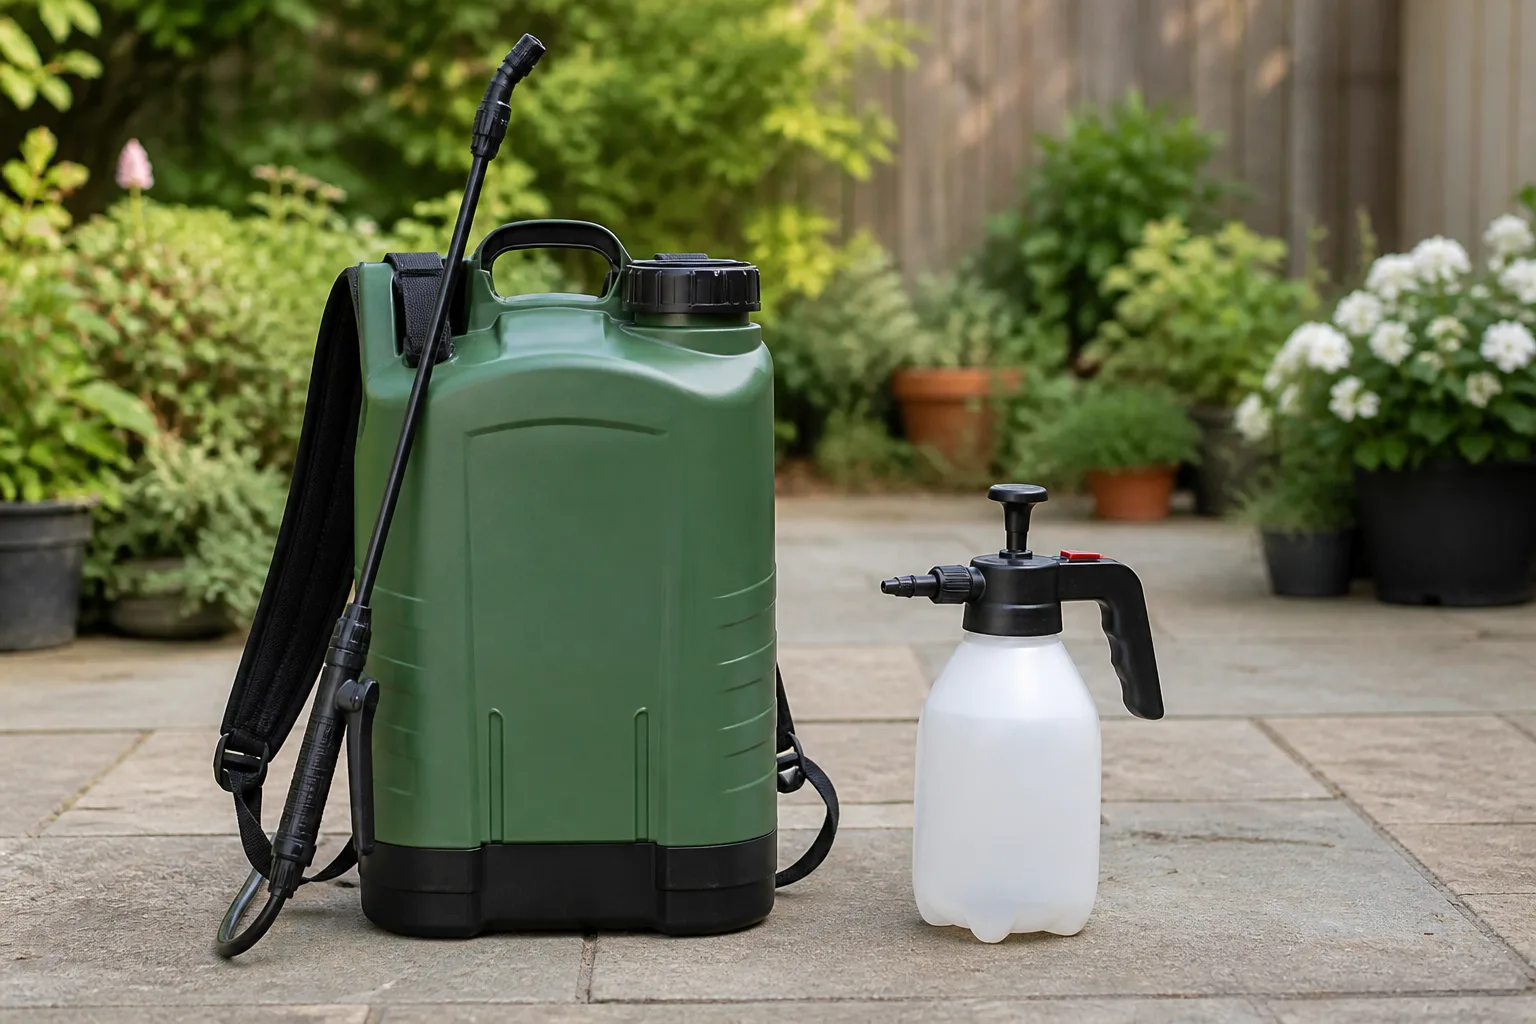
Clean the sprayer according to the label and dedicate equipment when possible. Residue from a herbicide can injure plants during a later fertilizer or foliar-care application. Never guess at a tank mix, add household soap, or pour leftover solution into soil, a drain, or a compost pile; follow the disposal directions on the label and local regulations.
Common reasons pre-emergent fails
When weeds appear, diagnose the process before reapplying. The most common causes are:
- The application was late. The weeds had germinated or emerged before the product was in place.
- The product did not target that weed. A grass-focused product may not control a broadleaf or nutsedge, and a perennial may not respond to a seedling barrier.
- Coverage was uneven. Missed strips, blocked spreader outlets, inconsistent walking speed, or spray gaps leave openings.
- The product was not activated correctly. Too little water leaves it at the surface; runoff can carry it away.
- The rate was wrong. Under-application reduces control, while over-application raises injury and environmental risk.
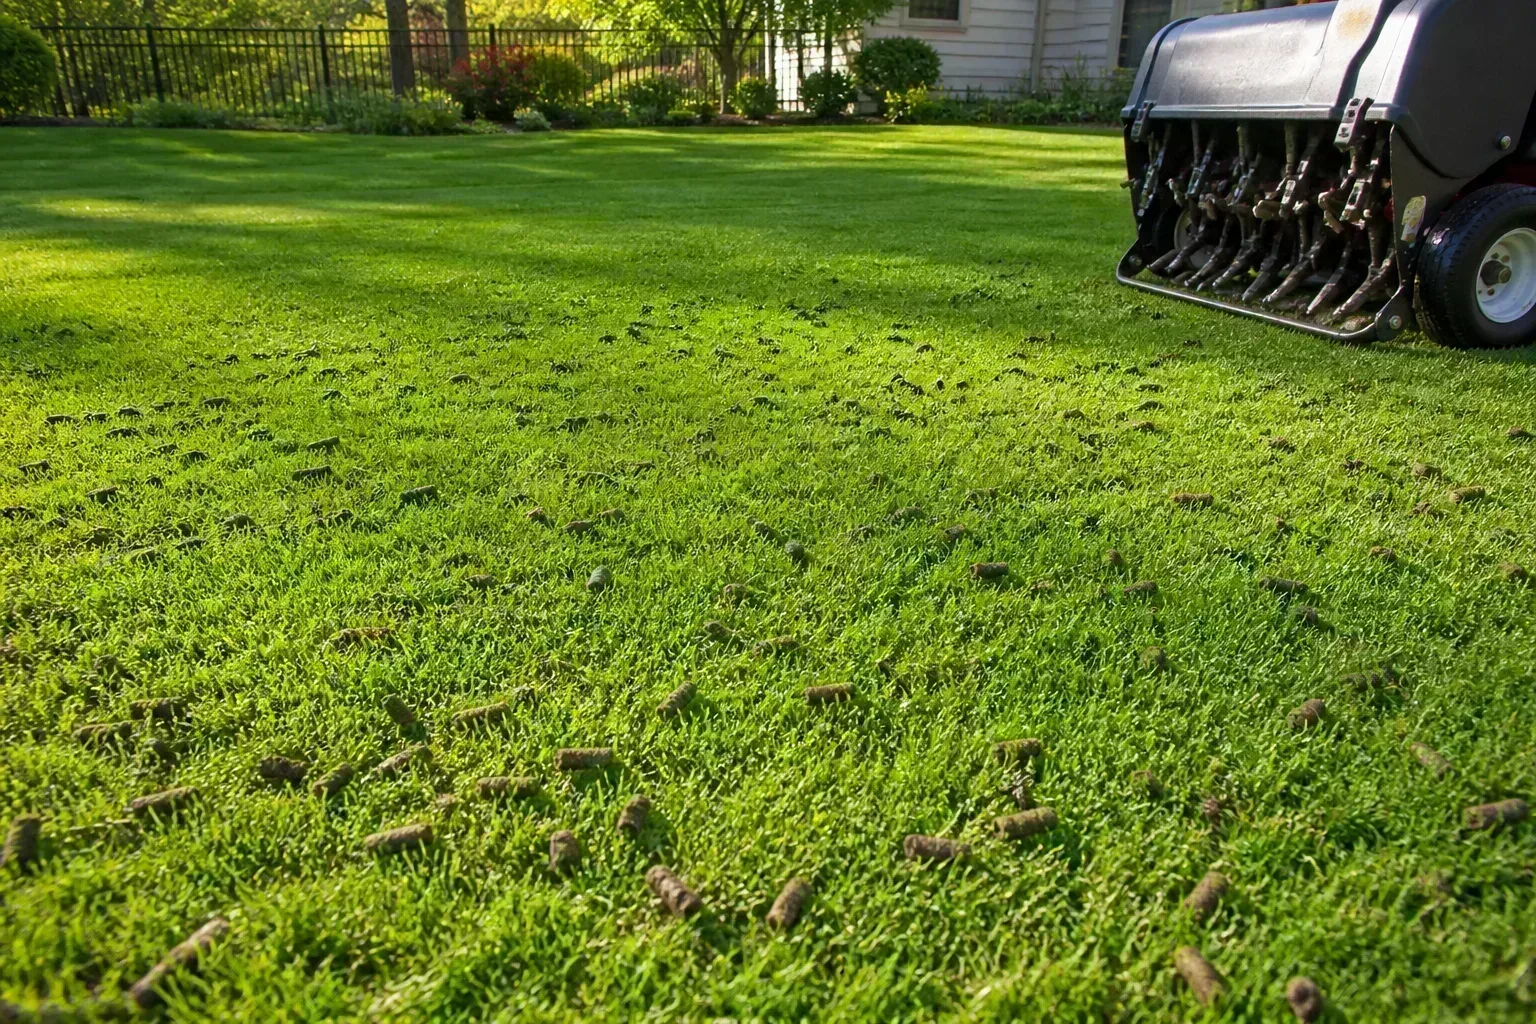
- The soil was disturbed. Digging, raking, aerating, or cultivating the treated surface can break the treated zone and bring untreated soil upward.
- New seed was added at the wrong time. The product may have prevented desirable grass or flower seed from establishing.
NC State Extension notes that reapplication is tied to the residual concentration dropping below the level needed for control, not to a universal calendar rule. If a product normally lasts eight to 12 weeks but a heavy storm, irrigation, or soil disturbance changes the site, the label and local guidance still take priority over a guessed repeat treatment.
What to do when weeds are already up
First, stop treating the visible weeds with more pre-emergent. Pull or hoe small annuals before they flower, mow often enough to prevent seed production where appropriate, or choose a label-approved post-emergent treatment for the identified weed and site. Remove mature weeds carefully so seed heads do not scatter across the area.
Then ask why the opening exists. A thin lawn, bare mulch, compacted soil, excess irrigation, or a fresh layer of imported soil can create the conditions for another flush. Repairing the site often does more for long-term control than increasing the herbicide rate. For a bed, refresh mulch without burying plant crowns; for a lawn, address mowing height, irrigation, fertility, and soil compaction according to the grass type.
A label and safety checklist
Before application, confirm all of the following:
- The product is labeled for the target weed and the exact site: turf, ornamental bed, tree area, or another use.
- The active ingredient and formulation match your equipment and the plants you need to protect.
- The label gives a rate, maximum annual amount, application interval, activation instructions, and any reseeding restriction.
- The weather window avoids conditions that increase drift or runoff.
- Children, pets, pollinators, edible crops, ponds, drains, and neighboring plants can be kept out of the treatment zone as directed.
- You have measured the area and calibrated the spreader or sprayer.
- You know how to store, clean up, and dispose of unused product and contaminated materials.
The label is not optional background reading. It is the product-specific authority for legal use, protective equipment, restricted-entry timing, mixing, target plants, and disposal. If the label is missing or illegible, do not use the product until you obtain the current label. When a diverse planting, waterway, edible garden, or valuable tree is involved, contact your local Cooperative Extension service before applying.
Build a lower-weed plan that lasts
Pre-emergent works best as one part of an integrated plan. Identify weeds early, remove them before seed set, keep turf dense without over-fertilizing, maintain a mulch layer where it fits the planting, and correct bare or compacted soil that invites repeated germination. Those steps reduce the number of seeds reaching the treated zone and make any later application more targeted.
Keep a simple record: target weed, product active ingredient, site, application date, weather, amount used, and result. If control is poor, the record helps separate a timing problem from a coverage problem or a target mismatch. It also prevents accidental reapplication before the label permits it.
The most useful success metric is not a perfectly bare soil surface. It is fewer mature weeds, less seed production, healthy desirable plants, and a treatment plan that does not create new damage through drift, runoff, or unnecessary exposure.
Conclusion
Pre-emergent herbicide is a timing tool for preventing susceptible weed seedlings from establishing. It works best when you identify the target weed first, apply before its germination window, cover the area evenly, activate the product as directed, and keep the treated surface undisturbed.
Use extra caution around new seed, vegetable beds, herbaceous perennials, waterways, and mixed plantings. If weeds are already visible, switch to identification and post-emergent or manual control instead of repeating a prevention product. A measured application paired with mowing, mulch, dense turf, and early weed removal is more dependable—and safer—than treating every patch of soil on a calendar.