What to Do About Freeze-Thaw Cracks in Hardscaping
Freeze-thaw cycles can crack concrete, shift pavers, and open joints. Learn how to triage the damage, repair each material, fix drainage, and prevent a repeat.
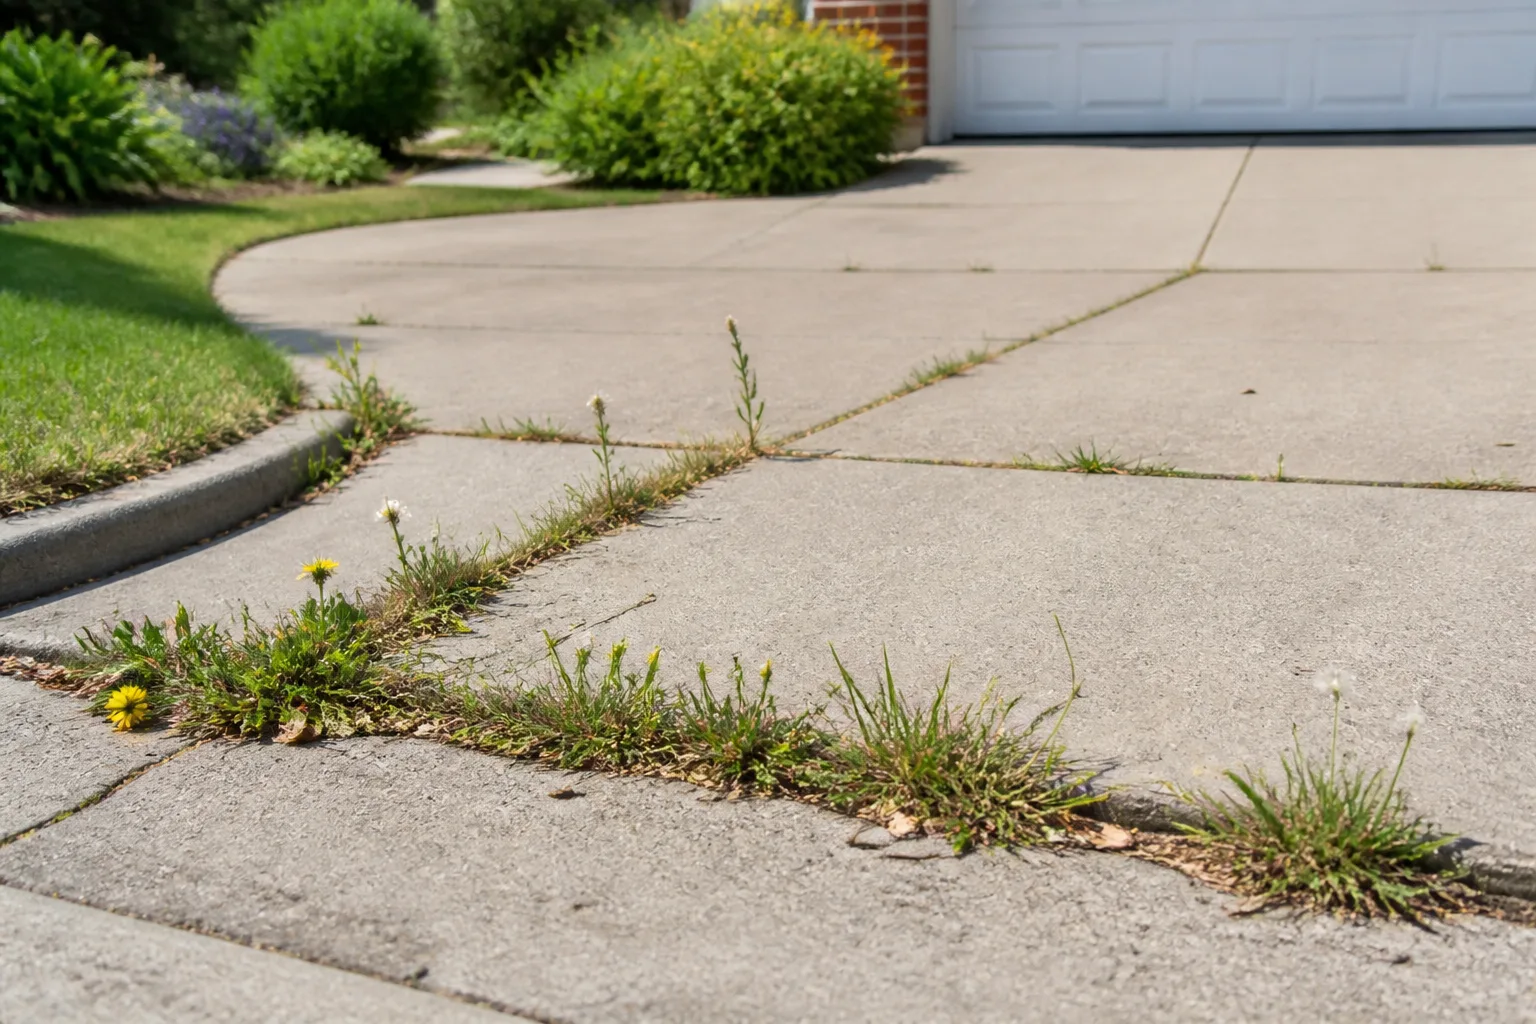
The safest first response to a cracked patio, walkway, driveway, or stepping stone is to stop treating the crack as a cosmetic defect. Freeze-thaw damage can be a narrow surface opening, but it can also signal water trapped under the slab, frost-heaved soil, a washed-out paver base, or a retaining wall that is beginning to move. The right repair depends on what is moving and where the water is going.
Keep people and vehicles off any section with a sharp height change, rocking stone, loose edge, or hollow-sounding concrete. Photograph the area, mark the ends of the crack with a pencil, and measure its width and any vertical offset after the surface has thawed; a follow-up measurement after the next freeze tells you more than the appearance alone.
First, Make the Area Safe and Measure the Damage
Clear snow, leaves, and loose grit without hammering ice into the crack. Look for a trip edge, a slab corner that moves underfoot, exposed reinforcement, crumbling concrete, or pavers that rock when stepped on. A crack that is ugly but flat and stable is a different job from a walkway that has become a little ramp.
Do not pressure-wash a newly opened crack before you understand where the water is going. High-pressure water can drive grit and moisture deeper, loosen joint sand, and make a small void look like a larger structural failure. Use a broom, soft brush, or shop vacuum for the first inspection, then let the area dry.
Stop and Call for Help When Movement Is Structural
Get a qualified concrete, masonry, or hardscape professional involved when a slab is lifting at a foundation, a driveway has a large displaced section, a retaining wall leans or bulges, or a crack continues through a wall, step, or structural support. Also stop if you can see undermined soil, a void beneath the edge, damaged utilities, exposed reinforcing steel, or water entering a basement or foundation.
That is not overcautious. A flexible filler can keep water out of a stable joint, but it cannot stabilize a moving slab or replace a failed base. Work around a retaining wall is especially poor territory for guesswork because removing soil or changing drainage can increase pressure behind the wall.
How Freeze-Thaw Damage Actually Starts
Concrete and masonry are porous materials. They do not need a dramatic crack for water to enter; capillaries, construction joints, open paver joints, and tiny surface defects can all hold moisture. A winter freeze then turns that moisture into a source of internal pressure and movement.
Water, Saturation, and Frost Heave Act Together
There are two related failure paths. In a concrete slab, water in pores and existing cracks can freeze, expand, and create microcracks, scaling, or spalling. In the ground below a walkway or paver patio, freezing moisture can lift soil or lenses of ice; when thawing softens the soil or leaves a void, the hardscape settles unevenly.
Repeated cycles compound the problem. A thaw opens the path for more water, and the next freeze acts on a larger, wetter defect. Peer-reviewed research in Materials found that freeze-thaw exposure increased concrete porosity and internal cracking, while salt solutions produced more severe deterioration than freshwater in the tested specimens. That laboratory result does not predict the life of your particular patio, but it explains why a crack that looked unchanged in December can become a spalled edge by spring. Read the Materials study on salt freeze-thaw deterioration for the underlying evidence.
Pavers respond differently because each unit is separate. The paver itself may survive while the base beneath it heaves, erodes, or settles. That is why you may see a wavy walkway, open joints, or a low spot that holds water without one dramatic crack through every paver.
Why De-Icing Salts Accelerate Surface Damage
Salt is not a magic shield for concrete. Sodium chloride brine can travel into cracks and pores, and dissolved salts can contribute to scaling and surface deterioration when concrete repeatedly freezes and thaws. The research evidence is strongest for the general durability problem, not for a precise prediction of how many applications a residential slab can tolerate.
The practical correction is to match the treatment to the hazard. Remove as much snow and ice mechanically as you safely can, then use traction on low-traffic areas. Fine Gardening recommends sand, crushed granite, or similar grit for grip and cautions that salty meltwater can move into garden beds and harm plants and soil life. Its guidance also recommends collecting excess salt after a thaw instead of leaving it to wash into the landscape. See the Fine Gardening guidance on snow clearing and salt alternatives.
If a high-traffic entrance must be de-iced, read the product label and the hardscape manufacturer’s instructions. Calcium, magnesium, and potassium chloride products may be less harmful to plants than sodium chloride in some situations, but “safer for plants” does not mean harmless to concrete, stone, pets, metals, or surrounding soil. Never assume a product marketed as ice melt is suitable for every surface.
Identify the Hardscape Material Before You Repair It
The quickest way to waste time is to apply a concrete product to a paver joint, coat a damp slab with sealer, or mortar a moving stone without correcting its base. Start by identifying the system and deciding whether the defect is in the surface, the joint, the support below it, or the drainage around it.
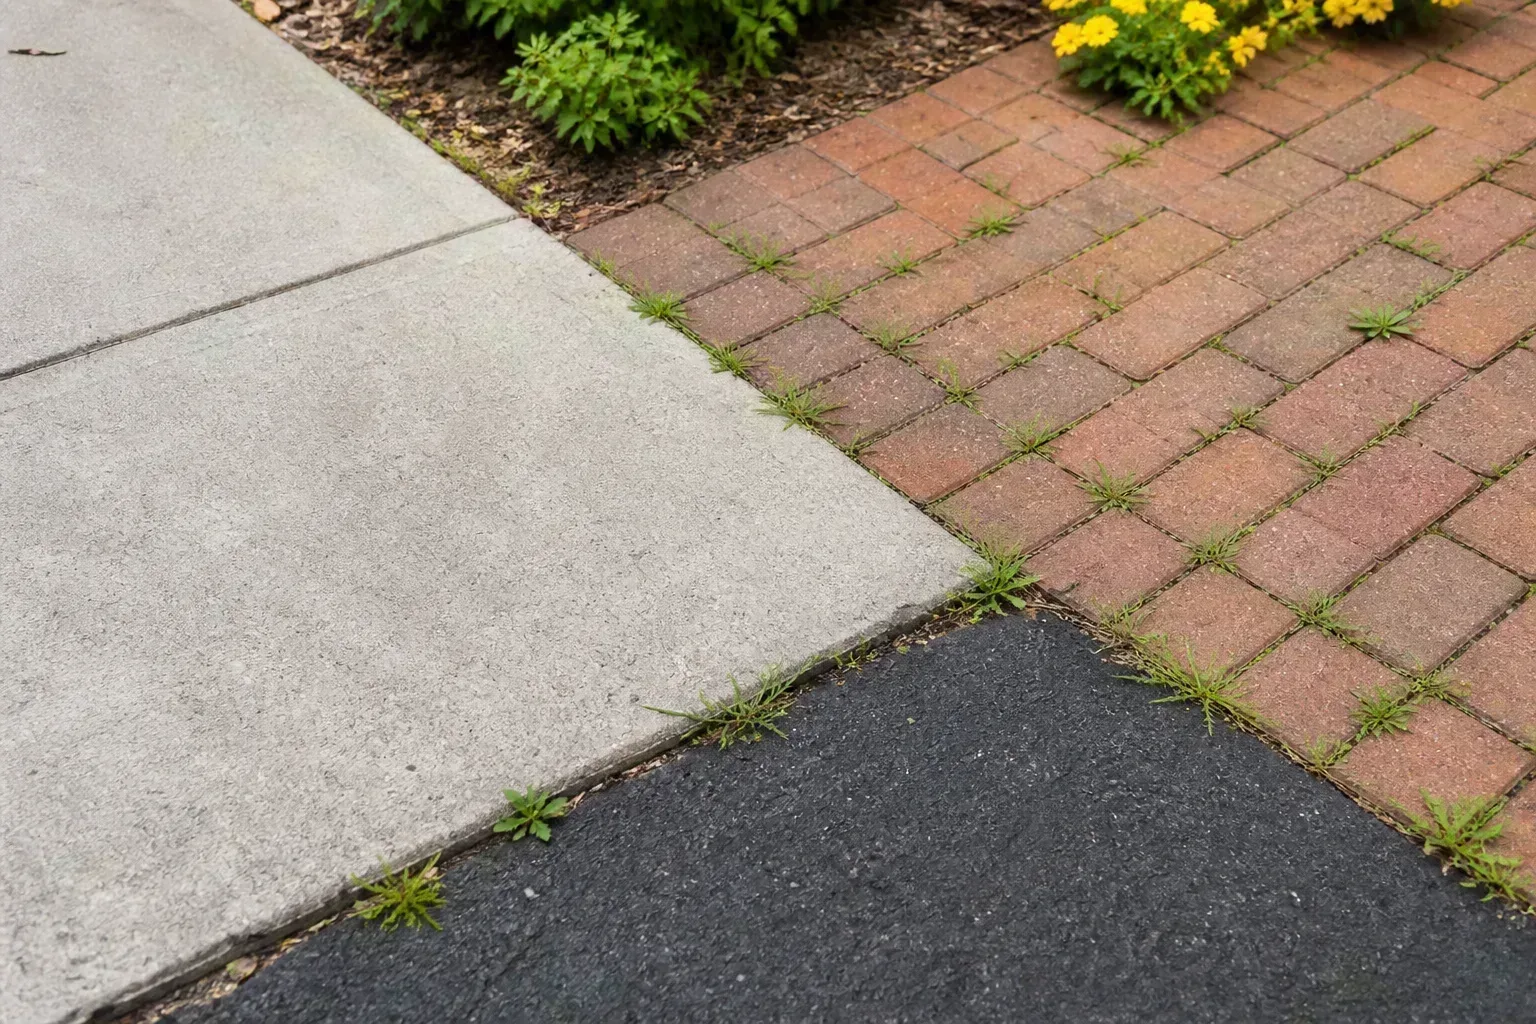
| What you see | Most likely repair class | What not to do |
|---|---|---|
| Narrow, flat crack in otherwise sound concrete | Clean and seal with a compatible flexible filler | Do not bridge a moving crack with rigid patch only |
| Sunken or rocking paver | Lift, rebuild the base, and reset | Do not add sand on top of a soft base |
| One broken stepping stone | Replace the unit and correct its bed | Do not hide a rocking stone with loose mulch |
| Flaking concrete surface over a broad area | Assess depth, water, and de-icer exposure | Do not skim-coat over active scaling |
| Leaning wall or displaced step | Professional masonry or structural assessment | Do not excavate behind it casually |
Poured Concrete Slabs
Poured concrete behaves as one connected plate, so cracks can telegraph movement across a larger area. Hairline shrinkage or control-joint cracks in a level, stable slab may be candidates for sealing. A crack that is widening, offset, wet from below, or accompanied by flaking and hollow areas needs a cause-based assessment rather than a tube of filler.
Surface scaling is also different from a through-crack. Scaling looks like thin flakes or rough patches breaking away from the top, often after moisture and de-icer exposure. It may be shallow, or it may expose weaker, damaged concrete below; sweep and inspect a small area before choosing between resurfacing, partial-depth repair, and replacement.
The American Concrete Institute’s freeze-thaw durability resources emphasize that cold-weather performance is a design and materials issue, including air-void systems and concreting practice. For a new slab or a major replacement, ask the contractor how the concrete mix, curing plan, control joints, reinforcement, and site drainage were selected for your climate instead of focusing only on the surface sealer. Review ACI’s freeze-thaw durability resources.
Pavers and Stepping Stones
Pavers are usually repairable in sections because individual units can be lifted and reset. The material may be the least damaged part of the system: if a patio dips after winter, the underlying base or edge restraint is often the real repair.
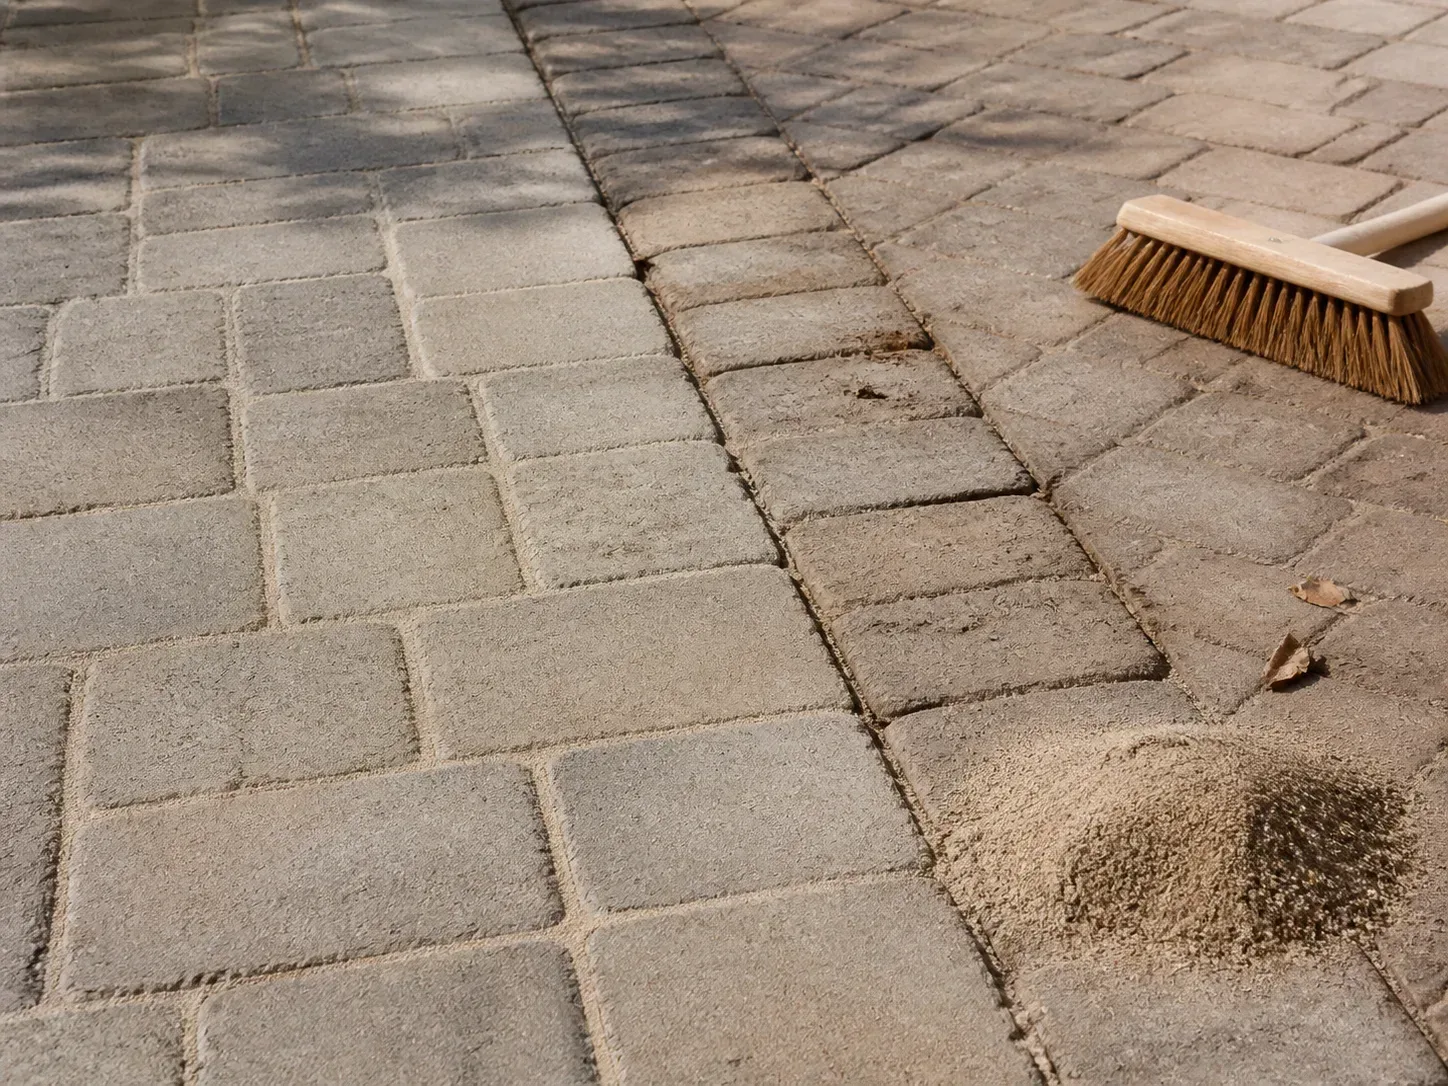
For a single cracked stepping stone, replacement is often more durable than attempting a surface patch. For a paver field, save intact units in the same order as you remove them, photograph the pattern, and check whether the low spot extends beyond the visibly cracked units. A neat reset over a wet or eroded pocket is a temporary disguise.
Practical hardscape guidance from New England Tree and Landscape makes the same essential point: sinking pavers usually require investigation of compaction, drainage, and erosion before the surface is reset. Use its paver-sinking repair sequence as a field reference, while adapting materials and depth to your local soil, load, and installation system.
Natural Stone, Brick, and Retaining Walls
Natural stone can crack from its own weaknesses, freeze-thaw movement, or a bedding problem. A thin flagstone with a stable bed may be replaced; a thick step or stone near a foundation deserves closer inspection. Do not assume a mortar repair will flex with a dry-laid installation, and do not use a rigid mortar joint where the original system was designed to drain and move.
Brick patios and walkways need the same diagnosis as pavers, but the joint material and brick condition matter. Repointing open joints can help when the base is stable; it will not stop a field that is settling or a wall that is being pushed by saturated soil.
Retaining walls raise the threshold for DIY repair. A wall that leans, bulges, separates, or drains muddy water through newly opened joints may have a backfill or footing problem. Keep the area clear, document the movement, and have a masonry or landscape professional evaluate it before you remove units or add drainage behind the wall.
Trace Water and Movement Before Patching the Crack
Repairing the visible line without tracing water is the hardscape version of painting over a leak. Walk the site after rain or a thaw, observe where meltwater pools, and follow the path from roof runoff, downspouts, slopes, irrigation, and neighboring surfaces.
Read the Crack Pattern and Surrounding Grade
The pattern gives you a starting hypothesis, not a final diagnosis. A crack radiating from a corner can reflect restraint or settlement; a long line across a slab can follow a control joint or movement in the base; a group of parallel cracks with surface flakes can suggest freeze-thaw scaling or de-icer exposure. A diagonal crack with one side higher than the other deserves more attention than a stable, narrow line.
Check five things before repair:
- Level: Lay a straightedge across the surface and note rocking, lips, and low spots.
- Moisture: Inspect after thawing and after rain; note standing water, damp joints, or water emerging from below.
- Edges: Look for soil washed from the side, missing edge restraint, or an exposed base.
- Runoff: Check whether downspouts, roof valleys, sprinklers, or uphill grades discharge beside the hardscape.
- Change: Compare your photographs and pencil marks after another freeze-thaw event.
If water consistently sits against the house, do not simply redirect it onto a neighbor’s property or into a retaining wall. The correct fix may be a downspout extension, a regraded planting strip, a surface drain, or a larger drainage design. Local rules and underground utilities matter before digging.
Repair Small, Stable Cracks in Concrete
A DIY crack repair is appropriate only when the concrete is stable, the crack is not a major control or expansion joint that must remain open, there is no serious height difference, and the surrounding concrete is sound. The aim is to limit water entry and reduce a pathway for future deterioration, not to make a moving slab behave like new.
Clean, Open, and Dry the Joint
Read the filler label before choosing tools. Many exterior products require a specific crack width, depth, temperature range, and dry surface; some are for horizontal slabs, while others are for vertical masonry. Use eye protection and hearing protection for grinding, keep bystanders away, and never use an angle grinder unless you are trained to control kickback and dust.
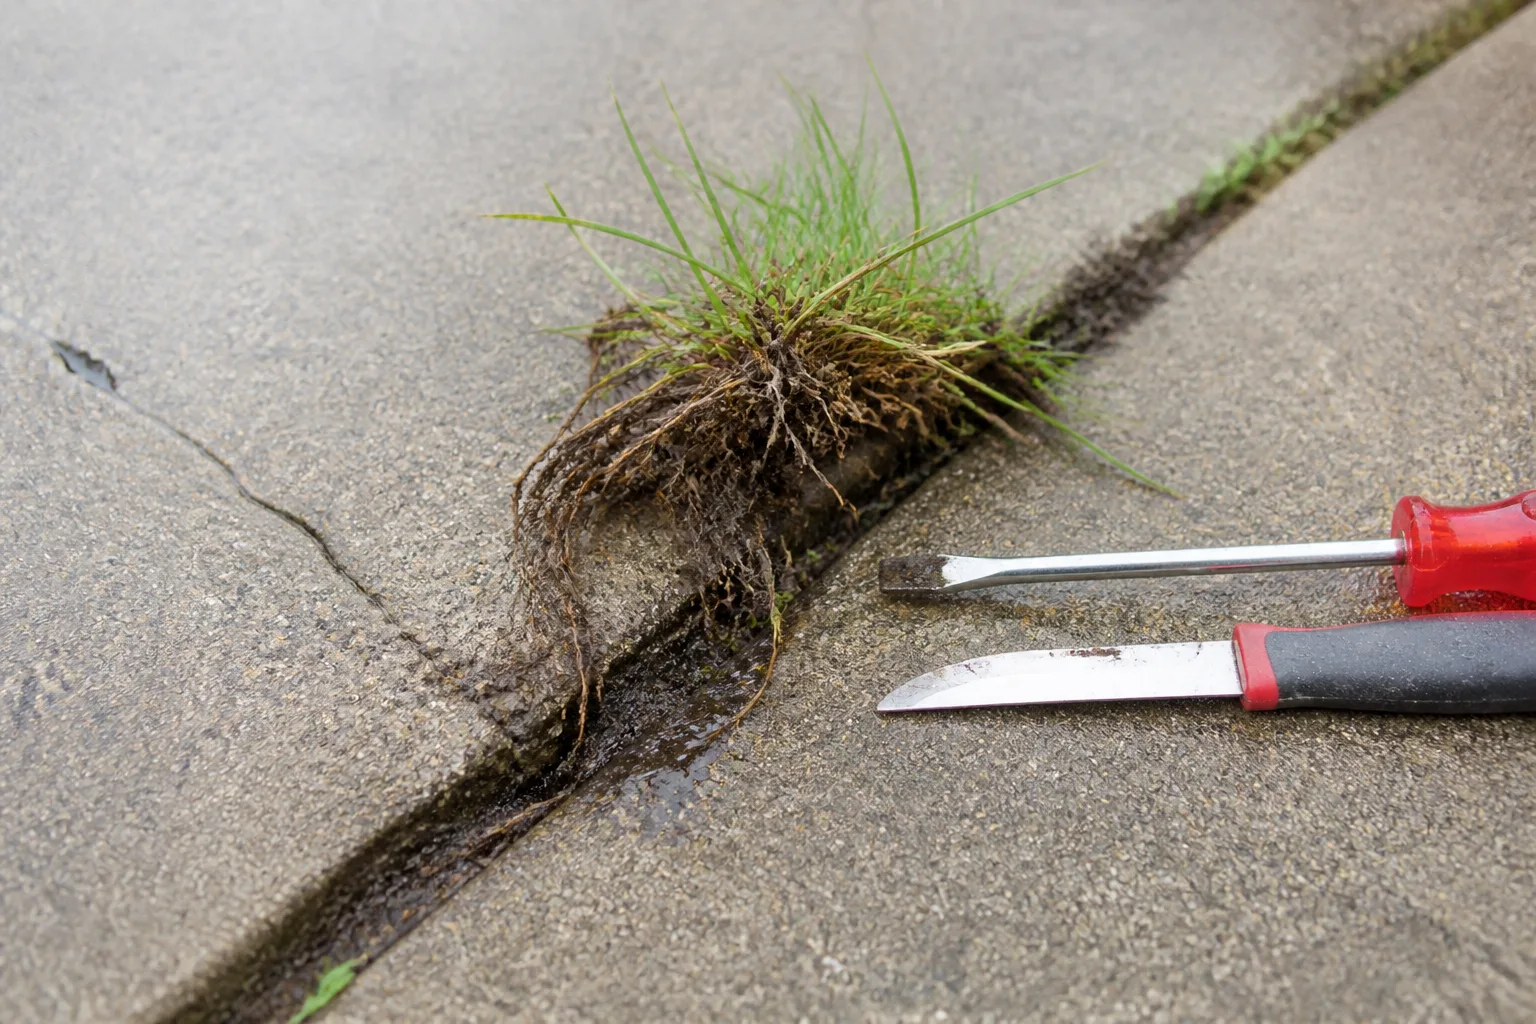
For a narrow, stable crack, remove loose crumbs and vegetation with a stiff brush or vacuum. If the product calls for a slightly widened joint, use the recommended tool to create sound edges rather than randomly digging deeper. A backer rod may be used in a wider or deeper joint to control filler depth, but it is not a structural support.
The surface must be clean and as dry as the product requires. Do not fill immediately after rain, during a thaw when moisture is rising through the slab, or when frost is likely before the filler cures. If the crack cannot stay dry long enough for the labeled cure, postpone the repair or use a professional system selected for the condition.
Use Flexible Filler and Respect Cure Conditions
For an exterior crack that will continue to move slightly, a compatible polyurethane or elastomeric concrete crack filler is usually more forgiving than a rigid cosmetic patch. Rigid epoxy has a place in engineered crack repair, but a two-part kit is not automatically the best choice for a damp, moving driveway crack. Follow the product’s surface-preparation, tooling, and cure instructions exactly.
Apply the filler steadily, keeping it slightly below or level with the surrounding surface as directed. A proud bead can catch tires, snow shovels, and shoes; an underfilled joint can collect water and grit. Do not smear filler across unsound concrete in an attempt to glue flakes back down.
Protect the repair from rain, freezing, traffic, and de-icer for the full label period. Once cured, check whether the joint remains sealed after the next wet-freeze event. If the filler pulls away quickly, the crack is moving, the edges are crumbling, or water is still coming from below, stop repeating the patch and move to a base, drainage, or replacement diagnosis.
Reset Sunken or Cracked Pavers and Stepping Stones
Choose a dry, above-freezing window when the soil is workable but not muddy. Mark the area, remove joint sand around the affected units, and lift pavers with care so you do not chip edges. Keep any reusable units on a tarp in installation order.
Inspect the pocket beneath the pavers. Remove loose sand, roots, organic debris, and mud until you reach firm material; if the surrounding base is saturated or the low spot is broad, expand the repair instead of stopping at the one visibly low paver. A failed edge restraint or an outlet that discharges into the base must be corrected before you reset anything.
Rebuild with the base material specified for your system and local conditions, compacting it in thin lifts rather than dumping in one deep layer. Install the bedding layer evenly, set the original pavers, and check the finished surface with a straightedge. The units should be supported across their full footprint, not balanced on a few high points.
Once the surface is aligned, restore the joint material recommended for the installation. Sweep in dry joint sand, compact as appropriate, and refill until the joints are full; polymeric products require careful moisture and temperature control. Do not use loose topsoil or fine mulch as joint filler, and do not flood the work area while trying to settle sand.
Step stones deserve one extra test: walk the route before finalizing the bed. If a stone rocks, tilts, or sits noticeably above its neighbors, lift it and correct the entire bearing area. A replacement unit is a sensible choice when the original stone is cracked through, delaminating, or too thin to support foot traffic.
Know When a Concrete Section Needs Cutting and Replacement
Replacement is the better answer when a slab panel is broken into multiple pieces, has a substantial height difference, is badly undermined, or has widespread spalling and exposed aggregate. It is also the honest answer when a previous patch has cracked repeatedly and the underlying movement has not been corrected.
Cutting out a panel is more than breaking out the ugly part. The repair must leave clean boundaries, address the subgrade and base, provide the necessary reinforcement or load transfer, and reconnect to a joint layout that gives the new concrete room to behave. A contractor may recommend saw-cut limits that reach beyond the visible crack so the new section bears on stable material.
Do not pour fresh concrete against frozen soil, into a water-filled excavation, or during conditions that prevent proper curing. Cold-weather concreting has material and protection requirements; “it is above freezing this afternoon” is not a complete curing plan. For a driveway carrying vehicles, a stair landing, a slab near a foundation, or a large patio, get a written scope that explains demolition, base repair, drainage, mix, joints, curing, and cleanup.
Correct the Base and Drainage That Caused the Failure
Water is often the repeat offender, but drainage correction is not always a French drain. Start with the smallest intervention that moves water away safely: extend a downspout, clear a clogged channel, repair a leaking irrigation line, reshape a soil edge, or restore a surface slope. Recheck the area during the next rain before committing to excavation.
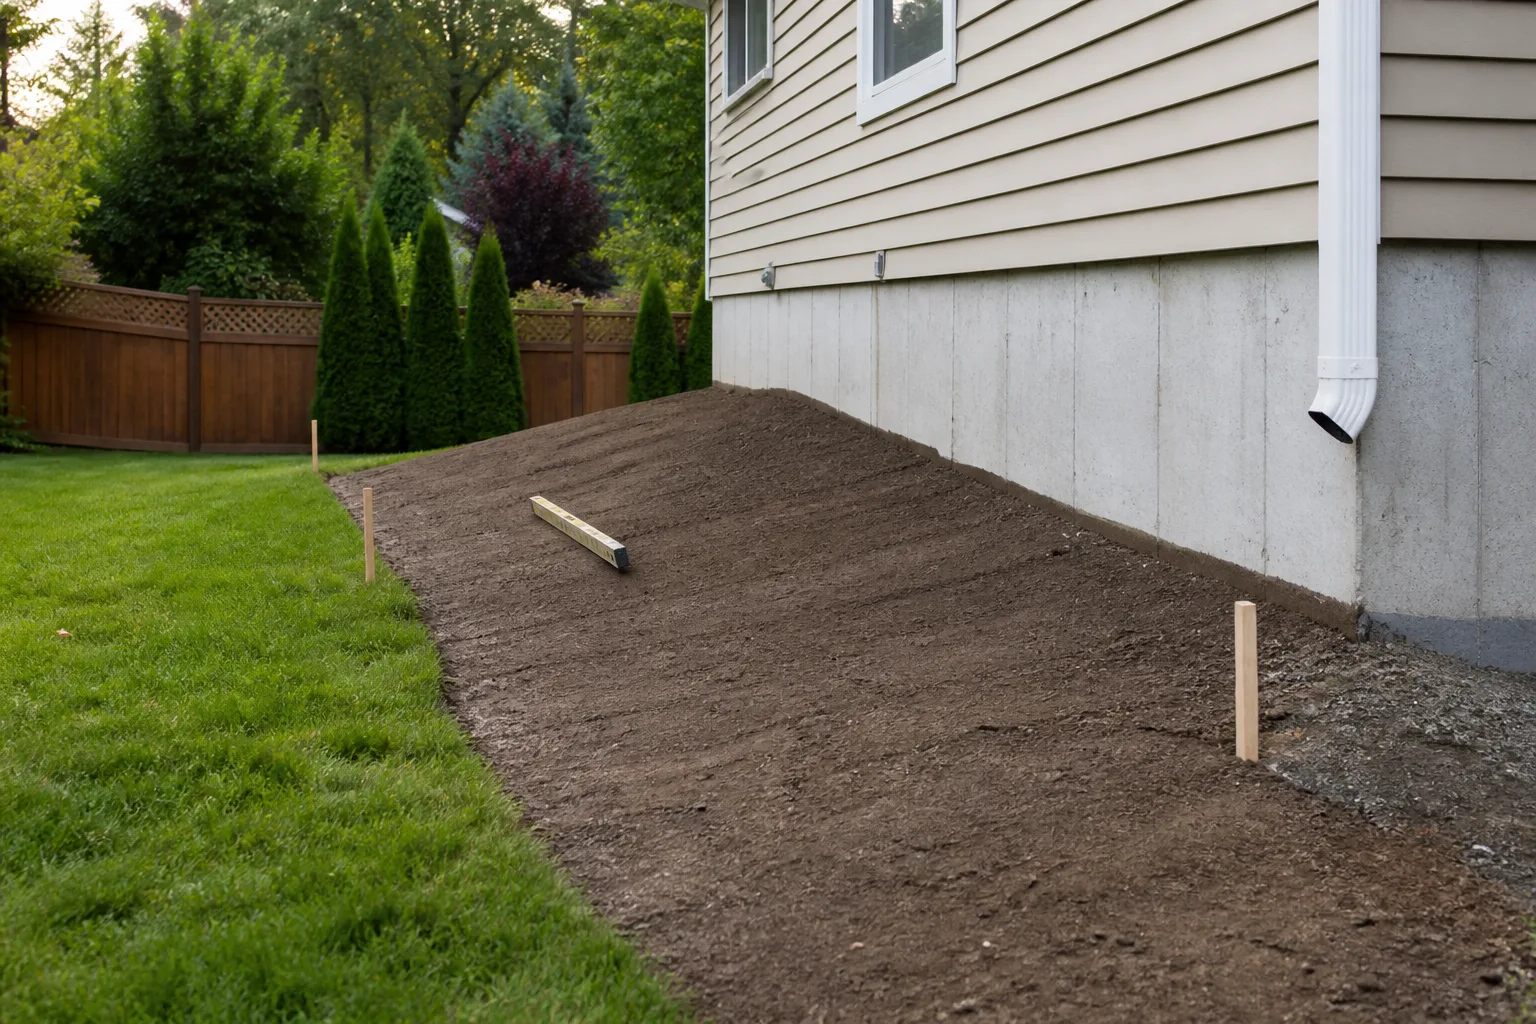
Hardscape should shed water rather than hold it against the house or saturate its base. A common planning target for many exterior slabs is a modest fall away from structures, often around 2% or roughly 1/4 inch per foot, but local accessibility, existing grades, doors, property lines, and drainage rules can change the design. The important test is not a number in isolation; it is whether water leaves the surface without creating a new problem.
For pavers, base depth and compaction must match the load and soil. A footpath on well-drained ground is not the same as a vehicle driveway on clay. Soft subsoil, poor fill, tree roots, repeated runoff, or a utility trench may require excavation, geotextile separation, thicker aggregate, or engineered reinforcement. Do not add more bedding sand to compensate for a base that is pumping water or settling.
Keep roof runoff, irrigation overspray, and lawn water from concentrating at slab edges. Epic Gardening’s winterization guidance also recommends draining hoses and irrigation components before freezing weather because trapped water can crack fittings and tubing; that same seasonal check can reveal a leaking line beside a patio. Review the winterization checklist from Epic Gardening.
Seal and Protect Hardscaping With a Winter Maintenance Plan
Sealer can reduce water absorption and make a sound surface easier to maintain, but it is not a structural repair and it cannot seal a wet slab from below. Apply it only after repairs have cured, the surface is clean and dry, the forecast meets the product requirements, and a test area confirms the finish is acceptable. A glossy film is not automatically better; some sealers change color, reduce traction, trap moisture, or make future repairs harder.
For new work, ask about concrete durability suited to the exposure, including the mix, air entrainment, curing, joint layout, and reinforcement. For pavers, verify that the base is compacted in lifts, the surface drains, the edge restraint is continuous, and the joint material matches the manufacturer’s system. Eight-to-ten-foot joint spacing is not a universal rule for every slab; dimensions, thickness, reinforcement, climate, and local practice should determine the layout.
Use this maintenance rhythm before and during winter:
- Before the first freeze: Sweep joints and drains, extend downspouts, inspect edges and steps, repair stable cracks in a suitable weather window, and store hoses after draining them.
- After a heavy snow: Remove snow with tools that do not gouge the surface, keep piles from blocking drainage, and avoid pushing salty slush into planting beds.
- During a thaw: Walk the hardscape when it is safe, photograph new movement, clear outlets, and mark soft or sunken areas for dry-season repair.
- When traction is needed: Use mechanical removal first, then the least damaging traction or de-icing option that meets the safety need. Sweep up loose product after the surface clears.
- In spring: Flush salt-affected planting areas with clean water where appropriate, inspect for scaling and open joints, and repair the water source before resealing.
Think of the system as surface, joints, base, soil, and water path. A repair lasts when all five are compatible; a patch fails when the visible crack is the only part anyone fixes.
Conclusion
Freeze-thaw cycles do not damage every hardscape in the same way. Concrete can crack, scale, or spall; pavers can heave, sink, and open their joints; stone and brick can split or move with their bedding; retaining walls can reveal a drainage or structural problem.
Make the area safe, document movement, identify the material, and trace water before buying filler. Seal a small stable concrete crack only when the surface is sound and dry, reset pavers on a corrected base, replace unstable concrete sections when patching cannot restore support, and call for help when a wall, foundation edge, step, or load-bearing surface is moving. Then treat winter maintenance as part of the repair: less concentrated water, less unnecessary salt, better traction choices, and an inspection after each thaw give your hardscaping a much better chance of reaching spring intact.



