How to Grow Wheat at Home: From Seed to Harvest
Learn how to grow wheat at home, choose spring or winter seed, time planting, care for the crop, test ripe kernels, and thresh a small harvest.
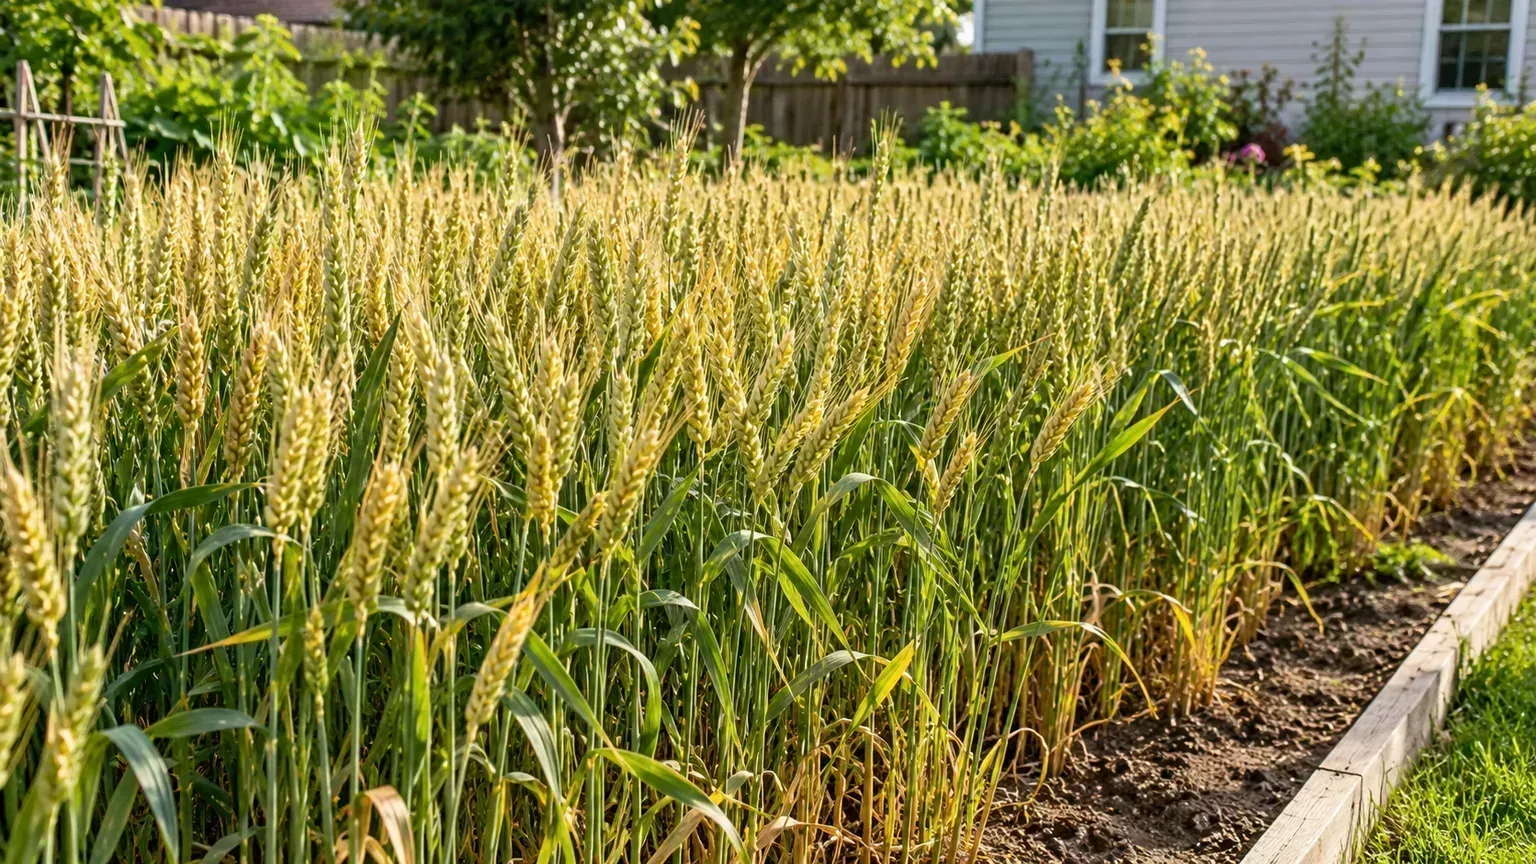
Wheat can grow in a backyard bed, but a grain crop asks for a different kind of patience than a row of vegetables: most of the work arrives at the start and end. You need seed that suits your region, an even stand that can compete with weeds, and enough dry weather—or a sheltered place—to finish the harvest. Growing a small plot is an excellent way to learn the full grain cycle; it usually takes more land to produce a household’s regular flour supply.
Start by deciding whether you want mature grain, decorative stalks, or young wheatgrass. Those goals use different varieties and harvest times. The steps below focus on wheat grown through to wheat berries for food or seed.
Decide what you want from a wheat crop
Mature-grain wheat is an annual cereal grass. It grows leaves and shoots, sends up a seed head, fills kernels, then dries down; it does not return as a perennial lawn grass. Wheatgrass is the same young crop harvested early for greens or juice, while decorative wheat may be cut for dried arrangements before you need fully developed grain. Decide on the end use before ordering seed because a wheatgrass tray is not a shortcut to flour.
A small patch has value beyond its weight of grain: you can observe tillering, learn when kernels ripen in your climate, and practice threshing without buying equipment. Treat the first planting as a measured trial. Keep notes on the cultivar, sowing date, bed size, rainfall, disease, harvest date, and cleaned grain so next year’s decisions come from your own plot rather than a yield promise.
Choose a wheat variety for your climate and use
Wheat selection involves several separate choices. Spring or winter describes the crop’s seasonal growth habit; hard or soft describes grain characteristics used in milling and baking; red or white refers to kernel color; and some wheats, including spelt, emmer, and einkorn, retain a hull that has to be removed after threshing. These labels are not interchangeable. A hard red wheat can be a winter or spring type, and choosing “winter” alone does not tell you whether the grain is suited to bread or pastry.
For a first grain crop, favor a named cultivar sold for planting in your region, with a clear spring/winter label and a use that matches your kitchen. Hard wheat is generally selected when stronger gluten development is wanted for raised breads; soft wheat is used more often for cakes, crackers, and tender pastries; durum is associated with semolina and pasta. These are broad milling preferences, not guarantees that a home-grown batch will bake like commercial flour. The variety and growing conditions also affect grain quality. Mother Earth News’ guide to choosing and growing wheat recommends getting variety advice from local agricultural specialists because disease pressure and adaptation differ by region.
Winter wheat needs a fall start and winter cold
Winter wheat is sown in autumn, grows roots and a few shoots before winter, slows or becomes dormant in cold weather, then resumes in spring and ripens in late spring or summer. Many winter cultivars need a sustained period of cold—called vernalization—before they will head and produce grain. A winter cultivar that never receives suitable winter conditions may grow leaves without making a normal crop. Conversely, planting too early can produce a rank stand that is more vulnerable to lodging, disease, or winter injury.
Use your local cooperative extension’s recommended planting window for the exact cultivar and location. “Fall” is not one date across the continent: latitude, elevation, winter severity, and local pest cycles shift the useful window. The aim is enough autumn establishment for the plant to enter winter with roots and shoots, not a calendar date borrowed from a different state or hemisphere.
Spring wheat fits regions with damaging winter cold
Spring wheat is planted in early spring and develops through the warmer months, with harvest generally later than winter wheat. It is often the practical choice where winter wheat cannot reliably survive the cold. Sow it when your regional guidance says the soil is fit to work and the seedbed is moist enough for establishment; planting very late can leave less time for grain filling before heat or drought.
“Spring” is a cultivar type, not a universal heat-tolerance label. A spring wheat adapted to a cool northern growing season may not be a good choice for a hot, humid region. Ask a local seed supplier or extension office for varieties grown successfully nearby, and choose the season type before comparing flour classes.
Buy viable, clean seed
Buy seed with a named cultivar, a stated seasonal type, and a credible germination or quality label. Seed sold for eating may be viable, but it can be old, heat-treated, polished, or poorly matched to your climate; a grocery bag is a gamble when an entire bed depends on it. If you want edible grain, check the supplier’s intended use and any treatment statement, and do not use seed whose label excludes food or feed use for a crop you plan to eat.
A quick germination check can prevent a thin stand. Place ten kernels between damp paper towels in a loosely covered container, keep them warm but not hot, and check daily; count how many sprout over the next several days. If eight of ten germinate, you have a rough 80% germination result, not a lab-certified rate, but it tells you whether the lot is worth planting. Buy a little extra rather than compensating for questionable seed by scattering an arbitrary excess across the bed.
For hulled wheats such as spelt, einkorn, and emmer, plan for dehulling as well as threshing. The hull remains tight around the kernel after the seed head is beaten; a home setup may crack the grain before it removes the hull cleanly. If you want straightforward flour or berries, a free-threshing bread wheat is a simpler first project.
Prepare a sunny, well-drained bed
Choose an open spot with at least six hours of direct sun and soil that drains after rain. Wheat tolerates a range of garden soils, but standing water, compacted ground, and deep shade make establishment and grain filling less reliable. A raised bed can work if it has enough soil volume and does not dry out quickly; a shallow pot is better treated as an ornamental or wheatgrass planting than as a productive grain plot.
Remove perennial weeds before sowing. This matters more than it does with many wide-spaced vegetables because young wheat resembles grass, so once it emerges you may struggle to distinguish crop seedlings from grassy weeds. Use a soil test if the bed has an unknown history, and amend according to its results. Mature compost can improve soil structure where needed, but loading the bed with manure or high-nitrogen fertilizer is not a shortcut to a heavy crop: overly lush stems can fall over before the grain ripens.
Aim for a firm, fine seedbed, not powdery tilth. Loosen only the top layer enough for roots and seed placement, rake out large clods, and level the surface. In a very small garden, a board pressed gently over the bed after sowing can improve seed-to-soil contact; avoid compacting wet soil into a crust.
Sow wheat at the right time, depth, and density
Follow the cultivar label and local extension guidance for planting time. Wheat seed germinates in cool conditions, but season-specific varieties still matter: sow winter wheat in its local autumn window and spring wheat early enough to complete its growth before summer stress. Do not use the broad USDA hardiness zone range as a planting calendar; wheat’s survival and grain production depend on the cultivar’s cold requirement and local seasonal pattern.
Sow into moist soil at a consistent depth so seedlings emerge together. Around an inch is a useful small-plot starting point if the seed supplier gives no different instruction, but soil texture changes how deeply seed should be covered. NC State Extension’s small-grain cover-crop guidance gives a range that varies with soil texture; coarse, sandy ground can take a deeper placement than fine, clayey soil. Seeds left on the surface dry out or get eaten; seed buried too deeply can emerge weakly or not at all. Rake the seed in, then firm the surface lightly.
Broadcast across the bed or sow rows for easier weeding
For a bed-sized planting, weigh or measure the recommended amount of seed for the area, divide it in half, and scatter one half lengthwise and the rest crosswise. This two-pass approach gives more even coverage than one handful thrown in one direction. Rake shallowly, firm the bed, and water only if rain is not expected and the soil is dry.
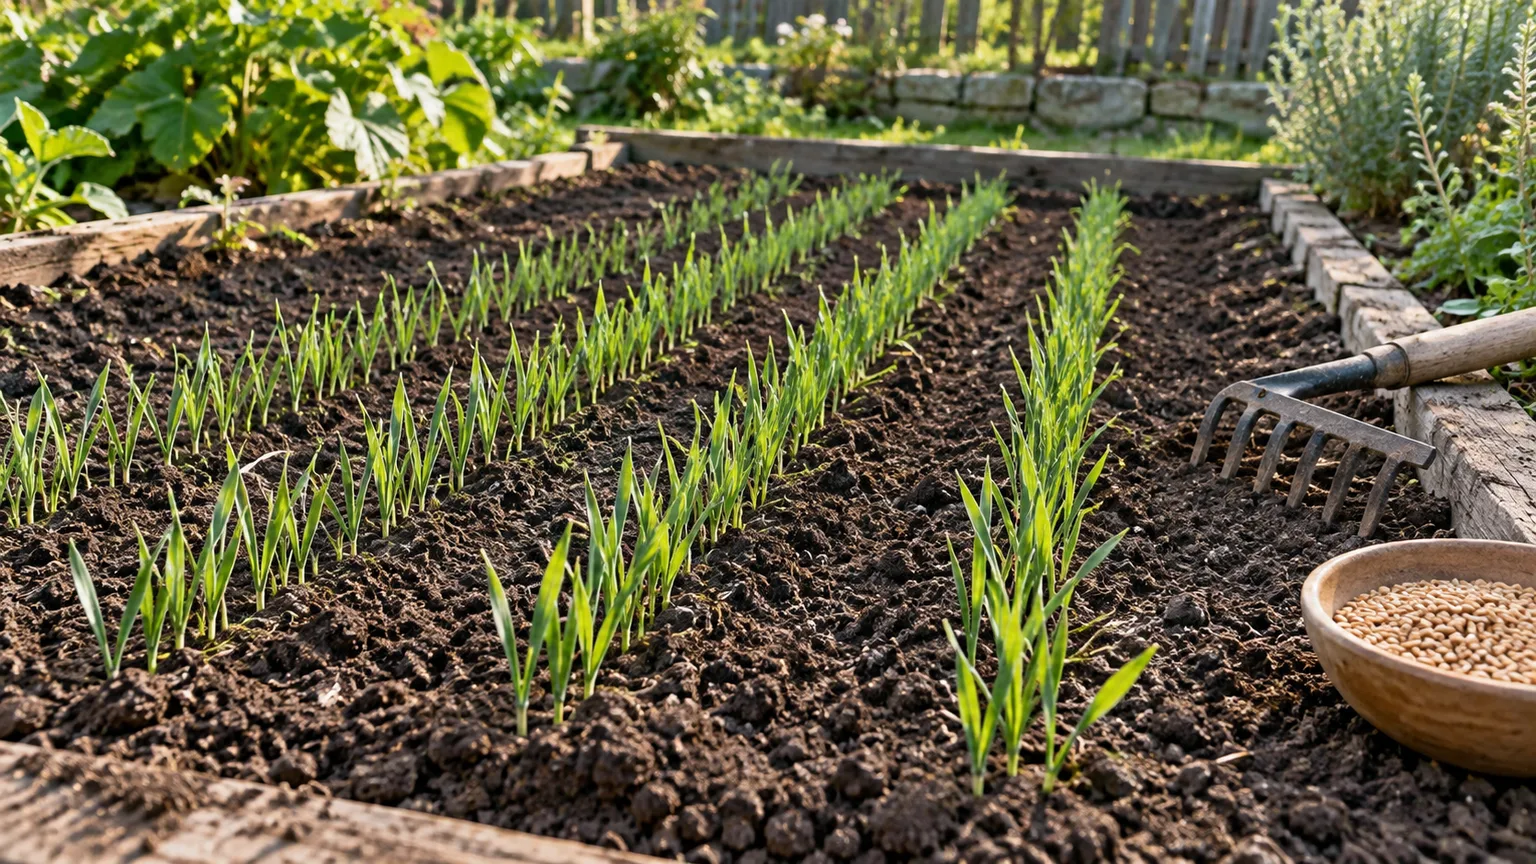
Rows are easier to maintain if weeds are likely or if you want to inspect each plant. Small-plot guidance in Mother Earth News uses closely spaced rows, while NC State Extension describes seeding rates and depths for small-grain cover crops. Those are useful reference points, not universal grain-production prescriptions: seed size, germination, purpose, and moisture change the correct rate. Use a packet rate or local grain recommendation scaled to your measured plot instead of assuming that “more seed” means more wheat.
Keep the young crop weed-free and watered by stage
Water gently after sowing if the bed is dry, then keep the seed zone evenly moist until emergence. Once seedlings are established, water when the soil is drying and rain has not supplied enough; avoid frequent shallow sprinkling that leaves roots near the surface. A dense wheat stand can shade some later weeds, but it cannot erase competition from grasses or broadleaf weeds that establish first. Weed by hand while the crop is young, taking care not to pull up wheat seedlings.
The crop’s water demand changes as it develops. Establishment, shoot growth, heading, flowering, and kernel filling are more consequential than the final dry-down. A dry spell during early growth can reduce tillering; stress around flowering or grain fill can limit kernel development. Conversely, waterlogged soil and persistently wet foliage favor disease and can weaken roots. Use rainfall and a finger check below the surface rather than a fixed “inch per week” rule copied from a different climate.
Once most heads are filling and the lower stalks are yellowing, stop treating the bed like a leafy vegetable patch. Mature grain needs a dry finish. If a late shower delays drying, let the heads and straw dry thoroughly before cutting or storing them; if the heads begin to shatter, harvest promptly and finish drying under shelter.
Follow the growth stages before troubleshooting
Wheat does not jump straight from grasslike seedlings to golden heads. After emergence, shoots form; the plant may produce tillers, or side stems, from the base. Stem extension follows, then the head emerges from the upper leaf sheath, flowers, and fills kernels. Purdue’s wheat maturity-stage guide separates tillering, stem extension, heading and flowering, grain fill, and ripening—useful stages to watch even in a home bed.
Tillers help explain why an even stand matters. A wheat seedling may form several productive stems when it has enough light, root space, moisture, and time, but the number varies with cultivar, sowing date, density, and weather. Do not dig up plants to count tillers or try to force them with extra fertilizer. Instead, watch the bed at the same point each week, note when heads appear, and use that timing to plan netting, inspect disease, and estimate harvest.
A calendar estimate is only a planning aid. The same variety can mature at different times in different climates and years, and a warm spell can accelerate development. Follow what the plant is doing: heads fully emerged, kernels filling, then straw and kernels drying. This stage-based approach is more reliable than expecting every crop to finish in a set number of days.
Prevent lodging and watch for pests and disease
Lodging is when stems bend or fall over, often after strong wind or rain, particularly when plants are tall, crowded, or overfed with nitrogen. It can make harvest awkward and keep heads close to damp soil. Prevent it by choosing an adapted variety, avoiding excess fertilizer, giving the stand enough air, and not pushing the crop with late nitrogen. Do not mow a grain crop to fix lodging: cutting the stems can remove productive heads or reduce the harvest.
Inspect the bed weekly once it is established, and more often as heads emerge. Look for patches of flattened stems, discoloration, powdery growth, missing seedlings, or insects clustered on leaves or heads. Aphids and birds may appear, while fungal diseases such as rusts or head diseases vary by region and weather. A locally recommended resistant cultivar and good drainage are more dependable prevention than spraying a crop without a diagnosis.
Respond to symptoms without guessing at treatments
First check the pattern. A few lower leaves yellowing as the crop matures is different from expanding yellow streaks on young leaves; one lodging patch after a storm differs from stems falling across the whole bed. Compare healthy and affected areas, check whether soil is waterlogged or dry, and look at the plant’s stage. If a disease seems likely, take clear photos and a sample to a cooperative extension office before applying any product.
Do not eat or save seed from grain that is visibly moldy, foul-smelling, or mixed with unusual dark growths on the heads. Keep questionable grain separate while you identify the problem. A home gardener rarely needs a field-crop pesticide program; products labeled for grain crops may have crop, timing, and harvest restrictions that do not fit a backyard plot. Remove badly affected plants and dispose of them according to local extension advice rather than spreading a suspected disease in home compost.
Know when wheat is ready to harvest
Harvest by kernel condition, not by a holiday, month, or a general “120 days” promise. As wheat ripens, heads and straw turn from green to straw-colored, and kernels progress from watery to soft dough and then hard dough. In hard dough, a kernel is firm but may still contain moisture; fully ripe grain is hard enough to crack between your teeth rather than smear or chew like dough. The Purdue growth-stage guide calls the final ripening stages hard dough and ripe straw, while small-scale growers use a kernel bite test to judge their own plants.
Sample several heads from different parts of the bed. Rub out a few kernels and bite them; if they are soft, dent easily with a fingernail, or taste doughy, wait and test again in a few days. If the kernels are hard and the heads are dry, cut on a dry day before repeated rain, wind, or birds cause shattering and loss. Some small-plot growers cut at hard dough and cure under cover, but that shifts the drying work indoors; it is not permission to seal moist grain in a container.
Harvest, dry, thresh, and winnow a small crop
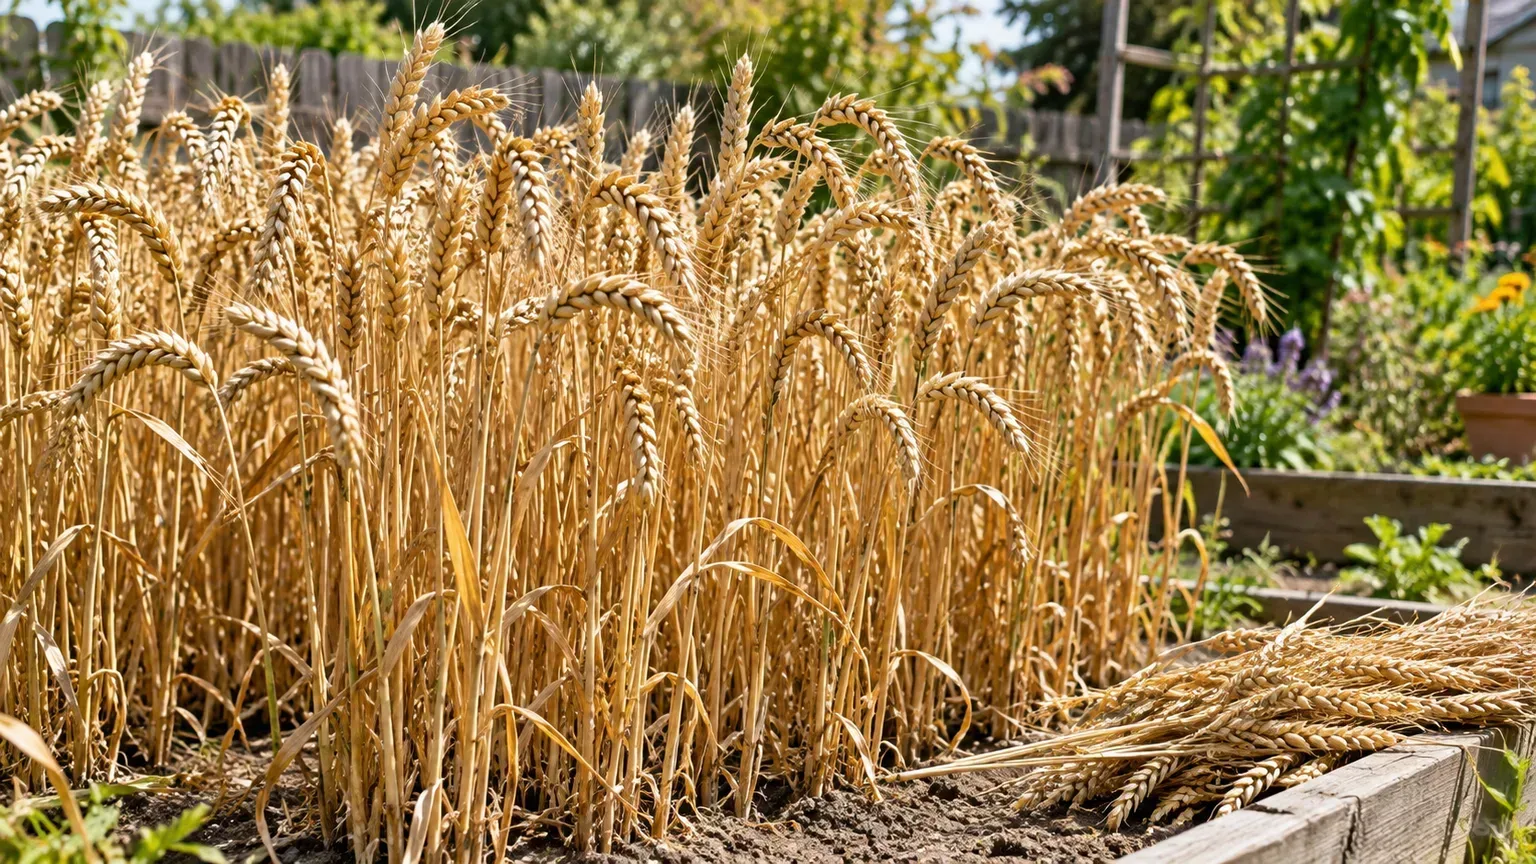
For a small area, hand pruners or garden shears can cut the stems; a sickle is useful for a larger patch. Gather manageable handfuls with heads pointing the same direction and tie loose sheaves. Stand or hang them in a dry, airy, sheltered place, with space around each bundle. A tarp or clean sheet underneath catches kernels that fall. Protect the crop from rain and rodents while it cures; heads should be dry and kernels hard before threshing.
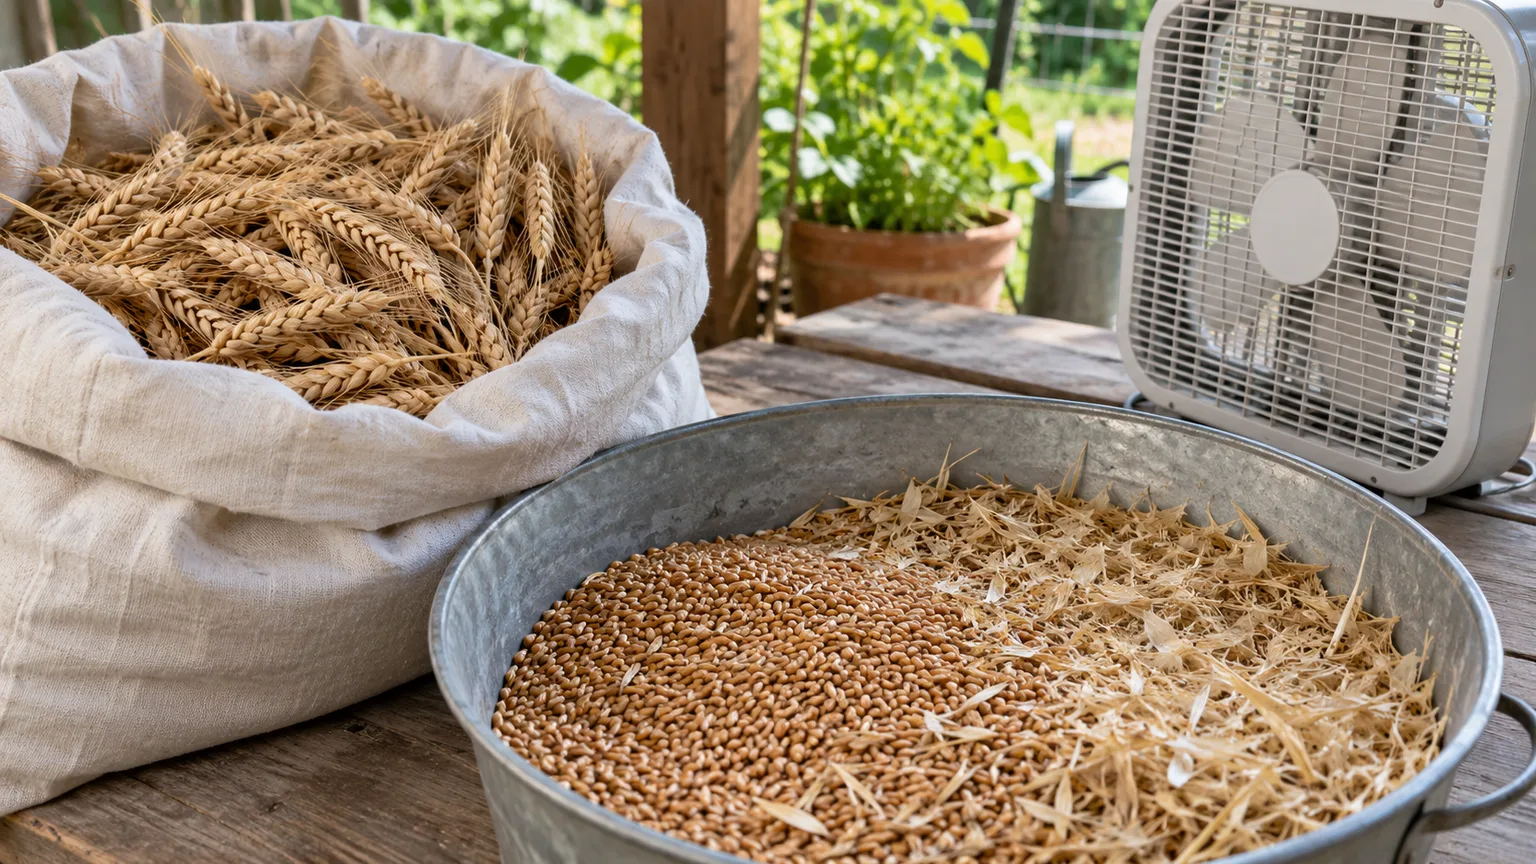
Threshing separates the grain from the head and chaff. Put a small bundle into a clean pillowcase, cloth sack, or deep bin and beat or rub the heads until kernels fall free. Work in batches and inspect the result; too much force can crack kernels, while damp heads remain stubborn and leave more grain attached. For larger home plots, a clean tub and a blunt stick can be quicker, but contain the stalks so berries do not scatter across the yard. Hands-on grower Karen at The Art of Doing Stuff documents a small community-garden plot and the practical sequence of cutting, drying, threshing in a bag, and using a fan to clean the berries.
Winnowing removes light chaff with moving air. Outdoors, slowly pour the threshed mixture from one bucket to another in a gentle breeze; the heavier kernels fall while lighter husks drift away. A box fan on a low setting can do the job, but start with a small amount and a deep catch bin because kernels bounce and a strong fan can blow grain out with the chaff. Repeat until the grain looks clean, then hand-pick any stones, weed seeds, or broken heads. Keep the work area clean, and avoid breathing a cloud of dry chaff.
Some wheat needs another step. Free-threshing bread wheat usually releases kernels from the head with beating and rubbing. Hulled types retain an attached hull and need dehulling, which can be difficult without specialized equipment and may break kernels. If your goal is edible berries rather than a botanical experiment, check this trait before planting.
Store clean berries and mill only what you need
Do not seal warm, damp, or incompletely cleaned grain. Spread berries in a thin layer on a clean screen or tray in a dry, ventilated place until they are thoroughly dry; then cool them before packing. Moisture trapped in a sealed container can lead to spoilage, and visible condensation, musty odor, or insect activity means the lot needs immediate attention. For larger or long-term stores, use a grain moisture meter and a storage target appropriate to temperature and intended storage time; AHDB’s grain-storage guidance explains why moisture and grain temperature both affect safe storage.
For household quantities, store only clean, dry berries in a food-safe, pest-resistant container, label it with the cultivar and harvest date, and keep it cool, dark, and dry. Check the first few weeks for condensation, insects, or odor before treating the container as stable. If you are uncertain that grain is dry enough, keep it spread out and continue drying rather than relying on a tight lid to solve the problem. Do not rinse wheat after drying; water makes it harder to store safely.
Whole berries keep better than freshly milled whole-grain flour because the intact kernel protects its oils. Grind only the amount you expect to use soon, and store the flour according to a food-storage source appropriate to your conditions. If you save wheat for next year’s planting, keep it separate from food grain, label the variety, and store it dry and rodent-proof. Do not save seed from a mixed or diseased stand if you want to preserve a dependable cultivar.
Plan a realistic first plot
Start with one bed or a short row that you can weed, cover from birds, and process by hand. A plot around 4 by 4 feet is enough to observe a full crop cycle, though the cleaned harvest may be only a small amount of grain. Larger plots make more flour but also create a bigger job at harvest: cut stems, somewhere dry to cure them, a contained threshing area, and enough time to clean the grain. Decide where these steps will happen before you sow.
Yield estimates are especially easy to overstate. Soil, seed size, cultivar, weather, bird loss, lodging, and your ability to thresh and winnow all affect the final weight. One long-running home-growing account on The Art of Doing Stuff describes a 30-square-foot plot producing about two cups of kernels in one season; other plots can do better, but the example shows why a small bed is a learning crop rather than a dependable flour supply. Mother Earth News likewise presents a broad range for small-plot yields and recommends a trial planting before scaling up.
After the first harvest, assess more than the number of pounds. Did the chosen type survive winter or finish before summer heat? Did rows make weeding easier? Did rain or birds threaten the heads? How long did hand threshing take, and did the grain dry fully before storage? Those notes help you decide whether to repeat the variety, change planting time, increase the plot, or grow wheat mainly for its straw and seasonal appearance.
Conclusion
Growing wheat at home is straightforward when the variety matches your climate and you treat harvest and drying as part of the crop, not as an afterthought. Start with clean, viable seed, use local planting guidance, keep the young stand free of weeds, and judge maturity by hard kernels and dry heads. A small first plot gives you the most useful result: experience with the whole cycle, from sowing to clean berries, before you decide whether to grow more.