When and How to Cut Back Sedum Without Losing Blooms
Prune sedum with a seasonal plan: spring cleanup, an early-summer pinch for sturdy stems, and a fall decision that protects flowers and wildlife.
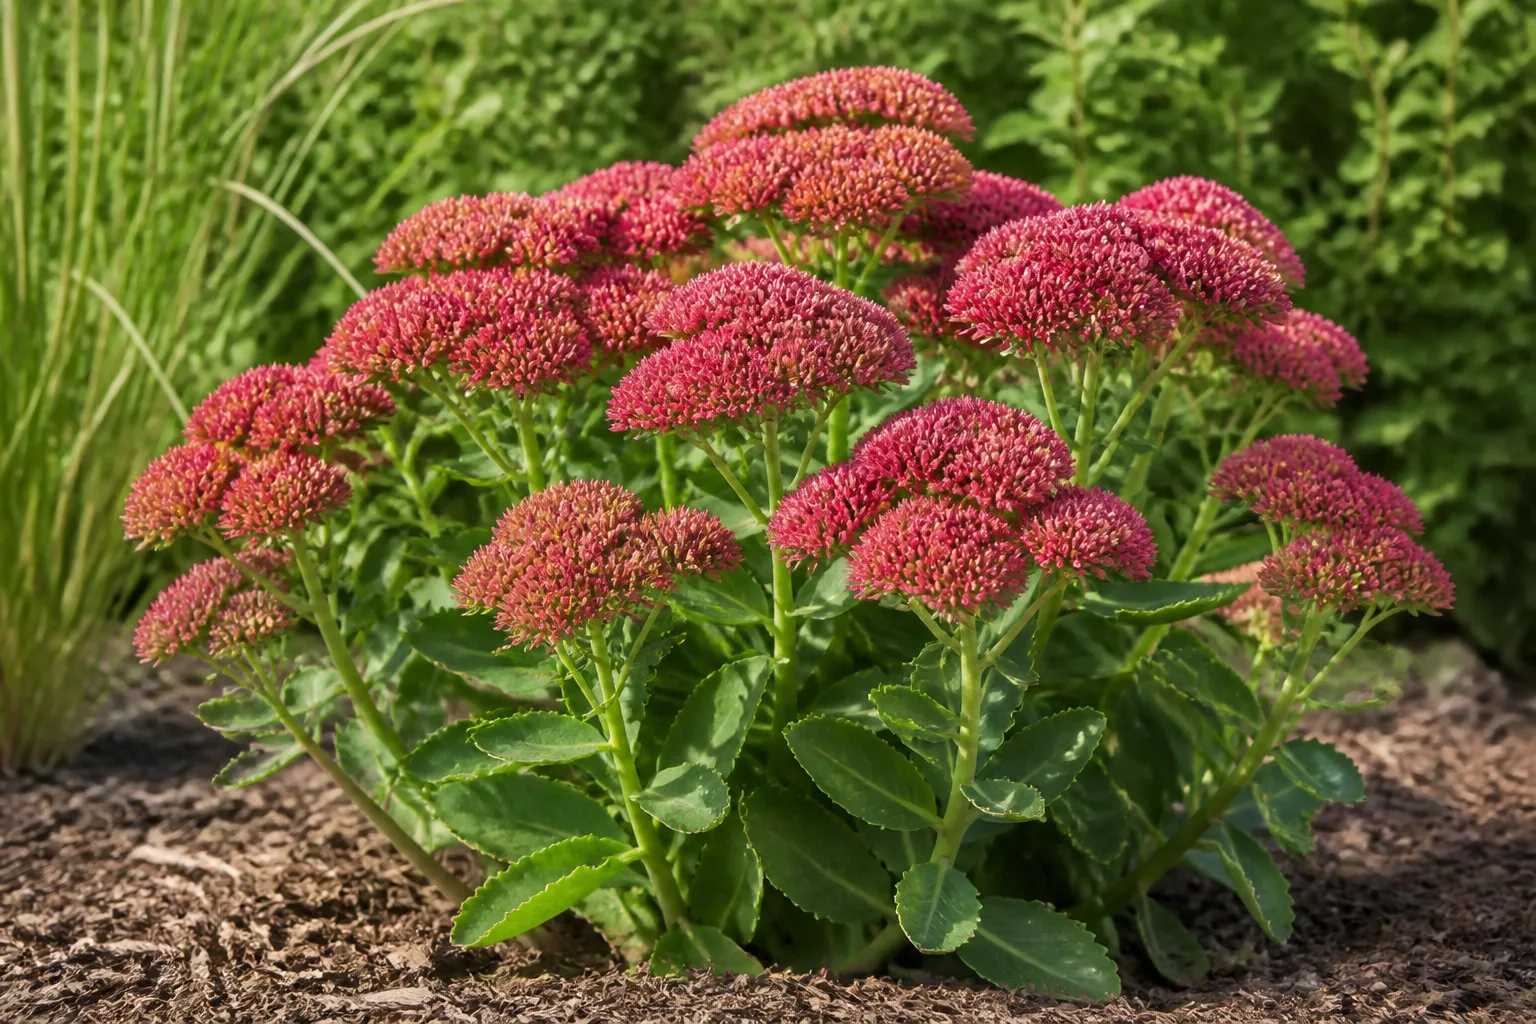
The safest sedum pruning rule is simple: cut for a reason, and match the cut to the kind of sedum you grow. Tall border stonecrop may benefit from a spring cleanup and a carefully timed early-summer reduction. A creeping mat usually needs only an edge trim. Healthy flower stems may be worth leaving through winter, while spotted or collapsing stems should be removed promptly.
Sedum is a large, varied group. NC State Extension describes it as a genus of fleshy-leaved perennials that includes upright plants, groundcovers, houseplants, and succulents; many of the familiar tall border types are now placed in Hylotelephium. That range is why a blanket instruction such as “cut every stem to the ground in fall” can be tidy but wrong for some gardens. NC State Extension
Start by Identifying Which Sedum You Have
Before picking up pruners, look at the plant’s habit. Is it a clump of vertical stems with broad leaves and flat flower heads, or is it a low carpet that trails across a rockery? The answer tells you whether pruning is structural or simply editorial.
Upright border sedum
Upright sedum such as ‘Autumn Joy’ forms a crown of stems and flower clusters above the foliage. Its stems can become tall and top-heavy when the plant grows in too little sun, overly rich soil, or consistently wet conditions. NC State Extension lists full sun to partial shade and well-drained, occasionally dry to very dry conditions for sedum, and specifically notes that taller forms with large flower heads can flop. NC State Extension
This is the type that responds to a purposeful early-summer pinch. You can reduce some stems before buds develop, encouraging branching and a shorter, sturdier framework. You can also leave the clump alone and accept a looser plant; pruning is useful maintenance, not a requirement for survival.
Creeping and low-growing sedum
Creeping stonecrop, including many rock-garden and wall plants, spreads horizontally. It is normally pruned when it crosses a path, crowds a neighbor, loses its shape, or contains damaged growth. Cutting the entire mat down to soil level removes the foliage that makes it useful and can expose the crown to unnecessary stress.
Use your fingers or hand pruners to lift a few errant stems and cut them back to the point where the plant still looks full. A light spring edge trim is usually enough. If the mat is dense and brown inside, thin a small portion at a time so air and light reach the living growth instead of shearing the whole plant into a bare patch.
The Short Answer: When to Cut Back Sedum
For most outdoor sedum, use this seasonal calendar:
| Season | Best action | Why it helps |
|---|---|---|
| Early spring | Remove dead winter stems and tidy the crown as new shoots appear | Clears space for fresh growth without guessing where the living crown is |
| Early summer | Reduce selected tall stems by about one-third to one-half, before flowering is well underway | Controls height and can produce a more branched, stable plant |
| Late summer or fall | Deadhead if you want a tidier look; remove diseased or broken material | Limits unsightly debris and reduces the chance of carrying problems forward |
| Winter | Usually wait | Dormant plants recover slowly, and frozen stems are awkward to cut cleanly |
Those are windows, not appointments. A heat wave, drought, newly planted root system, or an unusually early freeze can make “the right month” the wrong day. Gardener’s Path likewise treats early spring, early summer, and post-bloom cleanup as different pruning jobs, while noting that upright sedum can be left standing for winter interest. Gardener’s Path
If you want one default for a mature upright clump, clean it in spring, make the structural cut in early summer only if the stems need it, and make your fall decision after the plant has finished its display. Do not prune simply because a calendar says it is time.
What to Do in Spring
Spring is the easiest time to see what truly needs removing. Old sedum stems are tan, hollow, or brittle; living shoots are usually firm and emerging from the crown or lower nodes. Wait until you can identify the new growth, then cut old stems just above the crown without slicing into the rosettes or shoots.
Start by pulling away loose leaves and twigs. Do not rake aggressively through a shallow-rooted mat, because a rake can tear living stems from the soil. For an upright clump, grasp a small bundle of dead stems and cut it near the base with bypass pruners. Work around the plant rather than making one blind, low cut across everything.
Time the cleanup around new shoots and frost
“After the last frost” is a useful shorthand, but local weather matters more than a printed date. In a cold spring, old stems can protect the crown from wind and make it easier to see where new growth is coming from. In a mild spring, new shoots may be visible while freeze risk remains.
The practical compromise is to remove obviously dead, diseased, or broken stems first, then finish the general cleanup when the ground is workable and the new shoots are easy to see. If a late freeze damages tender tips, do not immediately cut the whole plant again; wait for the damage to show and remove only the browned tissue.
Spring is also the time to correct the cause of last year’s flop. Sedum cannot make strong stems in deep shade by being pruned harder. Move a container to brighter light, reduce rich nitrogen feeding, and correct waterlogged soil or a blocked drainage hole before asking the plant to carry another season of heavy flower heads.
How to Pinch Tall Sedum in Early Summer
The early-summer cut is a height-control technique, sometimes called a Chelsea chop. It is most useful on tall upright sedum that is healthy but likely to fall outward under the weight of late-season flowers. Gardening Know How recommends cutting taller types in May to early June in suitable climates and notes that taking about half the growth can delay flowering while producing a more compact plant. Gardening Know How
Use the plant’s expected bloom date rather than the month alone. In many temperate gardens, cut roughly six to eight weeks before the normal bloom period, while stems are leafy and before the flower heads are fully formed. If you are already seeing well-developed buds, make a lighter cut or skip it; removing the top at that point can sacrifice the display you were trying to protect.
You have two useful options. For the most compact clump, shorten every stem by one-third to one-half at a healthy leaf node. For a longer bloom window, shorten only the outer or tallest stems and leave the rest alone. The cut stems branch below the cut and often bloom a little later, while the untouched stems bloom on their original schedule.
Do not confuse pinching with shearing the foliage into a flat hedge. Sedum needs its natural crown and leaf mass. Make individual cuts, keep enough foliage below each cut to support regrowth, and step back after every few stems so the plant remains balanced.
Should You Cut Sedum Back in Fall?
Sometimes. Fall is the season for a decision, not an automatic haircut. If the stems are diseased, badly broken, collapsing onto a wet crown, or blocking a path, remove them. If they are healthy and you enjoy the dried flower heads, leaving them until spring can be the better choice.
Homes & Gardens reports the common tidy-border approach of waiting until after the first frost, when the plant has entered dormancy, then cutting stems to a few inches above the ground. The same guidance acknowledges that some gardeners leave a portion of stems for wildlife habitat and winter interest. Homes & Gardens
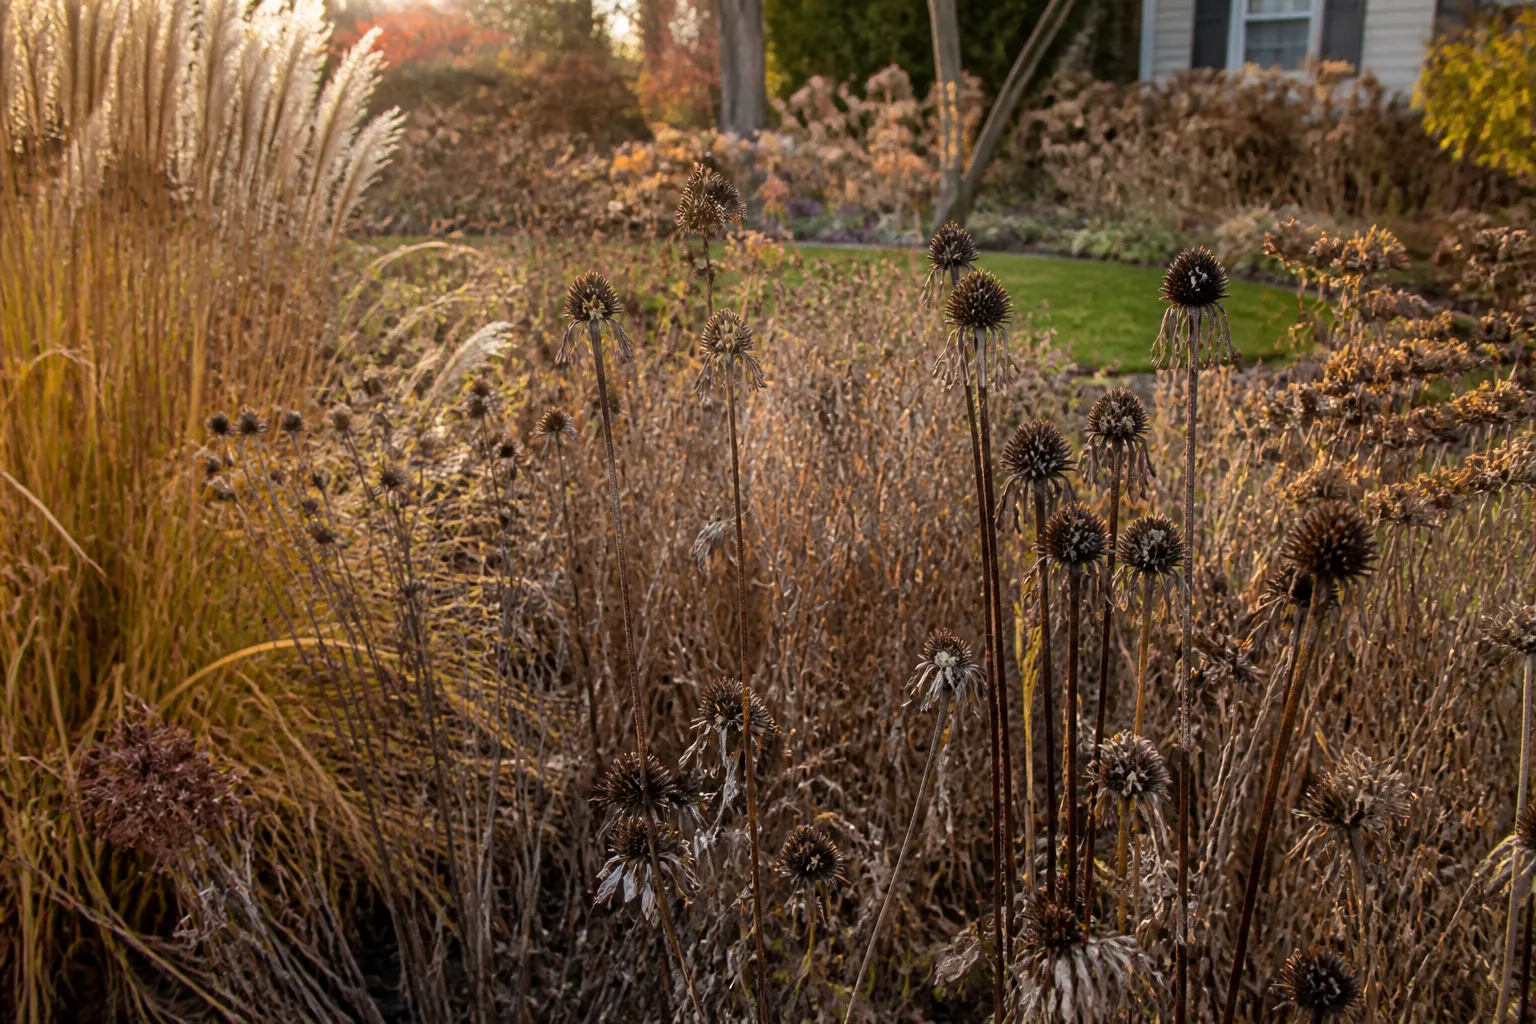
If you do cut in fall, choose a dry day after the plant has finished active growth. For an upright clump, leave roughly 2 to 3 inches of stem rather than scraping the pruner blade against the crown. Remove the cut debris from the bed if it is spotted, slimy, or obviously diseased. Healthy, dry pieces can be composted if your compost reaches a reliable decomposition temperature; questionable material belongs in the household waste stream.
When to leave healthy stems standing
Standing sedum gives a winter bed shape after the leaves disappear. The dried heads catch frost, break up an empty border, and can provide seed or shelter for wildlife. Penn State Extension includes sedum and live-forever among heat- and drought-tolerant perennials and groundcovers, while extension pollinator guidance broadly favors leaving some perennial structure in place rather than stripping every bed in autumn. Penn State Extension
Leave stems standing when the bed is not prone to severe disease, the plant is not blocking access, and winter structure matters to you. You can remove only the outer stems that lean into a walkway and keep the central stems until spring. That middle path gives you a tidy edge without treating every healthy stalk as waste.
Cut earlier when stems are visibly infected, repeatedly wet at the base, or tangled with debris that will keep the crown damp. University of Minnesota Extension identifies sedum leaf spot as tan to gray sunken spots, often with black raised dots, and stem rot as yellowing or shriveling leaves paired with a tan or gray sunken stem base. Those symptoms call for sanitation and a drainage inspection, not a decorative decision. University of Minnesota Extension
When Not to Prune Sedum
Avoid major cuts in the middle of a heat wave, during drought stress, or when the foliage is frozen. Gardening Know How advises avoiding midwinter and extreme heat, because sedum is less able to respond while dormant or stressed. Gardening Know How
Delay pruning a newly planted sedum if it is still establishing, unless you are removing damage or disease. Its first priority is root growth. A light correction is safer than reducing every stem, especially if the plant has recently been moved, divided, or left dry in a small container.
Do not make a heavy summer cut just because the plant looks a little tall. Tall growth can indicate insufficient sun, excess fertility, or too much moisture. Pruning may hide the symptom for one season while the same conditions produce weak growth again. Solve the site issue in parallel.
Finally, do not use a fall cut to treat a soft, rotting crown. Cutting stems shorter does not dry a badly drained root zone. Remove affected material, keep water off the crown, and consider whether the plant needs to be lifted and replanted in a sharper-draining position.
Tools and Sanitation That Prevent Problems
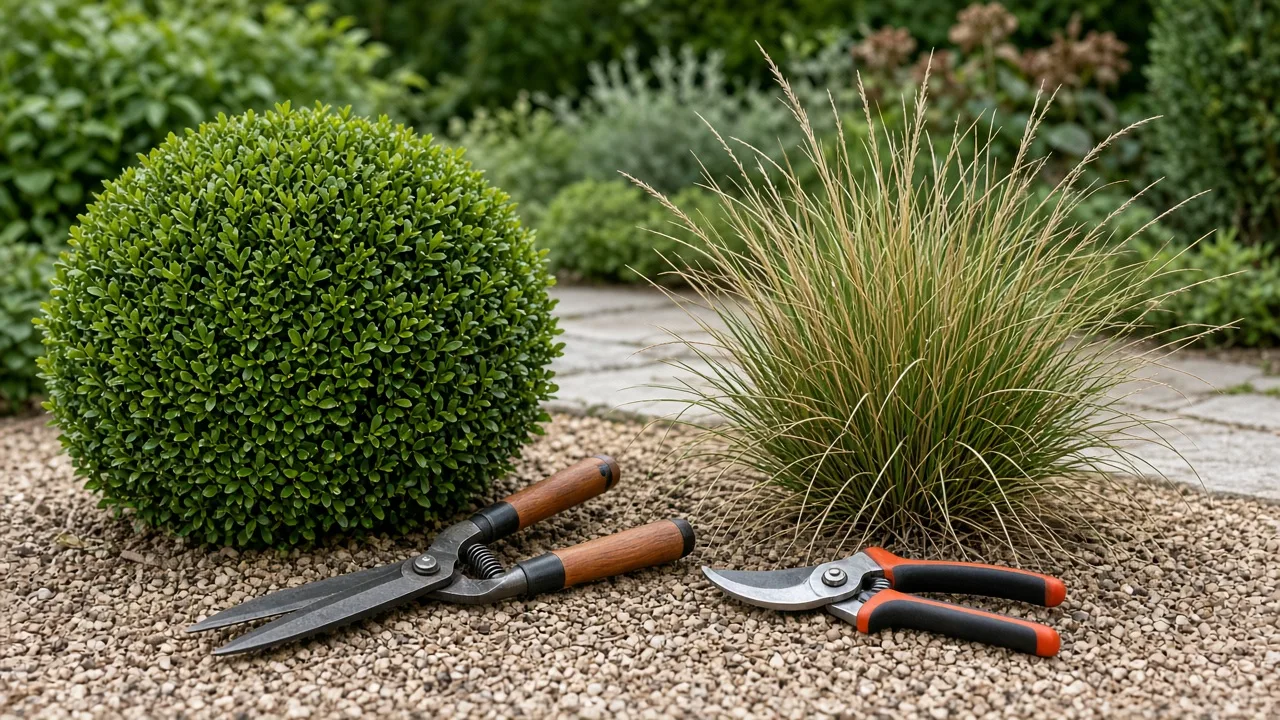
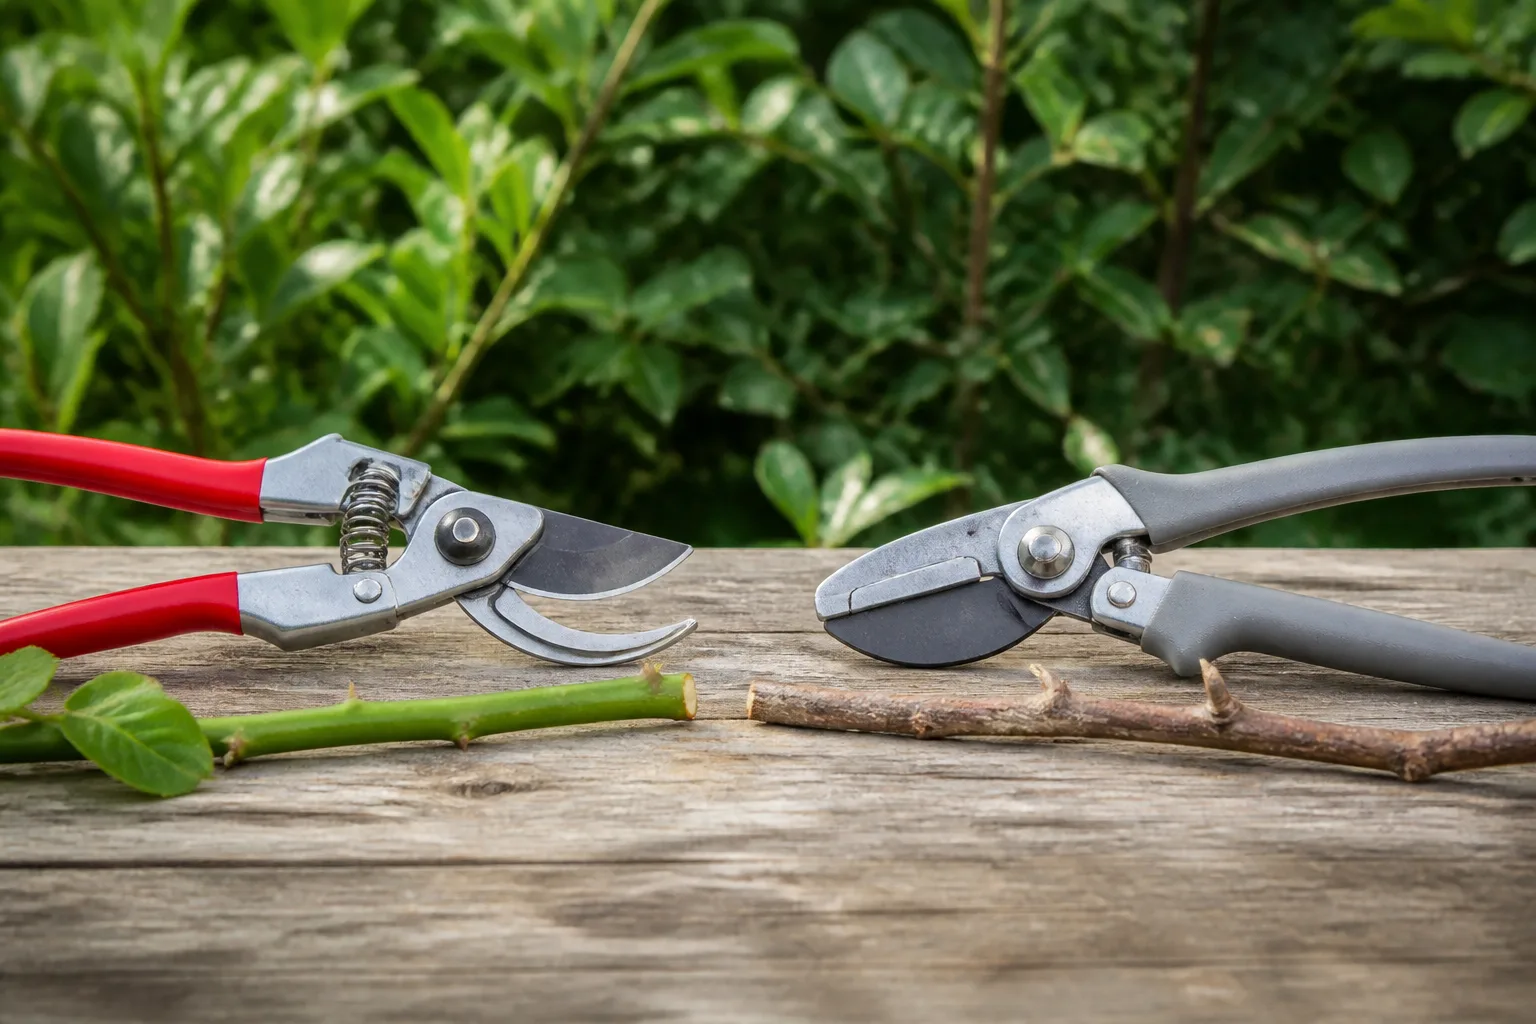
For most sedum, one clean pair of bypass hand pruners is enough. Bypass blades make a close, slicing cut on succulent stems; long hedge shears are unnecessary unless you are lightly edging a large creeping mat. Wear gloves if the stems irritate your skin, and use a bucket or tarp so cut material does not disappear into the crown.
Before pruning, make sure the blades are sharp and the pivot moves freely. A dull blade crushes fleshy stems, leaving a ragged wound that dries slowly. Wipe off sap and soil, wash visible grime away, then disinfect the clean blade with isopropyl alcohol and let it dry before the next plant. If you are removing diseased material, clean and disinfect between clumps, not only at the end.
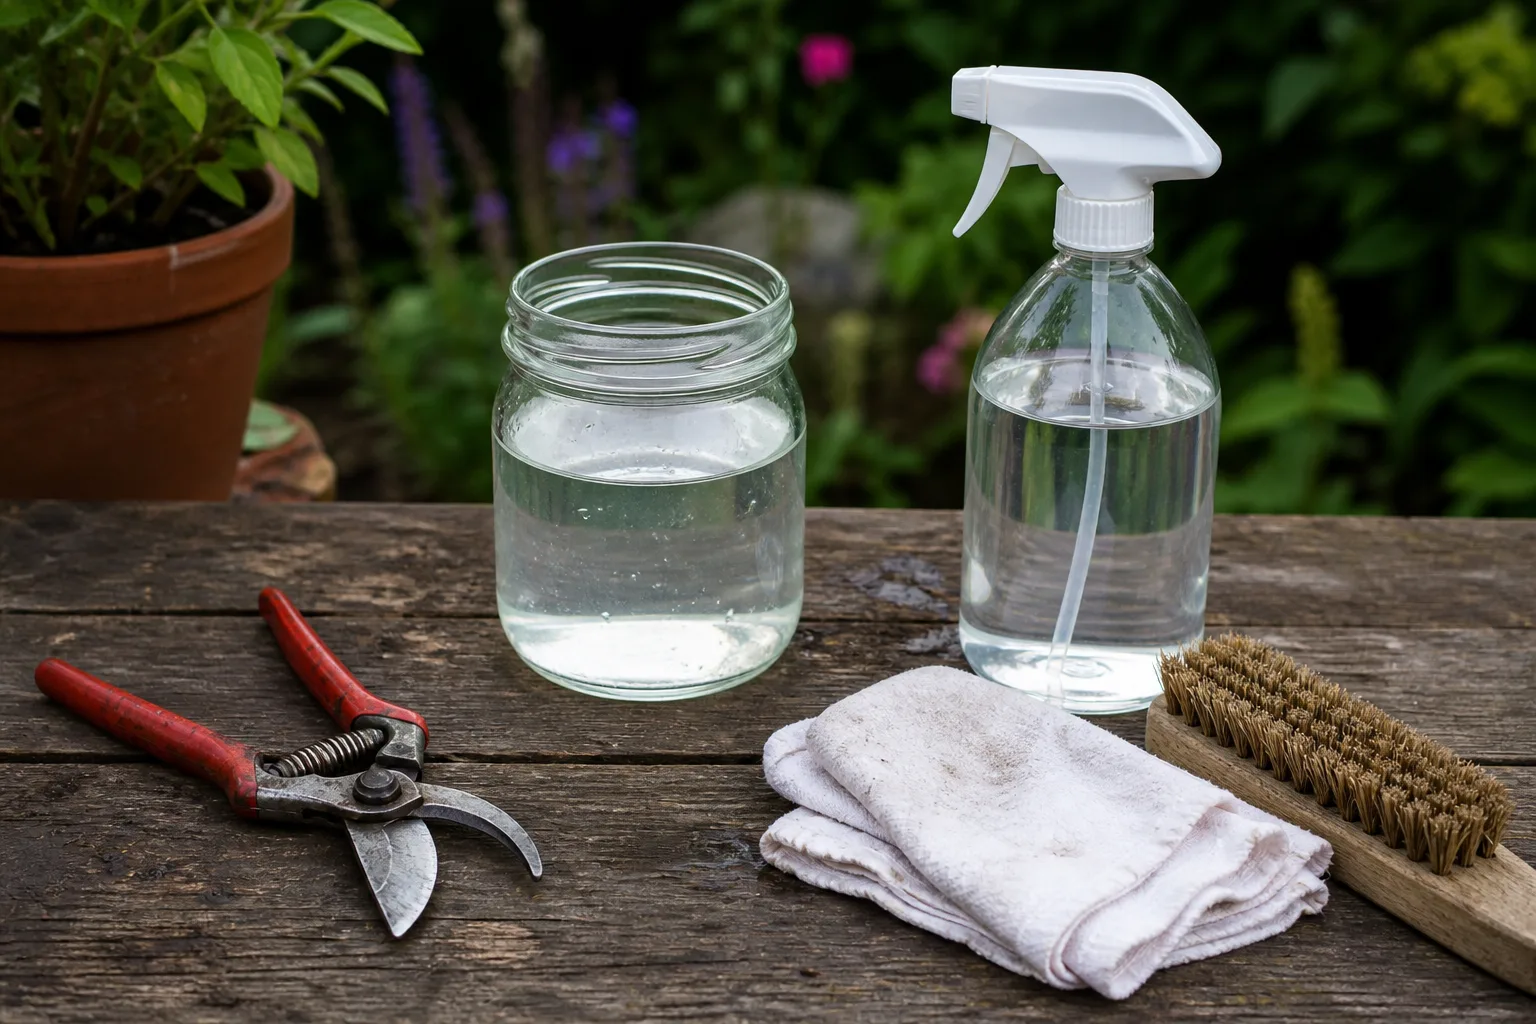
Do not drag a diseased stem across healthy foliage. Cut it, keep it separate, and clean the pruner before making another cut. A tool-cleaning routine is especially important when sedum is growing in humid conditions or where the crown stays wet, because poor air movement and moisture make fungal and rot problems more likely.
How to Cut Back Upright Sedum Step by Step
Use this sequence for a mature upright clump in spring or after dormancy. It keeps the crown visible and stops an appearance-driven cleanup from becoming an unnecessary root-zone disturbance.
- Choose a dry, mild day. Avoid cutting frozen, heat-stressed, or visibly wilted growth.
- Inspect the crown. Find living shoots and mark the stems that are clearly dead, damaged, or diseased.
- Remove problem stems first. Cut diseased or broken material at its base, keeping it away from healthy foliage.
- Clear loose debris gently. Lift leaves and twigs by hand from the crown; do not rake hard through new shoots.
- Set the cut height. For dormant fall or spring stems, leave about 2 to 3 inches above ground. For shaping, cut just above a healthy leaf node.
- Make clean individual cuts. Do not crush, twist, or saw through the stems. Keep the blade just outside the crown.
- Step back and reassess. A slightly uneven plant often looks more natural and supports a staggered bloom than a flat-topped one.
- Remove debris and clean tools. Compost only clean, healthy material and disinfect the blades if disease was present.
Make the first pass
The first pass should be selective. Remove anything that is blackened, split, slimy, or detached, then pause. If the remaining stems are firm and attractive, you may already have done enough. This is particularly useful when you are deciding whether to keep winter structure: sanitation and aesthetics do not require the same level of cutting.
For a spring cut, follow each old stem down until you meet the crown or a new basal shoot. For a fall cut, stop above the crown rather than trying to cut flush with the soil. The crown is where next season’s growth begins, and an extra inch of stem is less damaging than nicking it.
Finish the cleanup
Once the stems are cut, lift the pieces out of the bed instead of raking them across neighboring plants. Check for a blocked drain, a low spot that holds water, or mulch piled against the crown. Sedum tolerates dry and rocky soil far better than a persistently wet planting pocket, so the cleanup is a good time to notice conditions that pruning cannot fix.
Do not automatically fertilize after pruning. Healthy sedum generally needs little feeding, and a flush of soft, nitrogen-rich growth can make tall varieties even more prone to flopping. Water only if the plant is genuinely dry and the weather is mild; succulent foliage is not a signal to keep the root zone constantly moist.
Pruning Creeping Sedum Without Scalping It
Treat a creeping sedum mat like an edge, not like a shrub. Cut runners that have crossed a path back to a side shoot or to the point where the mat still has leaves. If stems have rooted along their length, you can lift a section, separate it, and replant the rooted pieces in a gritty, well-drained spot.
For a spring refresh, remove winter-killed tips and thin only the densest sections. Avoid cutting every stem to bare soil unless the plant is being renovated and you are prepared for a slower visual recovery. A small trim every year is easier on the plant and keeps it from swallowing stones, steps, or neighboring low growers.
Low sedums vary in cold tolerance and leaf persistence. Some stay colorful through winter; others lose leaves and return from the crown. Watch the plant rather than assuming that brown surface growth means the entire mat is dead. New firm growth at the nodes or crown is the evidence to preserve.
What to Do With Healthy Cuttings
Healthy sedum trimmings can become new plants. NC State Extension lists leaf and stem cuttings among sedum’s recommended propagation strategies, and fallen succulent leaves may root when conditions are right. NC State Extension
Choose a firm, disease-free stem. Remove the lower leaves, set the cutting in a dry, shaded place for a short period so the cut end can callus, then place it in a barely moist, sharply draining propagation mix. Keep the mix from staying wet while roots form. Once the cutting resists a gentle tug and begins new growth, move it gradually into brighter light.
You can also lay healthy leaf pieces on top of a gritty mix, but not every sedum type roots equally well from a leaf. Stem cuttings are the more dependable choice for a long, leafy piece created by a summer trim. Label unusual cultivars so you do not mistake a rooted cutting for a different sedum later.
Never propagate from a stem with a sunken base, black spotting, mushiness, or unexplained collapse. A cutting can look alive at the tip while carrying a problem from the lower stem. Discard it and use a clean, healthy section only when the tissue is firm all the way through.
Troubleshooting After Pruning
The plant is still floppy. Check light first. Most upright sedum performs best in full sun or bright partial shade, and a shaded plant may stretch even after a careful cut. Also check whether rich fertilizer or frequent irrigation is producing soft growth. Next season, move the plant or correct the drainage before using an early-summer reduction.
Flowers are later or fewer after a summer cut. That can be the normal trade-off. A stem cut removes some developing flowering structure and redirects growth into branching. The staggered method—cutting only some stems—keeps an earlier display while the shortened stems catch up.
Lower leaves are yellow. Late-season yellowing can accompany dormancy, but yellowing with shriveling, tan spots, a sunken stem base, or a sour, wet crown deserves inspection. The University of Minnesota Extension symptom guide separates leaf-spot and stem-rot signs from a simple cosmetic decline. Remove affected tissue, improve airflow and drainage, and avoid wetting the foliage; seek local extension help if the diagnosis remains unclear. University of Minnesota Extension
I cut at the wrong time. One late or imperfect cut rarely ruins a healthy sedum. Stop making corrective cuts, keep the plant in suitable light and drainage, and wait for the next natural growth window. A plant that is struggling from heat, drought, or root damage needs recovery time more than another haircut.
The crown is soft after rain. Do not add water or pile wet mulch around it. Sedum’s drought tolerance does not make it immune to saturated soil. Remove collapsing stems, check that the container or bed drains freely, and replant healthy sections in a drier position if the crown has not rotted completely.
Conclusion
The right time to cut back sedum depends on what you want the cut to accomplish. Clean dead or diseased growth in spring or after dormancy, pinch tall stems in early summer only when height and flopping are real problems, and treat fall cleanup as a choice between tidiness and valuable winter structure.
Identify the plant form before you cut, leave a crown-safe stub on dormant upright stems, and make the smallest cut that solves the problem. With sharp, clean pruners and a quick check of light, drainage, and weather, sedum usually rewards restraint with a stronger, more balanced season.