When to Carve a Pumpkin Before Halloween: A Timing Guide
Wondering when to carve a pumpkin? Match the date to your weather, then use cool, shaded storage and LED lighting to help it stay presentable through Halloween.
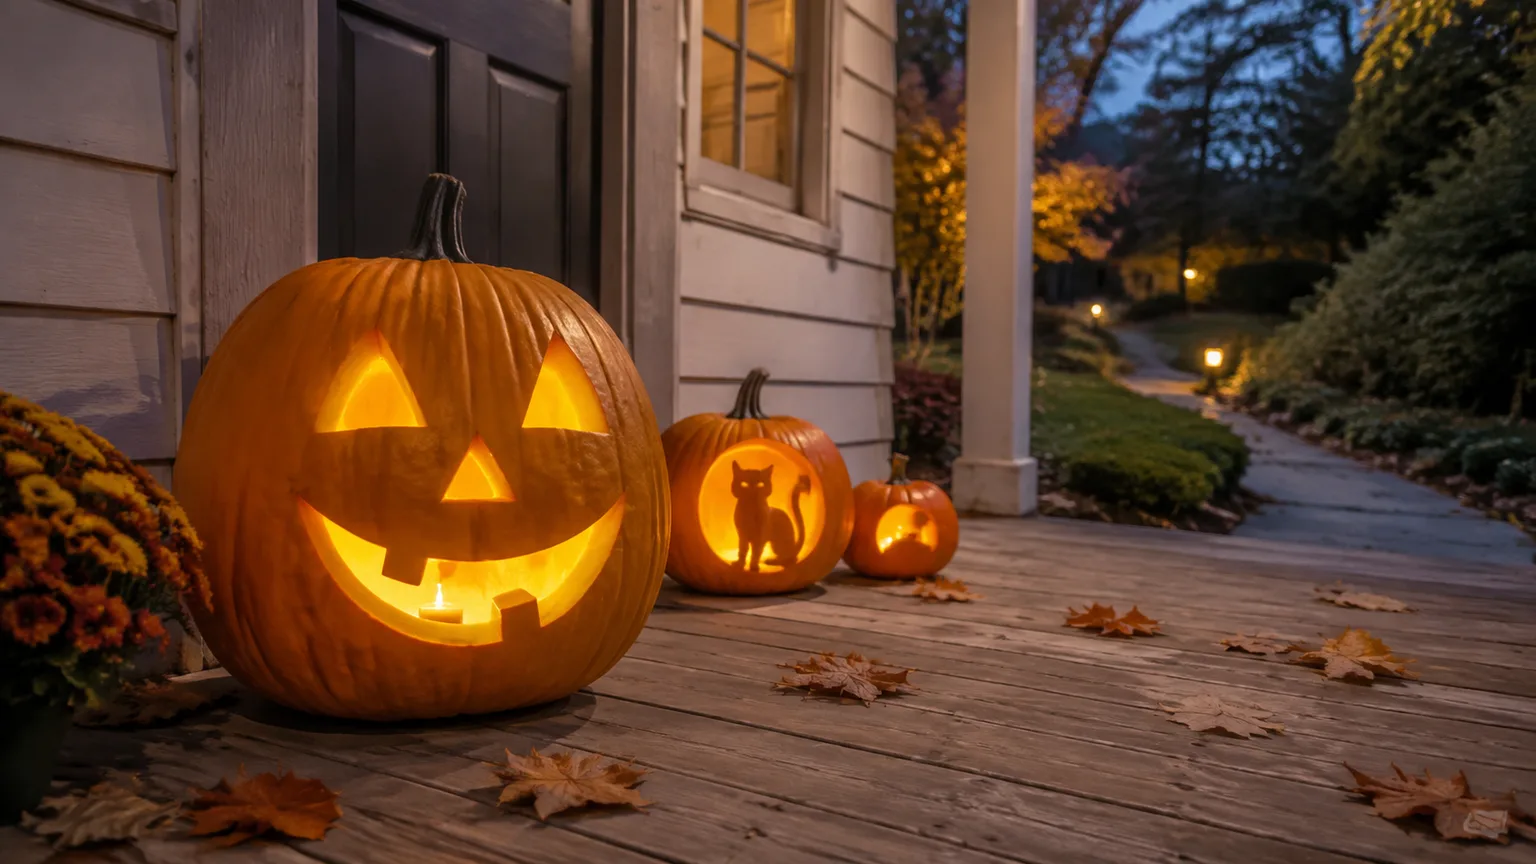
If you want a carved pumpkin to look fresh on October 31, plan to cut it as late as your schedule allows. In a warm, humid, rainy, or changeable fall, carve the day before Halloween or on Halloween; in a cool, dry stretch with no freeze in the forecast, a few days of lead time can work. That is a planning window, not a shelf-life guarantee: the pumpkin’s ripeness, bruises, cut size, temperature, moisture, and handling all affect how quickly it softens.
For most households, the useful move is to choose a carving day after checking the Halloween-week forecast, then keep the pumpkin whole until that day. Kansas State University horticulture specialist Cynthia Domenghini notes that a carved pumpkin may begin to show rot after only a few days and can last up to about a week, depending on conditions. Experienced gardening author Amy Andrychowicz gives a shorter typical estimate of two to five days before a jack-o’-lantern starts to shrivel or deteriorate. The spread between those estimates is exactly why a single calendar date does not work for every porch. (Kansas State University Research and Extension; Get Busy Gardening)
| Halloween-week conditions | Practical carving window | What changes the plan |
|---|---|---|
| Warm or humid days and nights | The last 24–48 hours, or Halloween itself | Use the later end if warmth and humidity persist overnight. |
| Mild, cool, mostly dry weather | About 2–4 days before Halloween | A covered, shaded display and cool LED light give you a better chance of keeping the face firm. |
| Cool, dry weather with freezing nights possible | As late as practical; display indoors during freeze risk | A pumpkin that freezes can soften badly after thawing. |
| Rainy or very sunny stretch | Wait for a dry window close to Halloween | Rain and direct sun can shorten the display window even if daytime temperatures are moderate. |
Treat the table as a way to schedule, not a promise that a jack-o’-lantern will remain perfect for a set number of days. If the pumpkin is a centerpiece, carve closer to the holiday and keep a whole pumpkin or an uncarved decorative option as a backup.
The practical answer: save the cut for near Halloween
A carved pumpkin is a perishable display, not a decoration that will hold its shape all month. If the date matters more than having the carving finished early, wait until Halloween week and do the cutting as near to October 31 as you can manage. You can buy the pumpkin earlier, choose a design, print or sketch a stencil, collect tools, and clear a work surface without exposing the flesh.
Use a conservative window when you cannot control the display conditions. In hot, humid weather, or when the pumpkin will sit outside in sun or rain, finish it the day before or the day of the event. In a temperate, dry spell, carving two to four days ahead gives a family time to work together while keeping the wait short. If the pumpkin must look crisp for a party several days before Halloween and again on the 31st, carve it closer to the later event and use a no-carve pumpkin for the earlier decoration.
Do not interpret the “up to a week” lifespan sometimes given for carved pumpkins as a dependable seven-day guarantee. It describes a possible outcome in favorable circumstances, while some carved pumpkins begin to decline within two to five days. The practical rule is to preserve a margin: choose a date toward the late end of your local window if the carving has thin bridges, delicate teeth, broad cutouts, or a long outdoor display.
Let the forecast choose the window
The forecast matters because carving removes the pumpkin’s intact rind barrier and exposes moist flesh to air and microorganisms. Utah State University Extension explains that environmental conditions such as temperature and sunlight affect carved-pumpkin quality; the resulting mold can make a pumpkin shrivel, soften, and grow fuzzy spots. Warmth can accelerate deterioration, while dry air can pull moisture from cut edges, so “cold” alone is not the full answer. (Utah State University Extension)
Check the forecast for the several days between carving and Halloween, not only for the night you plan to display the pumpkin. Look at daytime highs, overnight lows, rain, and whether the pumpkin will get direct sun. A mild day followed by a hot afternoon, several humid nights, or a sudden freeze can change the best carving date even if the seasonal average feels cool.
If your fall stays warm or humid
When nights remain warm and the air is humid, wait until the final day or two before Halloween. Humid warmth encourages mold and softening; if the air is very dry and hot instead, exposed flesh can lose water quickly and the cut edges may curl. In either case, carving well ahead of the holiday adds days of exposure without improving the Halloween display.
Put the pumpkin in the coolest shaded area available, but do not mistake shade for a cool environment. A sun-warmed concrete stoop or enclosed porch can stay hot after the air temperature drops. A covered spot with airflow is usually a better outdoor choice, and bringing the pumpkin into a cool room when it is not on display can reduce its time in heat.
If the forecast stays hot through October 31, consider shortening the display period rather than relying on a preservation treatment. You can carve it late in the evening before, keep it indoors in a cool spot during the day, and set it outside only for the hours you want it seen. That schedule is less convenient than an all-week porch display, but it matches the fact that a cut pumpkin has a limited, weather-sensitive life.
If afternoons are cool and dry
A cool, dry stretch gives you a little more scheduling flexibility. If the pumpkin is firm and unblemished, the display will be shaded, and freezing temperatures are not expected, carving a few days ahead can be reasonable; it leaves time for a group activity without turning a carved pumpkin into a multiweek project. A sensible starting point is two to four days before Halloween, then adjust later if the forecast turns warmer, wetter, or more humid.
Cool air slows some deterioration, but it does not stop drying or mold. If your porch is sunny, wind-exposed, or unprotected from overnight dew, a carved pumpkin may still lose its shape sooner than one on a sheltered display. Check the cut edges each day: firm, clean edges are a good sign; tacky wetness, spreading soft spots, collapse, or fuzzy growth means the pumpkin is breaking down.
Penn State Extension lists 50–55°F and 50–70% relative humidity as storage conditions for whole pumpkins and gives an expected storage life of eight to twelve weeks for pumpkins handled and stored well. That guidance is for intact winter squash and pumpkins, not carved jack-o’-lanterns, so do not treat those numbers as a target that guarantees a cut pumpkin will last. The useful takeaway is narrower: intact pumpkins benefit from cool, dry storage, and carving is the point when their storage life drops sharply. (Penn State Extension)
If rain, frost, or a freeze is on the forecast
Rain adds persistent surface moisture and may leave a jack-o’-lantern sitting in water. If a wet spell is predicted, delay carving until a dry window if you can; if the pumpkin is already carved, move it under a roof and off a wet surface. A covered porch is helpful only if wind-driven rain does not soak the carving.
A light frost and a hard freeze are not interchangeable, and local forecasts can be imperfect. If the overnight low is near or below freezing, bring a finished pumpkin into a protected space rather than leaving it exposed; a garage is useful only if it stays above freezing. Kansas State notes that pumpkins have a high water content and advises bringing a jack-o’-lantern inside when a freeze is forecast. Once the flesh has frozen and then thawed, the shell may soften or collapse, and there is no reliable way to restore its original firmness. (Kansas State University Research and Extension)
If freezing weather is likely to arrive before trick-or-treating, choose one of two lower-risk plans: carve late and display the pumpkin indoors, or leave it whole outdoors and use an uncarved decoration for the porch. Moving a frozen pumpkin after the damage has started will not undo it, so make the decision before the cold night.
Why an uncut pumpkin lasts longer
A whole pumpkin’s rind protects the moist flesh inside. Cutting a lid and removing seeds creates open edges and a cavity where warmth, moisture, dust, and airborne fungal spores can reach the flesh. Utah State University Extension describes mold as one cause of softening and shriveling in carved pumpkins; the pumpkin also loses water from the exposed cuts. (Utah State University Extension)
That is why a pumpkin that looked sound at the farm stand can start to sag soon after carving, even if it has not been sitting out for months. The clock starts when the shell is opened, and the pace depends on the fruit and its surroundings. Larger openings, deep carving, thin details, bruises, and rough handling leave more vulnerable tissue or create weak points that can collapse before the rest of the pumpkin looks bad.
A whole pumpkin can wait through the family calendar; a carved one has to be managed around weather. Keep the pumpkin intact while you prepare for carving, and think of the cut itself as the start of a short display window. That simple distinction is more useful than assuming any spray, oil, or cold room can preserve an already opened pumpkin indefinitely.
Keep the pumpkin whole until carving day
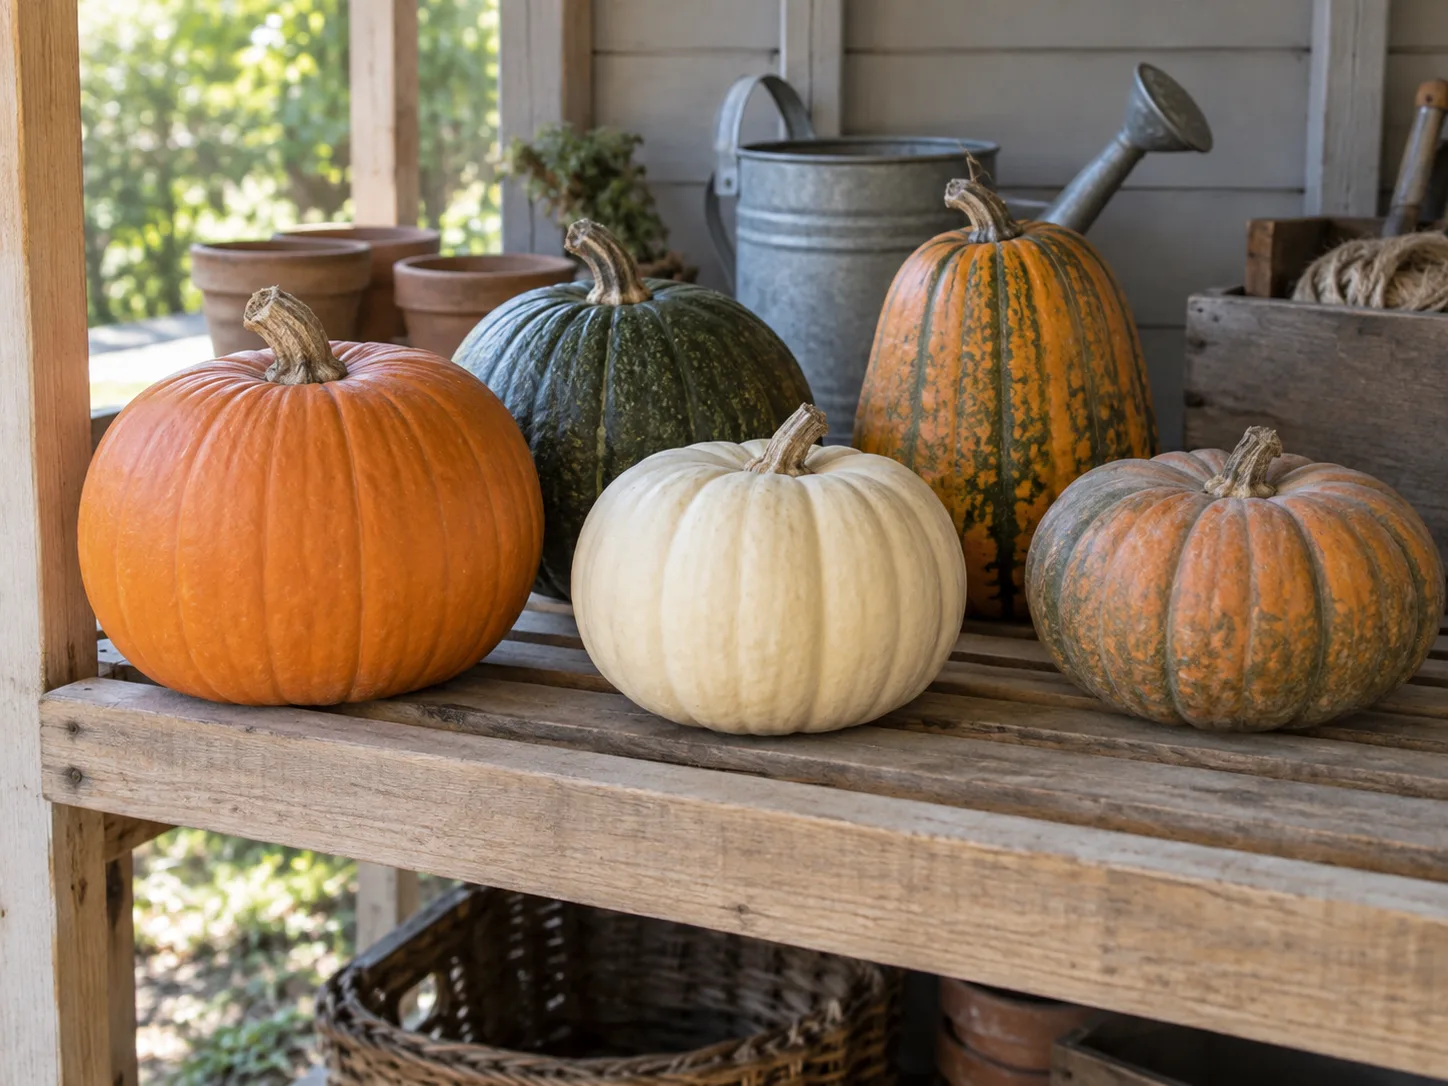
After you bring a pumpkin home, keep it out of direct sun and away from warm indoor air, heating vents, and places where it can be knocked or bruised. Choose a dry, shaded, ventilated area such as a cool garage, covered porch, or basement that stays above freezing. Set it on a stable surface rather than directly on wet ground, and avoid piling pumpkins where hidden damage could go unnoticed.
Do not leave a pumpkin in a hot car or in a bright window while you are waiting to carve it. A pumpkin that is still whole is more resilient than one with cut flesh, but heat, moisture, bruises, and cuts can still shorten its life. Penn State Extension’s whole-pumpkin storage table gives a cool storage range for pumpkins, while Kansas State recommends keeping harvested pumpkins cool and out of sunlight; use those as guidance for intact fruit, not as a formula for a cut one. (Penn State Extension; Kansas State University Research and Extension)
What to look for when choosing one
Pick a pumpkin that feels firm all around and has no soft, leaking, or sunken patches. Avoid deep scratches, cracks, bruises, and a stem that is broken back into the shoulder; each is a place where decay or drying can get a head start. A flat, stable base makes the pumpkin easier to display after carving and less likely to roll while someone is working on it.
Color is useful, but it is not the only sign of readiness. K-State horticulture specialist Cynthia Domenghini describes a mature pumpkin as having a hard rind and solid color, and notes that a mature fruit has a waxy coating that helps protect it from drying. A pumpkin harvested before it is fully ripe may rot sooner, so choose one that feels mature instead of selecting only by size or shape. (Kansas State University Research and Extension)
The freshest pumpkin is not necessarily the largest or the one with the longest stem. Choose based on the design: an intricate face needs enough room and a sound shell; a small, simple face can be cut into a smaller pumpkin. If you are choosing several, buy one extra whole pumpkin or a few mini pumpkins and leave them uncarved as backup accents, rather than carving every pumpkin early.
A short countdown plan from purchase to display
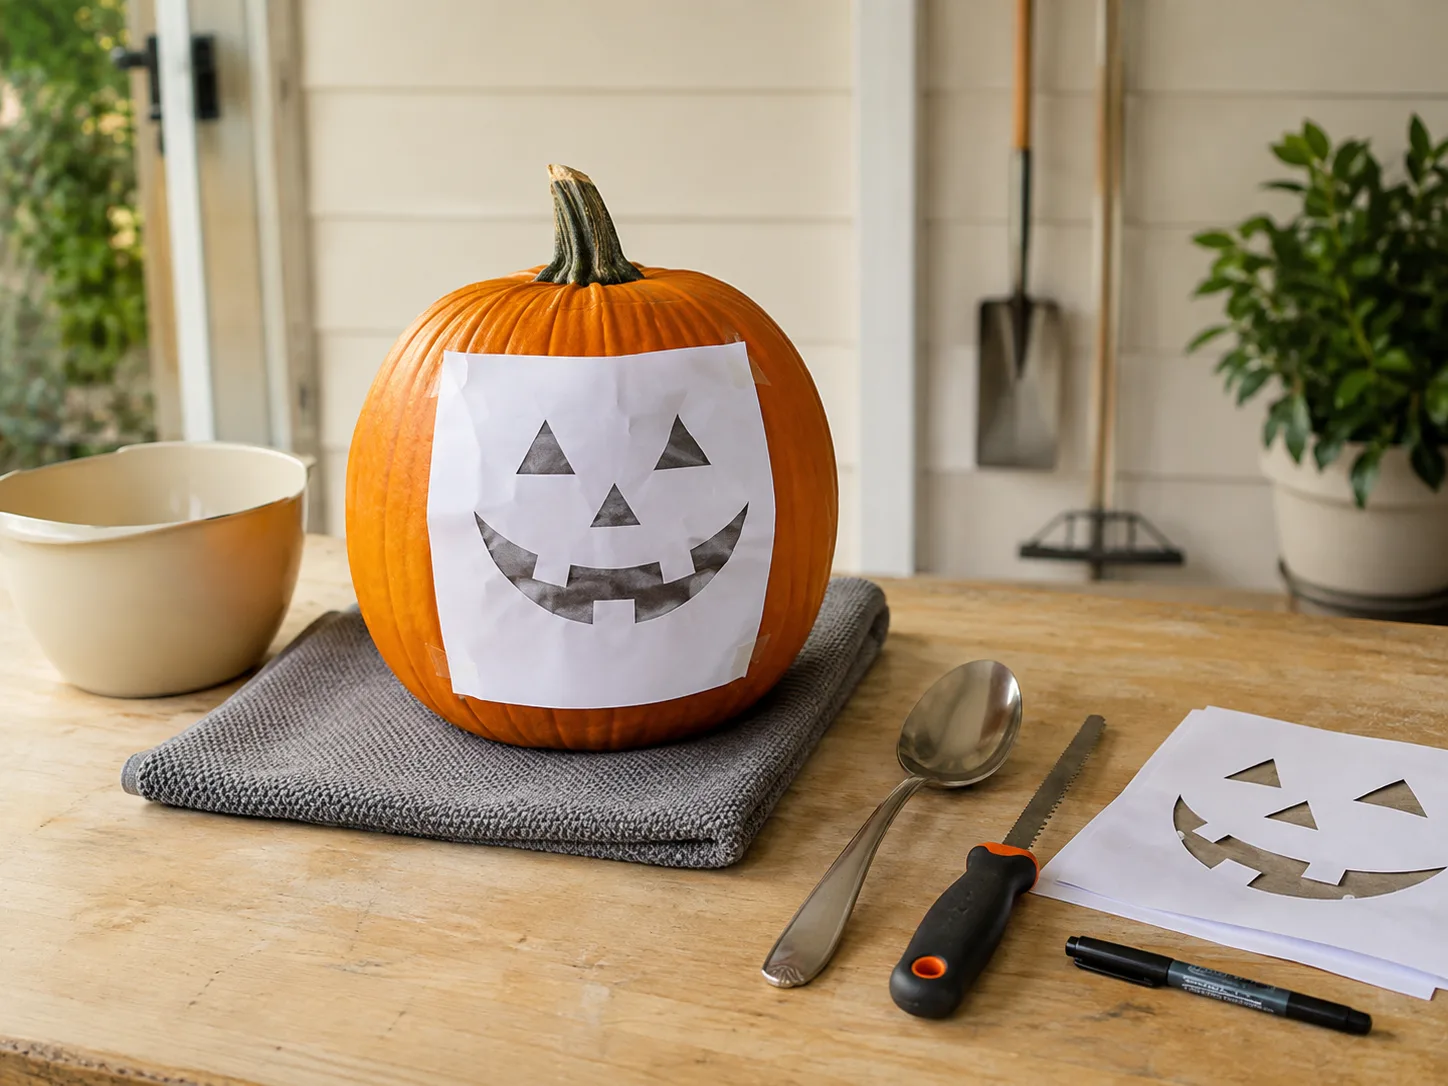
A week or more before Halloween: Buy the pumpkin if selection matters, inspect it for damage, and keep it whole in a cool, shaded, dry spot. Pick the design, print a stencil, check that your tools are ready, and decide where the finished pumpkin will sit. Those jobs make carving night smoother without starting the decay clock.
Three to four days before Halloween: Recheck the weather and the condition of the pumpkin. If the outlook is cool, dry, and safely above freezing, this can be a workable time to carve when you need a little lead time. If the forecast has shifted to humid heat, heavy rain, or a freeze, hold the knife and move the cutting closer to October 31.
The day before or day of Halloween: This is the safer window for warm climates, wet weather, or a pumpkin that needs to look crisp for one main evening. Wash the outside, dry it, use clean tools, and remove loose seeds and strings while carving. Finish the cut surfaces and display plan, then put the pumpkin in a cool, shaded spot when it is not being shown.
During the display period: Check the pumpkin each day and after heavy rain or a temperature swing. Move it if the spot becomes sunny, wet, or too warm; bring it indoors if a freeze is forecast. If the skin becomes mushy, the carving collapses, or mold appears, stop displaying it and compost or discard it rather than expecting a later treatment to reverse the damage.
The countdown is a flexible plan, not a rule that you must carve only on one date. If your only available evening is earlier, you can still make the best of it by keeping the finished pumpkin cool, dry, shaded, and indoors between short display periods. If your only available evening is Halloween, choose a simple design and prepare everything in advance so the event can still be fun.
Carve and display it with freshness in mind
A clean setup does not make a pumpkin last forever, but it avoids preventable damage. Wash the outside of the pumpkin before cutting, dry it, and use clean carving tools; Utah State Extension also recommends removing the pumpkin’s seeds and loose interior material to reduce potential fungal growth. Work on a stable surface, make the design you want, and remove wet pulp rather than leaving clumps against the interior. (Utah State University Extension)
When the design is finished, wipe away excess moisture from the cavity and cut edges with a clean paper towel. Do not leave water pooled inside or let the pumpkin sit in a puddle outdoors. The aim is to keep the carving reasonably clean and dry, not to sterilize it with household products or apply a complicated treatment routine.
The size of the openings matters to how the carving holds up. A bold face with broad, sturdy connections is less likely to lose a tooth, eye, or narrow bridge than a design made of thin slivers and long unsupported cuts. If the pumpkin must be moved, support it from underneath with both hands rather than lifting it by the stem or by a fragile carved edge.
Choose a cool, shaded, covered spot
Display the pumpkin in shade, away from a heating vent, warm window, or sun-baked surface. A sheltered porch or a cool entryway is usually better than a spot that receives afternoon sun, and it keeps rain from sitting on the cut surfaces. Get Busy Gardening likewise advises protecting carved pumpkins from direct sunlight, heat, and rain; the exact benefit depends on the local weather and the conditions at the display site. (Get Busy Gardening)
Use a stable stand or dry surface so the bottom is not in wet leaves or pooled water. Leave some space around the pumpkin so air can move rather than trapping condensation against a wall or container. If you have several pumpkins, keep the most delicate carving in the best-protected place and use whole pumpkins, gourds, or other decorations for the less sheltered spots.
For a long daytime event, set the carved pumpkin outside only when people are around to see it. There is no requirement that it remain on the porch every hour of the week. Shorter display periods limit exposure to sun, rain, wind, and curious wildlife, and they give you the option of storing it in a cool protected area between appearances.
Use a cool LED light and bring it in overnight
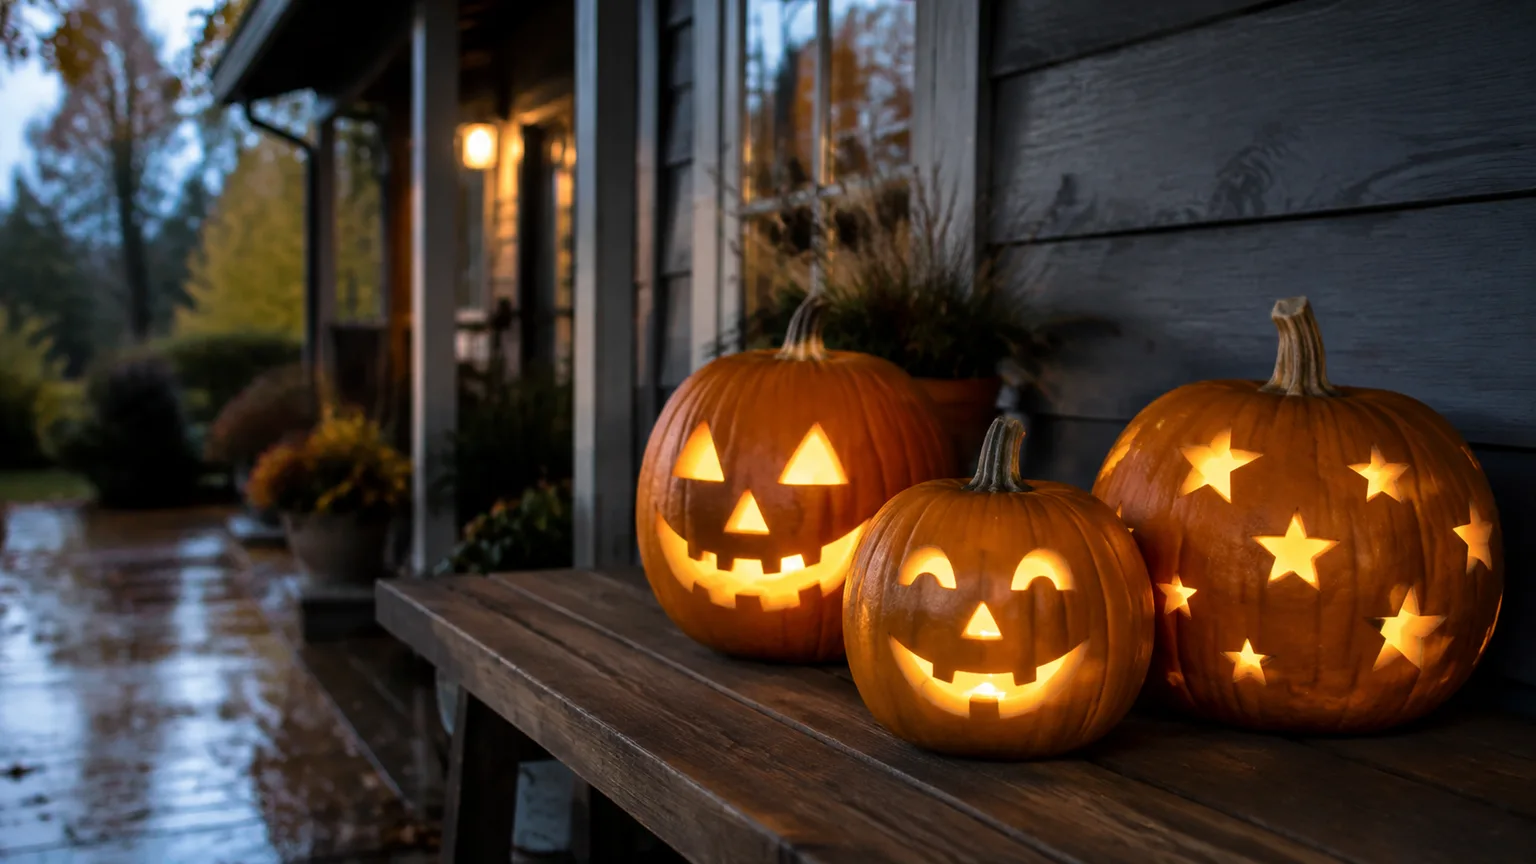
A real candle adds heat inside the cavity and can speed drying and softening. Kansas State recommends an electric light or glow stick to avoid “cooking” the pumpkin; the U.S. Fire Administration also recommends battery-operated flameless candles as a safer alternative to open flames. Use an LED tea light, small battery lantern, or glow stick, and keep any battery unit dry and secured so it cannot tip out. (Kansas State University Research and Extension; U.S. Fire Administration)
If the evening is warm, bring the pumpkin into a cool room or protected garage after the display, as long as that location stays above freezing. A cool shelter cannot reverse damage that has already started, but it avoids leaving the carving in hot daytime sun, rain, or an overnight freeze. Avoid putting it beside a radiator, stove, fireplace, or bright sunny window.
What preservation tricks can and cannot do
The steps that make the biggest difference are usually the simple ones: delay cutting, start with an intact mature pumpkin, remove loose pulp, keep the carving shaded and dry, and use a cool light. Utah State Extension lists washing, clean tools, removing the interior material, and avoiding a candle among the ways to help preserve a carved pumpkin. These habits reduce avoidable stress, but they do not create a reliable extra week in every climate. (Utah State University Extension)
You may see advice about soaking a pumpkin in bleach, spraying vinegar, or coating cut edges with petroleum jelly or oil. Recommendations differ among gardening sources, and an improvised household chemical mixture is not necessary to choose a good carving date or protect the display. The U.S. Fire Administration advises battery-operated lights instead of open flames; if you use any treatment, read its label, keep it away from children and animals, and do not eat pumpkin flesh or seeds that have been treated or displayed outdoors. Treehugger also cautions that some preservation products may harm animals. (Treehugger; U.S. Fire Administration)
A treatment cannot repair a split, restore a frozen pumpkin, or make a soft spot firm again. Nor can it offset a week of hot, rainy porch exposure. Think of preservation measures as small support for a well-timed carving, not permission to carve in early October and expect a fresh jack-o’-lantern on Halloween.
If your schedule forces an early carving
Sometimes a school event, family gathering, or travel schedule means carving several days before Halloween. If that is your situation, choose the coolest available day, keep the pumpkin whole until the gathering, and protect it after carving: shade, shelter from rain, clean dry surroundings, and a cool LED light. If you can, display it for the event and bring it back into a cool protected space afterward rather than leaving it outside overnight.
A no-carve pumpkin can fill the gap if the carving date is too early. Paint, washable markers, removable accessories, or a face made with pins can create a Halloween display without opening the rind, though any paint or craft material makes the pumpkin unsuitable for eating. Keep one uncarved pumpkin for the main holiday if the carved one is already several days old or beginning to soften.
If a carved pumpkin is already collapsing, there is no dependable rescue. Remove it from the display, especially if it is moldy, wet, or attracting insects, and use an uncarved backup, a faux pumpkin, or a new carving for Halloween night. Preserving the memory with a photo is more realistic than trying repeated sprays or coatings that promise to reverse decay.
If you need a pumpkin for food as well as decoration, set one aside before carving and keep it clean, whole, and indoors. Once flesh has been exposed to outdoor dirt, paint, glue, candle residue, or preservation products, it should not be treated as a cooking pumpkin. Carve only the fruit you intend to display.
Conclusion
Carve your pumpkin close to Halloween and let the local forecast set the exact window. A day or two is the safer choice through warm, humid, rainy weather; a few days can work during a cool, dry spell if freezing temperatures are not expected. No date guarantees a perfect pumpkin, so buy a firm, mature fruit, keep it whole until carving day, and display it in a cool, shaded, covered spot with an LED light.
The most reliable plan is to prepare early but cut late. If the weather or your calendar makes that impossible, shorten the display period or leave a backup pumpkin whole. That gives your carving the best chance of still looking like a jack-o’-lantern—not a collapsed shell—when Halloween arrives.



