When to Harvest Sweet Potatoes for Best Yield
Find the right time to harvest sweet potatoes, dig without slicing roots, and cure them for better flavor and storage with clear weather and temperature cues.
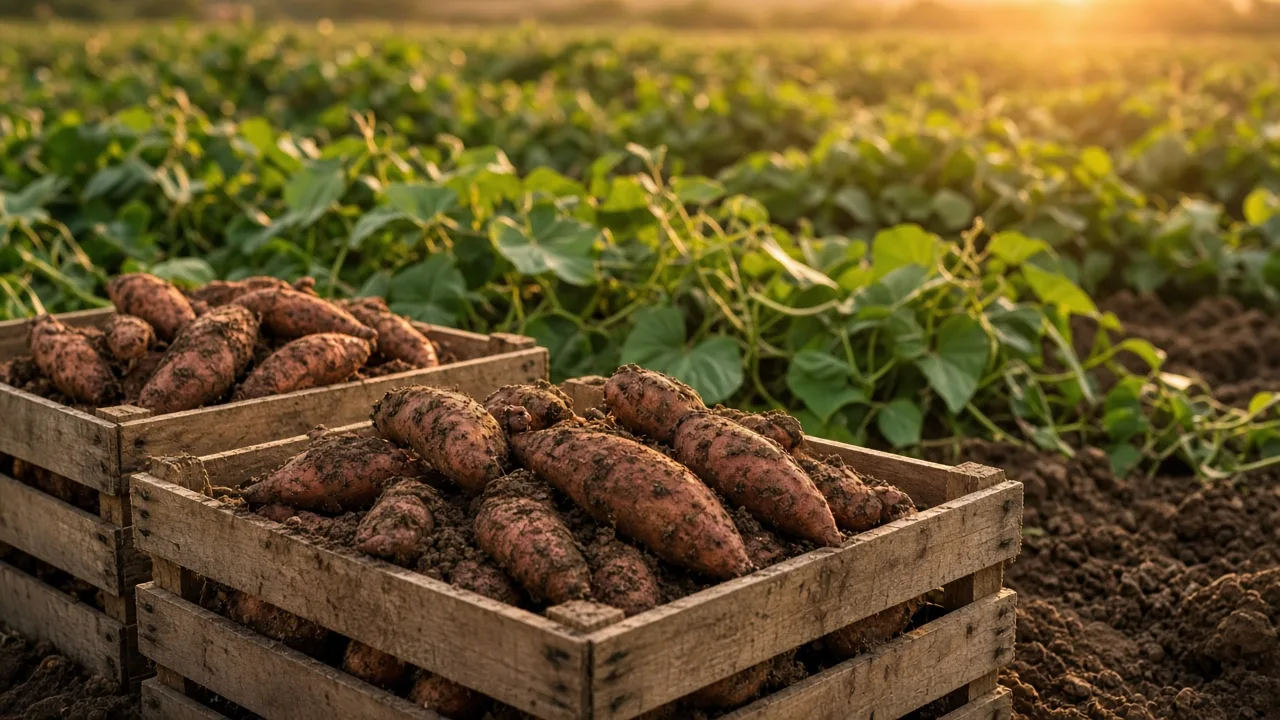
Harvest sweet potatoes when the roots have had enough time to size up, a test dig shows usable roots, and cold weather is beginning to close the season. The seed or slip label gives you a useful starting window, but no single date or leaf color can tell you what is happening underground. If frost is near or the soil is cooling toward 55°F (13°C), protect the crop by digging promptly instead of waiting for every root to reach grocery-store size.
Sweet potatoes can be eaten soon after digging, but curing helps the skins toughen and the flavor develop before longer storage. The harvest decision is therefore a balance: give the roots as much warm growing time as your season safely allows, then lift them gently and move them out of direct sun and cold.
The best harvest window balances maturity and weather
For most home gardeners, the right time is a window rather than a fixed day. Start with the variety’s stated days to maturity, then narrow the window by checking vine growth, the size of a root from a test dig, soil temperature, rain, and your local frost forecast. A late planting in a cool region may need an earlier harvest than the same variety grown in a long, hot season, even if both gardens planted slips on the same date.
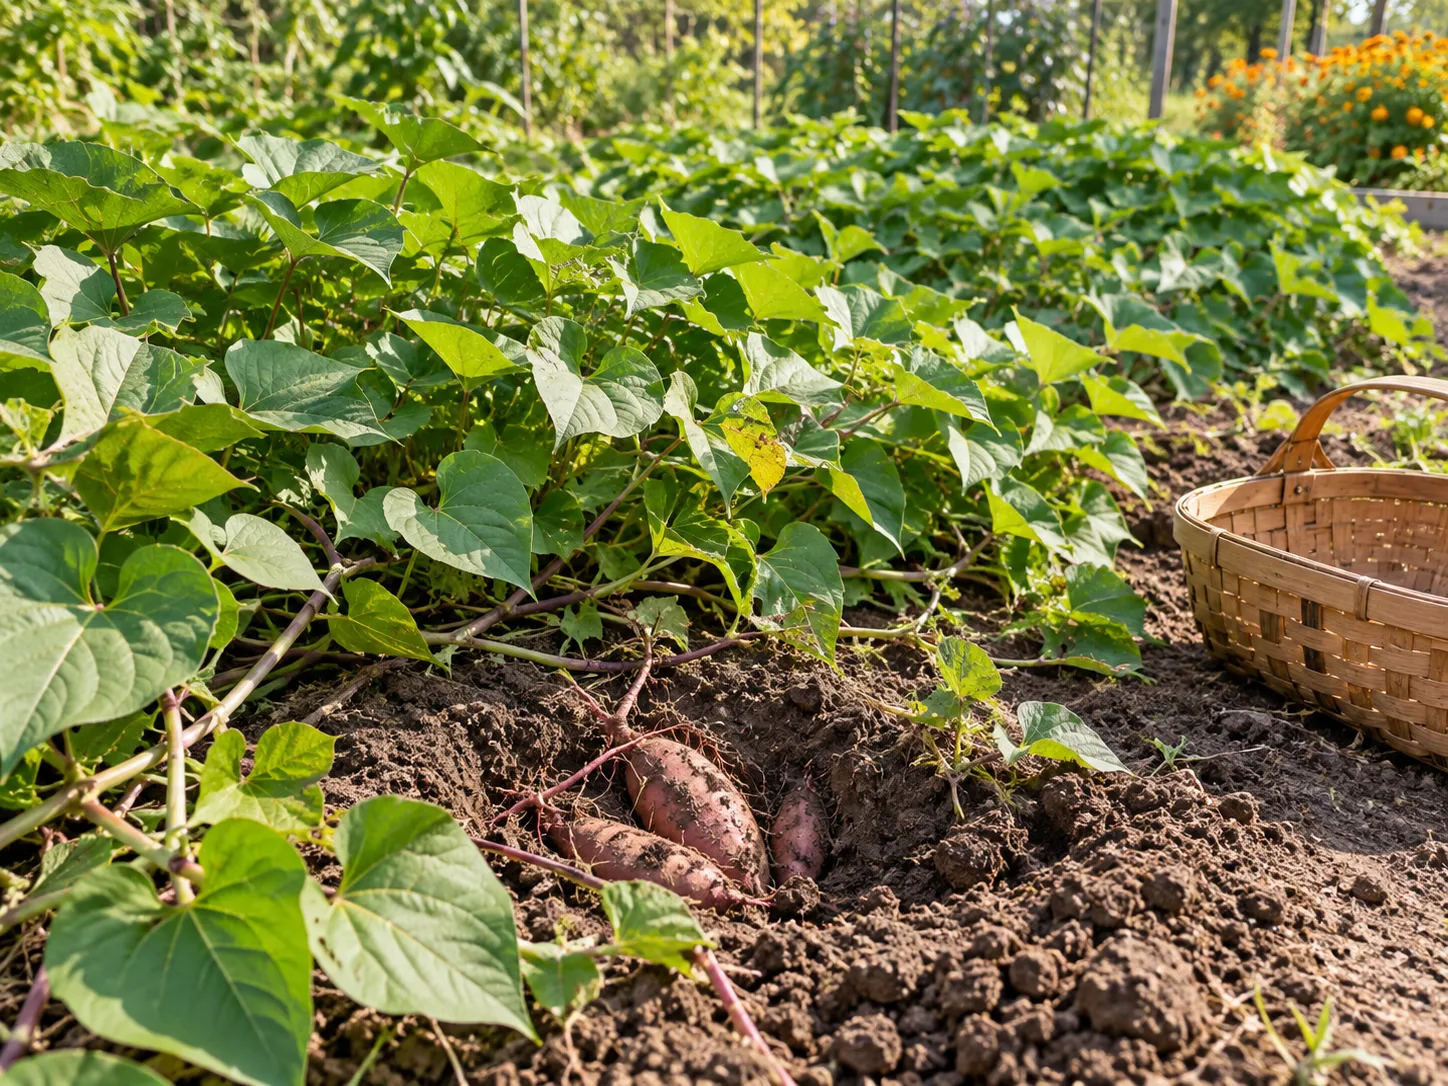
Treat the crop as ready when those clues point in the same direction: roots have reached a useful size, the vines are slowing or beginning to senesce, and waiting longer would expose the crop to colder soil or frost. If the test root is still very small and warm weather remains, wait and check again in a week or two. If the weather deadline is close, harvest the usable roots you have; a smaller sound root is a better outcome than a large one left in cold, wet ground.
The decision also depends on what you want from the crop. If you plan to eat the roots soon, you can dig some earlier and leave the rest to size up while conditions remain favorable. If you want to cure and store most of the harvest, prioritize intact roots and avoid late-season cold exposure, because damage can remain hidden until storage.
Use days to maturity as a planning range
Many home-garden varieties are described as taking roughly 90 to 120 days to mature, but that figure is a guide, not a guarantee. The estimate is cultivar-specific and growing conditions change the pace: warm soil and a long stretch of sunny weather support growth, while late planting, cool nights, drought, waterlogged soil, or a shaded bed can delay useful sizing.
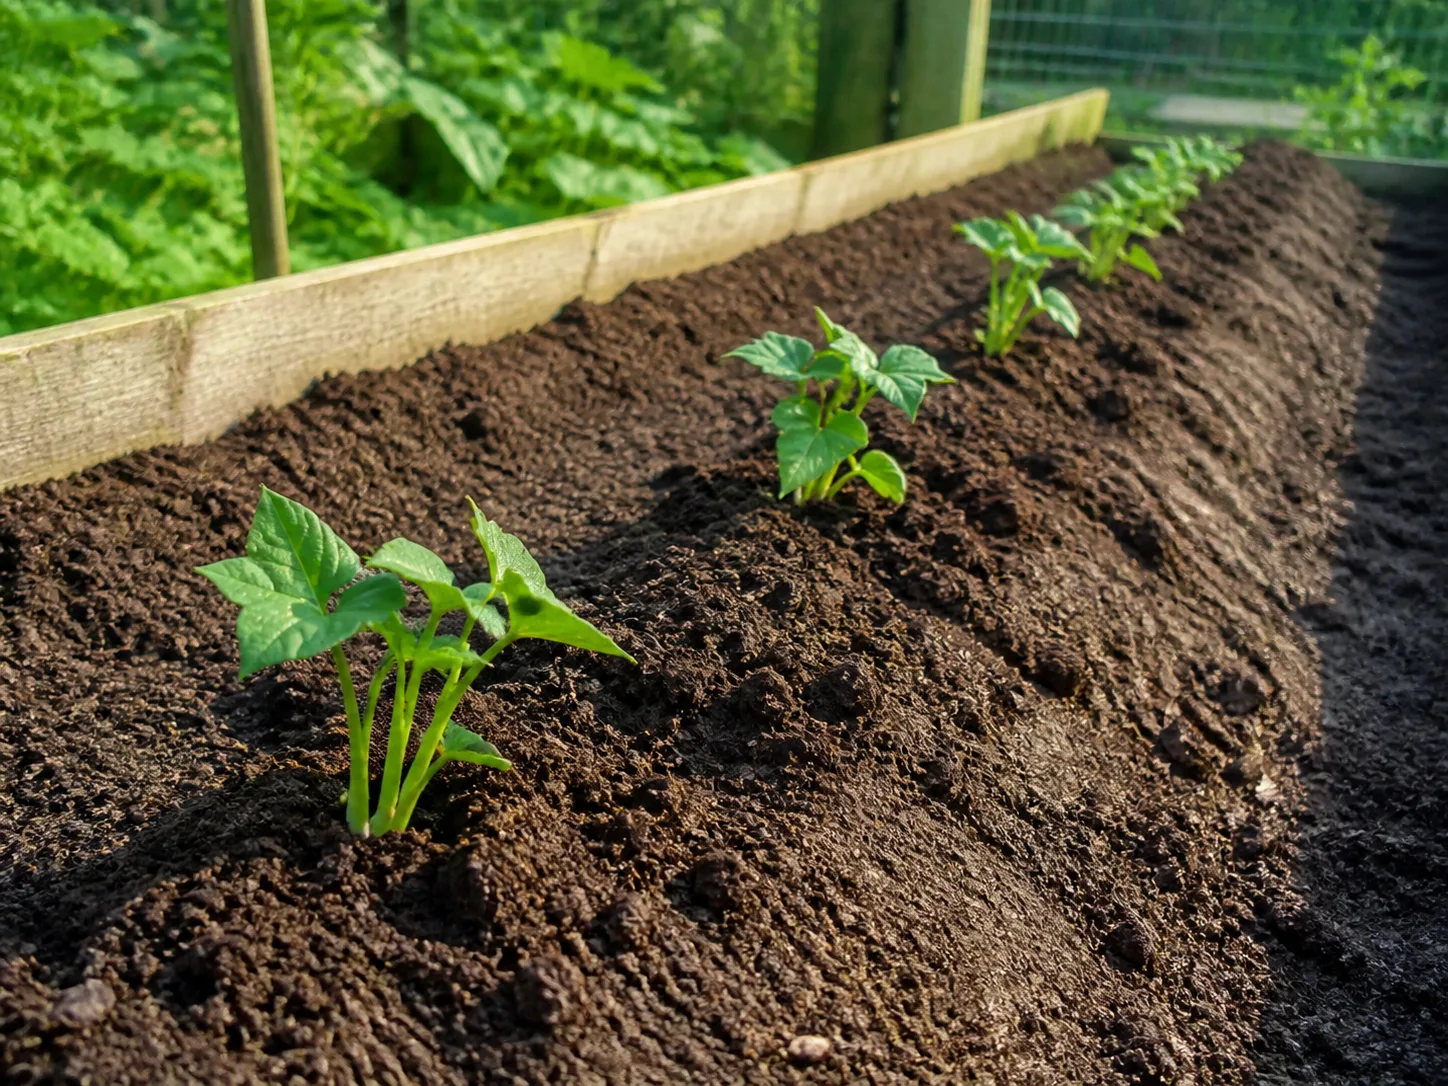
A named variety may mature earlier or later than another even in the same garden. Tenth Acre Farm’s sweet potato guide describes this broad timing range; check your own slip supplier’s description when you know the cultivar.
Write down the date you planted the slips, not just the date you bought them. Count the stated growing period from transplanting into the garden unless the supplier says otherwise; a slip held in a pot for several weeks did not spend that time enlarging roots in the bed. Mark an early check date near the beginning of the maturity range and a likely harvest window near its end, then use test digs and weather to make the final call.
Do not let a calendar overrule what the crop and forecast are telling you. If the plants are vigorous and the test root is small, a warm, frost-free stretch may justify waiting. If vines are fading, the roots are already useful, and the soil is cooling, digging now is safer than chasing an extra week on paper.
Read the vines, but do not rely on yellow leaves alone
A mature sweet potato planting often slows down near the end of the season. Older leaves may yellow, some foliage may decline, and the canopy may stop pushing out fresh growth as quickly as it did in midsummer. These changes can signal that it is time to start checking the roots, but they do not tell you how large the roots are or whether the whole bed is ready.
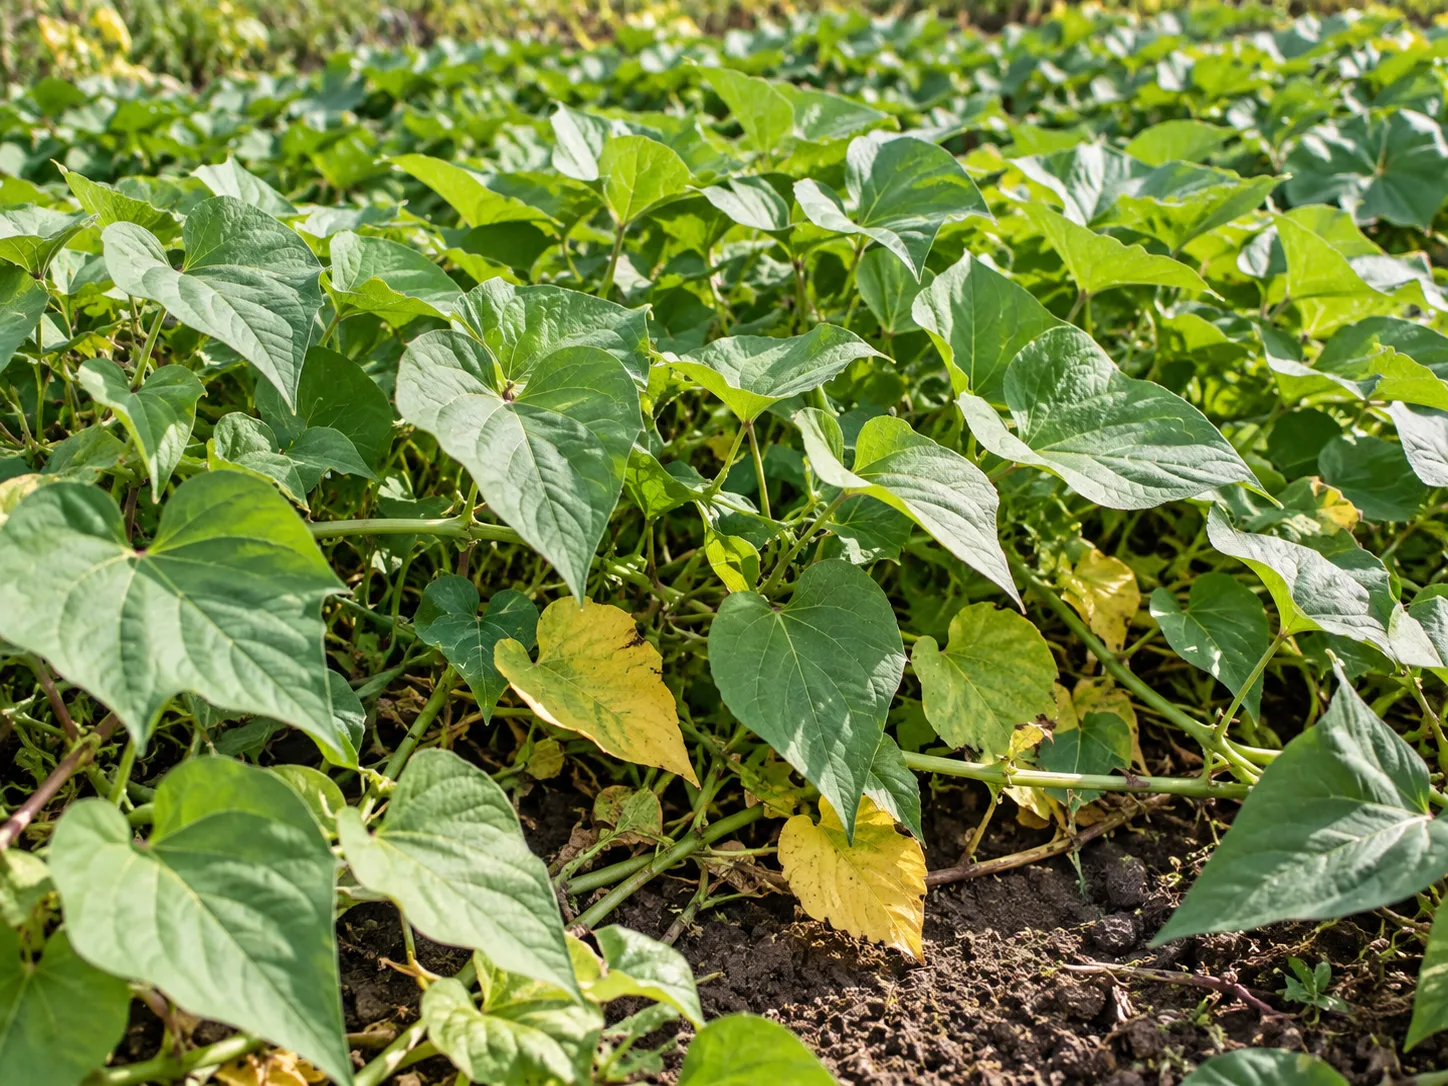
Look at the pattern of change. Gradual yellowing across older leaves late in the season is a useful prompt to test-dig.
Sudden yellowing after a dry spell, waterlogged weather, pest damage, or a disease problem can have another cause. One yellow plant in an otherwise vigorous bed is especially weak evidence of maturity; inspect its soil and leaves, and use a healthy representative plant for the test harvest.
The foliage also is not a reliable way to identify the exact underground harvest date. Sweet potato vines can remain green while roots are already usable, and some roots continue sizing after the first leaves change color.
A better combination is the approximate age of the crop, slowing vine growth, a test root, and the temperature trend. If only one clue says “ready,” gather another before pulling the whole bed.
Test-dig one plant before harvesting the bed
A test dig gives you direct evidence without sacrificing the whole crop. Choose a typical plant in the middle of the bed, rather than the smallest edge plant or the strongest vine. Move the foliage aside, locate the crown where the stems enter the soil, and loosen the ground well outside that point so the fork does not punch into a hidden root.
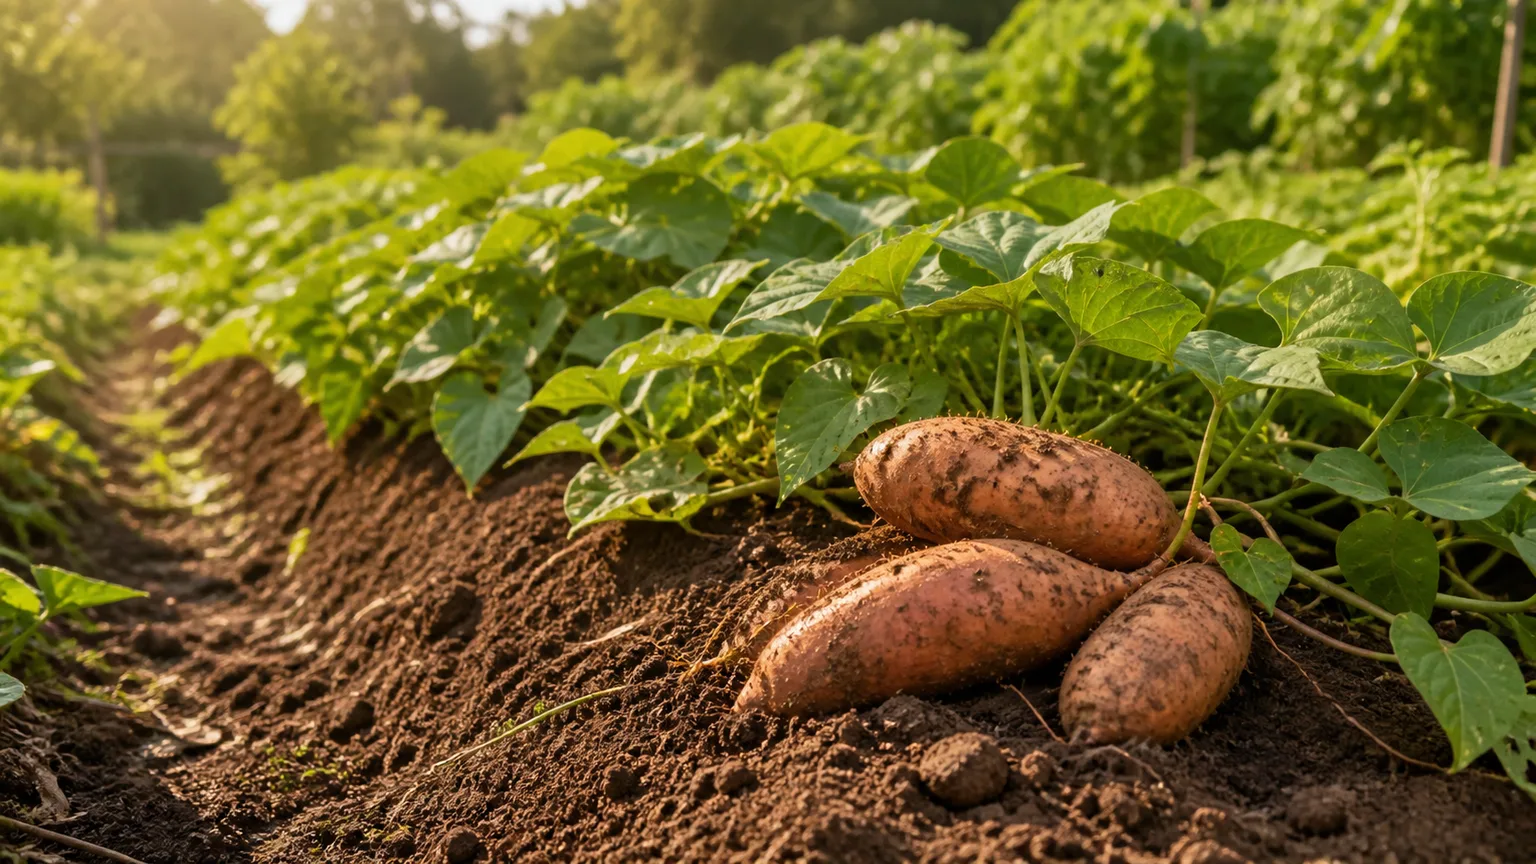
Lift one root carefully and judge it by usefulness and condition, not by one universal size standard. Cultivars differ in shape and size, and many gardeners prefer a smaller root for cooking. A root that is firm and large enough for the way you plan to use it shows that the crop has reached a usable stage; if it is still pencil-thin, the rest may benefit from more warm growing time.
Check the skin as well as the size. Fresh roots have thin skin that can rub, scrape, or peel off when handled roughly.
A test root that has grown to a useful size but skins easily still may be harvestable, but it tells you to handle the rest especially gently and cure them soon. If the root is too small and frost is not close, cover the test hole, water only if the bed is dry, and check another plant after several days.
One plant is a sample, not a guarantee that every hill is identical. Soil depth, crowding, drainage, and the slip’s position can create a range of root sizes across a bed. After one representative dig, sample another area if the planting is large or visibly uneven; this helps you choose between a full harvest and a staged harvest.
Let soil temperature and frost set the final deadline
Sweet potatoes are warm-season plants, and cold is a more important deadline than a calendar month. Penn State Extension advises lifting roots before frost or when soil temperatures drop below about 55°F (13°C). That threshold is a practical warning because a cooling bed slows growth and cold exposure can reduce storage quality; it is not a magical line that means every root is instantly ruined.
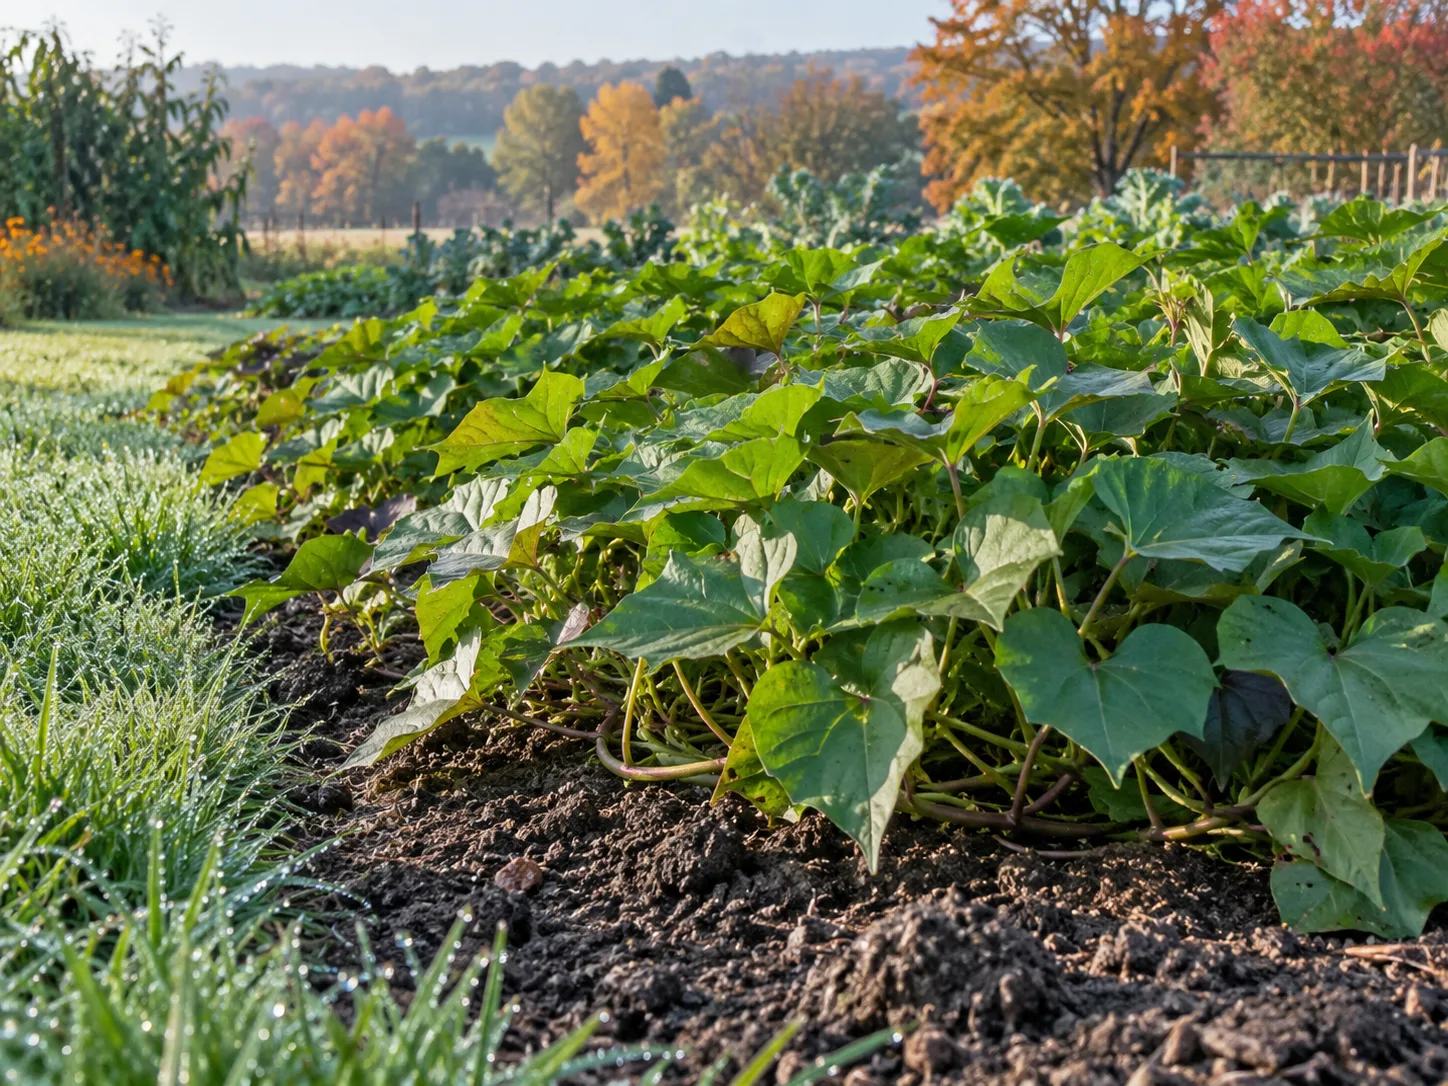
Check the forecast for your own garden rather than relying on a regional average. A forecast low near freezing signals that exposed vines may be damaged, while soil several inches down can stay warmer for a while.
A frost does not always freeze roots underground, but the roots are vulnerable to chilling as temperatures fall, and the risk rises if cold persists or the soil is already cool. NC State Extension’s postharvest guidance notes that unharvested roots may escape a light frost depending on surrounding soil temperature, but recommends harvesting as soon as possible after frost kills the vines.
Some home-growing advice suggests waiting for a light frost to improve sweetness. That approach depends on local conditions and leaves little margin for an unexpected hard freeze or a cold, wet bed. You can gain sweetness through curing without deliberately exposing roots to frost; for a storage crop, harvest before frost when practical, and treat an accidental frost as a reason to dig promptly rather than wait for another day.
Choose a dry, mild day and prepare the bed
Aim for soil that is moist enough to hold together but not sticky or saturated. In crumbly soil, roots release more cleanly and you can feel them as you work; in heavy wet soil, mud hides small roots and clings to skin, while digging through dry, hard soil can snap roots or force you to pry.
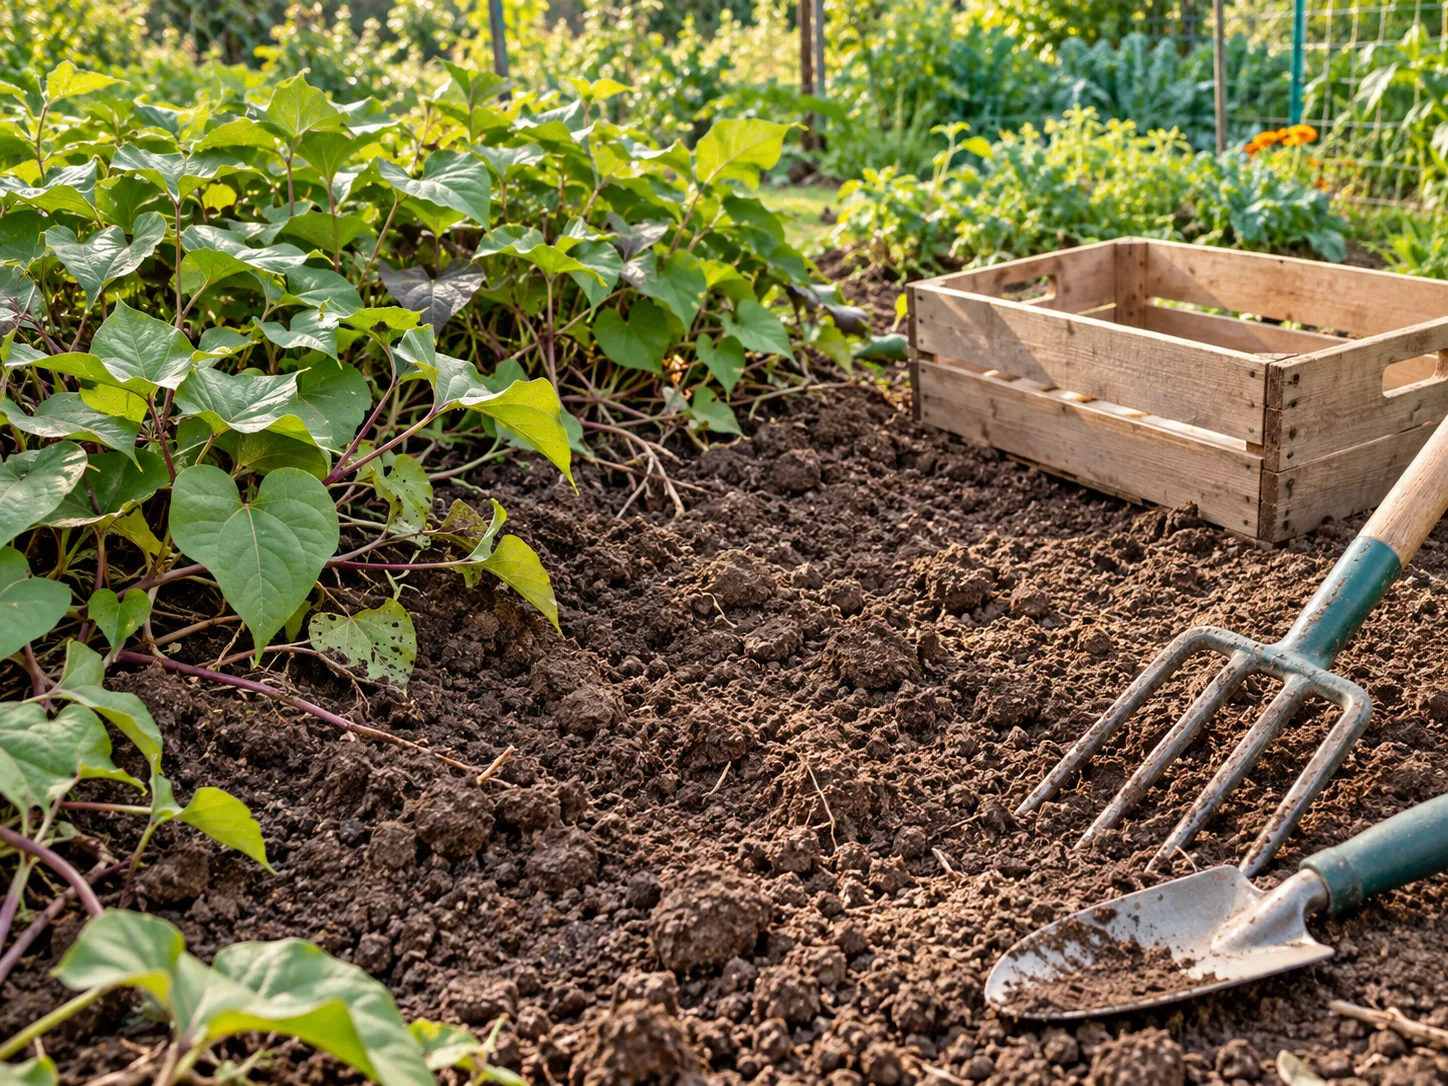
If heavy rain has just passed and frost is not close, let the bed drain until the soil is workable. Do not postpone a necessary harvest just to get a perfect day when cold weather is arriving.
A few days without rain can make cleanup easier, but do not let vines wilt from prolonged drought to “toughen” the roots. Sweet potatoes are still growing until you harvest them, and severe dryness followed by heavy rain can contribute to cracking. Late-season irrigation should respond to rainfall and soil conditions: avoid keeping the bed waterlogged, but do not stop all water weeks early if the plants are still actively growing in dry weather.
Better Homes & Gardens suggests reducing irrigation in the final three to four weeks, but in a home garden that is a weather-dependent adjustment rather than a calendar shutdown: keep the bed evenly moist enough for active growth and avoid saturation, especially before heavy rain. NC State Extension notes that drought followed by heavy rain can encourage growth cracks that become entry points for decay.
Prepare before digging so the crop does not sit in the field afterward. Bring a digging fork or broad garden fork, a hand trowel for tight spaces, shallow baskets or crates, gloves if you prefer them, and a shady place to set the roots.
Clear enough vine growth to see the soil, but keep some stems as markers so you can find the crown. Work in small sections and have containers ready; freshly lifted roots should not sit in hot sun or be left outdoors overnight.
Dig sweet potatoes without slicing the roots
The roots can extend beyond the visible crown, so avoid driving a fork straight down beside the main stem. Begin well outside the crown, loosen the soil in a wide circle, and work progressively closer as the earth opens. In a raised bed with loose soil, hands and a trowel may be enough; in dense ground, a fork gives leverage, but place the tines away from the expected root zone.
Once the soil is loose, follow the thickened roots by hand. Slide a hand beneath each root, lift the surrounding soil, and ease the root out rather than pulling on the vine.
Sweet potatoes often grow in a cluster around a plant, and rooted vine nodes can form additional small roots, so feel carefully through the loosened soil after the main cluster is out. Slow, wide digging usually recovers more of the crop than a fast stab near the stem.
Place roots gently in a shallow basket instead of dropping them into a deep bucket. A fork cut, scrape, or bruise may not look serious at first, yet each wound creates a weak point for moisture loss and decay.
Do not scrub or wash the roots after digging; let surface soil dry, then brush it off lightly. Keep the harvest shaded, especially on a bright day, because exposed roots can suffer sun injury.
Work through a bed in sections so that loose soil does not obscure plants you have not dug. If you cut a root, mark it for immediate use rather than mixing it with roots intended for storage.
Likewise, use the smallest roots first if they are unlikely to store well, and keep them separate from clean, undamaged roots. Curing can help minor skin injuries heal, but it cannot restore a badly cut or bruised root to storage quality.
Empty containers and grow bags carefully
A grow bag or large pot can be easier to harvest than a bed, but it is still possible to cut roots if you dig blindly. If the container is manageable, tip the contents onto a tarp and separate roots from soil by hand. For a heavy planter, remove the soil in layers with a hand trowel, starting around the edges and working inward toward the crown.
Check around the drainage holes and along the outside of the root ball. Roots may have followed moist areas near the pot wall, and smaller ones can remain attached to the vine nodes.
Avoid tugging a vine to pull the root ball free; the stem may break while the root stays buried. If you want to reuse the potting mix, inspect it thoroughly for roots before composting or refreshing it.
Containers warm and dry faster than garden soil. They may produce an earlier usable root, but they can also need more frequent watering in summer and may cool more quickly in fall. Use the same maturity and weather clues as you would in a bed, then check the actual soil temperature and test a plant rather than assuming a container is ready because it is portable.
Sort the harvest before curing
Separate roots by condition as soon as you finish digging. Keep intact, firm roots for curing and longer storage. Set aside fork-punctured, deeply scraped, split, badly bruised, insect-damaged, soft, or visibly rotting roots for prompt use or disposal depending on the damage; curing does not make spoiled roots safe or turn major wounds into sound skin.
Brush off dry soil with a soft hand or dry brush after it loosens. Do not wash before curing: wet soil and trapped moisture can encourage decay, and water can damage the tender skin.
Also do not peel or scrape the skin clean. A light coating of dry soil is less harmful than abrasion; the goal is to protect the outer surface while the root heals and sets.
Let the pile breathe and keep it out of direct sunlight. Avoid sealing freshly harvested roots in a plastic bag or airtight tub, because they remain living tissues and need air exchange.
Penn State Extension recommends gentle airflow through vented containers and sorting out roots that are damaged or exposed to sun. If the crop came from saturated soil or experienced cold, inspect more often in storage because its keeping quality may be lower.
Cure sweet potatoes for flavor and storage
You can cook a freshly harvested sweet potato, but it may taste starchier and its skin will be fragile. Curing gives healthy roots a warm, humid period that helps heal small harvest wounds, set the skin, and develop a sweeter flavor. It is an after-harvest treatment, not a way to ripen undersized roots or repair severe damage.
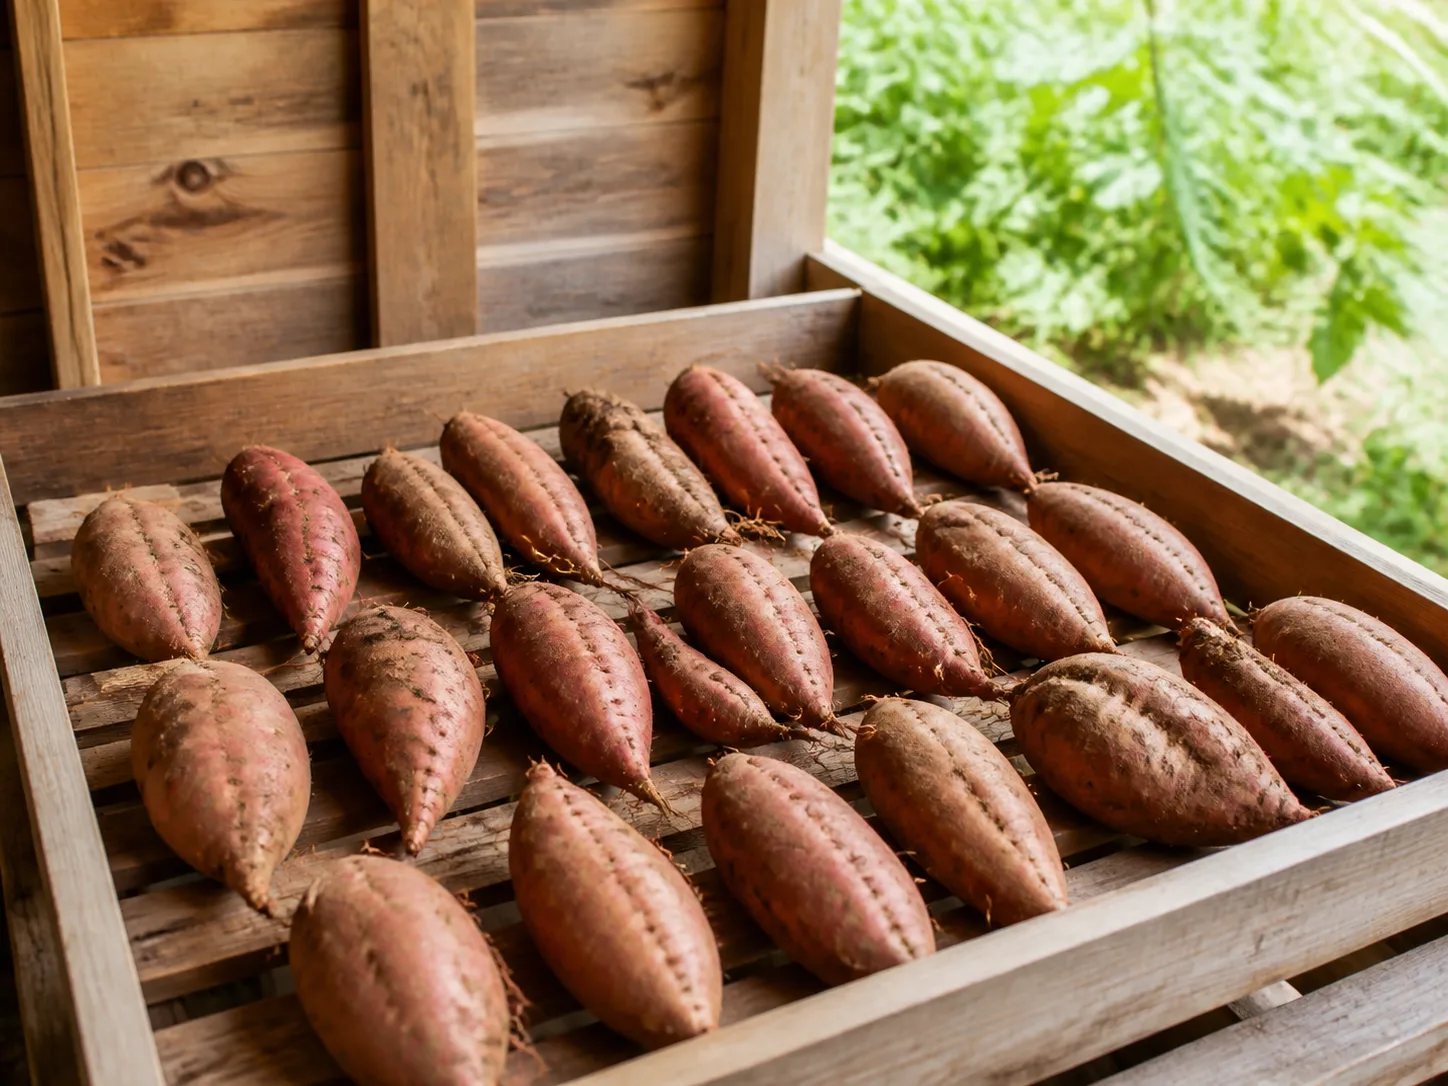
Extension recommendations vary slightly in duration: Alabama Cooperative Extension gives four to seven days, while North Carolina Extension gives three to five days under commercial conditions. Penn State’s current guide recommends about four to seven days, with longer time sometimes needed for roots with more skin injury.
For a home gardener, think in terms of a short, closely monitored curing period rather than a fixed number that applies in every room. Follow a local extension recommendation if you have a reliable, controlled setup.
| Curing factor | Practical target for sound roots | Why it matters |
|---|---|---|
| Temperature | About 80–85°F (27–29°C) | Warmth supports wound healing and skin setting |
| Relative humidity | About 85–95% | Limits drying while roots heal |
| Duration | Usually about 4–7 days | Longer exposure can cause sprouting or excess moisture loss |
| Air movement | Gentle and continuous | Roots need oxygen; trapped damp air invites decay |
| Light | Dark or very low light | Reduces unnecessary exposure while curing |
Set up warm, humid air with gentle ventilation
Use a thermometer and hygrometer near the roots, not across the room, because a closed closet or box can trap heat and moisture differently from the rest of the house. Arrange roots in a single layer in a shallow crate or on a ventilated shelf; avoid piling them deeply, covering them tightly, or letting them touch damp surfaces. The air should feel humid, but visible condensation or water on the roots is a warning that the setup is too wet or poorly ventilated.
A small enclosed room can work if you can hold the temperature and humidity in the target range safely. Penn State Extension describes small-scale options such as an insulated space, a humidifier, a thermostat-controlled heat source, and a low fan, with monitoring near the crop.
Keep electrical equipment away from water, follow its manufacturer’s instructions, and never use an unattended improvised heater, oven, or sealed plastic container. The aim is stable air, not a hot box.
Check the roots and instruments each day. If roots soften, smell sour, or develop wet spots, remove affected specimens and improve airflow; do not assume more heat will fix them.
If the room is too cool, extending curing is not automatically a solution, because low temperatures can make the process less effective. Once the curing period is complete, move roots to a cooler storage location rather than leaving them warm until sprouts appear.
Adjust the plan when a home stays cooler
Many homes cannot maintain 80–85°F and 85–95% humidity for a week. Do not compensate by sealing roots in a bag, setting them in a sunny window, or running a heater without temperature control; those methods can create uneven hot spots, condensation, or unsafe conditions. Better to know the limit of the room and use the roots sooner than to create a risky curing chamber.
A room in the 70s may allow some skin drying and healing, but it is not equivalent to a controlled extension curing room, and the process may take longer or produce less predictable storage life. The NC State Extension radio guidance for home growers suggests warm, humid conditions for curing, while its detailed commercial publication specifies controlled temperature, humidity, and ventilation. This difference reflects the difficulty of translating warehouse conditions to a house, not a reason to assume all methods work equally well.
If you cannot control the room, prioritize the basics: dry the surface, brush soil gently, sort carefully, keep roots ventilated, and choose the warmest stable spot that is safe. Eat scraped or cut roots first, and check stored roots every week or two. Curing improves the odds of good flavor and keeping quality; it does not guarantee months of storage when temperature and humidity vary widely.
Store cured roots in a cool, dark place
After curing, reduce the temperature gradually to a cool but not refrigerator-cold place. Penn State and Alabama Extension recommend storage around 55–60°F (13–16°C), with high humidity and ventilation; North Carolina Extension’s commercial standard is close to 55°F (13°C). At home, a dark closet, insulated pantry, or basement corner may be the best available compromise if it stays cool and dry enough without getting cold.
Use a basket, slatted crate, cardboard box with airflow, or another breathable container. Leave space around it so air can move, keep it off a damp floor, and avoid stacking heavy containers on the crop.
Do not refrigerate raw sweet potatoes: temperatures below about 50–55°F can cause chilling injury, sometimes showing up only weeks later as pitting, decay, discoloration, off flavor, or a hard center after cooking. On the other hand, a warm room encourages sprouting and moisture loss.
Check the roots regularly and remove any that become soft, wet, moldy, or foul-smelling so decay does not spread unnoticed. A few short sprouts do not necessarily make a root unusable, but they signal that storage is too warm or that the crop is aging; use those roots soon.
Expected storage life depends on cultivar, harvest condition, curing, and the stability of your storage space. Extension sources report several months under favorable conditions, while a warm, dry kitchen may allow much less.
Respond to frost, heavy rain, and a late test dig
If frost is forecast, harvest as much of the crop as you can before it arrives, especially when the soil is already cool. If frost has already killed the vines, do not panic and leave roots outside to see what happens; the soil may have buffered them, but dig promptly, keep them from chilling overnight, and sort carefully. A root that looks normal after cold exposure may still store poorly, so use uncertain roots sooner and inspect the rest often.
When rain is heavy, saturated soil makes harvesting messy and can damage roots when mud sticks to thin skin. If temperatures are safe, wait for drainage and a workable soil texture.
If cold is imminent, accept that the roots will be muddy and prioritize a careful dig, a shaded staging area, and air drying before gently brushing soil away. Avoid washing the crop just to make it look clean.
If a late test dig finds mostly small roots, decide whether there is time for another week by checking both the forecast and soil temperature. In a warm climate with no frost threat, leave the crop to grow and sample again. In a short-season garden, harvest the useful roots and accept that some may be small; the next season’s improvement usually comes from selecting an earlier cultivar, setting slips out sooner after warm weather settles, or improving drainage and bed warmth rather than forcing an unsafe late harvest.
Avoid harvest mistakes that shorten storage life
The most common mistake is treating one clue as a guarantee. Calendar dates, leaf yellowing, a single large root, or the first frost forecast all provide information, but none should be used alone. Combine them, then choose a representative test dig to avoid losing the whole crop to an assumption.
Another mistake is treating sweet potatoes like regular potatoes. They are living tropical storage roots with thin skins, so cold storage, rough digging, washing before curing, and sun exposure can all reduce quality. The Alabama Cooperative Extension System emphasizes that roots remain alive after harvest and need oxygen; do not seal them in an airtight bag or pile them in a wet bucket.
Finally, do not try to make a marginal harvest last all winter through curing alone. Deep cuts, cold injury, saturated-soil stress, and rot can limit storage even when the curing period is good.
Separate the best roots for storage and put damaged, undersized, or weather-stressed roots at the front of the meal plan. Good harvest timing protects yield, but careful sorting and realistic storage expectations protect the food you actually bring indoors.
Conclusion
Harvest sweet potatoes when cultivar timing, a representative test dig, slowing vines, and the weather agree that the roots are usable and cold is approaching. Let frost risk and soil temperature set the deadline; do not deliberately wait for a frost to sweeten the crop.
Dig wide, lift gently, keep roots shaded and dry, cure sound roots in warm humid air with ventilation, and store them cool but above refrigerator temperature. When the season or your home setup makes ideal conditions impossible, use the best roots first and treat the rest as a near-term harvest rather than assuming they will keep for months.



