When to Cut Back Irises: A Seasonal Pruning Guide
Use this iris pruning calendar to remove flower stalks, protect green leaves, shape fall fans, inspect rhizomes, and clean up borer-prone debris.
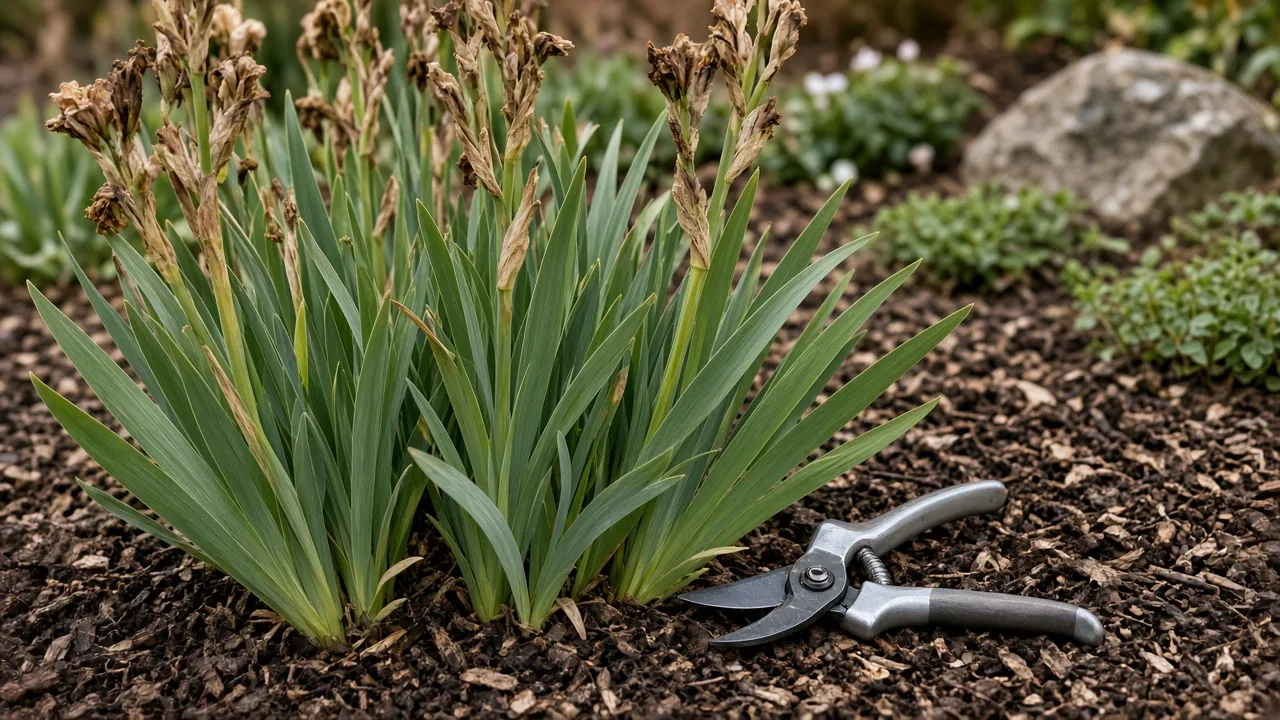
The best answer to “when should I cut back my irises?” is not one date. It is a sequence: remove spent flower stalks after the last bloom, keep healthy green leaves through summer, cut out diseased leaves whenever you see them, and do the full fall cleanup after frost has finished the foliage.
That distinction matters because an iris flower stalk has finished its job when the blooms fade, but the leaves have not. The upright blades are still making carbohydrates that the rhizome uses to survive dormancy and build next year’s flower buds. Cut the stalks promptly, but treat healthy foliage as a working solar panel until the plant begins to shut down.
This guide is written mainly for the familiar bearded, rhizomatous irises grown in perennial borders. If your label says Siberian, Japanese, Dutch, reticulated, or another bulbous iris, identify that plant before applying the bearded-iris fan and rhizome directions.
The short answer: four pruning windows
Use the plant’s condition, not a fixed month, as your trigger. A mild-climate garden may reach the fall stage in November or December, while a colder garden may need to finish the job soon after the first killing frost.
| Timing window | What you cut | What you leave | Main purpose |
|---|---|---|---|
| A few days after the final bloom | The bare flower stalk | All healthy green leaves | Tidiness, seed control, and less decaying tissue |
| Spring through summer | Spotted, water-streaked, broken, or fully dead leaves | Supple green leaves | Disease triage and plant energy |
| Late summer, only if useful | An optional portion of a floppy fan | Enough green foliage for the cultivar | Airflow and a neater clump in humid or congested beds |
| After frost kills the foliage | The remaining dead fan and nearby debris | The rhizome and its roots | Winter sanitation and borer prevention |
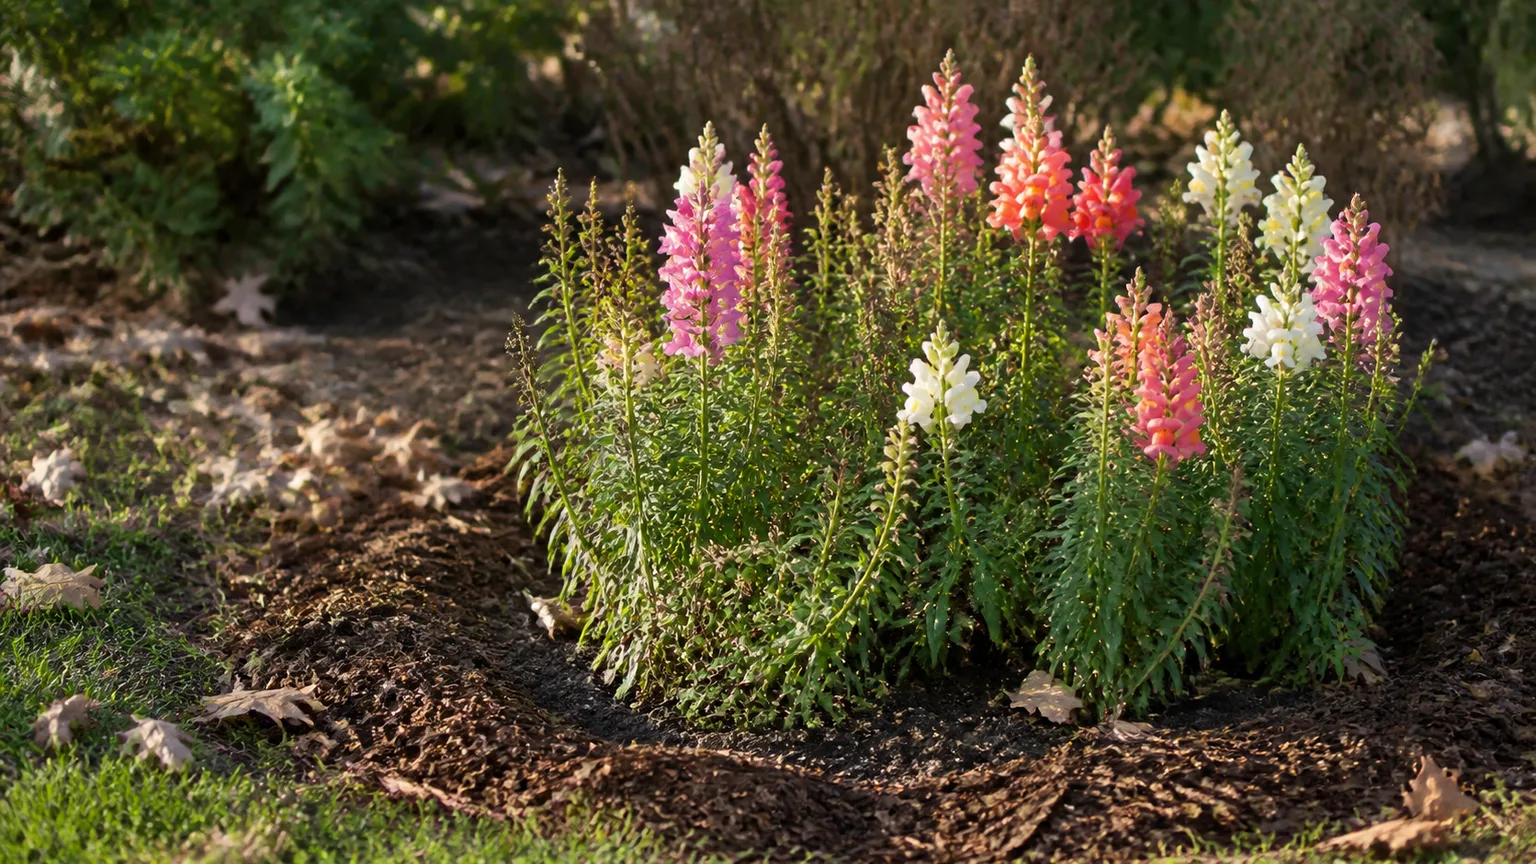
If you have just finished flowering, cut the stalk and stop there. If the leaves are still mostly green, a whole-plant haircut is usually early. If frost has turned the fan brown and limp, the plant is telling you that the final cleanup window has opened.
The Ohio State University Extension guidance on midsummer bearded-iris care supports this separation: remove the flower stalk after flowering, then deal with diseased foliage and fan shaping as a later maintenance job. That simple order prevents the most common mistake—confusing deadheading with cutting back the leaves.
Identify your iris before you cut
“Iris” describes a large group of plants with different roots, leaves, bloom seasons, and dormancy patterns. A bearded iris has a thick, creeping rhizome that typically sits at or very near the soil surface, with a flat fan of sword-shaped leaves. Siberian iris has a denser fibrous root system, and Dutch or reticulated iris grows from a bulb rather than the thick exposed rhizome most gardeners picture.
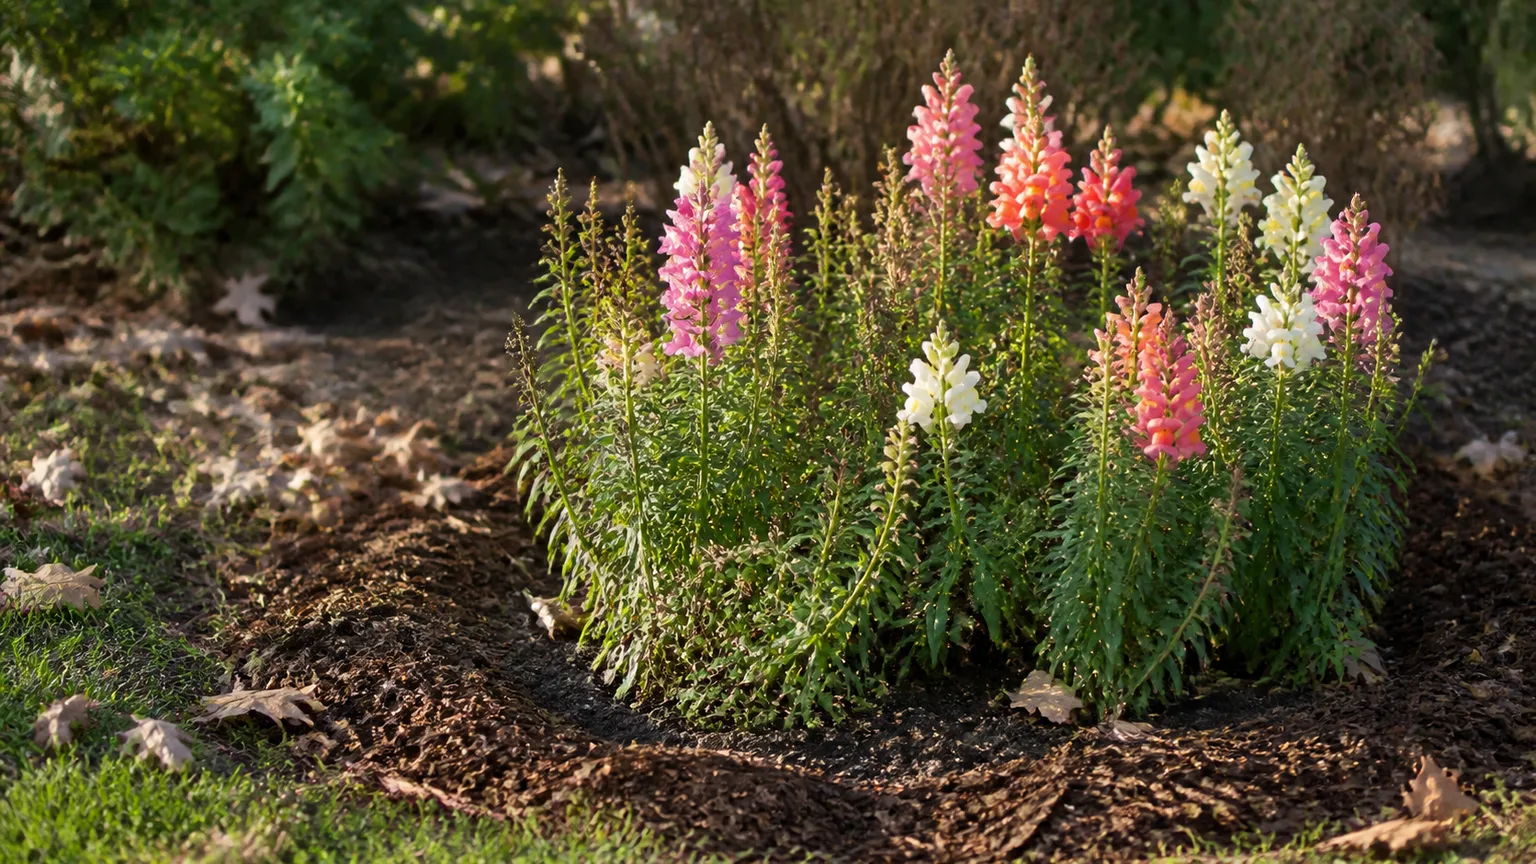
The basic flower-stalk rule is broadly useful, but the final cut height, winter protection, and tolerance of wet soil are not identical across those groups. Look at the plant label, the shape of the underground structure when you divide, or a reliable cultivar record before you cut a clump you do not recognize.
Bearded, beardless, and bulbous irises do not behave identically
Bearded iris is the type most often discussed in fall-pruning advice because the rhizomes are vulnerable to sitting under wet debris and because iris borer damage is especially serious in this group. The University of Wisconsin Horticulture iris-borer factsheet notes that bearded iris is more severely affected than Siberian and dwarf iris, although the pest can attack other iris species as well.
For a bearded iris, never treat the rhizome like a tulip bulb that needs to be buried deeply. The top should remain visible or only lightly covered, depending on the cultivar and local conditions. Cutting leaves cleanly is helpful; digging, pulling, or burying the crown while you tidy is not.
Beardless irises may prefer more moisture and may not need the same short, architectural fan. Bulbous irises can have a different foliage cycle altogether. When in doubt, remove only the spent stalk and obviously dead or diseased material until you can confirm the plant’s identity.
Check whether your cultivar reblooms
Most familiar tall bearded irises put on one main display in late spring or early summer. Some cultivars are rebloomers, however, and may produce another flush in late summer or fall when the weather and growing conditions cooperate. Epic Gardening’s overview of iris groups and bloom timing makes the useful point that climate and type work together; a calendar that fits a cool northern garden may be wrong for a warm one.
If a reblooming iris is still sending up buds, do not shear its green fan simply because other irises in the bed have finished. Remove spent stalks below the finished bloom, keep the leaf blades that are still green, and wait until the second display is over before doing any broader trim.
You do not need to know the cultivar name to make the immediate decision. Watch for a second set of buds, keep the plant’s green leaves while it is actively growing, and postpone the final cut until frost or natural dieback makes the foliage clearly finished.
What to do when the flowers fade
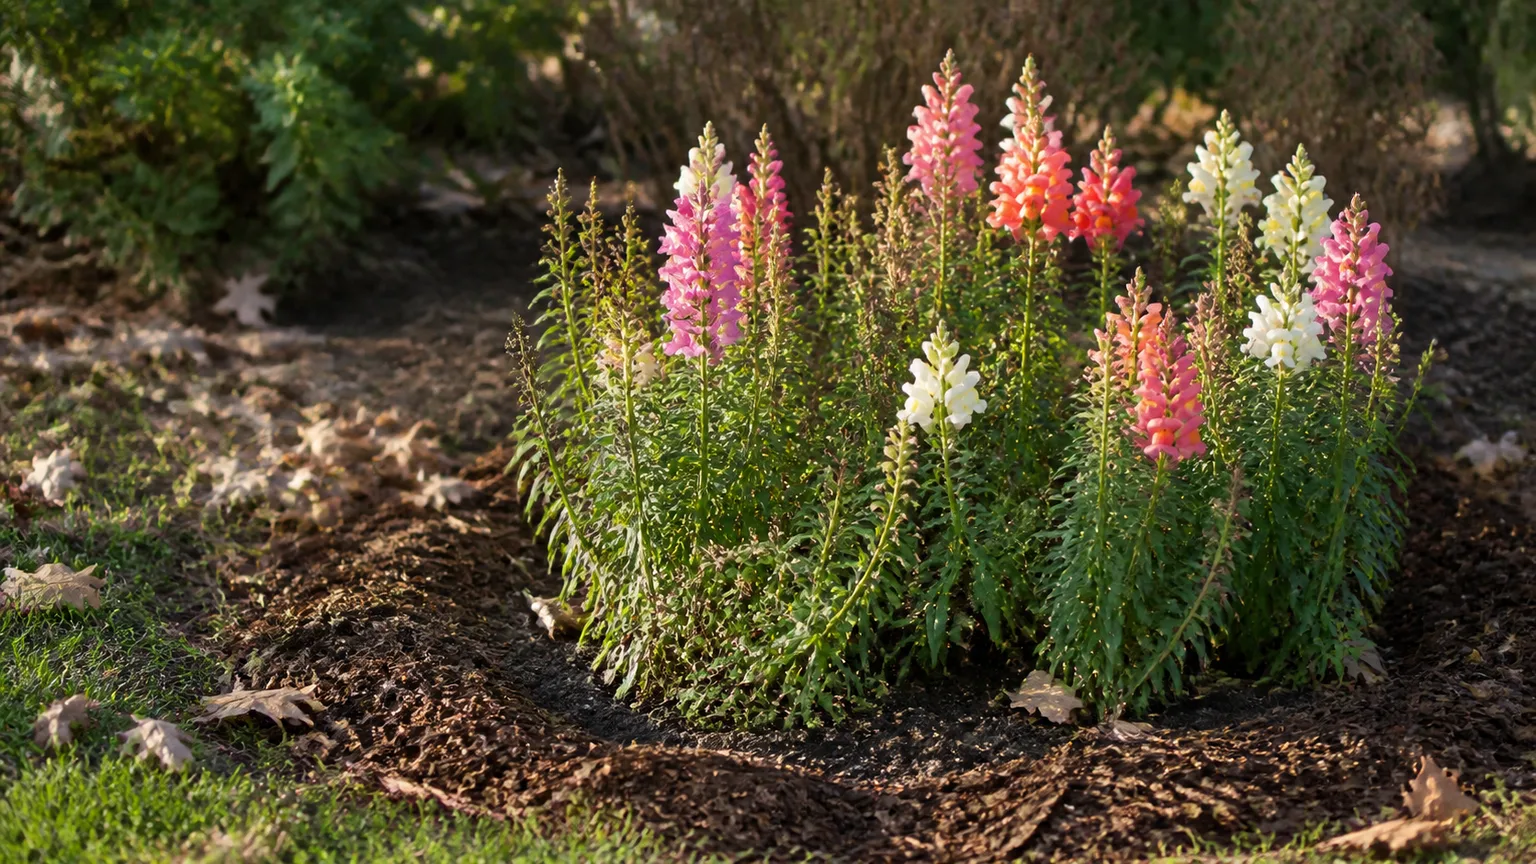
Flower stalks and leaves have different jobs, so they deserve different timing. As soon as the last bloom on a stalk has faded and no new bud is developing on that stem, remove the stalk at its base. The plant does not need a bare, collapsing stem standing among the leaves.
Remove the entire spent flower stalk
Use sharp, clean bypass pruners or sturdy garden scissors. Follow the stalk down through the fan and cut it close to the base, taking care not to slice into the rhizome or the emerging leaves around it. A clean, slightly angled cut sheds rain better than a ragged break.
There is no advantage to repeatedly plucking each shriveled flower while leaving the empty stalk in place. On most bearded irises, removing spent flowers does not force another bloom that season. The useful result is a cleaner clump, fewer seedheads if you do not want them, and less dead tissue that can stay wet against living growth.
If you see a second bud lower on the same stalk, leave that portion alone until it finishes. Once the stem is truly done, take the whole stalk rather than making a series of tiny cuts that leave awkward stubs.
Decide whether to keep seed pods
An iris that has been pollinated may form a swollen seed pod. Leave it if you are intentionally collecting seed or want to experiment with seedlings; remove it if you want the plant to keep its energy focused on the established clump and you do not want volunteers.
Seed-grown irises may not reproduce the exact color or form of the parent, especially where several cultivars grow close together. For a named iris you want to multiply faithfully, division of healthy rhizomes is the dependable route; seed is a breeding project rather than a shortcut to a duplicate.
Keep green leaves through the growing season
The leaves are the part gardeners most often cut too soon. Even after flowers disappear, a green fan is still photosynthesizing. Removing that fan in June or early July can reduce the plant’s ability to replenish the rhizome, particularly when the clump is already stressed by drought, shade, transplanting, or overcrowding.
Keep the foliage if it is green, firm, and standing reasonably upright. You can hide a tired-looking fan with nearby perennials or let the leaves slowly age; visual impatience is not a plant-health emergency.
The exception is a leaf that is clearly diseased, broken, fully brown, or lying against wet soil. Cut that individual blade at its base with a clean tool and take it out of the bed. Do not strip every healthy leaf because one outer blade has a spot.
Leaf spot and soft rot do not look exactly alike. The Penn State Extension iris-diseases table describes leaf-spot symptoms as enlarging dark spots or streaks, while soft rot is associated with collapsing leaves and foul-smelling, soft tissue at the leaf bases or rhizomes. Those cues are more useful than treating every yellow leaf as the same problem.
When disease is present, work from the healthy clumps toward the suspect clump, not the other way around. Wipe or disinfect the blade between plants, especially if you have been cutting spotted foliage, and put infected or borer-damaged material in the trash or an appropriate municipal green-waste stream rather than a cool home compost pile.
Use an optional late-summer fan trim carefully
A partial fan trim is a maintenance choice, not a mandatory date on the iris calendar. In a humid bed where the leaves flop into a dense, damp mass, some growers shorten the healthy fan in late summer to improve airflow and expose the top of the rhizome. Ohio State Extension describes shearing bearded-iris foliage to roughly 4–6 inches as a way to control marred leaves and tidy the plant after flowering.
That recommendation should be used with judgment. Do not make the cut while a reblooming cultivar is preparing its second flush, and do not use a partial trim to hide active disease while leaving infected debris on the soil. Remove the affected leaves, clear the bed, and address drainage first.
If you choose a fan trim, make the center leaves a little taller than the outer leaves so the clump has a shallow, upright fan rather than a flat hedge. Cut cleanly in one pass where possible. The goal is to keep a useful amount of green surface while reducing floppy foliage that traps moisture—not to expose every rhizome in the middle of summer.
Gardeners in dry, open beds may gain little from this extra step. Gardeners in wet climates, crowded borders, or beds with recurring leaf spot may find it useful, but the final fall cleanup remains the more important sanitation job.
Make the final fall cutback after frost
The full cutback belongs after the leaves have naturally turned yellow-brown, collapsed, or been killed by frost. That timing gives the plant as much late-season photosynthesis as its climate allows, while still leaving a window to remove old foliage before it mats over the rhizome through winter.
Do not wait for a particular month if the weather has moved earlier or later. Home for the Harvest’s iris timing guidance uses mid-autumn and a short fan as practical cues, while other regional guidance favors waiting for the foliage to die back more fully. The shared principle is stronger than the exact number: finish after active growth has ended and before frozen ground or snow makes the crown impossible to inspect.
Shape a short, dry fan without touching the rhizome
Start with the outside of the clump so you can see where the rhizome sits. Remove loose, dead leaves by hand only if they release without resistance; if a leaf pulls hard, cut it instead of lifting the rhizome.
For a common bearded iris, a practical default is to trim the remaining leaves into a short fan about 2–3 inches above the soil or rhizome, with the center slightly higher than the outside. Some regional recommendations use a 4–6-inch fan, and that is also workable when it keeps leaf tips off the ground. The important safeguards are to avoid cutting into the rhizome, avoid leaving long leaves that fold into wet soil, and avoid making a flat pile that catches water.
If the foliage is already completely dead and dry, you can remove it closer to the base, but do not dig into the crown to chase every pale stub. A small upright fan is easier to find in spring and gives the bed a little structure without carrying a mass of old leaves through winter.
Wear gloves when handling old iris foliage. The blades can be stiff and surprisingly sharp, especially after frost. Make clean cuts with a sharp tool, and disinfect before moving to another clump if disease or rot was present.
Remove the debris, not just the standing leaves
Rake the cut leaves, fallen leaves, flower stalks, and loose mulch away from the base. The sanitation step is where much of the value lies; leaving a ring of chopped foliage around the rhizome undermines the purpose of cutting.
Healthy, clean leaf pieces can be chopped small and composted if your system is active and hot enough to break them down. Spotted, slimy, foul-smelling, or borer-damaged pieces should be bagged and removed from the bed. If you are unsure whether a clump had a pest or disease, disposing of the foliage is the conservative choice.
After cleanup, look down into the clump. You should be able to see the upper surface of a bearded rhizome rather than a thick blanket of mulch and wet leaves. If the rhizome is soft, hollowed, or foul-smelling, treat it as a problem to investigate rather than a normal sign of winter dormancy.
Use fall cleanup to interrupt iris borer problems
Iris borer is the larval stage of a moth, Macronoctua onusta. The larva starts in the leaf, tunnels downward, and can reach the rhizome, where its feeding creates an entry point for soft-rot bacteria. This is why a tidy fall bed is more than an aesthetic preference in places where the pest is established.
The University of Wisconsin Horticulture factsheet describes eggs overwintering on iris and other plant debris, hatching in spring, and larvae moving through leaves toward the rhizomes. It also notes that adults emerge and lay eggs in late summer and early fall, which explains why removing old foliage before winter can reduce the number of protected overwintering sites.
Fall cleanup will not guarantee a borer-free bed. Eggs can arrive from nearby plant debris, and a clump can already contain larvae before you make the cut. Think of sanitation as a life-cycle interruption that lowers risk and makes spring inspection easier, not as a promise that pruning alone cures an infestation.
Inspect leaves and rhizomes for warning signs
In spring and early summer, look for tiny holes, water-soaked or brown streaks, ragged edges, and a leaf that feels hollow or collapses in an odd section. By midsummer, yellowing, slimy bases, frass that resembles wet sawdust, or a rotten-potato odor around the clump raises the suspicion further.
If you find a suspect leaf, cut it open or trace the damage downward only as far as needed to inspect safely. During division, examine the rhizome for tunnels, soft spots, foul odor, and tissue that has lost its firm texture. Remove heavily damaged or rotted sections with a clean knife, discard them outside the compost stream, and keep healthy divisions separate from questionable material.
The University of Minnesota Extension iris-borer guidance emphasizes the route from leaf feeding into the rhizome and the connection between borer injury and bacterial soft rot. If you consider an insecticide or biological control, use current local extension advice and the product label for timing and crop/site approval; treatments are much less useful after larvae are protected deep inside the plant.
Protect rhizomes from mulch, water, and soft rot
Iris pruning cannot compensate for a wet crown. Bearded irises need soil that drains freely, and the top of the rhizome should not be buried under a thick, moisture-holding layer of soil, leaf litter, or mulch.
Keep mulch around the plant if your climate needs winter insulation, but pull it away from the rhizome itself. Newly planted divisions may need more protection from freeze-thaw cycles than an established clump; in that case, apply an open, loose covering after the ground has frozen and remove it in early spring before new growth is crowded.
Water the soil rather than repeatedly wetting the leaves, and avoid evening irrigation when the foliage will stay damp overnight. Spacing, sun, and air movement all matter because a dense fan that dries slowly is a better environment for leaf-spot problems than an open clump.
A brown leaf at the end of the season is normal. A sudden collapse at the base, a foul smell, or a soft rhizome is not a cue to simply cut lower. Those symptoms call for removing the affected tissue and correcting the underlying moisture, drainage, crowding, or pest issue.
Use division to solve crowding and weak bloom
Cutting back keeps the bed clean, but it does not fix an iris clump that has outgrown its space. When bloom declines, the center dies out, rhizomes press tightly together, or foliage crowds into a damp knot, division may be the more important job.
For bearded iris, the usual division window is after flowering, while there is enough growing season left for replanted pieces to establish. Ohio State Extension’s midsummer-care notes describe division after flowering and a roughly three- to four-year rhythm for vigorous clumps, though soil, climate, and cultivar change the schedule.
Lift the clump carefully, separate firm sections with attached roots and a leaf fan, and discard soft or heavily damaged pieces. Replant with the rhizome near the surface, roots spread into the soil, and enough space between divisions for air to move through the leaves. Trim the fan only as needed to balance a fresh division and keep it from rocking; do not cut every established iris on the same schedule just because one clump is being divided.
If the bed is crowded but the leaves are still actively green, you can plan division without performing the final fall cut yet. Mark the clump, wait for the right post-bloom or early-fall window in your region, and prioritize healthy planting depth and drainage over a perfectly tidy appearance.
Avoid common pruning mistakes and recover from missed timing
The most damaging mistake is cutting healthy leaves immediately after the flowers fade. The second is waiting until the leaves are a wet, matted mass and then pulling hard on them. A third is making a flat, ragged cut that holds water or cutting so low that the pruner nicks the rhizome.
Other avoidable errors include treating every iris as a bearded iris, shearing a rebloomer before its second flush, leaving diseased foliage in the compost, piling mulch over a rhizome, and cleaning the standing leaves without raking the debris from the soil. Each one removes part of the benefit of the job or creates a new route to rot.
If you missed the fall cut, do not panic and do not cut blindly through frozen soil. On the first dry, workable day in late winter or early spring, remove brown, collapsed foliage and old debris while preserving any firm green growth that has already emerged. Inspect the rhizome for soft spots and odor, then resume the normal calendar: stalks after bloom, selective disease removal during growth, and a complete cleanup after the next season’s frost.
For an easy yearly routine, use this order:
- After flowering: remove finished stalks and unwanted seed pods.
- During active growth: keep green leaves; remove only damaged or diseased tissue.
- Late summer if needed: make a partial fan trim only when the clump is healthy, floppy, or chronically damp.
- After frost: cut the remaining dead fan, inspect the rhizome, and clear the bed.
- After cleanup: correct mulch, drainage, spacing, or division issues before winter or the next spring flush.
Conclusion
Cut back irises in stages. Remove flower stalks when the last blooms fade, but leave healthy green leaves in place so they can keep feeding the rhizome. Remove diseased leaves as soon as they appear, use a late-summer fan trim only when the bed or cultivar benefits from it, and save the full cleanup for after frost has finished the foliage.
The final cut is also your annual inspection: clear debris, keep mulch off a bearded iris rhizome, look for borer damage and soft rot, and discard infected material responsibly. Follow those signals instead of a rigid date, and your irises will enter winter cleaner, easier to inspect, and better prepared for the next bloom season.



