When to Mow New Sod: Timing and First-Cut Steps
New sod looks ready to cut long before the roots are. Learn the tug test, height check, and first-mow steps so you do not peel seams or rut soft soil.
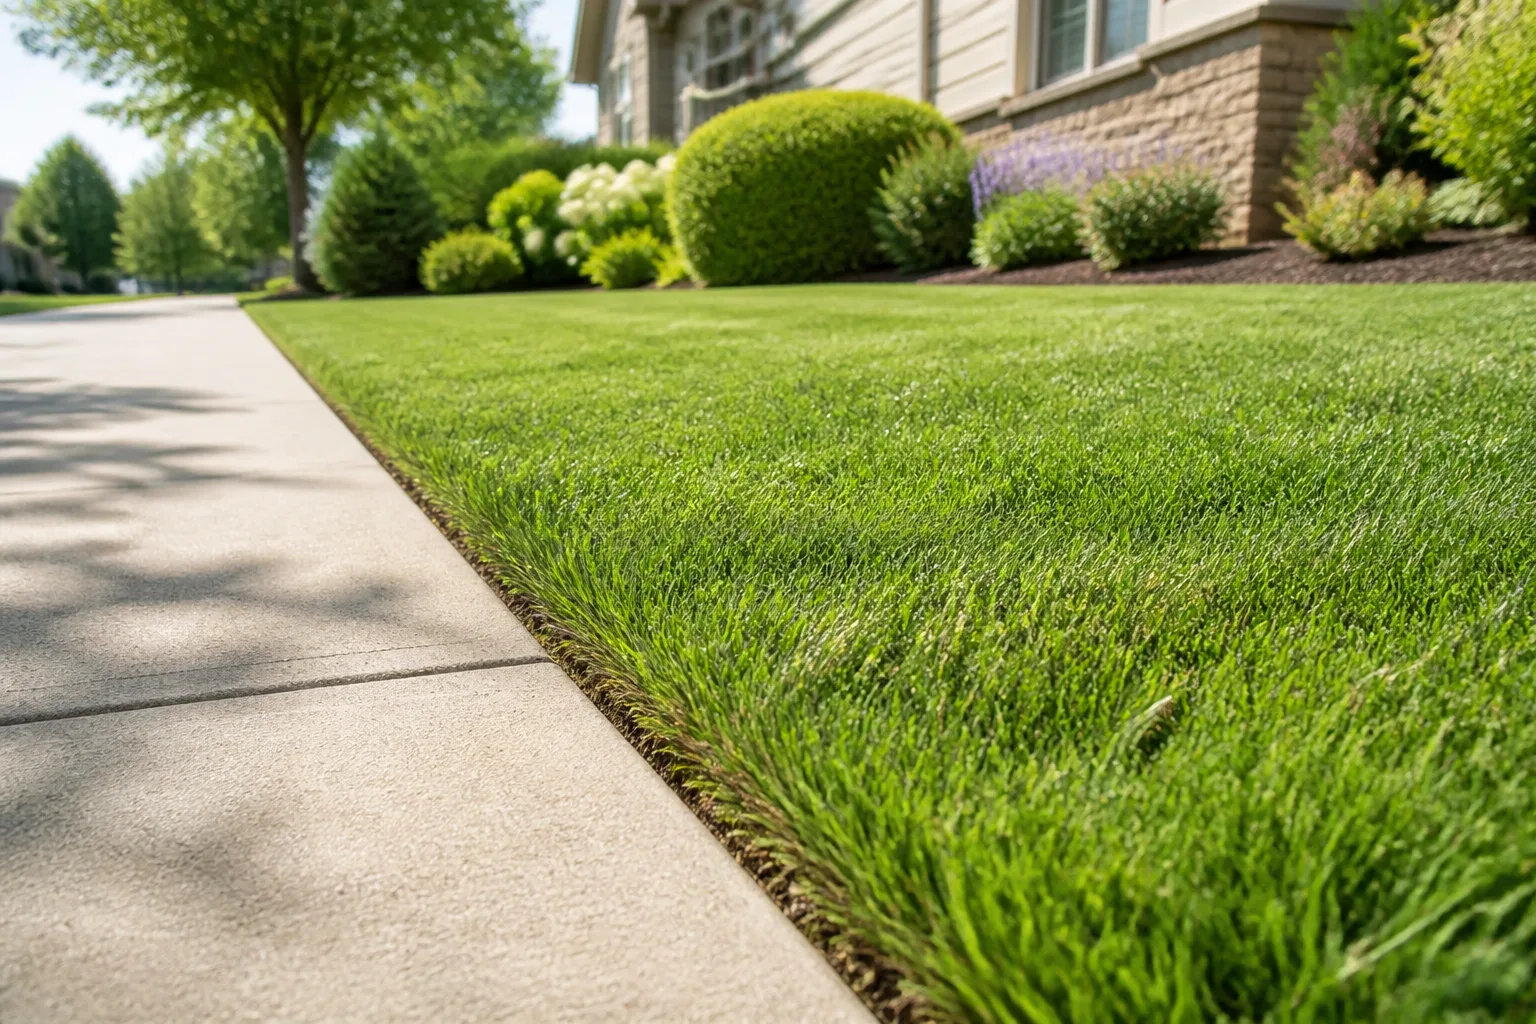
Fresh sod can look like a finished lawn the day it is rolled out. The blades are green, the seams are tight, and the urge to tidy the height is real. The problem is that mowing new sod too soon treats a transplant like an established lawn. Until roots knit into the soil below, a mower’s weight, wheel twist, and blade suction can lift strips, peel seams, and wrench young roots back out of the ground you just paid to cover.
The safe rule is simple: do not mow until the sod is anchored, the soil is firm enough to support the mower, and the grass is tall enough that the first cut removes no more than one-third of the blade. For many installations that window opens around 14 to 21 days, but calendar guesses fail as often as they work. Cool-season sod laid in a mild spring may root slowly. Warm-season bermudagrass laid in summer heat may be ready sooner. Sod on a slope, in shade, or on heavy clay can lag behind the sunny middle of the yard.
Use the three readiness tests below before you start the engine. If you are still in the heavy-watering phase of establishment, see our guide on how often to water new grass seed and young turf for the moisture balance that supports rooting — the same “moist, not flooded” logic applies to sod, even though you are not waiting on germination.
The quick answer: pass three tests, then mow high on firm soil
Before the first mow, confirm all of the following:
- Tug test: Lift a corner or edge gently. The sod resists and stays flat instead of peeling up.
- Height test: Blades stand about one-third taller than your target mowing height for that grass species.
- Walk test: You can cross the lawn on firm soil without deep footprints, sinking wheels, or shifting seams.
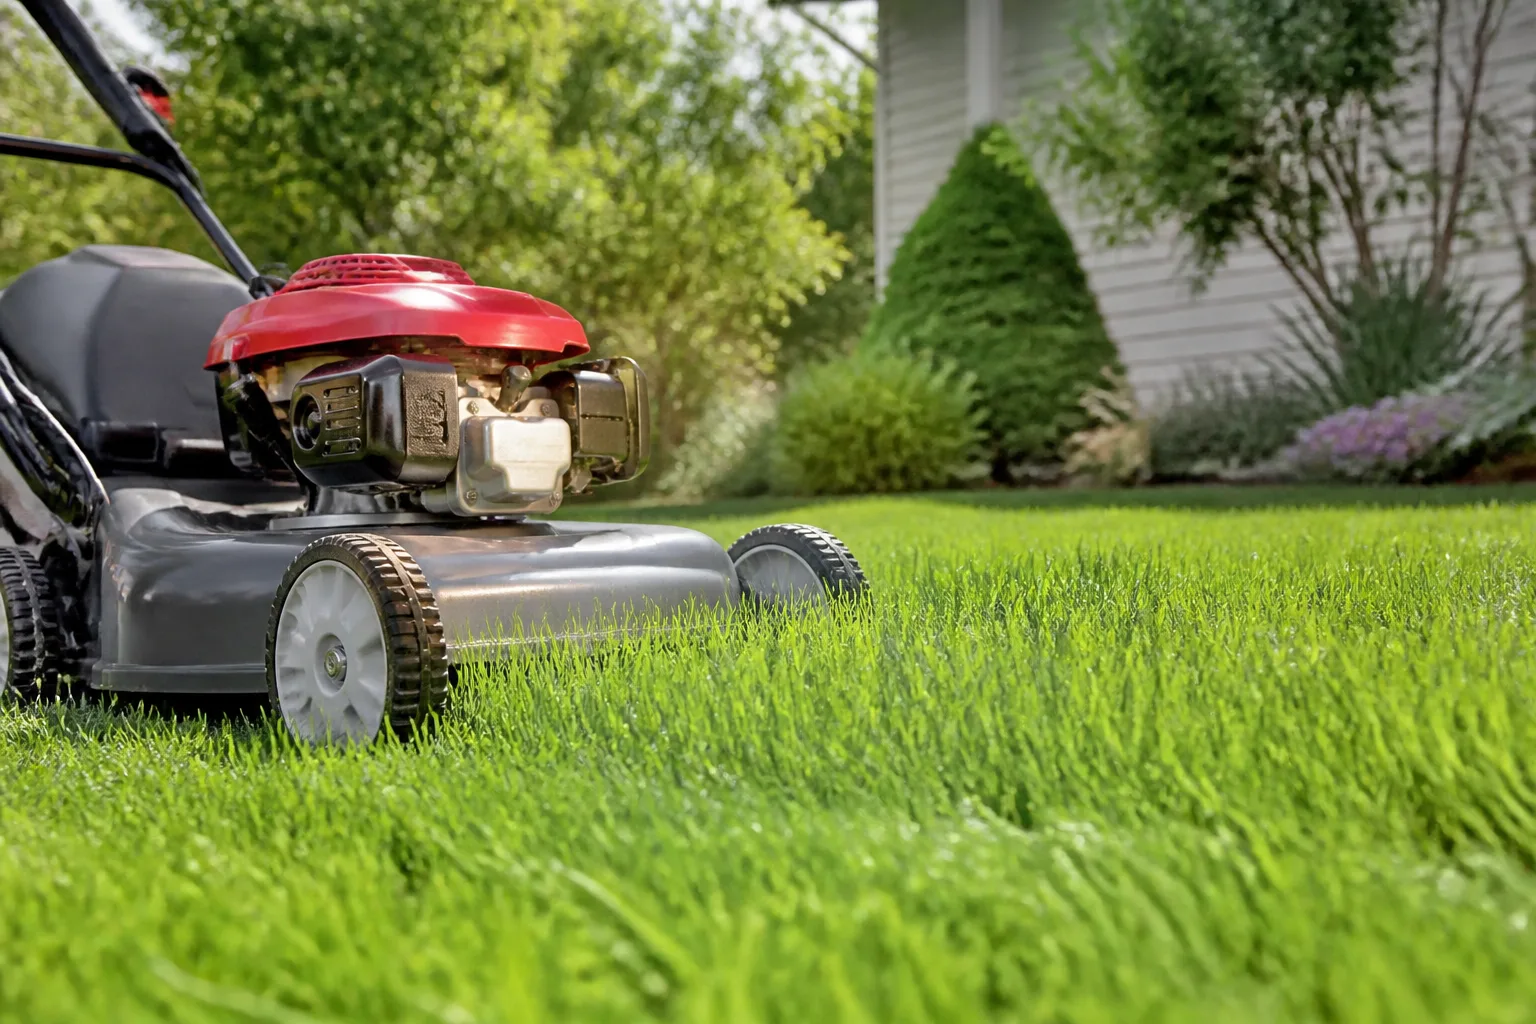
When those pass, pause irrigation for 24 to 36 hours so the surface firms up, sharpen the mower blade, set the deck to the top of your species’ height range, and make the first pass with a light walk-behind mower at a slow, straight pace. Bag clippings this once if they mat on top of stressed turf. Resume a deeper, less frequent watering schedule after the cut.
If any test fails, wait. A shaggy week costs less than re-laying lifted sod.
Why mowing too early can undo weeks of watering
Sod arrives as mature leaf tissue attached to a thin root mat — often less than an inch deep — that has not yet grown into your native soil. UF/IFAS Extension notes that newly laid sod lacks a developed root system and needs frequent, brief irrigation until roots “peg” into the soil, a process that commonly takes about 7 to 10 days depending on season, soil, and temperature. Full knitting — the point where sod should not pull up when tugged — often takes three to four weeks.
That gap between “looks like a lawn” and “behaves like a lawn” is where early mowing does damage.
Under the wheels, unanchored sod fails fast. On loose sod, mower wheels sink into soft, wet soil and create ruts that can persist for seasons. Sharp turns twist the turf mat and break the fragile root bridges forming at seams. The blade’s air movement can lift edges that are not yet glued down. You may finish the pass with a green surface that is literally sliding on top of the ground.
Purdue Turfgrass Science warns that riding mowers on wet or soft areas can leave muddy wheel tracks and permanent turf damage — a risk that is magnified on new sod, where root contact is still shallow. If a push mower is the right tool on a wet established lawn, it is the default tool on a rooting sod lawn.
Leaf loss slows rooting during establishment. Grass feeds root growth through photosynthesis in the leaf blades. Cutting too much leaf too early removes the energy source the plant needs while it is building new roots downward. Scalping — removing more than one-third in one pass — is stressful on any lawn; on sod that is still transplanting, it can yellow the turf and stall rooting for weeks.
Early mowing is a double hit: mechanical damage from loose sod plus physiological stress from leaf removal. Wait until roots hold, then trim lightly.
The three readiness tests (use all three, not just the calendar)
Extension and turf professionals agree that observation beats the calendar. Run every test in more than one spot — edges, shade, low areas near downspouts, and south-facing slopes root at different speeds.
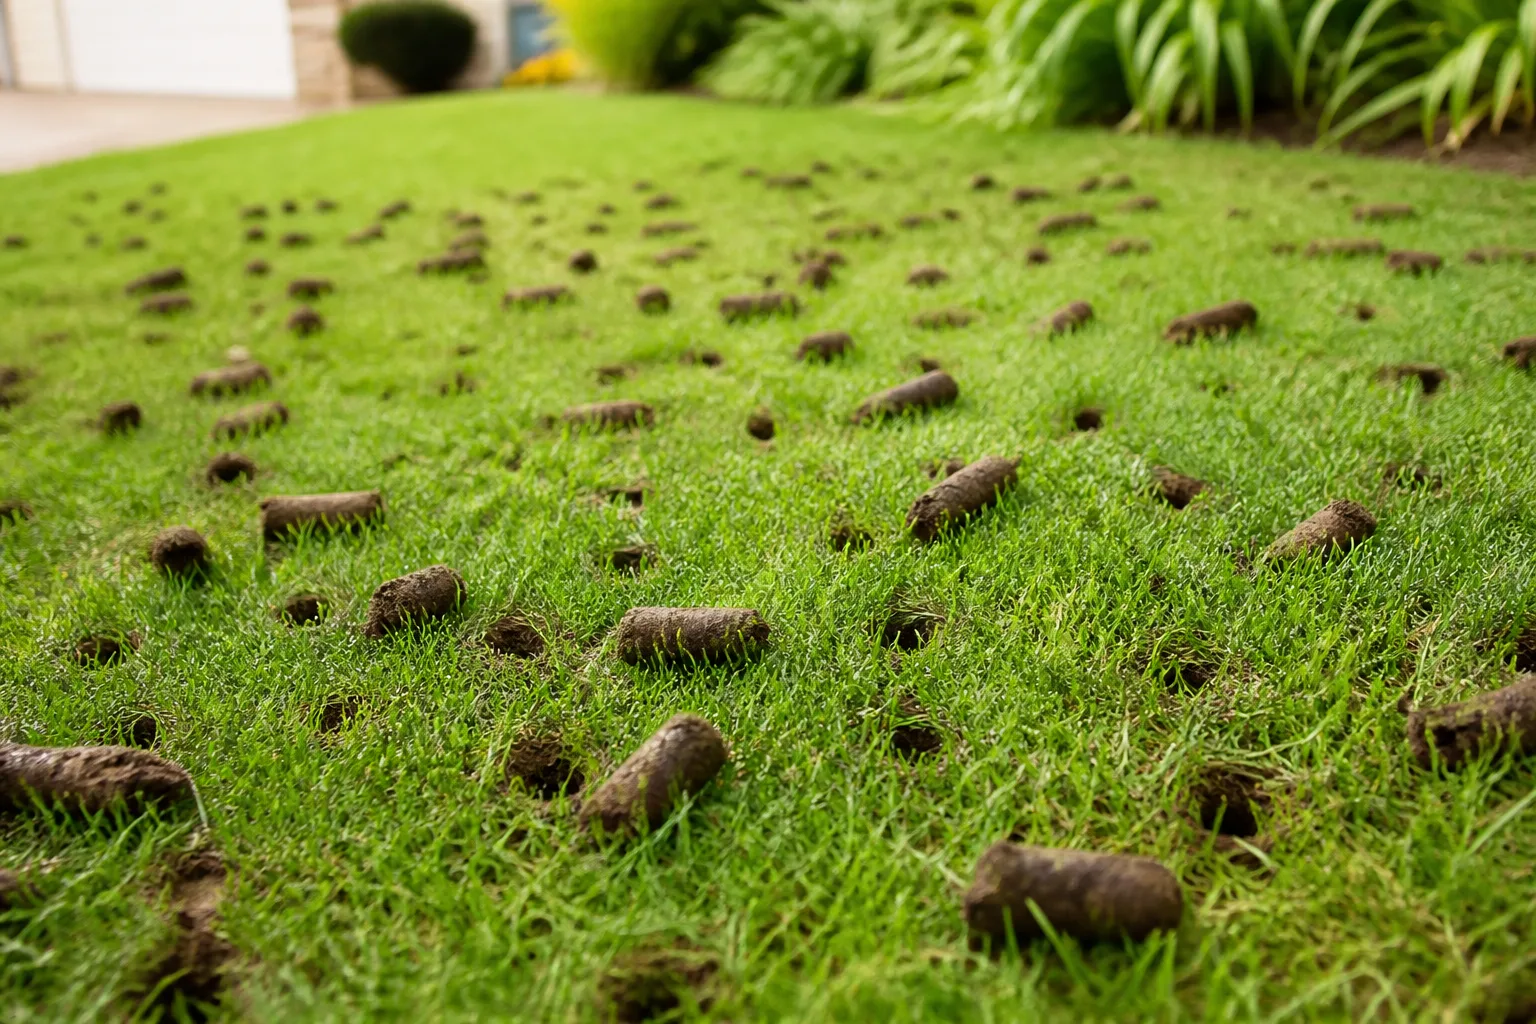
The tug test
Kneel at a seam or corner and lift the sod two to three inches. You are not trying to rip it; you are feeling resistance.
- Not ready: The piece lifts easily, exposing dry or muddy soil underneath with few white roots.
- Almost ready: You feel tension, but the corner still separates from the soil; white roots are visible but thin.
- Ready: The sod stays down; you feel firm anchoring across the lifted edge.
Repeat in three or four locations. If any corner lifts freely, delay mowing and keep the establishment watering schedule going. Peeling corners after heavy rain often mean the soil was saturated; let the surface firm before you test again.
The blade-height check and one-third rule
New sod should be mowed when it has grown to roughly one-third above your target maintenance height. That is the standard one-third rule used across turf programs: never remove more than one-third of the leaf blade in a single mowing.
Examples for common lawn grasses:
| Grass type | Typical target height | Mow when blades reach about |
|---|---|---|
| Kentucky bluegrass | 2.5–3.5 in. | 3.5–4.5 in. |
| Tall fescue | 3–4 in. | 4–5.5 in. |
| Perennial ryegrass | 1.5–2.5 in. | 2–3.25 in. |
| Bermudagrass | 1–1.5 in. | 1.25–2 in. |
| Zoysia | 1.5–2.5 in. | 2–3.25 in. |
| St. Augustine | 3.5–4 in. | 4.5–5.25 in. |
If the lawn is already far above that range, do not fix it in one cut. See the overgrown section below.
The walk and soil-firmness test
Walk slowly across the lawn in the morning after dew dries. Deep footprints that hold water, visible seam movement, or a spongy feel mean the root zone is still too wet or too loose for equipment. Ready sod feels firm underfoot; footprints spring back without leaving compressed trenches.
This test pairs with the watering pause before mowing. Even well-rooted sod can rut if you mow saturated clay or freshly irrigated sand.
When new sod is usually ready by grass type and season
Calendar ranges are starting points only. Combine them with the three tests.
Grass-type and season timing cues
Warm-season sod — Bermuda, zoysia, St. Augustine, centipede, and bahia root fastest when soil temperatures are warm and the grass is actively growing — often late spring through summer in their adapted regions. In favorable heat and consistent moisture, the first mow may arrive around 10 to 14 days for aggressive species like bermudagrass, and 14 to 21 days for slower cultivars.
Warm-season sod installed outside its strong growth window — for example, bermuda laid in late fall — may need four to six weeks or more before a safe first cut, even if the sod stays green from irrigation.
Cool-season sod — Kentucky bluegrass, tall fescue, fine fescue, and ryegrass sod root most actively in cool spring and early fall soil. Expect 14 to 21 days in ideal conditions, and 21 to 28 days when nights are cool, growth is slow, or the yard is shaded.
Cool-season sod laid in midsummer heat often struggles to root while it transpires heavily. Mowing too early in that scenario is a common reason seams fail. Shade the logistics, not just the grass: if you had to water four times daily to prevent wilting, roots may still be shallow when the calendar says week three.
Off-season installations need longer waits. Sod laid in winter dormancy, during drought restrictions, or immediately before a heat wave may sit visually green while roots crawl. Treat off-season sod as a special case: extend the wait, test weekly, and prioritize firm soil over appearance. Fertilizing too early can also push top growth before roots catch up; UF/IFAS recommends waiting 30 to 60 days before fertilizing newly planted sod unless deficiency symptoms are clear.
Prepare the lawn and mower before the first pass
A correct first mow is mostly preparation.
Pause watering so the soil firms up. During establishment you may have watered two to three times daily for short cycles to keep the root zone moist. Before the first mow, stop irrigation for 24 to 36 hours so the soil surface firms up. You want moist roots but a stable tread layer.
If shoes sink deeply or water squeezes from the soil, wait another day. Bone-dry, cracked soil is also a problem — roots can desiccate — so the goal is firm, not parched. For broader context on how much water established turf needs after sod knits in, see how long to water a lawn.
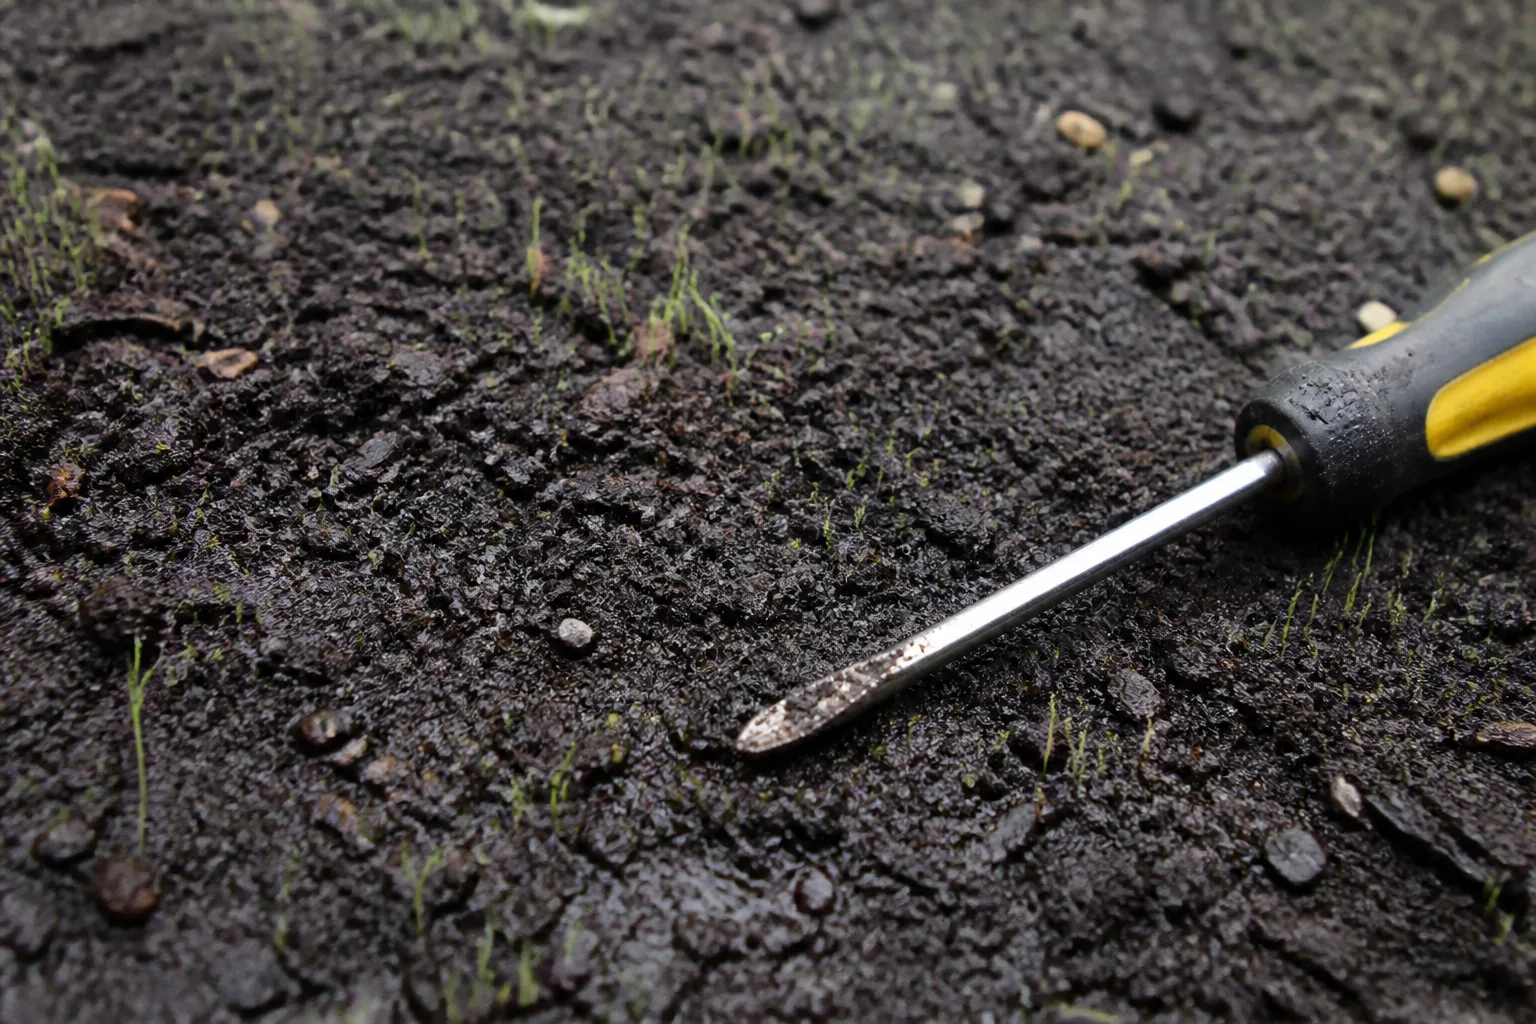
Sharpen the blade and set the deck high. A dull blade tears grass and increases upward pull on each blade — bad on loose sod. Sharpen or replace the blade before this cut. Set the deck to the highest setting within your species’ target range, not the lowest you hope to maintain someday.
On your first mow you are training roots, not chasing a golf-course height. You can step down gradually on cuts two through four.
How to mow new sod the first time without lifting seams
Treat this pass as a grooming trim, not a full maintenance mow.
Choose a light mower and slow routes. Use a walk-behind push mower or light self-propelled unit on low speed. Skip the riding mower until after the third or fourth successful cut, when roots are deep enough to handle concentrated wheel weight.
Mow dry grass in mid-morning after dew dries. Wet leaf blades clump, stick to the deck, and add weight to the sod mat. Make long, straight passes with overlap. Turn on pavement or paths when possible instead of twisting on the turf. If you must turn on grass, use wide, gradual arcs.
Keep the pace slow. The blade should slice cleanly without the deck bouncing. If you use a string trimmer near beds, trim after the mower pass so you are not trafficking the same loose edge twice.
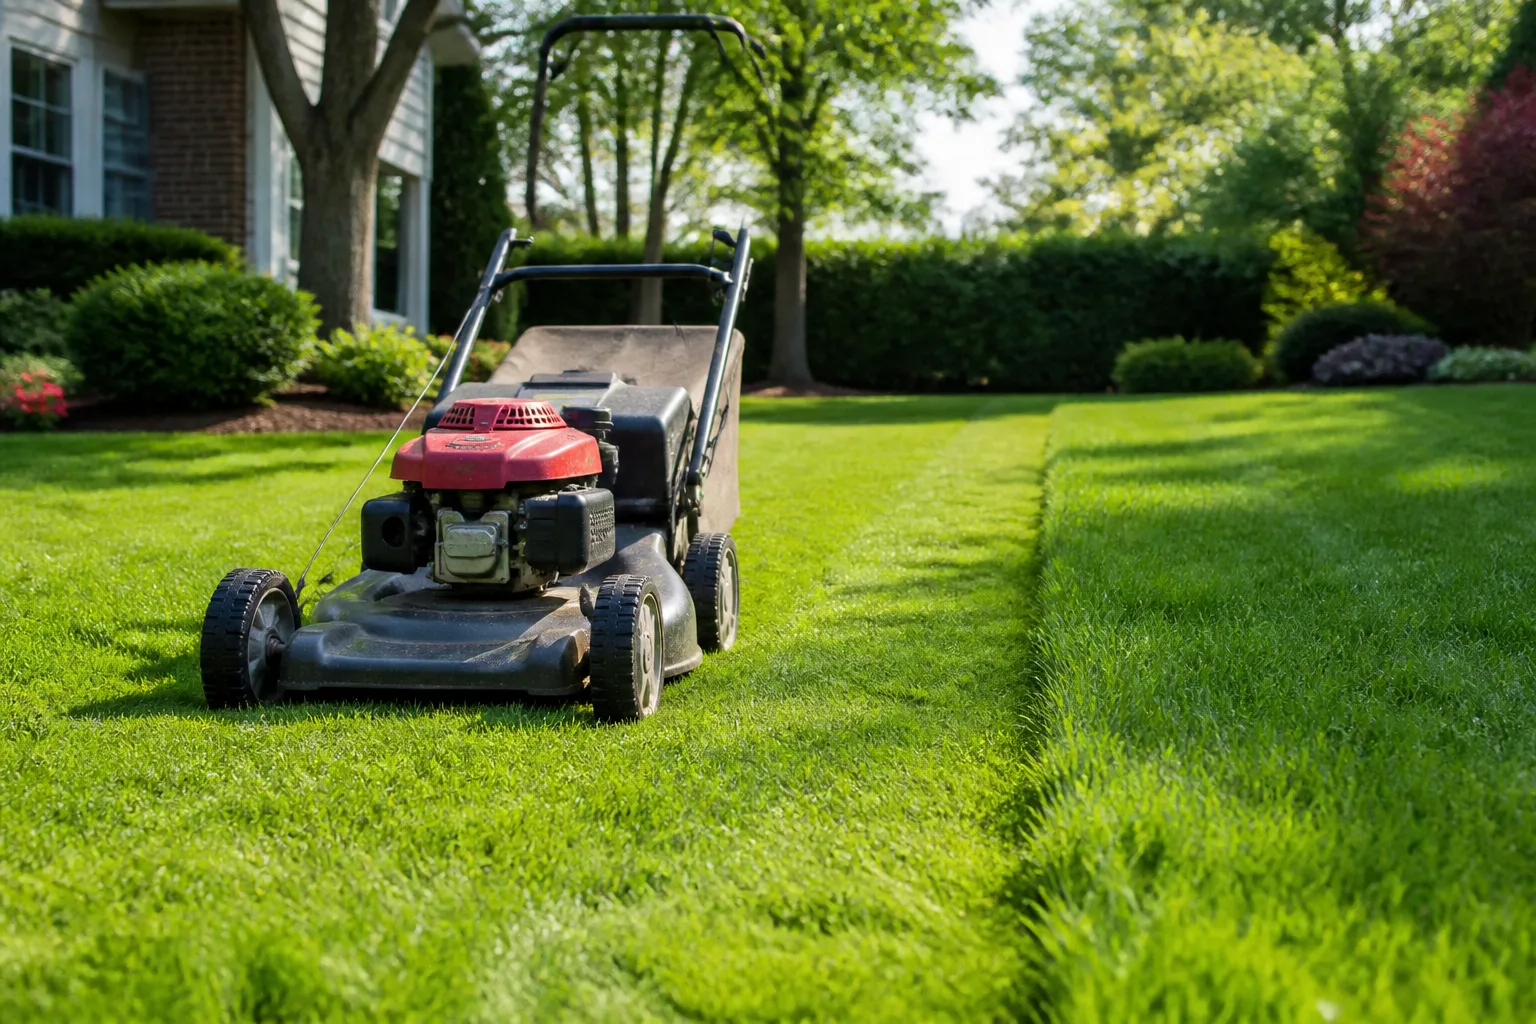
If a piece shifts mid-mow, stop immediately. Roll the lifted section back into place, press the edges for soil contact, and water lightly to settle the root zone if the soil beneath dried during the pause. Stay off that area for at least a week, then re-run the tug test before mowing again.
Repeated lifting at seams usually means roots are uneven or the area stayed too wet. Fix the watering pattern before you retry — frequent shallow irrigation without drying cycles can keep roots near the surface.
If you waited too long: stepping down an overgrown first cut
Life happens. Vacations, rain, or caution can leave sod 6 inches tall when your target is 3 inches. You cannot drop it in one mowing without violating the one-third rule and yellowing the lawn.
Use a step-down sequence:
- Set the deck to remove only one-third of the current height.
- Mow straight, bag clippings if they pile up.
- Wait three to five days for recovery.
- Lower the deck slightly and repeat until you reach maintenance height.
This takes longer than one aggressive cut, but it preserves the root progress you already paid for. If the lawn is extremely tall and soft, do the first reduction with a walk-behind on the highest setting only, even if that means multiple sessions.
Care in the weeks after the first mow
The first cut is a milestone, not graduation.
Second mow: About 5 to 7 days later if growth is active and tests still pass. You may lower the deck by ½ inch per cut until you reach your maintenance height — usually by the third or fourth mow.
Watering shift: Move from frequent shallow irrigation to deeper, less frequent watering that wets several inches of soil and pulls roots downward. UF/IFAS describes stepping down from several daily cycles to every-other-day, then to an established-lawn schedule over roughly three to four weeks after installation.
Traffic: Keep heavy play, pet runs, and furniture off the lawn until after the second or third mow. Light foot traffic for monitoring is fine once the tug test passes, but concentrated use compacts wet soil and shears young roots.
Fertilizer: Hold off until the window your extension service recommends — often 30 days or more after sodding unless the installer confirms recent sod-farm feeding and you see deficiency symptoms.
Routine mowing: Once established, follow the same principles as any healthy lawn: sharp blades, dry foliage when possible, varied direction, and height adjusted for season. Our how to mow a lawn guide covers species heights, clippings, and wet-grass exceptions in depth.
Mistakes that cause new sod to peel, rut, or yellow
Mowing on a calendar alone. Two weeks is a common minimum, not a guarantee. Tests decide.
Mowing wet sod on soft soil. Wheel ruts and seam peel are almost guaranteed. Firm soil first.
Using a riding mower too soon. Weight concentrates on drive wheels and turns. Walk behind until the lawn is knitted.
Dull blades. Tearing increases pull and disease entry on stressed turf.
Scalping to “match the neighbors.” A low first cut does not speed establishment; it slows it.
Bagging every cut forever. Bag the first mow if clippings mat; afterward, return fine clippings unless disease is present.
Ignoring uneven rooting. Shady or wet pockets that lift mean partial delay, not “mow the rest and hope.”
Fertilizing to force green before roots anchor. Top growth without roots makes mowing more dangerous, not less.
Conclusion
New sod fails the first mow more often from timing and soil conditions than from bad technique on the pass itself. Wait until corners resist a gentle tug, blades have grown one-third above your target height, and the soil supports the mower without sinking. Pause irrigation briefly to firm the surface, sharpen the blade, set the deck high, and trim slowly with a light mower.
If you are unsure, give the lawn a few more days of proper establishment watering and test again. Patience keeps roots in the ground — and that is what turns rolled sod into a lawn you can mow with confidence for years to come.



