How Long and How Often to Water Your Lawn
Learn how long and how often to water your lawn. Measure sprinkler output, adjust for rain and soil, and build a schedule that reaches the roots.
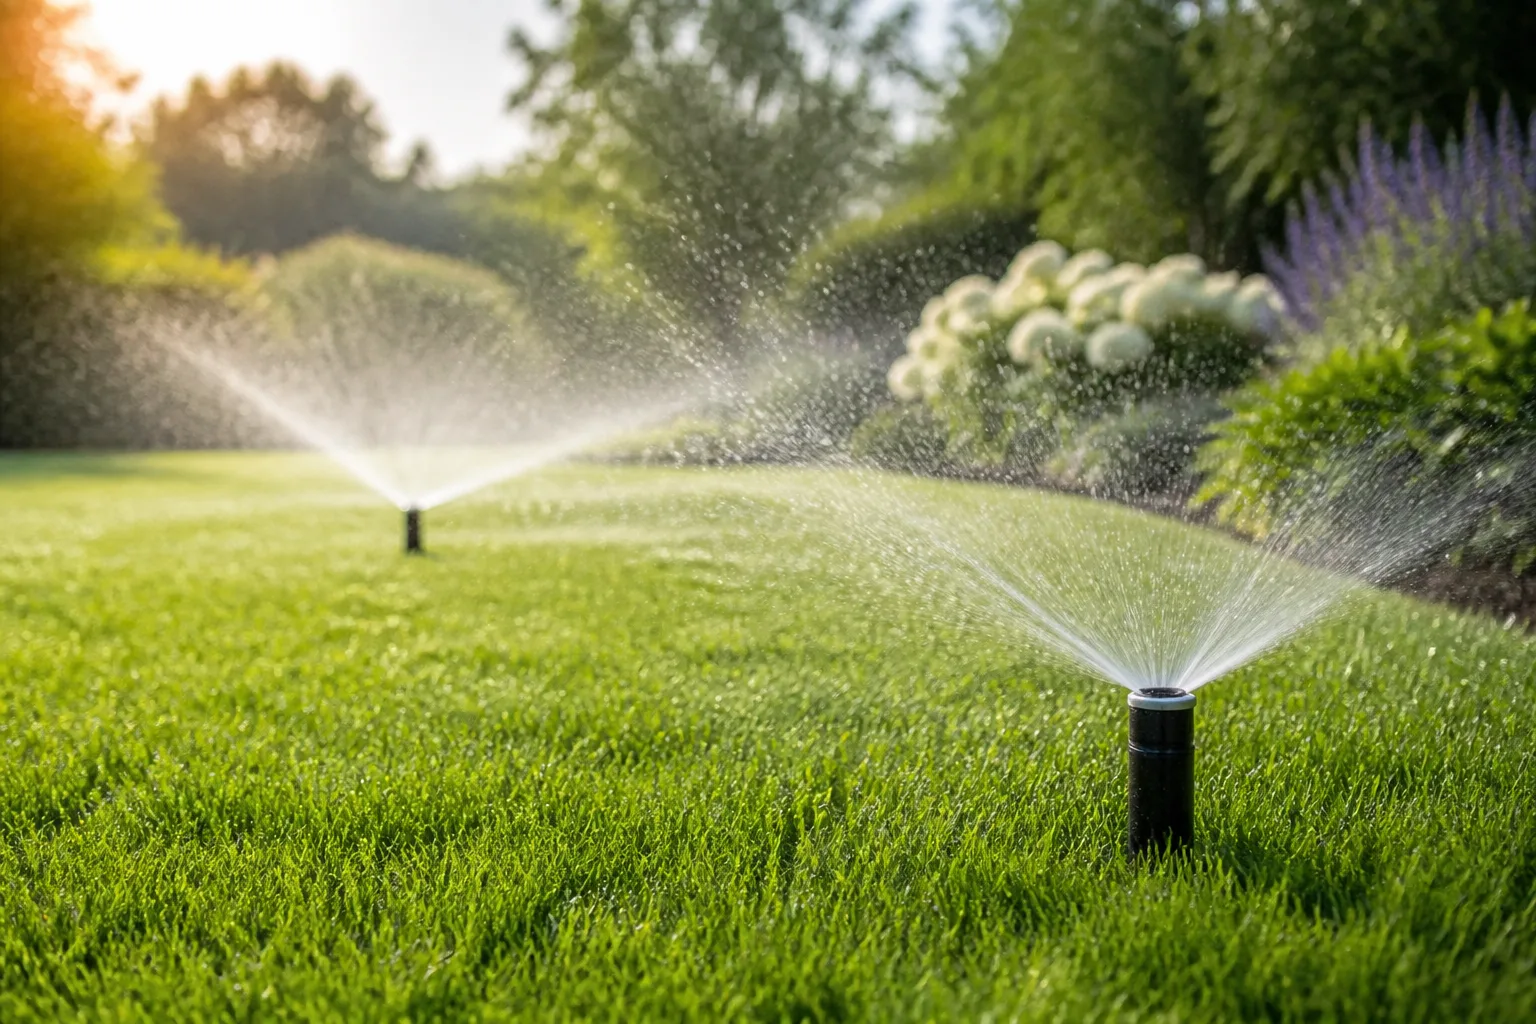
The right lawn-watering answer is not a fixed number of minutes. It is a measured amount of water delivered slowly enough to soak into the root zone, then repeated only when the grass and soil need it.
For an established lawn, use about 1 inch of total water per week as a starting point, counting rain and irrigation together. Split that amount into one to three deeper waterings depending on grass type, soil, slope, heat, and how quickly your lawn begins to shed water as runoff. Your sprinkler’s output determines the runtime; a 30-minute setting is only meaningful after you know how many inches that zone applies.
The short answer: water to a measured depth
If you need a practical starting routine today, water an established lawn in the early morning, then check the soil several inches down. Aim for a moist root zone, not a constantly wet surface. If water begins running into the street before the soil is wet, stop the zone, let the ground absorb what it has received, and finish the same irrigation in later cycles.
The familiar “one inch per week” figure is a starting reference, not a universal prescription. Virginia Cooperative Extension explains that most turfgrasses need approximately 1 inch weekly during warmer growing conditions, from rainfall or supplemental irrigation, while Colorado State University Extension emphasizes that the actual schedule must be fine-tuned for soil, exposure, heat, wind, and root depth.
That distinction matters because two lawns can run the same sprinkler for the same time and receive different results. One may have fast-draining sand and full sun. Another may have compacted clay, shade, and a slope that sends water downhill. Start with a number, then verify it against the lawn in front of you.
Start with a weekly water target
Think of the weekly target as a budget shared by rain and irrigation:
Irrigation needed = weekly water target − useful rainfall
If your target is 1 inch and a rain gauge records 0.35 inch of reasonably even rain, the sprinkler portion is roughly 0.65 inch. That does not mean every drop from a short thunderstorm replaced irrigation. Rain can run off, fall unevenly, or land on already saturated soil. Check the lawn and soil before subtracting the full amount from your schedule.
Most established cool-season and warm-season lawns can use the one-inch figure as a starting reference during active growth, but the amount and timing change with climate. Warm-season grasses such as bermudagrass, zoysiagrass, St. Augustinegrass, and centipedegrass are generally more efficient water users in hot weather. Cool-season grasses such as Kentucky bluegrass, tall fescue, fine fescue, and perennial ryegrass may need closer monitoring during summer heat because many are less comfortable in prolonged high temperatures.
Virginia Cooperative Extension notes that warm-season grasses are generally more efficient water users than cool-season grasses and that young lawns have little drought tolerance. Treat those differences as scheduling clues rather than permission to ignore the soil. A well-rooted tall fescue in deep soil may tolerate a dry interval better than shallow-rooted turf on compacted ground.
The weekly total also changes with the season. Active growth, hot temperatures, low humidity, wind, and full sun increase water loss. Cool weather, dormancy, shade, and regular rainfall reduce the need for supplemental irrigation. In a drought or under a local restriction, maintaining green color may not be the right goal; keeping crowns and roots alive can be the more responsible target.
Measure what your sprinkler actually applies
The fastest way to stop guessing is a catch-can test. Use several identical, straight-sided containers—rain gauges, empty food cans, or small measuring cups—and place them across one sprinkler zone. The goal is to find both the average depth and whether the zone applies water evenly.
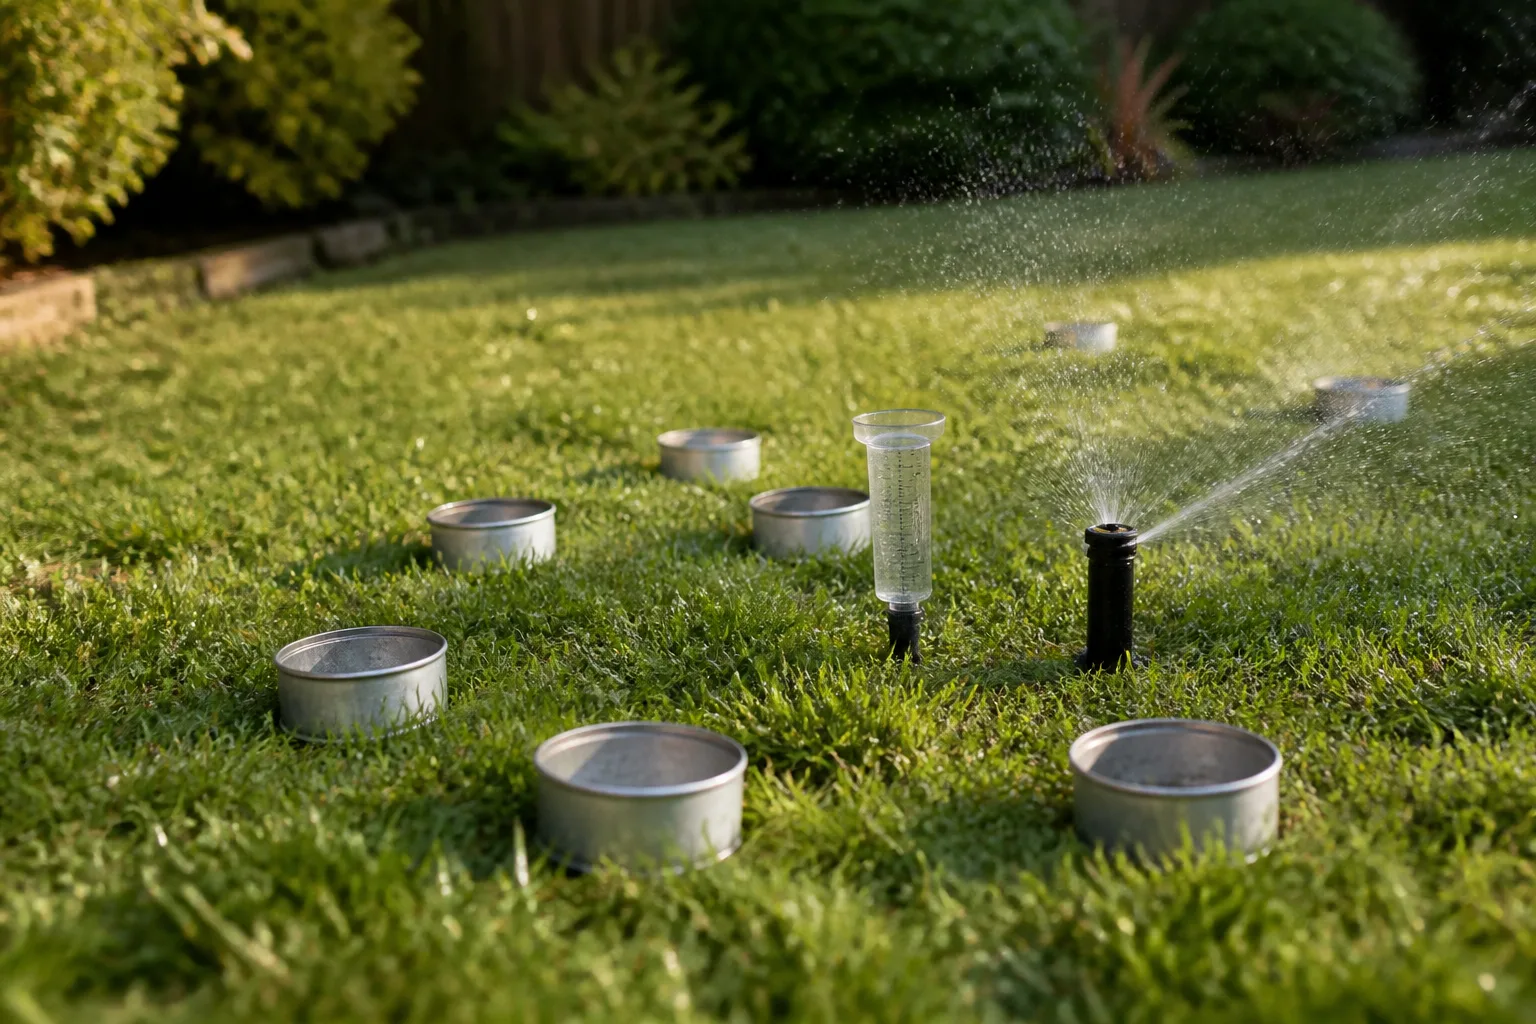
Perform the test separately for each irrigation zone because a spray-head zone, rotor zone, and portable oscillating sprinkler can have very different application rates.
- Place at least six identical containers across the zone, including near the heads, midway between heads, and near the far edge. Keep them upright and out of tall grass.
- Run the sprinkler for exactly 10 or 15 minutes and record the time.
- Measure the water depth in every container. If one is dramatically fuller or emptier than the others, note an overlap, clogged nozzle, low-pressure problem, tilt, wind issue, or poor layout.
- Average the measurements if coverage is reasonably even. If coverage is uneven, correct the zone before trusting the average.
- Repeat the test for each zone and keep the results with your irrigation notes.
Colorado State University Extension recommends a precipitation-rate or catch-can test because sprinkler type, brand, water pressure, and head spacing can change the output from one zone to another. It also recommends using straight-sided containers and checking for large differences between containers as a clue that the system is malfunctioning or poorly designed. Bob Vila’s practical lawn-watering guide uses the same container-test logic to turn observed output into a measured weekly runtime.
Calculate the precipitation rate
Convert your test into inches per hour so you can calculate runtime. If the average container depth is 0.20 inch after a 15-minute test, the zone applies 0.80 inch per hour because 15 minutes is one-quarter of an hour:
Precipitation rate = measured inches × 60 ÷ test minutes
0.20 × 60 ÷ 15 = 0.80 inches per hour
The catch-can result is more useful than a manufacturer’s runtime chart because it reflects your actual pressure, nozzle condition, head spacing, and overlap.
If your containers are inconsistent, do not solve the problem by running the zone longer. More runtime may overwater the wettest area while the dry area remains dry. Straighten or unclog heads, adjust their direction, check pressure, and look for a damaged pipe or controller zone that is not opening fully.
Convert sprinkler output into runtime
Once you know the precipitation rate, use a simple formula:
Runtime in minutes = desired inches ÷ inches per hour × 60
For weekly scheduling, calculate the total sprinkler inches needed after accounting for rain. Then divide the total minutes across the number of weekly irrigation days that your soil and turf can handle without runoff.
Sprinkler head type helps explain why generic advice varies so much. Colorado State University Extension gives typical estimates of about 1 to 2.5 inches per hour for pop-up spray heads and about 0.25 to 0.75 inch per hour for rotor heads. Those ranges are broad; use your catch-can result for the final setting.
A worked runtime example
Suppose your lawn needs 1 inch from irrigation this week after rainfall. A catch-can test shows that one zone applies 0.80 inch per hour:
1.00 ÷ 0.80 × 60 = 75 minutes per week
That does not mean the zone should run for 75 uninterrupted minutes. If the soil accepts water without runoff, you could schedule three 25-minute irrigations or two sessions of about 37 or 38 minutes. If runoff begins at 18 minutes, use cycle-and-soak: run for 18 minutes, pause long enough for the water to disappear into the soil, and repeat until the weekly total is delivered.
If a 25-minute run applies 0.33 inch but the lawn begins to puddle at 18 minutes, three short cycles on separate start times may be more efficient than one longer run. If the lawn is on a steep slope, you may need shorter cycles and more frequent irrigation days even though the weekly total stays similar.
Choose frequency by turf, soil, and slope
Frequency is a soil-infiltration decision, not a habit. Your goal is to water deeply enough to serve the active roots while allowing the surface to dry between irrigation events. The number of days can be lower for deep-rooted warm-season turf and higher for shallow soil, cool-season turf, sandy ground, slopes, or any location where runoff starts quickly.
| Lawn condition | Useful starting approach | What to watch |
|---|---|---|
| Established warm-season turf in good soil | One or two deeper waterings per week during active growth | Heat stress, footprinting, and runoff |
| Established cool-season turf in summer | About two or three evenly spaced waterings may be easier to manage | Drying between events, shallow roots, and local heat |
| Sandy soil | Smaller amounts more often | Water moving below the root zone or drying quickly |
| Clay or compacted soil | Slower applications using cycle-and-soak | Puddling and surface runoff |
| Slope or shallow soil | Shorter cycles, sometimes on more days | Water leaving the lawn before infiltration |
| Shaded lawn | Less frequent irrigation may be enough | Wet soil that never gets a chance to dry |
UC Agriculture and Natural Resources explains that warm-season grasses usually need deep, infrequent watering, while cool-season grasses often need about three evenly spaced irrigations because their root systems are less extensive. It also recommends reducing the number of applications in cooler months and shortening cycles in desert areas, on slopes, or over shallow soils.
As a practical cross-check, LawnLove’s sprinkler-schedule guidance also treats shade, soil type, grass type, and sprinkler type as variables. That is the useful takeaway: choose the fewest irrigation days that deliver the measured depth without leaving the surface saturated or letting water escape.
Do not force every lawn into a two-day schedule. One inch spread across two days can work well for an established lawn with good infiltration. Three smaller applications may work better for cool-season turf or a site that cannot absorb the target depth at once. Conversely, daily light sprinkling of established turf keeps moisture near the surface and encourages roots to remain shallow.
Use cycle-and-soak when water runs off
Cycle-and-soak means dividing one irrigation event into shorter runs with a pause between them. It is the fix for water being applied faster than the soil can absorb it. Clay, compacted areas, slopes, and thatchy lawns commonly need this approach.
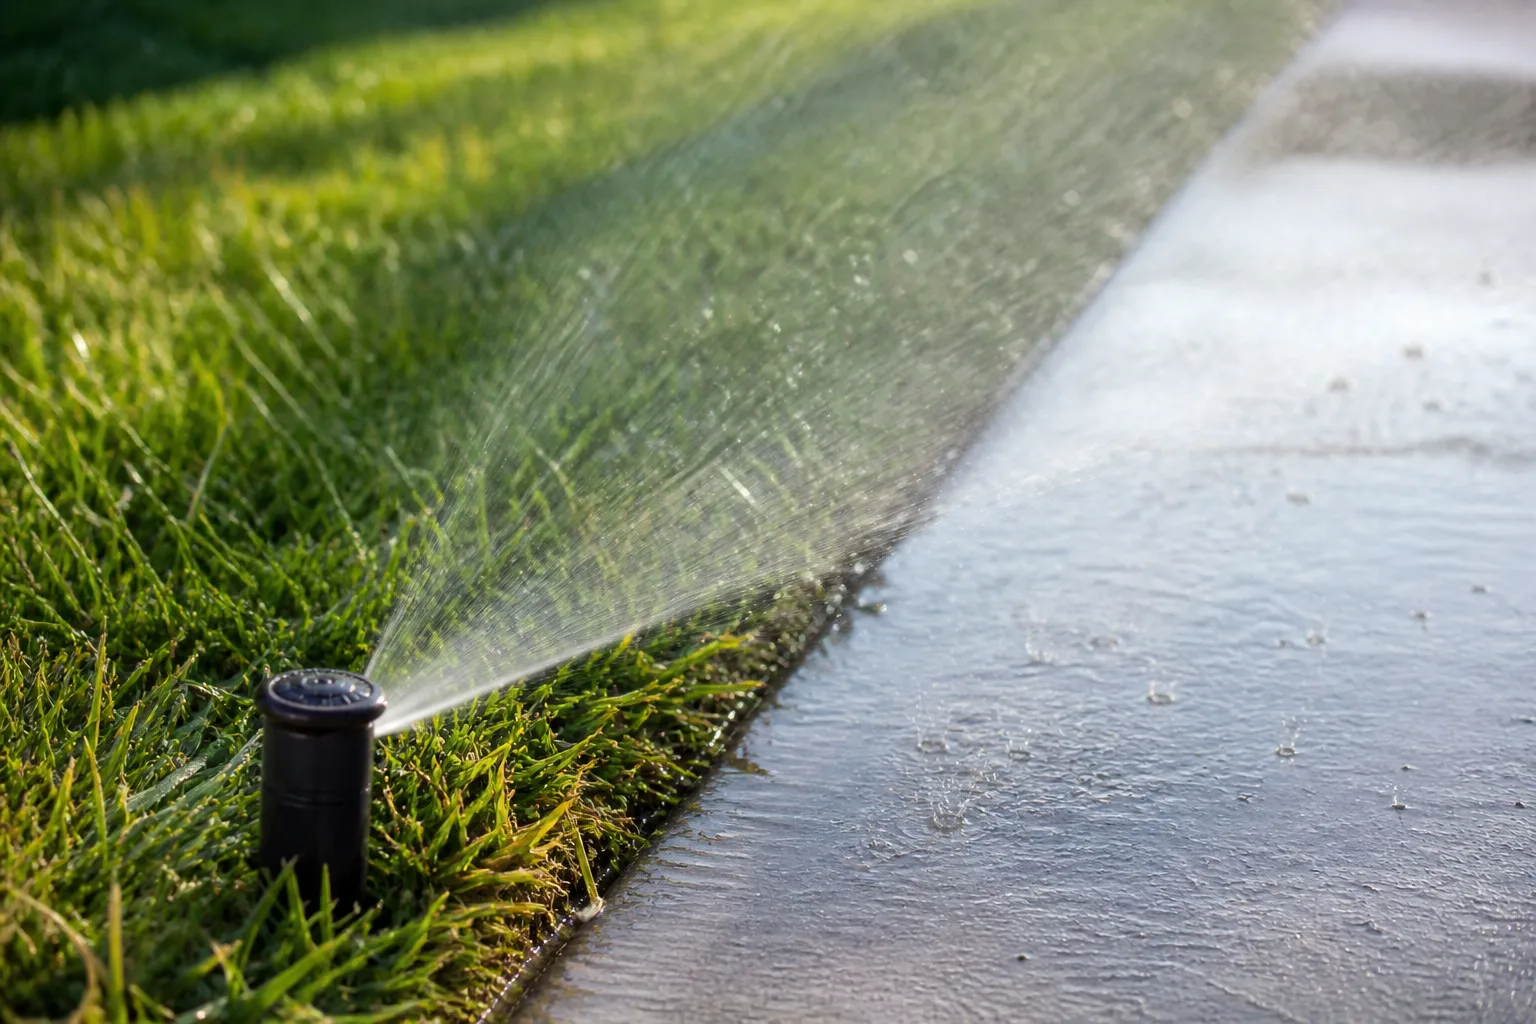
Start by watching the lawn during a normal cycle. The first sign may be a shiny film, tiny streams, puddling, or water reaching a sidewalk. Stop the cycle before the water leaves the lawn and note the elapsed time. That is your maximum practical cycle length for that soil and zone under those conditions.
For example, if the calculated irrigation event is 36 minutes but runoff begins at 12 minutes, program three 12-minute cycles. Leave a soak-in gap between cycles. On an automatic controller, one start time can run the zones in sequence, and later start times can repeat the same zones after the pause. Resume when the surface water has disappeared and the soil can accept more.
Virginia Cooperative Extension describes smaller applications every three to four days as useful where slow infiltration makes a full inch in one watering impractical. It also shows why an irrigation audit matters: if a 60-minute weekly setting creates puddling at 30 minutes, two 30-minute irrigation events can deliver the same measured weekly depth with less surface drainage.
Cycle-and-soak is not a license to increase the weekly total. It changes the delivery pattern so more of the intended water enters the root zone. Keep the target tied to measured inches and current rainfall.
Water at the right time of day
Early morning is the best default for most lawn irrigation. A few hours before or just after sunrise, temperatures and wind are often lower, so less water is lost before it reaches the soil. The grass also has the day to dry, which reduces the period of prolonged leaf wetness.
Virginia Cooperative Extension recommends early-morning watering because evaporation and wind impact are lowest, while it advises avoiding night watering unless that is the only practical time. Afternoon watering can work when needed, but wind can distort the spray and heat can increase evaporation.
Avoid watering during the hottest, windiest part of the day when you have another reasonable option. Avoid running an irrigation system during rain or immediately after a soaking storm. Wet grass is not proof that every part of the root zone is evenly moist, but a wet lawn is a strong reason to inspect before adding more water.
Your local watering ordinance takes priority over a generic schedule. Some communities restrict morning hours or require specific days. Follow those rules, then use cycle-and-soak, a rain sensor, or a longer permitted window to deliver water efficiently.
Adjust for rain, shade, heat, and season
Keep the weekly target flexible. A schedule that works in mild spring weather can overwater a shaded lawn after a rainy week and underwater an exposed lawn during a dry heat wave.
Use four adjustments:
- Rain: Measure with a simple rain gauge placed in an open area. Count even, useful rain toward the weekly target, but skip irrigation when the soil is already wet.
- Shade: Reduce frequency in shaded areas because cooler soil and lower light usually slow water loss. A mixed yard may need separate zones or different runtimes rather than one compromise setting.
- Heat and wind: Inspect the lawn more often during hot, dry, windy periods. Increase the measured amount only when the root zone is drying faster and the grass shows stress; do not automatically add water on the first hot day.
- Season: Reduce or stop irrigation when turf is dormant, soil is frozen, or rain is supplying the need. Resume gradually when the grass returns to active growth and the soil begins to dry.
The grass itself can tell you when a change is needed. Virginia Cooperative Extension describes footprinting—blades that stay pressed down after walking—as an early sign of moisture stress. A bluish or gray-green cast is another useful clue. Check the soil before turning the controller up, because footprints in a wet, diseased, or compacted lawn may point to a different problem.
Rain sensors and smart controllers can help subtract rainfall and adjust for local weather, but they do not repair clogged heads, poor overlap, compacted soil, or a schedule that was never measured. A sensor connected to a badly calibrated zone can automate the wrong answer.
New seed and sod need a different schedule
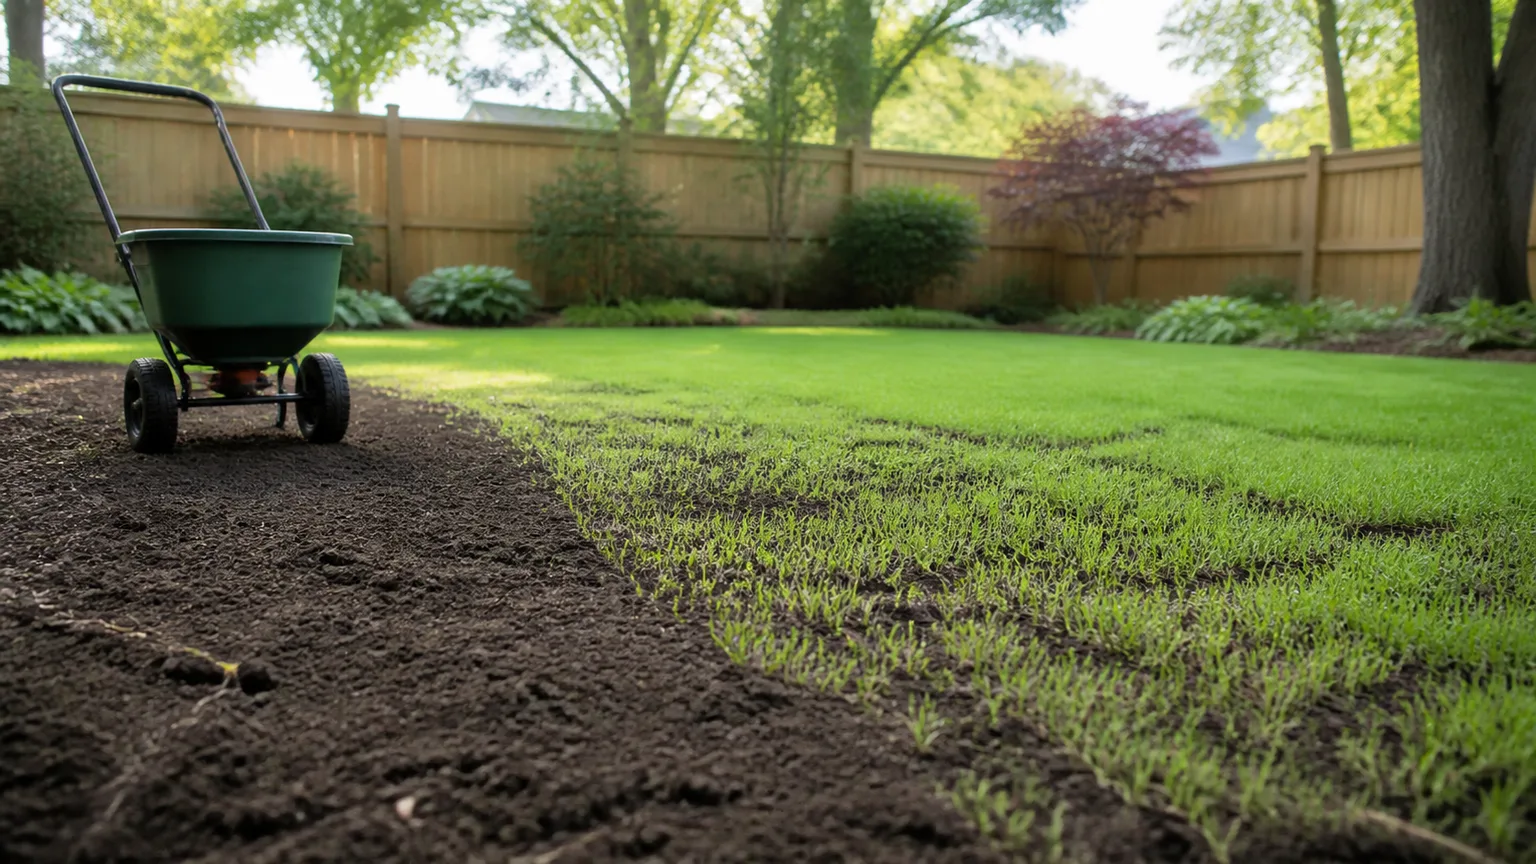
Do not apply established-lawn rules to newly seeded or freshly sodded grass. During germination, seed needs consistent moisture at the surface, not one deep weekly soaking that allows the seedbed to dry. Water lightly and often enough to keep the top layer moist without creating puddles or washing seed downhill.
As seedlings emerge, gradually reduce frequency and increase the depth of each irrigation. The transition should follow growth, weather, and the soil’s ability to absorb water. Once the grass has been mowed several times and roots are established, move toward the deeper, less frequent pattern used for mature turf.
New sod also needs frequent early watering because its shallow root system can dry quickly, especially at edges and over hot soil. Check beneath the sod rather than relying on the surface color. Reduce frequency as the sod knits into the soil and resists a gentle lift at the edge.
Virginia Cooperative Extension recommends more frequent watering for newly sodded or seeded lawns during the first three to four weeks than for lawns older than a year. A local extension calendar or the sod grower’s instructions can refine the timing for your grass and region.
Do not keep a mature lawn on a seedbed schedule. Daily light watering after establishment can train roots to stay close to the surface, increase mowing and disease pressure, and waste water through repeated evaporation.
Read the signs of under- and overwatering
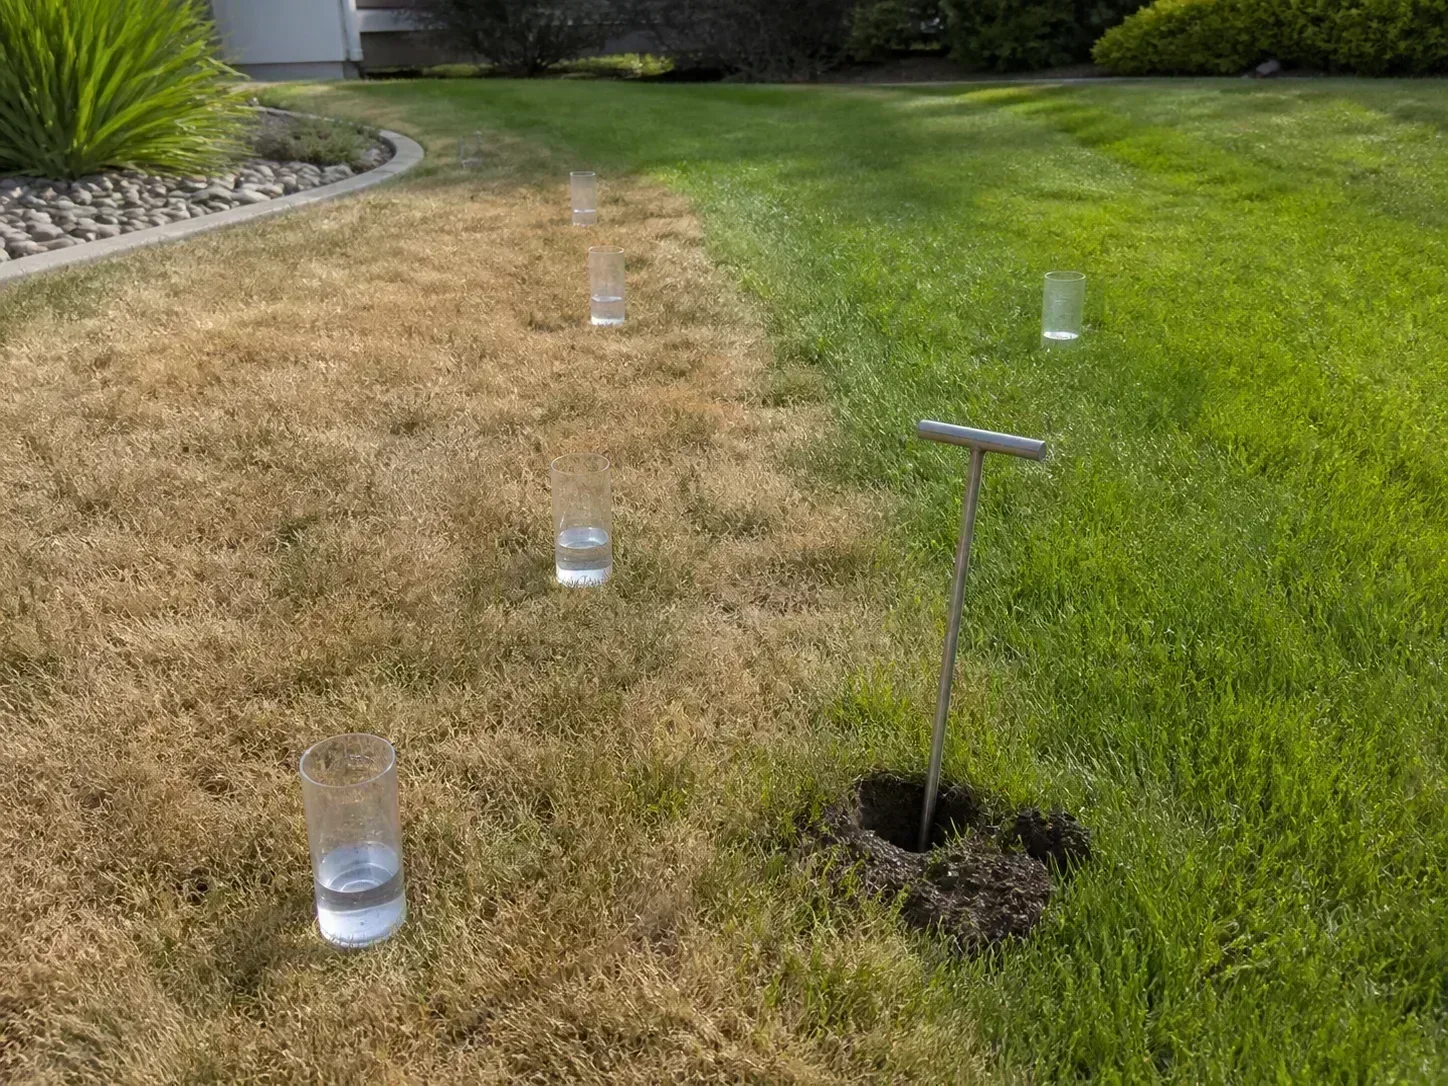
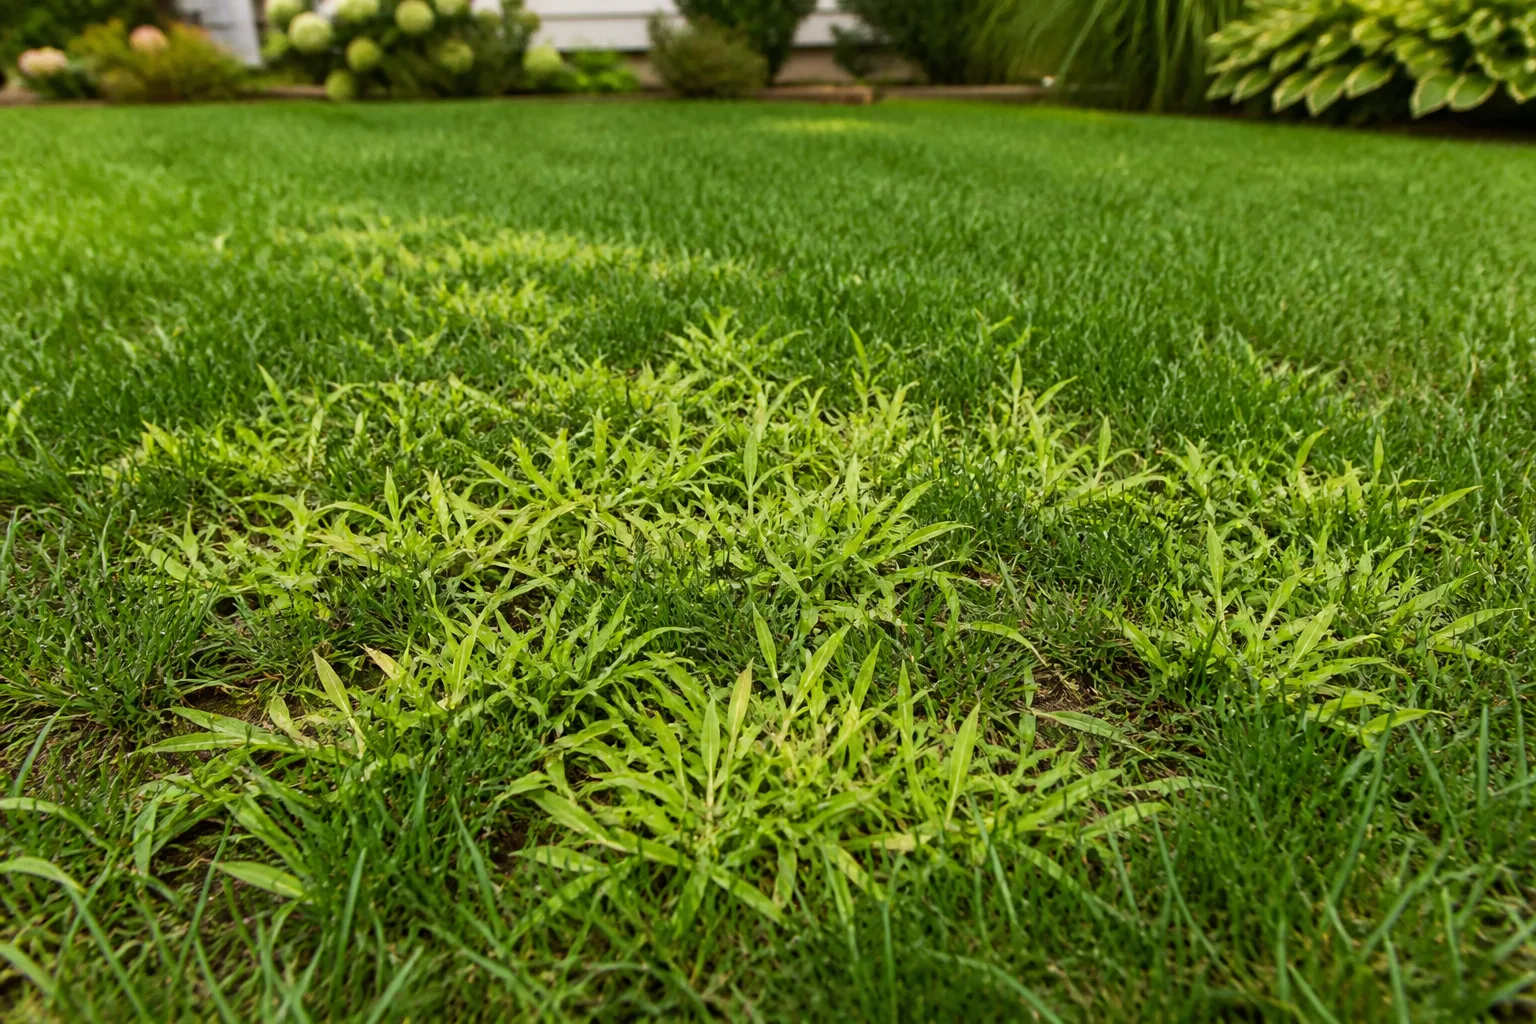
Color alone is not enough to diagnose irrigation. Yellow or brown grass can come from drought, dormancy, disease, insects, scalping, fertilizer injury, salt, traffic, or uneven sprinkler coverage. Combine what the blades look like with the soil moisture, pattern, recent weather, and irrigation output.
Signs that the lawn may be too dry include:
- Footprints remain visible instead of springing back.
- Grass changes from its normal green to a dull bluish or gray-green tone.
- Blades curl, fold, or feel brittle.
- The soil is dry several inches down and a screwdriver or probe is difficult to push into it.
- Dry strips or arcs match the edge of a sprinkler’s coverage.
Signs that the lawn may be receiving too much water include:
- Puddles or runoff appear during or after irrigation.
- Soil stays spongy or wet between scheduled waterings.
- Grass yellows despite frequent irrigation.
- Disease, mushrooms, algae, weeds, or persistent thatch increase.
- Water is reaching sidewalks, driveways, gutters, or low spots instead of the lawn.
Overwatering does not always look lush. Saturated soil contains less air for roots, and shallow roots can make the lawn more vulnerable when the surface finally dries. Virginia Cooperative Extension warns that excessive watering can increase fungal disease, mowing demand, and fertilizer or pesticide runoff.
When the problem is not watering
If the soil is moist but the grass is brown, stop increasing the runtime. Look for a sharply localized pattern, expanding circles, damaged roots, torn mower tips, pet traffic, fertilizer spills, salt exposure, or insects. A whole lawn turning tan during severe heat may be dormant, while a few spreading rings in warm, humid conditions may need a disease diagnosis.
If turf pulls up easily, inspect the roots and soil beneath it. If the sprinkler cans show large differences, fix the irrigation system. If the pattern appears beside pavement or only beneath a tree, compare heat, compaction, shade, and root competition before assuming the grass needs another cycle.
Avoid applying fungicide, insecticide, or fertilizer simply because the lawn looks brown. The correct product, timing, and rate depend on the confirmed cause and local rules. When patches spread quickly or roots are missing across a large area, contact a county extension office or qualified turf professional for diagnosis.
Use controllers and sensors as helpers
An automatic controller is useful when each zone has a measured runtime and a sensible seasonal adjustment. Program zones separately if they have different sprinkler heads, soil, slope, shade, or plantings. A lawn zone should not share a schedule with a shrub bed that has a different water demand.
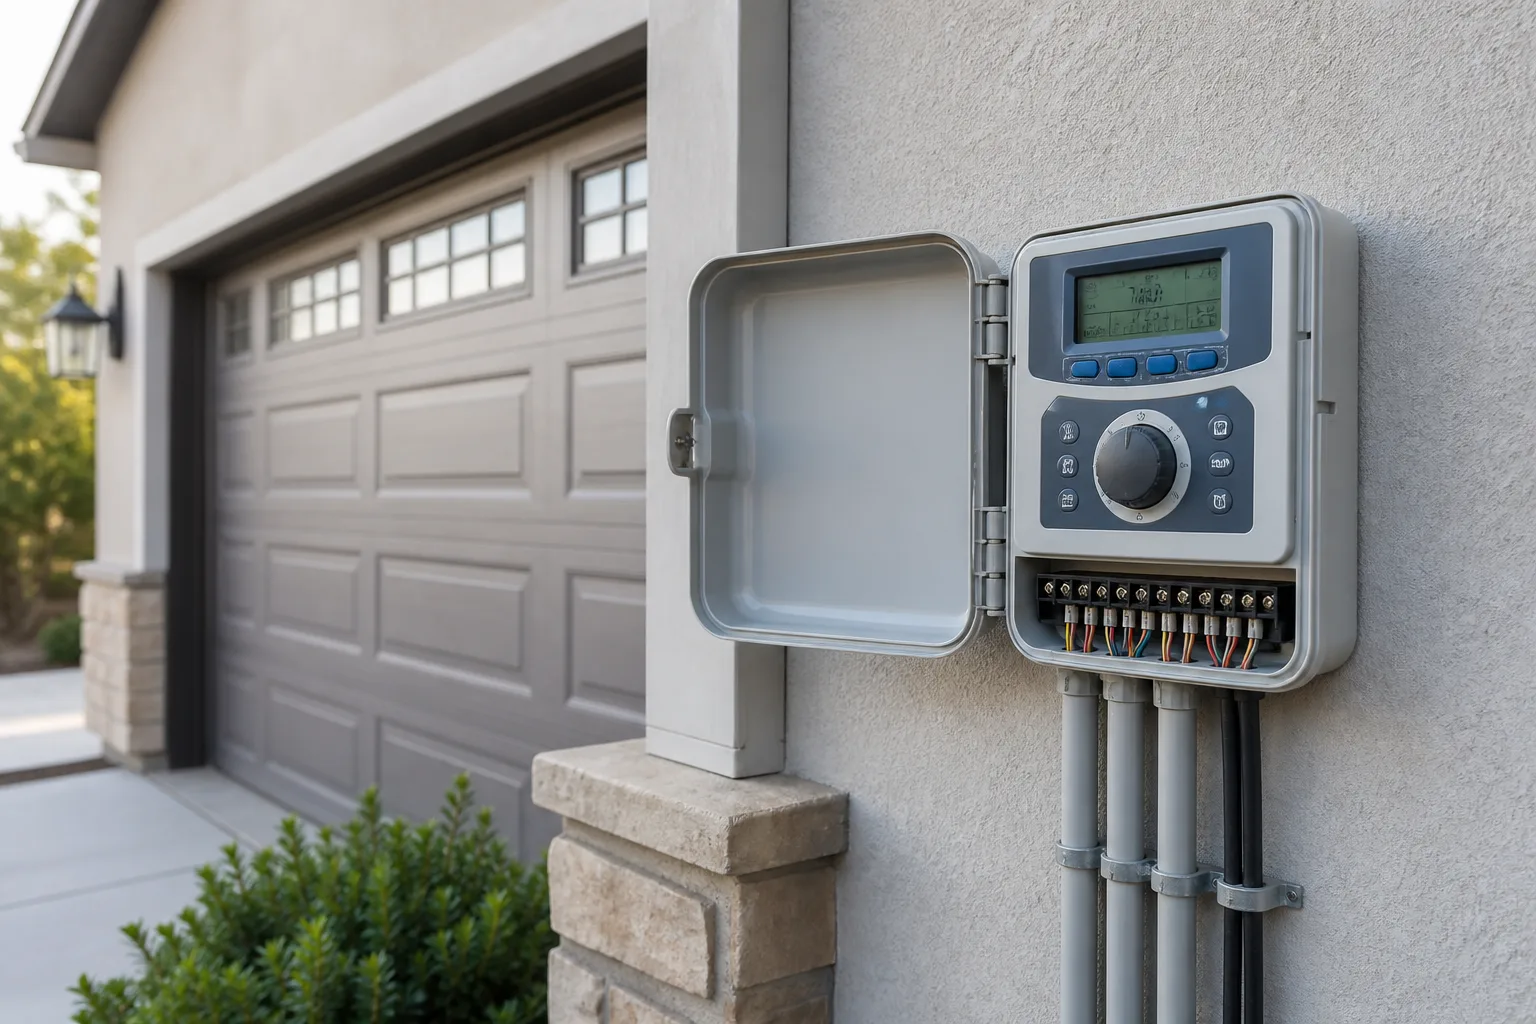
Smart controllers can use rainfall and evapotranspiration data to adjust watering. Soil-moisture sensors can respond to conditions at a representative location, and rain shut-off sensors can prevent an automatic cycle after sufficient rainfall. These tools are most helpful when you understand what they are measuring and place or calibrate them for the right zone.
They are not magic. A rain sensor under an overhang may miss a storm. A soil sensor in a shaded flower bed may not represent a sunny slope. A smart controller may reduce the schedule while a clogged nozzle is still leaving one strip dry. Audit the actual water pattern before blaming the program.
Colorado State University Extension describes evapotranspiration-based controllers, soil-moisture sensors, and rain shut-off devices as ways to adapt irrigation to real weather and soil conditions. Its guidance still emphasizes observation and fine-tuning in 10-percent increments when a lawn dries too soon or remains wetter than necessary.
For a simple hose-end setup, a battery timer can provide consistency, but it should not replace a catch-can test. Write the measured precipitation rate on a label inside the controller box or in your phone. Recheck the system at the start of the hot season and after repairs.
Sample lawn-watering schedules
Use these as templates for an established lawn after measuring the zone. They are examples of how to distribute a weekly total, not promises that the same minutes fit every sprinkler.
Example 1: even coverage, good infiltration. A zone applies 1 inch per hour, and the lawn needs 1 inch from irrigation this week. Run for 60 minutes total, split into two 30-minute sessions on separate mornings. If the soil accepts the water without runoff, this is a reasonable starting schedule.
Example 2: slower rotor zone. A rotor zone applies 0.5 inch per hour, and the lawn needs 1 inch. Run for 120 minutes total, split into two 60-minute sessions if the soil can absorb them. If runoff begins after 25 minutes, split each session into shorter cycles with soak-in pauses; do not run the full 60 minutes continuously.
Example 3: cool-season turf with shallow soil. A catch-can test says the zone needs 45 minutes per week. Divide it into three 15-minute irrigations spaced across the week, then inspect the root zone and adjust. If the soil is deep and runoff never appears, two sessions may work better. If a slope sheds water quickly, use shorter cycles.
Example 4: rain changes the plan. The target is 1 inch, and a rain gauge records 0.6 inch of even rainfall. The sprinkler portion is about 0.4 inch, unless the soil is still wet or the rain ran off. Use your measured application rate to turn 0.4 inch into minutes.
Example 5: new seed. Ignore the mature-lawn templates during germination. Keep the seedbed evenly moist with light applications that may be needed more than once per day in hot or windy conditions. As the seedlings root and grow, lengthen the interval and reduce frequency until the lawn can accept a deeper, established-turf schedule.
Review the lawn after two or three irrigation events rather than changing the timer after every hour of weather. Look at the soil, footprinting, runoff, dry edges, and the catch cans. Make one controlled change at a time so you can tell whether the adjustment helped.
Common mistakes that waste water
- Using minutes as the goal. Runtime is only a means to apply a measured depth. A fast spray head and a slow rotor need different minutes.
- Treating 30 minutes as a universal rule. Thirty minutes may be too little, too much, or exactly right depending on precipitation rate and soil infiltration.
- Watering every day after the lawn is established. Light daily irrigation encourages shallow roots and keeps the surface wet without necessarily reaching deeper roots.
- Ignoring rainfall. Runoff, shade, and uneven storms make rain imperfect, but useful rainfall still belongs in the weekly water budget.
- Running a zone through visible runoff. Stop, pause, and resume in cycles. Water leaving the property is not watering the roots.
- Using one schedule for every zone. Different heads, slopes, sun exposures, and soil textures need separate settings.
- Watering at night by default. Night irrigation can leave foliage wet for hours. Use early morning when restrictions and logistics allow.
- Keeping seed watering after establishment. Seed and sod require a transition. Mature turf needs a different balance of depth and frequency.
- Adding fertilizer to fix drought color. Fertilizer cannot repair dead crowns and can increase stress or disease risk when applied at the wrong time.
- Buying a smart controller before fixing coverage. Automation cannot compensate for clogged nozzles, poor overlap, leaks, or compacted soil.
Conclusion
To decide how long and how often to water your lawn, start with a measured weekly target, then test what each sprinkler zone actually applies. For most established lawns, about 1 inch of total water per week is a reasonable starting reference during active growth, but grass type, soil, shade, slope, heat, wind, and rainfall can move the schedule in either direction.
Run a catch-can test, convert the result into inches per hour, and use that number to calculate runtime. Water in the early morning when possible, use cycle-and-soak when runoff begins, and switch to a separate establishment schedule for new seed or sod. If the soil is wet and the lawn still looks unhealthy, stop adding water and investigate the pattern instead.