How Long Do Potatoes Take to Grow? Harvest Signs
Learn how long potatoes take to grow, when to harvest new or storage potatoes, how to test skin set, and how to dig without bruising the crop.
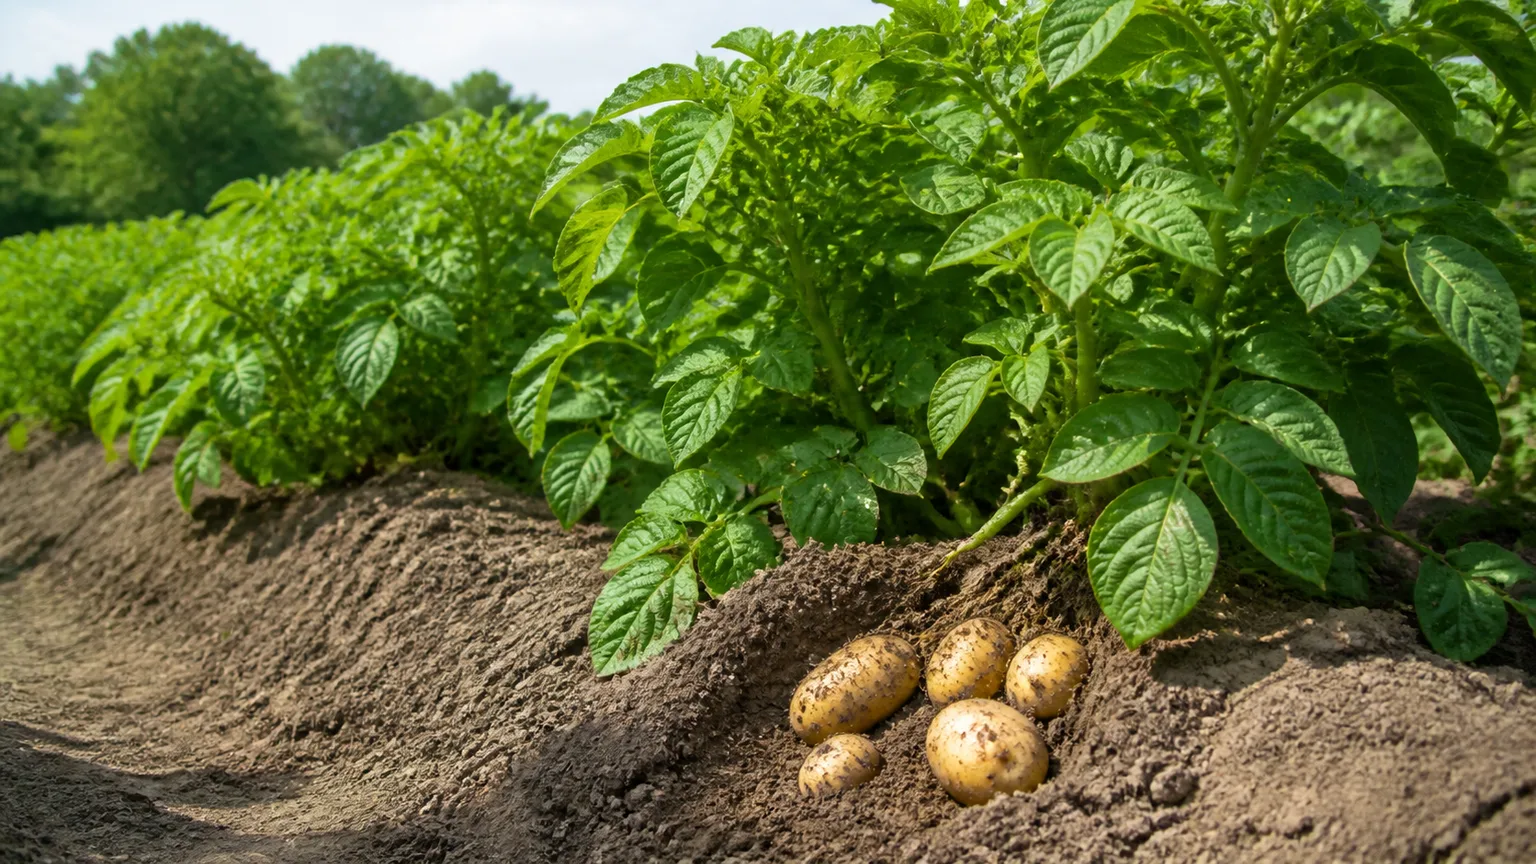
Most potatoes take about 70 to 120 days from planting to a usable harvest, but that range covers two different goals. You can dig tender new potatoes while the plant is flowering, or you can wait for the vines to yellow and die back so the tubers develop firmer skins for storage. The variety, planting date, soil temperature, moisture, and the size you want all change the answer.
The best harvest forecast combines the seed-packet estimate with what the plant is telling you. Use the calendar to decide when to inspect, use flowers or natural dieback to choose the type of harvest, and then make a small test dig before lifting the whole crop. That sequence is more reliable than waiting for a single date or pulling up a plant because one leaf turned yellow.
The Short Answer: Plan on 70–120 Days, but Harvest Has Two Targets
Early potatoes can be ready in roughly 60 to 90 days, depending on the cultivar and growing conditions. Midseason types commonly need about 90 to 110 days, while maincrop or storage varieties may take 110 to 135 days to reach their full size and skin maturity. These are planning bands rather than guarantees; a cold start or a shaded, waterlogged bed can add time.
Garden Design gives a broad 70–120-day maturity range and Gardening Know How notes that early potatoes may be harvestable around 10 to 12 weeks while large storage potatoes can need substantially longer. Both are useful reminders that “potato” is not one maturity class. Your supplier’s days-to-maturity estimate should be the first number you write in your garden calendar, but it should not be the only harvest signal you trust.
Early, midseason, and maincrop timing
Early potatoes are usually grown for fresh eating. They are often dug while small, with thin skins and a short storage life, and they make sense when you want a quick crop or a staggered harvest. Some early varieties can remain in the ground briefly to size up, but they will not necessarily become the best long-term storage potatoes.
Midseason potatoes split the difference. They can be harvested young for tender tubers or left longer for a more substantial crop, so they are useful when you want flexibility. Their maturity estimate is especially sensitive to planting conditions because a few slow weeks early in the season can push the harvest into hotter or wetter weather.
Maincrop potatoes are grown to full size and thicker skin. They are the better choice for a storage harvest, but they need a long enough stretch of healthy foliage before frost or severe heat interrupts growth. A late variety planted late may still produce potatoes, but it may not have enough time to make the yield or skin quality you expected.
Why days to maturity is a range, not a promise
Days to maturity is normally counted from planting the seed potato or seed piece, not from the day you buy it and not from the day a stored potato first sprouts. Chitting, or pre-sprouting, can help a crop start promptly, but it does not erase the effect of cold soil after planting. If you cut large seed potatoes into pieces, let the cut surfaces dry and callus before planting so rot does not steal the first part of the season.
Temperature is one of the biggest reasons two gardens harvest the same variety weeks apart. Potatoes are cool-season crops, but seed pieces planted into cold, saturated soil can sit still or decay. Full sun, loose soil, steady moisture, and healthy foliage keep the crop closer to its expected timeline; shade, drought, standing water, and leaf loss slow the plant’s ability to build tubers.
Decide Whether You Want New Potatoes or Storage Potatoes
The phrase “ready to harvest” needs a purpose attached to it. A potato for tonight’s dinner can be ready while the plant is still green, whereas a potato meant for months of storage should stay in the ground until the tuber skin has set and the tops have naturally finished their season.
| Harvest goal | Main clue | Skin and texture | Best use |
|---|---|---|---|
| New potatoes | Flowers are opening or fading and the calendar is in the early window | Thin, tender skin that rubs easily | Fresh eating soon |
| Full-size fresh crop | Tubers have reached the size you want and a test dig looks good | Firmer skin, but not always fully mature | Cooking over the next few weeks |
| Storage crop | Most foliage has yellowed and died back naturally | Skin resists a firm thumb rub | Curing and longer storage |
New potato harvest: flowers are a starting signal
When early potato plants flower, tubers are forming underground and may be large enough to sample. Flowering is not a command to harvest every plant. It is a useful prompt to reach beneath the mulch or soil near the stem and remove a few potatoes for a fresh meal while leaving the plant and the remaining tubers to grow.
Harvesting a few new potatoes is easiest when the soil is lightly moist, not muddy. Use your fingers or a small hand tool to work from the side of the hill, take only what you need, and cover the stems and remaining tubers again. This approach gives you a taste of the crop without sacrificing the larger harvest still developing below.
Flowering can be inconsistent, especially in hot weather or with varieties that rarely bloom. Lovely Greens describes flowers that fade or drop as a helpful signal for early potatoes, but the same source also emphasizes that variety class matters. If you see no flowers, rely on the variety’s timing and a careful test dig rather than waiting indefinitely for a cue the plant may not provide.
Storage harvest: vine dieback and skin set
For potatoes intended to store, wait until the foliage turns yellow, dries, and dies back naturally near the end of the maturity window. The underground tubers continue maturing as the tops decline, and their skins become less likely to rub off during digging and handling. Harvest to Table likewise identifies natural foliage dieback and a firm skin as the combination that separates mature potatoes from tender new ones.
Dieback is a strong signal, but it is not a diagnosis by itself. A plant that collapses early from drought, disease, insect damage, or frost has not necessarily produced a mature storage crop. Look at the calendar, inspect the foliage for a pattern of damage, and test the skin before deciding that the whole bed is ready.
Build a Harvest Date From Four Calendar Checks
Write four dates in your garden journal: the planting date, the variety’s early harvest estimate, the expected full-maturity estimate, and the first likely fall frost. Count from the day the seed pieces went into workable soil. Then mark a reminder to inspect early potatoes in the 60- to 75-day range and later types around the lower end of their supplier’s window.
The frost date is a deadline, not a maturity signal. If frost is coming and the crop is close, harvesting slightly early is usually a better trade than leaving foliage and tubers exposed to a hard freeze. If the plant is still green and the forecast is mild, the crop may benefit from more time even if it has reached the earliest number on the label.
Use the calendar to decide when to look, not what to assume. The final decision should combine the crop’s intended use, the condition of the tops, the feel of the skin, and whether the soil is dry enough to dig cleanly.
Planting Conditions That Keep Potatoes on Schedule
Potatoes grow best when the first weeks after planting are productive rather than stalled. The University of Minnesota Extension recommends choosing certified seed potatoes, preparing well-drained soil, and managing hilling, moisture, and rotation as part of a complete growing plan. Those early choices matter because a plant cannot make up every lost week at the end of a short season.
Soil temperature and frost window
Plant when the soil is workable and has warmed enough for the seed pieces to sprout reliably, while still leaving the crop time to mature before the heat or frost that defines your region. A cool-season crop can tolerate a cool start better than a warm-season vegetable, but cold, wet soil is a different problem from cool air: it delays emergence and invites decay.
Avoid planting into a trench that fills with rain. If your spring is wet, use a raised bed or broad ridge that drains quickly, and wait rather than burying seed potatoes in mud. In a short-season climate, a week spent rotting underground is more damaging than a week spent waiting for a favorable planting window.
Sun, soil structure, and moisture
Give potatoes full sun and a loose, well-drained root zone deep enough for tubers to expand. Heavy clods and compacted layers make misshapen potatoes and make harvest harder; saturated soil reduces oxygen around the roots and increases the chance of rot. Garden Design lists loose, well-drained soil and regular water as basics, while Gardening Know How emphasizes that poorly drained soil can delay growth or ruin tubers.
Keep the bed evenly moist as plants establish and as tubers enlarge, but do not turn it into a permanently wet sponge. A layer of organic mulch can slow evaporation and block light, but it must not seal water against the stems. In sandy soil or a container, check more often; in clay, check whether water is actually draining before adding more.
Hill the Plants Before Tubers See Light
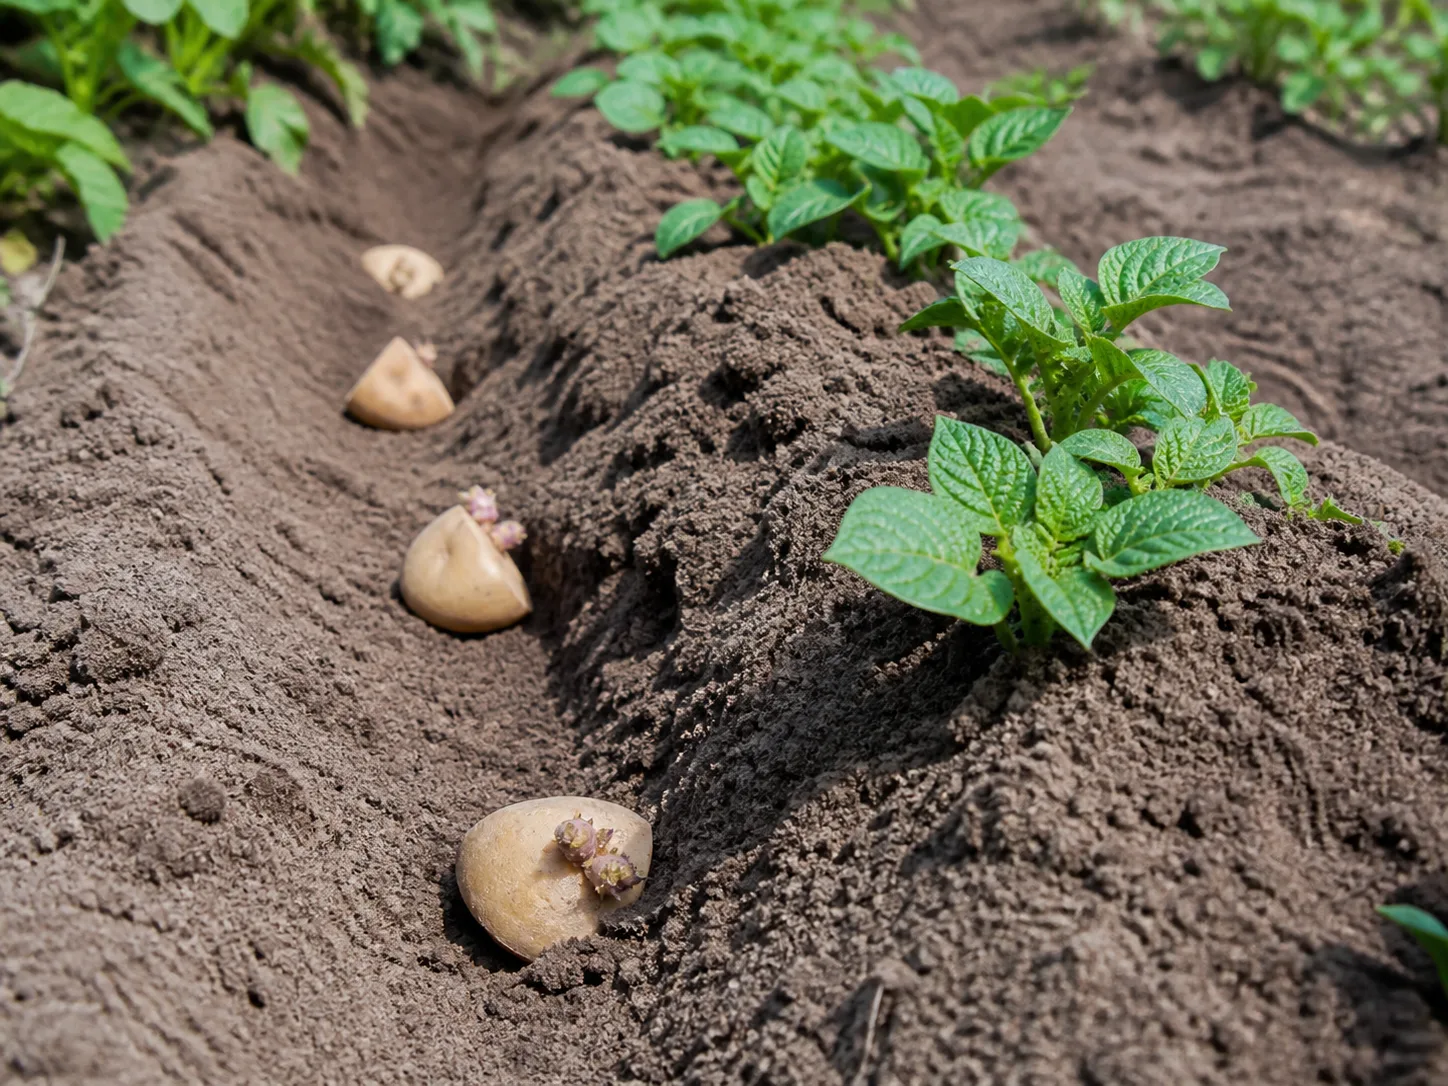
Potatoes form along underground stems, so the soil you draw around the plant creates protected space for tubers. Start hilling when shoots are several inches tall, adding a few inches of loose soil, finished compost, or suitable organic mulch around the base. Repeat as the plant grows until the hill is broad enough to cover developing tubers without burying the growing point.
Hilling serves two jobs: it gives underground stems more covered space and prevents sunlight from reaching the tubers. A potato exposed to light can turn green and develop bitter compounds; do not treat a green tuber as a normal harvest. Garden Design and Gardening Know How both connect hilling with keeping tubers covered, and the University of Minnesota Extension includes hilling as a core part of potato care.
Do not wait until harvest week to repair a thin hill. If you can see tubers or cracks that expose them, cover them promptly with loose material and check the row after heavy rain. Hilling will not fix every yield problem, but failing to hill can make a healthy plant produce potatoes that are sun-damaged or difficult to store.
Water and Fertilize for Tubers, Not Just Leaves
Aim for consistent moisture, often around 1 inch of water per week from rain and irrigation, while adjusting for heat, soil type, rainfall, and containers. The number is a starting point, not a timer. Dig a little into the hill before watering again; if the root zone is still wet, more water can do harm, while a dry, crumbly hill during tuber development can lead to small, cracked, or misshapen potatoes.
Uneven watering is especially frustrating because the foliage may look fine while the tubers are reacting underground. Water deeply enough to wet the root zone, then let excess drain. Drip irrigation or a slow soak at the soil line is more useful than daily light sprinkling over the leaves, which keeps foliage wet and does little for deeper soil.
Fertilizer should support a balanced crop rather than a giant canopy. Start with a soil test when possible and avoid repeated high-nitrogen feeding that produces lush stems at the expense of tuber development. If plants are pale or growth is weak, diagnose light, drainage, pests, and moisture before assuming more fertilizer is the answer.
Make a Test Dig Before You Harvest the Bed
The test dig is the missing step in many potato harvest plans. Choose a plant near the edge of the row, move the mulch aside, and start several inches away from the stem. Lift a small section of soil with your fingers or a hand fork, inspect two or three tubers, and cover the root zone again if the crop needs more time.
Check three things. First, are the tubers close to the size you want? Second, does the skin stay attached when you rub it firmly with your thumb? Third, does the plant and weather support the result—are the tops naturally declining, or did they wilt after a dry spell or disease? A skin that slips easily suggests a tender new potato; a skin that resists rubbing supports a mature harvest.
If the sample is small but the foliage is healthy and frost is not near, cover it and wait one to two weeks before testing again. If the sample is acceptable and rain is coming, harvest on the last dry day when the soil is workable. If the crop has been hit by frost, the tops have collapsed unexpectedly, or the soil is staying cold and wet, prioritize getting the tubers out over chasing a perfect size.
How to Dig Potatoes Without Bruising Them
Harvest when the soil is lightly moist and friable, not soaked. Cut back dead vines if they are tangled over the row, then begin with a garden fork well outside the plant’s crown. Push down and lift a section of soil gradually, working toward the stem only after you know where the first tubers are.
Do not stab directly beside the stem or pull a plant hard enough to break tubers against the fork. Loosen the hill, lift the plant and soil together, and search through the loosened earth by hand. A bucket tossed full of potatoes can bruise them just as effectively as a careless fork, so place harvested tubers gently in a shallow crate or basket.
Brush off clumps of soil without scraping the skin. Set aside any cut, deeply bruised, leaking, or soft potatoes for immediate use or disposal rather than mixing them with sound potatoes. Wounds are entry points for decay, and one deteriorating tuber can spoil the storage conditions around it.
Cure and Store Mature Potatoes
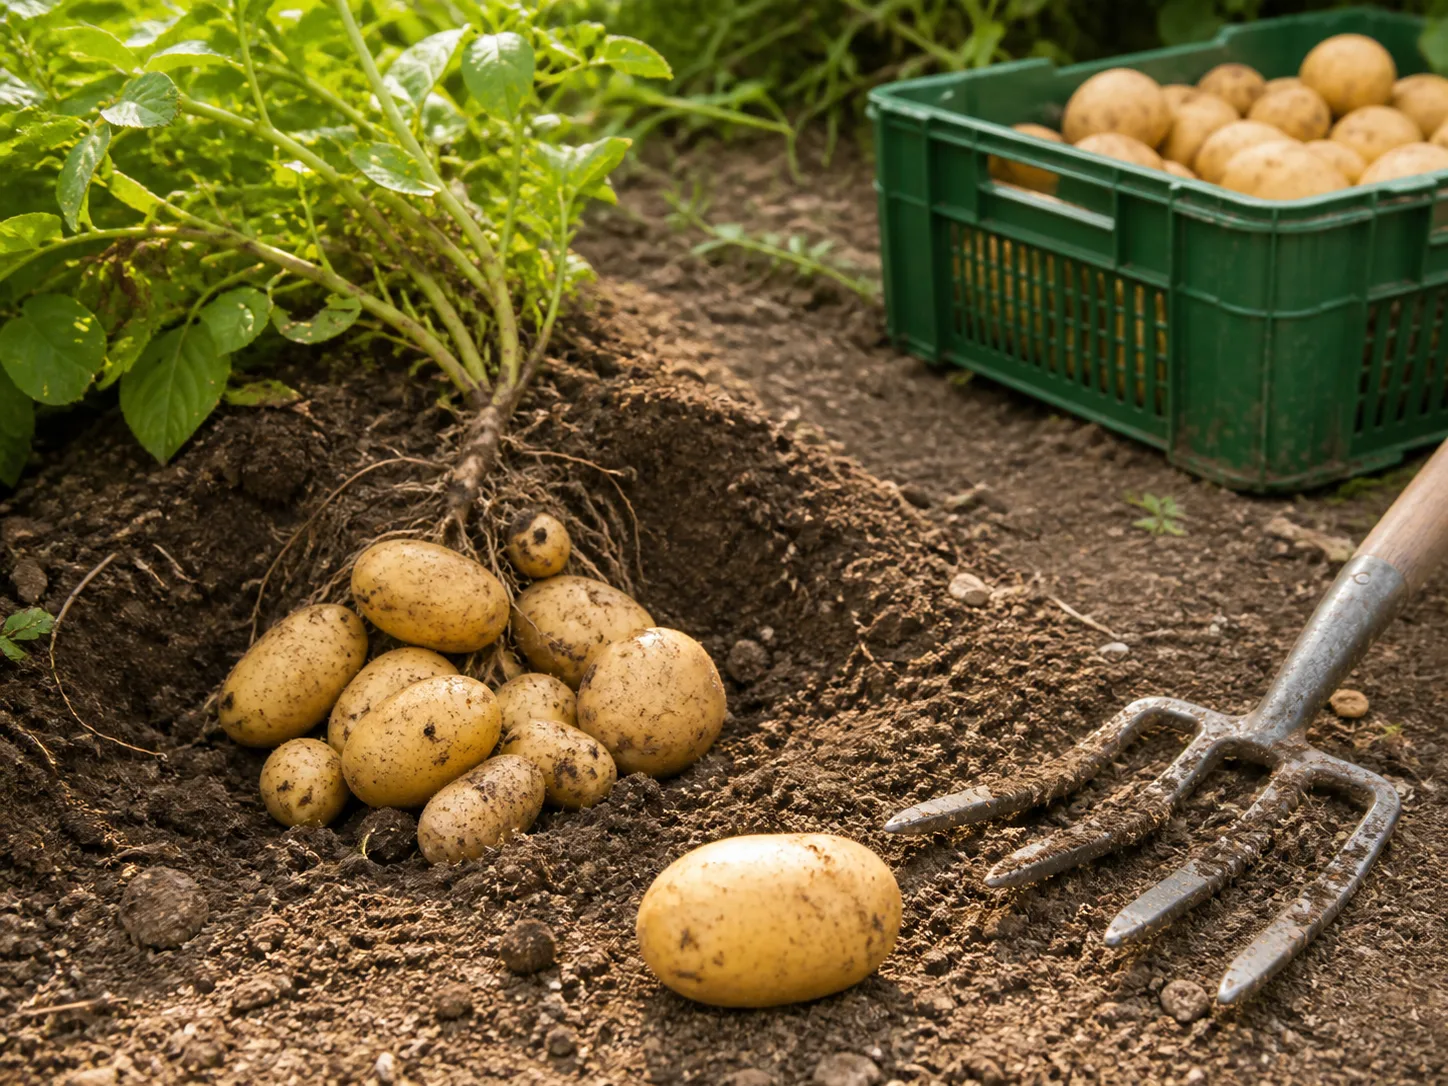
New potatoes are at their best soon after digging because their thin skins and high moisture do not favor long storage. Use them fresh, keep them cool and shaded, and avoid washing more than you can cook promptly. Their tender skin is part of the appeal, not a defect that needs to be “fixed.”
For a storage crop, let clean, undamaged potatoes dry in a dark, well-ventilated place for about 10 to 14 days. Garden Design and Harvest to Table describe a one- to two-week curing period that toughens the skin, while Gardening Know How recommends curing before brushing off soil and storing. Keep the tubers out of direct sun and away from rain; curing is a dry rest, not a warm windowsill.
After curing, remove loose soil with a soft brush and store only sound potatoes in a dark, cool place with airflow. Avoid sealed plastic bags and repeated temperature swings. Check the crop periodically and remove any tuber that develops a soft spot, leak, or strong odor before the problem spreads.
Keep stored potatoes dark. Light exposure can turn the skin green and make the tuber bitter, and a heavily green potato should not be eaten. If you are unsure whether a damaged or green potato is safe, discard it rather than trying to rescue a questionable storage crop.
When the Timing Looks Wrong: Diagnose a Late Crop
If the calendar says “ready” but the potatoes are small, start with the growing conditions rather than adding a late-season product. The plant may simply be a later variety, or it may have lost productive weeks after planting in cold soil. A healthy green canopy, warm weather, and a test dig showing gradual sizing are reasons to wait.
Cold, wet soil: Seed pieces may emerge late or unevenly. Improve drainage and avoid planting the next crop until the soil is workable and warm enough for reliable sprouting.
Too little sun: A plant in partial shade may stay green without making a strong harvest. Move future rows to a site with full sun; do not expect extra fertilizer to replace missing light.
Drought or uneven watering: Wilting followed by heavy irrigation can stress the plant and produce cracked or misshapen tubers. Mulch the soil, water deeply when needed, and let the bed drain between applications.
Too much nitrogen: A huge, soft canopy can hide disappointing tubers. Use a soil test before feeding again and focus on root-zone conditions rather than leaf size.
Pests or disease: Colorado potato beetles, blight, and other foliage problems reduce the leaves that fuel tuber growth. Inspect the undersides of leaves, remove badly affected material according to local guidance, and rotate potatoes with other nightshades out of the same bed when practical.
An approaching frost: Frost can end the season before a late crop reaches its ideal size. If the tubers are close, harvest before the hard freeze; if they are still small, cover the tops only as a short-term measure and revise next season’s variety or planting date.
A Simple Potato Harvest Calendar
Before planting: Choose certified seed potatoes suited to your season. Record the variety, its early and full-maturity estimates, your last spring frost, and your first likely fall frost.
At planting: Plant seed pieces into workable, well-drained soil in a sunny site. Water the row once to settle the soil, but do not leave it saturated.
After emergence: Begin hilling once shoots are several inches tall. Keep tubers covered, control weeds before they compete for moisture, and inspect foliage for insect or disease damage.
During flowering: Start checking early varieties for new potatoes. Dig from the side of one plant, take a few tender tubers if they are the size you want, and cover the remaining hill.
Around the maturity window: Test-dig a plant rather than harvesting the entire row on a date printed on the label. For a storage crop, wait for natural yellowing and dieback, then confirm that the skin resists rubbing.
Before frost or prolonged wet weather: Harvest a mature or nearly mature crop on a dry, workable day. Protect the remaining crop from light and do not leave sound potatoes sitting in rain after digging.
After harvest: Separate damaged tubers, cure sound storage potatoes in the dark for about one to two weeks, then move them to cool, dark, ventilated storage and check them regularly.
Conclusion
Potatoes usually take 70 to 120 days to grow, with early types often ready first and maincrop varieties needing a longer season. But the useful answer is not a single number. New potatoes can be sampled around flowering, while a storage crop should wait for natural foliage dieback, firm skin, and a successful test dig.
Mark the planting date, learn the variety’s maturity range, and watch the soil and weather as closely as the plant. Keep the hills covered, moisture even, and digging gentle. When the calendar, the foliage, the skin, and the test tuber agree, you can start digging with confidence and give the harvest its best chance to stay sound.



