Why Grass Seed Isn't Germinating: 6 Fixes
Grass seed not germinating? Diagnose six common causes—poor contact, deep sowing, dry soil, compaction, bad seed, and wrong timing—then fix them.
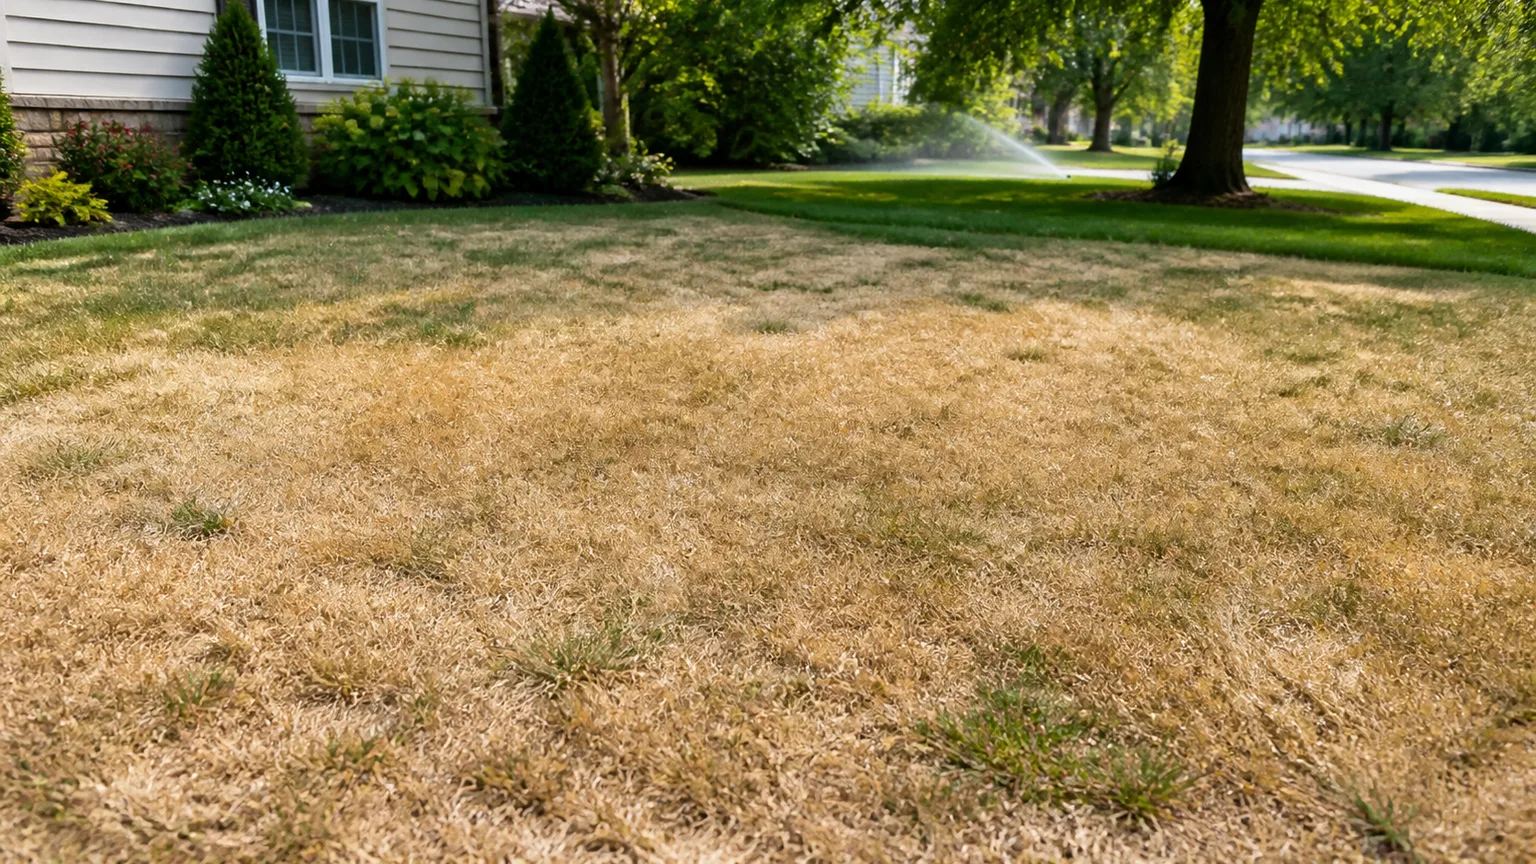
Grass seed can look unchanged for several different reasons: it may be dry but still viable, buried where oxygen cannot reach it, washed into a low spot, sitting on compacted soil, or waiting for a temperature its species can use. The useful question is not simply “How many days has it been?” It is which condition is missing right now?
Start by checking the seeded area in three places—one healthy-looking spot, one bare spot, and one edge where water may collect. Look for seed, press a finger or probe into the top inch of soil, and note whether the surface is dry, muddy, crusted, or firm. That quick comparison usually tells you whether to correct moisture, improve contact, wait for the season, or reseed.
Start with a 60-second diagnosis
Before adding more seed, make four observations. If the seed is still visible but the soil around it is dry, water is the first problem. If it has disappeared into a puddle or collected against a curb, runoff or irrigation moved it. If the surface is hard enough that a rake barely scratches it, contact and compaction are more likely than seed quality.
Next, identify the grass type from the bag or receipt. Kentucky bluegrass, perennial ryegrass, and tall fescue are cool-season examples; Bermudagrass and zoysiagrass are warm-season examples. The same calendar date can be a good seeding window for one group and a poor one for the other, so the label and your local extension recommendation matter more than a generic “seed in spring” rule.
Germination is not the same as visible emergence
Germination begins when a viable seed absorbs water and resumes growth. Emergence is when the new shoot becomes visible above the soil. A seed can be viable yet take longer to emerge in cool soil, and a seedling can begin growing underground but die if the surface dries repeatedly afterward.
That is why a bare lawn after one week does not prove failure. Moyer’s practical lawn-renovation guidance notes that new grass may become visible in roughly two to three weeks, while the exact timing depends on the species and conditions. Treat a calendar estimate as a checkpoint, not a promise; look for a change in the seedbed and tiny shoots before deciding what happened.
1. The seed never made reliable soil contact
Seed needs a stable contact point with moist soil. Seed scattered over living grass, a thick thatch layer, loose dust, or a hard crust may be close to the ground without actually exchanging water with it. On a slope, the seed can also move downhill during the first irrigation or storm, leaving the upper section bare and the bottom edge crowded.
Surface seed is not automatically doomed. The problem is exposure: wind can scatter it, birds can remove it, and a sunny surface dries faster than a shallowly covered seedbed. Penn State Extension’s lawn-establishment guidance describes light raking or rolling as ways to press seed into the surface and cover much of it with about one-quarter inch of soil, while warning that the goal is contact—not burial.
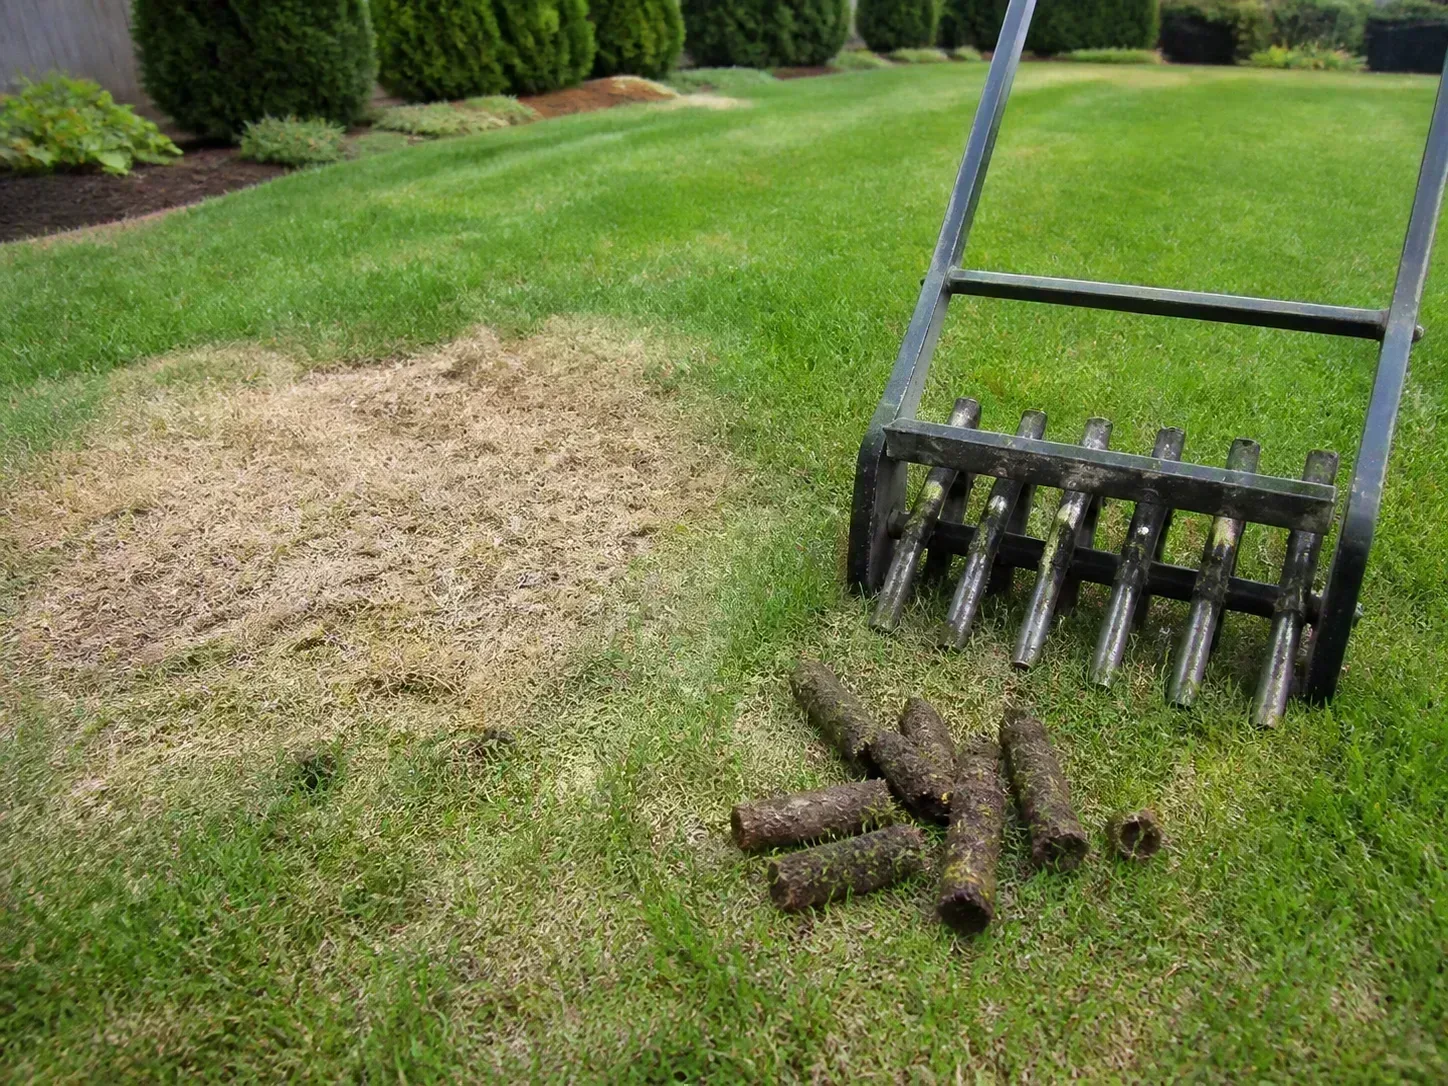
Fix contact on bare soil versus an existing lawn
For a bare patch, rake away loose debris and dead stems, scratch the surface lightly, spread the seed in two directions, and rake again just enough to settle it. If the area is sloped, use a thin layer of clean straw or a purpose-made erosion-control mulch to hold the seed in place. Avoid a thick blanket: too much mulch can keep seedlings in the dark, trap excess moisture, and create disease problems.
For an existing lawn, mow a little shorter than usual, remove heavy clippings, and expose some soil with a stiff rake or core aeration where compaction is present. Do not expect seed thrown into a dense canopy to behave like seed on a prepared bed. If the living turf is already thick, a small bare spot may need focused soil exposure rather than more seed across the whole lawn.
2. The seed was buried too deeply
Grass seed is small, and its first shoot has limited stored energy. If a heavy layer of topsoil, compost, straw, or silt covers it, the shoot may not reach light before its reserves run out. Deep placement can also create a wet, oxygen-poor pocket that delays or prevents emergence.
Use a light-cover rule: most lawn seed should be on or very close to the surface, with only a thin dusting of soil after raking. Penn State Extension’s lawn-establishment guidance describes about one-quarter inch of soil as a useful target for many small residential seedings, but the seed label and species-specific instructions take priority. Do not use the same depth for every grass, especially when a warm-season seed label gives a different recommendation.
If you suspect deep sowing, do not excavate the entire patch. Gently rake a small test area until seed is visible or just below the surface, then keep it evenly moist for the next several days. If that test area improves while the untouched area stays blank, reseed the deeper sections at the correct shallow depth rather than flooding them in an attempt to force emergence.
3. The moisture cycle is wrong
Newly sown seed needs a damp surface long enough to absorb water and begin growth. The common failures are opposite extremes: one heavy soaking that moves seed downhill, or a light sprinkle that wets the top but lets it dry before the next cycle. Repeated dry-outs can be especially damaging after a seed has started to swell and a tender root has begun to emerge.
The surface should be evenly moist, not shiny with standing water. Sandy soil, wind, full sun, steep slopes, and small exposed patches may need more frequent checks; clay soil, shade, cool weather, and rain may need less irrigation. A timer is useful only after you confirm that the sprinkler actually wets the whole seeded area instead of missing corners or creating a puddle in the middle.
Watering pattern for the first three weeks
For the first several days, use short, gentle irrigation often enough to keep the seed zone from drying. The exact number of cycles depends on weather and soil, so check the top half-inch to inch with your finger rather than copying a minute count from another yard. If water runs off, pause, let it infiltrate, and resume with shorter cycles.
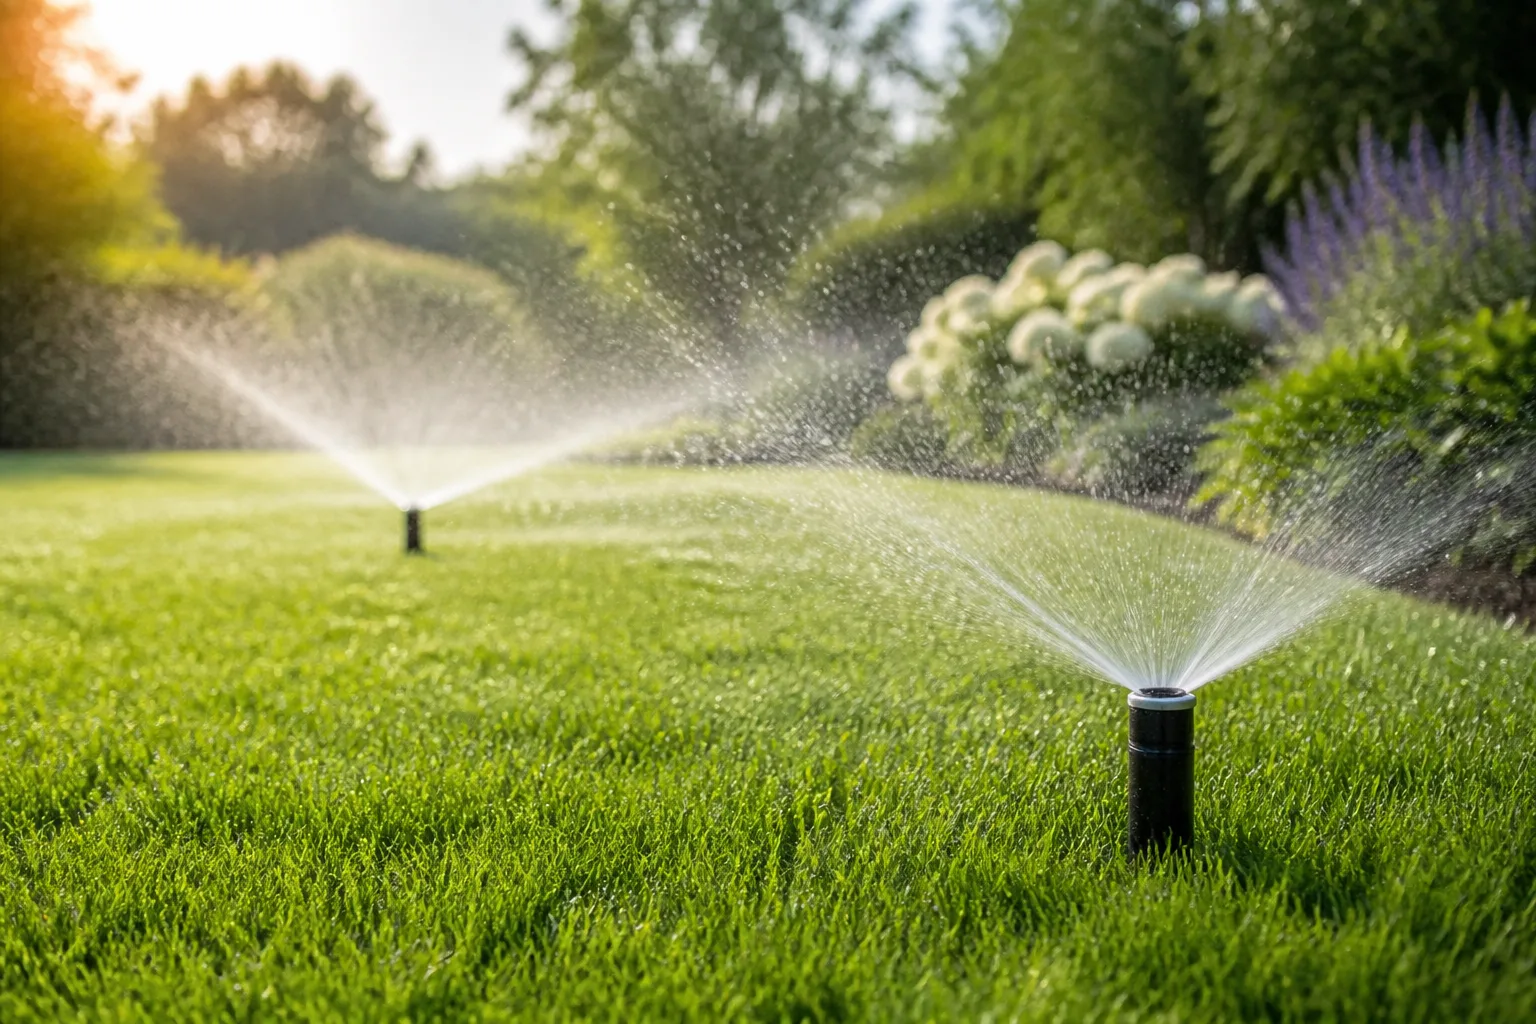
As shoots appear, keep the surface from drying but begin spacing out irrigation gradually. Once the grass has visible roots and can tolerate a deeper wetting, shift toward less frequent, deeper watering; continuing tiny daily sprinkles indefinitely encourages shallow rooting and can keep the surface needlessly wet. Penn State Extension emphasizes that newly established turf is delicate and needs regular irrigation while the soil stays moist but not excessively wet.
If you have already watered for two weeks and see no change, inspect rather than automatically increasing the volume. Dig a small, inconspicuous test spot. Dry seed and dry soil point to a moisture problem; rotten-smelling, slimy soil or seed that has disappeared into a low spot points to excess water or movement.
4. The seedbed is compacted, crusted, or too wet
A seedbed can be moist and still be unsuitable. Foot traffic, construction equipment, repeated mowing on wet soil, or heavy clay can squeeze out the air spaces that roots need. A hard crust can form after rain or irrigation, sealing the surface so water runs sideways instead of reaching seed evenly. Persistent puddles introduce a different problem: oxygen is displaced by water, and seed may rot or be carried away.
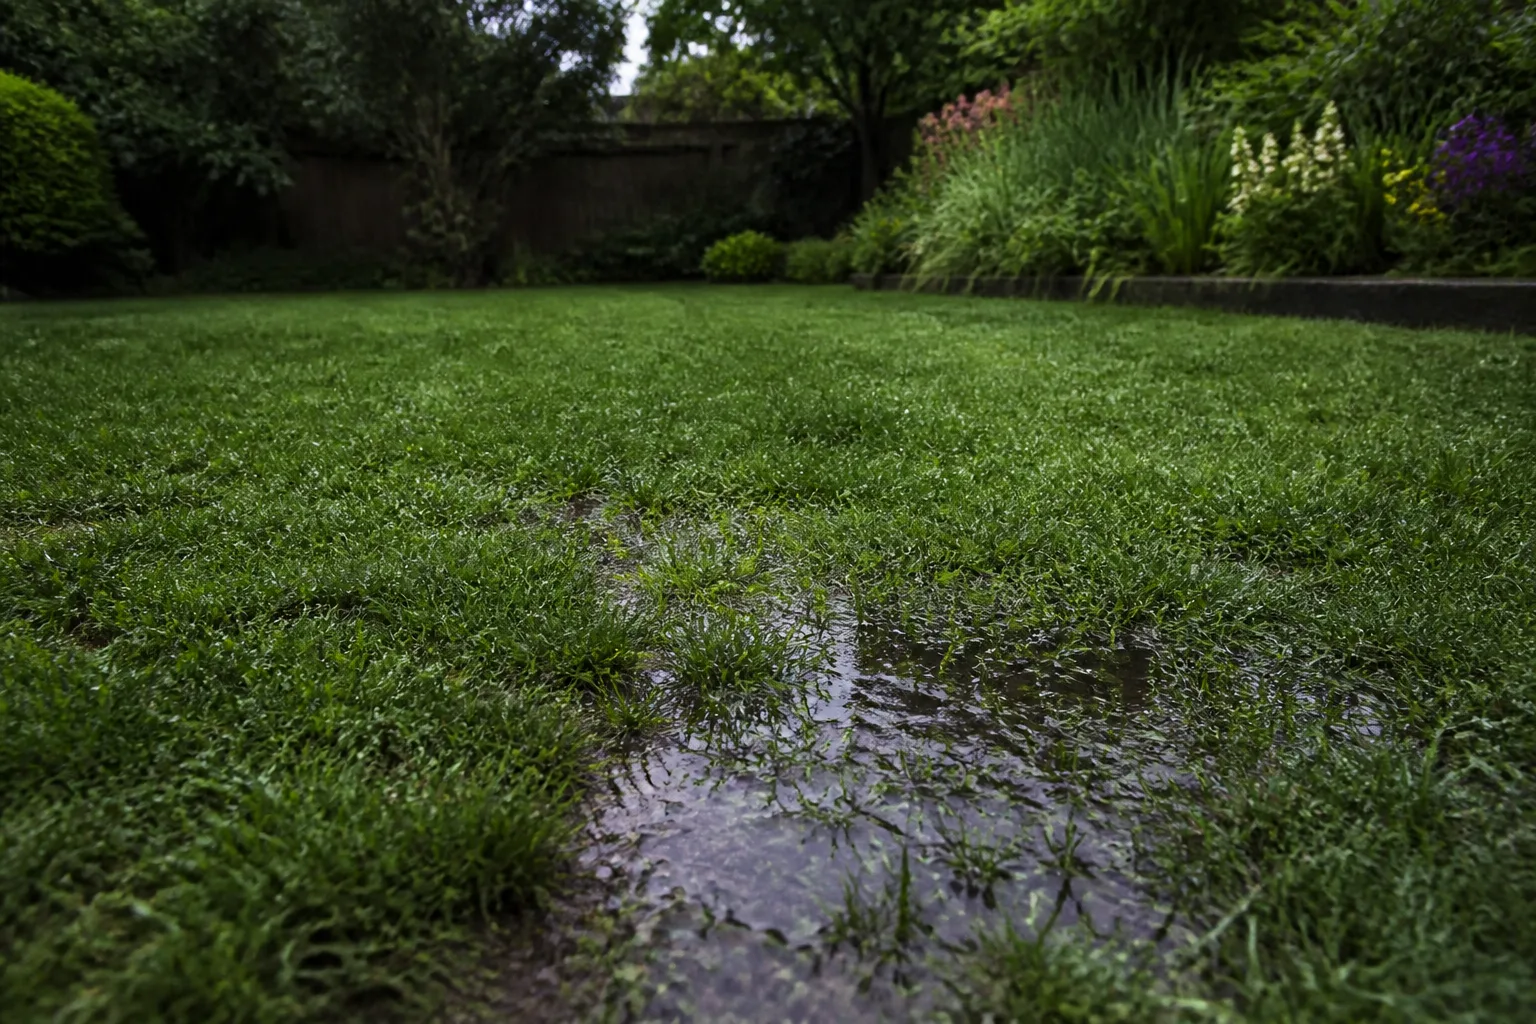
Test the soil in both a failed patch and a nearby successful patch. A screwdriver or narrow probe should enter moist soil with steady resistance; if it stops abruptly at the failed patch, compaction is a reasonable suspect. Also look for a thin layer of dead stems between the seed and mineral soil. Excess thatch blocks contact, while a bare patch beside a downspout may be failing because drainage—not seed—is the limiting factor.
Correct the cause before reseeding. Core-aerate an established lawn when the soil is moist enough to penetrate but not muddy, rake or lightly scarify a small bare patch, and fix downspout or grade problems that concentrate runoff. Do not till or rototill wet soil; it smears and compacts instead of making a porous seedbed. Penn State Extension recommends preparing and firming soil so it is smooth and stable, not loose powder or saturated mud.
Not every hard-looking patch needs a machine. A small area can often be repaired with a hand rake, a narrow garden fork, and a thin layer of suitable soil worked into the top surface. The important change is a continuous path between seed and soil, not a dramatic makeover. If water still sits there after the surface is loosened, stop; drainage has to be corrected before the next seed can have a fair chance.
5. The seed lot or grass type is a poor match
Sometimes the seed is the variable you need to inspect. Seed can lose viability with age or poor storage, and a bargain bag may contain a lower percentage of live turf seed than its price suggests. A grass that is poorly adapted to your shade, heat, traffic, or moisture conditions may germinate but fail soon afterward, which looks like a germination problem from a distance.
Read the seed label before you reseed
Look for the species and cultivar, the germination percentage, inert matter, other crop seed, weed seed, lot number, and the date of the germination test. Penn State Extension explains that purity and germination together indicate the amount of live seed you are buying. A named cultivar is useful, but it does not cancel out a low germination percentage or a poor match for the site.
You can estimate pure live seed (PLS) with this formula:
PLS = purity percentage × germination percentage ÷ 100
For example, seed that is 90% pure and tests at 80% germination has 72% PLS. That does not mean every lawn needs a new seeding rate calculated from scratch, but it does explain why two bags with the same grass name can produce different coverage. Use the rate on the label or local extension guidance, and keep the bag so you can check the lot and test date if the result is poor.
Species choice matters too. A shade-tolerant fine fescue mix can make more sense under trees than a sun-loving grass, while a warm-season lawn should not be reseeded with a cool-season mix simply because it is available in the store. If seed sprouts only in the sunny edge and not under dense shade, the pattern is evidence about site fit—not necessarily proof that the seed was bad.
Storage can quietly reduce the odds as well. Seed left for months in a hot shed, an open bag, or a damp garage may perform differently from the same lot stored sealed and dry. If you have leftover seed and time before reseeding, sow a small measured pinch in a labeled tray of moist potting mix or between damp paper towels. It is not a laboratory germination test, but a side-by-side check against fresh seed can tell you whether the bag deserves suspicion.
6. Temperature, season, or herbicide timing blocked it
Grass seed responds to the temperature of the soil, not the temperature printed on your weather app. Cool-season grasses generally establish best when soil is warming in spring or cooling in late summer and early fall, while warm-season grasses need a reliably warm growing window. In many cool-season regions, late summer to early fall is the stronger window because seedlings can establish before the next hot, dry summer.
Warm-season thresholds vary by species and purpose. The USDA Natural Resources Conservation Service’s guidance on establishing warm-season grasses lists 55°F (13°C) or above as a germination threshold for the grasses it discusses, while LawnStarter’s practical spring overseeding guide recommends waiting for soil to remain above 65°F for warm-season types. Those numbers are not contradictory instructions for every lawn; they show why the label, species, and local extension calendar should decide the window. A minimum temperature may permit germination without giving seedlings a good establishment period.
Spring can also create a hidden conflict with weed control. A pre-emergent herbicide is designed to stop seeds from developing, and it may not distinguish between a crabgrass seed and the turfgrass seed you just spread. Check the product label for reseeding restrictions, active ingredients, and the required interval. If you cannot verify compatibility, do not apply a pre-emergent over a newly seeded area and assume the grass will be unaffected.
How to tell whether to wait or reseed
Use a small test rather than guessing across the entire lawn. Gently uncover several seeds from the failed area. Plump, firm seed with no odor may still be viable; seed that is soft, hollow, moldy, or missing after runoff is less encouraging. If the soil is dry, correct irrigation and wait. If the seed is too deep, too wet, or sitting on a crust, fix that condition first.
Wait when the species is known, the seed is firm, the soil is within the planting window, and moisture has been inconsistent but is now corrected. Reseed when the seed was washed away, the seed lot is clearly poor, a test patch produces no emergence after conditions are corrected, or the seasonal window is closing and the existing seed is unlikely to establish before heat or freezing weather.
Do not judge success by a single blade. Look for scattered emergence across the area, then give the seedlings time to root. If the same patch fails after two properly timed attempts, stop buying more seed and investigate shade, drainage, compaction, herbicide history, soil pH, thatch, or a species mismatch.
A no-regrets reseeding sequence
The most reliable reset is simple: diagnose the site, create contact, spread evenly, stabilize the surface, and protect the moisture window. Changing five variables at once makes the next failure hard to interpret.
Day 0: prepare, sow, and protect
- Measure the patch. Calculate the square footage so you can follow the seed label instead of scattering a guess.
- Choose the right window and seed. Match cool-season or warm-season grass to your climate, light, and use of the lawn.
- Prepare the surface. Mow existing turf modestly shorter, remove clumps and heavy thatch, and loosen only the top surface of a bare patch. Repair standing-water or runoff problems before sowing.
- Spread in two directions. Use half the target amount on each pass to reduce skips and stripes.
- Settle the seed. Rake lightly or use a light roller on a dry-to-slightly-moist surface. You want seed pressed against soil, not buried.
- Add only suitable protection. Use a thin, clean straw or erosion-control mulch on exposed or sloped ground. Do not bury the seed under a thick layer of topsoil or hay.
- Water gently. Stop before runoff begins, then check whether the whole patch is evenly moist.
Days 1–21: keep the seedbed in range
Check the patch at the same time each day for the first week. Adjust the irrigation duration if you see puddles, moving seed, dry corners, or a surface that crusts after watering. Keep pets, children, and repeated foot traffic off the area; young seedlings are easy to uproot before they have anchored.
As emergence becomes visible, continue moisture but reduce the temptation to water every time the grass looks pale in afternoon sun. Feel the soil, look for actual wilt, and account for rain. Once the new grass is tall enough for the first cut, mow only when the soil is firm and remove no more than about one-third of the blade height. Penn State Extension recommends waiting until new turf can recover upright after a careful step and keeping traffic off until it is well rooted. The new lawn is not established simply because it is green; it needs rooted growth and several gentle mowings before it can handle normal wear.
What not to do while waiting
Do not keep piling on seed. Extra seed cannot compensate for deep burial, a hard crust, poor timing, or a sprinkler that misses the patch. Dense over-seeding can also increase competition and disease pressure once the grass emerges.
Do not flood the lawn to “wake up” dormant seed. A dry seed may remain viable, but a waterlogged seedbed can remove oxygen, move seed downhill, and create a surface that dries into a crust afterward. Do not add starter fertilizer unless the label and a soil test or local recommendation support it; fertilizer is not a substitute for contact and moisture, and excessive nutrients can injure young turf.
Finally, do not apply weed control on autopilot. Newly seeded grass is vulnerable, and a product that is safe on established turf may delay or prevent germination. Read the current label, respect its reseeding interval, and avoid treating a problem you have not identified.
When to use sod or call a turf professional
Seed is usually the economical choice when the site can be prepared and you can protect it for several weeks. Sod becomes more sensible when you need immediate cover, the slope is eroding, the planting window is closing, or repeated seeding has failed because the underlying grade or drainage has not changed.
Bring in a turf professional or extension diagnostic service when water stands for days, the lawn has major shade or grade problems, an herbicide was applied recently and the label is unclear, or a large area has failed twice despite correct seed, depth, contact, and moisture. Professional help is most valuable before the next seeding, when soil testing, irrigation auditing, or site correction can prevent another expensive repeat.
Conclusion
Grass seed that is not germinating is usually giving you a clue, not a verdict. Check contact, depth, moisture, seedbed condition, seed quality, and timing in that order, then change one limiting condition before you reseed.
The best recovery plan is modest: use a species that fits the site, place it shallowly against firm soil, keep the surface evenly moist without runoff, and protect the patch until the seedlings root. If the same ground keeps failing, treat the pattern as a site problem and correct the soil, drainage, shade, irrigation, or herbicide conflict before spreading another bag.



