When to Take Down a Hummingbird Feeder in Fall
Learn when to take down a hummingbird feeder in fall, why it won’t delay migration, how to handle late visitors, and how to clean and store it safely.
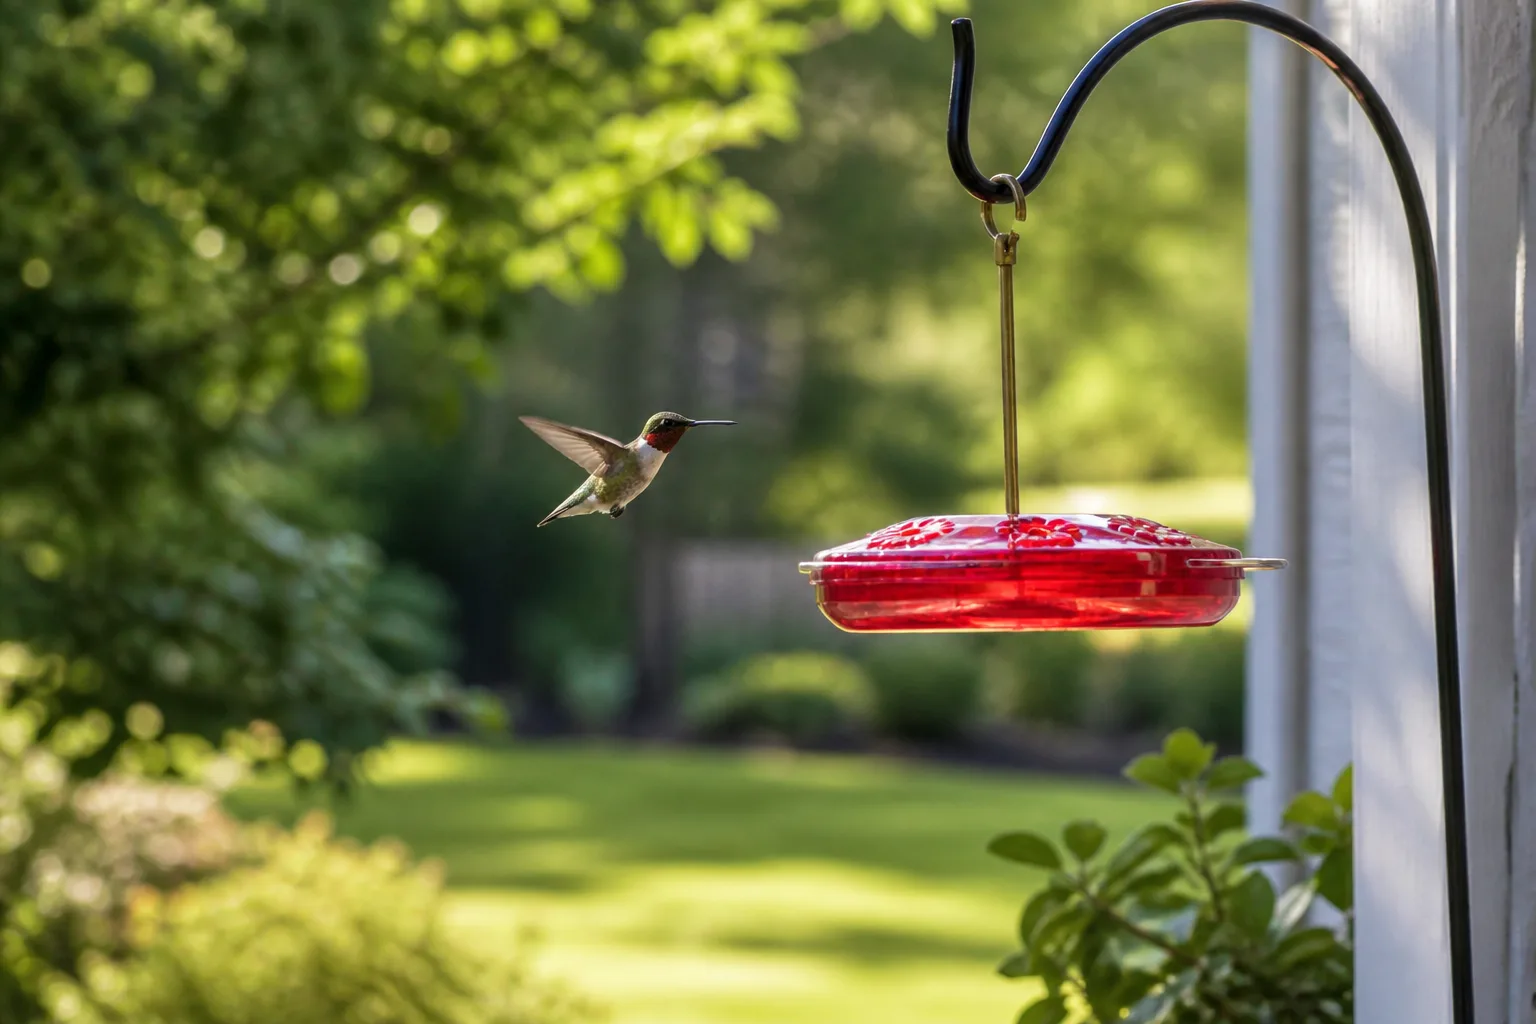
If your hummingbird feeder is still getting visits in September or October, do not take it down simply because summer is over. In most of North America, the useful rule is to keep the feeder clean and available while hummingbirds are using it, then wait about two weeks after your last confirmed sighting before removing it.
That is a more reliable decision than choosing a date from the calendar. The right timing changes with latitude, weather, migration routes, and the species in your yard. Along the Pacific Coast, the Gulf Coast, southern Arizona, and south Florida, a hummingbird feeder may need to stay up through winter—or year-round—because some hummingbirds live there or regularly overwinter.
The removal itself is not what protects migrating birds. Good feeder care does. Keep offering fresh nectar while birds are present, reduce the amount you make as activity slows, and clean the feeder thoroughly before you store it. That approach supports late travelers without leaving a reservoir of spoiled sugar water hanging in the yard.
The Short Answer: Follow the Birds, Not the Calendar
For a yard that hosts migratory hummingbirds only during the warm season, use this sequence:
- Keep the feeder filled while you are still seeing hummingbirds.
- Continue for roughly two weeks after the last confirmed visit.
- Remove it sooner only if you cannot keep the nectar fresh, the feeder is damaged, or severe weather makes the setup unsafe.
- Empty, clean, dry, inspect, and store it as soon as you take it down.
Audubon’s feeding guidance says feeders can remain available as long as hummingbirds are around, and that leaving a clean feeder out after local birds disappear may help a late migrant or an out-of-range visitor. A regional calendar can give you a starting estimate, but your own observations are the final check. (Audubon)
The two-week period is not a magic biological countdown. It is a practical buffer. Hummingbird activity can drop suddenly after a cold front, a storm, or the departure of the birds you notice most often, while a later migrant passes through unseen. Keeping a small, clean feeder available gives that bird an opportunity to refuel without asking you to maintain a full summer-sized reservoir.
Why a Feeder Does Not Delay Migration
The old fear is easy to understand: if a hummingbird finds dependable sugar water, perhaps it will stay instead of flying south. But a feeder is not a leash, and removing one does not switch migration on. Hummingbirds make seasonal movements in response to a combination of internal programming, changing day length, sunlight angle, weather, food availability, and breeding-cycle cues.
What Actually Triggers the Fall Journey
Shortening daylight is one of the most dependable seasonal signals. As the sun’s angle and day length change, migratory hummingbirds begin preparing for the next stage of their annual cycle. A red feeder may be a convenient refueling point, but it does not override those cues.
The American Bird Conservancy describes most North American hummingbirds as moving south after the breeding season, with decreasing daylight helping prompt the journey. The Ruby-throated Hummingbird’s route can include an extraordinary flight across the Gulf of Mexico; no backyard feeder determines whether that bird is ready to leave. (American Bird Conservancy)
That does not mean every hummingbird disappears on the same night. Adult males may leave before females and juveniles, and local weather can shift the pace of movement. Some birds that seem to be “your” hummingbirds may simply be the most visible residents of a larger stream of migrants using the area at different times.
Why Late Migrants Still Matter
The last bird you notice is not necessarily the last bird to pass through. Late-season visitors can include young birds, birds taking a different route, or individuals delayed by weather. A feeder that remains clean for a little longer can serve as a small stopover resource when natural flowers are fading.
This is why taking the feeder down immediately after the familiar birds vanish can be premature. A practical gardening perspective from Empress of Dirt also recommends waiting a couple of weeks without sightings before bringing a feeder in, while noting that the feeder should come down earlier if freezing conditions threaten fragile materials. (Empress of Dirt)
There is a limit to the benefit, however. A feeder with cloudy nectar, black specks, mold, insects, or a sticky leak is not a helpful stopover. If you cannot maintain it, storing a clean feeder is safer than leaving a contaminated one available.
Fall Feeder Timing by Region
Use regional windows as a planning tool, not as a command. Smithsonian’s National Zoo gives approximate feeder seasons of early May through late September in farther-north areas, early-to-mid April through late October in middle latitudes, and mid-February through early November along the Gulf Coast and other southern parts of the United States. It also makes the important point that leaving a clean feeder up longer can help stragglers. (Smithsonian’s National Zoo)
| Region | Reasonable starting point for fall planning | What should change your decision |
|---|---|---|
| Northern United States and Canada | Begin watching closely from late September into October | A confirmed late visit, a warm autumn, or a migration push after a storm |
| Middle latitudes | Many yards stay active into October | The last local sighting and whether nectar can stay fresh |
| Gulf Coast and southern border regions | Continue through late October or into November in many areas | Winter visitors, tropical storms, and local bird records |
| Pacific Coast | Do not assume a seasonal takedown | Resident Anna’s or Allen’s Hummingbirds may use a feeder through winter |
The middle-latitude line covers a huge range of climates, so “October” should not be treated as a universal answer. A yard in the mountains, a sheltered urban garden, and an exposed northern lawn can have very different activity even when they share a state.
Resident and Wintering Hummingbirds Change the Answer
The seasonal takedown rule is primarily for yards where hummingbirds leave for winter. It does not fit every species or location. Anna’s Hummingbirds are resident across much of the Pacific Coast and have expanded beyond their historical range; Allen’s and Costa’s Hummingbirds also have resident portions of their ranges. Several species can overwinter along the Gulf Coast, in southern Arizona, and in south Florida. (Audubon)
If a hummingbird is still visiting in November, December, or January, do not label it a straggler and automatically remove the feeder. Identify the bird if you can, check local observations, and assume that a winter user may need reliable food for as long as it remains in your area.
Cornell Lab notes that hummingbirds are remarkably tolerant of cold when food remains available, and that winter sightings of Rufous, Anna’s, Allen’s, and other species can occur well outside the places many people consider their normal range. (Cornell Lab of Ornithology)
Cold-weather feeding adds work. Nectar can freeze, the feeder can become brittle, and short winter days make missed refills more consequential. If you decide to continue, you need a plan for checking the feeder before dawn, replacing frozen nectar promptly, and using only a heating solution designed for bird-feeder use or bringing the feeder indoors overnight when that can be done safely and consistently.
Use the Last-Sighting Rule in Your Own Yard
When someone asks for the exact month to take down a hummingbird feeder, the most honest answer is that the birds provide a better signal than the calendar. Keep a simple note in your phone: the date, time, and species if known for each visit during the final weeks of the season.
Do not make the decision after one quiet afternoon. A feeder may be empty because a bird fed before you looked, because a cold front changed activity, or because a territorial bird chased another visitor away. Look at the pattern across several days, and use local Audubon, bird-club, or eBird observations to see whether hummingbird activity is continuing nearby.
The Three-Part Check Before You Take It Down
First, check the species and your location. If you are in a year-round range or you have an unfamiliar winter visitor, the normal seasonal schedule may not apply. If you are in a northern migratory-only region, the two-week buffer is generally more useful.
Second, check the last confirmed visit. Once you are confident that roughly 14 days have passed with no hummingbird visits, prepare to remove the feeder. Extend that buffer after a major storm, during an unusually warm fall, or whenever local reports show late migration is still active.
Third, check your maintenance capacity. A feeder is only beneficial when you can change and clean it on time. If you are leaving for a trip, the weather is keeping nectar warm, or the feeder is leaking and attracting insects, take it down, discard the nectar, and clean it instead of hoping the remaining solution will be fine.
If a hummingbird returns after you store the feeder, do not panic and do not assume you harmed it. Bring the clean feeder back, make a small batch of fresh nectar, and monitor the bird. In a region where winter visitors are plausible, leaving a clean feeder available may be the right long-term choice.
The Fall Nectar-Care Rule That Makes Feeding Safe
The feeder’s value depends less on the color of its base than on what is inside it and how long it has been there. Sugar water can ferment or grow mold, especially when the reservoir sits in direct sun or warm, still air. Fall temperatures are often cooler than summer temperatures, but a sunny afternoon can still shorten the safe interval.
Make Smaller Batches as Visits Taper
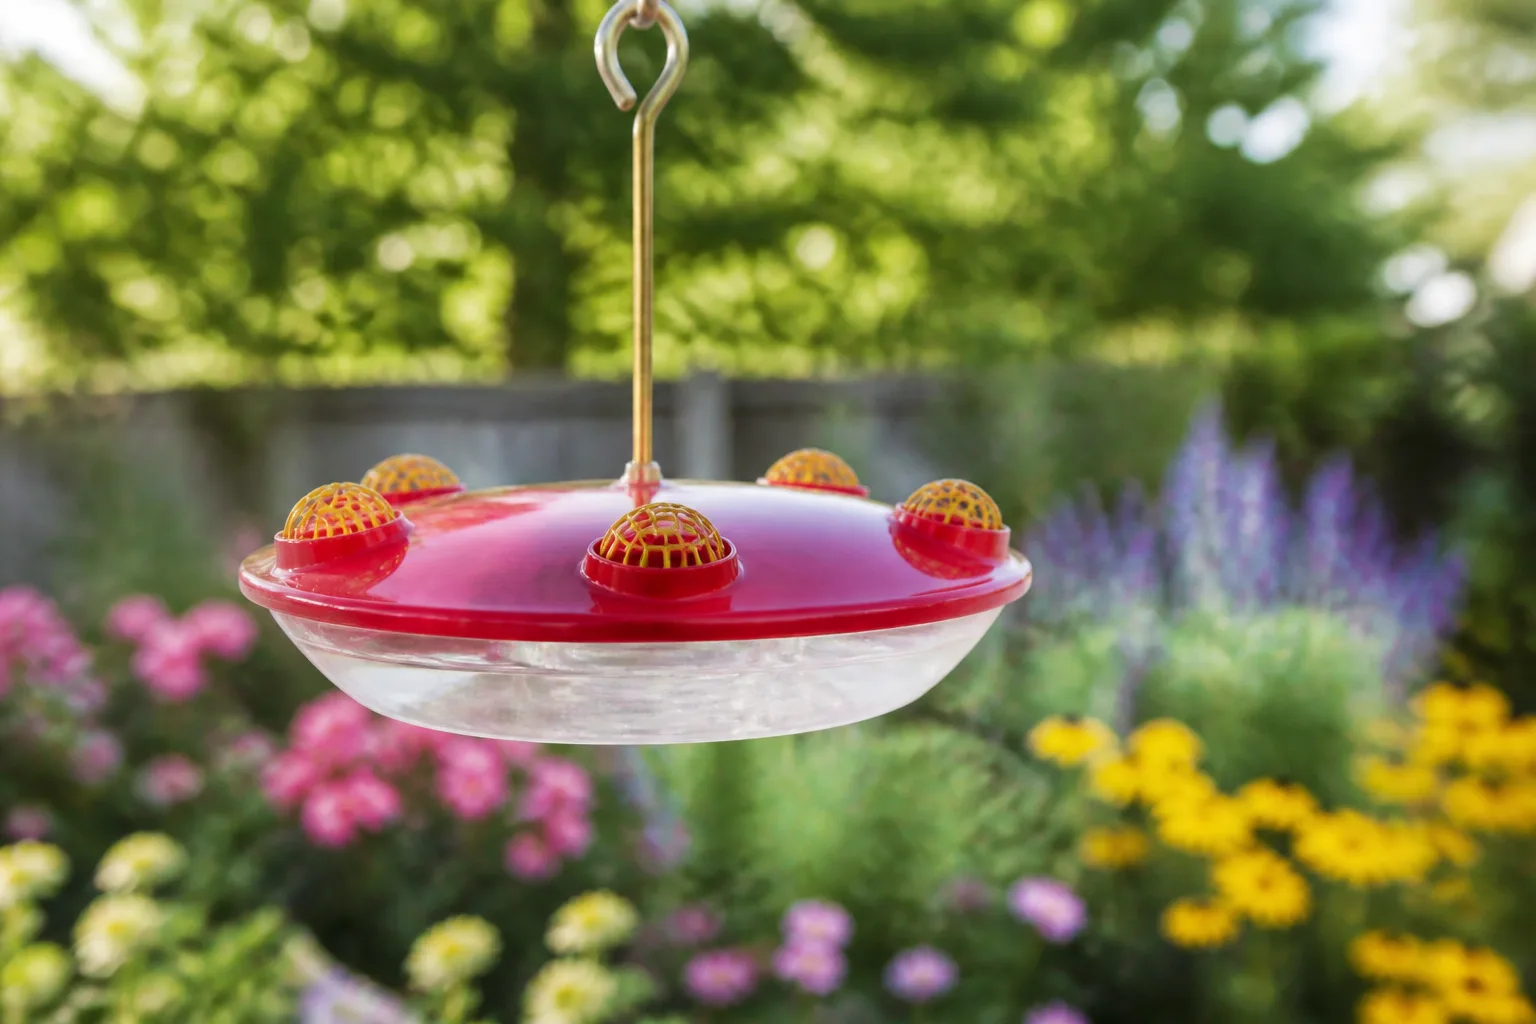
Use one part refined white sugar to four parts water. For a small batch, that is one-quarter cup of sugar mixed with one cup of water; scale the amounts up or down while keeping the ratio the same. Stir until the sugar dissolves, let the mixture cool, and fill only what the birds are likely to use before the next change.
Smithsonian’s National Zoo recommends plain refined white sugar and water, with no red dye. It also advises against honey, corn syrup, raw or unprocessed sugars, and powdered sugar that contains extra ingredients. Tap water is acceptable, and extra nectar can be refrigerated for no more than a week; discard it sooner if you see mold or a change in smell or appearance. (Smithsonian’s National Zoo)
Do not add red food coloring because the feeder itself can provide a visual cue, and the dye is unnecessary. Do not try to make fall nectar “stronger” by adding extra sugar. The birds need a consistent, simple solution—not a homemade concentrate.
Change Nectar Before It Spoils
There is no single interval that works in every yard. Audubon recommends emptying and cleaning every day or every other day in hot weather, about every three days in temperate weather, and twice a week in cooler weather. Smithsonian gives a similar temperature-based approach and says feeders should be changed and thoroughly cleaned every other day, with at least weekly changes in cooler spring or fall conditions. (Audubon)
For a conservative fall routine, inspect the feeder daily and change the nectar at least twice a week while birds are using it. Shorten that interval if the feeder receives direct afternoon sun, the weather turns warm, birds empty it quickly, or the nectar becomes cloudy, stringy, bubbly, discolored, or contaminated with insects.
Discard nectar whenever you clean the feeder. Never top off old solution with fresh solution because that leaves the older liquid and any developing contamination in the reservoir. A smaller fill is usually cheaper and safer than dumping a large batch after it spoils.
How to Clean and Sanitize the Feeder Before Storage
The final cleaning is more than a quick rinse. Nectar dries into seams, ports, gaskets, perches, and threads that can be easy to miss, and those hidden residues can seed mold when the feeder comes back out in spring.
Disassemble and Scrub Every Contact Surface
Start by emptying the feeder completely. Take off the reservoir, base, perches, bee guards, ant moat, and any removable gasket or feeding-port insert that the manufacturer allows you to remove. Photograph the assembled feeder first if the parts are easy to confuse.
Use hot water and a narrow bottle brush to scrub the reservoir and base. A small port brush or clean pipe cleaner can reach the feeding holes and threaded seams, but do not force a tool through a delicate port or enlarge the opening. Work around the underside of the base, where a thin film of sugar can remain even when the visible reservoir looks clean.
Cornell Lab’s feeder-care guidance recommends hot water and a bottle brush for hummingbird feeders, with cleaning at least weekly during use and more frequent changes in hot weather. It also warns against oil or sticky substances around feeding ports, since those can contaminate nectar and create another hazard for birds. (Cornell Lab of Ornithology)
For routine cleaning, avoid leaving dish soap or detergent residue behind. If your feeder’s manufacturer specifically approves soap or dishwasher cleaning, follow that material-specific instruction; otherwise, hot water, thorough brushing, and complete rinsing are a sensible default.
Rinse, Dry, and Inspect Before Packing It Away
After scrubbing, sanitize the feeder only with a method compatible with its materials. Cornell Lab describes a dilute bleach solution of no more than one part bleach to nine parts water as an option, while Audubon also discusses hot water with hydrogen peroxide or a weak vinegar solution. Choose one method, never mix cleaners, and follow the feeder maker’s instructions if they are more specific.
If you use diluted bleach, keep the solution away from children and pets, do not mix it with vinegar, ammonia, or other cleaners, and rinse every part thoroughly with clean water. Let the feeder air-dry completely before reassembly or storage; trapped moisture in a dark seam is exactly what you are trying to avoid.
Once dry, inspect the feeder in bright light. Replace cracked glass, cloudy plastic, loose fittings, hardened gaskets, split perches, clogged ports, or a lid that no longer seals. A feeder that leaks onto a pole or patio can attract ants and wasps next season, while a damaged reservoir can empty before you notice.
Store the Feeder Without Creating a Spring Problem
Store the clean, dry feeder disassembled in a protected place where glass cannot be knocked over and plastic will not be crushed. A clean lidded container can keep dust and insects out, but do not seal damp parts inside it. Keep the reservoir, base, brush, hanging hook, ant moat, and replacement parts together so the first spring refill does not become a search through several boxes.
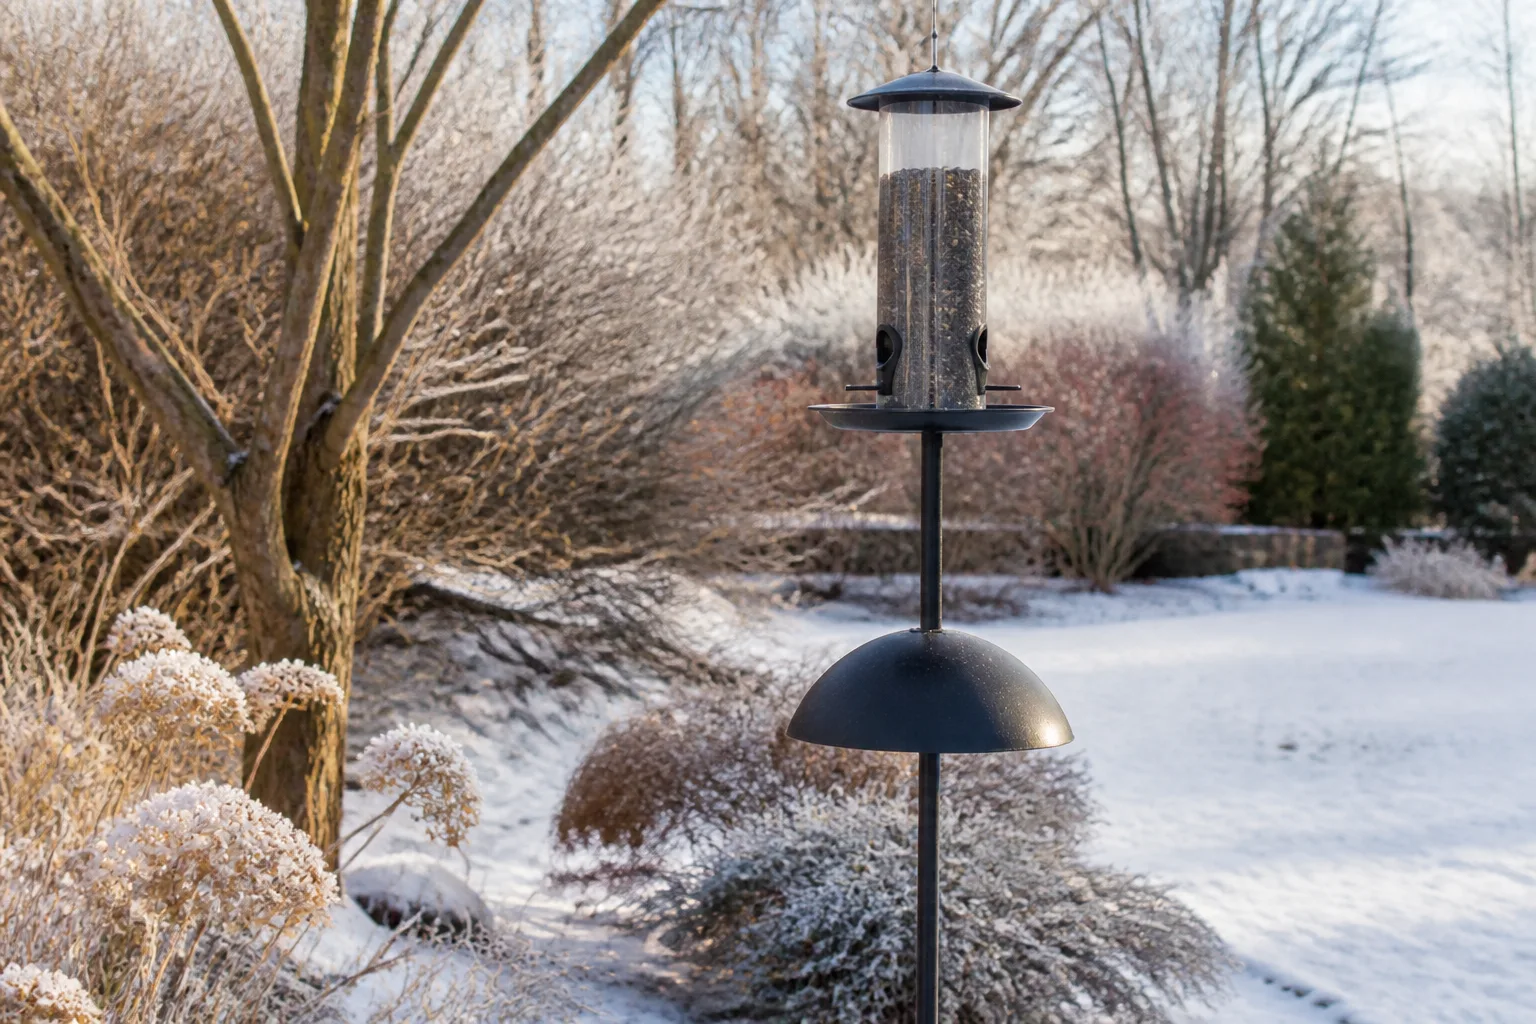
For glass feeders or delicate plastic, storage before a hard freeze is sensible even if a few late hummingbirds are still possible in your area. If you are in a migratory region and temperatures are forecast to plunge after the birds have clearly moved on, protecting the feeder from freeze-thaw damage is a reasonable trade-off. If an active winter visitor is using it, bird access comes first: adjust the care plan rather than abandoning the feeder with frozen or spoiled nectar.
Before spring use, wash the parts again instead of assuming winter storage kept them sterile. Check the hanging hardware, clean the ports, and make a fresh batch of nectar. This small reset prevents last year’s residue from becoming the first problem of the new season.
When to Put the Feeder Back Up in Spring
Put the feeder out before the hummingbirds normally return to your area, not after the first bird has already passed your window. Audubon recommends using local arrival patterns, a local Audubon center, chapter, or bird club when you are unsure of the timing. A useful general target is about one to two weeks before expected arrival.
Smithsonian’s regional guidelines put spring setup around mid-February in the Gulf Coast and southern parts of the United States, early-to-mid April in middle latitudes, and early May in farther-north areas. These are planning windows, not guarantees; warm spells, storms, and individual birds can shift the first sighting.
Start with a modest amount of nectar so the first batch does not sit untouched. Once activity increases, you can fill more often, but keep the same 1:4 ratio and temperature-based cleaning schedule. Early spring is also a good time to move a feeder out of direct sun, add a window-collision marker if it is near glass, and make sure cats cannot reach the feeding area.
Build a Better Hummingbird Stopover Beyond the Feeder
A feeder is supplemental food, not a complete hummingbird habitat. Hummingbirds also need flower nectar, tiny insects for protein, safe perches, cover, water, and a yard where pesticide exposure is minimized. American Bird Conservancy recommends building a feeder-free hummingbird habitat with native flowering plants and natural resources, while the practical placement guidance from Gardening Know How emphasizes a visible feeder, nearby cover, and protection from harsh sun. (American Bird Conservancy; Gardening Know How)
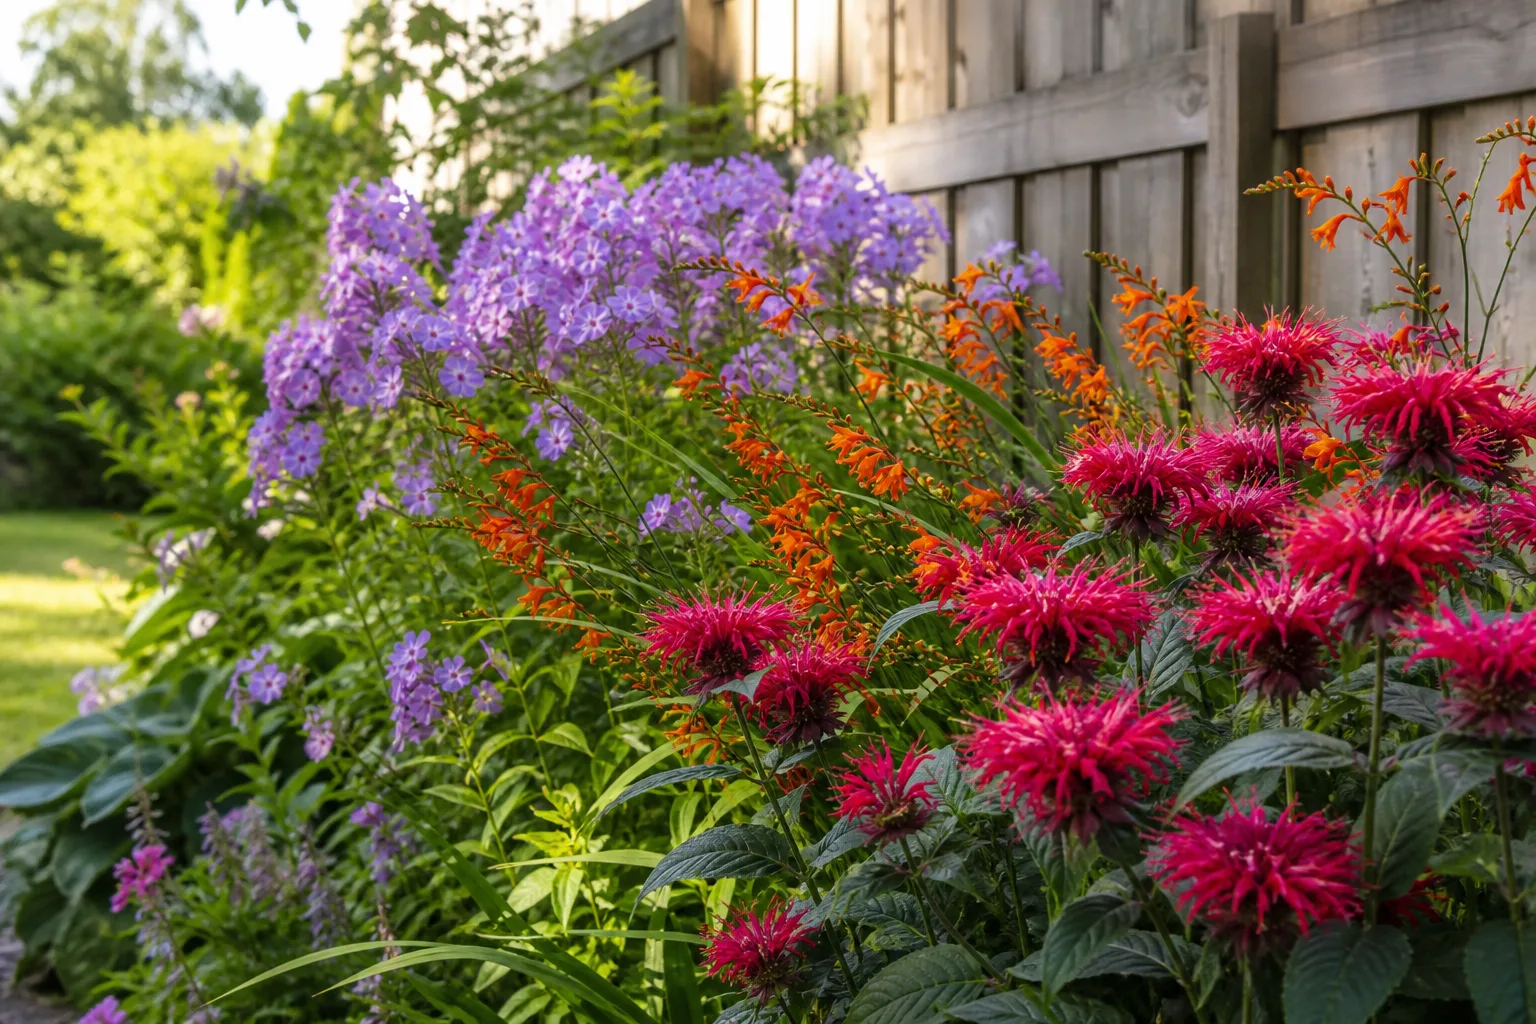
Keep late-blooming plants standing when they still provide food. Depending on your climate, bee balm, cardinal flower, salvia, coral honeysuckle, fuchsia, zinnia, and other nectar-rich flowers can bridge the gap between summer abundance and fall departure. Choose plants suited to your region rather than buying a red-flowered plant solely because it looks like a hummingbird sign.
Avoid spraying insecticides around a feeder or treating the whole yard for every small insect. A hummingbird that drinks sugar water still depends heavily on insects, and a garden with layered plants, leaf litter in appropriate places, and pesticide-free pockets can offer more meaningful support than a larger reservoir alone.
Finally, treat window safety as part of feeder placement. If a feeder is close to a window, use a position where a startled bird cannot build up much speed, or place it much farther away and apply visible collision deterrents to the glass. The best fall feeding setup is one that provides clean fuel without creating a new hazard.
Conclusion
For most migratory-only yards, the answer to when to take down a hummingbird feeder is not “the first day of fall” or a fixed date in September. Keep it clean and available while birds visit, then wait about two weeks after the last confirmed sighting. Extend the timeline when late migration is active, and ignore the seasonal takedown rule when resident or wintering hummingbirds are using the feeder.
As visits taper, make smaller batches of 1:4 sugar water, change it before it spoils, and never top off old nectar. When the feeder comes down, empty it, disassemble it, scrub every port and seam, sanitize with one compatible method, rinse thoroughly, dry completely, inspect for damage, and store it protected from freezing. Put it back up one to two weeks before expected spring arrivals, and pair it with flowers, insects, shelter, and safer windows so the feeder supports a living habitat instead of trying to replace one.



