How to Grow and Care for Calathea Warscewiczii Indoors
Learn Calathea warscewiczii care with practical guidance on light, watering, humidity, soil, repotting, propagation, and fixing brown or curled leaves.

Calathea warscewiczii—often sold as jungle velvet calathea—does best in a warm room with filtered light, a moisture-retentive but airy potting mix, and enough humidity to keep its broad leaf edges from drying. The reliable routine is straightforward: place it away from harsh sun and drafts, check the soil before watering, soak the root ball when the upper layer begins to dry, and let excess water drain fully. The plant is less forgiving of extremes than of small day-to-day variation.
There is a naming wrinkle worth knowing before you shop or look up care. The accepted botanical name is Goeppertia warszewiczii, while plant labels and many care pages continue to use Calathea warscewiczii. Those names refer to the same species; once you know that, you can compare instructions without assuming every spelling variation means a different plant.
Calathea warscewiczii care at a glance
| Care decision | Practical starting point |
|---|---|
| Light | Bright, indirect or filtered light; protect leaves from hot direct sun |
| Water | Water thoroughly when the top ½–1 inch of mix starts to dry; drain the pot |
| Soil | Moisture-retentive, airy houseplant mix with a drainage hole |
| Humidity | Aim for a steady moderate-to-high level; measure before adding equipment |
| Temperature | Keep comfortably warm and avoid cold windows, doors, and vents |
| Feeding | Diluted balanced fertilizer during active spring and summer growth |
| Repotting | Wait for a crowded root ball or degraded mix; increase pot size modestly |
| Propagation | Divide a mature, healthy clump while repotting in warm active growth |
Treat these as starting conditions, not an automatic schedule. A small pot in a bright, warm room dries faster than a large pot in a cool, dim corner, and a peat-heavy mix behaves differently from a coarse, airy one. If the plant is holding its foliage and producing healthy new leaves, there is no benefit in changing every condition to match a number from a chart.
Identify the plant behind the changing names
Kew’s Plants of the World Online accepts Goeppertia warszewiczii and places it in the Marantaceae, or prayer-plant family. The Royal Horticultural Society lists Calathea warscewiczii and Calathea picta among its synonyms and notes that Goeppertia species were previously included in Calathea. The familiar “Calathea” label remains common in shops, so both the old and current names are useful when searching. (Kew Plants of the World Online; RHS plant profile)
The plant is valued for dark green, softly textured leaves marked with lighter feather-like bands and burgundy undersides. It grows from a rhizomatous base into a clump rather than climbing, so a mature specimen needs lateral room as well as vertical clearance. Published size estimates vary with growing conditions and the specimen sold; judge the space it needs by its current spread and the number of shoots, not by expecting every indoor plant to hit a particular height. If the plant shares a home with pets, match its exact botanical name against a current safety listing: the ASPCA says its plant database is not all-inclusive, and chewing any plant material can upset a dog or cat’s stomach. Do not infer a species’ status from “prayer plant” alone; contact a veterinarian if an animal eats a significant amount or develops symptoms. (ASPCA toxic and non-toxic plant database)
As a member of the prayer-plant family, it may raise or reposition leaves between day and night. This normal movement is called nyctinasty. A leaf that lifts after dark is not a reliable sign that the pot needs water, and a still leaf is not a diagnosis. Look at the mix and overall growth before changing care. (Gardeners’ Path’s prayer-plant guide)
Give jungle velvet bright, filtered light
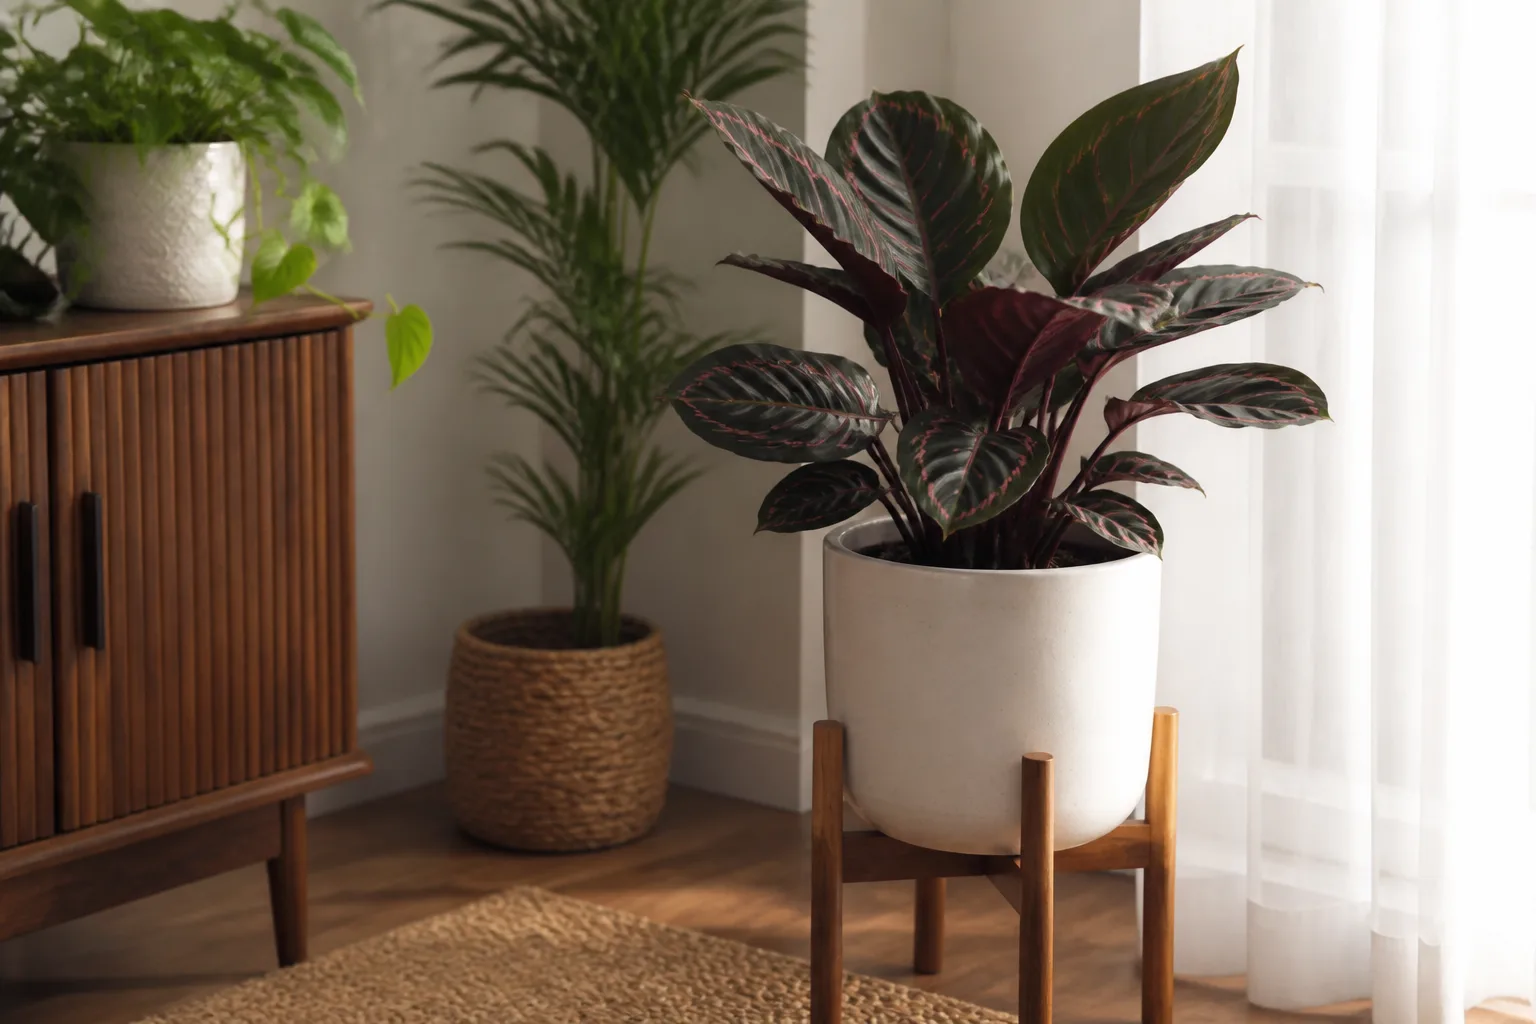
In the wild, this is a tropical understory plant, not a sun-baked windowsill specimen. Kew records its native range in Central America and describes it as a perennial of the wet tropical biome. Indoors, an east-facing window, a bright north-facing window, or a position set back from a brighter south or west window usually gives a useful balance: enough light for steady growth without direct midday sun striking the leaves. (Kew Plants of the World Online; Gardenia.net’s species profile)
A sheer curtain can soften a strong window, but do not assume “indirect” means a dark corner. If new leaves are noticeably smaller, stems lean toward the glass, and the potting mix stays wet for many days, the plant may be receiving too little usable light. Move it closer to a bright window gradually and watch the next few leaves rather than relocating it repeatedly.
Direct sun is easiest to spot when pale or tan patches appear on the window-facing foliage, particularly after a sudden move outdoors or into a stronger seasonal sun angle. Damage will not turn green again. Shift the plant out of the direct beam, keep its watering routine steady, and let new growth show whether the placement is better. A plant can tolerate lower light for a while, but weak light plus frequent watering is a poor combination because the mix dries slowly while roots still need oxygen.
Water by reading the potting mix
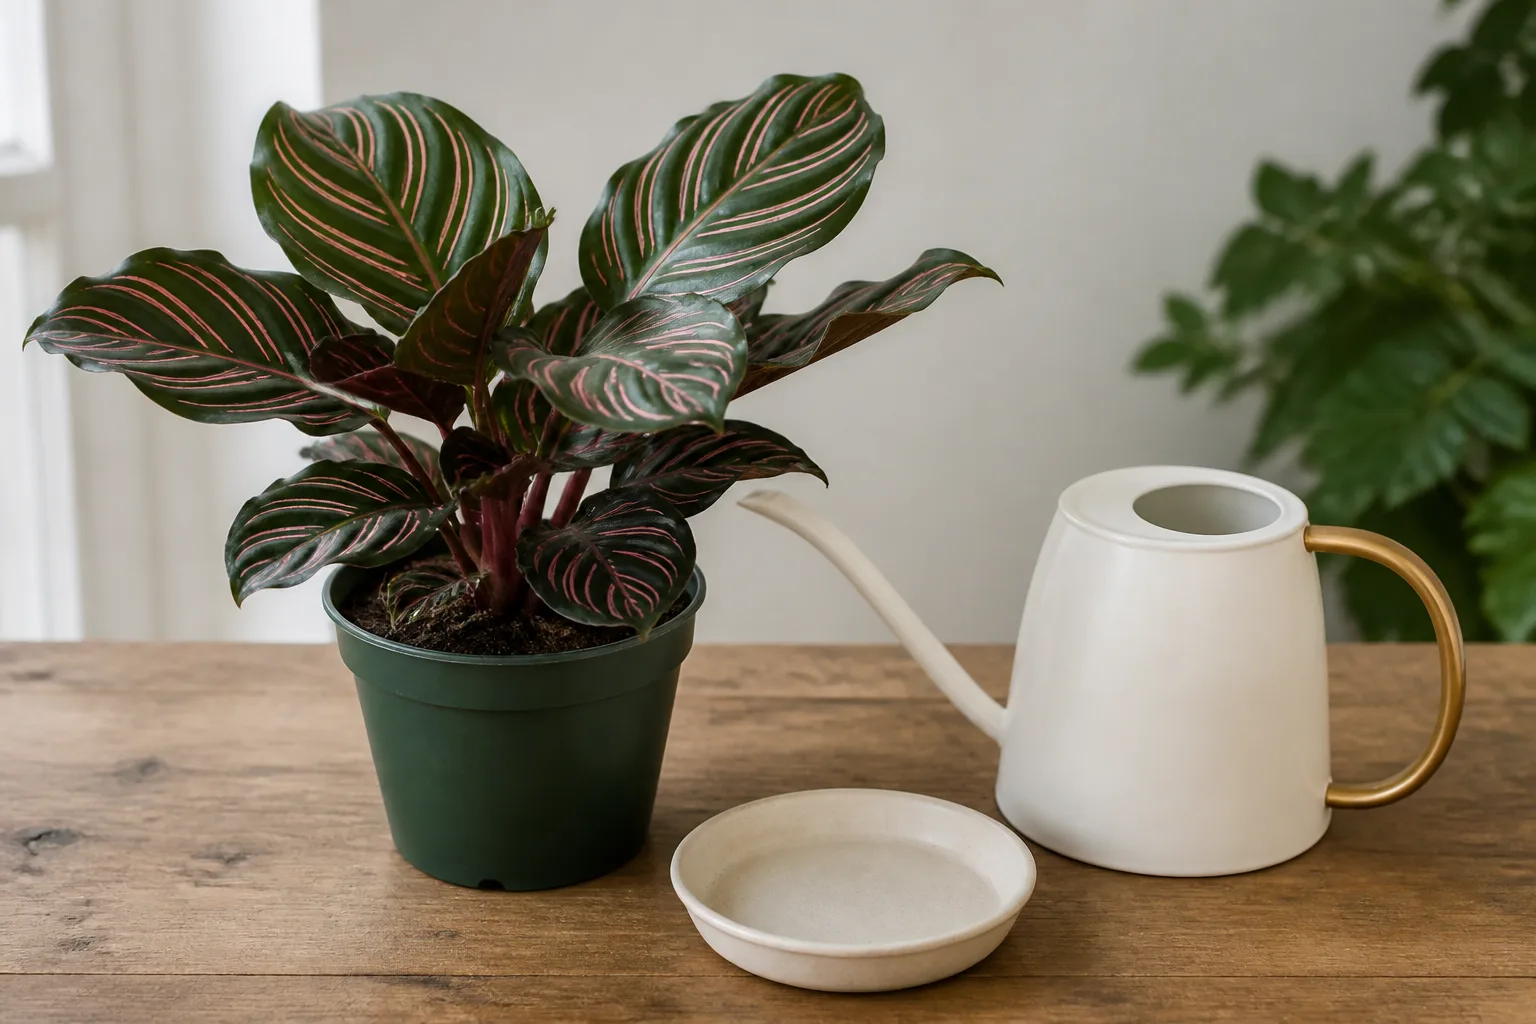
“Keep the soil moist” does not mean keep it saturated. The rhizomes and fine roots need access to both water and air; a pot that remains wet and heavy for days can lose that balance even if the plant is tropical. Check the top of the mix with a finger. When roughly the upper half-inch to inch begins to feel dry, water thoroughly until excess flows from the drainage holes, then empty the cachepot or saucer.
That sequence matters more than the exact day of the week. In warm, bright conditions, a small plant may need water several times a week; in a cool room or during winter slowdown, the same pot may take considerably longer. Lift the pot after a thorough watering to learn its “wet” weight, then compare it during later checks. If the surface looks dry but the pot is still heavy and cool, wait and check again instead of adding water automatically. Missouri Botanical Garden’s indoor-culture notes for the related Goeppertia roseopicta also call for moist but not wet soil and reduced winter watering; use that as helpful genus-level context, not a species-specific watering schedule. (Missouri Botanical Garden Plant Finder)
If water runs straight through while the center of the root ball stays dry, the mix may have shrunk from the pot wall or become water-repellent. Set the pot in a shallow basin for a short soak so the mix can rehydrate, then let it drain completely. Do not leave it standing in a full saucer as a routine; a one-time rescue soak is different from keeping roots submerged.
Winter does not require a drought. Shorter days and slower growth usually mean lower water use, so check less often and avoid watering while the mix remains damp below the surface. But do not let the entire root ball dry to dust either. The goal is a modest seasonal adjustment that preserves light moisture while giving the upper mix time to breathe.
Choose water with fewer dissolved minerals
Some growers notice repeated brown tips even when humidity and watering seem reasonable. Fluoride, salts, and other dissolved minerals can accumulate in the potting mix or mark sensitive foliage, but brown tips are not proof of a water problem by themselves. Check several causes together: air dryness, a root ball that alternates between bone-dry and soaked, fertilizer buildup, direct sun, and mineral-heavy tap water can overlap. (Gardenia.net’s species profile; Smart Garden Guide’s care profile)
If your tap water is hard or the damage keeps appearing on new leaves, try rainwater, distilled water, or a suitable low-mineral filtered source for several weeks. Use water at room temperature and pour it through the mix so excess salts can drain away. Leaving tap water out overnight may reduce some chlorine, but it does not remove fluoride or dissolved hardness minerals; do not rely on that trick if water quality is the suspected cause. Use the least complicated water source that improves new growth, not a costly setup without evidence.
Feeding can contribute to the same pattern. Fertilizer salts remain behind when a plant gets small sips of water instead of a thorough watering with drainage. If you see a pale crust on the soil or pot rim, pause fertilizer, flush the mix with clean water when it is due for watering, and empty the runoff. Do not flush a pot whose soil is already waterlogged; first let it drain and confirm the container has working holes.
Build a mix that stays damp but breathes
A good potting medium holds enough water that the roots do not dry abruptly, but it also leaves air spaces and drains freely. A dense garden soil or compacted all-purpose mix can stay wet too long indoors; an extremely coarse bark mix can dry before the plant’s fine roots can keep up. A useful starting blend is two parts quality indoor potting mix based on coco coir or peat and one part perlite or pumice. A small amount of fine orchid bark can add structure if the mix is dense, but large chunks may create dry pockets in a small pot.
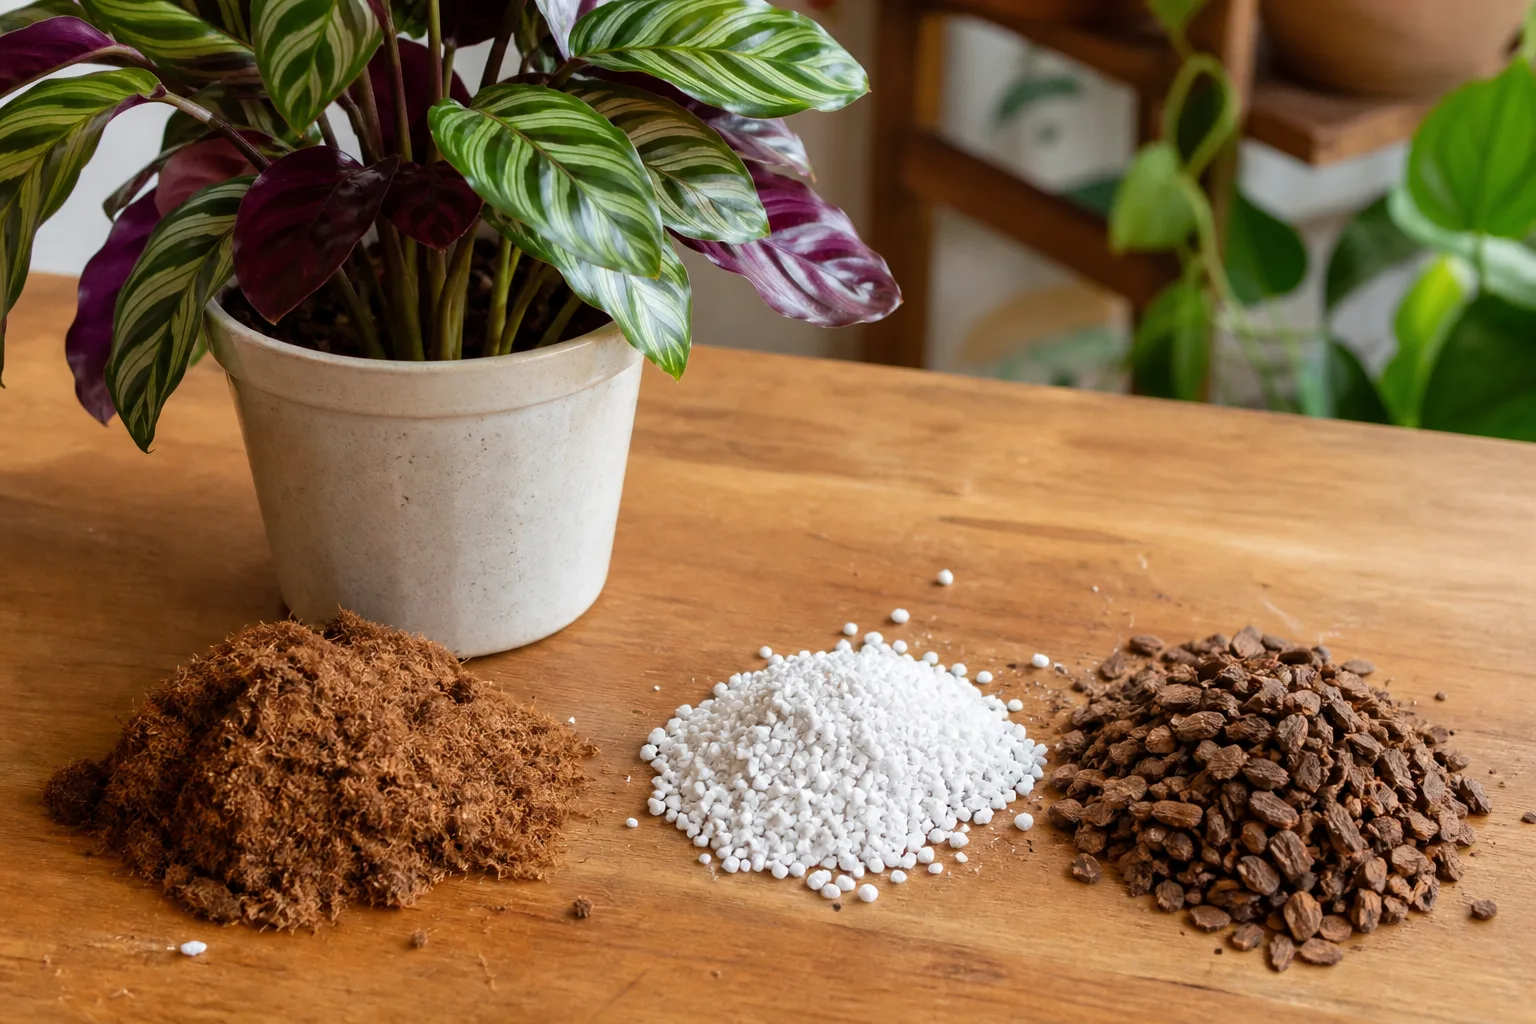
Before potting, moisten the dry ingredients so they do not pull water away from the root ball at the first watering. Fill around the roots loosely; pressing the mix down hard removes the pore space you are trying to preserve. The soil line should remain close to the original level, with the crown and leaf bases above the mix rather than buried.
Use a pot with at least one open drainage hole. Decorative cachepots are fine if the nursery pot can be lifted out for watering and the runoff poured away. A gravel layer at the bottom does not replace a drainage hole or improve a poorly draining mix. The height of a container and its soil texture affect how long the root zone stays wet, so keeping the pot only slightly larger than the root ball is a simple way to avoid a waterlogged outer ring of unused mix.
Keep temperatures steady and humidity measured
Warmth and stable conditions are more helpful than trying to recreate a rainforest in a living room. Smart Garden Guide gives 65–85°F (about 18–29°C) as a workable range for this species; in practice, a comfortable, steady room is more useful than chasing a precise set point. Avoid placing the pot beside a cold window in winter, an exterior door, or an air-conditioning outlet. A short cold draft can stress a tropical plant even when the room thermostat reads well, because the leaves next to the glass experience a different temperature from the middle of the room. (Smart Garden Guide’s care profile)
Humidity influences how quickly leaf margins lose water. Gardenia.net and Smart Garden Guide describe the plant as preferring humid conditions, with Smart Garden Guide using about 50% relative humidity or higher as a practical target. A small hygrometer lets you see whether the room is actually dry before you rearrange furniture or buy equipment. If humidity stays below that range and new leaves keep developing crisp margins, group plants together or use a clean room humidifier nearby. A stable moderate level is more useful than brief bursts of mist that disappear quickly. (Gardenia.net; Smart Garden Guide)
A pebble tray can slightly raise humidity just around a pot, but it does not transform a dry room into a greenhouse. If you use one, set the pot above the water line on the stones so the roots never sit in standing water. Misting is also temporary; repeated wet foliage in cool, stagnant air can encourage spotting. For a plant that is otherwise healthy and producing clean new leaves, a working humidifier or a modest change in placement may be unnecessary.
Adjust care as growth slows or resumes
The plant’s use of water changes through the year because light, heat, and growth change. In spring and summer, longer days often bring new leaves and a faster-drying root ball. Check the pot more often, feed only while it is actively growing, and keep it out of harsh afternoon sun as the sun angle changes.
In fall and winter, indoor heating can dry the air even while the mix dries more slowly in weaker light. Keep the plant away from radiators and cold glass, use a hygrometer if brown edges appear, and reduce watering only when the soil check shows that it is drying more slowly. Do not add water simply because the room feels dry: dry air and wet soil are different conditions, and solving one with the other can cause root problems.
If you move the plant outside for warm weather, choose a sheltered, shaded position and acclimate it over a week or two. A sudden move from indoor light to outdoor brightness can scorch leaves even under a tree. Bring it back inside before cool nights arrive; this is a tropical foliage plant rather than a cold-hardy patio perennial. Inspect both sides of the leaves and the pot before bringing it indoors so outdoor pests do not travel with it.
Feed lightly during active growth
Jungle velvet is grown for foliage and does not need heavy feeding. During active growth in spring and summer, apply a balanced liquid houseplant fertilizer at a diluted rate, following the product label and erring toward the lower end if the plant is small or the mix already contains fertilizer. Smart Garden Guide also recommends restrained, diluted feeding during the growing season. Water the soil first if it is dry; fertilizer should not be applied to a parched root ball. (Smart Garden Guide)
Do not continue feeding a plant that has stopped growing in dim winter conditions, has just been divided, or is showing unexplained root stress. Extra fertilizer will not fix low light, low humidity, or a damaged root system and can add more salts to the pot. If leaves look pale while the plant is actively making new growth and the roots are healthy, a gentle feeding routine is more sensible than doubling the concentration.
Prune and clean without stripping the clump
Routine pruning is limited to removing leaves that are fully yellow, brown, or collapsed. Use clean scissors and cut the leaf stalk close to the soil line without slicing into nearby shoots. A single old lower leaf can age out as new growth appears; judge the plant by the overall number and condition of leaves instead of reacting to each normal loss as a crisis.
Dust can dull the foliage and make it harder to spot pests. Wipe broad leaves with a soft damp cloth, supporting each leaf from underneath so the petiole does not crease. Avoid leaf-shine products, aggressive rubbing, or frequent sprays that leave water sitting in the crown. If only the outer brown margin looks untidy, trim the dead tissue with small clean scissors while following the leaf’s natural curve, but leave a thin brown border so you do not cut healthy green tissue.
Repot only when roots or mix give a reason
Repotting is useful when the root ball is genuinely crowded or the old medium has collapsed, not simply because a new plant came home in a nursery pot. Look for roots emerging from several drainage holes, a root mass circling the pot, water passing through too quickly because little soil remains, or a mix that stays dense and sour-smelling despite careful watering. One root at a drainage hole alone is not an emergency; roots naturally explore the pot.
Choose a container only one size larger, with drainage. Loosen the outer roots gently and preserve the central root ball as much as possible. Fill around it with fresh, pre-moistened mix at the same depth as before, water once to settle the medium, then allow it to drain. A huge pot is not a shortcut to a larger plant; its unused wet soil can remain saturated around a smaller root system.
Spring or early summer is usually the least disruptive time because warm conditions and increasing light support recovery. After repotting, return the plant to stable indirect light and hold fertilizer until new growth resumes. If the plant was recently purchased and is not in immediate danger from a saturated or pest-ridden mix, let it acclimate before disturbing the roots. Changing pot, location, water, and fertilizer all at once makes it difficult to identify which change helped or hurt.
Propagate a healthy plant by division
Division is the practical home method because this species grows as a clump from rhizomes. Wait until the parent plant is established, healthy, and large enough to have more than one rooted growing point. Do not divide a recently shipped, wilted, pest-infested, or root-damaged plant just to make more plants; each piece needs roots and foliage to recover.
When repotting during warm active growth, slide the plant from its pot and brush away only enough mix to see where separate crowns or shoots join the rhizome. Tease apart a naturally distinct section with several healthy leaves and its own roots. If the clump is tightly joined, use a sterile blade to make one clean cut rather than tearing through roots. Small divisions with no established roots may survive, but they are a gamble and recover more slowly.
Set each division at the same depth in a snug pot of lightly moist mix. Water enough to settle the medium, drain thoroughly, and keep the new plant warm in bright indirect light. Higher ambient humidity can help reduce water loss while roots re-establish, but do not seal a wet plant in stagnant air or keep the pot soggy. A clear bag can be used briefly as a loose humidity tent only if it does not touch wet leaves and is opened daily for airflow.
Some divisions pause before making new leaves. That does not automatically mean they have failed; the plant may be rebuilding roots first. Keep the mix lightly moist, avoid fertilizer until fresh growth appears, and resist tugging at the division to check for roots. If the piece turns mushy at the base or the mix smells sour, remove it and inspect for rot rather than giving it more water.
Troubleshoot from the root zone outward
A leaf symptom is evidence, not a diagnosis. Start by checking whether the pot is dry, evenly moist, or wet several inches down; then consider light, temperature, air humidity, water quality, fertilizer, and pests. Make one correction at a time when possible and judge the next leaves. Existing brown, sunburned, or yellow tissue usually will not return to its original color.
Brown tips and crisp margins
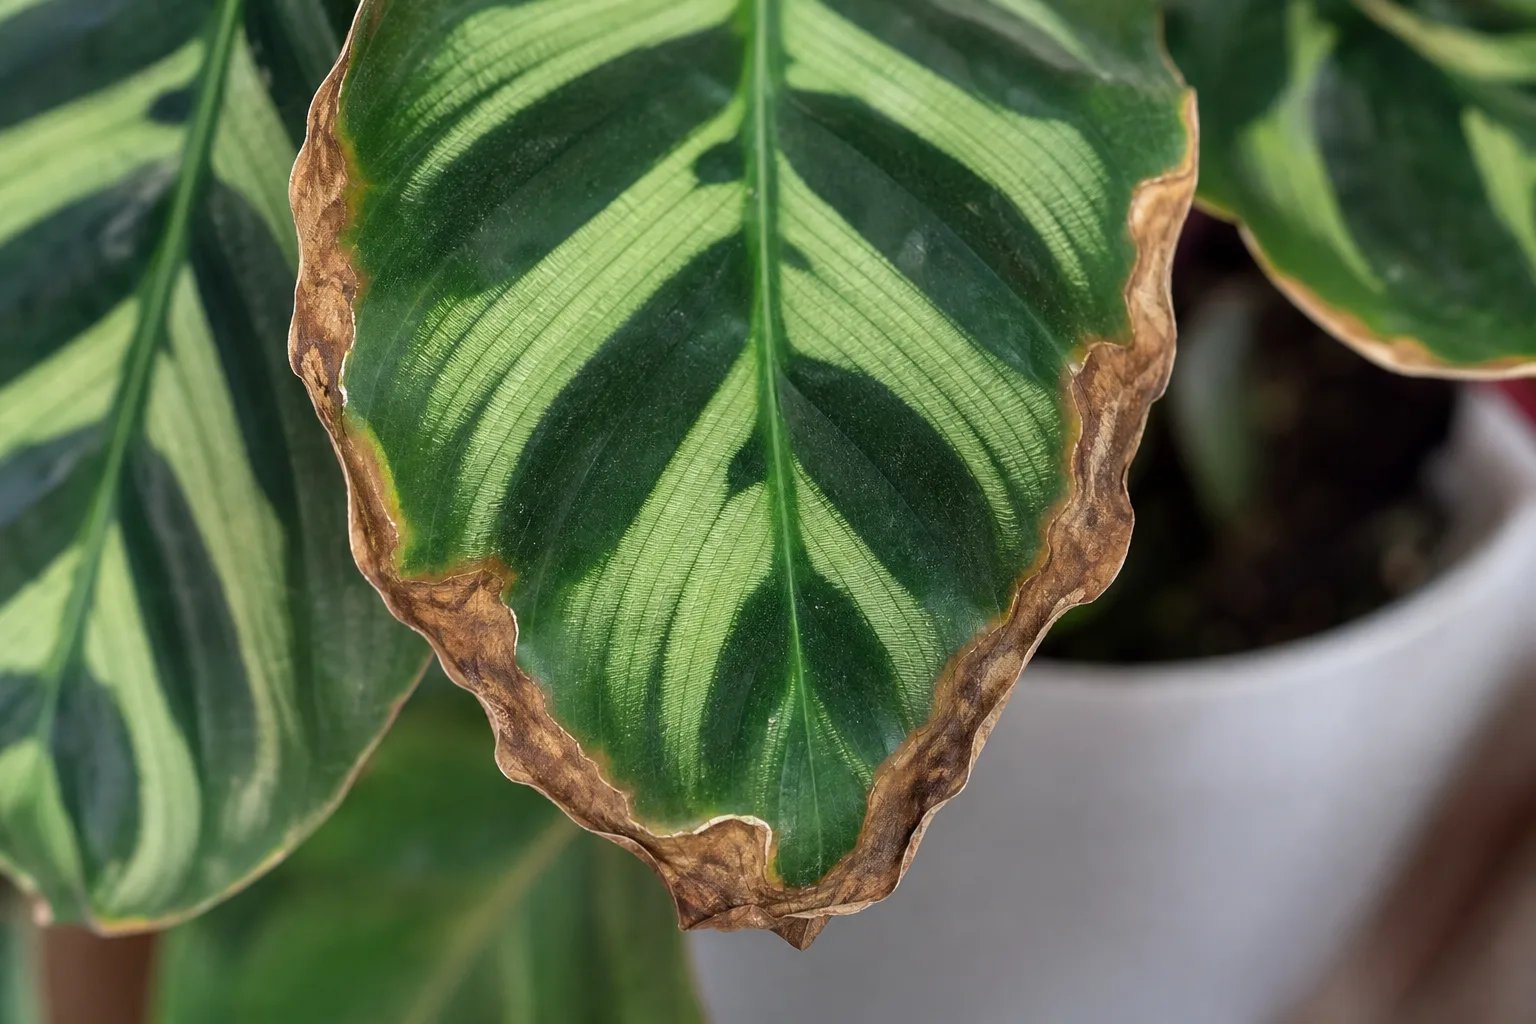
First distinguish a dry leaf edge from a soft, dark lesion. Crisp margins across several leaves often point to recurring dry air, uneven watering, accumulated salts, or a combination; a pale patch concentrated on the sunny side suggests direct exposure. Check humidity with a hygrometer, feel the mix below the surface, and inspect the rim for mineral crust before changing your watering routine.
If the room is dry, raise humidity steadily or move the plant away from a heating vent. If the mix dries completely between waterings, water thoroughly and adjust how often you check. If you suspect minerals, switch to a lower-mineral water source and pause fertilizer temporarily. Do not treat every brown tip with extra water: when the soil is already wet, that response can add root stress without fixing dry air or salt buildup.
Yellowing leaves and soggy soil
One older leaf turning yellow while the rest of the clump looks healthy can be ordinary aging. Several leaves yellowing together, especially when the mix stays wet and the pot feels heavy, call for a drainage check. Empty the saucer, confirm the holes are open, and wait until the upper layer begins to dry before watering again.
If the plant remains wilted while the soil is wet, do not assume it is thirsty. Slide the root ball out only if the wet condition persists or the base is soft, and look for roots that are dark, mushy, or foul-smelling. Firm cream or light-brown roots are more reassuring. Remove clearly rotted material with a clean blade and repot into fresh airy mix only when root damage is confirmed; unnecessary repotting can compound stress.
Curling leaves, droop, and normal night movement
Leaves that lift or fold after dark and relax again during the day are showing normal prayer-plant movement. Persistent curling during daylight is different: check for a dry root ball, cold draft, intense sun, or pests on the undersides. If the soil is bone-dry, water and let it drain. If it is wet, withhold water and inspect the roots and pot drainage before doing anything else.
Drooping can follow underwatering, root rot, or a recent move. The best first clue is still the mix: dry and light suggests a thorough watering; wet and heavy suggests impaired roots or low water use in dim conditions. If the soil is appropriately moist, review recent temperature changes and examine new growth for stippling, webbing, or distorted leaves. Avoid giving water and fertilizer together as a general “recovery” treatment.
Check for pests before treating
Spider mites are a common concern on indoor calatheas, especially in warm, dry rooms. Look for fine webbing, pale stippling, and tiny moving dots on leaf undersides rather than relying on a single curled leaf. Scale may appear as fixed bumps on stems or leaf veins, and mealybugs look like white cottony clusters in protected creases. Isolate a suspect plant while you inspect nearby houseplants.
For a small infestation, wipe or rinse the foliage and remove heavily affected leaves, then recheck every few days. If you use insecticidal soap or horticultural oil, confirm the label permits use on houseplants and test a small area first; velvety foliage can be sensitive to residue. Apply only as directed, away from direct sun, and repeat at the label interval because eggs may hatch after the first treatment. Persistent damage, sticky honeydew, or webbing warrants a closer inspection before escalating treatment.
Conclusion
Calathea warscewiczii is easiest to keep when its root zone stays lightly moist and airy, its leaves receive filtered light, and the room avoids sharp swings in warmth and humidity. Check the pot rather than watering by date, use a container that drains, and make one measured adjustment when a symptom appears. This approach prevents the common cycle of brown edges, panic watering, and soggy roots.
The plant’s current name, Goeppertia warszewiczii, may look unfamiliar on a label, but it is the same jungle velvet houseplant growers have long called calathea. Give it stable conditions, wait to repot until the roots or mix justify the disturbance, and divide only a healthy mature clump. New leaves are the best measure of whether your care is working.