How to Make Pumpkins Last Longer
A pumpkin’s stem is not a freshness switch. Find out how to choose, cure, store, and display one, and what changes once you carve it.
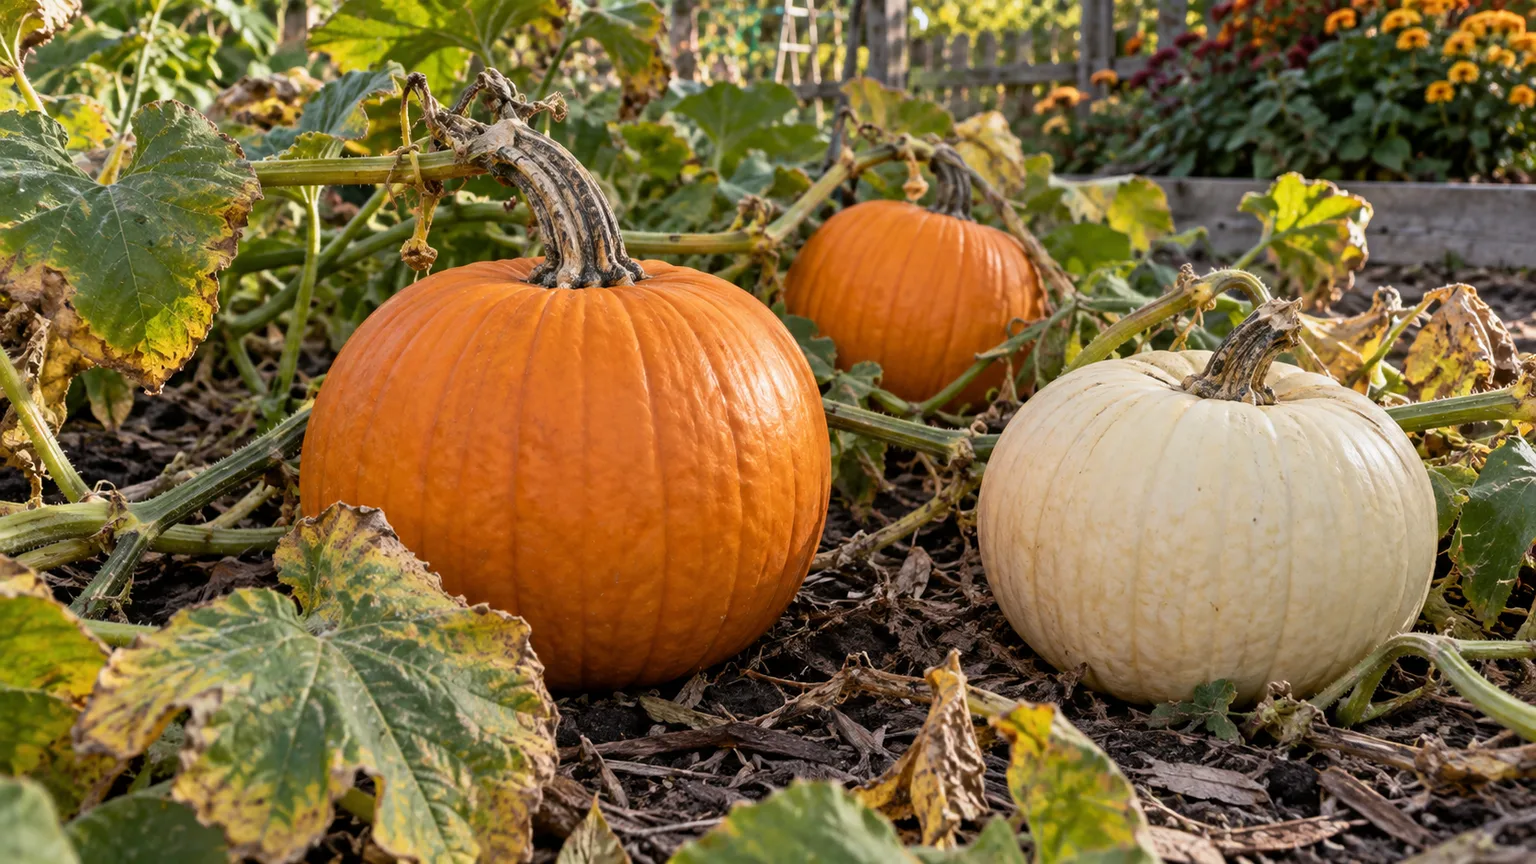
A pumpkin can look perfect at the patch and still collapse on the porch before Halloween. The way you cut it matters, but so do the pumpkin’s original condition, how it is handled, the weather around it, and how long it sits after carving.
If you want a whole pumpkin to decorate with, leave its crown—the stem and the rind immediately around it—intact until you are ready to carve. That avoids an unnecessary cut and keeps the stem from being torn off during prep. It is a sensible precaution, not a promise of extra weeks: after harvest, the stem does not keep feeding the fruit, and an intact stem cannot compensate for heat, bruising, trapped moisture, or decay already inside the rind.
The short answer: keep the crown intact until carving day
For a pumpkin you plan to display whole, do not cut a lid around the stem just to inspect or clean the inside. The cavity is not needed while the pumpkin is uncarved, and removing a cap creates an exposed edge where the rind and flesh have been cut. Keeping the pumpkin whole preserves its natural shell and leaves fewer fresh surfaces to dry out or collect moisture.
If you are carving, the bottom is a useful alternative access point. Better Homes & Gardens describes it as a convenient way to scoop out a jack-o’-lantern without a separate lid that can shrink or fall inward; it does not establish that a bottom cut makes a carved pumpkin last a guaranteed number of days longer. The useful rule is simpler: wait to open the pumpkin until the display date is close, then make one clean opening that suits your light and design.
What the stem does—and what it does not do
The stem is part of the pumpkin’s natural crown, and leaving it attached avoids cutting or tearing that area. Alabama Cooperative Extension System advises retaining a long stem at harvest, while Washington State University Extension stresses careful postharvest handling and dry, ventilated storage. Handle the fruit under its body instead of lifting by the stalk.
The common explanation that a picked pumpkin needs its stem to keep receiving nutrients is wrong. Once it is detached from the vine, it no longer receives water or sugars through that stalk. A retained, dry stem is useful as an intact structural feature and a clue about maturity; the pumpkin’s ability to last still depends on the rind, any existing injury, temperature, moisture, and airflow.
This distinction matters when shopping. A pumpkin with a short or missing stem is not automatically rotten, and a long stem is not proof that the pumpkin is fresh inside. Inspect the whole fruit and treat the crown as one part of a broader condition check, not a freshness switch.
Choose a pumpkin with a better chance of lasting
Start with a pumpkin that feels firm and heavy for its size, has an intact rind, and sits steadily on its base. Look at more than the bright side facing outward: turn it carefully and check the underside, grooves, and the area where the stem meets the fruit. A sunken patch, crack, wet spot, or soft area is more important than a cosmetic color variation.
For a homegrown pumpkin intended for storage, maturity matters. Alabama Cooperative Extension notes that mature pumpkins store better than immature fruit and recommends a rind that resists a thumbnail press; a fully colored, dry, firm stem is another useful cue. An early-dead vine does not necessarily mean the fruit ripened, so do not use the vine’s condition alone as a harvest test.
Check the rind, crown, and underside
Gently press the rind with a fingernail in an inconspicuous spot. A mature shell should resist a light press; do not drive your nail into it, because that test would make the very wound you want to avoid. Examine the crown for cracks, a broken-off stalk, dampness, or softness, then check the base where the pumpkin may have rested in wet soil.
Skip any pumpkin that leaks, smells sour, has spreading mold, or gives way under gentle pressure. A small dry scrape on an otherwise firm store pumpkin is less concerning than a bruise that sinks inward. If two pumpkins look equally attractive, choose the one with the most intact, dry rind and set it down gently rather than judging by stem length alone.
Handle and move it without creating new damage
Pumpkin skin is protective, but a hard bump can bruise the flesh beneath it without leaving a dramatic mark at first. Lift from the base with both hands, keep the pumpkin close to your body, and set it down on a dry, stable surface. Do not roll it down steps, stack heavy objects on it, or use the stem as a handle.
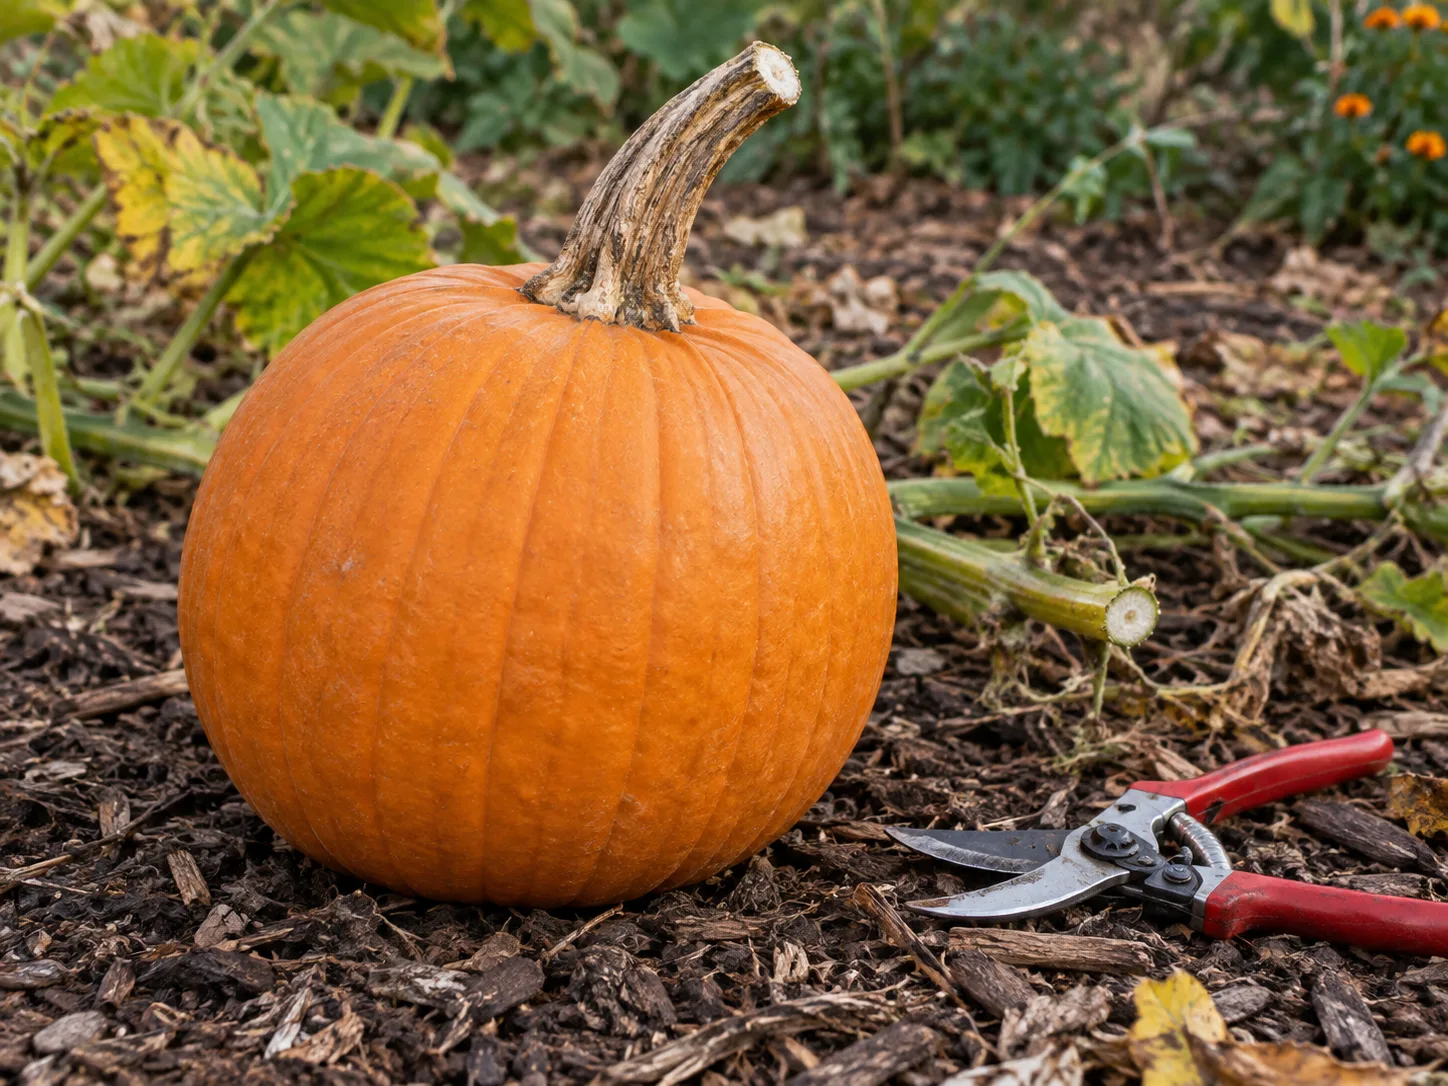
If you are harvesting from a vine, cut rather than twist or pull. Leave several inches of stem attached, use a clean, sharp pruner or knife, and carry the pumpkin by its body. A long stem can help preserve the crown at harvest, but it can also break under weight, so it should not bear the fruit’s load. Washington State University Extension emphasizes spacing stored pumpkins so they do not touch and keeping air moving around them.
After a rainy day, dry surface water with a clean cloth and let the pumpkin air-dry in shade before placing it back on display. Avoid leaving water pooled around the stem or in deep ribs; Martha Stewart’s gardening article quotes a giant-pumpkin grower on draining water from the concave area where the stem meets the fruit. A dry surface is useful because persistent moisture can encourage decay, not because wiping creates a seal.
When you are ready to carve, consider the bottom opening
If the goal is a jack-o’-lantern, a bottom opening can leave the crown and stem visually intact and can make it easier to lift the pumpkin onto a light. Cut on a stable surface with the blade directed away from your body, make a manageable opening, then scrape out stringy pulp and seeds. Better Homes & Gardens recommends a notch in the cut section to make it easier to remove; its guidance is a practical carving method, not a comparison trial of pumpkin shelf life.
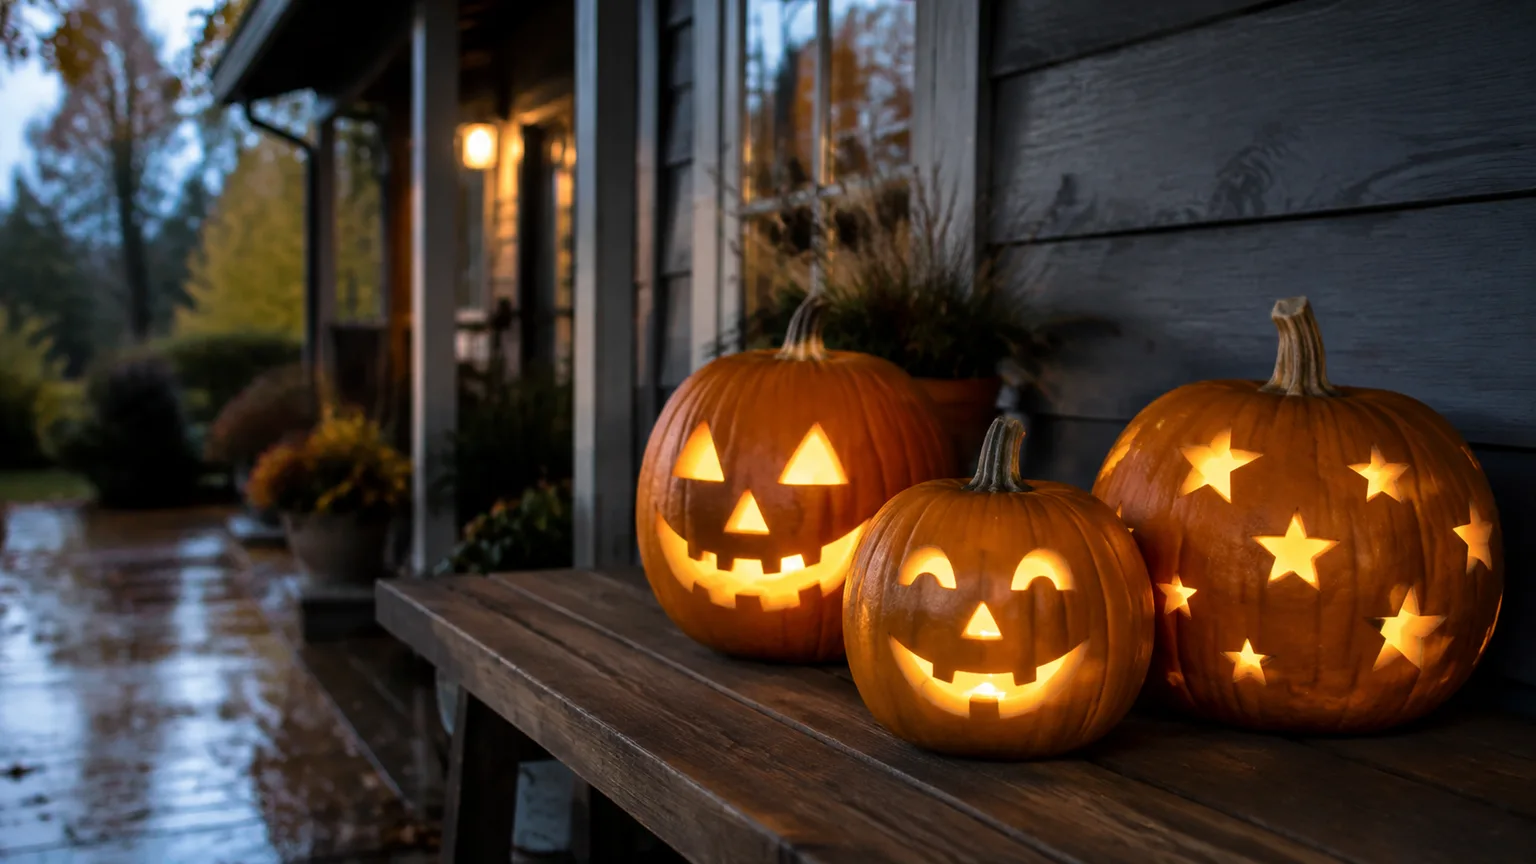
Keep the cut piece or opening from resting in a puddle or wet soil. If the bottom opening will sit against a step, place the pumpkin on a clean, dry, level support that leaves the cut edge off standing water. Use a battery-powered LED light for display; an open flame adds heat inside the cavity and creates a fire risk, while a cooler light avoids that added heat source.
Why the opening location is only part of the decision
The bottom-cut approach can prevent a separate stem lid from shrinking and dropping into the cavity, and it makes cleaning and lighting convenient. But once you carve, the pumpkin has exposed flesh and a larger surface area vulnerable to drying and microbial growth. Changing the location of one opening does not restore the rind or turn a carved pumpkin into a whole one.
No directly comparative study was located showing that two otherwise identical pumpkins, carved at the top and bottom under the same conditions, last a predictable number of days apart. So choose the bottom for a practical design reason, not because it is guaranteed to preserve the pumpkin. If longevity is the main goal, decorate the pumpkin without cutting it and postpone carving.
Store a whole pumpkin in dry, steady conditions
For short seasonal display, aim for shade, a dry surface, and air circulation. Keep the pumpkin out of direct sun and away from a warm door, heat vent, or enclosed plastic cover. Avoid placing it directly on damp soil, wet concrete, or a saucer that holds water; use a dry board or stand that keeps it stable and lets air move underneath.
For longer storage of a mature, uncarved pumpkin, temperature is more measurable than a trick. Alabama Cooperative Extension lists about 50 to 55°F with moderate relative humidity for pumpkins and estimates two to three months under appropriate storage conditions. Those are controlled postharvest conditions—not a forecast for every decorative pumpkin on a warm porch, and not a guarantee for fruit that was bruised or immature.
Use this quick decision order when a pumpkin comes home. First decide whether it will remain whole or be carved; if whole, do not cut an inspection hole. Next look for hidden damage, then choose the coolest dry location available that will not freeze, and put the pumpkin where you can inspect its base without moving a stack. If it has to sit outdoors, plan to check it after rain and during warm spells rather than assuming that a one-time setup will protect it for the season.
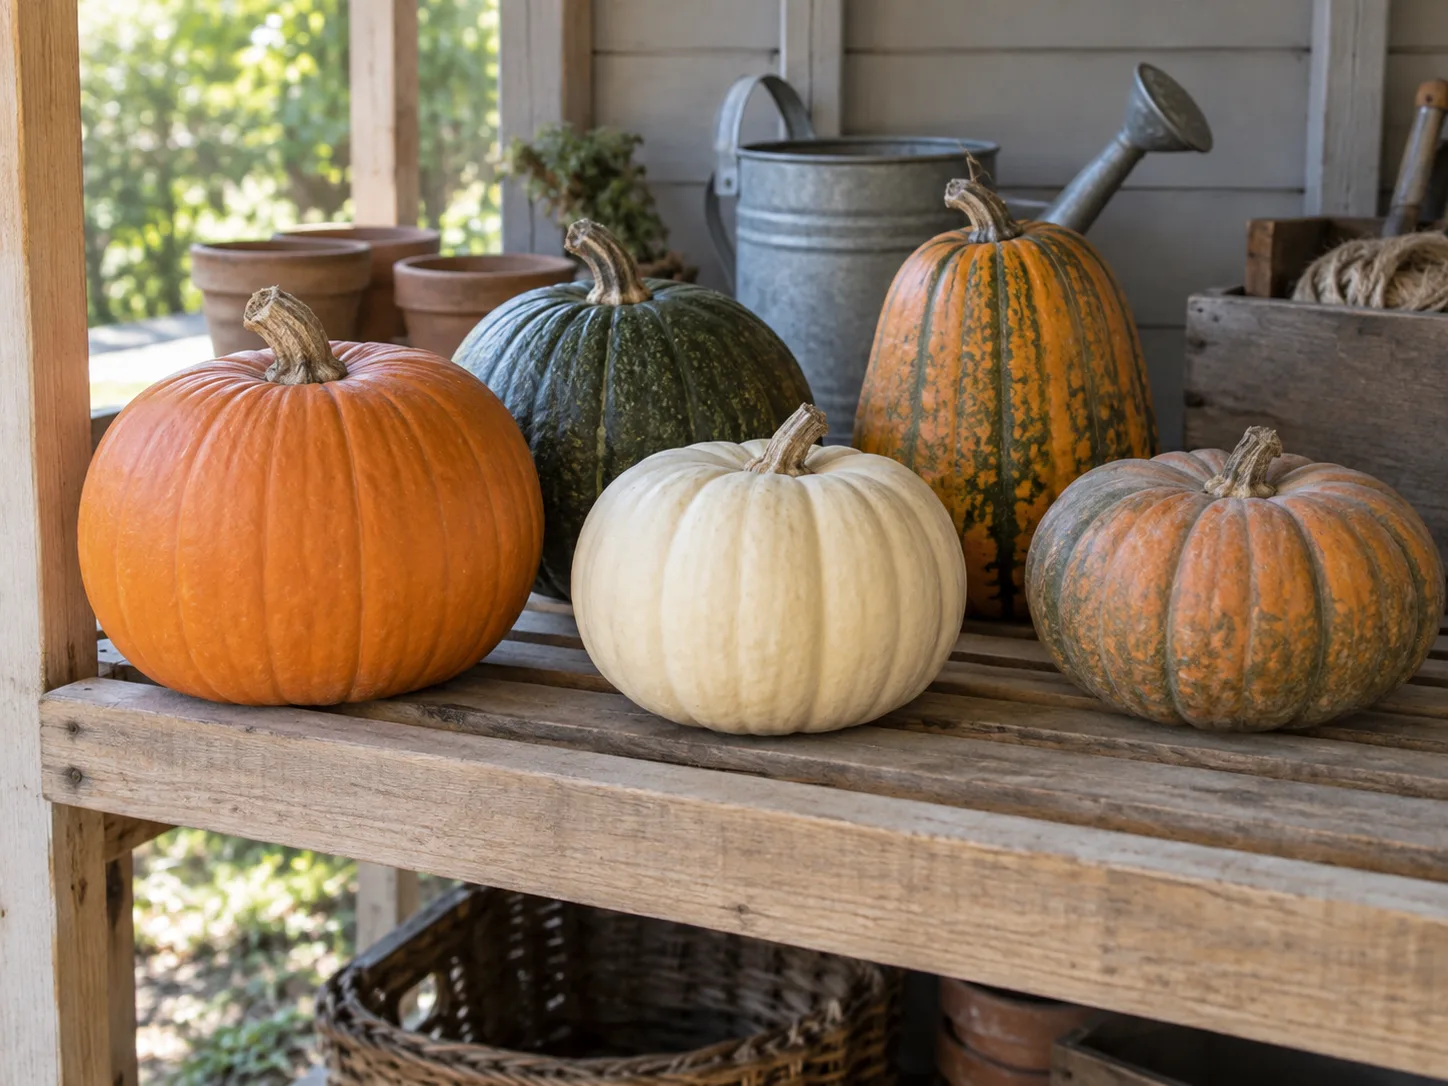
Set pumpkins in a single layer with a gap between each one, ideally on a shelf, rack, or dry board rather than a damp floor. Check them regularly and remove any fruit that softens or leaks so it cannot contaminate nearby surfaces. Do not seal pumpkins in a bag: trapped moisture and stagnant air work against the dry, ventilated conditions recommended by extension guidance.
When curing helps a homegrown pumpkin
Curing is a specific postharvest step for mature, intact pumpkins grown in a garden—not a miracle treatment for a cut, bruised, or already soft pumpkin. Washington State University Extension gives a home-grown curing protocol of about 80 to 85°F and 80 percent relative humidity for 10 days, followed by cool, dry storage at roughly 50 to 55°F. Alabama Cooperative Extension gives a similar warm curing range and about 10 days, then cooler storage.
Those warm and humid numbers require a ventilated, controlled space. Do not place a pumpkin in direct hot sun or a still, damp corner and assume that counts as curing. If you cannot keep the fruit dry on the surface with air circulating, skip the formal cure and focus on cool, dry storage; a practical home display pumpkin does not need an improvised humid chamber.
This technique can harden the rind and help minor harvest wounds heal, which supports storage life for sound produce. It cannot repair a deep cut, reverse a soft spot, or make every pumpkin suitable for months of storage. Pumpkins bought for decoration may already have been handled or stored in unknown conditions, so use their visible condition and intended use to set expectations.
Display an uncarved pumpkin outdoors or indoors
An uncarved pumpkin on a porch faces weather that a basement-stored pumpkin does not. The basic plan is to reduce large temperature and moisture swings: choose a sheltered spot, keep it shaded during hot afternoons, and bring it under cover if heavy rain is expected. In warm climates, a cool indoor display area can be kinder than a sunny stoop; in colder areas, avoid a surface that freezes solid or an exposed location where frost and thaw repeat.
Outdoors: limit heat, rain, and ground contact
Put the pumpkin where it will not bake in direct sun or sit in runoff from a roof or planter. After rain, check the grooves and stem cavity, wipe away pooled water, and let the rind dry. Lift it onto a dry wooden board or other stable support rather than leaving the base pressed against wet ground.
Give each pumpkin breathing room, especially in a stacked display. If one begins to soften, separate it from the others and clean the surface beneath it. A decorative pile can look charming, but it traps moisture at contact points and makes the base hard to inspect, so use a single layer if keeping them sound is the priority.
Indoors: avoid warm, damp pockets
Inside, keep whole pumpkins away from heating vents, fireplaces, sunny windows, and places where condensation forms. A dry entryway or cool room with gentle air movement is generally a better display location than a warm kitchen counter beside a stove or dishwasher. Rotate the pumpkin carefully every few days to inspect its underside, then return it to a dry surface.
Do not wrap an intact pumpkin in plastic to “lock in” freshness. That traps moisture against the rind and hides early warning signs. A breathable display and regular inspection are more useful than trying to create a sealed microclimate.
Care changes once you carve it
Carving changes the problem: the pumpkin is no longer protected by an unbroken rind. Make the design close to the day you plan to display it, remove the wet seeds and stringy pulp, wipe away loose debris, and keep the exposed surfaces clean and dry. A carved pumpkin left in warm weather or sun can deteriorate quickly even if its stem is still attached.
When it is not being displayed, move the jack-o’-lantern to a cool, dry place that does not freeze. Keep it off damp ground and out of rain, and empty any water that collects in the cavity. If a carved pumpkin has a removable base, let the cut surfaces dry before setting it back on a clean support, but do not assume that a coating or spray will make it last for weeks.
Some gardening and home publications suggest vinegar washes or petroleum jelly on cut edges. Such treatments are not a substitute for timing, cleanliness, cool conditions, and a firm pumpkin, and they cannot reverse decay. If you choose to use any treatment, check its ingredients and intended use; do not assume that a treated display pumpkin remains suitable to eat or safe for wildlife to nibble.
If you use a product or home mixture on an already carved pumpkin, treat it as decoration afterward. Keep it away from pets and children who may touch or taste the cut surfaces, and do not put it into a recipe later because its display history and applied substances may be unknown. For an edible harvest, leave one pumpkin untreated and uncarved, store it separately, and handle it as food rather than porch décor.
Check for decay and decide what to do
Inspect the crown, base, and every side for a soft or sunken patch, leaking liquid, spreading mold, a sour odor, or a skin that collapses when gently pressed. A small surface scuff on a firm pumpkin is not the same as wet, sinking tissue. Check the support beneath it too, because moisture may collect out of sight where the pumpkin touches a step or shelf.
If a whole pumpkin has one small dry blemish but remains firm and odor-free, keep it dry, separate it from other pumpkins, and monitor the spot. If the rind is soft, the pumpkin leaks, mold is spreading, or the odor is unpleasant, discard it rather than cutting away a patch and assuming the rest is sound. A carved pumpkin with slimy or fuzzy growth should be removed from the display; its stem does not change that decision.
The crown is not a food-safety test. An intact stem does not establish that the flesh is edible, and a pumpkin displayed outside, carved, or treated with a surface product should not be presumed safe to cook. Choose a separate, sound pumpkin intended for cooking when food is the goal.
How long can a pumpkin last?
There is no reliable countdown that applies to every pumpkin. A mature, uninjured pumpkin in cool, dry, ventilated storage can keep for months; extension guidance gives about two to three months under the stated conditions. A pumpkin displayed outdoors in warm, wet, or sunny weather may deteriorate much sooner, and carving shortens the useful display window further because it exposes the interior.
Think in terms of use, not just a calendar. A firm pumpkin picked up weeks before a party can stay whole as the centerpiece and be carved near the event; an early carved pumpkin is already exposed for every warm or rainy day it waits. A homegrown mature fruit intended for winter cooking can instead be cured and stored under controlled conditions, then checked as part of normal pantry upkeep. Those are different goals and should not share one shelf-life estimate.
| Pumpkin state | What is realistic | What changes the outcome |
|---|---|---|
| Whole, mature, cool-stored | Extension guidance estimates about 2–3 months in suitable conditions | Maturity, bruises, storage temperature, moisture, and airflow |
| Whole, on a porch | Variable; inspect frequently rather than planning around a fixed number of weeks | Sun, rain, heat, ground contact, and nightly temperature swings |
| Carved jack-o’-lantern | A short seasonal display, usually much less than intact storage | How close to display day it is carved, temperature, exposed cut area, and moisture |
The most dependable way to make a carved pumpkin last through a particular event is to carve it as late as you reasonably can. If you need décor earlier, keep the pumpkin whole and use paint, a removable decoration, or another no-cut design until carving day. That preserves the option to carve later without claiming that the crown alone controls shelf life.
Common myths about pumpkin freshness
“The stem keeps pumping nutrients into a picked pumpkin.” It does not. After the fruit is cut from the vine, it is no longer receiving a supply through the stalk; the reason to preserve the crown is to avoid unnecessary damage and retain an intact structure.
“A bottom hole guarantees a longer-lasting jack-o’-lantern.” It can make cleaning and lighting easier, and it avoids a separate lid that could shrink inward. It does not eliminate the exposed flesh or provide a guaranteed lifespan advantage over every top opening.
“A coating stops rot.” A surface treatment may be suggested as a way to slow drying or mold, but it cannot repair damaged tissue or correct warm, wet storage. Start with a sound pumpkin, keep it out of heat and standing water, and remove it when decay appears.
Conclusion
Leaving the pumpkin’s crown intact is a sensible way to avoid an unnecessary cut while the fruit is whole. It is not a secret preservation mechanism: a harvested pumpkin is no longer fed by its stem, and no stem length can overcome bruises, excess moisture, warmth, or a softening rind.
Choose a firm pumpkin, carry it from underneath, keep it shaded and dry, and give it air. If it is a mature homegrown pumpkin meant for storage, use a controlled cure and cool conditions; if it is for Halloween, leave it whole until close to display day and carve from the bottom if that arrangement works for your light. Watch the fruit itself, and let its condition—not the presence of a stem—decide when it is time to remove it.



