How to Design a Low-Maintenance Wildflower Garden
Design a low-maintenance wildflower garden with the right site, native plants, seedbed, sowing method, first-year care, and seasonal mowing plan.
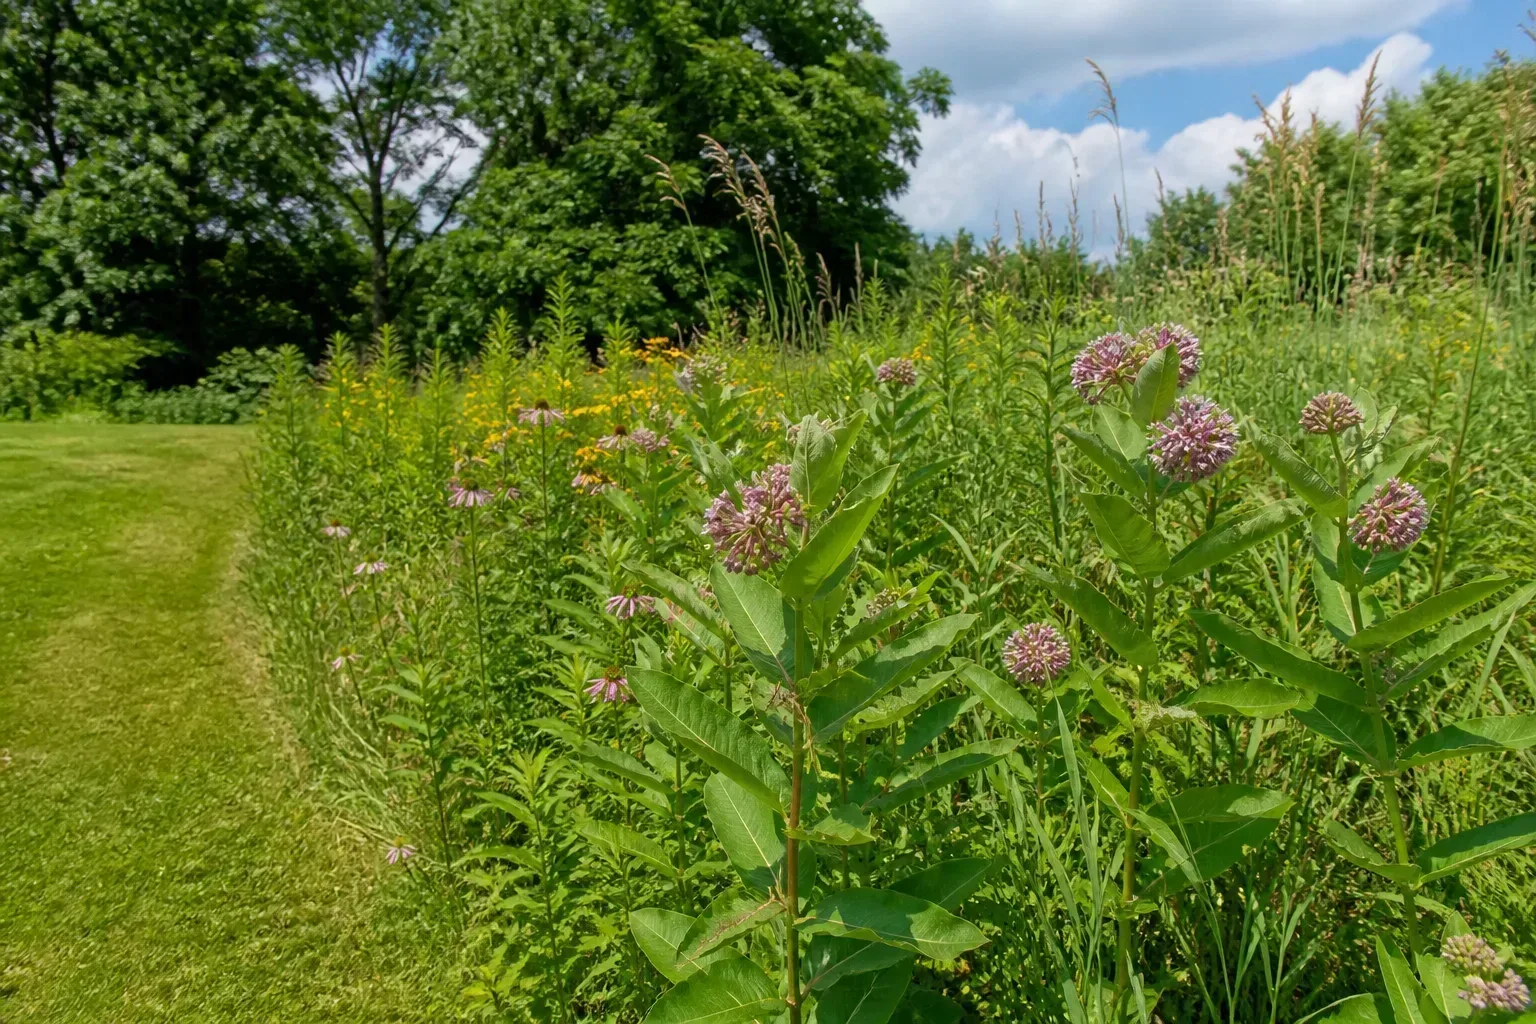
A low-maintenance wildflower garden is not a patch where you scatter a packet and forget it. The reliable version is a plant community designed around the site: the right species for the light and soil, a seedbed with little competition, enough moisture during establishment, and a cutting routine that keeps vigorous grasses from taking over.
The payoff is a garden that replaces repetitive lawn work with a few well-timed jobs. You may spend more effort at the beginning, especially removing turf and identifying seedlings, but an established planting can need little more than selective weeding and one or two cuts a year. The important word is low-maintenance, not maintenance-free.
What “low-maintenance” means in a wildflower garden
In a conventional border, maintenance often means regular watering, feeding, deadheading, staking, edging, and replacing plants that do not fit the site. A wildflower garden changes that rhythm. Once a locally appropriate mix has deep roots and fills the ground, you can usually stop treating every plant as an individual and manage the planting as a community.
That does not mean abandoning it. The work shifts to four jobs: suppressing competing vegetation before planting, keeping the surface evenly moist while seedlings establish, removing invasive or overly aggressive plants, and cutting at a time that protects the planting while limiting woody growth. Penn State Extension describes the first three years of a perennial meadow as the demanding period, with an established meadow needing occasional weeding and an annual cut (Penn State Extension’s meadow guidance).
Expect a quieter first year than a seed packet’s photograph suggests. Annuals may give you a quick flush of color, while perennial wildflowers commonly spend the first season building roots and may not flower strongly until the second or third year. If you need instant structure, add a few locally native plugs rather than forcing the whole yard to perform immediately.
Choose between an annual display, perennial meadow, and mixed patch
Start by deciding what “success” looks like. A pictorial annual display is the fastest route to color, a perennial meadow is the better long-term habitat planting, and a mixed patch combines a reliable perennial framework with a few annuals for early interest.
| Garden type | What you get | Main trade-off | Best fit |
|---|---|---|---|
| Annual display | Fast growth and abundant first-season flowers | Often needs reseeding and may contain non-native species | A temporary bed, new border, or quick color |
| Perennial meadow | Plants return, deeper roots, grasses, seed heads, and changing wildlife value | Slow establishment and a less predictable first year | A lasting low-mow area |
| Mixed patch | Early color plus plants that can persist | Needs careful selection so annuals do not dominate | A small garden where patience and appearance both matter |
A packet’s “wildflower” label does not guarantee native plants. Annual flowers from several regions may be attractive but have little relationship to local wildlife. BBC Gardeners’ World distinguishes colorful pictorial mixes from native perennial meadows and notes that annual displays need additional sowings (BBC Gardeners’ World’s wildflower sowing guide).
For a low-maintenance planting, a good default is a regional perennial mix with a modest proportion of compatible grasses, plus a separate annual strip if you want bright color in year one. Keeping those goals in separate zones makes the garden easier to manage than blending every seed you like into one unpredictable mix.
Read the site before buying seed
Spend one week observing the proposed bed before ordering anything. Mark where direct sun reaches the soil, where water stands after rain, where a hose can reach, and where grass or weeds are strongest. A seed mix is a design decision, not a generic product.
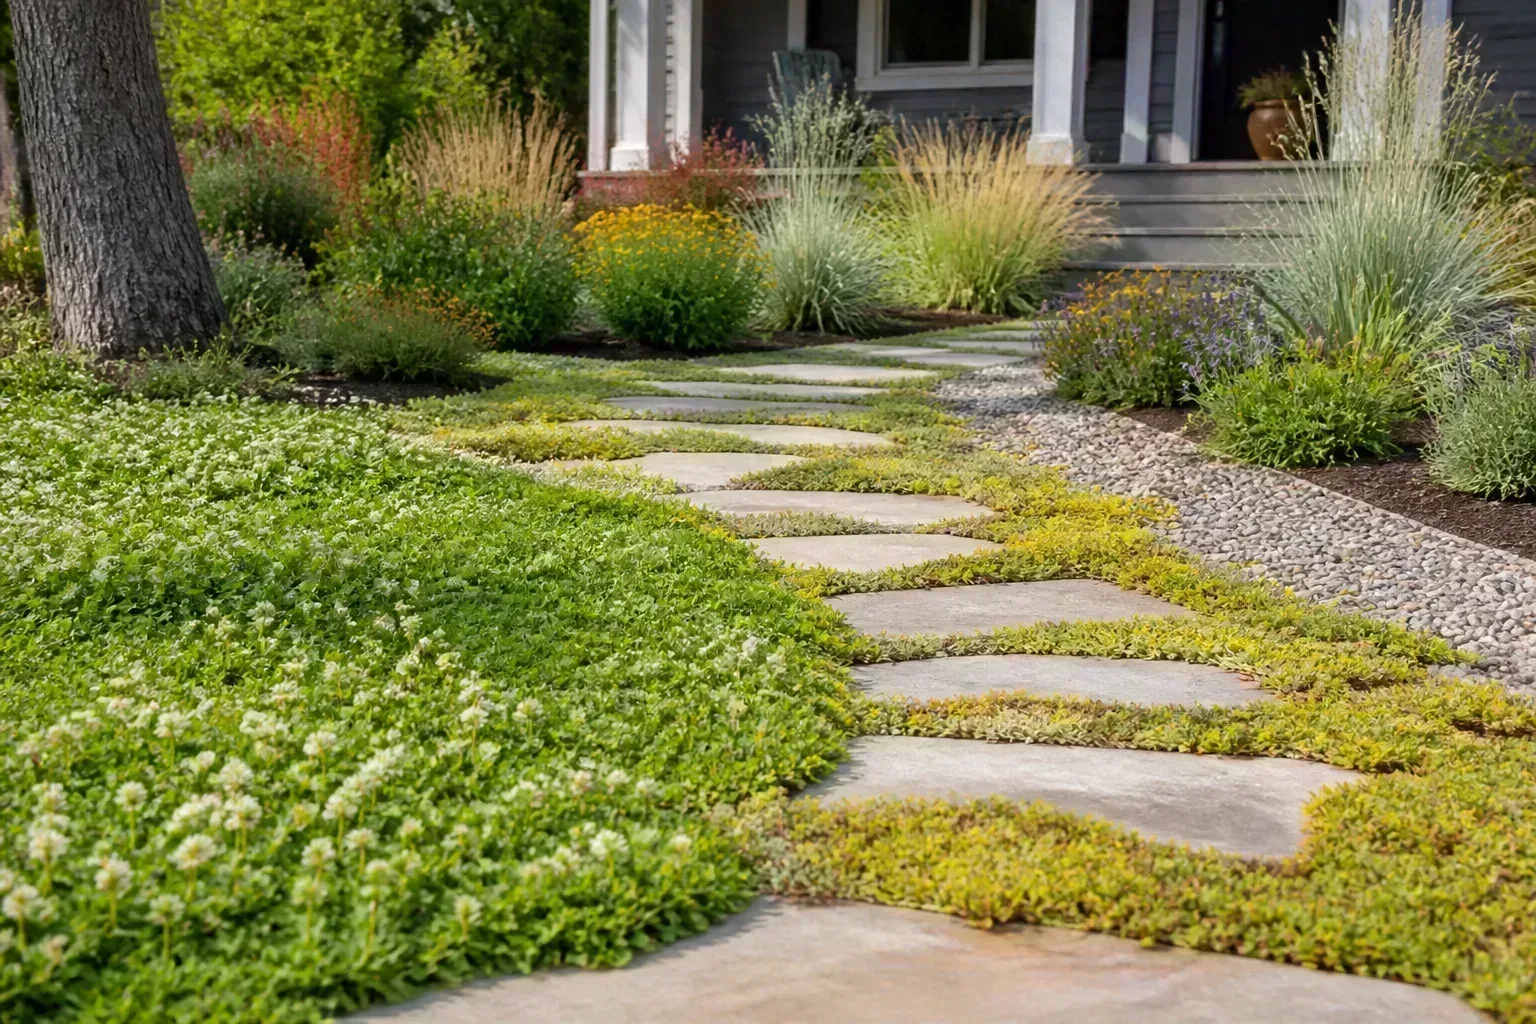
Match the mix to sun, soil, and moisture
Most meadow plants perform best in full sun and well-drained soil, but “full sun” is not simply a bright-looking spot. Count direct light across the growing season, including the shadow cast by a house, fence, tree, or neighboring building. If the area receives less light, look for a seed mix specifically labeled for light shade rather than sprinkling a full-sun mix and blaming the seed later.
Soil moisture matters just as much. A low hollow that stays wet needs plants adapted to damp conditions, not a dry prairie mix. A hot, sandy strip beside pavement needs drought-tolerant species and a plan for extra watering during the first season. Heavy clay can be planted, but autumn sowing may fail if the bed stays cold and waterlogged; spring or a mix selected for that soil is safer. The RHS recommends matching the mix to soil type and location and notes that spring or early autumn sowing windows need to be adjusted for heavy soil and the seed packet (RHS guidance on creating wildflower meadows).
A soil test can help if you suspect an extreme pH or contamination, but do not interpret “low fertility” as unhealthy soil. For a meadow, excess nitrogen can give grasses and weeds the advantage, so it is usually smarter to choose plants for the soil you have than to add compost and fertilizer automatically.
Ask whether the location is genuinely usable: can you inspect it, mow or trim around it, and keep runoff away from structures? Designing around these constraints is part of making the garden low maintenance.
Choose native plants for your place and purpose
For a wildlife-oriented garden, select species native to your ecoregion, not merely a plant described as native somewhere in your country. Local provenance is useful because plants from nearby climates and soils are more likely to fit your growing conditions, and local wildlife has evolved alongside many of them. If you live outside North America, apply the same principle with your local flora: ask a native-plant society, botanical garden, or extension service which species are indigenous to your region and not invasive.
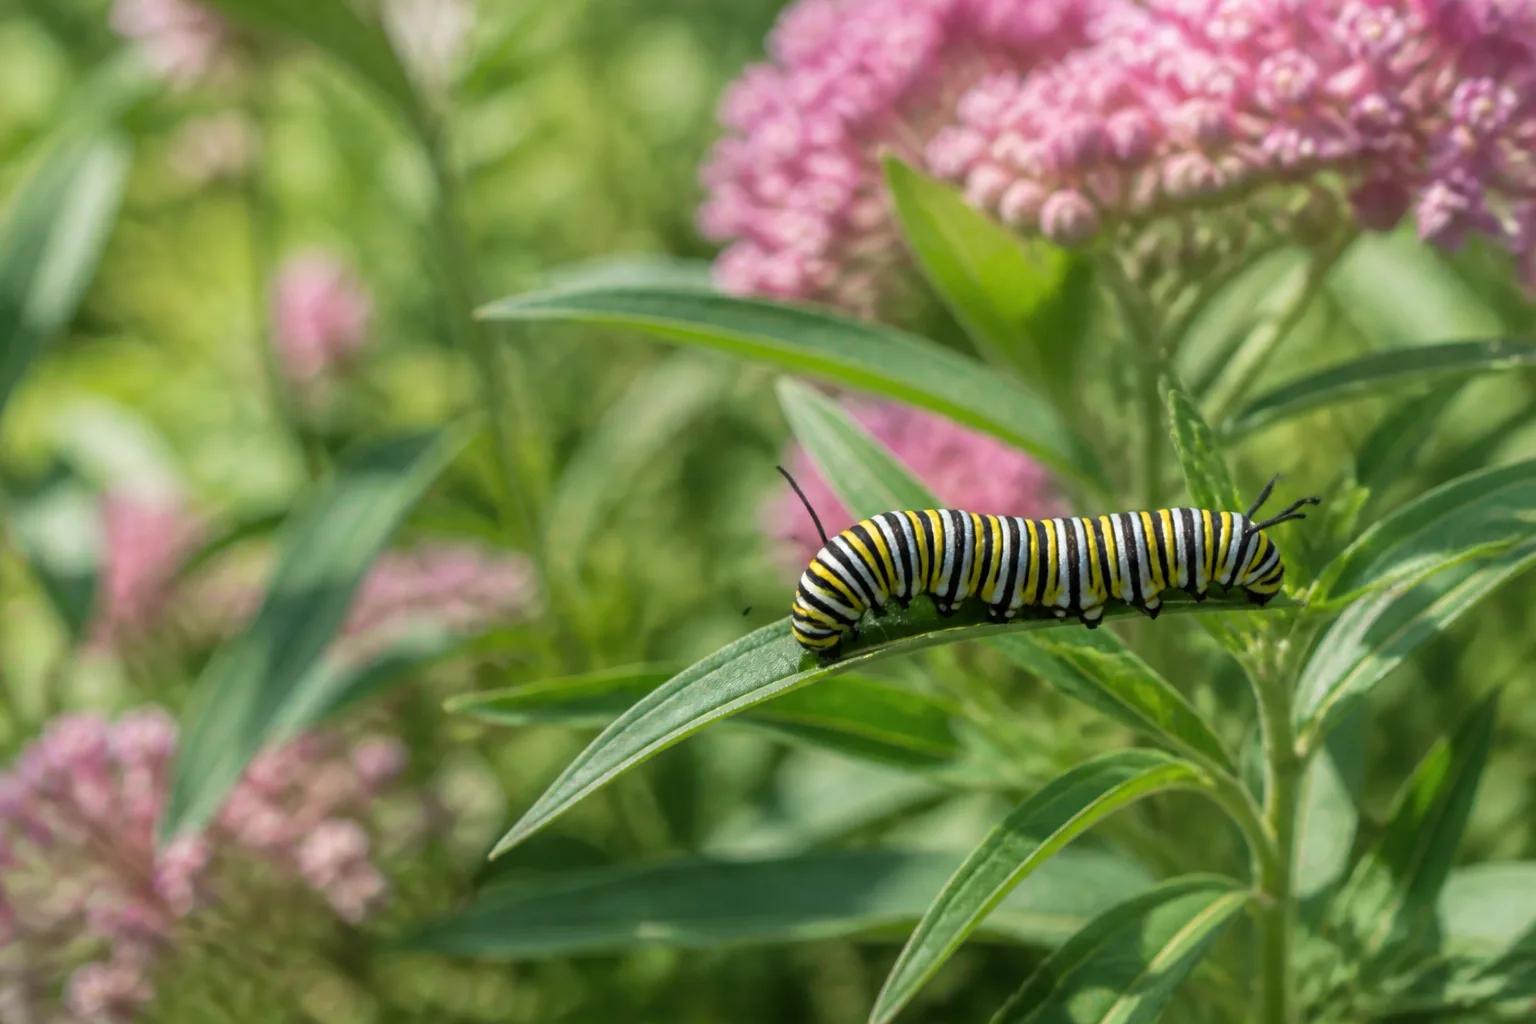
Build the list by function rather than by flower color. Choose a few low-growing or clumping plants for the front, medium plants for the main mass, taller species for the back or middle, and grasses to occupy open soil. Then spread bloom times across the year so the planting is not a one-week event. Flowers are only one layer; stems, leaves, seed heads, and grass clumps provide shelter and food after the petals disappear.
In a sunny, reasonably dry North American bed, examples from extension plant lists include lanceleaf coreopsis, butterfly milkweed, black-eyed Susan, purple coneflower, wild bergamot, little bluestem, and asters. For a moist area, look for plants such as cardinal flower, swamp milkweed, Joe-Pye weed, and moisture-tolerant asters instead of trying to keep dry-site plants alive with constant irrigation. In light shade, an eastern red columbine or a regional woodland mix may be a better starting point than a sun-loving prairie blend.
These are examples, not a universal shopping list. A species that is native and well behaved in one state can be unsuitable, aggressive, or unavailable in another. Read every packet’s scientific names, origin, moisture preference, and warnings; reject mixes that hide the species list or include plants prohibited in your area.
Avoid collecting plants from public land or digging up roadside flowers. Purchase from a reputable regional native-plant nursery or seed supplier, and check local invasive-species lists before planting unfamiliar ornamentals. A beautiful plant that escapes into a natural area is not a low-maintenance choice; it creates a management problem for someone else.
Choose seeds, plugs, or young plants
Seed is economical and natural-looking, but it depends on a clean seedbed and patient observation. It also distributes plants according to germination and competition rather than your drawing, so gaps and clusters are normal. Seed works especially well for a new bed where you can prepare the entire surface.
Plugs and young plants cost more per plant but reduce uncertainty. You can see what you are planting, space plants deliberately, and fill a small patch without waiting for every species to germinate. BBC Gardeners’ World reports that plug plants often establish more reliably than direct scattering, and its method uses two or three seeds per modular cell followed by planting out once the plugs are strong (BBC Gardeners’ World’s plug-plant method).
Use a hybrid strategy when the bed is small or visible from the house: sow the main area, then add plugs of slower perennials or plants that are hard to establish from seed. Plant in small groups rather than a checkerboard; repeated groups make the garden look intentional and easier to monitor.
Winter sowing in containers can help with perennial seeds that need a cold, moist period to break dormancy. It is not a shortcut for every species, and it is not necessary if your packet is intended for direct fall sowing. When used, keep containers outdoors in a sheltered, bright place, monitor moisture during warm spells, and transplant only when the seedlings are robust and local weather is suitable. Savvy Gardening describes winter sowing as a way to use natural cold stratification for many native perennials without filling the house with trays (Savvy Gardening’s winter-sowing guide).
Remove turf and weeds before they win
The most common reason a wildflower bed becomes a grass bed is that the seed was asked to compete with established turf. Grass roots and the existing canopy capture water and light before tiny wildflower seedlings have a chance. Do not scatter seed over dense lawn and count on the flowers to push through; make a real opening first.
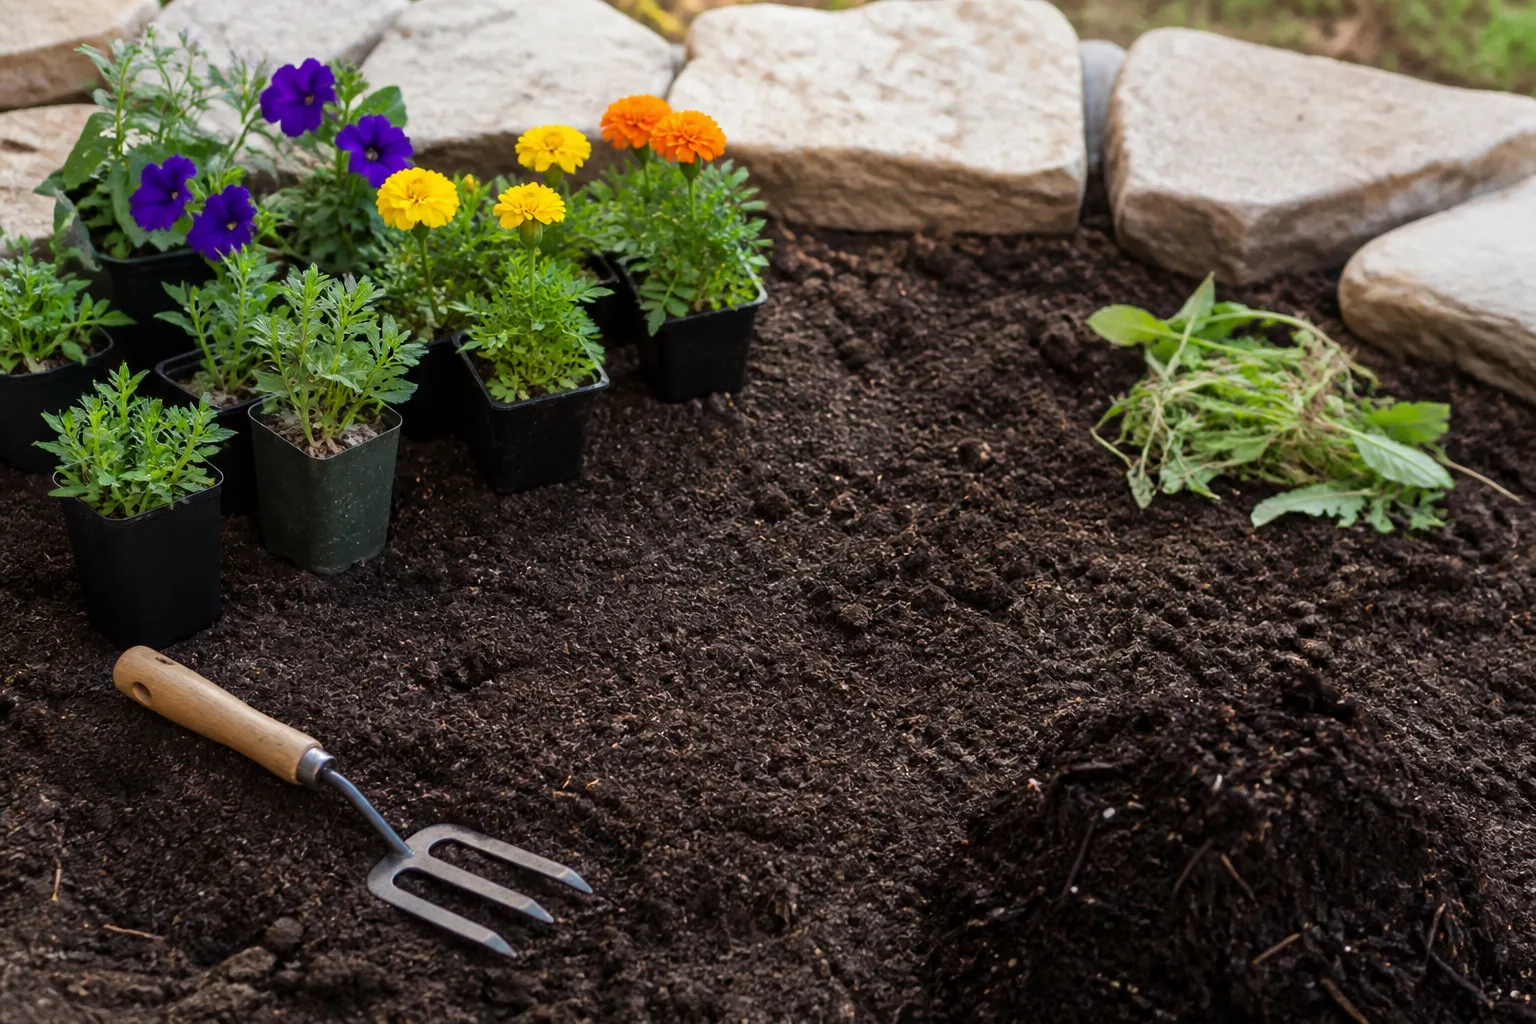
Pick the clearing method that fits the space
For a small patch, cut the sod into manageable strips, slide a spade underneath, and remove the root mat. Take out perennial weeds with their crowns and as much root as possible. The goal is not sterile soil; it is a surface where you can recognize the plants you intentionally sowed.
For a larger patch, repeated mowing followed by a covered rest period can suppress existing vegetation. An opaque cover held securely over actively growing turf for several weeks or longer blocks light and weakens the plants below; check local climate and soil conditions because wet soil under a cover can become difficult to work. A clear cover can heat a small bed in strong sun, but it relies on weather and must be removed before planting. Penn State Extension describes covering, sod removal, and repeated preparation as ways to create a smooth, weed-free starting surface (Penn State Extension’s lawn-alternative guidance).
If you want the lowest-disruption conversion, keep part of the lawn and convert a defined island. Stop fertilizer and routine weed-control treatments, mow for a season, remove the clippings, and create bare pockets for plugs. This approach takes longer and gives you less control. The RHS recommends gradually reducing lawn fertility and introducing young plants rather than expecting seed scattered into turf to establish (RHS lawn-conversion advice).
Avoid tilling deeply just because the ground looks rough. Turning over a large volume of soil can expose buried weed seed and break up soil structure. Loosen compacted areas, remove roots, and work shallowly enough to make a firm planting surface. If a patch is dominated by a persistent rhizomatous weed, delay sowing until you can remove or suppress the root system; a wildflower mix will not outcompete a well-established invader during its first season.
Prepare a lean, level seedbed
After clearing, make the bed firm, fine, and level. Break up hard clods, remove stones that prevent seed contact, and rake the surface so it has shallow grooves rather than deep furrows. A seedbed that is fluffy and loose will settle unevenly and can bury small seeds below the depth at which they can emerge.
Do not add a blanket of compost or fertilizer unless a soil test and the chosen plants specifically call for it. Many meadow species tolerate or prefer lean soil, while extra nutrients can produce tall, floppy grass and lush weeds that shade young flowers. If the existing soil is fertile, reduce competition through plant choice, clippings removal, and patience rather than trying to make the bed “richer.”
Let the prepared soil rest for two to six weeks when your schedule allows. Rain or irrigation will bring up a flush of weed seedlings. Remove those seedlings with a shallow hoe or rake, disturbing the soil as little as possible, then make one final light pass just before sowing. This stale-seedbed step is unglamorous, but it prevents many hours of hand weeding later.
Create a firm edge around the bed with a mown strip, path, stone, or clear border. The edge keeps lawn runners out, gives the eye a stopping point, and lets you inspect seedlings without trampling the bed.
Sow wildflower seed for even contact and germination
Choose a sowing window when the soil can be worked and you can provide moisture. Early-to-mid spring is broadly useful, while early autumn can work well for many mixes, especially on lighter, well-drained soil or for seeds that benefit from winter cold. Heavy soil that stays wet and cold is a reason to favor spring. Always treat the packet’s regional instructions as the final timing check.
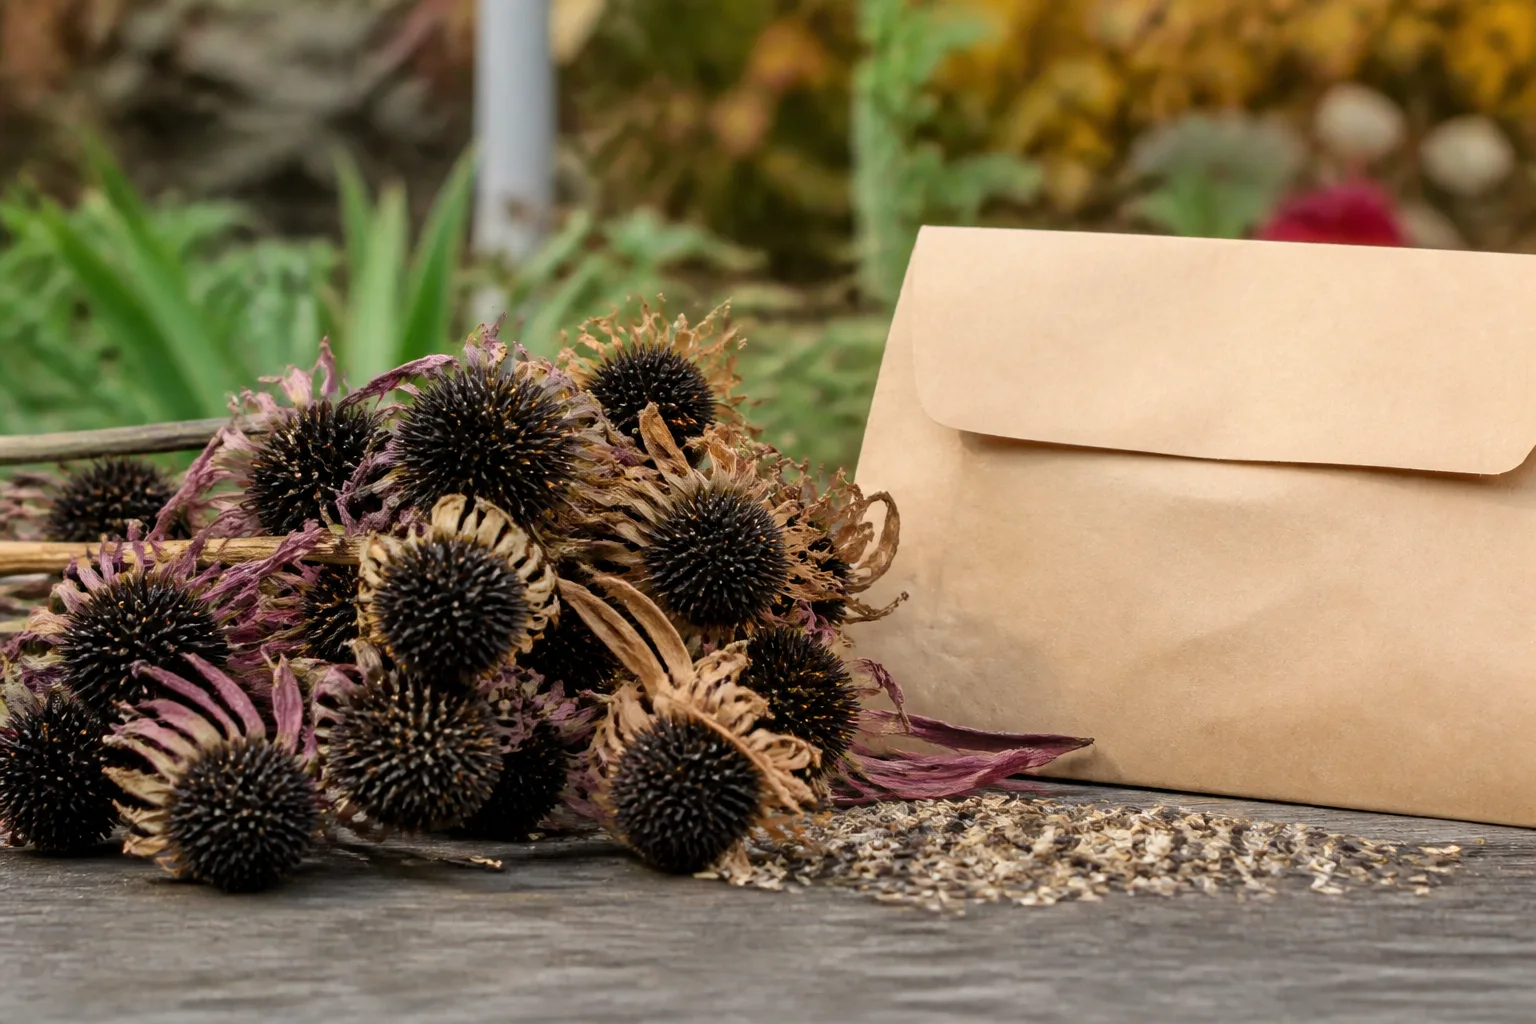
On the day of sowing, dampen the surface if it is dry, but do not turn it into mud. Divide the seed into two portions and broadcast the first portion while walking in one direction. Spread the second portion while walking across the bed at a right angle. This cross-sowing pattern compensates for the inevitable unevenness of hand broadcasting.
Spread tiny seed without creating bare clumps
Mixing very small seed with a little dry, inert material such as clean sand makes the handful easier to see and distribute. The mixture is only a carrier; it does not change the amount of seed required by the supplier. Sow thinly rather than trying to create an instant carpet, because crowded seedlings compete with each other and are more difficult to identify.
Press the seed into the surface with the back of a rake, a board, or your feet if the area is small. Most wildflower seed should remain on or close to the surface; burying it under a thick layer of soil is a common reason for poor emergence. Use only a light dusting of fine material when the packet calls for coverage, and avoid straw or coarse mulch that can smother tiny seedlings or introduce weed seed.
Water with a soft spray immediately after sowing. The target is seed-to-soil contact and a damp surface, not runoff. Mark the boundary and take a photograph of the bed so that a seedling you do not recognize is not automatically pulled as a weed.
Keep seedlings alive through establishment
For the first several weeks, inspect the surface rather than watering by a fixed clock. The top layer must stay consistently moist enough for germinating seed, especially in hot, windy, sandy, or exposed sites. A gentle wand, fine rose, or temporary sprinkler prevents the jet of water from washing seed into piles.
As seedlings emerge, reduce the frequency only when roots are beginning to hold the soil and the weather is not drying the surface immediately. Water thoroughly enough to wet the root zone, then allow the surface to approach dryness rather than keeping it saturated. Waterlogged soil encourages rot and favors some weeds; drought-stressed seedlings never get large enough to compete.
The correct schedule depends on soil, rainfall, temperature, wind, and the mix. A sheltered clay bed may need far less irrigation than a sandy strip beside a driveway. Check a few spots with your finger and watch the seedlings: flattened, gray-green growth and dry soil call for water, while standing water, algae, and a sour smell point to drainage problems rather than thirst.
Do not fertilize seedlings to make them grow faster. In a meadow, fast growth is not automatically strong growth; it can give grasses and broadleaf weeds a head start. Hand-pull obvious weeds while they are small, but leave an unknown seedling until you can identify its leaves or compare it with the seed list. A little uncertainty is safer than removing half the desired planting.
Use first-year mowing as weed control
The first year is when a wildflower garden most resembles a test plot. Desired perennials may be short rosettes while weeds race upward. If weeds are about to shade the seedlings or set seed, mow high enough to clip the weeds while leaving the developing wildflowers below the blade. Penn State Extension’s meadow guidance recommends mowing before weeds reach about 8 inches and cutting around 4 inches, while adjusting the height to the desired plants.
That height is a working example, not a universal number. Walk the bed before mowing, identify the tallest intentional plants, and set the mower or trimmer above them. Use a sharp blade, mow when the bed is dry, and remove clippings if they would bury seedlings or add fertility. Repeat only when needed; frequent close mowing defeats the purpose.
Stop corrective mowing late in the season when the planting needs to mature, set seed, or enter winter with some cover. If the area contains a mixture of annuals and perennials, let the annuals finish their life cycle before the main seasonal cut. The first-year goal is not a perfect flower show; it is a living root system with less weed pressure than it had a month earlier.
Set the established-season maintenance rhythm
Once the planting is dense and the perennial roots are established, maintenance becomes seasonal. Inspect in spring, weed selectively while invaders are easy to identify, water only during prolonged drought, and schedule the main cut around the plants’ seed set and local wildlife. The exact dates depend on climate and species, so watch the bed rather than following a calendar copied from another region.
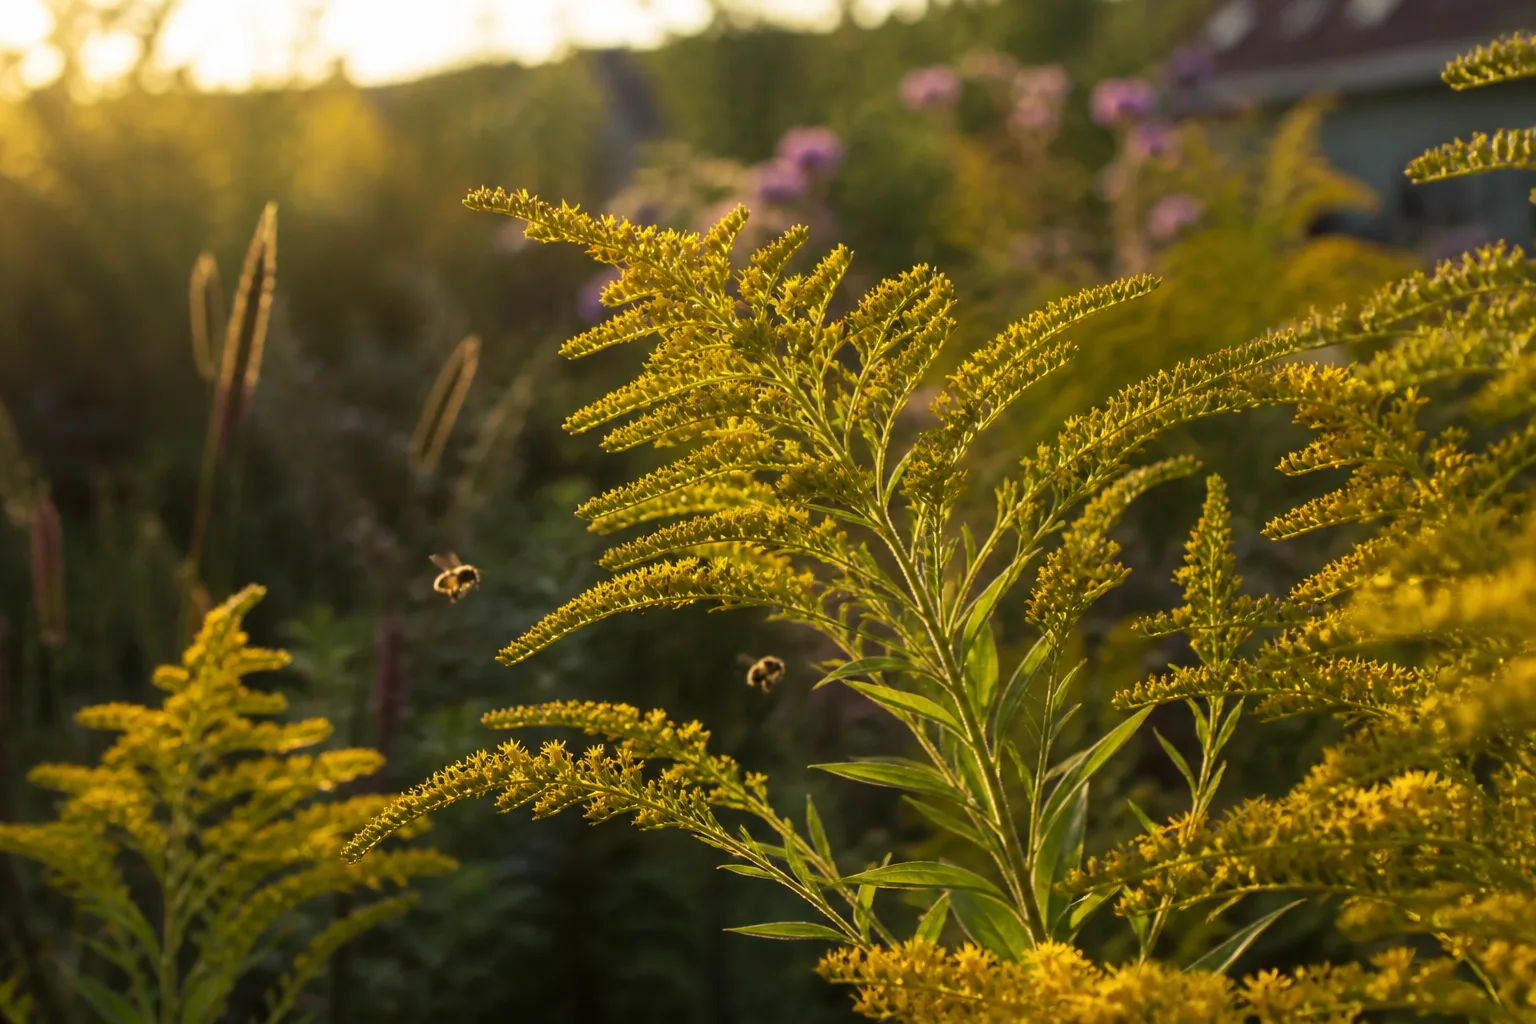
For a traditional perennial meadow, cut after the main flowering period when most plants have released mature seed, often in late summer or early autumn. Use a mower on its highest setting, a string trimmer, scythe, or hand shears according to the size of the bed. Check for sheltering wildlife before cutting, and leave an uncut section or cut in stages so caterpillars and other animals are not removed from the entire habitat at once. BBC Gardeners’ World recommends checking for wildlife, leaving cuttings briefly so seed can fall, and then removing the material to keep the meadow balanced (BBC Gardeners’ World’s meadow-management guidance).
Manage annuals, perennials, grasses, and seed heads
Annual displays are managed for their next sowing. Leave flowers until seeds are mature, then either allow them to drop in the bed or collect a small amount for a labeled, legal, local re-sowing. If you want the same color pattern next year, plan to buy fresh seed; self-sowing is not a faithful copy of the packet and may favor the earliest or most vigorous plants.
Perennial meadows benefit from leaving some seed heads and standing stems through winter. They provide texture and cover, and the dried heads can feed birds, but a completely untouched planting can accumulate thatch and give woody seedlings or aggressive weeds an opening. Remove the cut material after it has dried and shed seed unless your soil is unusually poor and your local management plan says otherwise. Taking away biomass gradually reduces fertility and keeps grasses from becoming dominant.
Grass is useful when it is part of the plan. Native grasses stabilize the planting, fill gaps, and provide structure, but a grass-heavy bed may indicate too much fertility, too much seed, insufficient bare soil, or a mix that does not match the site. In a lawn conversion, yellow rattle is sometimes used in regions where it is appropriate because it parasitizes grass roots and reduces their vigor; it is not a universal remedy, and it must be legal and suitable locally. The RHS identifies yellow rattle and related semi-parasitic plants as one tool for reducing established grass competition (RHS meadow problem-solving guidance).
Solve common wildflower-garden failures
Almost nothing germinated: First check whether the seed was buried, washed away, sown outside its recommended window, or allowed to dry during germination. Then inspect for dense turf or a hard crust. Do not immediately add more seed; rake a small test patch lightly, correct moisture, and compare the result before reseeding the whole bed.
The bed is mostly grass: This usually points to competition or high fertility, not a lack of fertilizer. Remove seed heads from invasive grasses before they mature, create new bare patches, stop feeding the area, and overseed or add plugs only after the grass is weakened. If the lawn was never removed, converting a smaller island first may be more successful than repeatedly scattering seed.
Weeds are taller than the flowers: Mow high before the weeds set seed, then hand-pull the most aggressive plants while the soil is damp. Identify the weed before using any treatment. A dense, diverse planting reduces future gaps, but it cannot erase a perennial weed’s roots in one season.
Seedlings emerged in clumps: Uneven broadcast sowing, water movement, birds, and rough soil can all create patches. Thin or transplant only if the plants are clearly identifiable and crowded enough to suffer. A meadow does not need even spacing to look good; repeated groups and a clean edge make natural variation feel intentional.
Plants wilt after germination: Check the soil and root zone, not just the leaves. Dry, windy conditions call for temporary irrigation; standing water calls for drainage correction or a different mix. If only one species fails while others thrive, the problem may be a mismatch between that species and the site rather than a whole-bed watering failure.
The garden looks messy or worries neighbors: Keep a crisp mown perimeter, add a path through the bed, and place taller plants toward the center or rear. A small sign explaining that the area is a managed meadow can help, but the best proof is visible care: a defined edge, no litter, and timely removal of genuinely invasive plants. Before planting, check municipal height rules, homeowner-association restrictions, drainage easements, and fire-safety requirements; natural landscaping rules vary by place.
Make the garden intentional and neighbor-friendly
Design the meadow as a garden room, not a neglected rectangle. A path creates access for watering and observation. A mown strip frames the flowers. A bench, low fence, or repeated group of one species gives the eye a destination and makes the planting legible from the street.
Keep the most vigorous or tallest plants away from gates, sidewalks, and property lines. Use a lower-growing edge, and reserve taller grasses, milkweeds, ironweed, or Joe-Pye weed for the middle or back where their height reads as deliberate. If the site borders a natural area, favor locally native plants from known regional sources and avoid ornamental mixes with unknown contents.
Plan for the quiet seasons. Standing stems can be valuable, but a winter meadow next to a front walk may need a partial cut for safety and visibility. Cut a viewing corridor, leave a habitat island, or maintain a smaller annual display beside the house instead of managing every square foot the same way.
Conclusion
The simplest low-maintenance wildflower garden starts with a modest, sunny patch that you can prepare properly. Match the seed or plugs to your local soil and moisture, remove competing turf, leave the soil lean unless testing proves otherwise, sow shallowly on a firm surface, and protect seedlings from drying out while they build roots.
Then give the planting time. Mow high only when first-year weeds need control, let annuals finish their cycle, cut an established perennial meadow after seed set, remove cuttings when appropriate, and leave some stems for winter habitat. If you make the edge clear and choose plants for the place rather than the picture on a packet, the garden becomes easier to read, easier to defend, and genuinely easier to maintain.



