How to Prepare a Vegetable Garden for Spring
Learn when to work garden soil, what to remove, how much compost and mulch to use, and how to keep spring vegetables healthy through changing weather.
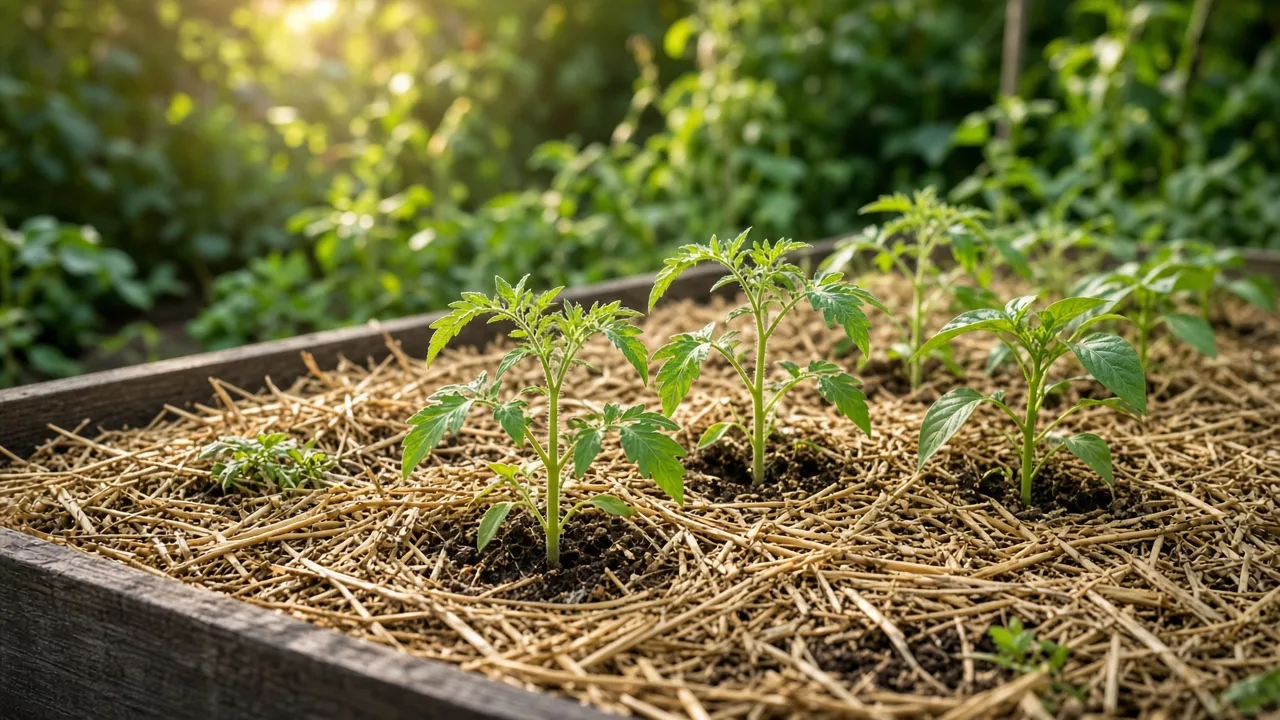
A spring garden can look ready while its soil is still too wet, its old plant debris is still carrying disease, and its planting dates are still a few weeks away. The best spring preparation is not a single day of tilling or a cartload of fertilizer. It is a sequence: inspect first, protect the soil, test before amending, plant according to weather, and then keep moisture, weeds, and pests from getting ahead of you.
Use the calendar as a reminder, not as permission. A mild week in one region may be followed by a hard freeze; a warm raised bed may be workable while an in-ground clay plot is still saturated. The framework below works for raised beds and in-ground gardens, with adjustments for your soil, crop choices, and local frost pattern.
Start With a Spring Garden Walk
Before moving a shovel, walk the whole garden with a notebook. Look at the bed edges, paths, downspouts, low spots, trellises, irrigation lines, compost area, and any vegetables that made it through winter. You are looking for constraints that will change the order of your work, not just for jobs that make the garden look tidy.
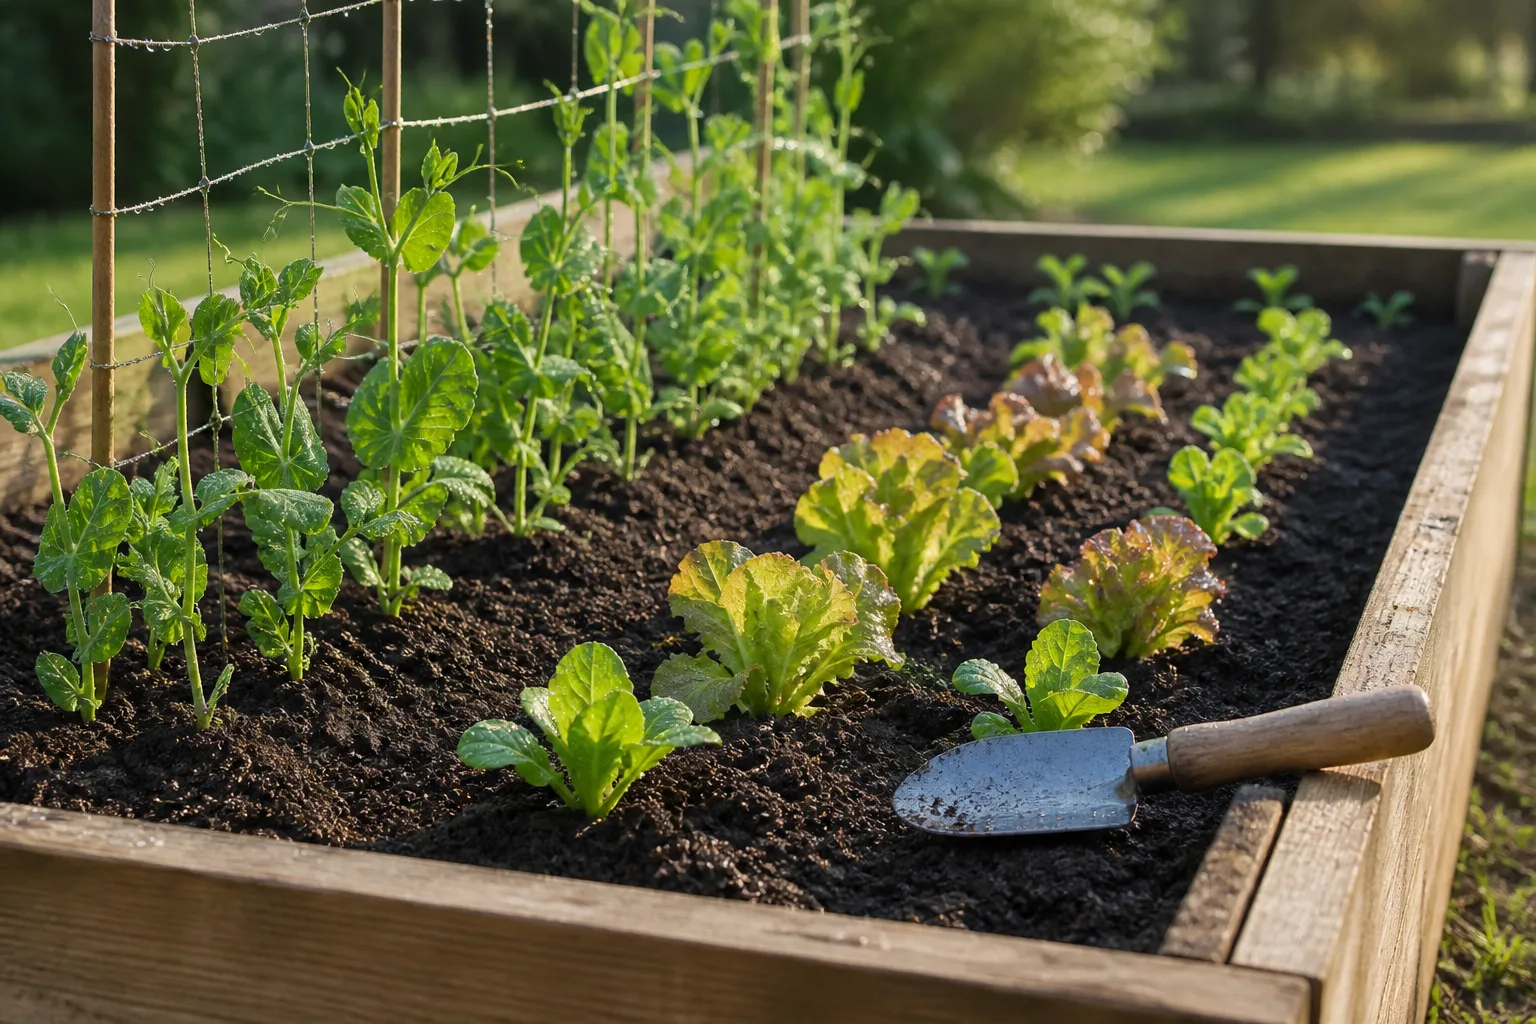
Make three quick passes. First, mark where water stands after rain and where runoff enters a bed. Second, identify living crops and any plants that are diseased, collapsed, or badly infested. Third, note which beds are open, which are covered with mulch or a living crop, and which crop family occupied each space last year. That simple inventory prevents you from spreading compost over a diseased bed or planting tomatoes into the same problem zone by accident.
The walk also reveals whether winter was protective or destructive. Shredded leaves may have stayed in place, while loose straw may have blown into paths; a cover crop may be lush, winter-killed, or ready to flower; and a raised bed may have lost soil over its edges. Deal with the highest-risk observation first: standing water, disease residue, or a late frost threat usually matters more than a crooked bed border.
Use a weather-and-soil gate before working beds
Separate tasks that disturb soil from tasks that do not. You can clean paths, wash tools, inspect row-cover fabric, map crops, order seeds, and pull shallow weeds during a mild spell. Digging, broadforking, incorporating amendments, and planting are different: they wait until the ground is thawed and crumbly enough to support roots without being pressed into a dense layer.
Try the squeeze-and-poke test in the planned planting zone. Take a handful from planting depth, squeeze it, and poke the ball. If it crumbles, the moisture is probably workable. If it smears, shines, drips, or keeps a slick ribbon between your fingers, wait. Utah State University Extension warns that cultivating soil when it is too wet—especially heavy clay—creates compaction and hard clods that are difficult to correct later (Utah State University Extension).
That delay is not lost time. Use it to submit a soil sample, repair a path, make a planting map, or set up a board so you can reach the bed without stepping on it. A garden that starts with intact pore space will usually need less rescue watering and emergency loosening later.
Remove Winter Debris With a Disease-First Rule
Do not interpret spring cleanup as stripping every bed bare. Remove dead annuals, broken stems, trash, weeds with mature seed heads, and any plant material with clear signs of disease or heavy infestation. Leave healthy, loose mulch in place until you know whether it is protecting overwintering crops or simply blocking the soil from warming.
Look closely at last year’s tomatoes, cucumbers, squash, beans, and brassicas. Blackened stems, spreading leaf spots, fuzzy growth, soft rot, or a heavy cluster of insects are reasons to bag or otherwise dispose of the material according to local waste guidance rather than putting it in a cool, small home compost pile. Disease-free stems and leaves can be chopped and composted when your pile reaches the heat and moisture conditions needed to break them down.
Farmers’ Almanac makes the useful distinction between selective vegetable-bed cleanup and making the entire property unnaturally spotless: remove diseased or heavily infested residue from food-growing beds, while healthy stems and seed heads elsewhere may still support wildlife (Farmers’ Almanac). In a vegetable garden, sanitation has a direct payoff because the same soil and crop families will return soon.
Compost healthy crop residue, shredded leaves, and small amounts of untreated grass clippings only when you know the source. Leave out diseased plants, weeds carrying mature seed heads, invasive roots, and any grass clippings treated with a persistent herbicide. If you are unsure, the risk of introducing a problem into the bed is greater than the convenience of adding one questionable armful to the pile.
Finished compost should smell earthy and look dark and crumbly, with the original ingredients mostly unrecognizable. Partly decomposed material can still be useful as a surface layer on an empty bed, but it may temporarily tie up space and moisture while it finishes. Fresh manure deserves extra caution around food crops; use only a properly finished, appropriately handled product and follow local food-safety guidance rather than assuming “organic” means immediately ready.
Test Soil Before Adding Fertilizer
Spring is when many gardeners reach for the same fertilizer they used last year. A soil test is a better starting point because pH and nutrient levels vary between beds, and repeated applications of compost, manure, lime, or fertilizer can leave one plot over-supplied while another is genuinely deficient.
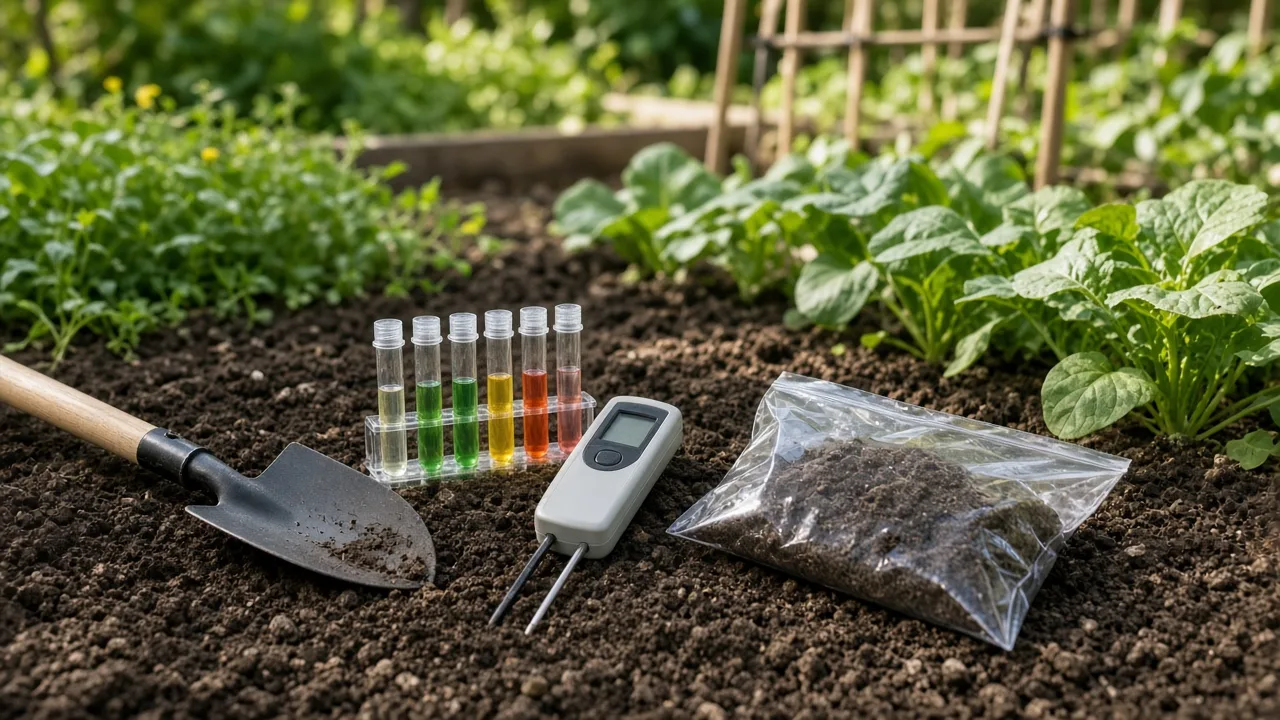
UGA Extension recommends a county Extension soil test to measure pH and identify nutrient needs for vegetables. It also gives a useful target for many home vegetable gardens: a pH around 6.0 to 6.5, adjusted according to the crop and the laboratory’s recommendations (UGA Extension). The number is a guide, not a reason to add lime automatically. Lime, sulfur, and fertilizer change chemistry slowly; apply them only when the report supports the decision.
Take several small subsamples from the same depth across one bed or crop zone, then mix them in a clean bucket before sending the lab’s requested amount. Do not sample beside a compost pile, fertilizer spill, path, or unusually weak plant and treat that one scoop as the whole garden. Raised beds filled with different mixes should be sampled separately from in-ground rows.
Write down what grew there, whether you added manure or compost, and what problem you noticed. That context helps you interpret a result that says “high” or “low” without turning the report into a guessing game. Keep a copy of the results with your garden map so next year’s crop rotation and amendments are based on a record rather than memory.
Rebuild Soil With Compost, Not Guesswork
Compost improves soil structure, water-holding capacity, drainage, and nutrient storage, but it is not a universal fertilizer replacement. Utah State University Extension suggests adding 2 to 3 inches of well-composted organic matter for each 6 inches of tilling depth as a soil-building guideline (Utah State University Extension). In an established no-dig bed, a surface layer is often enough; do not bury compost simply because the bed looks empty.
Spread compost after removing weeds and diseased residue, then decide whether the bed needs shallow incorporation or a surface top-dressing. If the soil is wet, leave the compost on top and let rain, earthworms, and microbes move it gradually. If the soil is workable, mix only as deeply as the soil test or crop plan requires. Repeatedly turning the entire bed can undo the structure you are trying to build.
Match the material to the job. Finished compost is nutrient-rich and useful where hungry crops will grow. Shredded leaves add carbon and organic matter but break down more slowly. Aged leaf mold improves texture and moisture behavior without delivering as much fertility. Wood products are better as a path mulch or around established perennial crops unless they have already decomposed; fresh, fine material can mat and slow water entry.
Choose Between Mulch, a Cover Crop, and a Bare Bed
An empty bed does not have to be bare. Soil cover protects against pounding rain, wind erosion, temperature swings, and weed germination, but the best cover depends on when you plan to plant and whether you can manage the material. Fine Gardening summarizes mulch’s main jobs as shading weeds, slowing evaporation, softening rainfall, moderating soil temperature, and adding organic matter as organic materials decompose (Fine Gardening).
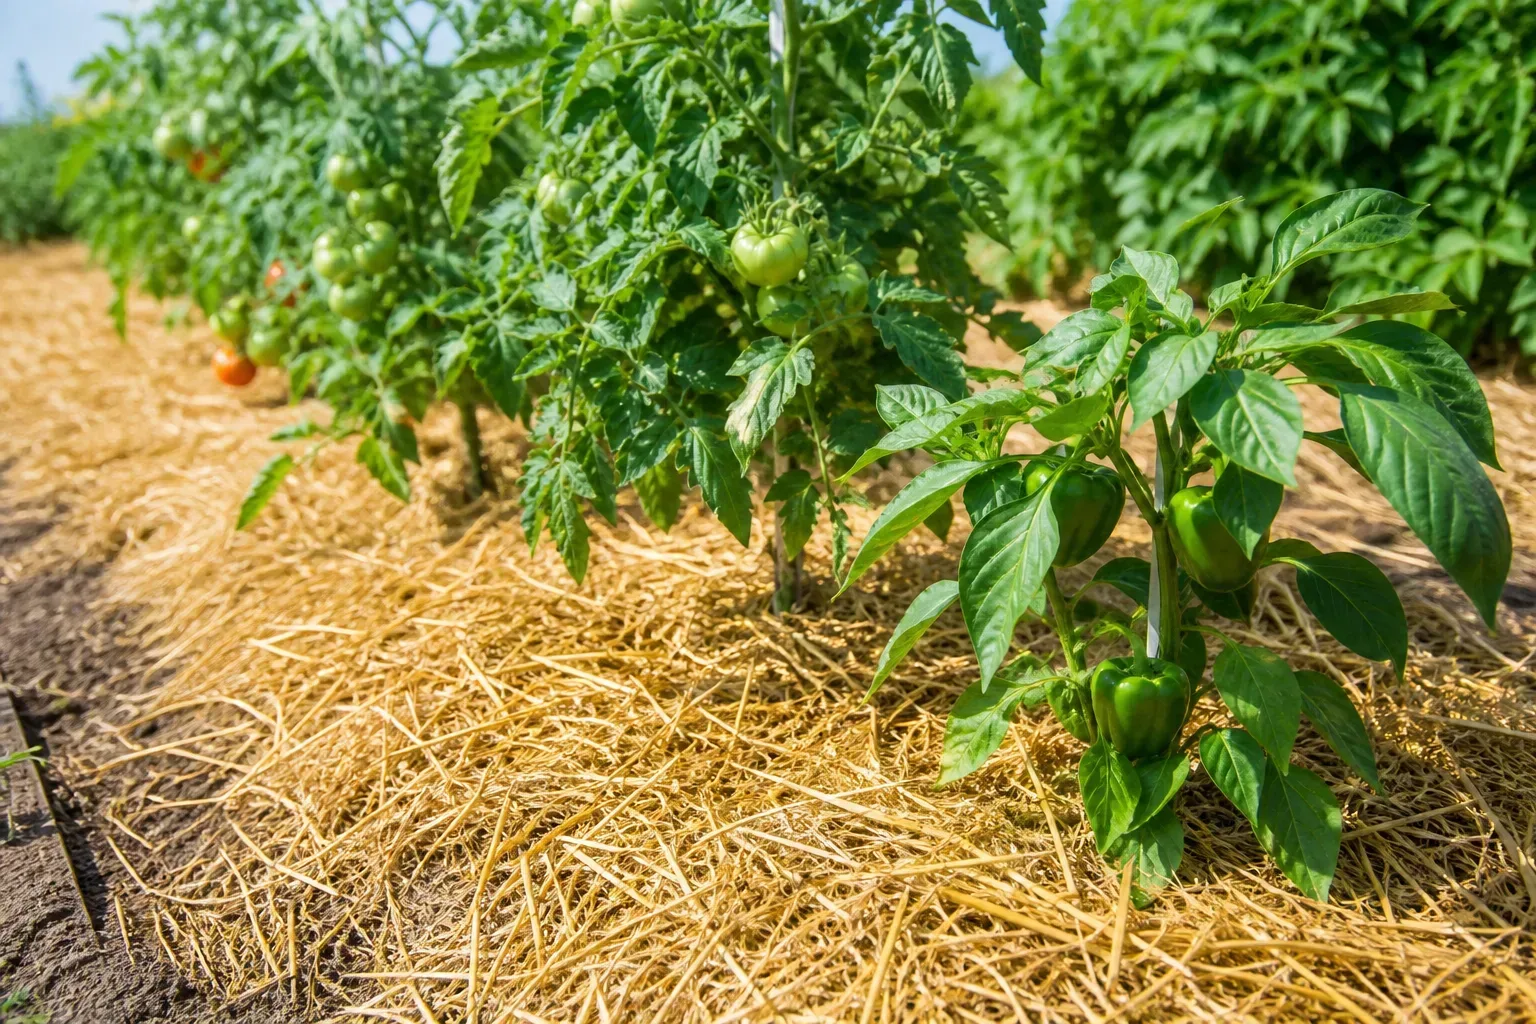
Choose a dry mulch when you need a quick spring transition. It can be pulled aside in one afternoon, leaving the bed ready for direct sowing or transplanting. Choose a cover crop when you have enough time for it to establish and a plan for cutting it down before it becomes woody or sets seed. Choose a temporarily bare bed only when you will plant soon and can protect it from erosion; bare soil is the least forgiving option during a wet, windy spring.
Match mulch to the crop and the season
Use shredded leaves, clean straw, or finished compost for most vegetable beds. Avoid hay unless you want to gamble on a heavy crop of grass and broadleaf weeds; straw is the hollow grain stem, while hay is a feed crop that commonly carries seed. Savvy Gardening also recommends waiting to mulch early spring crops until soil is no longer saturated, and applying straw around direct-sown crops after seedlings are several inches tall rather than burying a fresh row of seed (Savvy Gardening).
For an established vegetable bed, a loose 2- to 4-inch layer is a reasonable starting range, reduced around small seedlings and increased only when the material is airy and the crop needs insulation. Keep mulch a little away from stems and crowns so moisture does not stay pressed against them. If the bed is cold and wet, pull back heavy mulch before planting; if it is dry and exposed, water the soil first and then mulch so you do not seal dust under a blanket.
Compost can serve as a spring mulch where fertility is needed. GrowVeg notes that a 2- to 4-inch layer of well-rotted homemade compost can suppress annual weeds and prime soil for the growing year, while fresh grass clippings should be applied thinly so they do not mat into a sour, airless layer (GrowVeg). The correct depth is less important than keeping the material loose, clean, and appropriate for the crop.
Clear Weeds Before They Become Established
Weed early, before seedlings establish deep roots or produce seed. Pull annual weeds when the soil is workable, and remove as much of the root system as practical from perennial weeds such as bindweed or thistle. Do not simply chop mature seed heads into the bed; you may be distributing next year’s problem while trying to solve this year’s.
Mulch cannot reliably kill a living perennial weed underneath it. It shades new seedlings and slows germination, but an established root crown can push through a loose layer. Pull or hoe first, then cover the cleared surface. In paths, a thicker layer of straw or another appropriate material can reduce mud and weed pressure; keep path material from drifting into seed rows.
If weeds are overwhelming a new bed, cardboard under compost can be a temporary smothering layer, but remove tape, plastic, and glossy coatings first. Do not use cardboard as an excuse to bury perennial roots in a planting hole or to cover a bed you intend to direct-sow tomorrow. The method is most useful where you can allow the layer to soften before planting.
Protect Beds From Compaction and Poor Drainage
Healthy soil needs pore space for air, water, roots, and organisms. Spring foot traffic, wheelbarrow ruts, and repeated digging in saturated beds press those pores shut. Raised beds are not automatically protected; their loose soil can compact quickly if everyone walks across them to reach the middle.
Create a permanent path system and work from the edges. In a wide bed, lay a sturdy board across the surface when you must reach the center, distributing your weight rather than concentrating it in two footprints. Keep the board clean if it touches multiple beds, especially when you have already seen a disease problem.
Improve a wet spring without digging mud
Mark puddles after rain and trace the source. A downspout may be dumping water into one corner, a path may be acting like a channel, or the bed may sit below the surrounding grade. Extend downspouts, reshape a path, open a drainage outlet, or build a raised planting zone only after the immediate water movement is understood. Adding more organic matter helps long-term structure, but it will not make a low spot drain overnight.
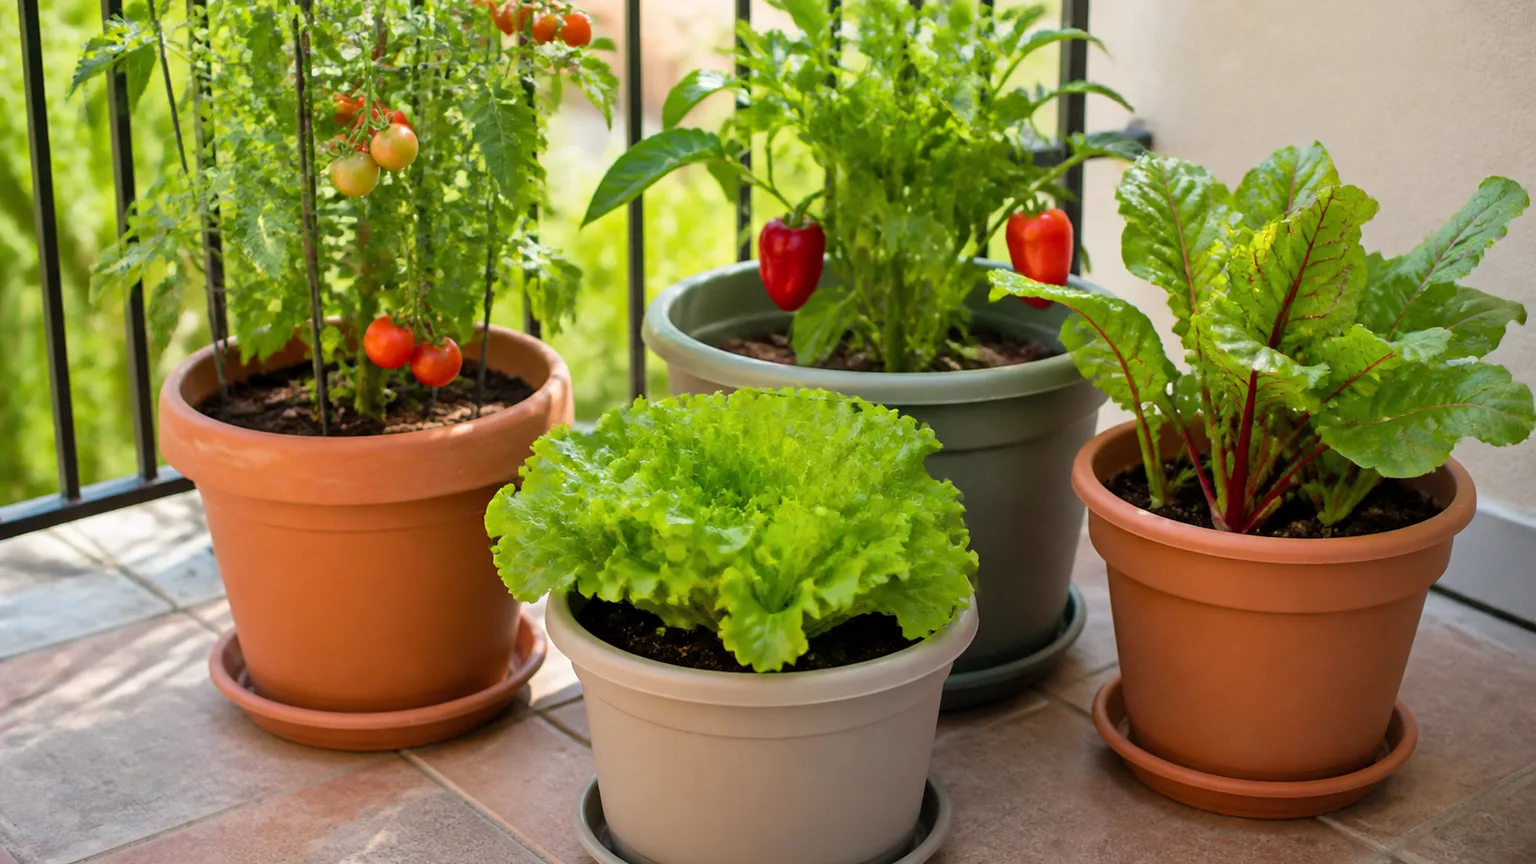
When a bed is waterlogged, postpone tilling and planting crops that hate cold, airless soil. Use containers or a better-drained bed for early sowing, and reserve the wet plot for a later crop if necessary. Homes & Gardens likewise advises staying off frozen or drenched beds because working them can compact soil for the rest of the season (Homes & Gardens). A delayed planting date is easier to recover from than a compacted root zone.
Plan Crop Rotation and Planting Windows
Draw last year’s bed map beside this year’s plan. Move crop families rather than only moving individual varieties: tomatoes, peppers, and eggplants share disease risks; brassicas share pests and nutrient demands; beans and peas influence how you manage fertility; and cucurbits can leave a dense canopy and persistent pest pressure. Rotation does not need to be perfect to help. Moving a family to a different bed and avoiding the same residue zone is better than repeating the exact placement every year.
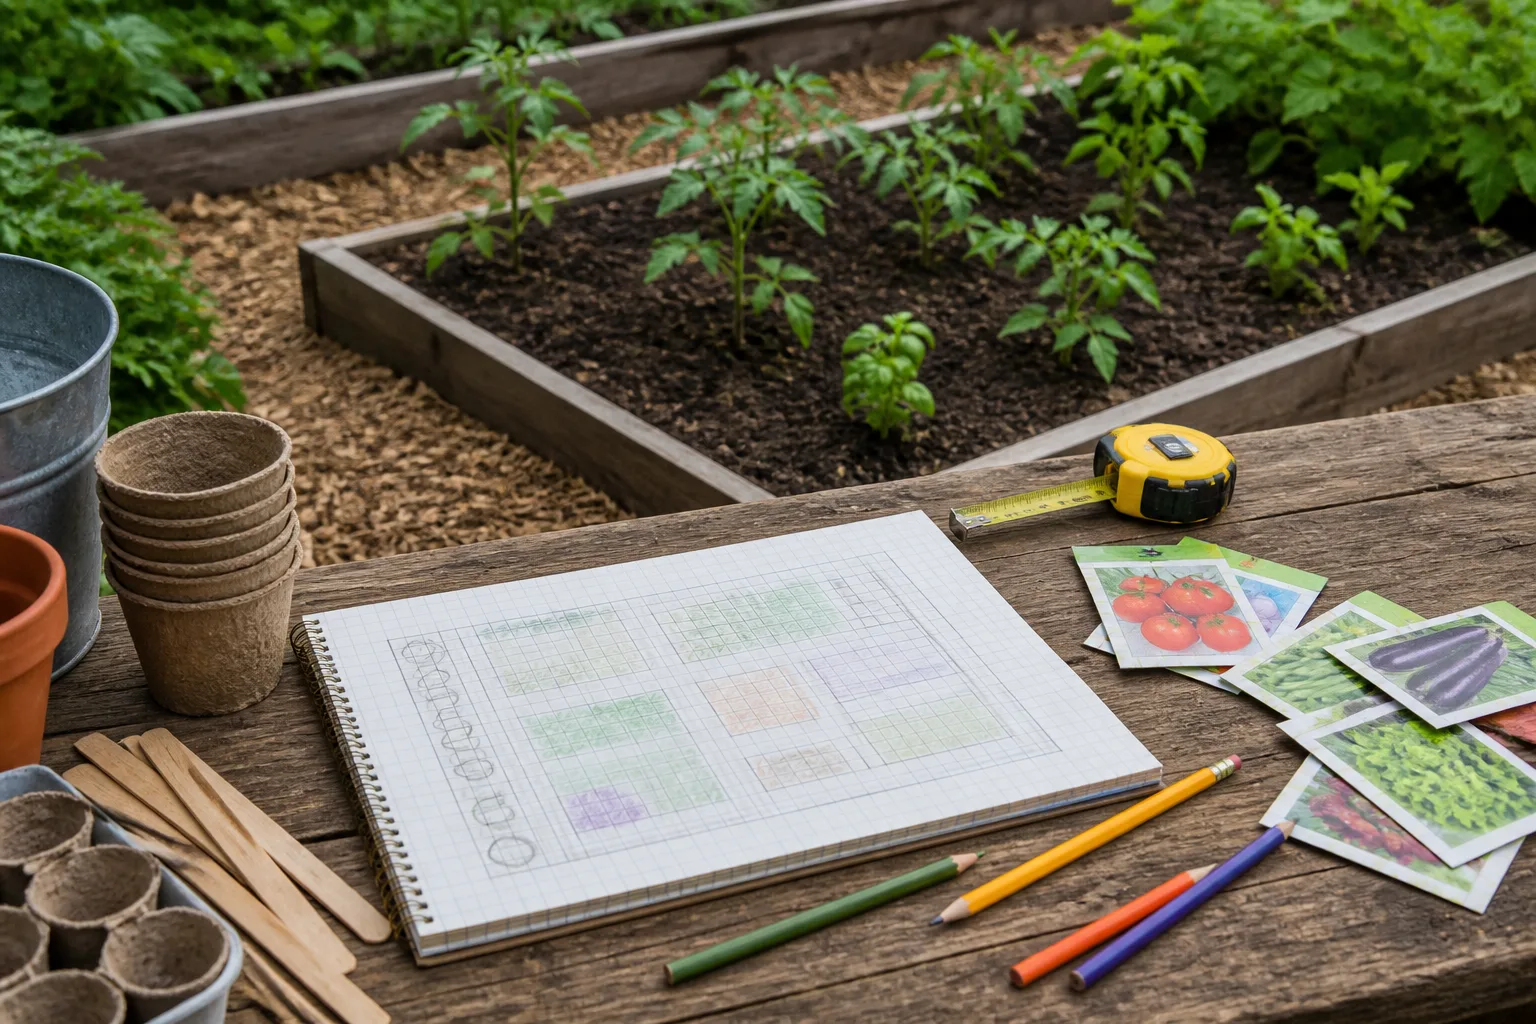
Use the map to plan succession planting. A bed that starts with spinach or peas can hold a warm-season crop after harvest; a row of radishes can give way to beans; and a cleared lettuce patch can be replanted instead of left to weeds. Leave enough room for mature plants, trellises, irrigation lines, and access so the garden remains workable when growth accelerates.
Use frost dates as a guide, not a promise
Cool-season crops such as peas, spinach, lettuce, kale, carrots, and many onions can tolerate lower temperatures than tomatoes, peppers, basil, cucumbers, and other warm-season crops. “Last frost” is an average, not a guarantee. UGA Extension advises waiting for the local spring planting window and using recommended varieties, while recognizing that an average frost date can shift earlier or later (UGA Extension).
Watch soil temperature, nighttime forecasts, wind, and the crop’s hardening-off status. A transplant that survived a warm afternoon may still be damaged by a clear, cold night. Keep row cover, cloches, or a low tunnel ready for a short cold snap, and ventilate protective covers on sunny days so heat does not build up around tender plants.
Set Up Watering Before Seedlings Need It
Watering problems often begin with a system that was never tested. Turn on the hose or irrigation line before planting, check for leaks, and make sure the far end receives water rather than only the first bed. Clean clogged emitters, move sprinklers away from foliage when possible, and place a simple rain gauge where it represents the garden rather than the roof runoff.
Vegetable water needs change with soil type, crop size, rainfall, and temperature. UGA Extension gives roughly 1 to 1½ inches per week as a general vegetable-garden starting point, with the reminder that conditions change and early-day watering helps foliage dry (UGA Extension). Treat that number as a planning estimate, not an automatic schedule. Probe below the surface before watering again, especially in mulched beds where the top inch can look dry while the root zone is moist.
Water deeply enough to wet the root zone, then allow the surface to dry slightly between irrigations unless a crop or heat wave requires otherwise. Mulch after the soil is watered and workable, not over saturated ground. Group crops with similar needs so a thirsty cucumber does not force shallow-rooted onions or drought-tolerant herbs into the same watering pattern.
Clean and Sharpen Tools for Safe Garden Work
Spring is easier when the tools are ready before growth becomes a race. Wash soil from shovels, hoes, forks, pruners, and trowels; dry metal thoroughly; remove rust; sharpen cutting edges; and oil moving joints or exposed metal according to the tool maker’s guidance. Store everything under cover rather than leaning it in wet grass.
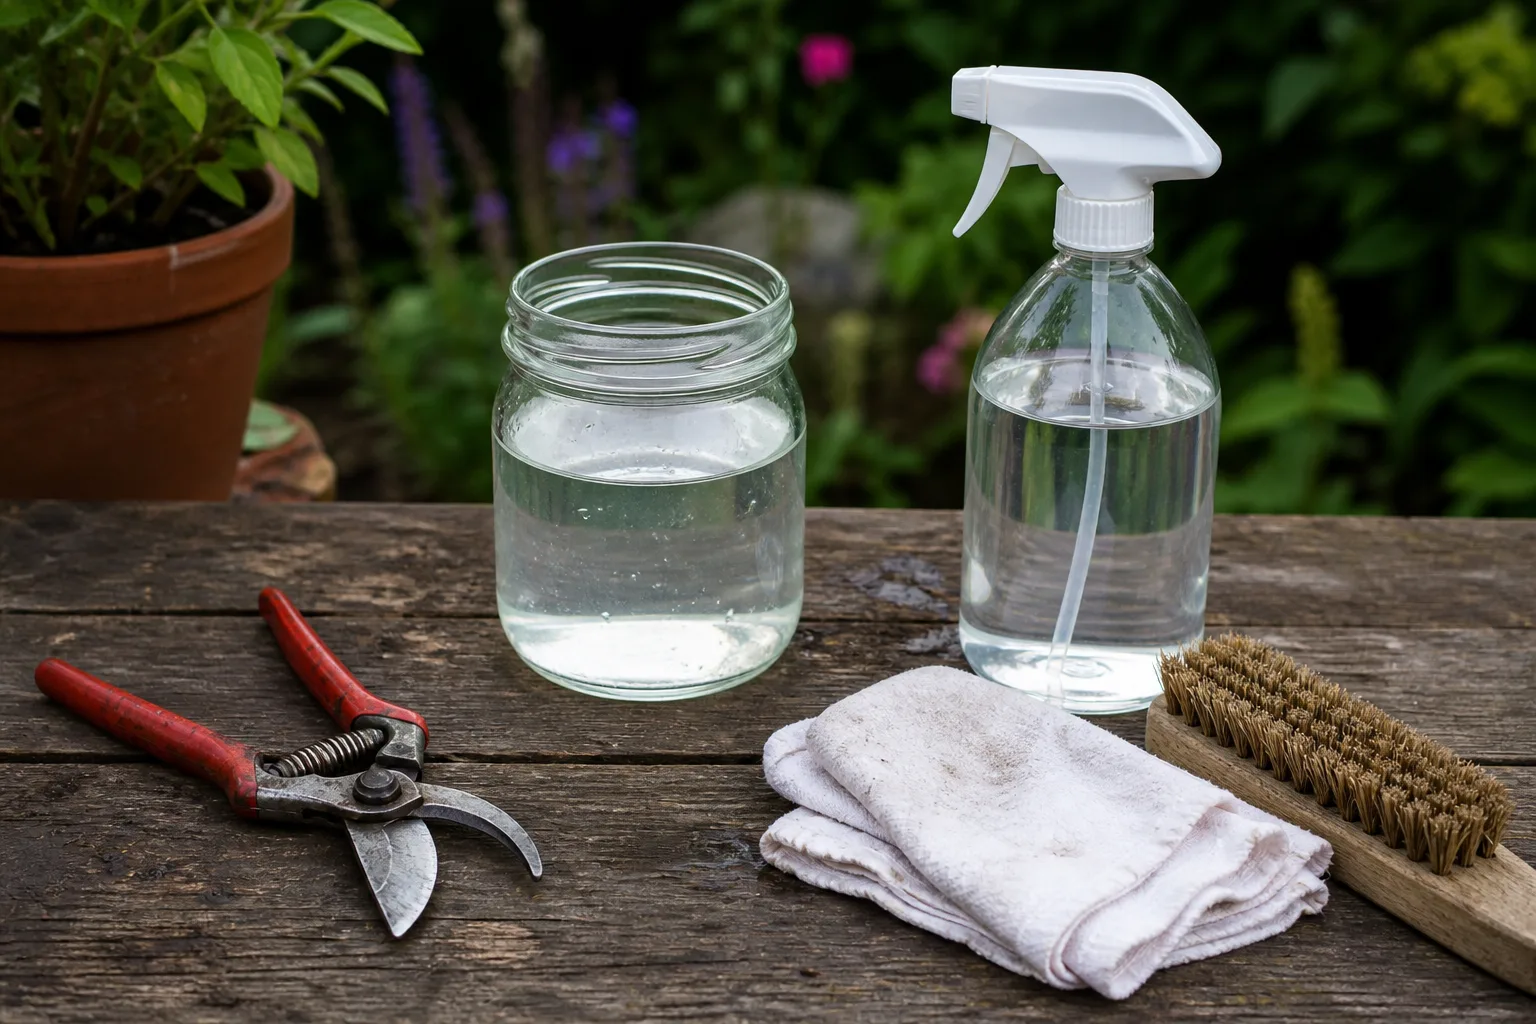
Sanitation matters when moving between beds with a known disease problem. Clean visible soil first, then use a product and dilution approved for the tool and task; keep disinfectants away from roots, edible tissue, children, and pets, and follow the label. Sharpened blades make cleaner cuts and reduce the temptation to force a dull tool through roots or stems.
Utah State University Extension specifically recommends cleaning, sharpening, and storing hand tools in a dry, protected area, with a light coating of oil to reduce rust (Utah State University Extension). Set up a small tool station near the garden so cleaning becomes a two-minute habit after each session instead of a forgotten winter project.
Check for Pests and Disease Before Planting
Inspect the bed edges, underside of remaining leaves, mulch surface, trellis joints, boards, pots, and the sheltered spaces beneath buckets or watering cans. You are looking for overwintering insects, slug habitat, rodent tunnels, chewed crowns, and recurring disease zones. Record what you see before buying a spray; the right response depends on whether the problem is an insect, a pathogen, weather damage, or a soil and watering issue.
Start with prevention that does not leave residues on edible crops. Remove diseased plant debris, improve airflow and drainage, rotate crop families, use clean seed and transplants, and cover vulnerable seedlings with insect netting or row cover. If a problem persists, identify the pest or disease through a county Extension service or plant clinic before choosing a treatment and follow the product label exactly.
Exclude pests before reaching for sprays
Use the smallest barrier that solves the problem. A floating row cover can protect a short row of brassicas from early flea beetles or caterpillars, while a mesh cage can protect young seedlings from rabbits. Deer need a different scale of exclusion, and bird netting must be taut enough that wildlife cannot become entangled.
Inspect barriers weekly. A gap at ground level, a sagging corner, or a cover left on during pollination can defeat a good plan. Do not assume that a single scent, scare device, or homemade spray will manage a population all season; exclusion, sanitation, and crop rotation are usually more dependable first steps.
Bring Raised Beds and Paths Back to Life
Check the structure before filling the bed. Tighten loose boards, replace rotted corners, clear blocked drainage openings, and top up settled soil with a compatible mix. Do not bury a structural problem beneath compost; water that pools against a bed wall will keep causing trouble no matter how rich the soil looks.
Paths deserve the same attention because they determine whether you can work without stepping into the soil. Rake gravel back into place, refresh a thin layer of clean path mulch, repair stepping stones, and leave enough width for a hose or wheelbarrow. A stable path also makes it easier to reach the garden from the edge when spring soil is still vulnerable.
If raised beds dry rapidly in your climate, add organic matter gradually and install irrigation before summer. If in-ground rows stay wet, do not assume that a taller bed is the only answer; a shallow, broad mound, a redirected downspout, or a better-sited crop may solve the actual problem with less expense.
Use a Simple Spring-to-Summer Maintenance Rhythm
Once the first crops are planted, the garden needs a rhythm rather than another large makeover. Walk it at least once a week, and make the same observations in the same order: soil moisture, weeds, plant vigor, pests, supports, and weather. Early observations are more valuable than dramatic repairs after a crop has already stalled.
After rain, check whether water infiltrated or pooled. After watering, check the root zone instead of relying on the surface. After a warm spell, inspect leaf undersides and tender new growth. After a cold night, look for frost injury before pruning or fertilizing; damaged tissue can be left in place until you can tell what is alive.
Refresh mulch when it thins, but do not bury seedlings or close the crown of a plant. Remove diseased leaves promptly, harvest on time, and replant open spaces before weeds claim them. Keep notes on sowing dates, varieties, rainfall, pest appearances, and what worked. By midsummer, those notes are more useful than a generic calendar because they reflect your garden’s actual timing.
Conclusion
A thriving spring vegetable garden begins with restraint. Wait for workable soil, remove the residue that can carry problems, test before adding fertilizer, top-dress with finished organic matter, protect the surface with the right mulch or cover crop, and plant by crop hardiness and local weather rather than by a fixed date.
Then keep the system simple: water the root zone, stay on the paths, inspect often, rotate crop families, and use barriers before sprays. The goal is not a perfectly clean garden or a single heroic preparation day. It is soil that stays open, beds that drain, plants that start at the right time, and a gardener who can see the next problem while it is still small.



