What Light Bulb Wattage Do You Need?
What light bulb wattage do you need? Read your fixture’s maximum rating, choose brightness by lumens, and match the bulb’s actual watts, fit, and use.
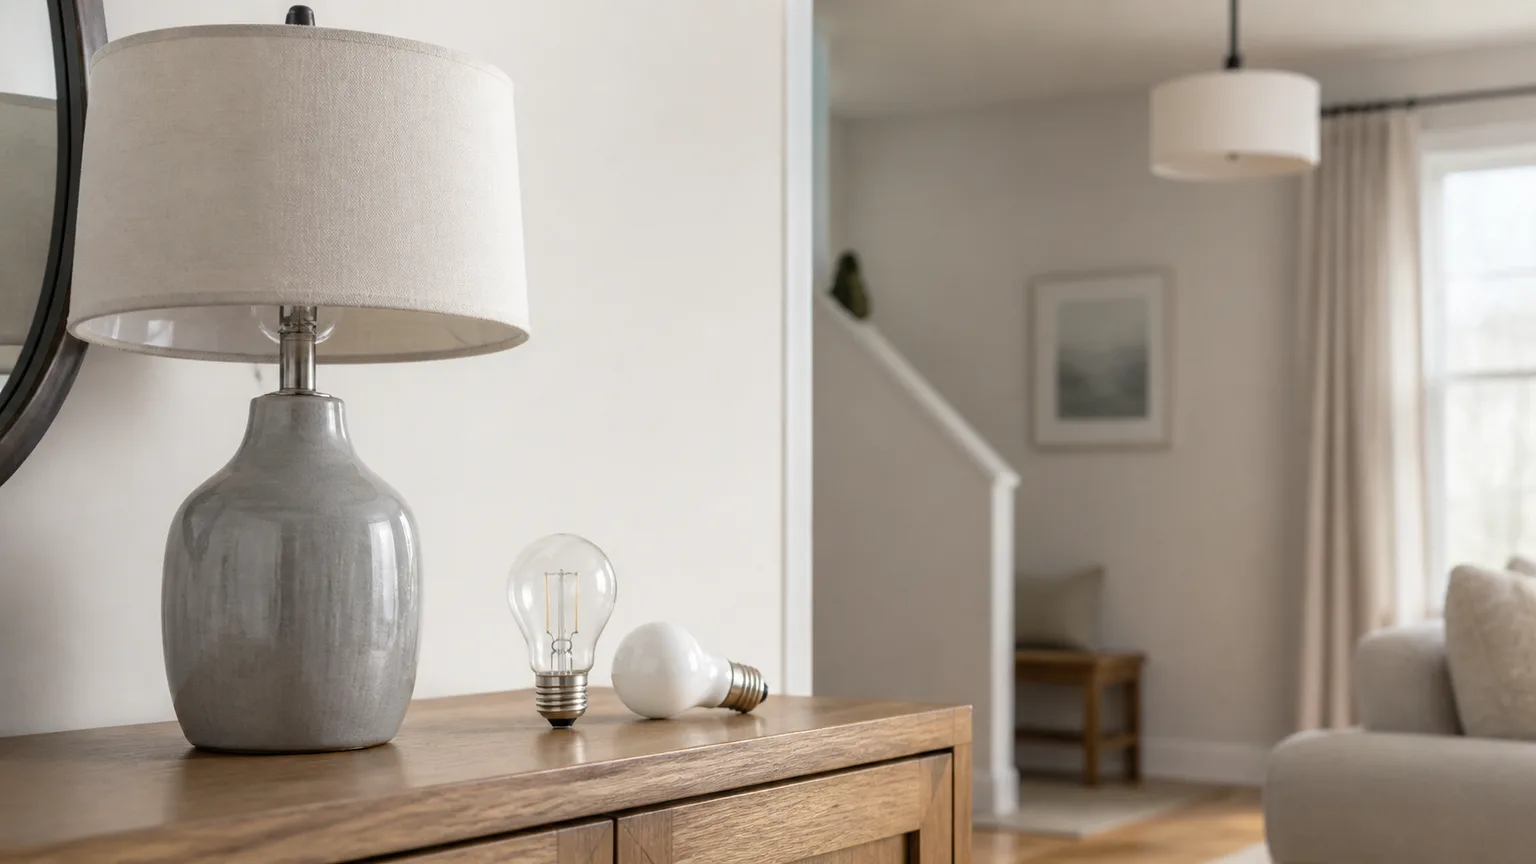
The right light bulb wattage is the lowest actual wattage that gives you enough light while staying at or below the fixture’s maximum rating. Start with the lamp or fixture, not the bulb package: find its maximum wattage, then choose brightness by lumens and confirm the bulb’s real wattage, base, voltage, and location rating.
For example, a lamp marked 60 watts maximum can generally use an 800-lumen LED that draws 9 watts, or a 60-watt incandescent bulb. It cannot safely use a 75-watt incandescent bulb just because that bulb fits the socket. If the package says “60W equivalent” but the LED actually uses 9 watts, the number that counts against the lamp’s wattage limit is 9 watts.
The short answer: match two ratings, not one
You are solving two different problems when you replace a bulb. The first is electrical and thermal safety: the bulb’s actual power draw must not exceed the fixture’s stated maximum. The second is useful illumination: the bulb must produce enough lumens for the room, task, and shade.
Those two numbers often move in opposite directions. A modern LED may produce the light of an older 60-watt incandescent bulb while consuming only 8 to 10 watts. That lets you get the brightness you need without using the same amount of energy or heat, but it does not erase the fixture’s other restrictions.
Use this order every time:
- Find the fixture’s maximum wattage and any special bulb instructions.
- Decide how bright you want the light in lumens.
- Choose a bulb whose actual watts are at or below the limit.
- Confirm the base, shape, voltage, dimmer, enclosure, and damp- or wet-location rating.
If the marking is missing, damaged, or contradictory, do not guess that the fixture is safe for a higher-wattage bulb. Use the manufacturer’s installation information or have an electrician identify the fixture.
Wattage vs. lumens vs. color temperature
Watts measure power use. Lumens measure visible light output. Color temperature, expressed in kelvins, describes whether the light looks warm, neutral, or cool. They answer different questions, so using any one of them as a substitute for the others leads to bad bulb choices.
The U.S. Department of Energy explains lumens as the measure of light output and has promoted lighting labels that make brightness easier to compare than the old watt-based shorthand. In practical terms, compare the lumen number when you want a brighter or dimmer bulb, and compare actual watts when you are checking the fixture’s safety limit. (Department of Energy: LED Lighting Facts)
Color temperature changes the mood and perceived contrast but does not tell you how much light the bulb produces. A 2700K bulb can be cozy and warm, while a 4000K bulb can look crisp and neutral; either could have 800 lumens. Choose kelvins after you have chosen the output and confirmed the fixture fit.
What “60W equivalent” really means
An incandescent-equivalent label is a brightness comparison, not the bulb’s electrical draw. A package marked “60W equivalent” usually means the bulb is intended to produce a similar amount of light to a 60-watt incandescent bulb. The same package might say “uses 9 watts” or “9W actual.” For a fixture rated at 60 watts maximum, the 9-watt figure is the relevant wattage check.
That shortcut has limits. The equivalent number does not guarantee identical beam spread, color, dimming behavior, warm-up, or appearance through a shade. It also does not override a bulb’s “not for enclosed fixtures” warning or a fixture’s voltage and location requirements.
Read the fixture before buying a bulb
The fixture’s rating is the controlling safety instruction. A lamp socket, ceiling fixture, recessed can, outdoor sconce, or fan light is designed to manage a particular amount of electrical load and heat. Exceeding the maximum can overheat the socket, wiring, insulation, or surrounding materials; that is why “it fits” is not a sufficient test.
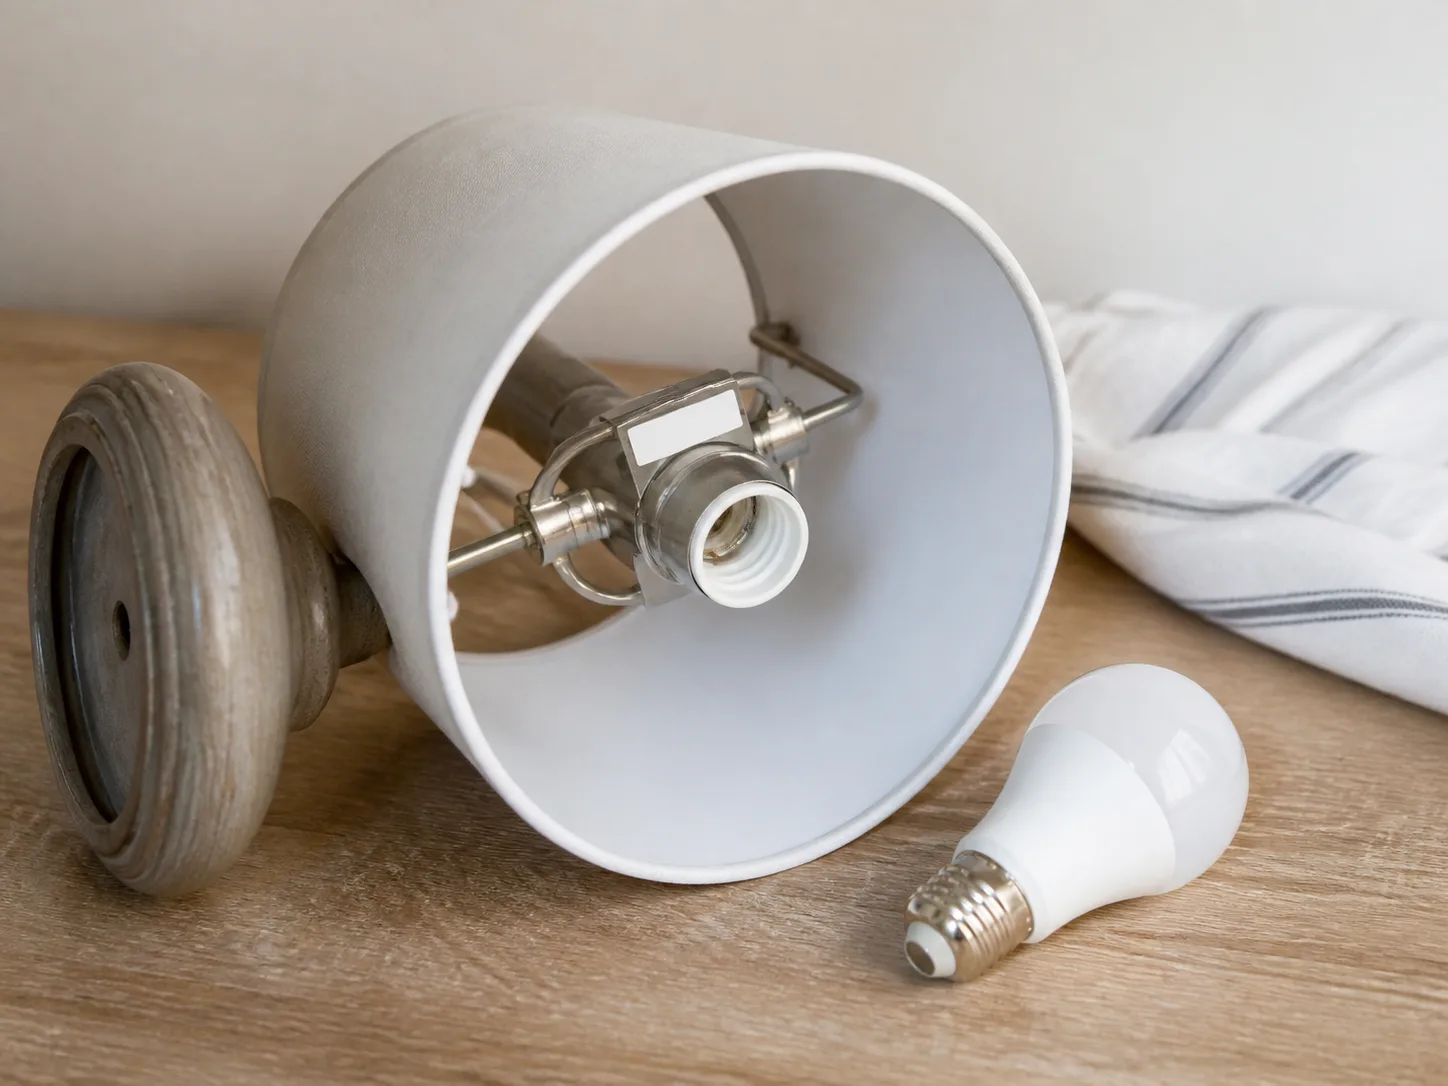
Where the maximum wattage is printed
Look in four places:
- On a label beside or inside the socket
- On the lamp’s base, harp, canopy, or body
- On a sticker or plate inside a shade or recessed housing
- In the fixture’s installation sheet or manufacturer’s product page
The label may say “60W max,” “75 watts per socket,” “maximum 120W,” or specify a bulb type instead of a single number. Read the full wording. A fixture can have one maximum for incandescent bulbs and a separate instruction for LED or CFL bulbs, especially when it has a ballast, integrated electronics, or an enclosed housing.
If you find a maximum wattage label covered by dust, paint, or a loose shade, clean around it without disturbing wiring. Do not remove a ceiling fixture’s canopy or expose conductors just to search for a number unless you know how to isolate the circuit safely. An electrician can identify an unmarked fixture without turning a bulb replacement into live electrical work.
One socket versus multiple sockets
Do not assume a three-light chandelier marked “60W maximum” can take three 60-watt bulbs. Determine whether the label means 60 watts per socket or 60 watts total. If it gives a total, add the actual wattage of every bulb.
For a fixture with a stated 180-watt total limit, three 60-watt incandescent bulbs reach the limit. Three 9-watt LEDs use 27 watts in total, even if each package says “60W equivalent.” If the label is unclear, use the more conservative interpretation and follow the manufacturer’s instructions.
The same rule matters for track heads, vanity bars, ceiling fans, and string-like decorative fixtures. Count every bulb that operates at the same time, and remember that a fixture’s maximum rating may be limited by the socket or housing rather than by the household circuit feeding the room.
Choose brightness by lumens
Once the fixture limit is clear, choose the amount of light. The most useful comparison is the lumen rating printed on the bulb package. The Department of Energy’s lighting guidance also recommends using lumens rather than watts to compare how much light a bulb provides. (Energy Saver: Energy 101—Lumens)
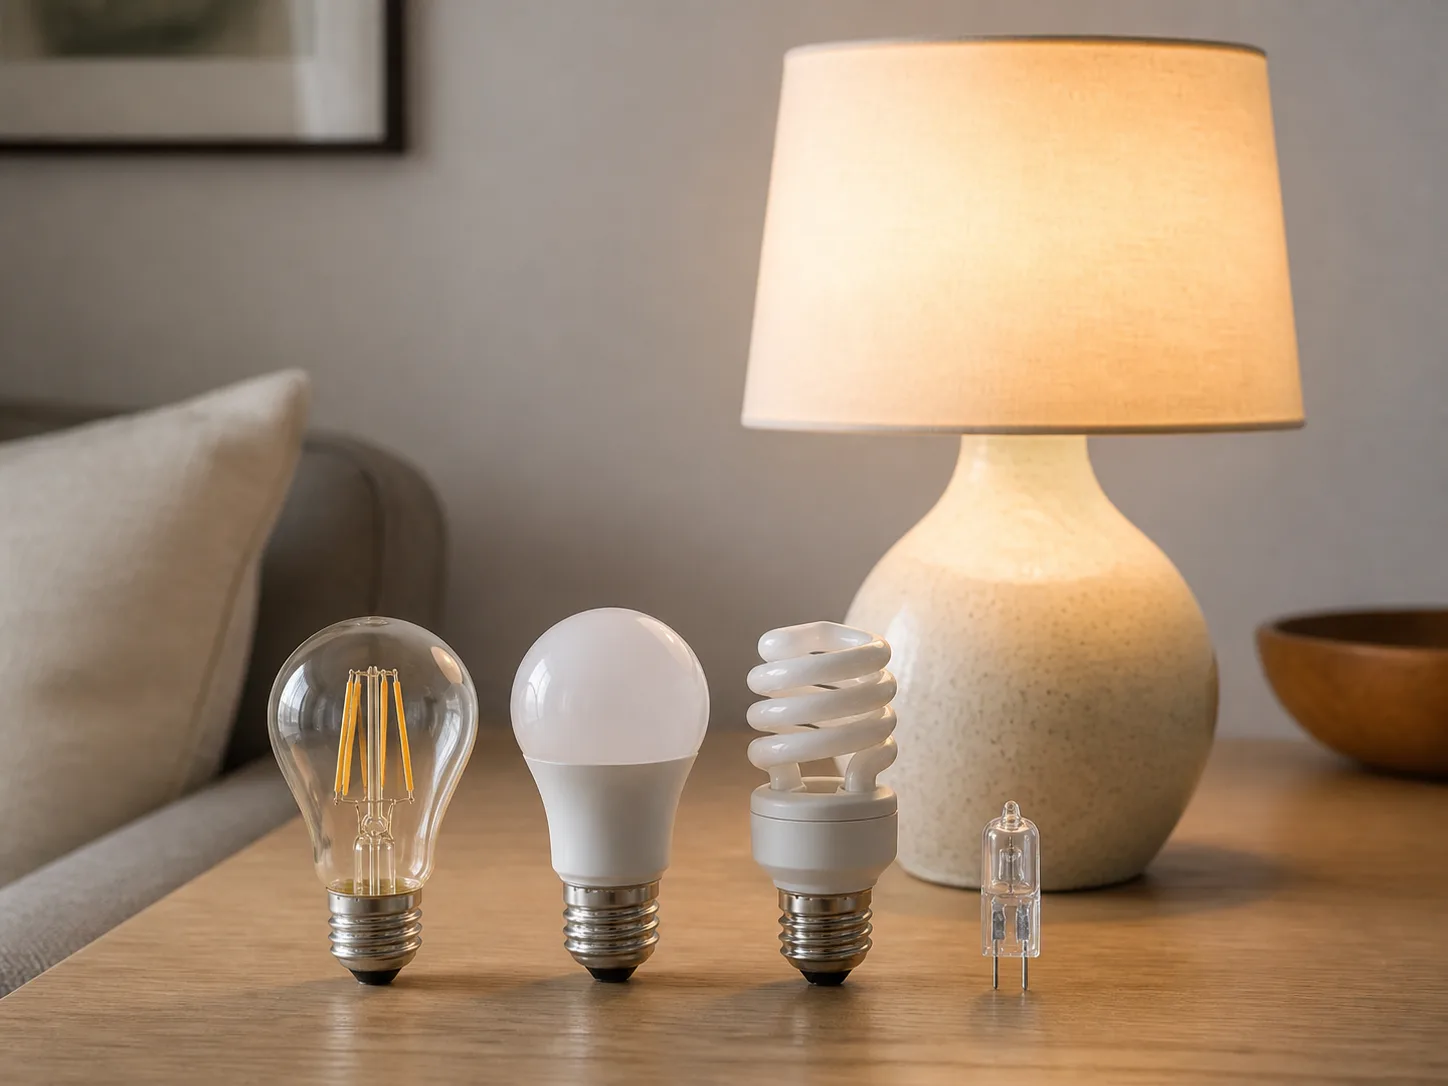
As a practical starting point, these ranges work for many household bulbs:
| Intended use | Approximate lumen range | Typical example |
|---|---|---|
| Soft bedside or accent light | 250–450 lumens | 25–40W incandescent equivalent |
| Small table lamp or hallway | 450–800 lumens | 40–60W incandescent equivalent |
| Reading lamp or general room bulb | 800–1,100 lumens | 60–75W incandescent equivalent |
| Kitchen task light or larger room | 1,100–1,600 lumens | 75–100W incandescent equivalent |
| Strong work or utility lighting | 1,600+ lumens | Use fixture optics and glare control, not wattage alone |
These are starting points, not room-code requirements. A dark shade absorbs light, a clear globe spreads it differently, and a high ceiling can make the same lumen output feel weak. Multiple lower-wattage bulbs can also provide more even light than one very bright bulb, provided the fixture’s total rating and glare tolerance allow it.
A bulb can be technically bright enough and still be the wrong choice for a reading task if its beam is narrow, its color is uncomfortable, or the shade blocks much of the output. Choose the lumen range first, then consider bulb shape, diffuser, beam angle, and color temperature.
LED wattage equivalents: use the package as a guide
LED efficiency varies by product, so do not memorize one exact conversion chart. The following examples are common household ranges, not guarantees:
| Approximate incandescent brightness | Typical lumens | Common LED actual wattage range |
|---|---|---|
| 40W | about 450 lumens | 4–6W |
| 60W | about 800 lumens | 8–10W |
| 75W | about 1,100 lumens | 10–14W |
| 100W | about 1,600 lumens | 14–18W |
Check the individual package because lumen output, efficiency, beam pattern, and color can differ between brands. The Department of Energy’s energy-efficient lighting material describes the value of comparing light output and energy use directly rather than treating a legacy watt number as a universal brightness standard. (Department of Energy: Purchasing Energy-Efficient Light Bulbs)
This is where LEDs are especially useful in an older lamp. A 60-watt-max fixture may look dim with a 40-watt incandescent bulb, but it can often use a higher-lumen LED that draws 11 or 15 actual watts. That is a brightness upgrade within the wattage limit, as long as the bulb is approved for the fixture’s enclosure, dimmer, voltage, and location.
Do not interpret the table backward. A 100W-equivalent LED that uses 15 watts is not a 100-watt load, but a 100-watt incandescent bulb is. If a package presents several numbers, look for “watts,” “actual watts,” or “energy used,” not only “equivalent.”
Check compatibility beyond wattage
Wattage is necessary but not sufficient. A bulb can draw an acceptable amount of power and still be unsafe, unusable, or short-lived in the wrong socket, enclosure, control system, or environment.
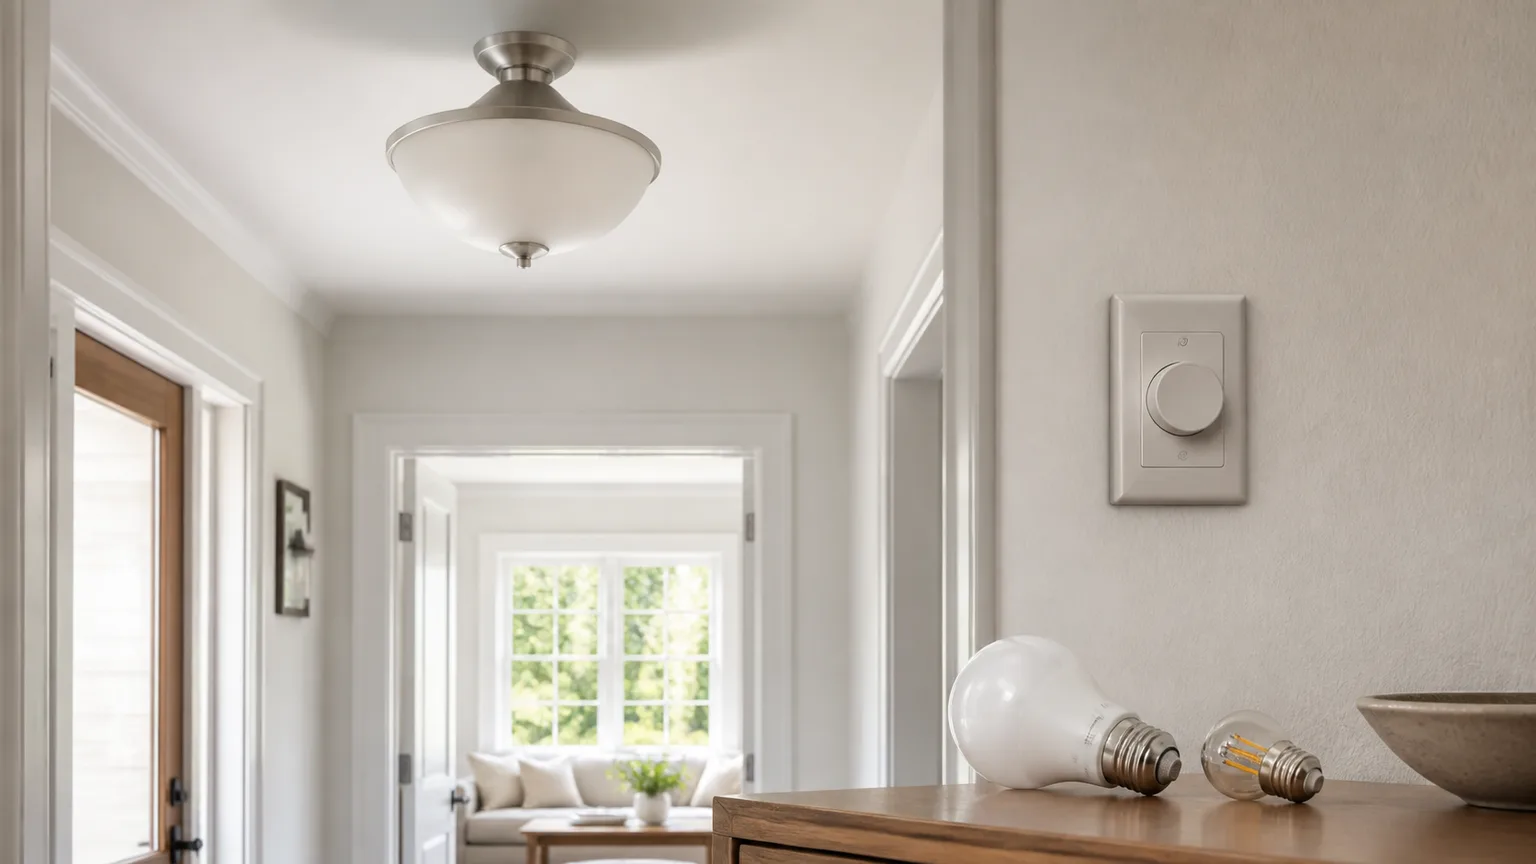
Base, shape, and voltage
Match the bulb base exactly. In many U.S. household lamps, E26 is common; E12 candelabra bases, GU10 pins, and other formats are not interchangeable just because the bulb’s wattage is low. A forced or loose connection can arc, flicker, heat, or damage the socket.
Also match the bulb shape to the shade and housing. A larger LED may physically fit a screw base but leave too little clearance for heat to escape. A reflector bulb can put light in a different direction than an omnidirectional A-shape bulb. In recessed or directional fixtures, beam angle often matters more than a small difference in wattage.
Check voltage when the fixture is imported, used on a low-voltage landscape system, or connected to a specialized transformer. A household bulb designed for one voltage range is not automatically suitable for another. Do not solve a voltage mismatch by using a lower-wattage bulb; wattage and voltage are separate specifications.
Enclosed fixtures, dimmers, and damp locations
An LED produces less heat than an incandescent bulb for similar light output, but it still produces heat at its electronics and driver. In a tight glass globe, enclosed ceiling fitting, or recessed housing, trapped heat can shorten the bulb’s life or cause abnormal operation. Use a bulb explicitly marked suitable for enclosed fixtures when the package or fixture requires it. An electrical-industry guide from PacLights also flags heat dissipation in enclosed LED applications as a compatibility issue, not merely an efficiency detail. (PacLights: Light Fixture Maximum Wattage and LED Compatibility)
For a dimmer, the bulb should say dimmable, and the dimmer may need to be LED-compatible. Flicker, buzzing, a narrow dimming range, or a bulb that will not turn fully off can indicate an incompatible control combination. Replace the bulb with a compatible model or have the dimmer evaluated; do not keep cycling a visibly malfunctioning setup.
Three-way lamps need three-way bulbs and a functioning three-way socket if you want all brightness levels to work. A standard bulb may light at one setting but behave unpredictably at others. Smart bulbs can also conflict with dimmers, timers, or switches that cut power, because their electronics need a steady supply to remain connected.
Bathrooms, porches, wet rooms, and exterior fixtures need the correct damp- or wet-location rating. A bulb that is safe in a dry table lamp may not be rated for condensation or direct exposure. Look for the location marking on the bulb and fixture, and follow the stricter instruction when they differ.
A five-step bulb selection method
This process takes less time than returning the wrong bulb and helps prevent the most common oversights.
Steps 1–2: identify the limit and choose lumens
Step 1: Photograph or write down the fixture rating. Before going to the store, record the maximum watts, the number of sockets, the base type, and any words such as “LED only,” “enclosed,” “dimmable,” “damp,” or “total watts.” If you cannot find a rating, find the model number or manufacturer instructions instead of estimating from the fixture’s size.
Step 2: Choose a lumen target. Decide what the bulb needs to do. A bedside lamp may need 450 lumens, a general table lamp 800 lumens, and a kitchen task fixture 1,100 lumens or more. Consider shade opacity and whether the light should be warm, neutral, directional, or diffuse.
Steps 3–4: confirm actual watts and physical compatibility
Step 3: Check actual watts. Compare the bulb’s real wattage with the fixture’s maximum. For multiple bulbs, add the actual wattage of the bulbs that operate together. A 60W-equivalent LED using 9W counts as 9W; a 60W incandescent counts as 60W.
Step 4: Confirm the rest of the label. Match the base, shape, voltage, dimmer compatibility, enclosure rating, and damp- or wet-location rating. If the bulb will be inside a shade or globe, check clearance and the manufacturer’s enclosure instruction. A lower wattage does not rescue a bulb with the wrong voltage or an unapproved environment.
Step 5: install, observe, and adjust
Turn the fixture off and let a used bulb cool before replacing it. Screw the new bulb in snugly without forcing it, restore power, and check for steady operation, unusual heat, buzzing, flickering, odor, or discoloration. A small amount of warmth is normal for many bulbs; a burning smell, smoke, arcing, or rapidly heating socket is not.
If the bulb is safe but the room still feels dim, change the lumen output, shade, direction, or number of fixtures rather than jumping to a bulb with a higher actual wattage than the fixture allows. If it is too bright, choose fewer lumens or a diffuser. The fixture’s maximum is a ceiling on power and heat, not a promise that the fixture will look best when loaded to that number.
Warning signs that mean stop using the fixture
Switch the light off immediately if you notice a burning or hot-plastic smell, smoke, sparks, a socket that is too hot to touch briefly, melted plastic, blackened or brown marks, a warped shade, repeated breaker trips, or insulation that looks brittle or discolored. For a plug-in lamp, unplug it after switching it off if you can do so without touching damaged parts. For a hardwired fixture, turn off the breaker if you can identify it safely.
Do not keep testing different high-wattage bulbs to see whether the symptom goes away. A bad socket, loose connection, damaged wire, incompatible dimmer, or fixture defect can create heat even when the bulb wattage is within the printed limit. Leave the fixture disconnected and arrange an electrician’s inspection if the warning sign is not clearly limited to a failed bulb.
The risk is not only a burned-out lamp. Excess heat can damage sockets and insulation and may transfer to nearby shade, ceiling, or framing materials. If a bulb has already exceeded the rating, replace it with a compliant bulb but also inspect the socket and surrounding materials for discoloration before putting the fixture back into regular use.
Common mistakes and quick troubleshooting
Mistake: shopping by “60W” alone. That number may describe an incandescent equivalent, not actual LED draw. Read lumens and actual watts separately.
Mistake: assuming LEDs never get hot. LEDs generally use less energy for similar light, but the electronics still need heat management. Use the correct enclosed-fixture rating and keep vents or heat-dissipating parts clear.
Mistake: adding the wattage incorrectly. Three 9W LEDs are 27 actual watts, not 180 watts because each is labeled “60W equivalent.” Three 60W incandescent bulbs are 180 watts.
Mistake: ignoring the dimmer. A non-dimmable LED can flicker or buzz on a dimmer. Verify both bulb and control compatibility.
Mistake: choosing a bulb that fits the base but not the shade. Check overall length, diameter, beam direction, and clearance. A bulb that touches glass or sits in a cramped housing may overheat or create glare.
Mistake: using a dry-location bulb outdoors. Moisture changes the safety requirements. Match the bulb and fixture to damp or wet conditions.
Mistake: continuing after a new bulb flickers. First confirm the bulb is seated correctly and the switch is compatible. If flicker persists, switch it off and investigate the socket, dimmer, wiring, or bulb quality rather than treating flicker as harmless decoration.
For a simple “too dim” problem, keep the fixture and compatibility checks unchanged and move up in lumens using a lower-wattage LED. For a “too hot” problem, stop using the fixture until you know whether the cause is an over-wattage bulb, trapped heat, a loose connection, or a failing component.
When to call an electrician
Call a qualified electrician when the fixture has no readable rating and you cannot identify its model, the socket is loose or cracked, wires are visible, the breaker trips, a ceiling fixture is overheating, an outdoor fitting needs rewiring, or a replacement bulb repeatedly flickers or buzzes after you have confirmed compatibility.
An electrician is also the right person for changes that go beyond replacing a bulb: adding a new ceiling fixture, converting a recessed housing, changing a dimmer, repairing a three-way circuit, correcting a voltage problem, or assessing a fixture near insulation or moisture. A bulb label can help you choose a product, but it cannot certify damaged wiring or a failed socket.
If the fixture is old, damaged, or impossible to identify, replacement may be more sensible than repeated bulb experiments. A modern fixture with a clear rating and appropriate certification can make future bulb choices simpler, but installation still needs to follow local electrical requirements and the manufacturer’s instructions. UL Solutions describes lighting safety testing and certification as covering lamps, components, and lighting systems; a certification mark is useful evidence of product evaluation, not a substitute for correct installation. (UL Solutions: Lighting Safety Testing and Certification)
Conclusion
The wattage you need is not a universal number such as 40, 60, or 100 watts. It is the actual wattage of a bulb that stays within the fixture’s maximum rating while delivering the lumens, color, fit, and compatibility you need.
Read the fixture first. Use lumens to choose brightness, treat “equivalent watts” as a comparison label, and verify the bulb’s actual watts, base, voltage, enclosure, dimmer, and location rating. When the fixture smells hot, shows scorch marks, flickers persistently, or has damaged wiring, stop using it and get the fixture evaluated instead of trying a stronger bulb.