Insulin Plant Repotting: When, Pot Size & Soil
Insulin Plant Repotting: When, Pot Size & Soil
Insulin Plant Repotting: When, Pot Size & Soil
An Insulin Plant that dries within a day of watering, pushes thick rhizomes against the pot wall, or topples from a narrow base is not asking for more fertilizer. It is asking for a reset of the root zone. Repotting refreshes exhausted mix and gives underground rootstocks room—but only if you treat Costus igneus (also sold as Chamaecostus cuspidatus) as a spiral ginger with fleshy rhizomes, not as a drought-tolerant succulent that likes a bone-dry rest between drinks.
UF/IFAS describes spiral flag / fiery costus as a tropical Costaceae perennial that forms attractive, arching clumps arising from underground rootstocks, reaches roughly two feet in typical landscape use, and is suited to containers or above-ground planters when given fertile soil and ample moisture (UF/IFAS — Costus igneus). That biology drives every pot decision: rich but freely draining mix, modest upsizing, spring-to-early-summer timing in India, and aftercare that keeps rhizomes moist without drowning them. For the full care map, start from the Insulin Plant overview.
Why Insulin Plant Needs a Rhizome-First Pot Reset
Most foliage houseplants forgive a random spring upgrade into a “dries hard between waterings” mix. Insulin Plant does not. Extension and landscape notes for this species call for fertile soil and ample moisture, with soil that can stay occasionally wet, while still accepting clay, sand, or loam textures if fertility and moisture stay steady (UF/IFAS — Costus igneus). In a container, the failure modes are two-sided. A tiny nursery pot under a fast-spreading rhizome clump dries too fast on a hot Indian balcony. A deep sealed cachepot with no drainage leaves fleshy rhizomes in stagnant, oxygen-poor mix, which is how soft stem bases and sour soil start—even though the plant likes steady moisture (Missouri Botanical Garden — Overwatering).
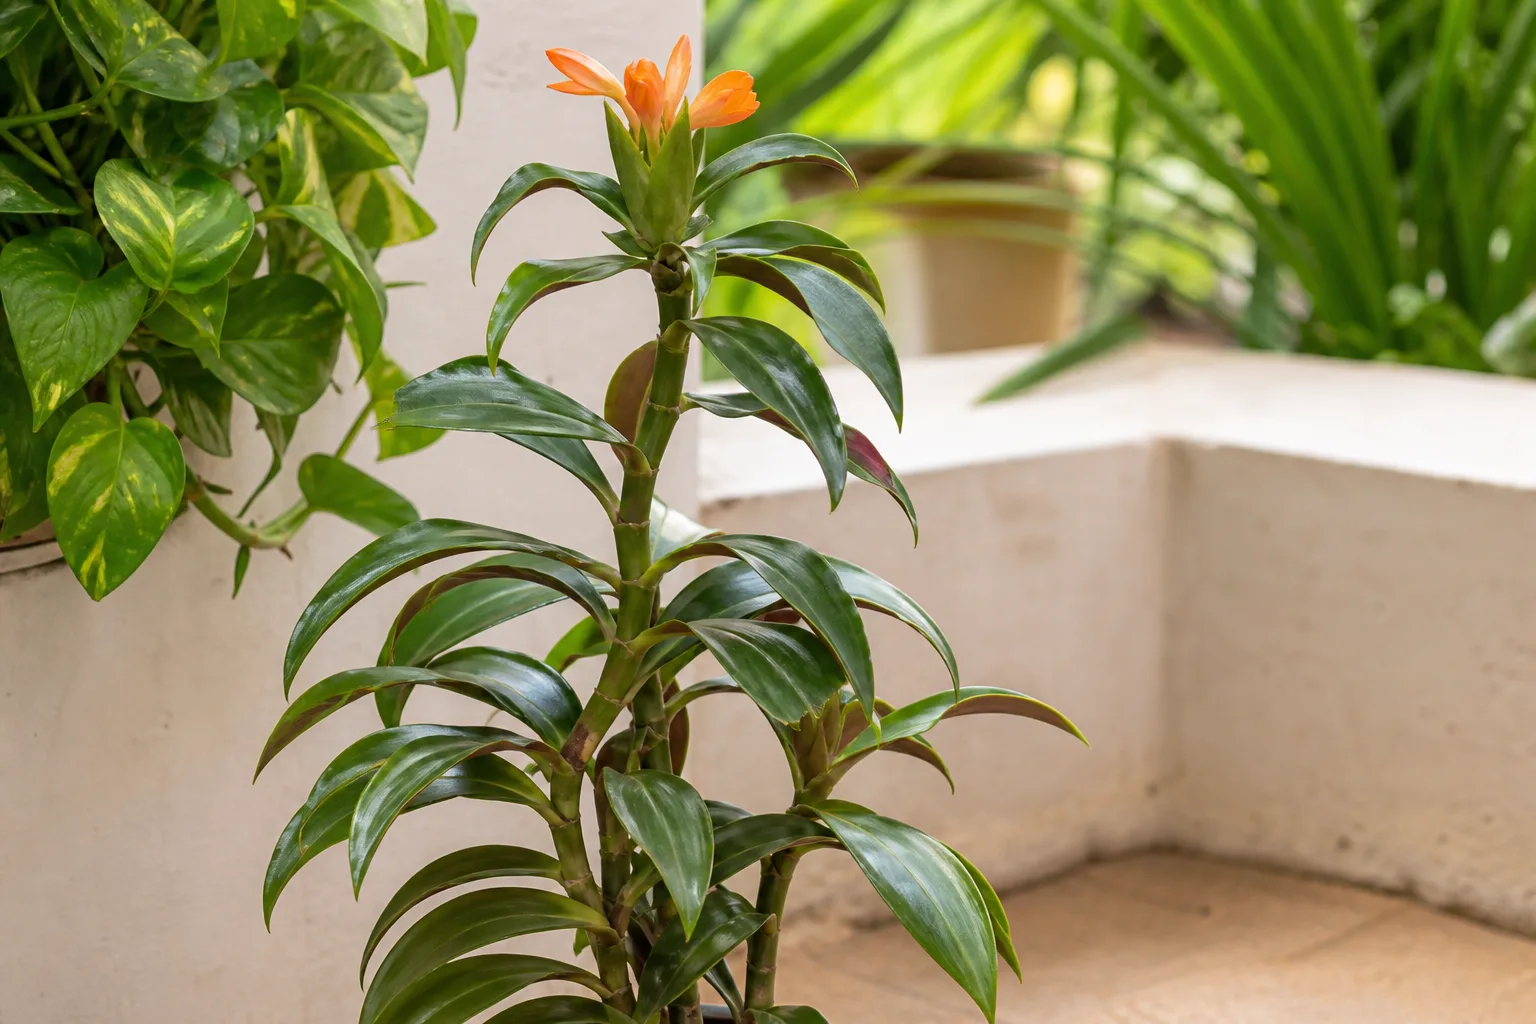
Confirm the label. Trade names include insulin plant, spiral flag, and fiery costus; botanically you may see Costus igneus or the accepted combination Chamaecostus cuspidatus (synonyms include Costus cuspidatus) (Plants of the World Online). Related Costus species are often mis-sold under the same common name—leaf spiral and orange terminal flowers should match before you commit to a major pot change. Pair this page with Insulin Plant soil and Insulin Plant watering—the new pot only works if the mix and watering match the rhizome habit.
How Often to Repot Insulin Plant
For most home growers, every 1–2 years is a practical rhythm while the clump is still filling pots quickly. Vigorous balcony plants in warm, humid weather may need a move sooner if rhizomes circle the wall and the pot dries within a day. Once the plant sits in a comfortable final container (roughly 20–25 cm across for a managed clump), you can often switch to a same-size soil refresh—lift the plant, replace tired mix, trim soft rhizome tips if needed, and return it to the same pot—instead of endless upsizing.
Do not repot on a calendar alone. If the mix still holds moisture evenly, new spiralling leaves keep forming, and rhizomes are not wedged against the plastic, leave the plant alone. A newly purchased Insulin Plant usually needs two to three weeks of quarantine and observation before any pot change unless the mix is already sour, waterlogged, or pest-ridden. Clemson Extension notes that fast growers may need annual moves while slower plants wait two to three years—and that you should not repot ailing, dormant, or flowering plants as a routine habit (Clemson HGIC — Transplanting & Repotting).
Clear Signs Your Insulin Plant Needs a New Pot
Penn State Extension’s pot-bound checklist maps cleanly onto container Insulin Plant: mix that dries unusually fast, roots (here, rhizomes and feeder roots) through drainage holes, and stalled top growth despite decent light and season (Penn State Extension — Repotting Houseplants). Watch for these species-specific signals.
- Rhizomes circling or pressing the pot wall, visible when you slip the plant out or as bumps against thin plastic.
- Soil drying within a day of a thorough soak in weather that used to take longer—classic “more rhizome than mix.”
- Plant toppling from a narrow base as tall stems arch while the pot stays light and root-heavy.
- Water racing down the sides after the root ball shrinks from the pot wall, leaving the core dry.
- Yellowing lower leaves with a soft, mushy stem base and sour-smelling soil—drainage or mix failure, not a reason to switch to cactus culture.
- Feeder roots packing drainage holes or a solid mass of rhizome tissue with little loose mix left in the bottom third.
Any one sign can justify a refresh. Two or more usually mean you are overdue. Act before rhizomes go soft in chronically wet, low-light pots; recovery is slower once rot and compaction have stacked. NC State Extension’s root-bound overview likewise flags frequent watering, slowed growth, and circling roots as the classic package (NC State Extension — Root-Bound Plants).
Best Season to Repot Insulin Plant
Timing decides how fast new feeder roots colonize fresh mix. Repot when the plant is about to push growth; avoid routine moves when cool weather keeps growth stalled and pots stay cold and heavy.
Spring through early summer—the default window
Spring through early summer—as new spiralling leaves begin and nights stay warm—is the default window across much of India. Roots and rhizomes wake as days lengthen and heat returns, so the plant can occupy new loam-based mix before peak monsoon humidity or extreme terrace heat. Extension guidance for houseplants likewise favors spring, when roots actively grow into fresh media (Penn State Extension — Repotting Houseplants). Colorado State University Planttalk also places routine houseplant repotting in spring for the same reason (CSU Planttalk — Houseplants: Repotting). In frost-prone North India, wait until nights reliably stay above about 10°C (50°F) and the plant has clearly restarted. Work in the morning or late afternoon on a mild day, not under harsh midday sun with a dry wind. Keep the plant in part shade to bright filtered light after settling—see Insulin Plant light.
When an emergency move overrides the calendar
Two situations beat the calendar. Active rhizome failure—mushy dark tissue, foul smell, collapsing soft stems—needs immediate unpotting, trim of dead tissue, and a same-size or modestly larger pot of clean, airy mix. A cracked pot, blocked holes, or peat brick that will not rewet also warrants an emergency refresh. In both cases, expect slower recovery in cool or cloudy weather: keep the mix evenly moist (never bone-dry, never waterlogged), protect from cold snaps, and skip fertilizer until firm new leaves appear. Clemson explicitly advises against routine moves on plants that are already ailing or dormant (Clemson HGIC — Transplanting & Repotting).
Choosing Pot Size, Depth, and Material
Step up about one pot size—roughly 2–5 cm (1–2 inches) wider—rather than jumping into a huge container. Insulin Plant spreads by lateral rhizomes more than it builds a deep taproot, so prefer a moderately wide pot with drainage holes over a deep narrow cylinder packed with unused wet mix at the bottom. Oversized depth leaves a cold, stagnant lower layer that can sour even though UF/IFAS lists the species as tolerant of occasionally wet soils in the landscape (UF/IFAS — Costus igneus).
Drainage holes are non-negotiable. Use them, then empty the saucer after watering so rhizomes are not sitting in a stagnant bath. Plastic and glazed ceramic hold moisture longer—useful for this moisture-loving plant—while unglazed terracotta dries faster and needs more frequent watering on hot balconies. Heavy ceramic or concrete helps resist tipping as stems arch and fall outward, which UF/IFAS notes is part of the plant’s natural habit as tall stems lean and lie on the ground (UF/IFAS — Costus igneus). Avoid planting directly into a sealed decorative cachepot; grow in a drained nursery pot and slip it into the cachepot if you want the look.
Soil Mix for Repotting Insulin Plant
The goal is a mix that stays evenly moist without compacting into a foul brick around rhizomes. UF/IFAS lists soil tolerances spanning clay, sand, acidic, slightly alkaline, and loam, with a preference for fertile, moisture-retentive media in part shade or part sun (UF/IFAS — Costus igneus). In containers, add structure so oxygen can still move past fleshy underground stems.
A practical DIY blend for Indian pots is about 40% potting mix or garden loam, 30% perlite or coarse sand, 20% cocopeat or orchid bark, and 10% compost or worm castings, targeting roughly pH 6.0–7.0. That holds water for a tropical Costaceae while still draining freely after a soak. Avoid bone-dry cactus mixes and “moisture control” bricks that stay anaerobic for weeks. Moisten the new mix before potting so it absorbs water evenly—dry peat-heavy media can shed water at first (Penn State Extension — Repotting Houseplants). Full mix recipes and wrong-soil signs live in the Insulin Plant soil guide.
Step-by-Step: How to Repot Insulin Plant
Prep and unpotting
Water the plant in its old pot about an hour before you start so the root ball slips out with less tearing. Clean and rinse the new pot; if reusing a container with salt crust, scrub it thoroughly and sanitize as extension guides recommend (Penn State Extension — Repotting Houseplants). Cover the drainage hole with a scrap of mesh if mix usually washes out—Clemson warns against thick rock layers that can actually slow drainage (Clemson HGIC — Transplanting & Repotting). Add a base layer of pre-moistened mix so the finished surface sits about 1–2 cm below the rim.
Tip the pot, support the clump with your hand, and slide the root ball out. Expect thick rhizomes and fleshy feeder roots, not a fine fibrous pad. Gently tease circling tissue and loosen compacted outer mix. Trim only soft, black, or foul-smelling rhizome sections; leave firm creamy tissue intact. If the clump is huge, this is also a good moment to divide—UF/IFAS lists division of clumps among standard propagation methods for this species (UF/IFAS — Costus igneus). Replant one healthy section with at least one growth point and pot the rest separately; detailed division timing lives in Insulin Plant propagation.
Settling rhizomes and watering in
Set the root ball on the base layer so stems sit at the same depth they grew before—do not bury long stems under a deep soil mound. Fill around the sides with moist mix, firming lightly so there are no large air pockets, without compacting the media into a hard cake. Leave headspace for watering.
Water thoroughly until excess drains, then empty the saucer. Return the plant to bright filtered light matching its previous exposure; a sudden jump from nursery shade into harsh midday terrace sun can scorch soft leaves even when rhizomes are fine. Keep the surface evenly moist from day one—probe the top 2–3 cm and water when that layer dries, never using a “wait until bone dry” rule after a Costus move. Colorado State University reminds growers that watering needs rise for a short period after repotting as the plant establishes in fresh media (CSU Planttalk — Houseplants: Repotting).
Post-Repot Care and What Recovery Looks Like
Mild lower-leaf yellowing or a short pause in new spiral leaves for one to two weeks can be normal while feeder roots reestablish in warm, humid conditions. Soft collapsing stems, sour smell, or progressive mush at the rhizome are not normal—improve drainage and airflow, or refresh foul mix. Crispy leaf margins and a light pot mean drought stress: soak thoroughly and resume the evenly moist rhythm from the Insulin Plant watering guide.
Hold fertilizer for three to four weeks after a routine repot. Fresh mix plus transplant stress is enough work for the rhizomes; feeding too soon can push soft growth before the clump has anchored. Resume a light half-strength liquid feed only after you see firm new leaves, following the Insulin Plant fertilizer guidance. Protect from temperatures below about 10°C—growth stalls and cold-wet pots are a bad combination for tropical Costaceae. If you harvest leaves for personal use later, wait until the plant is clearly settled; this guide covers pot care only and is not medical advice.
When Not to Repot Insulin Plant
Skip routine repotting when the plant arrived this week and the mix still smells clean and holds moisture—learn its water rhythm first. Avoid moves during a cool North Indian winter when growth is stalled unless the pot is an emergency failure. Do not upsize into a giant pot “for the future” when the current clump is still small; unused wet volume sours more easily than a snug, frequently checked container. Do not stack hard pruning, heavy fertilizing, and a full pot change on the same day if the plant is already wilted—stabilize light and watering first, then repot once stems firm up. Clemson’s rule of thumb still holds: skip routine moves on dormant or flowering plants (Clemson HGIC — Transplanting & Repotting).
When to use this page vs other Insulin Plant guides
Use this repotting page when the question is pot size, timing, soil refresh, rhizome crowding, or post-move recovery. Open Insulin Plant watering when the mix volume is fine but the dryness check or saucer setup is wrong. Use Insulin Plant soil when you need mix recipes and drainage diagnosis without a full transplant. Choose Insulin Plant light when scorched edges or stalled spirals track sun more than pot size. Use Insulin Plant propagation when you want cuttings or divisions rather than a single upsizing. Return to the Insulin Plant overview for identity checks and the full care snapshot.
Related Insulin Plant guides
- Insulin Plant overview — identity, habit, and care map
- Insulin Plant watering — evenly moist rhythm and overwatering signs
- Insulin Plant soil — mix recipes and wrong-soil signs
- Insulin Plant light — filtered light vs harsh midday sun
- Insulin Plant fertilizer — when to resume feeding after a move
- Insulin Plant propagation — division and cuttings during repot
Conclusion
Repot Insulin Plant when rhizomes outgrow the mix—not on a random calendar. Choose a slightly wider drained pot, a rich airy loam that stays evenly moist, and a spring-to-early-summer window whenever you can. After the move, keep the root zone moist but not stagnant, hold fertilizer briefly, and judge success by firm rhizomes and new spiralling leaves. Treat Costus igneus as the tropical Costaceae clumper it is, and the pot reset becomes a growth step instead of a setback.