5 Backyard Renovation Mistakes Homeowners Should Avoid
Learn how to plan a backyard renovation around water flow, mature plant size, utility lines, permits, budget, and contractor scope to avoid expensive rework.
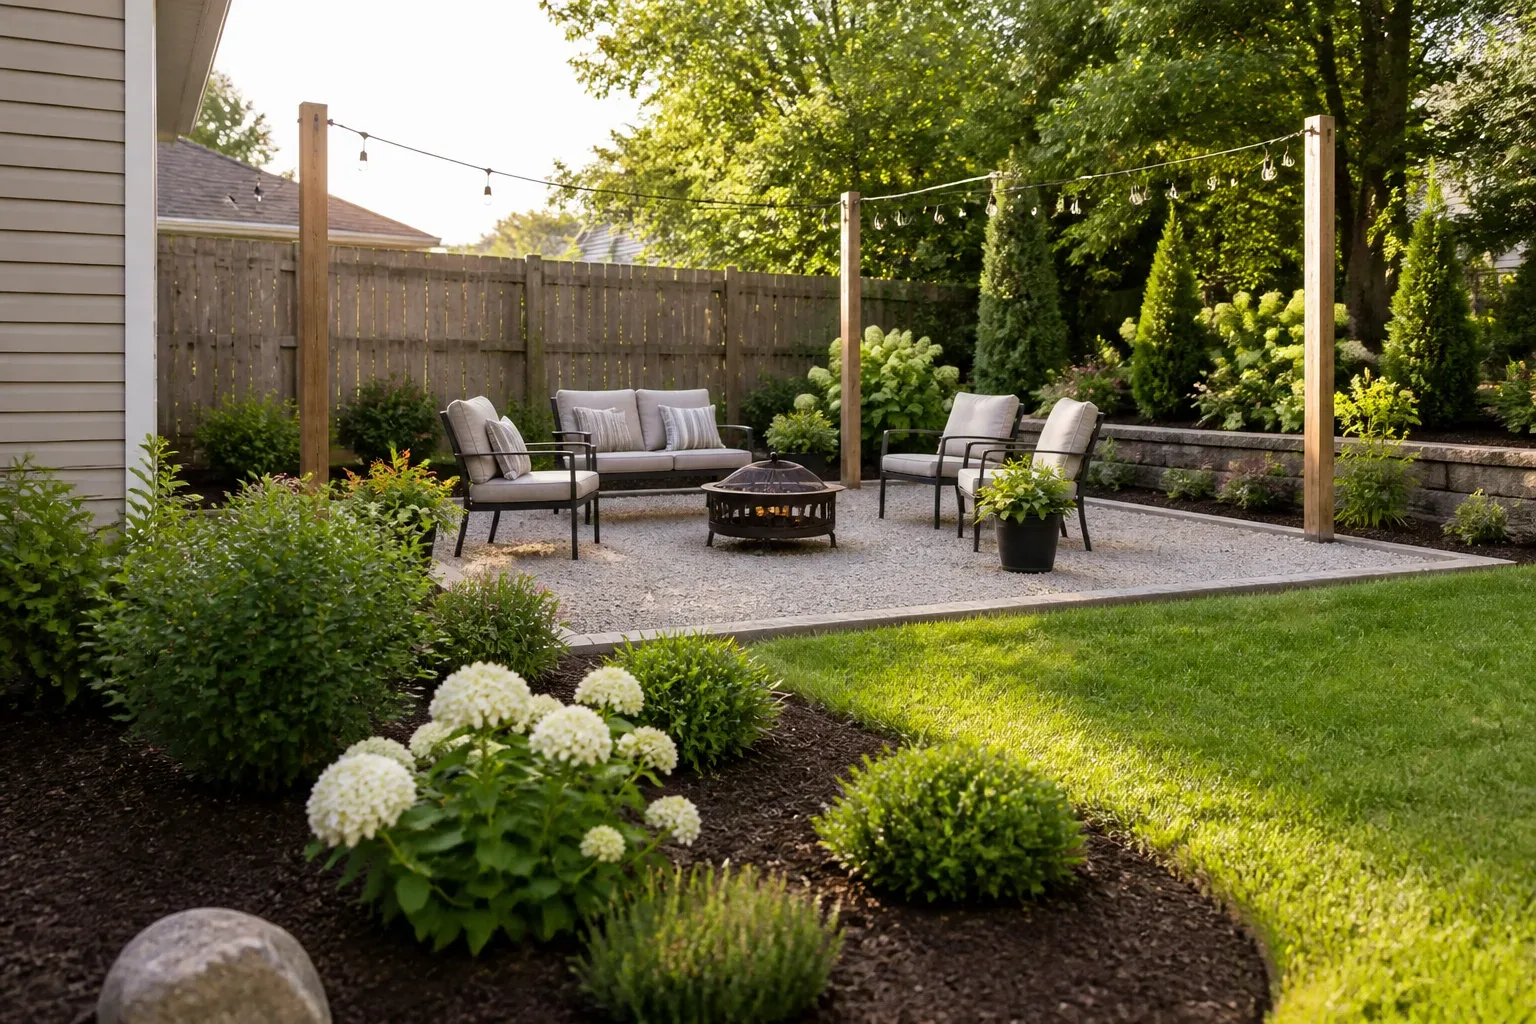
A backyard renovation can mean a new patio and planting beds, or a complete change to how the yard drains, connects to the house, and gets used. The expensive mistakes usually start when a homeowner chooses visible finishes before understanding the site underneath them. A little investigation up front helps you spend on the parts that make the space work, not on demolition and corrections later.
A useful rule is to decide in this order: what the yard needs to do, what the site allows, how water and access will work, what must be built, and what can be planted or decorated. That order keeps a patio, retaining wall, new tree, irrigation line, and drainage plan from competing with one another after the work is underway.
Mistake 1: Starting With Purchases Instead of a Site Plan
It is easy to begin with a shopping list: pavers, a pergola, shrubs, a fire feature, or a set of outdoor chairs. But a collection of appealing products is not yet a renovation plan. If the patio blocks a natural drainage path, the new tree shades the vegetable beds, or the furniture leaves no route to the gate, you may have to move or replace items you just paid for.
Start by writing down what needs to improve. Be specific: “seat six people near the kitchen door,” “create a level play area,” or “make the path to the shed usable after rain” gives you a way to judge each design choice. Also list what should stay, such as a healthy shade tree, a view from the kitchen, a clothesline, a compost area, or a clear route for bins and equipment.
Make a measured base plan
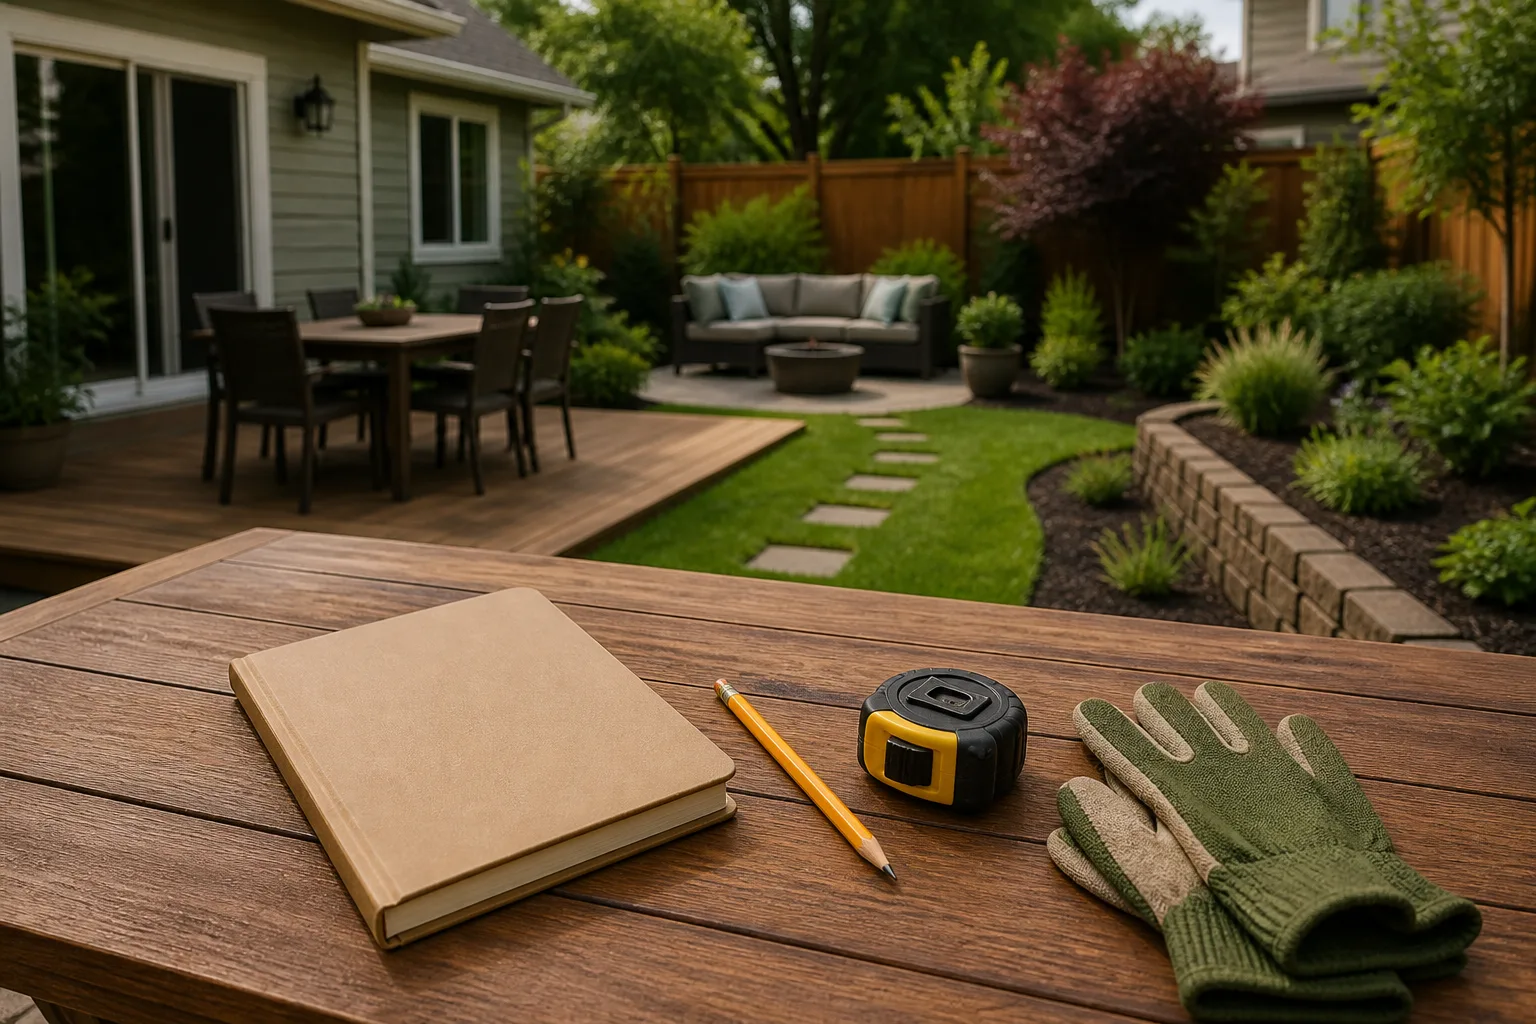
Use a survey or existing site plan if you have one, then verify important dimensions in person. On graph paper or a simple digital drawing, mark the house, doors, steps, property boundaries, fences, utilities you know about, existing trees, paving, sheds, slopes, downspouts, and places where water collects. Note the measurements of narrow gates and side-yard access too; a contractor may need to bring materials or machinery through them.
Then observe the yard at different times rather than guessing from one visit. Mark where morning and afternoon sun fall, which areas stay damp, where wind funnels through, and what the yard looks like during or just after a hard rain. A Houzz site-analysis checklist similarly recommends recording levels, soil, sunlight, existing features, and drainage before developing a garden concept. A designer can do a more detailed survey, but even a homeowner’s measured base map is better than relying on memory.
Set priorities and budget in phases
Separate needs from nice-to-haves. Fixing a slope that sends water toward the house, rebuilding an unsafe step, or creating reliable access may be a first-phase need; decorative lighting and a specimen shrub can wait. Decide what a successful first phase must deliver and what can be added later without removing or damaging completed work.
Build a cost plan from the work, not from the furniture catalog. Ask what demolition, hauling, soil replacement, drainage, utilities, wall foundations, access limitations, and restoration will cost in addition to the visible materials. Keep a separate reserve for unknown site conditions; size it with the designer or contractor after the site has been assessed rather than assuming one percentage works for every yard. A phased design should still show the intended final layout so early work does not block later paths, pipes, or planting beds.
Mistake 2: Treating Drainage and Grading as Afterthoughts
A patio changes where rainwater goes. So can a retaining wall, a raised bed, compacted soil, a new lawn, or a deep planting border. If water planning comes after those features are installed, it may be difficult to correct the grade or add a drain without disturbing finished work.
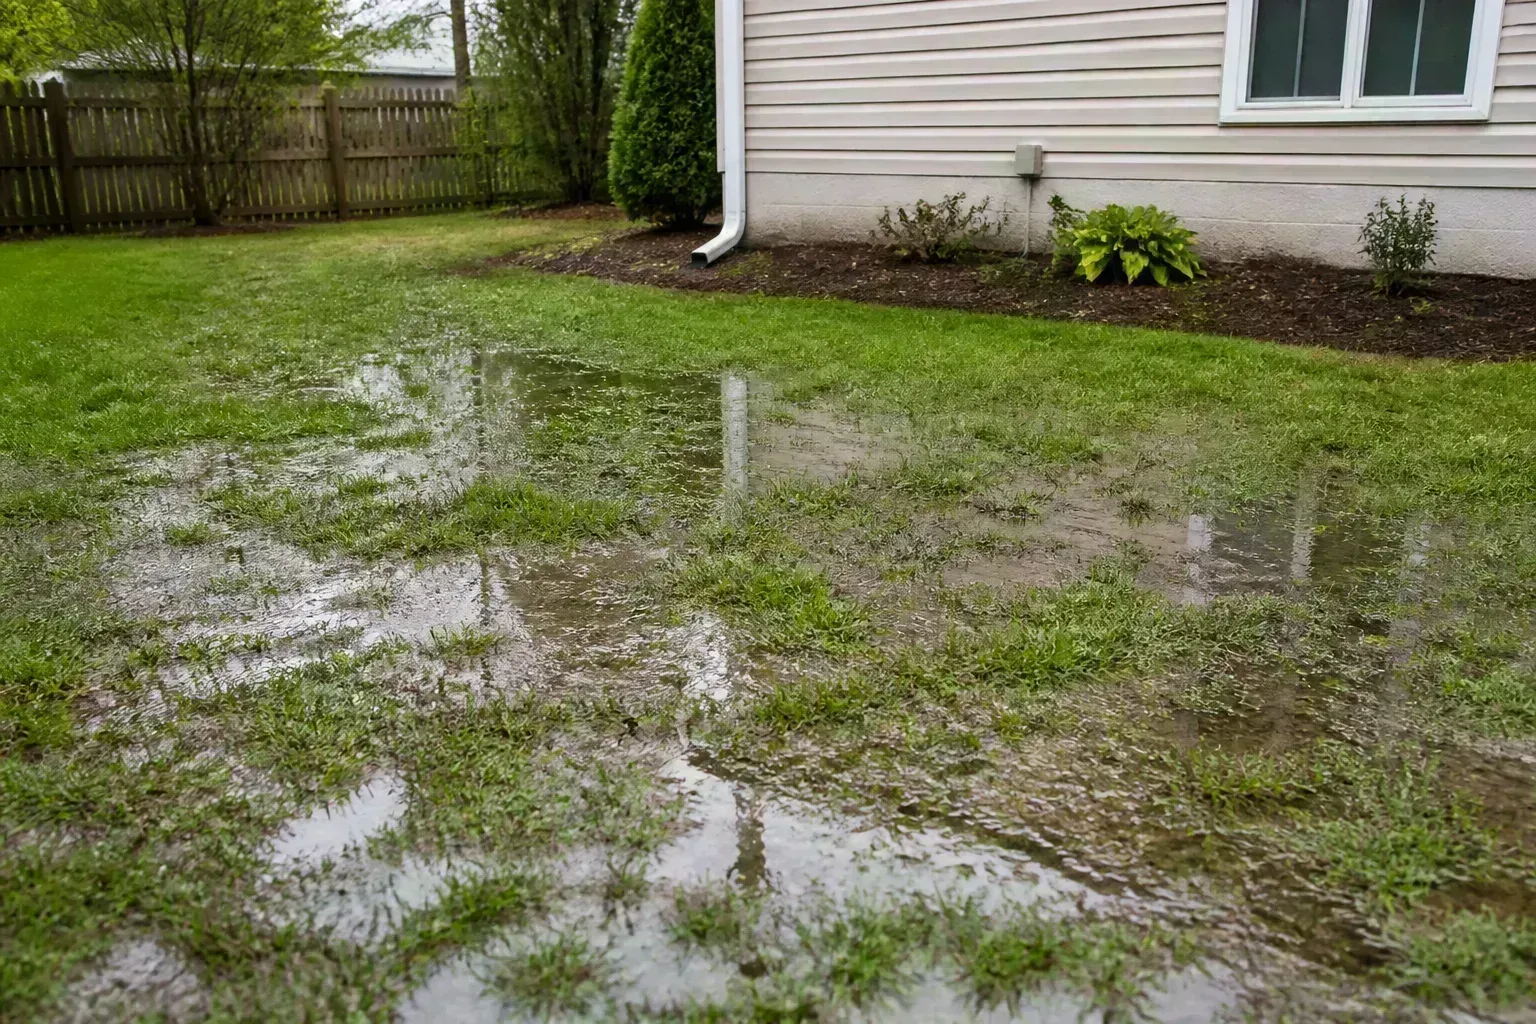
Walk the yard during rain if you can, then again after it stops. Note where roof runoff lands, where water moves quickly, where it ponds, how long wet spots remain, whether a downspout discharges beside the foundation, and whether runoff arrives from uphill land. A soggy patch does not automatically mean you need a French drain: the cause may be a clogged gutter, a low spot, compacted soil, an impermeable surface, a leaking irrigation line, or a slope that carries water to the wrong place.
Watch water through real weather
A simple rain log can prevent guesswork. Take photos from the same few spots during a storm and after one, and mark the edge of puddles on a sketch. If the problem only appears in one corner after a downspout runs, the source is different from a broad area that stays saturated after ordinary rainfall. If the yard is dry in a normal rain but floods in unusually intense storms, a solution sized for frequent storms may not manage the rare extreme event; do not treat it as a guarantee against flooding.
Think about both where water enters and where it can safely go. Rain gardens, swales, permeable paving, and rainwater storage can slow or capture runoff when the soil, slopes, groundwater, and local rules suit them. The EPA overview of green infrastructure explains how vegetation, soils, and permeable surfaces can filter, infiltrate, or temporarily store stormwater. Those features are not interchangeable: a rain garden needs a suitable location and overflow route, while permeable paving needs an engineered base and ongoing upkeep. If the soil drains slowly, the water table is high, or the proposed outlet is unclear, get qualified drainage advice before digging.
Coordinate paving, elevations, and runoff
Ask the designer or installer to show finished elevations and the intended flow path around patios, steps, thresholds, and planting beds. Soil and paving beside the house should direct water away from the foundation, while the rest of the plan should avoid trapping water behind walls or sending a concentrated flow onto a neighbor’s property. Minnesota Extension recommends a grade falling away from a foundation and correcting gutters, downspouts, and surface grade before relying on below-grade drainage; its specific slope guidance is a local benchmark, not a universal substitute for local code or site design (Minnesota Extension).
Do not accept “we’ll figure out the drain later” as a complete drainage plan. Ask where each drain discharges, whether gravity provides enough fall, how an outlet will be maintained, and what happens if an inlet clogs. If water cannot leave by gravity, a pump adds a power, maintenance, and failure point. A Fine Gardening guide to site water management emphasizes combining a site assessment with a water strategy; the practical takeaway is to coordinate hardscape, grading, planting, and runoff as one system instead of solving each corner independently.
Mistake 3: Digging Before You Map Utilities, Trees, and Boundaries
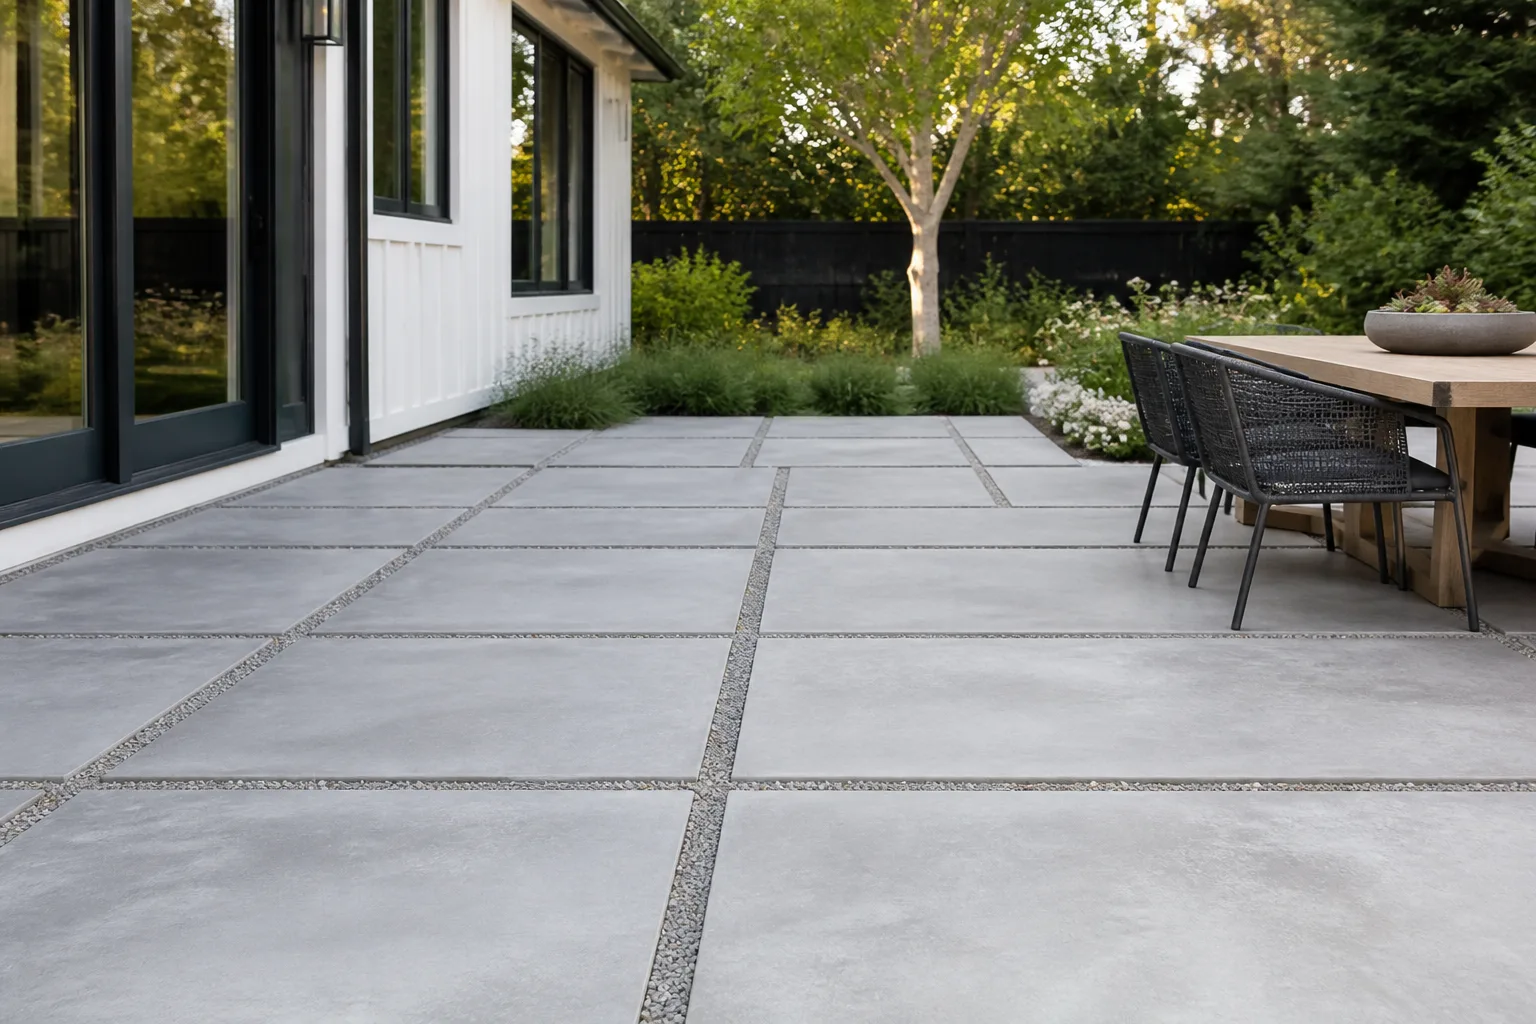
A project that includes a fence, lighting, irrigation, a tree, a deck footing, a wall, or a drainage trench can hit something hidden. Even shallow work can encounter electrical, gas, water, sewer, communications, sprinkler, or landscape-lighting lines. Before excavation in the United States, submit a locate request through 811 Before You Dig; the service says to request a locate before every digging project and to allow the required local notice period.
Call before you dig—and check for private lines
A public utility locate is a starting point, not a complete map of every homeowner-installed service. Sprinkler piping, a line to a detached shed or grill, landscape lighting, or other privately owned facilities may need separate records or a private locator. Check your state one-call center’s rules and identify what is not covered before a contractor or homeowner excavates; Tennessee 811’s private-line guidance gives examples of services that may fall outside the public locate ticket. Keep the markings visible, respect the marked tolerance zone, and use the safe digging method required in your area.
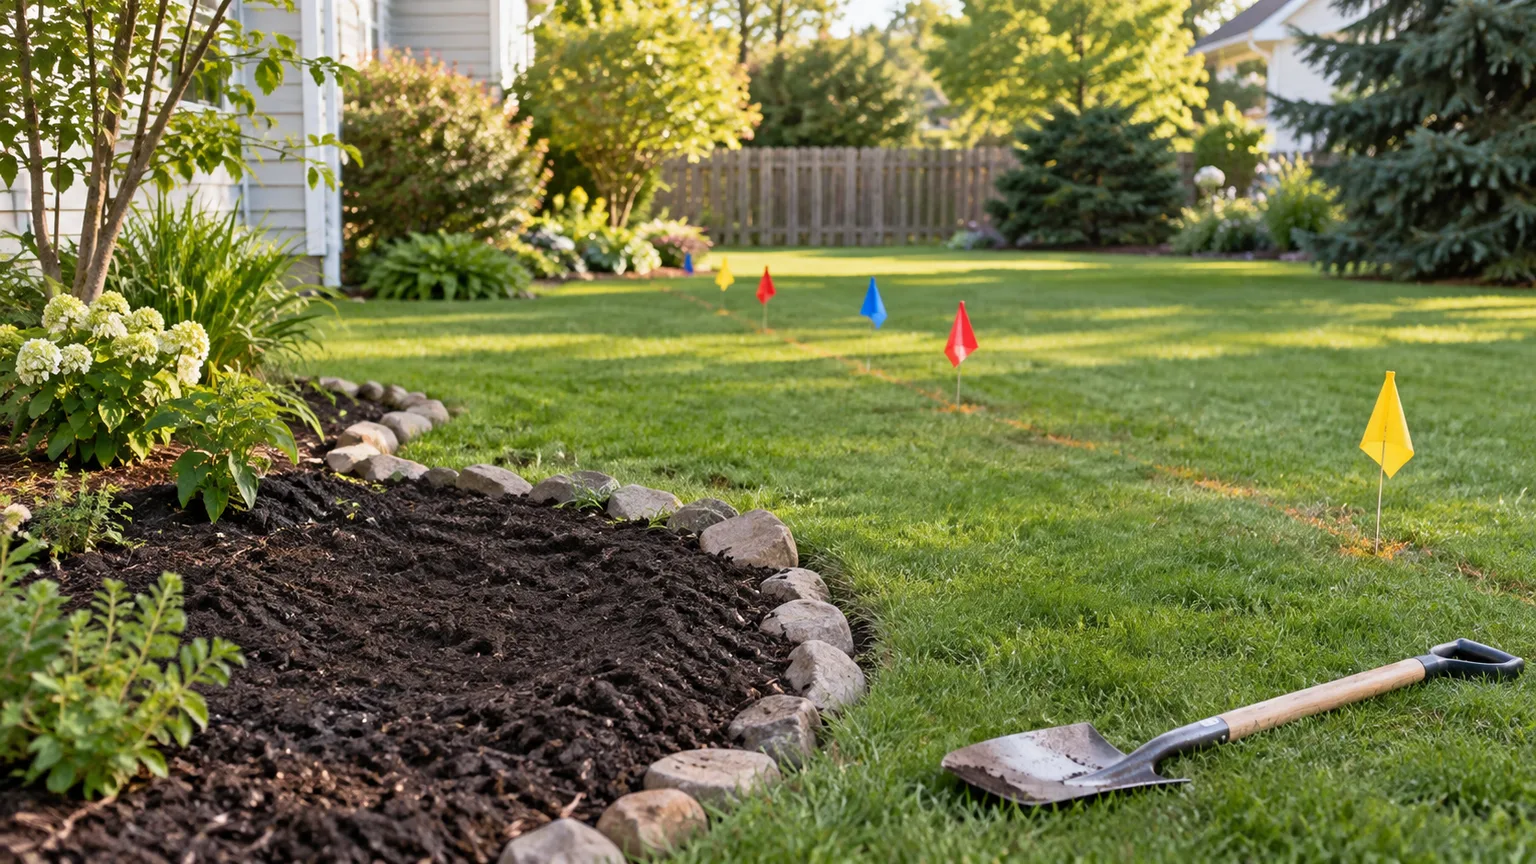
Also verify boundaries, easements, and approval requirements before placing a fence, wall, large tree, drainage feature, or permanent structure. A county parcel map is useful for orientation, but it may not establish a precise property line. Local rules and HOA covenants differ, and a project that changes grading, alters drainage, adds a retaining wall, or affects a protected tree may need review. Ask the local planning or building department what applies to your exact scope before ordering materials.
Protect mature trees and property constraints
A tree’s roots can extend beyond its canopy, and a renovation can harm them without cutting the trunk. Excavation, fill, paving, drainage changes, heavy equipment, and repeated foot traffic compact or alter soil in the root zone. Damage may take years to show, so a tree that still looks healthy when the contractor leaves is not proof that the work was harmless. The International Society of Arboriculture’s construction guidance recommends involving an ISA Certified Arborist early and defining a protected area before construction.
Mark trees you want to keep on the site plan and discuss how crews will protect them: where machines, soil piles, concrete washout, and material storage can go; whether grade changes can be moved away from roots; and how trenches will cross the root zone. For a valuable or mature tree close to planned excavation, get an arborist’s advice before finalizing the layout, not after roots have been cut. The design may need a route change, a smaller paved area, a different installation method, or a deliberate decision to remove the tree.
Mistake 4: Buying Plants Before Checking Site Conditions and Mature Size
A plant can look small and manageable at the nursery while being the wrong fit for the spot it will occupy. The issue is not only height: mature width, root space, light, soil moisture, wind, climate, and nearby structures all matter. If a shrub needs constant cutting to stay off a path or a sun-loving perennial is tucked into deep shade, the planting plan creates recurring work instead of a durable landscape.
Read the site before selecting plants
Record how many hours of direct sun the planting area gets in the growing season, and whether a building or deciduous tree changes the pattern later in the year. Check soil texture and moisture after both dry and wet weather. If plant health or a large investment depends on soil pH or nutrients, use a local extension soil test instead of guessing from appearance. Also consider salt exposure, wind, deer pressure, drought, and how much irrigation you are willing to maintain.
Match the plant to the site or adjust the site only when the change is sensible. Do not assume that adding compost or gravel to a single planting hole fixes poorly drained ground; amendments can create a different-textured pocket that holds water. Penn State Extension’s plant-selection guidance advises checking local climate, light, soil texture, drainage, and the plant’s own requirements. In hot or dry regions, water demand may be the limiting factor; in humid or cold regions, winter hardiness, snow load, and drainage may matter more. Choose plants suited to your local climate and conditions rather than copying a photo from a different region.
Space for mature growth and future access
Read the expected mature height and width, then lay the footprint out on the ground before buying. Space plants so they can reach their natural dimensions without being forced into repeated pruning, while leaving room for gates, paths, window access, gutters, meters, air-conditioning equipment, and maintenance. Penn State Extension notes that knowing site conditions and mature plant size helps gardeners place and space plants appropriately; exact spacing depends on species, cultivar, climate, and the look you want.
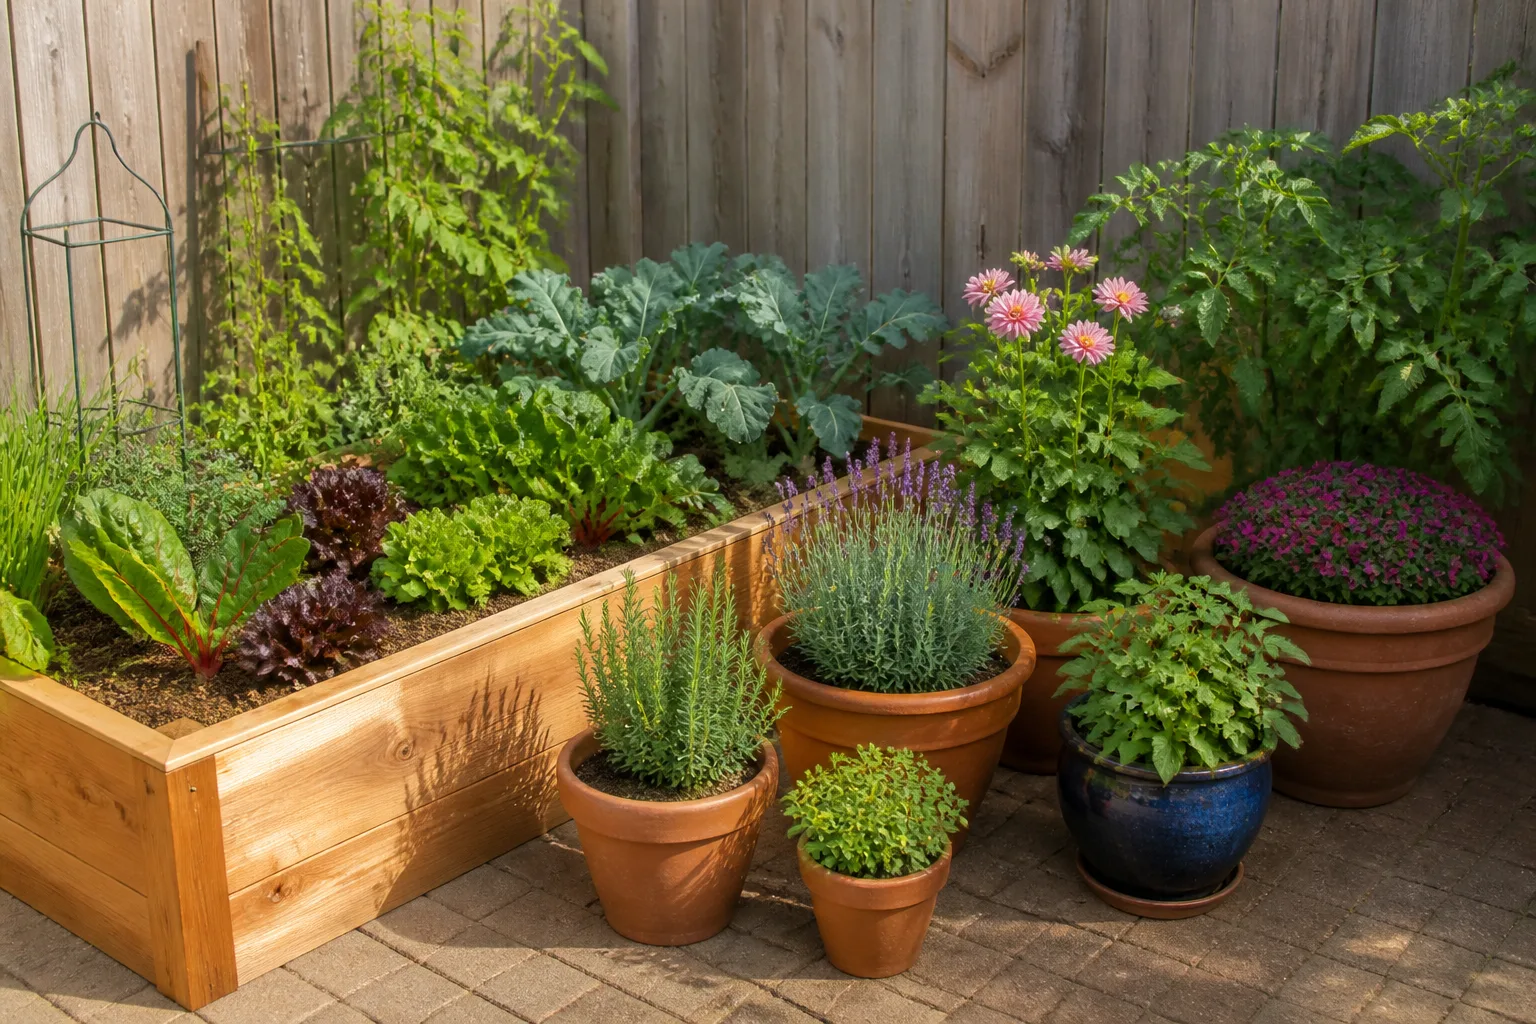
There is no single correct spacing rule for every bed. A fast-closing mass planting may be deliberately closer than a formal row of shrubs, but close spacing also means more competition and more pruning as plants mature. If you are renovating on a tight budget, install the permanent structure and a smaller number of well-placed plants first, then fill gaps with temporary annuals or containers while the landscape grows in. That keeps you from buying a full-grown look that later becomes an overcrowded maintenance problem.
Mistake 5: Choosing a DIY Scope or Landscaper by Price Alone
A job is not automatically a good DIY project because it looks simple in a video, and a high quote is not automatically a sign of a better result. The useful question is what happens if a detail is wrong. A misplaced planter is easy to move; an incorrectly graded patio, leaking irrigation connection, unstable wall, severed utility, or water routed toward a foundation can require demolition or specialist repair.
Match the job to your skills and the risk
Many homeowners can measure the yard, sketch zones, plant smaller perennials, assemble movable planters, refresh mulch, or install simple edging. Work that changes significant grades, supports soil with a retaining wall, crosses buried services, adds a gas line, changes electrical wiring, or manages water near a foundation deserves qualified help. Structural loads, permits, drainage outlets, and utility rules vary by location, so hire the appropriate licensed professional when required and confirm who is responsible for design, permits, inspections, and closeout.
You can still stay involved without doing every task yourself. Bring a clear brief, mark what matters, ask for alternatives at different scopes, and request an explanation of what the contractor is assuming. If you are considering a large DIY project, break it into a small reversible test first: mock up the patio outline with stakes, live with the path route, or trial a planting bed before committing to walls and grading. Stop and reassess if the site reveals buried debris, unexpected roots, unstable soil, or water movement that was not in the plan.
Compare contractor proposals line by line
Get more than one written proposal when the project is substantial, and give each bidder the same plan and scope. A useful comparison spells out dimensions, materials and their grades, excavation and base preparation, demolition and disposal, drainage details, plant sizes and quantities, irrigation or lighting, restoration, exclusions, schedule, cleanup, payment milestones, and how changes will be priced. Ask whether the crew will use subcontractors and who will be on site to coordinate the work.
Look at completed projects similar in scale and site conditions to yours, then speak with recent clients if possible. Confirm insurance and any locally required license or registration directly rather than relying on a logo in a proposal. Ask how the contractor handles utility markings, tree-protection zones, rain delays, concealed conditions, and change orders. A vague quote may look cheaper because important work has been omitted; a detailed proposal makes it easier to compare real scope instead of headline totals.
Pay attention to how the contractor discusses limitations. A dependable professional should be willing to explain why a design needs a drain, where runoff can discharge, what requires a permit, or why a large tree may not tolerate the proposed grade change. Be cautious if someone promises that a single feature will fix every drainage issue, proposes to discharge water across a neighbor’s land, or asks you to skip required utility locates. Put all accepted changes in writing before the work proceeds.
A Practical Order for a Backyard Renovation
A renovation does not need to happen all at once, but the design should account for the whole property so each phase fits the next. This is a useful order for most projects; local conditions and specialist plans may change the details:
- Check constraints. Verify boundaries, easements, local approvals, HOA rules, protected trees, access, and known utilities.
- Survey and observe. Measure the yard, map existing features, track sun and shade, and watch what water does during rain.
- Define the use and budget. Choose the essential functions, rank optional features, and decide what the first phase must accomplish.
- Resolve water and levels. Develop a grading and drainage concept that protects the house, trees, neighboring property, and planned surfaces.
- Coordinate the plan. Place paths, seating, walls, utilities, irrigation, lighting, trees, and planting beds together on a drawing.
- Locate services and protect what stays. Request the required utility marks, arrange private locates if needed, and install agreed tree-protection measures before equipment arrives.
- Build below-ground and structural work first. Complete utilities, drainage, excavation, walls, footings, and base preparation in the order set by the project design.
- Install hardscape and restore soil. Set final grades and paving, then repair compacted or disturbed planting areas before planting.
- Plant and commission. Plant for mature size and site conditions, test irrigation and lighting, confirm drainage after rain, and document maintenance responsibilities.
Use this sequence as a coordination tool, not a reason to trench or regrade on your own. A complex slope, repeated foundation water, a large retaining structure, or a stormwater connection may need an engineer, landscape architect, arborist, or local authority involved before construction.
Conclusion
The most reliable backyard renovation starts with the yard you have, not the materials you want to buy. Measure the space, identify how water moves, locate what is underground, protect the trees worth keeping, and choose plants for their real conditions and mature size. Then decide which work is safe to do yourself and which needs a written professional plan.
A clear sequence will not remove every surprise—weather, hidden soil conditions, and buried features can still affect a project—but it makes those surprises easier to spot before they are buried under new paving or crowded planting. Plan the whole yard, build the essential parts in order, and let the finishing details follow a site that works.



