Indoor Fern Care: Six Tips for Lush, Healthy Growth
Learn indoor fern care with six practical tips for filtered light, species-aware watering, humidity, soil, temperature, feeding, and brown-frond checks.
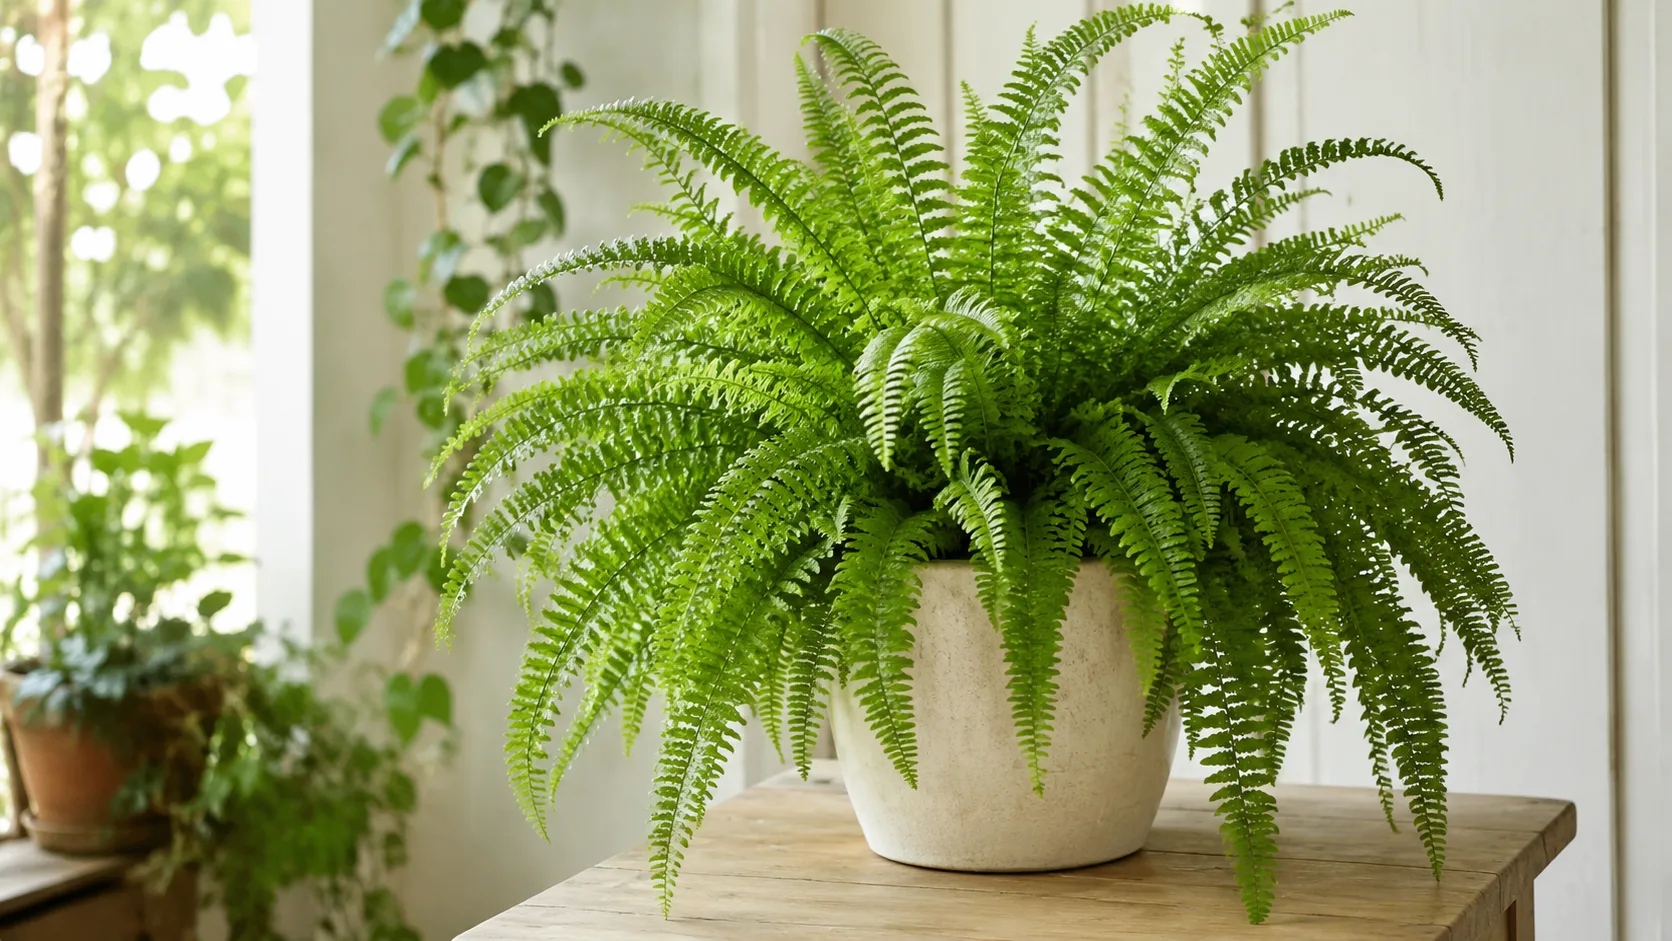
Ferns stay lush when their leaves get enough filtered light, their roots receive the right amount of moisture for that species, and the air does not become severely dry or hot. The routine is simple once you stop treating every fern as the same plant: check what kind you have, observe the pot before watering, and change one condition at a time when fronds look stressed.
That species check matters because “fern” covers plants that grow in soil, on tree branches, or in both settings. A Boston fern and a maidenhair fern generally want steadier root moisture than many epiphytic ferns, whose roots need a loose, airy medium and can be damaged by frequent watering. The six tips below give you a reliable baseline and show where to adjust it.
Identify the fern before changing its care
Start with the nursery tag, plant receipt, or a clear photo and identify the fern as closely as you can. Boston fern (Nephrolepis exaltata), bird’s nest fern (Asplenium nidus), maidenhair fern (Adiantum species), and staghorn fern (Platycerium bifurcatum) have different frond shapes and growth habits; they do not all respond to the same potting mix or dry-down period. If the label says “asparagus fern,” note that it is not a true fern, so fern-specific advice may not fit it.
Next, find out whether your fern is primarily terrestrial or epiphytic. Terrestrial ferns grow in soil or leaf litter. Epiphytes grow on trees or other supports in nature, where their roots are exposed to air and collect water from rain and debris rather than sitting in deep soil. The Royal Horticultural Society’s guide to epiphytic ferns explains why these popular houseplants need an airy, free-draining root environment even though they appreciate humid air.
If you cannot identify it, do not make a dramatic change based on a guess. Keep it in bright indirect light, ensure the container drains, and monitor how quickly its current mix dries. Then look for a species profile from a botanical garden or extension service before changing the potting medium or watering interval. A photo of the whole plant, the frond undersides, and the root crown can help a plant shop or local horticulture service identify it.
Tip 1: Give it bright, filtered light
Most common tropical ferns grown indoors do best in bright, indirect light: enough light to support steady growth, without intense sun striking the fronds for hours. An east-facing window is often a useful starting point. A north-facing window may work if the room is bright, while a south- or west-facing window usually needs a sheer curtain, some distance from the glass, or another way to soften the strongest afternoon sun. North Carolina State Extension’s Boston fern profile recommends bright, indirect light and warmth for this popular houseplant.
Adjust the distance from the window
Do not judge light by window direction alone. A tall building, deep porch, tree canopy, dirty glass, or heavy curtain can make a nominally sunny room dim; in a bright open room, the same window may deliver much stronger light. Put your hand between the plant and the window during the brightest part of the day. A crisp, sharp shadow signals stronger direct sun; a soft-edged shadow is more consistent with filtered light. This is a rough household check, not a light measurement, but it can help you decide whether to move a plant a little farther back.
Watch new growth after a move. Scorched patches and crisp, bleached sections on the window-facing side suggest too much direct sun or heat. Very slow growth and increasingly sparse fronds can point to insufficient light, especially in winter. Make adjustments gradually over several days rather than moving a fern from a dim corner into full sun at once. If the room has no useful natural light, a grow light can help; start with the manufacturer’s recommended distance and timer, and watch the fronds for stress rather than leaving a bright lamp close to the foliage all day.
Tip 2: Water for the fern and its pot
The goal is an evenly appropriate root zone, not permanently wet soil. Many familiar indoor ferns, including Boston and maidenhair ferns, dislike being allowed to dry out completely. Some epiphytic species, by contrast, need a more open mix and a little more drying between waterings. Missouri Botanical Garden’s Boston fern profile recommends consistently moist soil with only a slight reduction in watering from fall to late winter, while the RHS guidance for epiphytic ferns warns that frequent overwatering can damage their roots. These instructions differ because the plants and their growing media differ.
Check the root zone, not the calendar
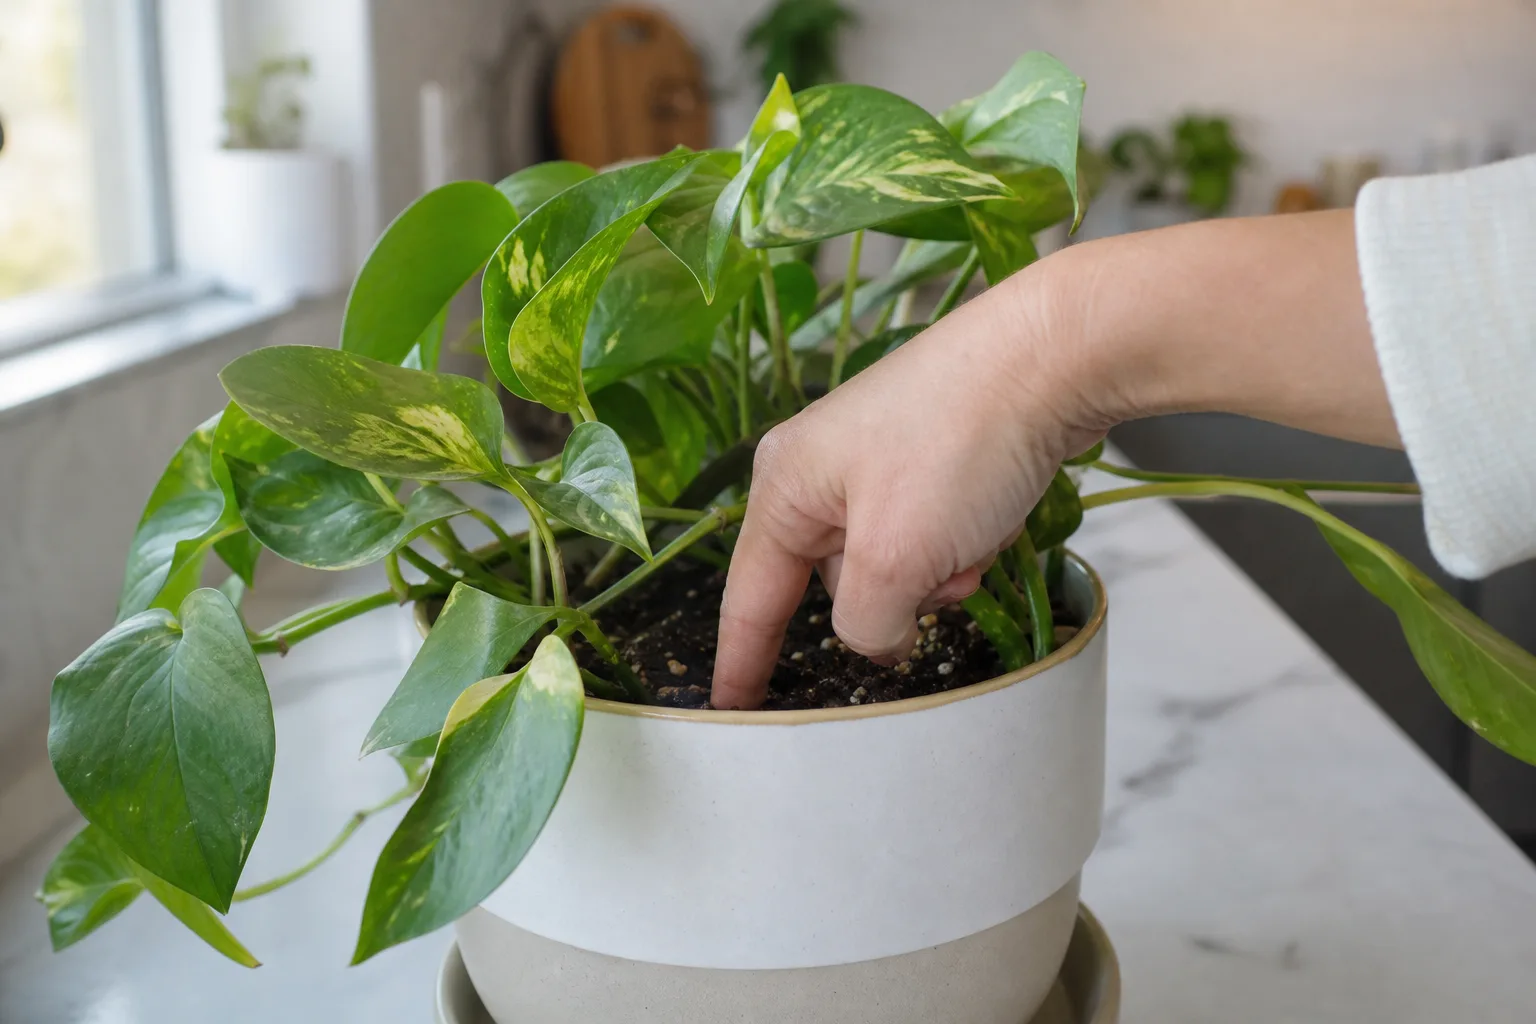
Feel the mix before watering. For a small pot, check the top inch with a finger; for a larger pot, use a wooden skewer or your finger several inches down near the edge, avoiding the crown. If the mix is cool and damp and clings to your finger or skewer, wait and check again soon. If a moisture-loving fern’s mix is just beginning to lose surface moisture, water it thoroughly. For an identified epiphytic fern, follow its species-specific dry-down guidance rather than keeping the mix constantly saturated.
When watering, pour slowly over the mix until water runs freely from the drainage holes. Let the pot finish draining, then empty the saucer or decorative cachepot. This wets the root ball more evenly than giving a small splash, and removing the runoff keeps roots from sitting in stagnant water. If the mix has pulled away from the sides and water races straight through, moisten it in two or three passes a few minutes apart; do not leave the pot submerged for hours as a routine.
The pot changes the schedule. A small plastic pot in a warm room can dry quickly; a large glazed pot in low light may remain wet for days. A hanging basket catches moving, warm air and may dry faster than a pot on a shelf. Winter heating, air conditioning, and active growth also shift water use. Check more often during hot, bright spells and less often when growth slows, but let the mix—not the weekday—decide whether to water.
Keep moisture and drainage in balance
Use a container with open drainage holes and a saucer that can be emptied. Do not add a layer of gravel to the bottom as a substitute for drainage; it does not fix a blocked hole or a dense mix. If a fern stays wet for a long time, first check whether the pot is too large, the mix is compacted, or light and temperature are too low for the plant to use water. Increasing watering because the fronds look dry can worsen root problems when the root ball is already saturated.
Avoid letting a Boston or maidenhair fern become bone-dry and then trying to compensate with repeated flooding. The dry-to-soggy cycle stresses fine roots and makes it harder to interpret symptoms. On the other hand, do not keep every fern standing in a reservoir unless its care guidance specifically calls for that setup. A quick drain after each thorough watering is a dependable default for most potted houseplants.
Tip 3: Raise humidity without soaking the roots
Many tropical ferns lose water quickly through their fine or divided fronds, and heated indoor air can make that loss more noticeable. Humidity is the moisture in the air around leaves; it is separate from moisture in the pot. A fern can sit in soggy mix while its fronds still dry out in a warm, low-humidity room. Treating those as two different problems prevents a common mistake: watering more when the roots are already wet.
Choose a humidity method that can reach the foliage
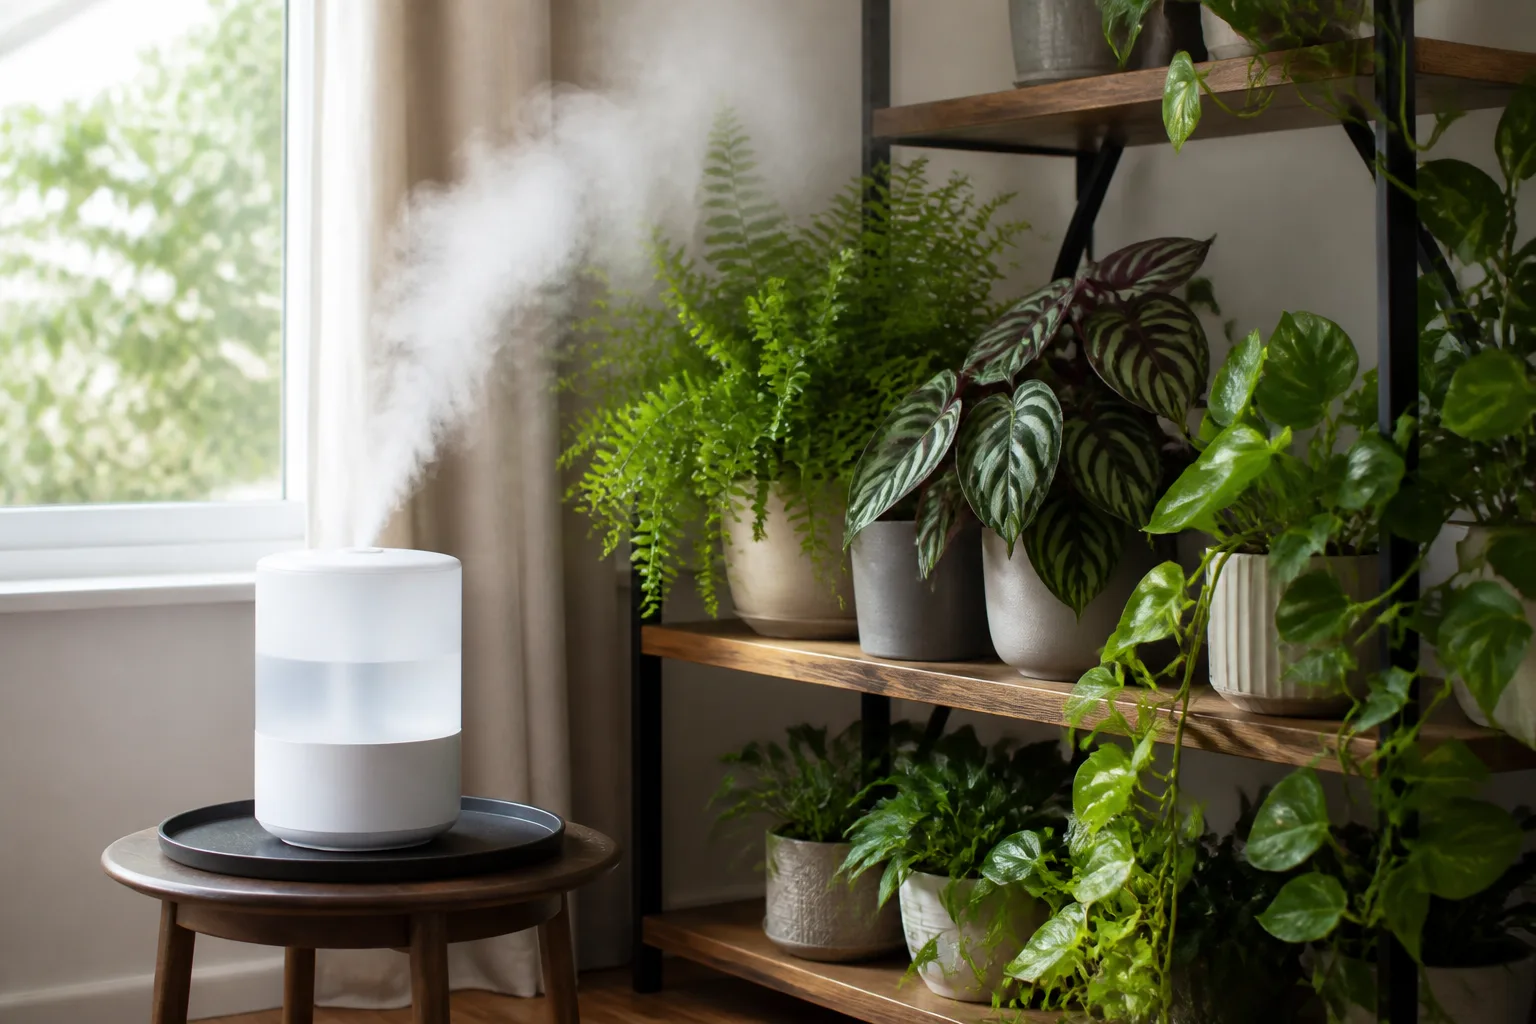
A room humidifier is the most direct way to raise humidity around one or several plants. Place it where the moist air can circulate around the foliage, follow its cleaning instructions, and use a small hygrometer nearby if you need to understand how the room changes over the day. Grouping plants can also create a slightly more humid pocket, provided leaves have enough space and air movement to dry after watering.
A bright bathroom can suit a humidity-loving fern if it also has enough light and does not swing from steamy to cold. A pebble tray may modestly humidify the air immediately around a small plant, but a shallow tray will not raise the humidity of a whole room. Keep the pot above the waterline on the stones, and never let its drainage holes sit in the water. This gives evaporation a chance to help without turning the tray into a root-soaking reservoir.
Misting is optional, not a substitute for room humidity. It raises moisture near the leaves only briefly, so a fern that is browning every winter may need a humidifier or a better location rather than repeated sprays. If leaves remain wet for long periods in a cool, still corner, move the plant or improve gentle airflow. Aim for a comfortable, stable environment rather than chasing a single humidity percentage that may not apply to every species or home.
Tip 4: Keep temperatures steady and drafts gentle
Most tropical houseplant ferns are comfortable in the temperatures people prefer indoors, but sudden changes can still damage tender fronds. Keep them away from cold drafts at doors and windows, hot air blowing from a heater, fireplace heat, and strong air-conditioning vents. A plant on a windowsill can experience much colder glass at night than the room’s thermostat suggests, so shift it a short distance back if leaves touch cold glass or show localized damage.
For Boston fern, North Carolina State Extension gives a warm indoor range around 60 to 70°F. Better Homes & Gardens’ horticulturist-reviewed fern guide gives a typical daytime range of 65 to 75°F for common indoor ferns, with nights about 10 degrees cooler. These are practical ranges, not a single temperature limit for every fern; keep tropical plants from chilling, especially when moving them outdoors or transporting them home, and follow a species profile if the label identifies a fern from a cooler habitat.
If growth slows in winter, do not automatically treat the plant as sick. Shorter days and cooler rooms usually reduce growth and water use, so a fern may need less frequent watering and little or no fertilizer until active growth resumes. Keep it in the brightest suitable spot, avoid cold drafts, and continue checking the mix. Stable conditions are usually safer than repeatedly moving it between a heated room, a chilly porch, and a bathroom.
Tip 5: Choose an airy mix and repot only when needed
A useful fern mix holds some moisture while leaving air spaces around roots. Dense garden soil tends to compact in a pot; a very coarse, fast-drying medium can make moisture-loving terrestrial ferns difficult to manage. For many terrestrial ferns, a quality indoor potting mix that drains freely is a workable start. If it stays wet too long, blend in a modest amount of bark or perlite to improve air space, then monitor how quickly the root ball dries.
Match the mix to terrestrial or epiphytic roots
Epiphytic ferns often need a more open medium than a conventional potting mix alone. The RHS epiphytic fern guide describes an airy, moisture-retentive, well-drained mix and gives a blend based on ericaceous compost, perlite, and orchid bark. You do not have to reproduce one exact recipe if your plant is healthy, but you should avoid burying exposed, fuzzy rhizomes or packing the roots into a dense, wet mass. The best mix is the one that fits the identified fern and drains predictably in your room.
Repot only when the plant gives you a reason. Roots emerging from several drainage holes, a root ball that fills the container, or mix that dries unusually fast despite appropriate watering can indicate crowding. One root peeking through a hole does not automatically mean an emergency. Repotting a fern that is already declining from poor light or root rot may add stress without solving the cause.
When repotting, choose a pot only modestly larger than the root ball and make sure it has drainage. Loosen any circling roots gently, preserve the crown, and set the plant at the same depth it was growing before. For a fern that spreads by clumps or rhizomes, spring is usually a practical time to divide it as new growth begins. Use clean tools and keep divisions large enough to retain healthy roots and several fronds; a tiny rootless piece may not recover.
Tip 6: Feed lightly during active growth
Ferns are not heavy feeders, and weak growth is not always a fertilizer problem. Check light, root moisture, drainage, and pot size before adding nutrients. A plant with damaged roots cannot use fertilizer well, and adding a strong dose to a stressed root ball can compound the problem. New fronds growing steadily are a better reason to feed than brown edges or a few older leaves fading.
For an actively growing Boston fern, the Missouri Botanical Garden recommends weak fertilizer monthly from spring to early fall. A balanced liquid houseplant fertilizer diluted according to the product’s label is an easy option; start at the low end of the label range if the plant is sensitive or recently repotted. Some epiphytic ferns are commonly fed with diluted orchid fertilizer, but verify that recommendation for the fern you own instead of applying it to every species.
Pause or reduce feeding when growth slows in winter, after repotting into fresh mix, or while the plant is recovering from dry roots, rot, or pests. Do not fertilize dry soil: water first if the mix is dry enough to require it, then feed at a later watering according to the label. Salt buildup can show as crust on the soil or pot rim and may damage roots; if the plant is otherwise healthy and the mix drains well, flush the pot with plain water and let it drain completely.
Diagnose frond changes before changing the routine
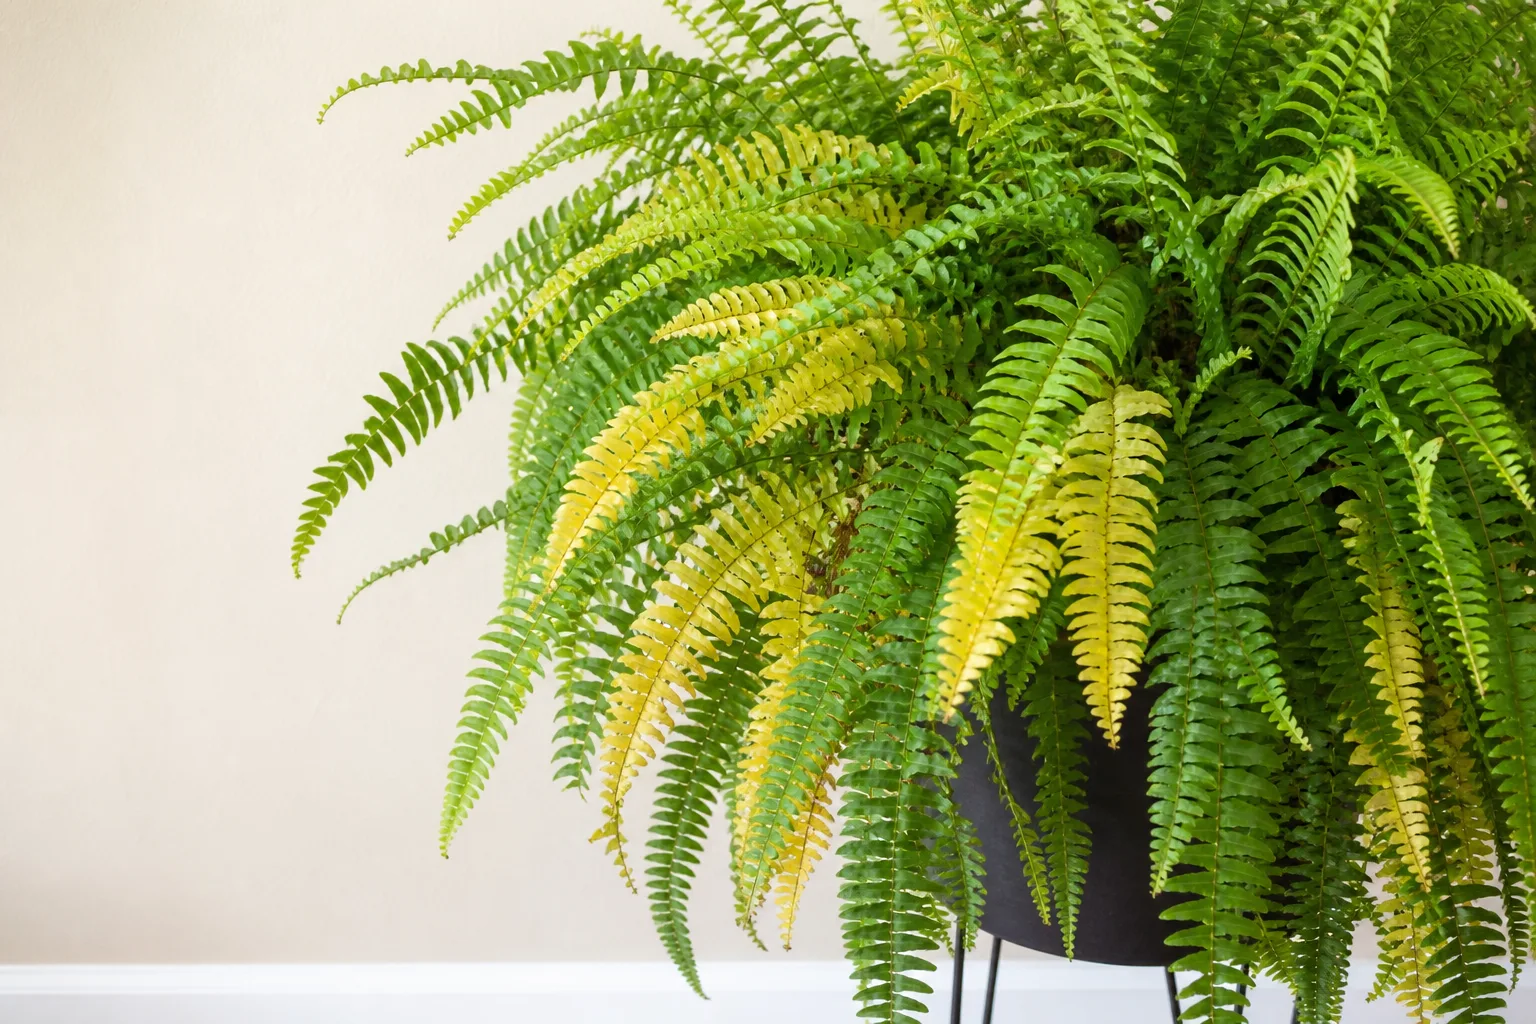
Frond color is a clue, not a diagnosis. A brown edge can follow low humidity, a missed watering, sun scorch, cold air, fertilizer salts, or roots damaged by staying wet. Start with the plant’s location and the root ball: check whether the mix is dry, evenly damp, or soggy; confirm that water can escape; then consider recent moves, direct sun, heating vents, and winter conditions. Change one likely factor and watch new growth rather than expecting old brown tissue to turn green again.
Brown tips, yellowing, and drooping
Crispy tips and margins often appear first where the air is driest or where the frond catches direct sun. If the whole root ball is dry, water thoroughly and adjust your checking routine. If the mix is damp but browning continues, do not add more water automatically; look for low humidity, a hot vent, cold glass, or harsh light. Older fronds may naturally age and die, especially as the plant grows new ones, so trim fully brown fronds close to the base with clean scissors rather than removing healthy green foliage.
Yellowing across several fronds can come from overwatering, low light, temperature stress, or a sudden environmental change. If the soil smells sour or remains saturated, slide the root ball out carefully to check for dark, mushy roots and repot only if rot is present. If the mix is healthy, note which fronds are affected: older lower fronds alone may be ordinary turnover, while widespread yellowing after a move suggests the new light or temperature deserves attention.
A fern that droops briefly in the hottest part of the day but recovers by morning may be reacting to heat or rapid water loss. A fern that remains limp while the mix is wet needs a different response than one that is limp with a dry root ball. Check the soil first, then look at the crown and stems for damage. Do not repeatedly soak a wet pot, and do not let a dry pot sit unwatered while you adjust the humidity.
Normal spores versus pests
Many ferns reproduce by spores. Regular rows or clusters of brown dots on the undersides of mature fronds may be sori, the structures that hold spores, rather than insects or a disease. North Carolina State Extension’s Boston fern profile notes that dark brown or black spore dots can appear beneath the fronds. If the dots have an orderly pattern and the upper surface looks healthy, leave them alone.
Pests are more likely when you see irregular bumps, fine webbing, sticky residue, pale stippling, or insects moving on new growth. Inspect both sides of several fronds and along the stems, then isolate the fern from other houseplants if you find a pest. Identify the insect before selecting any treatment, and follow the product label if you use a control. A few normal sori are not a reason to spray or wipe away healthy fronds.
A simple weekly routine for indoor ferns
Once a week, look at new and older fronds, check the mix below the surface, and make sure the pot and saucer drain freely. During hot or dry weather, check more frequently; when growth slows and the mix stays damp longer, check less often. This is a routine for observing the plant, not watering it on a fixed day.
Turn the pot a little if growth is leaning toward a window, remove dead fronds, and make sure leaves are not pressed against a radiator, cold pane, or crowded wall. If the air is very dry, use a humidifier or move the fern to a brighter humid room; avoid compensating with constant misting if it does not change the room conditions. Keep a short note of where the plant sits and when the mix dries, especially after seasonal changes.
When a fern starts declining, resist changing light, water, fertilizer, and soil all at once. Record the symptom, check the root zone and drainage first, and then adjust the most likely factor. That sequence makes it easier to see whether the change helped and keeps a simple problem from becoming several new ones.
Conclusion
Good indoor fern care comes down to six steady habits: give the plant filtered light, water according to its species and root ball, provide humid air without waterlogging the pot, protect it from temperature swings, use a suitable draining mix, and feed lightly while it grows. Identify the fern before making major changes, because a moisture-loving ground fern and an epiphyte do not share every root-care rule.
If the fronds brown or yellow, check the soil, drainage, light, and nearby heat or drafts before reaching for fertilizer or extra water. Small, evidence-based adjustments are more reliable than a universal schedule, and new healthy fronds—not a quick cosmetic fix—are the best sign that your care is working.