16 Garden Pond Building Tips for a Healthy Pond
Plan a garden pond that fits its purpose, handles rain safely, protects the liner, and stays easier to maintain with these 16 practical building tips.
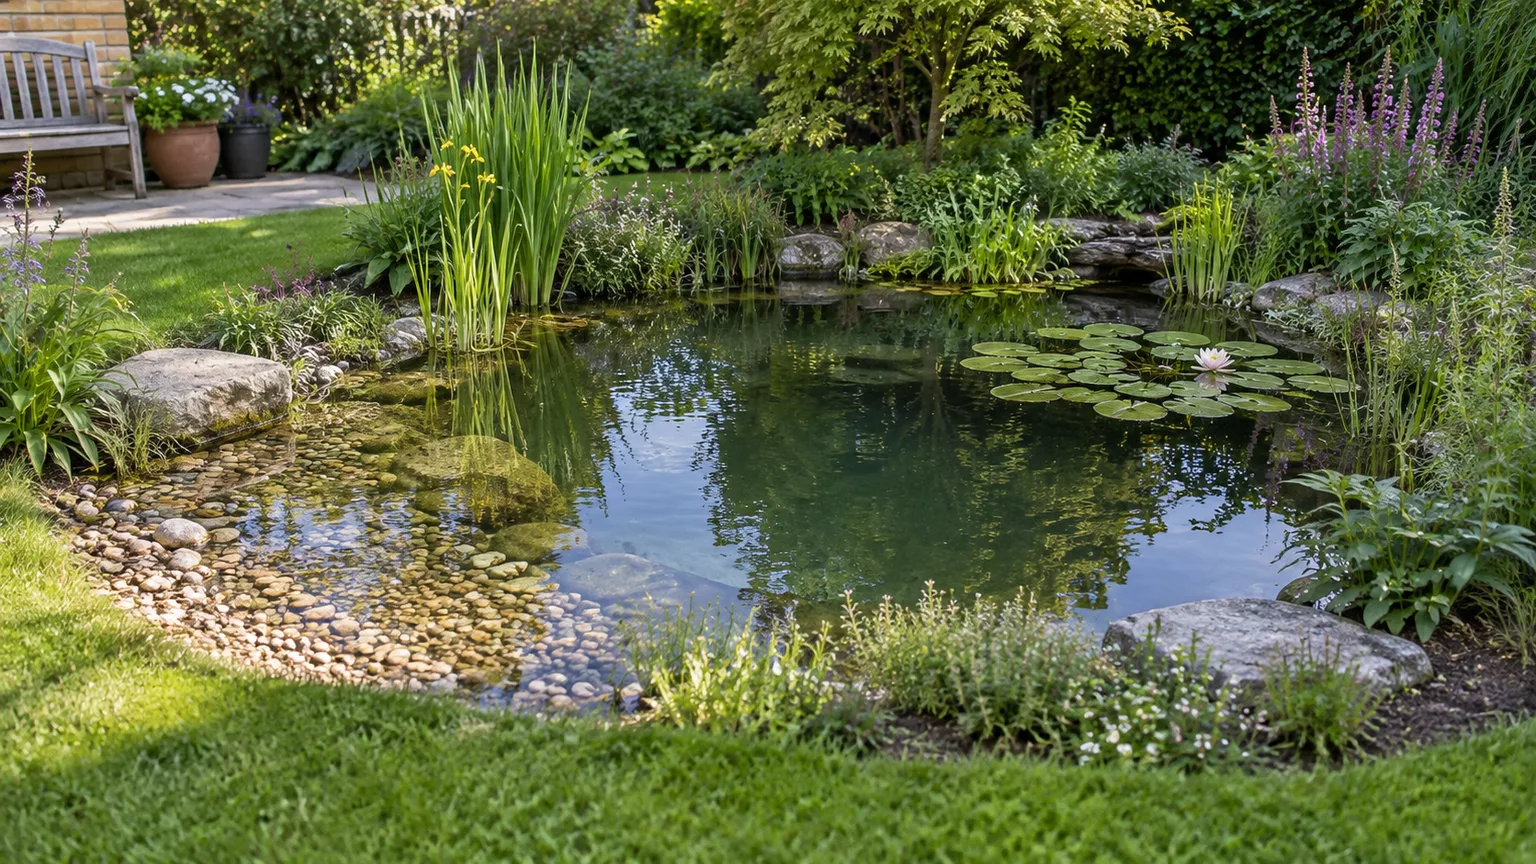
A garden pond is easiest to enjoy when its job, location, shape, water route, and upkeep are decided before the first spadeful of soil moves. A wildlife pond, a formal reflecting pool, and a pond stocked with fish may share a liner and pump, but they do not need the same depth profile, filtration, planting, or access.
Plan from the outside in: choose the purpose, observe the site, mark the water level and overflow, then size the basin and equipment. That order catches the costly problems early—an edge that spills toward the house, a liner that comes up short, or a pump hidden where it cannot be serviced.
1. Decide What Your Pond Must Do
Write down the pond’s primary use before choosing a shape or buying a filter. A wildlife pond usually benefits from planted shallows, gentle access, and low disturbance; a fish pond needs circulation and filtration sized for its water volume and stocking; a formal feature may prioritize a crisp edge, clear water, and an accessible pump. Combining uses is possible, but each extra goal adds a constraint.
Penn State Extension’s pond-planning guidance emphasizes choosing a primary objective because a design suited to one use may limit another. That principle applies to a small lined garden pond too: a broad, shallow beach is useful to wildlife but takes up surface area, while fish and a waterfall can increase equipment and maintenance needs. Decide what you will not compromise on, then let that answer drive depth, edges, planting, and budget.
2. Watch the Site Before You Dig
Visit candidate spots at different times of day and after rain. Note where direct sun falls, where tree shade moves, where water collects, and how visible the pond will be from the house. Partial sun often supports aquatic plants while giving you a shaded refuge that can moderate overheating and algae pressure; deep shade can leave the pond cold and limit flowering or wildlife activity.
The RHS wildlife-pond guidance recommends a mix of sun and shade rather than placing the whole water surface in either extreme. Avoid locating the pond under trees that drop heavy amounts of leaves or have roots that would make excavation difficult. Also think about access: you will need room to carry liner and stones, reach a skimmer or pump, and stand safely around the perimeter for future cleaning.
3. Keep Runoff, Roots, and Utilities in the Plan
Do not let a pond become the low point that collects everything washing off a fertilized lawn, driveway, compost area, or pet run. Runoff can carry sediment and nutrients into the water; Penn State Extension notes that excess nutrients encourage aquatic-plant and algae growth in ponds. A modest vegetated buffer or a shallow swale that diverts clean water around the pond can help, but route the pond’s own overflow away from the house, retaining walls, and neighboring property.
Before excavation, identify buried utilities, irrigation lines, drainage pipes, septic infrastructure, and any easements. Contact the local utility-locating service and planning office before digging; requirements vary by location and by whether the feature changes drainage, affects a protected area, or includes a dam or retaining structure. A small flexible-liner pond is not the same project as an earthen impoundment. If the site depends on a bank, spring, stream, or large catchment, get local professional advice before shaping it.
4. Mark the Footprint and Set the Budget
Lay out the proposed edge with a garden hose or rope and live with the outline for a day. Walk around it, check sight lines from the patio, and leave a safe route for maintenance. Curves that look graceful on the lawn can disappear once the liner and coping go in, so make the shape slightly more defined than you want the finished pond to appear. Keep enough space outside the rim for edging stones, planting, or a mowing strip.
Budget for the whole working system, not just the liner: underlayment, excavation and soil removal, edging, pump, filter or skimmer, safe power, aquatic plants, and a reliable way to handle overflow. Price the liner after the footprint and maximum depth are settled, then leave room for folds and anchoring. If the complete project is more than you can install and maintain, reduce the footprint now. A smaller, well-planned pond is usually a better first build than an oversized basin with no money left for the equipment or finishing work it needs.
5. Level the Rim and Give Overflow a Route
A pond’s normal water surface is level, so its rim needs a consistent elevation. Stretch a long, straight board across the excavation and check it with a spirit level at several points around the perimeter. The lowest edge determines where water will escape; if that low side points toward a foundation, you have designed a leak-like nuisance into the pond before adding water.
Mark a deliberate overflow point and shape a stable path from it to a safe area that can absorb or carry water away without erosion. Do not assume that a pump or filter outlet will handle storm overflow; those systems can clog or lose power. For a small lined pond, the overflow can often be a shallow, reinforced notch or drain route at the chosen side, but its capacity depends on rainfall, site slope, and local drainage rules. Recheck the rim after compacting shelves and before covering the liner edge, because finishing stones can shift the final waterline.
6. Vary Depth for Plants, Climate, and Use
A single-depth bowl gives you fewer options than a basin with a shallow margin, a plant shelf, and a deeper pocket. Wildlife and marginal plants use the shallows; a deeper zone can give fish more stable water and provide room for submerged plants. The right profile depends on climate, winter freeze, the species you intend to keep, and how much pond surface area you can spare. Do not choose a deep center simply because “deeper is better.”
For temperate wildlife ponds, the RHS describes a varied depth in the broad range of about 8 to 24 inches as suitable for many pond plants and animals, but that is a reference point, not a universal fish-wintering specification. In colder regions, fish survival depth depends on local winter conditions and species; ask a regional aquatic specialist before stocking. Deeper water also increases excavation, liner area, water volume, and child-safety concerns, so decide the profile before digging rather than trying to deepen an already lined pond.
7. Build Stable Shelves and a Gentle Exit
Shape flat, compacted ledges where aquatic baskets can sit without sliding, and avoid tall vertical walls that are hard to line and can shed stones. Keep each shelf wide enough for the container you plan to use, then check that it remains level when wet. A gently sloped “beach” on at least one side gives small wildlife a way to approach and leave; it also creates a useful shallow planting zone. If the pond is raised or container-based, add a stable ramp or stones that provide a continuous route in and out.
The RHS recommends a shallow slope for wildlife access, and Gardeners’ World’s wildlife-pond build shows how a carefully graded basin can serve both habitat and planting needs. A photo can make a steep stone bank look natural, but a pile of stones is not a substitute for a stable slope: rocks can roll, liner can be exposed, and small animals may be trapped. Compact soil shelves before underlayment goes down, and do not put sharp stakes or improvised supports through the liner.
8. Measure the Liner After Digging
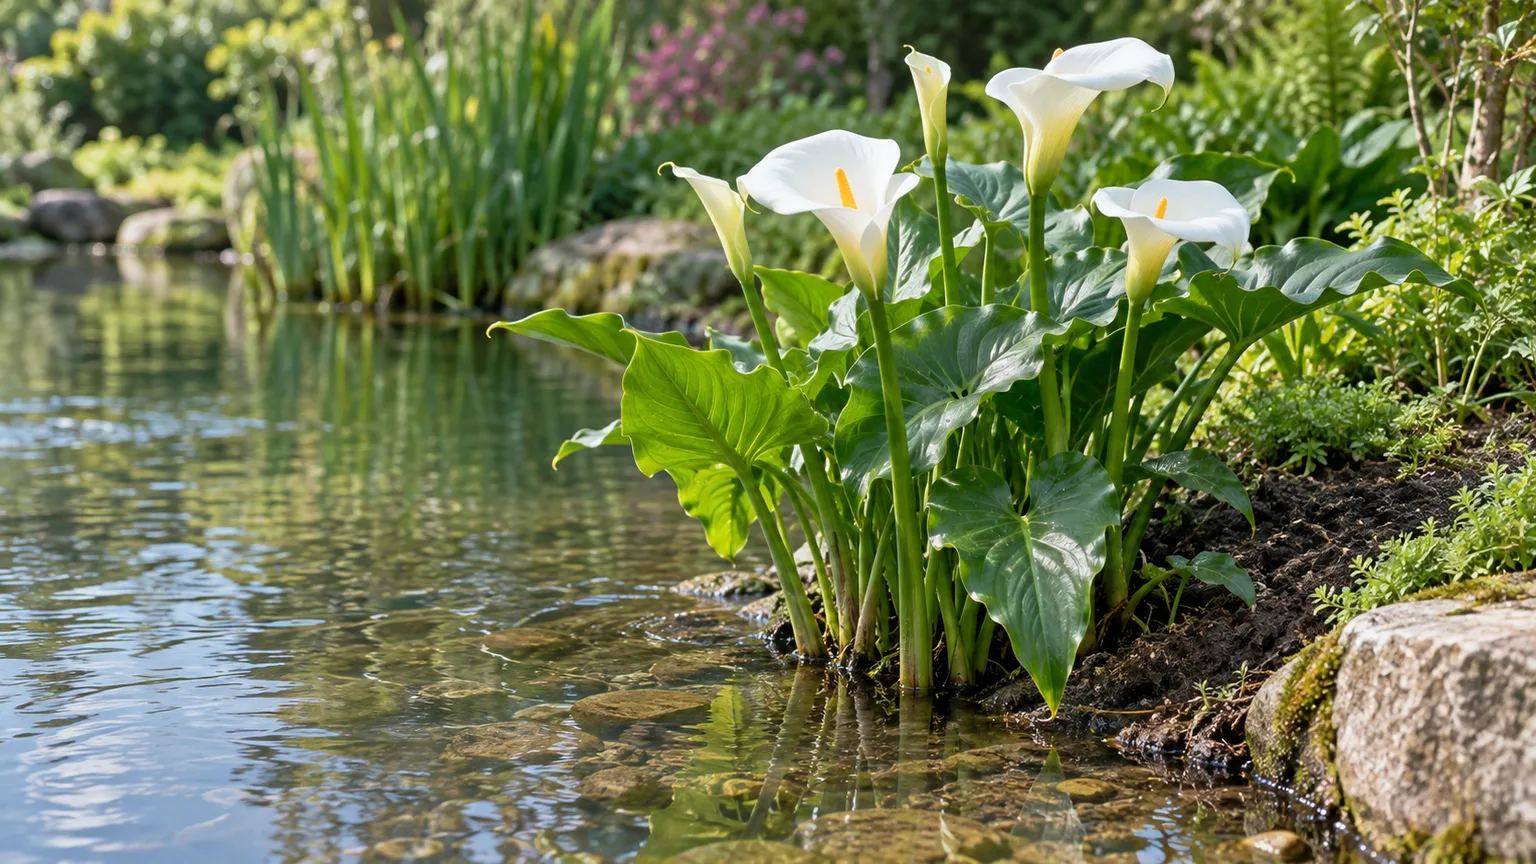
Do not order a flexible liner from the surface dimensions alone. Measure the longest length and width across the finished excavation, including shelves, and measure the deepest point from the rim. A useful starting calculation is liner length = pond length + twice the maximum depth + twice the edge allowance; use the same calculation for width. Add extra material for folds, irregular curves, and secure anchoring, and confirm the final size with the liner supplier’s calculator before purchase.
EPDM is flexible and commonly chosen for custom shapes; PVC can cost less but varies by formulation and can be less forgiving when folded or exposed. Preformed shells simplify shaping but lock you into fixed dimensions and a less natural profile. Compare total installed cost, temperature range, warranty, UV exposure, and aquatic-life compatibility rather than shopping by price per square foot alone. Avoid leftover construction membranes or decorative plastic whose additives and intended use are unknown. If the calculation is close, buy the next appropriate size rather than stretching the material tight across the rim.
9. Prepare the Basin and Protect the Liner
Remove roots, sticks, glass, sharp stones, and old landscape debris from the basin before lining it. Smooth and compact the soil, especially on shelves, then use a purpose-made nonwoven pond underlayment between the soil and membrane. It cushions the liner from small irregularities and gives you a more forgiving surface while you adjust folds. Sand may help smooth a carefully prepared base, but it is not a substitute for removing roots or creating stable walls.
If burrowing animals are a real local problem, ask a pond installer or liner manufacturer about a compatible barrier detail; any mesh must be secured so cut edges cannot press into the membrane. Lay the underlayment without gaps, then unfold the liner loosely rather than pulling it taut. Gardeners’ World demonstrates an additional protective layer above the liner for a naturalized wildlife pond, followed by subsoil; that approach can work for that style, but fish ponds, pumps, and different liner systems may need another finish. Follow the liner maker’s installation details for your project.
10. Put Serviceable Filtration on the Plan
A filter is not an automatic requirement for every garden pond. A planted wildlife pond with no fish may function with little mechanical equipment if you keep nutrient runoff low and remove excess debris. A pond with fish, especially a heavily stocked one, has a different waste load and generally needs filtration and circulation designed for its volume and fish load. The key is to decide this before placing the liner, not after you discover there is nowhere convenient to put the equipment.
Plan for the filter to be reachable without stepping into the pond or dismantling a stone edge. A skimmer should be positioned where wind tends to push floating leaves, but it must remain accessible for cleaning. Check that the pump and filter combination is rated for the pond’s actual water volume and intended use; waterfalls, elevation, pipe length, and bends reduce delivered flow. Leave room for shutoff valves and unions so you can remove a pump for service without draining the pond. Simpler equipment that you can maintain is more useful than a hidden system you avoid touching.
11. Plan Circulation and Waterfall Loss
Draw the path from the pump intake to the filter and back to the pond before buying equipment. Keep the intake protected from leaves and gravel, and return water where it moves the surface without creating a strong current through every plant shelf. A waterfall adds sound and aeration, but it also adds plumbing, splash, and evaporation; a dry streambed can become an overflow route in heavy rain if it is built for that purpose. Decide whether those trade-offs fit the main goal.
Assemble and test the pump, filter, and any spillway while the pond edge is still open. Look for leaks at fittings, see whether water returns to the intended spot, and check that splash stays inside the basin. Mark the normal waterline, then compare the level after the pump has run and after it is off; a rapid drop may point to a leak, while a small drop during hot or windy weather may be evaporation. This simple baseline makes troubleshooting much easier than guessing once rocks hide the plumbing.
12. Treat Electrical Work and Access as Safety Items
Outdoor pond equipment needs properly protected power and weather-rated connections. Put pump circuits on the required ground-fault protection, use outdoor-rated components, and have a qualified electrician install new circuits or buried cable. Do not rely on an indoor extension cord or an improvised splice beside the water. Plan cable routes and service shutoffs before landscaping hides them, and follow the equipment instructions and local electrical code.
Water depth is not a substitute for supervision or a safety plan. William & Mary’s pond-safety guidance describes a raised, shallow institutional pond with a step, while still stating that young children need supervision around any water. For a home pond, consider a barrier or cover appropriate to the site, keep climbable furniture away from the edge, and teach children that the pond is off limits without an adult. Check local rules for fencing and barriers because depth thresholds and code requirements vary. If pets use the yard, add an easy exit slope and avoid edges that are slippery or unstable.
13. Choose Plants by Zone, Not by Photo
Choose aquatic plants after you have mapped the shelves and checked your region’s hardiness and invasive-species guidance. Marginal plants belong in shallow baskets or shelf areas; floating-leaf plants need a calmer surface; submerged plants occupy deeper water. A mix can shade portions of the pond, provide shelter, and make the water look settled, but vigorous species can quickly cover a small surface. Keep aggressive growers in baskets and leave access for skimming and pump maintenance.
Use aquatic planting medium or washed mineral soil suited to the species; ordinary potting mix often contains compost or fertilizer that can cloud water and add nutrients. Penn State Extension connects fertilizer and other nutrient runoff with excessive aquatic-plant and algae growth, so keep lawn fertilizer, manure, and soil wash away from the rim. For a natural wildlife pond, Gardeners’ World uses nutrient-poor subsoil and notes that early water may be muddy or green while plants establish. That does not mean every pond needs soil over its liner. Check whether each plant is native or invasive in your area, and do not release unwanted plants into waterways.
14. Add Rocks Without Creating Future Problems
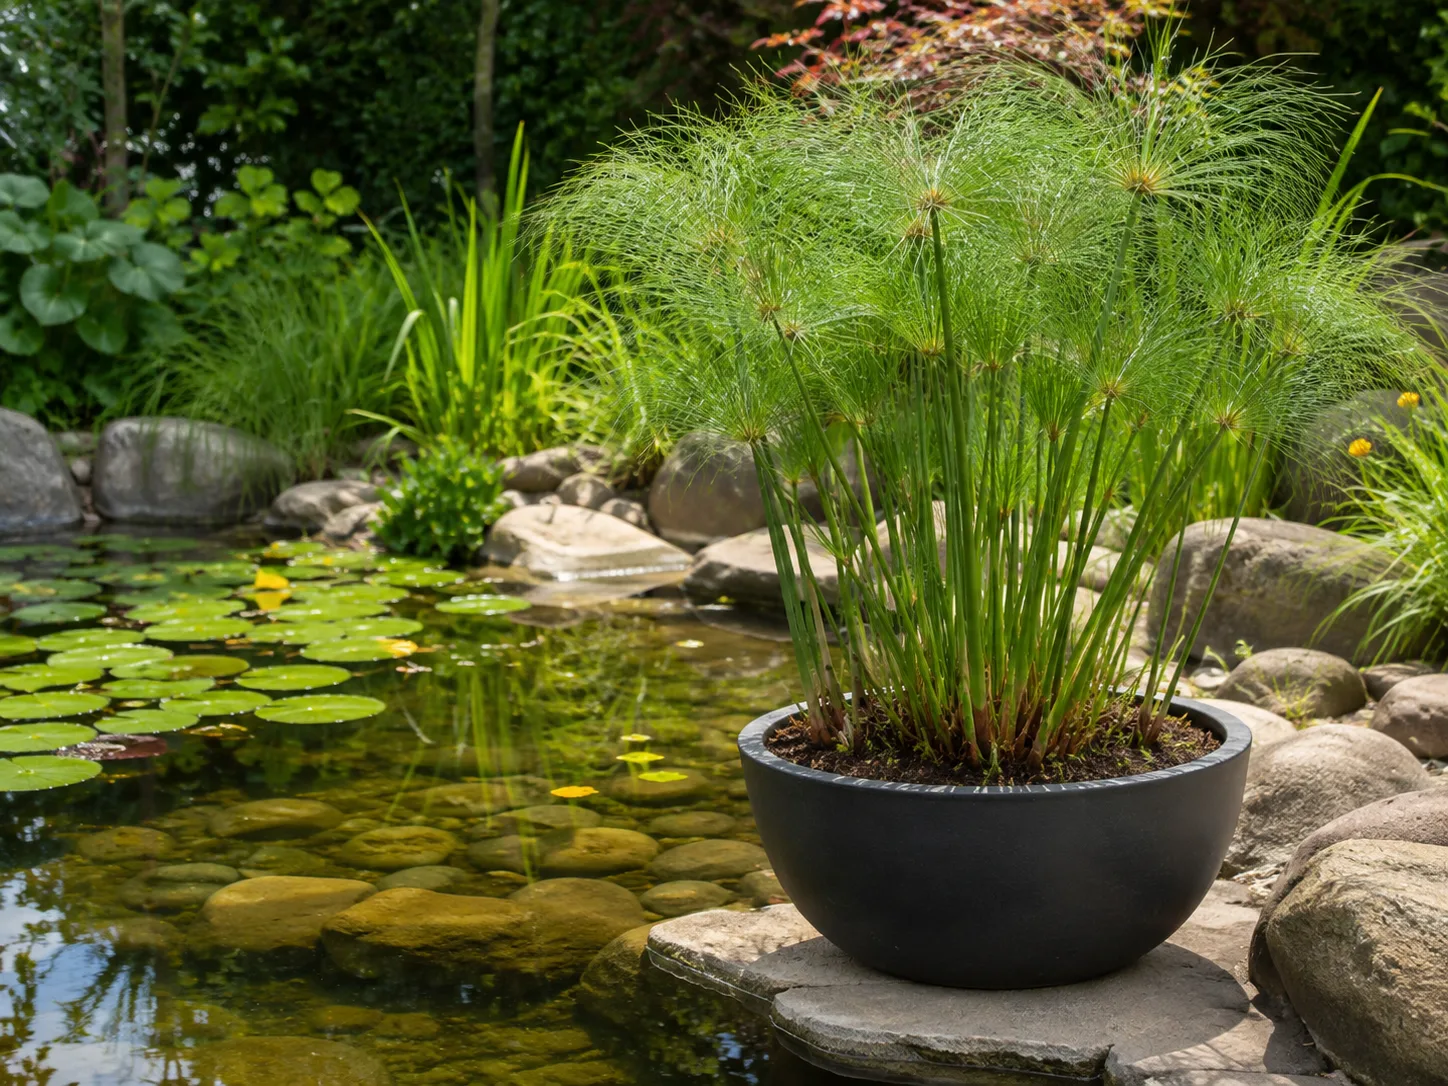
Use rocks to hide the liner edge, create stable stepping points for wildlife, and soften the transition from water to garden—but do not cover every inch of the bottom by default. A smooth, minimally decorated basin is easier to inspect and remove leaves from than a floor packed with jagged stones. If you use cobbles or gravel, wash off dust and place them where they cannot slide down a steep wall or trap debris behind the liner.
Set heavy stones on a supported shelf or stable base, not on an unsupported fold in the membrane. Choose pieces that are manageable to place and arrange them so they cannot shift into the water when someone leans on the edge. Plan how you will reach the pump and skimmer after edging is complete. If you collect stone yourself, check landowner permission and local rules first; gathering rock from waterways or protected public land can damage habitat and may be prohibited. A restrained edge often looks more natural and is easier to maintain than a uniform ring of oversized boulders.
15. Fill in Stages and Check for Leaks
Start filling slowly and pause when the liner begins to take the shape of the basin. Smooth out major folds without pulling the membrane tight, and adjust the edge allowance before the water presses everything into place. Add a little water at a time while you work around the rim, then check that it reaches the planned level evenly. If one side begins to submerge while another remains dry, stop and correct the grade before adding more water.
Once the pond is filled, let it sit long enough to establish a baseline waterline before concluding that any drop is a leak. Wind, heat, splash, and plant uptake can lower the level; use a straight-sided bucket of pond water as a simple comparison for evaporation. Inspect exposed edges, pipe fittings, and the overflow route. If you plan to keep fish, do not add them as soon as the water looks clear: confirm the water source is suitable, condition treated tap water as required, start the filter, and allow the biological system to mature according to reliable fish-care guidance. A wildlife pond usually needs time to settle and be planted before it becomes a stable habitat.
16. Design Cleaning Into the Pond
Make the pond easy to inspect from the path and leave a clear route to the skimmer, pump, and filter. A leaf net or seasonal cover can reduce debris from nearby trees, while a small, reachable planting shelf makes it easier to thin vigorous growth. Keep the bottom smooth enough for a net or pond vacuum if you expect to remove sediment. A heavily rocked basin may look finished on day one but can make routine cleaning slow and frustrating.
Expect a new pond to change as plants establish and the water balance develops. Some early cloudiness or algae can settle without chemicals, particularly when planting is sparse at first; remove excess leaves, reduce nutrient sources, and give plants time before treating the water. Penn State Extension’s pond resources stress assessing conditions before choosing a management response, and the same restraint helps in a small garden pond. Do not use an algaecide or aquatic herbicide without confirming that it is labeled for the pond’s intended use and safe for its plants, fish, pets, and wildlife. Build in a simple seasonal routine: skim leaves, check the waterline, clear pump intakes, thin plants, and inspect the overflow after heavy rain.
Conclusion
A reliable garden pond starts with a purpose and a site, then takes shape around a level rim, safe overflow, suitable depth profile, protected liner, and equipment you can reach. The best dimensions are the ones that fit your climate, wildlife or fish goals, yard drainage, and maintenance capacity—not a universal depth or a dramatic photograph.
Before filling, walk the perimeter once more: confirm the grade, check the liner allowance, test the pump and overflow, and make sure water cannot run toward the house. Those checks are far easier before rocks and plants lock the design in place. After that, let the pond establish gradually and adjust its care to what the water and plants actually show you.



