5 Reasons Why There Are Brown Edges on Your Rubber Plant's Leaves
Brown edges on rubber plant leaves can signal wet roots, drought, light stress, dry air, or salt buildup. Learn what to check first and how to fix each cause.
The Quick Answer: Check the Roots and the Recent Conditions
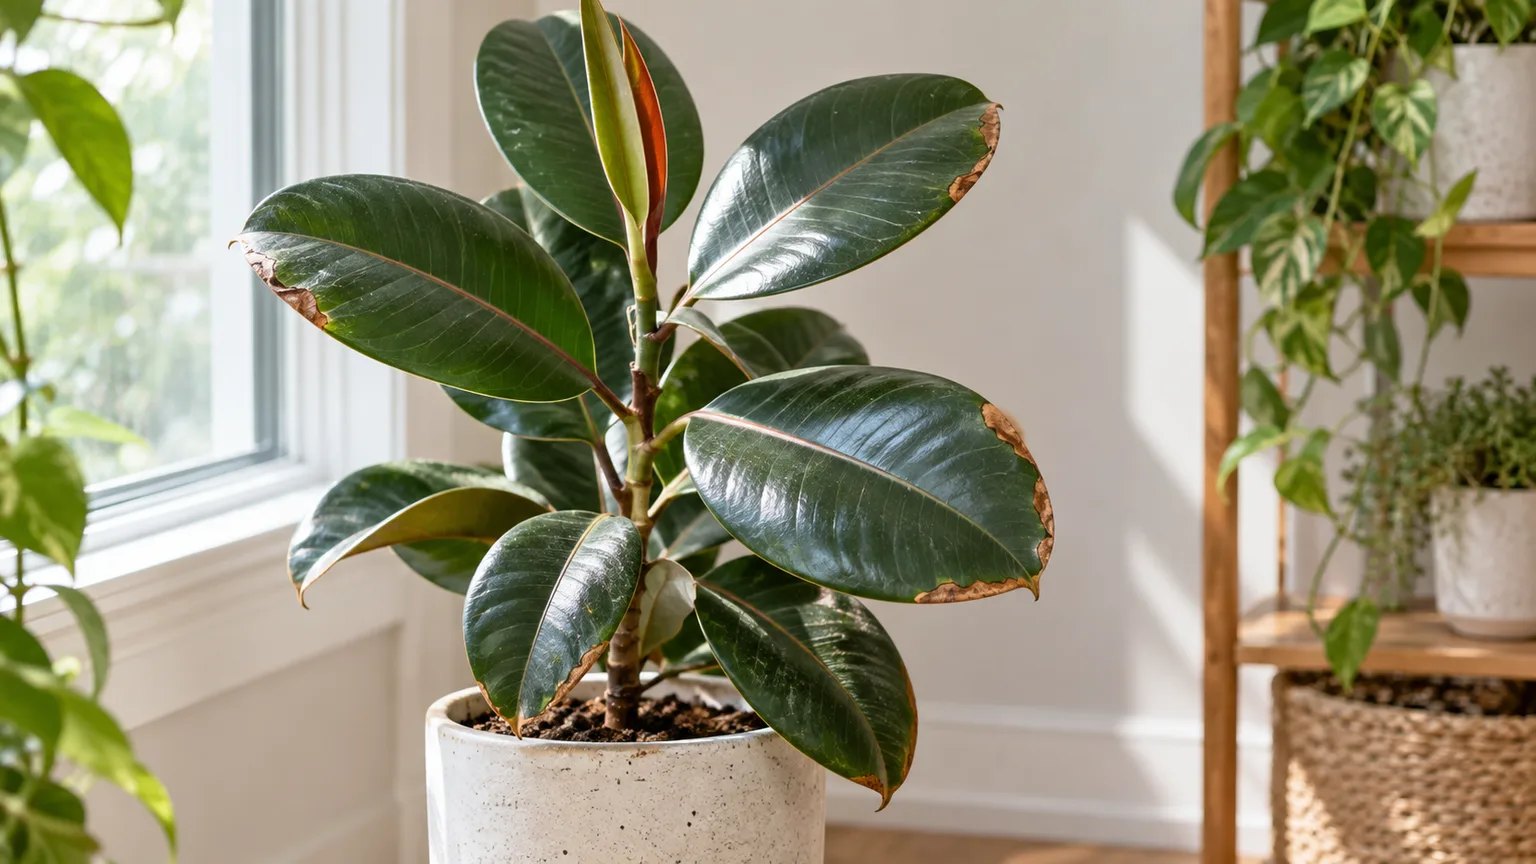
Brown edges on a rubber plant are a symptom, not a diagnosis. The most useful first check is the root zone: feel the potting mix a few inches below the surface, lift the pot, and confirm that water can drain out. A heavy pot with persistently wet soil suggests a different problem from a light pot with a dry root ball, even if both plants have crisp brown margins.
The five common cause groups are roots kept too wet, roots allowed to dry too far, a light mismatch, dry air or drafts, and fertilizer or mineral salts accumulating in the mix. More than one can occur at once. For example, dim winter light slows growth and water use; if you keep watering on the same summer schedule, the mix can stay wet long enough to damage roots.
Do not respond to brown edges by watering automatically, misting repeatedly, fertilizing, and moving the plant all on the same day. First note which leaves are affected and what the soil feels like. Then make the smallest correction that matches the evidence. Ficus elastica has thick, glossy leaves and can be kept indoors in bright filtered light, but it does not tolerate waterlogged roots or cold drafts well, according to NC State Plant Toolbox.
Read the Damage Pattern Before You Change Anything
Leaf edges reveal where tissue has died, but not why. Use the pattern to rank possibilities, then confirm your best guess with the soil, pot, and recent care history. Brown tissue will not heal, so the useful question is whether fresh damage is still appearing.
Crisp edges and soft margins point in different directions
Dry, papery margins commonly follow water stress, low humidity, salt injury, or leaf scorch. Soft, dark, or water-soaked areas are more concerning when the potting mix is also wet; they can accompany failing roots or a leaf-spot problem. Texture is a clue, not proof. A leaf that dried at the edge can still have wet soil underneath if the roots are impaired.
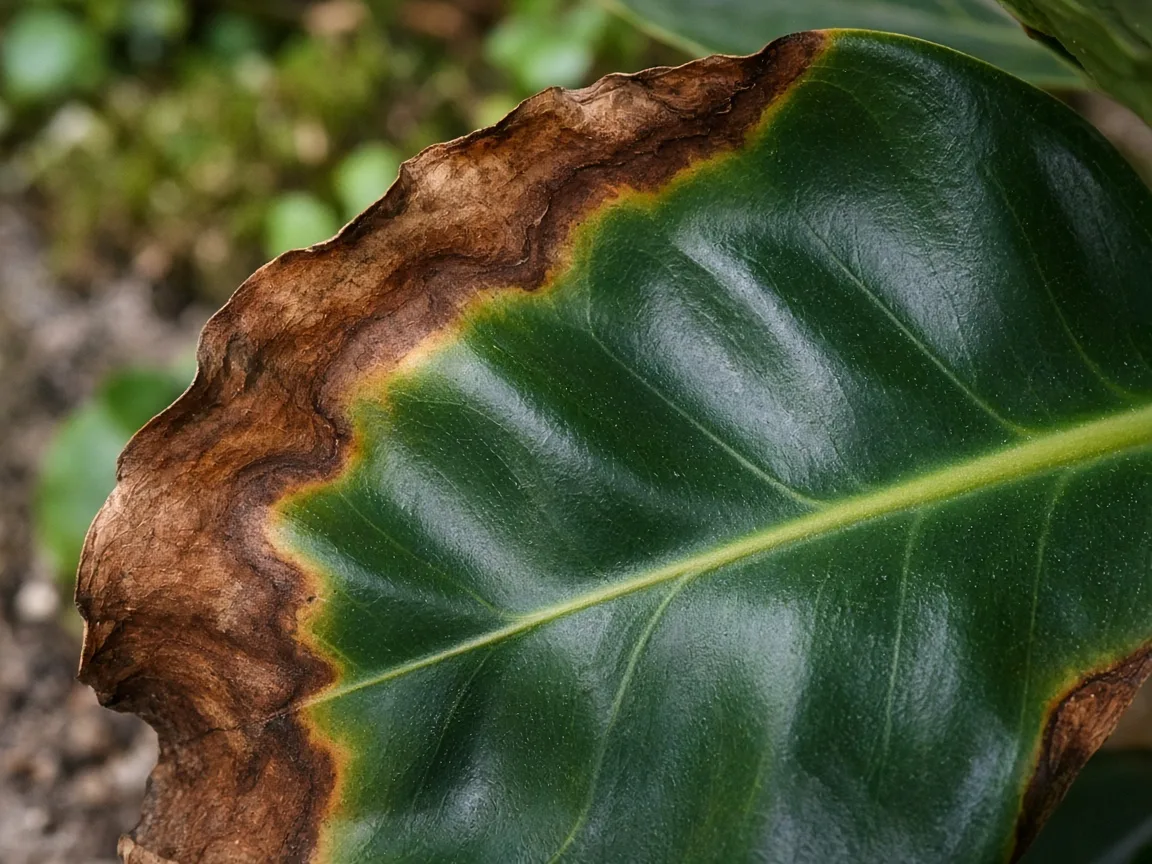
If the brown area starts as a discrete spot, has a yellow halo, looks wet, or spreads inward across the blade, do not assume it is ordinary edge crisping. Check both sides of the leaf and look for insects, fine webbing, raised bumps, or sticky residue. Isolated lesions need a different diagnosis from a thin, dry margin that follows the leaf outline.
Notice which leaves are affected and how quickly
Damage on several leaves at once often follows a change that affected the whole plant: a watering shift, a cold snap, a move into stronger light, or a fertilizer application. Browning limited to the window-facing side can support a light or temperature explanation. If only the oldest bottom leaf slowly yellows before browning while the rest of the plant is growing normally, natural aging is possible.
New leaves matter more than old damage. Brown tissue on a leaf that formed weeks ago will remain brown after you correct the cause. Take a photo now and compare it with the next new leaf and the margins of currently healthy leaves. That record helps you see whether the problem has stopped instead of prompting repeated care changes.
1. The Root Zone Stays Wet for Too Long
Watering too often can deprive roots of the air they need. A rubber plant in saturated mix may develop yellowing, drooping, brown margins, or leaf drop; the leaves can look thirsty because damaged roots cannot supply water normally. The combination of a heavy pot, soil that stays wet for many days, and worsening symptoms is more useful than the brown edge by itself.
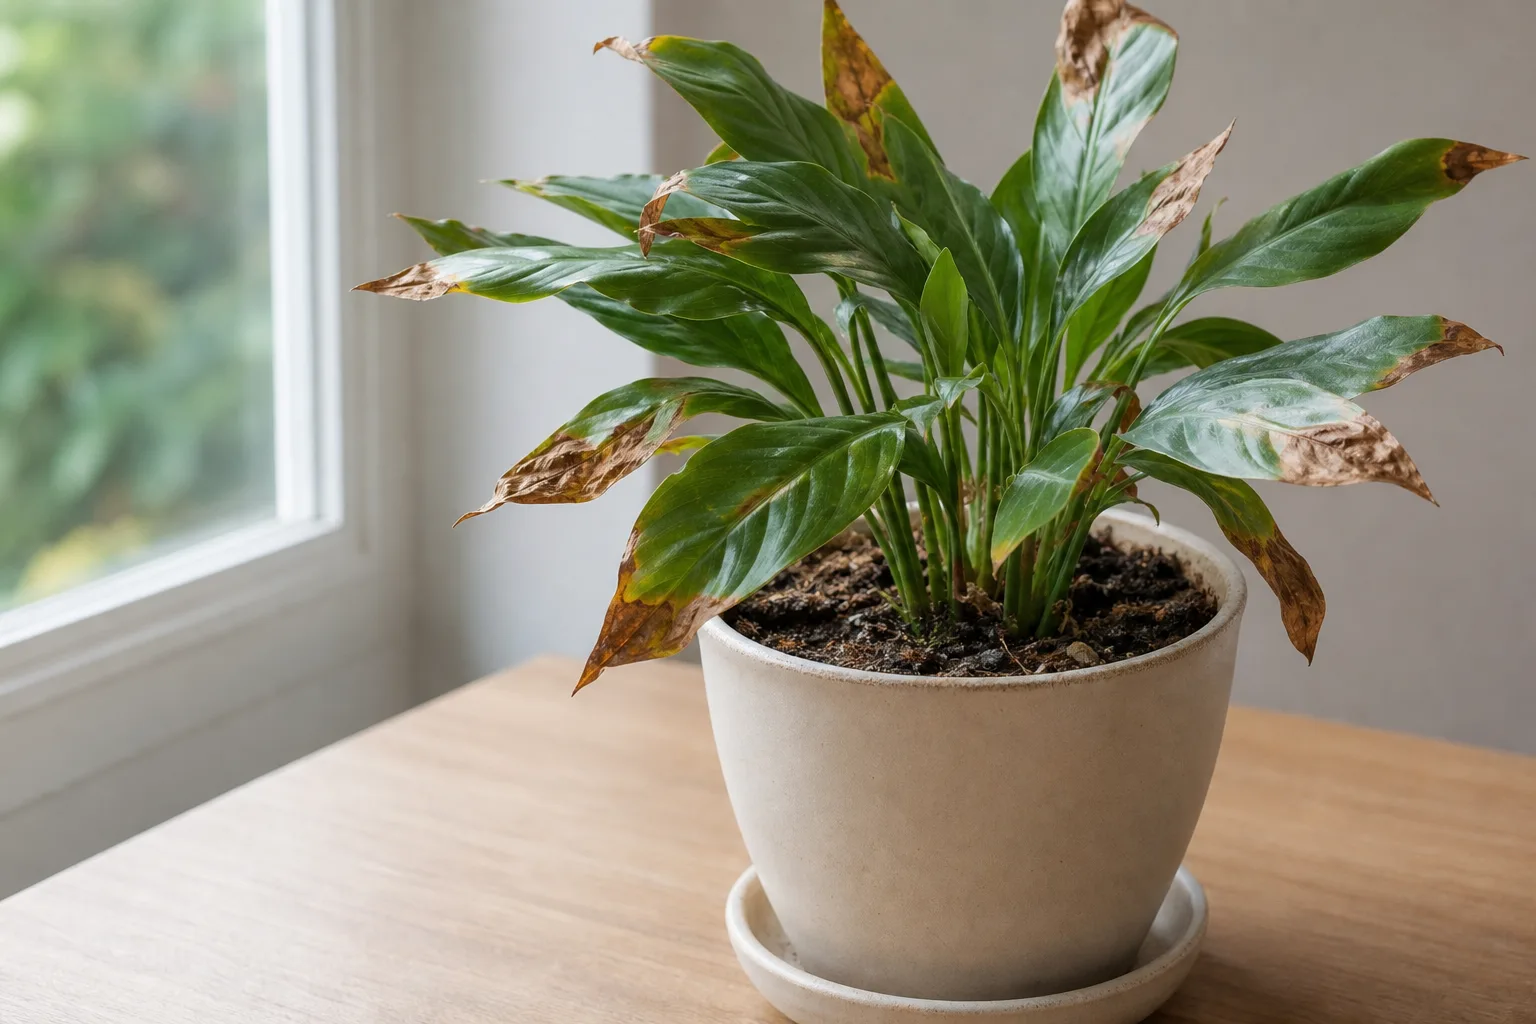
Season matters. A plant using less water in a dim, cool room will dry more slowly than the same plant in warm, bright summer conditions. Watering every Saturday can therefore be excessive in winter, even if the same interval worked earlier in the year. Check the mix before watering rather than following a fixed calendar.
Rubber plants do not need to sit bone-dry for long periods, but a constantly wet root ball is risky. Epic Gardening’s rubber plant guide recommends waiting for the upper few inches of a container mix to dry before watering again. For a smaller pot, feel the mix nearer the surface; for a large pot, check more than one place because the center can remain wetter than the edge.
Separate watering frequency from a drainage problem
A pot may stay wet because you water too often, because the container cannot drain, or because dense mix holds water around the roots. Check that the nursery pot has open drainage holes and that a decorative cache pot or saucer is not holding runoff. Pour away excess water after watering. A layer of gravel in the bottom does not replace drainage holes.
If water drains freely but the mix still stays soggy, inspect the structure of the potting medium and whether the container is much larger than the root ball. A very large volume of damp mix can dry slowly. When repotting is truly needed, use a container only modestly larger than the roots and a loose, well-draining houseplant mix. Colorado State University Extension’s rubber plant guidance advises adequate drainage and emptying collected water; Martha Stewart’s rubber plant guide also recommends a free-draining blend.
Do not unpot a plant just because one leaf has a brown edge. If the pot drains, the mix is drying between waterings, and the stem remains firm, a sudden repot can add stress without solving anything. Inspect roots when wet soil persists, the plant declines, the mix smells sour, or roots visible at a drainage hole look dark and soft.
2. The Root Ball Dries Out Too Far
Underwatering can also leave leaf margins crisp. This is more likely when the pot feels unusually light, the mix is dry well below the surface, or it has pulled away from the container wall. A plant that is routinely allowed to become bone-dry may show drooping first, followed by dry tips or edges and, in a more severe case, leaf loss.
Water deeply enough to wet the whole root ball, then let excess drain. A small splash on the surface can run down the gap between dry soil and the pot without soaking the center, so water slowly in more than one pass. If the mix has become water-repellent and the root ball is very dry, set the nursery pot in water briefly until the surface begins to moisten, then remove it and let it drain completely. Do not leave it standing in water afterward.
Rubber plant watering advice varies with indoor temperature, light, pot size, and season. University of Florida IFAS Extension’s Ficus elastica profile says container-grown rubber trees should become fairly dry between waterings, while Epic Gardening recommends watering once the top few inches dry. In a home, use those as moisture cues rather than a demand to let every root become completely dry.
After rehydrating, resist the urge to water again because the existing edges remain brown. The damaged margins cannot absorb water and turn green. Wait for the mix to approach the plant’s normal watering point again, and judge the correction by whether fresh leaves and previously healthy margins stay intact.
3. Light Is Too Weak or Too Harsh
Light can contribute to brown edges in two opposite ways. Too little light usually acts indirectly: growth and water use slow, so soil dries more slowly. If watering frequency does not change, roots may remain wet and symptoms can resemble overwatering. Low light can also make a rubber plant grow weakly or shed leaves, but it is not the same injury as a scorched margin.
On the other hand, a sudden move into strong direct sun can bleach, tan, or crisp the exposed side of a leaf. This often follows a change in season, a plant being moved outdoors, or a relocation closer to a south- or west-facing window. Damage concentrated on the window side, especially after a bright afternoon, makes sun exposure more plausible than a whole-pot watering problem.
Low light slows water use; direct sun can scorch leaves
Aim for bright, filtered light. An east-facing window or a position set back from intense afternoon sun is often a practical starting point; the right distance depends on the window, season, and any sheer curtain. Martha Stewart’s horticulture guidance notes that rubber plants tolerate lower light but can become stressed, while too much direct sunlight can also be harmful. NC State likewise recommends indoor bright indirect light and protection from afternoon sun.
If the plant needs more light, increase it gradually over a week or two instead of moving it into direct midday sun. If a leaf is already scorched, the dead portion will not recover; filter the light and watch the next leaves. When light changes, recheck the soil more often at first because water use may increase in a brighter position.
Do not keep the plant in a dark corner and compensate by watering more often. First improve the light, then adjust watering to how quickly the mix dries. If the plant sits far from a window, a suitable grow light can help, but it should illuminate foliage without heating or drying the leaves.
4. Dry Air or a Draft Is Increasing Leaf Stress
Dry indoor air can make the edges of broad leaves lose moisture faster, especially when the plant is near a heater, air conditioner, fan, or drafty window. Low humidity is more convincing when browning is crisp and the pot is not staying too wet or becoming severely dry. It is less convincing when the plant is declining rapidly and its roots are soft or the soil smells stale.
Also distinguish dry air from moving air. A room can have acceptable humidity yet a vent can blow directly across one part of the plant all day. Cold air at a window in winter or warm air from a radiator may cause localized stress. Turn off or redirect the airflow, or move the plant a short distance away from the source while keeping its light similar.
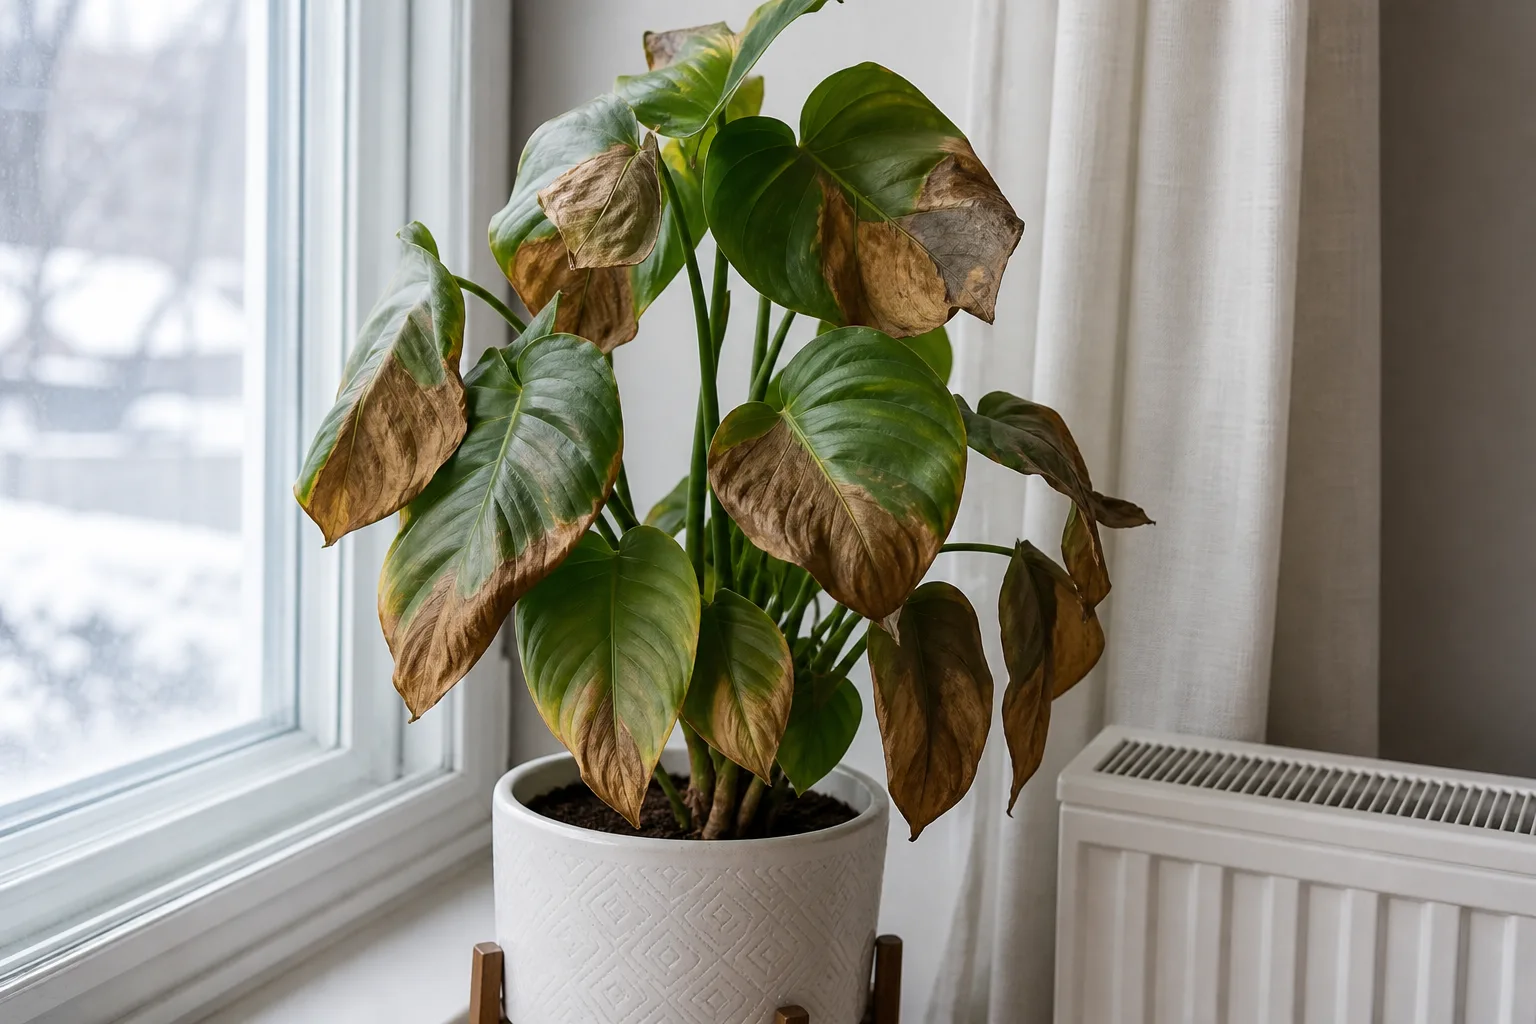
Rubber plants prefer warm conditions and can react poorly to cold drafts or abrupt temperature changes. Colorado State Extension recommends keeping them away from furnace and air-conditioning airflow and drafty doors; NC State also notes their sensitivity to drafts and cold. Avoid prolonged exposure below about 55°F (13°C), a lower threshold identified in Epic Gardening’s species guide, and keep leaves from touching cold glass.
If the room is persistently dry, measure it with a small hygrometer near the foliage and consider a room humidifier. Grouping plants may modestly change the immediate microclimate, but it does not correct a vent blowing on the leaves. Misting is temporary and is not a dependable way to maintain room humidity. Avoid leaving the pot in standing water while trying a pebble tray; the plant’s roots should remain above the waterline.
5. Fertilizer or Mineral Salts Are Building Up
Too much fertilizer can injure roots and reduce their ability to take up water, which may show as brown leaf tips or margins even when the mix is damp. Look for a white or tan crust on the soil surface, pot rim, or saucer; review whether you recently increased the dose, fertilized a dry plant, or fed it repeatedly during slow winter growth.
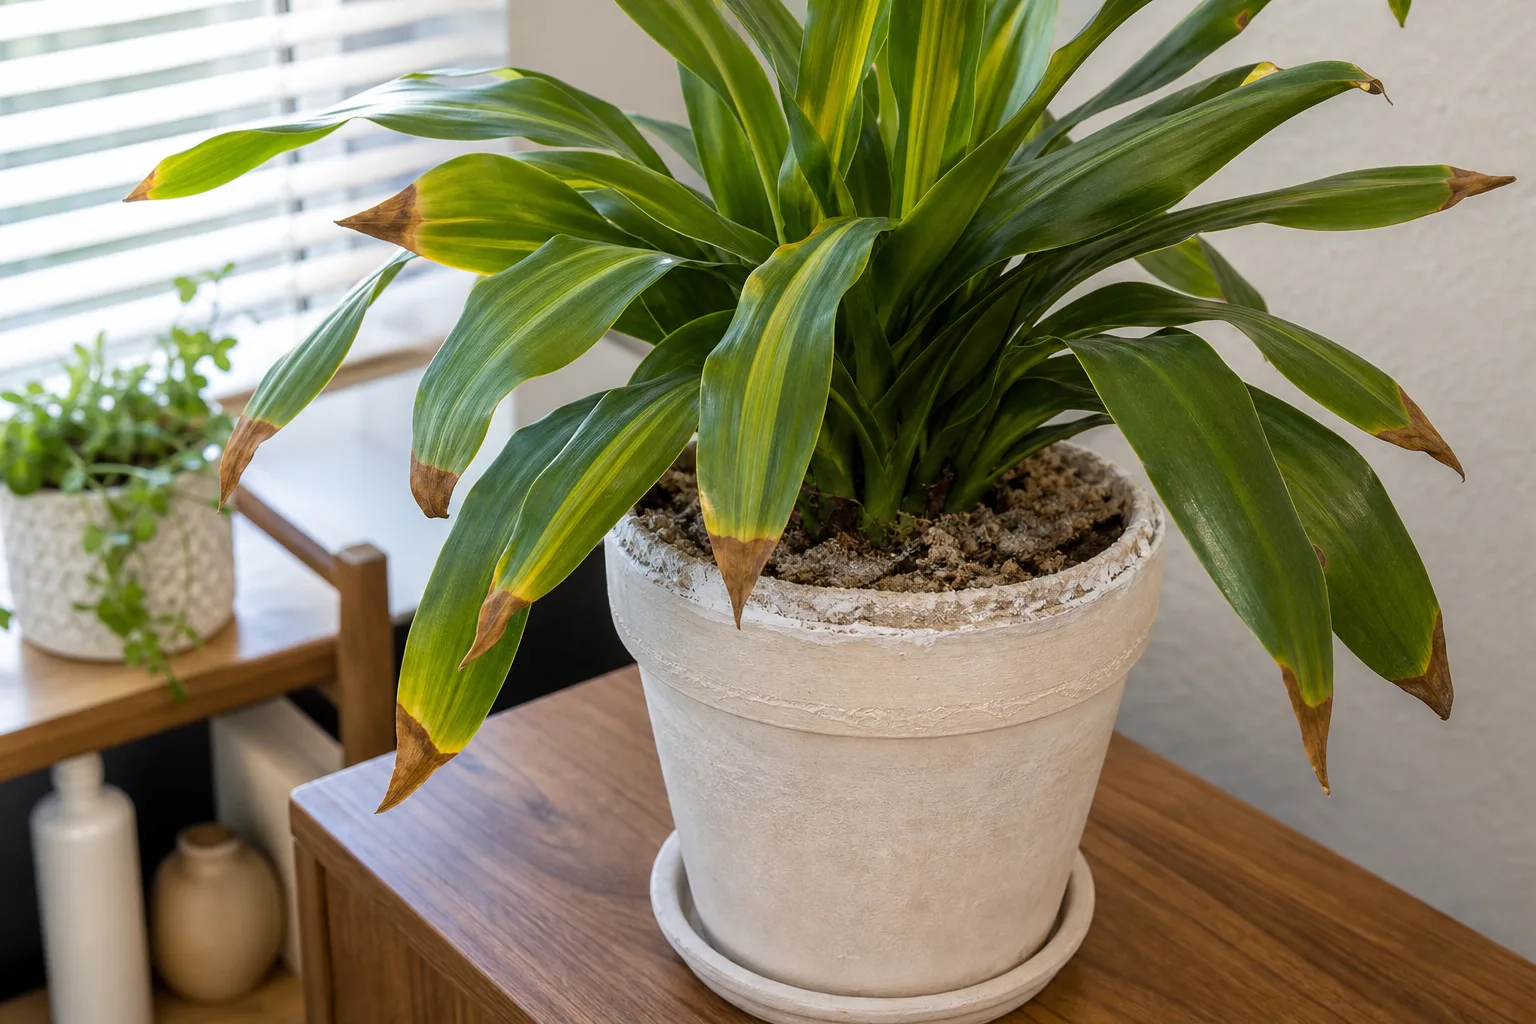
The mechanism is not limited to one plant species. Washington State University Extension’s fertilizer-burn guidance explains that excess soluble salts can damage roots and contribute to necrosis at leaf tips and margins; container plants may show a crusty deposit. UConn Extension’s houseplant fertilization guidance similarly identifies brown tips, wilting, and white crust as possible overfertilization signs.
If salt buildup is likely and the pot drains freely, water the mix thoroughly so runoff can carry some salts away, then empty the saucer. Do not flush a pot that has no drainage or is already waterlogged; that can worsen root injury. If the mix is crusted, compacted, or drains poorly, repotting into fresh medium may be safer than repeatedly soaking it.
Pause fertilizer until the plant is actively growing again, then follow the product label conservatively. More is not better, and feeding a stressed or dry root ball can add injury. Mineral deposits from irrigation water may contribute over time, but brown edges alone do not prove that tap water is the cause. First rule out wet roots, dry soil, direct sun, and airflow; consider changing water only when deposits recur or several sensitive plants show similar symptoms.
A 10-Minute Diagnostic Order for Brown Edges
Do these checks before changing several parts of the plant’s care. You do not need a meter or special product; a finger, the pot itself, and a quick look at the leaf undersides are enough to narrow the cause.
- Check the mix below the surface. Feel roughly 2 to 3 inches down, not just the dry crust on top. Damp and cool suggests waiting; dry through the root zone suggests watering.
- Lift the pot and check drainage. Compare its weight with how it feels just after watering. Look for blocked holes and standing runoff inside a cache pot.
- Read the leaf pattern. Several leaves at once suggest a whole-plant change; one exposed side suggests sun or airflow; one old bottom leaf may simply be aging.
- Look for residue and pests. White crust supports salt accumulation. Fine webbing, moving specks, sticky patches, or raised brown bumps point away from a simple watering issue.
- Review recent changes. Note a move, cold night, open window, heating season, repot, new fertilizer, or change in watering interval.
Match the pot evidence to the leaf evidence
Use two clues together before acting. A heavy, wet pot plus yellowing lower leaves supports a wet-root diagnosis; a feather-light pot plus dry soil supports drought. A white crust plus recent feeding supports salt buildup. Brown patches on the window side after a move support light scorch. Crispy margins with otherwise normal soil and a vent nearby make airflow or low humidity more plausible.
If the clues conflict, do not force a diagnosis. Wait a short interval and recheck the moisture at the same depth, or inspect the roots if the plant is worsening while the mix remains wet. A photo and a dated note are useful because brown tissue is permanent; you are tracking whether the boundary of damage advances, not whether old tissue regains color.
A Recovery Plan That Avoids More Stress
Correct the strongest cause first and give the plant stable conditions. If the root zone is wet, stop watering until the mix begins to dry and confirm that runoff can escape. If it is dry, rehydrate the root ball thoroughly and drain it. If sun or a vent is the likely trigger, adjust exposure without changing the watering routine at the same time.
For a likely root problem, remove standing water and improve drainage. Unpot only when the evidence warrants it: persistent saturation, sour-smelling mix, soft dark roots, or continued decline. Healthy rubber plant roots are firm; if you do remove the plant, trim only clearly mushy roots with clean shears and use fresh, airy mix in a pot with drainage. Do not trim roots that are simply stained by soil.
Hold fertilizer while the plant is stressed, avoid repeated repotting, and keep the plant in a stable bright-indirect-light location. Clean leaves gently with a damp cloth so you can inspect their surfaces; do not use leaf-shine products to mask damage. If a humidifier is needed, use it to raise room humidity rather than wetting the leaves several times a day.
Recovery is shown by the absence of new browning and by healthy new growth, not by the old brown margin disappearing. Rubber plants may pause growth after a stress event, especially in low-light months. Continue checking soil before each watering and compare new leaves over time. If browning keeps moving into previously healthy tissue despite correcting the likely cause, reconsider the diagnosis instead of intensifying the same fix.
For the plant’s broader light, watering, and soil routine, see the rubber plant care guide. If you are comparing symptoms across several houseplants, the guide to brown leaves on indoor plants covers the wider set of causes.
When to Check for Pests, Disease, or Normal Aging
Brown edges are often environmental, but some other patterns deserve a closer look. Check leaf undersides, midribs, and stems for fine webbing, tiny moving dots, cottony clusters, or hard brown bumps. If pests are present, isolate the plant from nearby houseplants and identify the pest before choosing a treatment; spraying a plant that only has dry margins will not solve the cause.
Disease becomes more plausible when the marks are separate spots that expand, have yellow halos, look water-soaked, or show ooze or fuzzy growth. Avoid wetting foliage while you investigate, remove fallen debris, and improve airflow. Do not apply a fungicide simply because a leaf is brown; damage from sun, salts, or root stress can look dramatic without being infectious.
An occasional oldest leaf can yellow and brown as it ages. That is more likely when just one lower leaf changes slowly, the rest of the plant remains firm, and new growth looks normal. Widespread browning, multiple leaves changing quickly, a soft stem base, or a wet pot that never dries deserves prompt attention.
Trim Brown Tissue Without Removing Useful Green Leaf
You can leave a partly green leaf in place; it still contributes energy to the plant. If the brown margin bothers you, use clean, sharp scissors and follow the leaf’s natural outline, leaving a very thin line of brown tissue rather than cutting into healthy green. Wipe the blades before moving to another plant, particularly if you suspect pests or disease.
Remove a whole leaf only when it is mostly dead, badly damaged, or infected. Do not remove several partly green leaves at once to make the plant look tidy; that reduces its photosynthetic area while it is trying to recover. Brown edges will not turn green after pruning or watering, so use new growth as the measure of success.
Rubber plant sap is milky and can irritate skin. Wear gloves when cutting or repotting, and avoid touching your face while working. Colorado State University Extension notes that some people find the sap irritating; NC State Plant Toolbox also describes sap release when leaves are cut.
Conclusion
Brown edges on a rubber plant are a prompt to inspect, not a reason to pour in more water. Check soil moisture and drainage first, then consider light, drafts, dry air, and salt buildup using the leaf pattern and recent care changes as supporting evidence.
Make one measured correction and keep conditions steady. The brown tissue will remain, but when fresh damage stops and the next leaves emerge clean, you have likely found the cause.