How to Start a Chaos Garden: A Complete Practical Guide
Chaos gardening can be carefree without being careless. Sort old seeds, choose a suitable spot, sow by plant needs, and decide which plants can reseed.
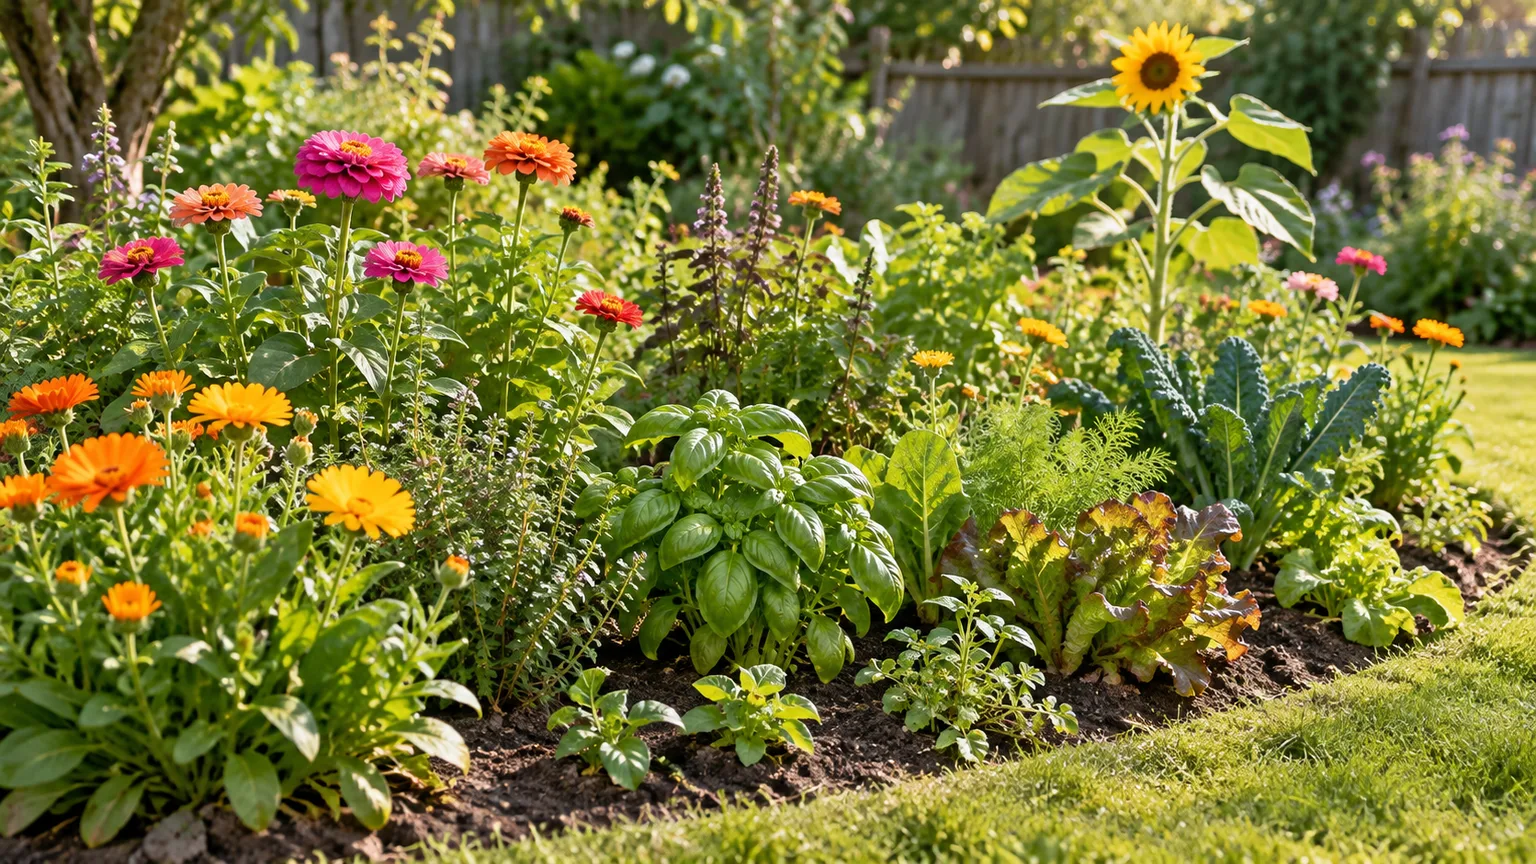
Chaos gardening starts with a tempting idea: take the seed packets you have not used, scatter a mix over a patch of soil, and see what emerges. The method can make gardening feel playful and help you use up seed, but the most successful version is informal in layout and selective in what goes into the mix. Seeds do not stop having different needs just because they are planted together.
For a first try, choose a small, visible spot, sort your packets by planting time and growing conditions, then sow only the seeds that can share that spot. Keep the soil damp while the seeds germinate, learn to recognize seedlings before pulling anything, and let only the plants you want set seed again. That gives you the surprise of a mixed garden without turning the whole project into guesswork.
What Is Chaos Gardening, Really?
Chaos gardening is an informal way to sow a mix of seeds without arranging every plant in a straight row or a formal design. Instead of deciding the precise position of each flower or crop, you let the plants emerge in a looser pattern and adapt as you see what succeeds. The garden may include flowers, herbs, vegetables, or a mix of these, depending on the goal and the seeds available.
The word “chaos” describes the layout; it does not mean that every seed should be thrown together or that the garden needs no care. A lettuce seed and a sunflower seed, for example, differ in size, planting depth, temperature preference, mature height, and water needs. You can create a natural-looking bed while still respecting the packet directions that make germination and growth more likely.
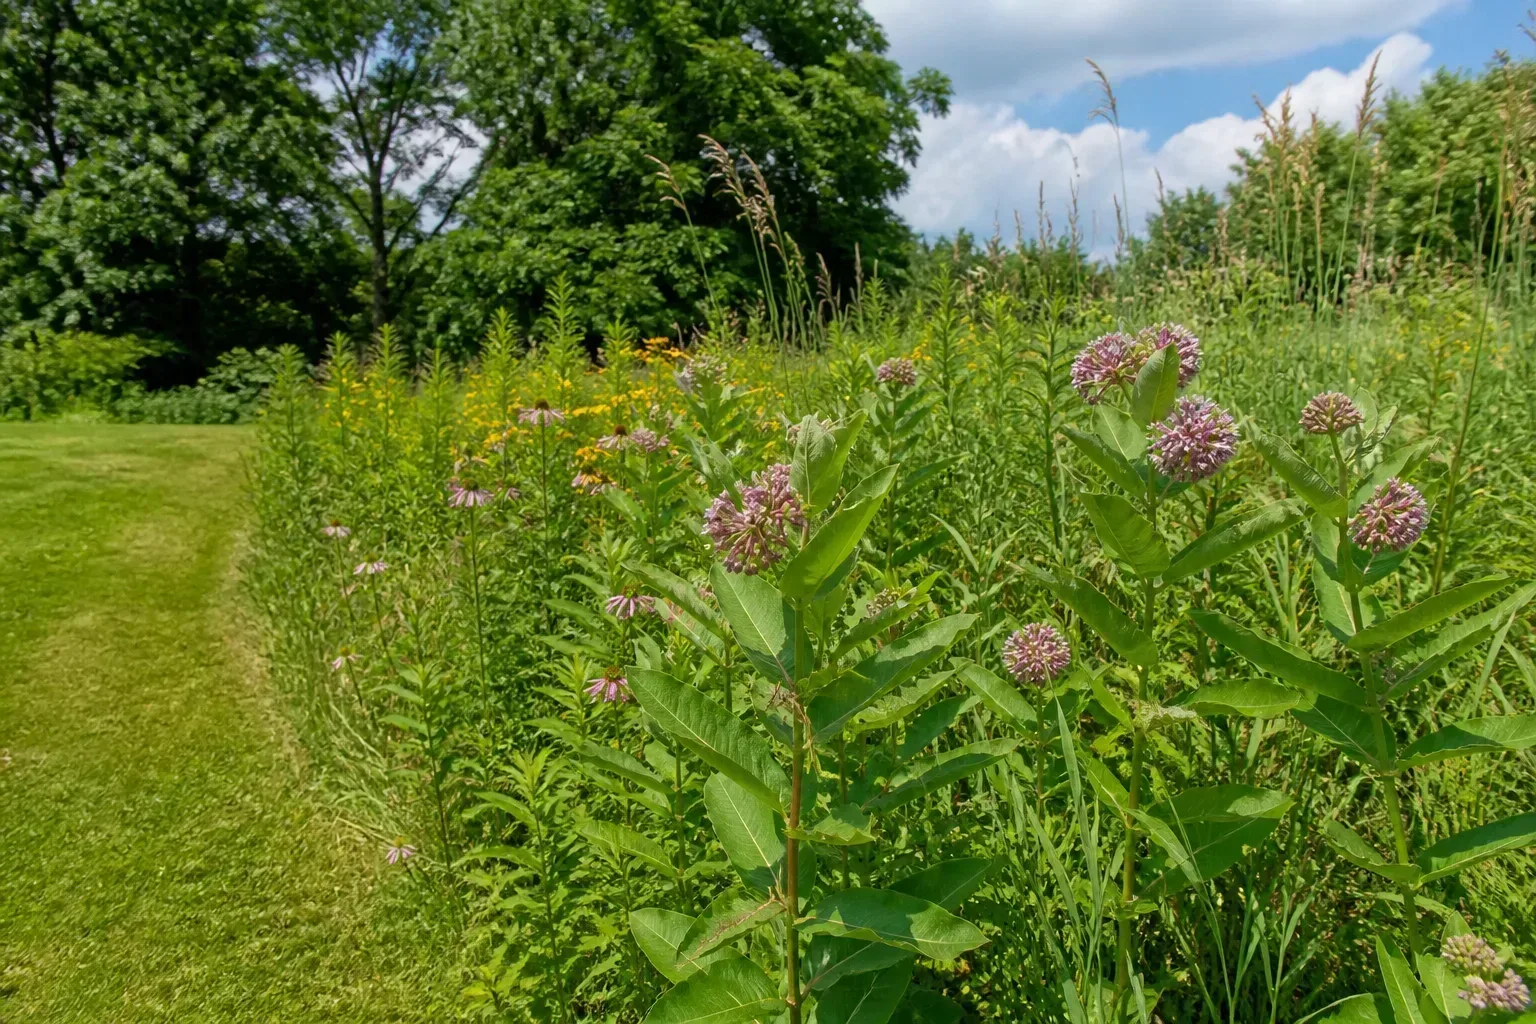
It also helps to separate this method from a wildflower meadow and from companion planting. A meadow is usually designed around a particular mix and site, while companion planting intentionally positions selected plants near each other for a reason. A chaos garden can borrow from either approach, but it does not automatically provide the benefits of a meadow, a pollinator habitat, or a productive vegetable bed. Those outcomes depend on which plants you choose and how they fit the space.
Decide What You Want the Patch to Do
Before opening the seed box, decide what success would look like. Do you want seasonal color, a place to experiment with leftovers, a few flowers for cutting, or an edible harvest? A single patch can do more than one job, but an undefined goal makes it easier to end up with plants that compete and a harvest you cannot count on.
Think about the conditions you can offer, too. Note how many hours of direct sun the site receives, whether the soil stays wet after rain, and whether nearby trees or walls cast shade. Read the packets for the requirements of the plants you hope to grow; “full sun” and “moist soil” mean different things for different species, and a mixed bed cannot compensate for a basic mismatch.
Pick a contained test area
Start with a patch you can observe and reach easily, such as a small section of a border, the end of a raised bed, or a large outdoor container. Keeping the first planting modest makes it easier to identify seedlings, correct a poor seed mix, and learn whether you enjoy the look before committing more space. Mark the edges with a simple border or leave a strip of mown lawn so the relaxed planting still looks intentional.
If you want dependable vegetables for meals, keep the main food garden separate. Seedlings may emerge at different rates, tall plants can shade smaller ones, and accidental crowding can reduce the size or number of harvestable crops. A small experimental corner can be fun; it is less suitable as the only place you grow a crop you rely on.
Also consider your neighbors, lease, and local rules. A tidy edge, a visible path, and a short explanation of the planting can help distinguish a managed pollinator or flower patch from a neglected lot. If you live in an area with restrictions on plant height or yard appearance, check them before establishing a tall or self-seeding bed.
Sort Seeds Before Combining Them
Do not begin by emptying every packet into one bowl. Lay them out and keep the labels with each seed type. First remove packets that are moldy, damp, unidentifiable, or marked as treated when you do not understand the coating or its handling directions; do not put an unknown seed into an edible or child-accessible patch.
Then separate seeds by the job they can do in this garden. Ask whether each plant is an annual or perennial, how tall and wide it gets, when it should be sown, how deeply it should be planted, and whether it needs a period of cold or another treatment before it can sprout. This quick sorting step is the difference between a mixed planting and a random pile of incompatible instructions.
Check seed age and germination
An old packet is not automatically useless, but its date is not a promise that all the seeds inside remain viable. Storage conditions matter: heat and moisture shorten the life of many seed lots, and different species age at different rates. Penn State Extension explains that germination depends on a seed being alive and on receiving suitable moisture, temperature, air, and sometimes light; it also describes seed dormancy, which can delay sprouting even when a seed is viable (Penn State Extension).
If a packet is important to your plan, test a small sample before sowing the whole bed. Count out 10 seeds, place them in a damp paper towel, keep them under conditions appropriate for that species, and check them at the time the seed instructions suggest. If six sprout, the sample germinated at 60 percent; that tells you to expect fewer plants, not to bury the entire bed in extra seed. Penn State’s seed biology guidance describes a paper-towel germination test and notes that the testing window varies, so a seed with dormancy or a slow germination schedule may need more time than a quick test allows (Penn State Extension).
For a casual patch, you do not need a laboratory-style count for every packet. Test the handful of seeds that are old, scarce, or central to the display; use fresh seed for anything you need to succeed. If the test is poor or the timing is uncertain, reserve that species for another experiment and avoid compensating with a thick broadcast that could create a crowded mat if more seeds sprout than expected.
Group seeds by timing and growing needs
Seeds that germinate in different seasons should not be treated as one sowing mix. Cool-season greens, warm-season beans, spring-sown flowers, and seeds that need cold-moist exposure may have different windows; planting all of them on one convenient weekend can leave some waiting in the soil while others emerge. Use the last-frost guidance, local seasonal advice, and the packet for your area rather than borrowing a calendar from another climate.
Direct sowing is useful for many plants, but not all crops perform equally well when planted outdoors at the same time. Savvy Gardening’s direct-sowing guide recommends reading each packet and checking local frost timing because some plants are better started in place while others need a different start (Savvy Gardening). Keep separate groups or small zones for seeds with different sowing dates, depths, or germination conditions; their positions can still look random once they grow.
| Seed group | Sort it by | What to do |
|---|---|---|
| Tiny flower seeds | Surface sowing or light covering; steady moisture | Mix with a small amount of dry sand if it helps you see where you have scattered them. |
| Large beans, peas, or cucurbits | Planting depth, warm or cool conditions, mature size | Sow individually or in small clusters at packet depth; do not leave them on the surface with tiny seeds. |
| Perennials and native wildflowers | Species, local suitability, dormancy, and any cold treatment | Follow the species or regional mix instructions; expect some to establish slowly or not bloom in the first season. |
| Vegetables you want to harvest | Season, days to maturity, spacing, and access | Keep a labeled row or defined pocket so you can tend and harvest it reliably. |
Choose a Mix That Can Share a Bed
A practical seed mix has one clear common denominator: the plants can germinate in the same window and tolerate similar light, moisture, and soil. For example, you might create a warm-season annual flower patch from seeds that all suit the same sunny site, or try a cool-season edible patch from crops you can identify and harvest. You do not need botanical uniformity, but you do need enough compatibility that one part of the mix does not sabotage the rest.
For a pollinator-focused patch, start with plants known to fit your region and site rather than buying a packet solely because it says “wildflower” or “pollinator.” Names and formulations vary, and “wildflower” does not mean “native where I live.” Look for species listed by name, check that the supplier describes the geographic region and growing conditions, and ask a local extension office, native-plant society, or reputable native-seed supplier if a plant’s status is unclear.
Avoid adding a species just because its seed is free or abundant. A plant that spreads aggressively, self-sows far beyond the patch, or is invasive in your area can create ongoing removal work and move beyond the boundary you intended. You can still embrace chance by letting selected plants vary in position; keep the list of possible plants deliberate.
Favor compatible heights and root patterns
Look at the mature plant, not only at the tiny seed. A tall sunflower or climbing bean can shade a short lettuce patch; a sprawling squash can cover small flowers; and a dense cluster can make airflow and harvesting awkward. Put taller or spreading plants at the edge where they will not block a path or overwhelm the rest, or sow them in separate pockets within the same informal bed.
Mixing different heights can make a patch feel full, but the plants still need room to reach light and form roots. Packet spacing is a useful starting point for unfamiliar crops, while a pollinator mix should be sown at the supplier’s stated rate rather than at a guess. If the seed packet gives a recommended area, measure the patch so you do not use several years’ worth of seed in one corner.
Prepare the Patch and Sow It
Good sowing does not require a complicated bed makeover. It does require a seedbed where seeds can touch soil, receive water, and avoid being buried under a thick layer of mulch or compost. For a first chaos garden, spend more effort removing established weeds and matching the site to the plants than adding fertilizer or amendments by default.
Make the seedbed workable
For a small new bed, remove grass and persistent weeds, then loosen only the soil surface enough for the seeds you have chosen. Avoid deeply turning over an established garden or natural area just to make it look freshly tilled; that can disturb roots and bring buried weed seeds closer to the surface. A thin, even layer of finished compost may be appropriate if the soil needs it, but many wildflower mixes are intended for ordinary soil and can be outcompeted in a highly enriched bed.
Rake the surface relatively fine and level so the seeds do not all slide into low spots. If the bed is large, divide it mentally or with temporary markers into sections. That gives you a way to spread seed evenly and prevents the common mistake of scattering most of the mixture in the first few steps.
Scatter with even coverage and firm contact
Follow the packet’s sowing depth for each type; “scatter everything, then cover it” is not a safe universal rule. Some small seeds need light or should stay near the surface, while larger seeds are often planted deeper. If these needs conflict, sow those groups separately in adjoining pockets rather than mixing them into a single pass.
For tiny seeds that are hard to see, combine them with a small quantity of dry sand so you can track coverage. The RHS recommends broadcasting wildflower seed rather than sowing it in straight lines, using sand to make distribution more visible, and splitting the seed for two passes in different directions; those are useful techniques for an informal patch, although its seasonal dates and seed rates are written for UK conditions and should not be copied as universal U.S. timings (RHS).
Spread a measured portion across one section, then cross the area with the rest of the seed so you do not leave bare stripes or concentrate everything along the edges. Lightly press the seeds against the soil with the back of a rake or a board, following the species instructions on whether to cover them. Penn State notes that moisture, aeration, and good seed-to-soil contact all contribute to germination; compacting the bed hard or keeping it waterlogged can make those conditions worse (Penn State Extension).
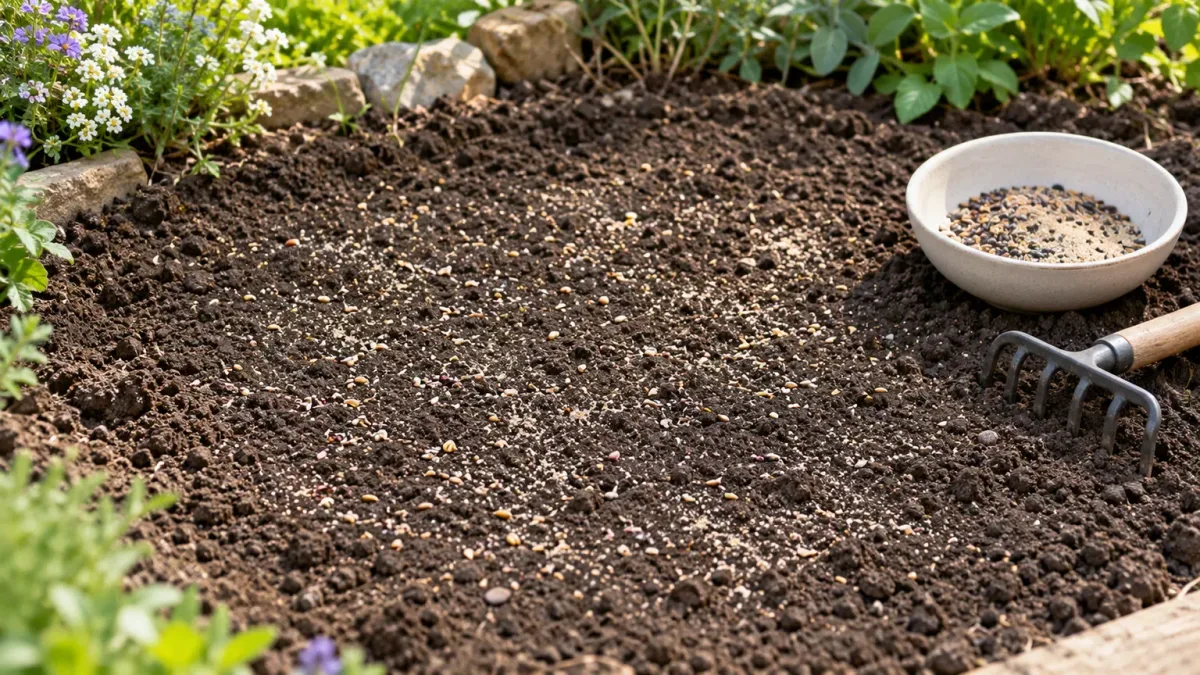
Water gently with a fine spray so the seeds stay in place. Until seedlings emerge, check the top layer of soil often enough to keep it from drying completely; the right schedule depends on rainfall, temperature, soil texture, and seed depth. Once plants have established, water for the actual plants and weather rather than following a daily ritual. A “hands-off” approach that lets a freshly sown bed dry out is less carefree than it is a failed germination test.
Keep the Seedlings Alive Without Managing Every Inch
When the first green flecks appear, resist the urge to pull everything you do not immediately recognize. A chaos garden deliberately mixes seedlings, so mark the species you sowed and take a quick photo or keep a simple sketch of where you put them. University extension offices and regional native plant resources can help identify common seedlings; if you cannot identify one, let a small number grow until true leaves form before deciding whether it belongs.
The first leaves on a seedling, called cotyledons, often look different from the mature plant’s leaves. Wait for the next set of true leaves before removing a volunteer unless it is clearly a known weed or a plant you do not want. This short pause avoids pulling desired flowers while they are small, but it also gives you an early chance to remove plants that are spreading where they should not.
Identify, thin, and support plants selectively
If several seedlings emerge in one tight clump, thin them before their roots become tangled and the strongest plant has to compete with every neighbor. Keep the healthiest seedlings that fit the patch and remove extras with small snips or a gentle pull, depending on how close their roots are. The spacing on the packet is a practical reference; a crowded bed may still look lush at first but can produce smaller flowers, weak stems, or undersized vegetables.
Watch for the few plants that change the whole bed. A tall volunteer leaning over a path, a vigorous vine smothering a low crop, or a plant that repeatedly sends seed beyond the marked edge deserves attention even if the rest of the bed can be left alone. Add a simple stake or trellis if a desired plant needs support, and remove a plant early if it is competing with everything around it.
Care can stay selective. You might water seedlings during a dry stretch, pull weeds that are overtaking the patch, and leave harmless self-sown flowers alone. That is still a low-planning style; it simply recognizes that “let nature take its course” works best when nature’s timing, your climate, and your seed mix are a reasonable match.
Let Selected Plants Reseed—With Boundaries
At the end of the season, decide which plants you would welcome again. Leave the seed heads of a few healthy, wanted annuals or perennials to mature if their seeds are suitable for the site, then remove spent growth after seeds have dropped. Growing in the Garden’s wildflower guide describes allowing selected flowers to set seed and thinning crowded seedlings; that kind of observation is useful for informal patches, but its planting details reflect a hot, low-desert climate and should be adapted rather than copied (Growing in the Garden).
Deadhead or remove seed heads from plants you do not want spreading. Do the same for plants you cannot identify or for varieties whose offspring may not match the parent; reseeding can change a display from year to year and may produce plants that are taller, shorter, or less uniform than the original. Keep a few labels or photos of the plants you liked so next season’s mix can be more intentional.
If the garden is meant to help pollinators, avoid assuming that every messy plant or every flower supports the same insects. A purposeful mix of species suited to your region and flowering over different parts of the season gives you a more predictable habitat than a packet of unidentified seeds. You can still keep the layout loose and allow a small amount of natural reseeding.
Troubleshoot a Sparse or Overcrowded Patch
If almost nothing sprouts, check the seedbed before blaming the seed. A dry surface, heavy rain that moved seed, thick mulch, planting too deep, a cold or hot spell, or a seed type that needs dormancy-breaking conditions can all delay or reduce emergence. Look at the packet again, compare the actual weather with its requirements, and give slower species the time they need before sowing more.
If the patch is bare after the expected germination window, test a remaining sample from the same packet or re-sow one small section with fresh seed. Do not scatter another heavy layer across the whole bed; if the first seed later germinates, two sowings can create a dense tangle. For a quick display, fill only the obvious gaps with a few nursery starts or fresh seed that matches the site.
When everything sprouts too close together, thin gradually and prioritize plants that fit the goal. If you cannot tell what is what, wait for true leaves and identify a few seedlings before acting. If the bed is dominated by weeds, clear the most aggressive plants, restore the bed edge, and decide whether the soil needs a cleaner seedbed next time rather than adding another handful of flowers over the top.
If a mixed vegetable patch looks attractive but yields poorly, the cause may be competition and access rather than bad luck. Tall or sprawling plants can shade crops, seedlings can be hard to distinguish from edible volunteers, and harvesting can damage neighboring roots. Keep the plants you want to eat in defined, labeled pockets next time, and reserve the looser sowing for flowers or crops you can readily identify.
Conclusion
Chaos gardening is a useful way to experiment with mixed planting and give unused seed a chance, as long as the mix is chosen before it is scattered. Start with a small patch, group seeds that share a sowing window and growing conditions, and follow each packet’s depth and germination instructions. Then water through establishment, thin only where plants are competing, and let only wanted plants reseed.
The garden can be surprising without being completely unpredictable. A little sorting up front lets the plants choose their positions while you keep control of the patch’s purpose, boundaries, and next season’s volunteers.



