How to Make a DIY Compost Bin: 15 Practical Designs
Build a DIY compost bin that fits your yard, scraps, and budget. Compare 15 designs, from pallet bays and mesh rings to worm buckets and tumblers.
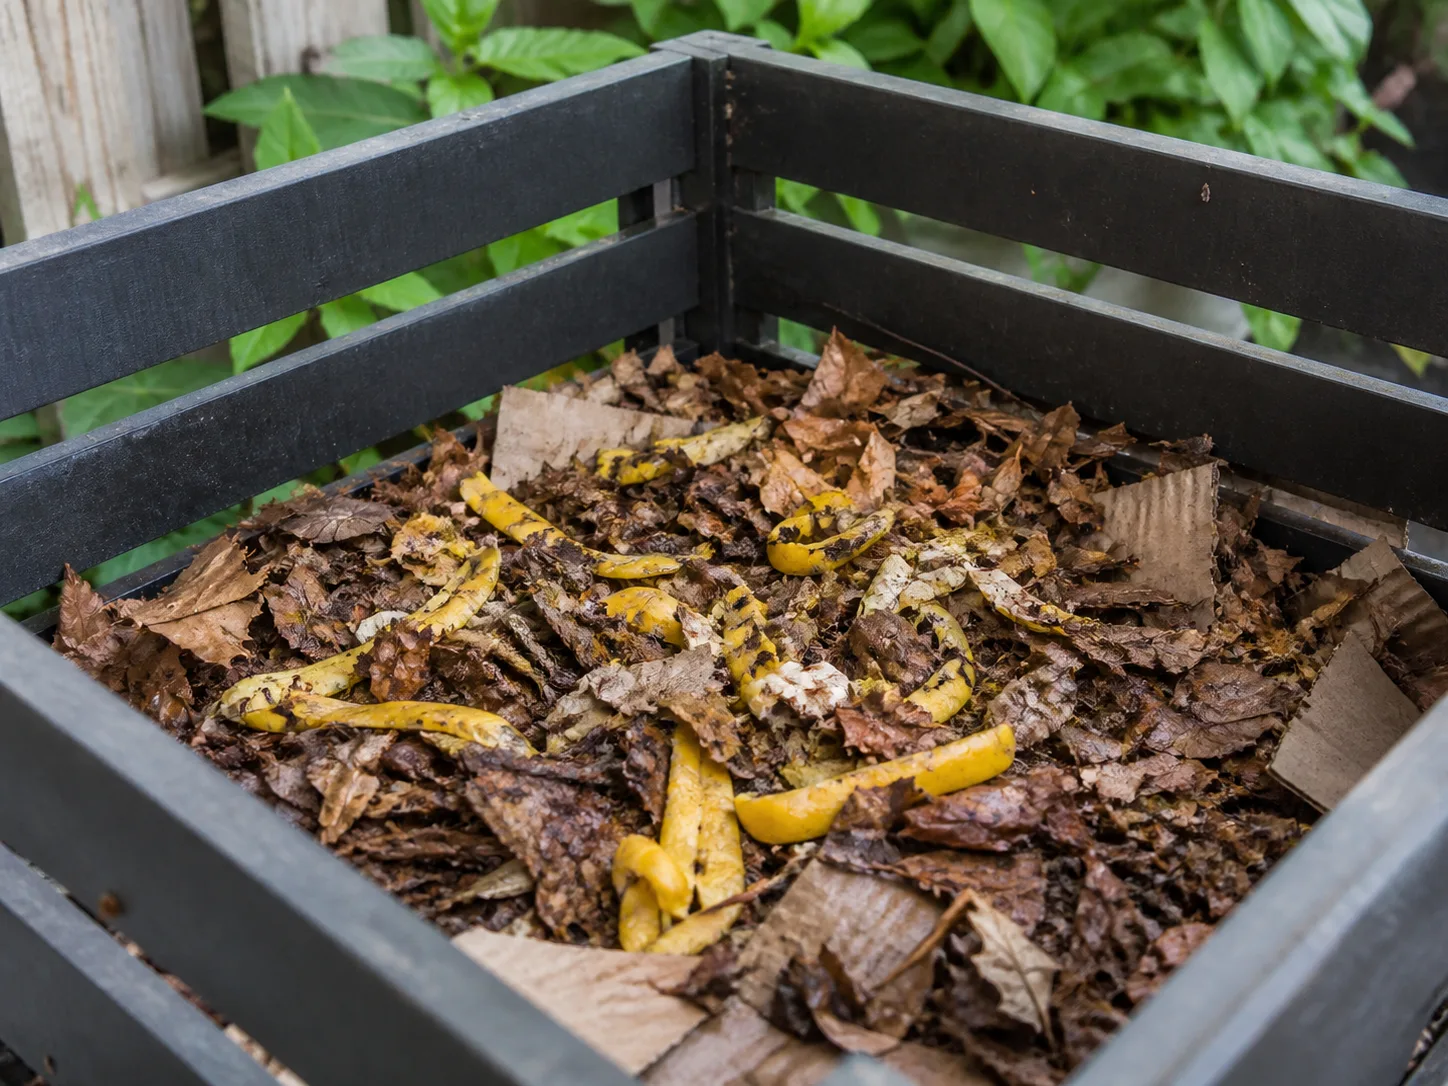
The best DIY compost bin is the one that fits the material you produce and the way you will handle it. For a typical yard, a wire-mesh ring is the fastest inexpensive build; choose a pallet bay if you want a sturdier frame, a small lidded tote for modest patio scraps, and a worm bin only if you want to manage worms indoors or in a protected spot.
Before you cut wood or drill a container, separate three jobs that often get lumped together: an aerobic compost bin holds plant waste with air and moisture; a worm bin is a managed habitat for composting worms; and a Bokashi bucket ferments food waste in a sealed container but does not produce finished compost by itself. The fifteen ideas below include all three, plus an in-ground option for people who would rather dig than build.
Choose by waste stream, available space, and labor
Start with a week of scraps and a season of yard waste, not with the largest plan you can find. A leafy garden that produces prunings and autumn leaves needs more volume and a wider opening than a household that collects a small bowl of kitchen scraps. A tumbler may be easier to turn, but it cannot hold the same amount as a bay; a worm bin handles a controlled stream of food scraps, not a truckload of leaves.
The Royal Horticultural Society advises matching a bin to both available space and waste volume. It notes that bins smaller than about 1 cubic meter are generally less efficient, although they still make compost, usually more slowly. A sheltered, shaded location on soil is useful for a traditional pile, but convenience matters: if the bin is awkward to reach with a bucket or fork, it will be neglected. See the RHS composting guidance for siting and size context.
Make one more choice before building: do you want to turn a pile, roll a container, or wait without much handling? Turning and mixing add air to a traditional pile. A tumbler turns as a closed batch, while a cold pile can sit and break down gradually if you keep the moisture and materials reasonable. Epic Gardening also distinguishes open bays, which are easy to load and unload, from enclosed tumblers, which contain scraps and rotate as one unit in its DIY compost-bin guide.
1. Wire-mesh ring
A cylinder of welded wire or hardware cloth is the quickest build for leaves, weeds, and moderate yard waste. Cut a length to the diameter you want, form it into a circle, and fasten the ends with reusable wire ties or clips; leave the base open on soil. The ring is light enough to lift off a finished pile, which turns harvesting into a simple shovel-and-screen job.
Its low cost comes with limits: a ring does little to keep rain out, retain heat, or stop animals from reaching exposed food. If rodents are common, use a secure lid and a small-aperture metal mesh at the base, and bury or cover kitchen scraps rather than leaving them against the wire. Pick this design when easy access and low cost matter more than a tidy, enclosed look.
2. Single pallet bay
Fasten three sound pallets into a U shape and use the fourth as a removable or hinged front. A one-bay pallet bin holds more yard material than a tote and costs little if you can source clean, matching pallets. Leave small gaps between boards so the pile can exchange air, and make the front easy to remove before it fills with heavy compost.
Do not assume every discarded pallet is suitable. Use only wood with a known, clean history; skip pieces with spills, strong odors, peeling paint, or unknown coatings. If you cannot tell what a pallet carried or how it was treated, new untreated lumber is a safer choice where it contacts compost. The open base allows drainage and soil contact, but it also means this is not the best design for scraps that attract wildlife.
3. Three-bay pallet system
Join three U-shaped pallet bays side by side so one can receive fresh material, one can hold a batch that is breaking down, and one can cure or store finished compost. The system solves a common access problem: you can turn a batch from one bay into the next instead of trying to dig through a tall, narrow container. Build it only if your garden produces enough material to use the space.
Set the bays on level ground and secure the shared walls so they cannot bow under a wet load. Add a simple slatted front or removable gate to each bay; a fixed front makes loading easy but turns harvesting into awkward excavation. A three-bay build documented by Homestead and Chill uses hardware cloth and removable front boards for airflow, pest resistance, and easier access. Treat those as adaptable features, not a required blueprint.
4. Removable-slat wooden bin
For a cleaner-looking, long-lasting version of the pallet bay, build a square or rectangular frame from exterior-rated, untreated lumber and slide front boards into vertical channels. Remove one or two boards as the pile rises, then take the whole front off when you need to turn or harvest. The open slats let air move through the sides without making the pile difficult to contain.
Keep the interior dimensions large enough for your normal batch, but do not copy a three-bin plan if you only collect a few buckets of leaves. The frame needs bracing at its corners, especially when it is tall, and the sliding boards need enough clearance to move after the wood swells. If pest pressure is high, attach hardware cloth to the back and sides before installing the front channels.
5. Concrete-block U-bay
Stack concrete blocks on three sides of a level patch of soil, leaving the front open for a fork or wheelbarrow. This is a durable, low-cutting option when pallets are hard to find, and you can add or remove blocks to change the bay size. Leave small openings between blocks if you want more airflow; do not mortar the front shut if you expect to turn the pile.
The trade-off is weight and permanence. A block bin is difficult to move once loaded, and a very narrow bay can make turning harder than it needs to be. Avoid placing it where runoff collects, since a solid wall does not compensate for a waterlogged base. Add a simple hinged cover or a sheet of breathable material if heavy rain routinely saturates the pile.
6. Straw-bale corral
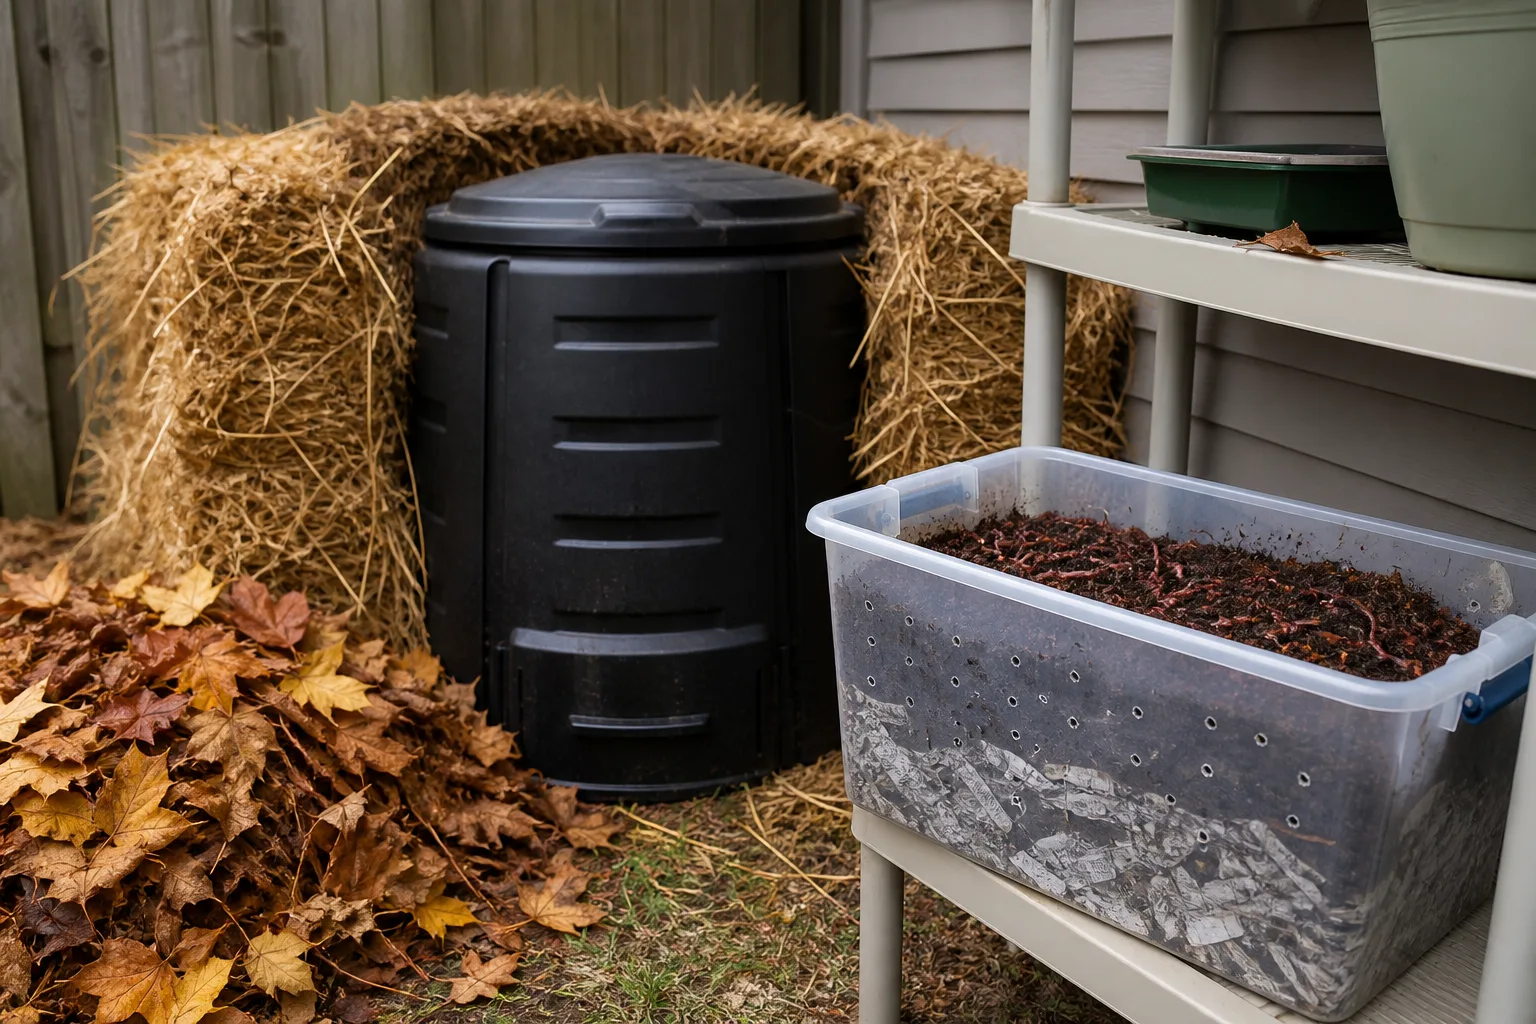
Arrange straw bales in a square or U around the compost, using the bales as walls and some insulation. This is a flexible choice for a temporary hot pile or a season with a large flush of leaves; you can widen it as material arrives and replace the walls when the straw starts to collapse. Keep a gap or removable section at the front so the pile remains accessible.
Use straw rather than seed-filled hay if you do not want extra grass or weed seeds in the finished material. The bales themselves absorb moisture and eventually break down, so this is not a permanent structure or a pest-proof container. Do not build a small straw corral around a tiny trickle of scraps and expect it to heat: a batch that is too small may simply dry out or decompose slowly.
7. Hinged mesh-panel bin
Make four rigid panels from wood frames and galvanized mesh, then connect them with hinges or removable pins. The panels stand as a square when joined and fold flat when you need to move the bin or turn the pile. Unlike a loose wire ring, a framed panel bin keeps its shape and can include a hinged front for easier access.
Use sturdy corner posts if the panels will hold a large, wet batch. Cover sharp cut wire ends with a wood strip or fold them away from the opening, and fasten the lid if animals can reach the site. Mesh lets air through but also lets moisture escape; a removable rain cover is useful in a wet climate, while a completely sealed tarp can trap too much water and reduce airflow.
8. Vented storage tote
A lidded plastic tote is a compact starter bin for a small amount of plant-based material on a patio or beside a garden. Choose a sturdy, opaque tote, drill modest ventilation holes near the upper sides, and provide a few drainage openings if it sits outdoors. Set it on a tray or permeable ground so any excess water has somewhere to go.
Keep the batches small and chop material before adding it. A tote has less room for turning than an open bay, so mix it with a hand fork or roll it gently only if its lid and contents are secure. It is best for a controlled trickle of scraps mixed with shredded dry leaves or cardboard, not for a large volume of wet grass clippings.
9. Rodent-screened double tote
For a tote where mice or rats are a concern, place a ventilated inner container inside a slightly larger outer tote and cover air openings with securely fastened metal hardware cloth. The outer shell catches drips, while the screened openings keep the pile ventilated without leaving a direct gap into the food scraps. A locking or clipped lid adds another barrier.
This design is more work than drilling holes in one box, and it still needs regular cleaning around the site. Do not rely on a plastic wall alone to exclude rodents: a determined animal can chew through it, and spilled food defeats the enclosure. Choose the double tote only when you need a small enclosed batch; for a large garden, a screened wood bay or a purpose-built tumbler is easier to manage.
10. Stationary trash-can composter
A lidded trash can makes a taller, narrow batch bin for leaves, shredded paper, and kitchen scraps that are buried under browns. Raise it slightly on pavers or a stable stand if you need drainage below, and drill ventilation openings around the upper sides. Keep the lid mostly closed to shed rain and limit access, but do not make an aerobic bin airtight.
A full can becomes heavy, so leave enough space to stir the material with a compost aerator or remove it through a large opening. A small access hatch near the bottom can help with harvesting, but it adds a cutting task and weakens the plastic if the edges are not reinforced. If you need a fast, regular turning routine, use a rotating drum rather than trying to shake or roll a rigid, full trash can.
11. Five-gallon worm bucket
Two nested food-safe buckets can form a compact worm bin: drill air openings high on the inner bucket, drainage holes in its base, and keep the lower bucket intact to catch liquid. Use a dark, clean container, fill it with damp shredded-paper bedding, and cover food scraps with more bedding. This is vermicomposting, not a miniature hot compost pile; worms need a stable, shaded environment and gentle feeding.
Size the bin to the scraps, not the bucket you happen to own. NC State Extension gives a rule of thumb of about one square foot of surface area for each pound of food discards generated weekly; its worm-bin guidance also explains why these bins need side aeration, drainage, and damp bedding. A five-gallon bucket can work for a light stream, but it will be overwhelmed if food accumulates faster than the worms can process it.
12. Stacking worm-bin tote
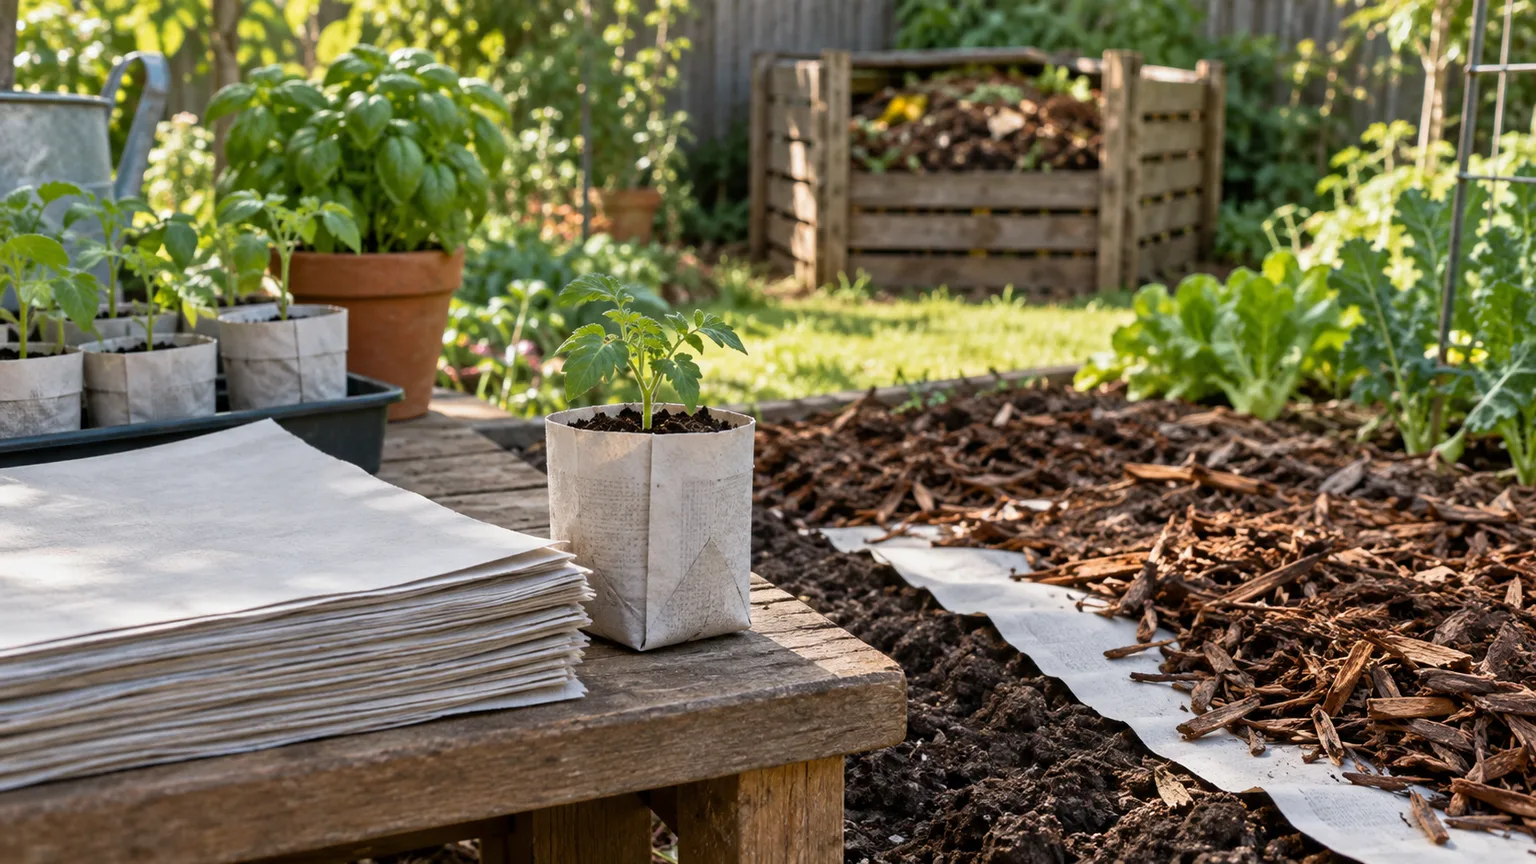
If one bucket is too small, use two identical dark totes with drainage holes in the upper working tray and a solid lower tray to catch liquid. Once the first tray is established, add bedding and food to the upper one; worms gradually move toward the newer food, which can make harvesting from the lower tray easier. Keep the system shaded and protected from temperature extremes.
The stack does not make a worm bin maintenance-free. Check that liquid can drain, keep bedding moist but not waterlogged, and cover scraps so flies cannot reach them. NC State recommends keeping a worm bin in a moderate temperature range, around 59–77°F (15–25°C), and warns that direct sun can overheat an outdoor bin. Bring a small tote into a protected area during temperature extremes rather than trying to fix a heat-stressed colony afterward.
13. DIY barrel tumbler
Mount a clean, known food-grade barrel horizontally on a sturdy axle or frame, cut a wide loading hatch, and add small air openings around the body. Secure the hatch with a latch that cannot pop open during rotation. The barrel needs enough clearance to turn when it is partly full, and the frame must support the weight of wet organic matter without twisting.
A tumbler is useful when you want a contained batch that is easier to mix than a stationary bin. It is not automatically faster: a barrel that is too small, too wet, or filled only with dense scraps can turn into a heavy, airless mass. Avoid repurposing an industrial drum with an unknown previous use, and do not mount a heavy barrel on a light garden cart or an improvised frame that can tip.
14. Two-bucket Bokashi fermenter
For an indoor system that can take a wider range of kitchen scraps, including cooked foods, fit a perforated inner bucket inside a solid outer bucket and use a tight-fitting lid. Add Bokashi bran or the inoculant specified by the process, press scraps down to limit trapped air, and drain liquid from the outer bucket as directed. This is a sealed fermentation setup, not an aerobic compost bin.
That distinction changes the final step: fermented scraps are pre-compost, not a finished soil amendment. They need to be buried in soil or added to an active compost system so decomposition can finish. WSU Extension’s Bokashi guidance explains the fermentation and follow-up stages; skip this design if you have no place to finish the material or do not want to keep an inoculant on hand.
15. In-ground trench
If you have a garden bed and do not need to harvest compost separately, a trench or buried pocket is the no-frame option. Dig in an unplanted area, add a modest layer of chopped plant scraps and dry browns, then cover it completely with soil. The material decomposes in place, so you avoid a visible bin and do not need to turn a pile.
This method is not a fit beside established roots, buried irrigation, or utility lines, and it is harder to monitor than an aboveground bin. Keep the material below the surface so animals do not dig it up, and rotate the location rather than repeatedly burying scraps in one saturated hole. Choose it for occasional plant-based waste in a suitable bed, not when you need a reliable supply of sifted compost.
Build the conditions compost needs
For an ordinary outdoor pile, place the bin on soil where practical so water can drain and the contents can interact with the ground. Pick a sheltered spot that is easy to reach with scraps and a fork; partial shade usually reduces drying, while a sunny, exposed site may need more water and a cover. The RHS guidance recommends a balance of air, drainage, warmth, and rain protection rather than a sealed container.
Balance soft, nitrogen-rich greens—such as fresh weeds, vegetable scraps, and grass clippings—with dry, carbon-rich browns such as shredded leaves, cardboard, and chopped stems. The RHS gives 25–50 percent green material as a rough guide, with the remainder brown, and cautions against letting grass clippings dominate because they can mat and turn slimy. Start near an even mix, then adjust: if the pile is wet or sour, mix in dry browns; if it is dusty and unchanged, add water and a little fresh green material.
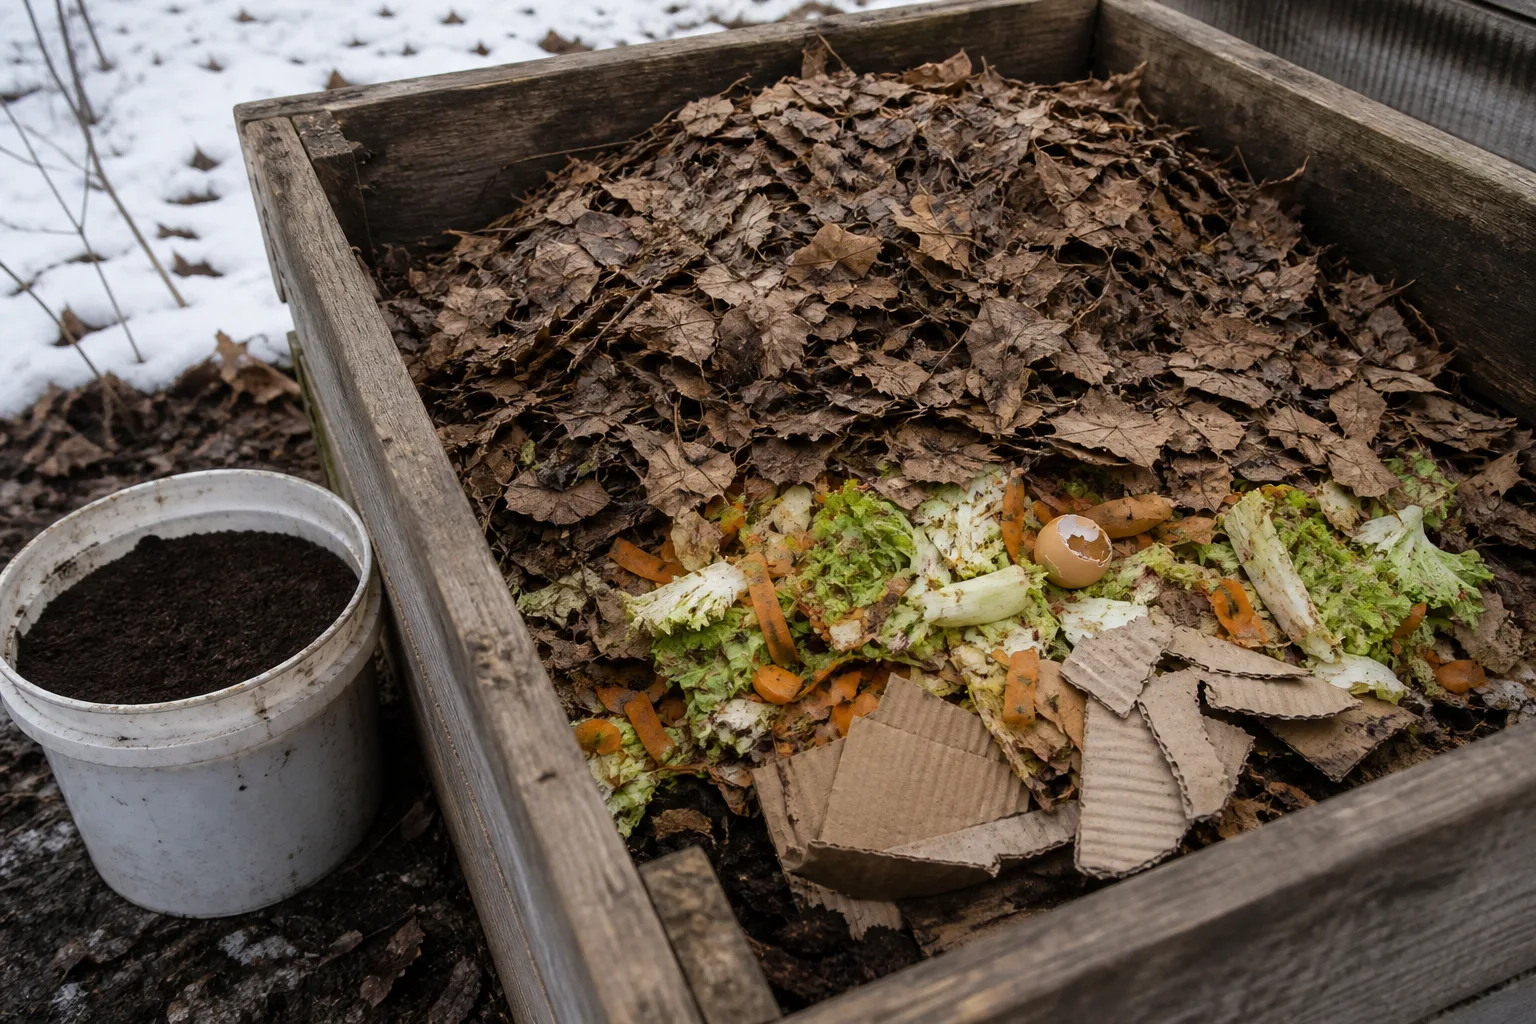
Cut or shred bulky inputs so they pack less tightly and break down more evenly. Bury kitchen scraps under browns, avoid leaving exposed food at the surface, and keep the lid or cover snug enough to shed rain without closing off all air. You do not need a precise calendar for turning: mix a traditional pile when it is compacted, smells sour, or is drying unevenly. A tumbler can be rotated when you add material or when its contents need mixing, but frequent spinning will not correct a badly wet or unbalanced batch.
A bin’s design does not determine when compost is ready. The RHS says home compost can take roughly six months to two years, depending on conditions; look for dark, crumbly material with an earthy smell, and return recognizable pieces to the next batch. If you plan to use compost for seedlings or in containers, screen out coarse pieces and use finished material rather than fresh scraps or fermented Bokashi.
Troubleshoot before rebuilding
The pile smells sour or rotten. Too much water or too little air is more likely than a need for an additive. Open the pile, pull apart compacted clumps, mix in dry leaves or shredded cardboard, and check that the bin drains. If the odor comes from a worm bin, stop feeding until the old scraps are consumed and add dry bedding.
The material stays dry and recognizable. Add water gradually as you turn or mix the pile; aim for evenly damp material rather than a soaked mass. A small bin exposed to wind or direct sun may dry repeatedly, so move it to a more sheltered spot or use a loose rain cover. If the pile is very small, it may decompose slowly even when it is healthy.
Rodents or flies keep returning. Remove spilled food, bury new scraps under browns, and close the lid after each addition. Screen openings and the base where pests can enter, then check for gaps around the hatch or front panel. If the bin remains attractive, stop adding exposed cooked food and switch to a more enclosed design that you can keep clean.
The pile is slow but not smelly. Slow compost is not necessarily a failed compost. Check the batch size, moisture, and particle size before turning more often or buying an accelerator. A small container can produce usable compost, but it usually will not retain heat as well as a larger batch; if speed matters, build a larger bay and fill it with a balanced mix.
The worm bin smells, pools liquid, or draws flies. Treat it as its own habitat rather than applying outdoor-pile fixes. NC State’s worm-bin troubleshooting guidance links odor and flies to overfeeding, exposed scraps, excess moisture, or poor ventilation. Remove uneaten food if needed, cover scraps with bedding, add dry shredded paper to a wet bin, and check that drainage holes are clear.
Bokashi material looks unchanged. That is expected at the end of fermentation: the bucket produces pre-compost, not crumbly finished compost. Keep it sealed for the process described by WSU Extension, then bury or blend it into soil or an active pile; do not spread it on the surface as if it were mature compost.
Conclusion
If you have a yard and a steady stream of leaves, start with a wire ring or pallet bay. Choose removable-front bays when turning and harvesting matter, a lidded tote or trash can for small batches, and a tumbler when containment is worth the extra frame and hardware. Worms and Bokashi can handle specialized food-scrap streams, but each needs the conditions its process requires.
Build for access first: enough room to add material, check moisture, and remove finished compost. A simple bin that stays airy and easy to use will outperform a complicated design that is too small, too wet, or difficult to unload. If building is not the right fit, compare ready-made options in our guide to composters for different gardens.



