Composting for Beginners: Setup, Steps, and Fixes
Start composting at home with a method that fits your space. Learn what to add, what to leave out, how to maintain a pile, and when to use finished compost.
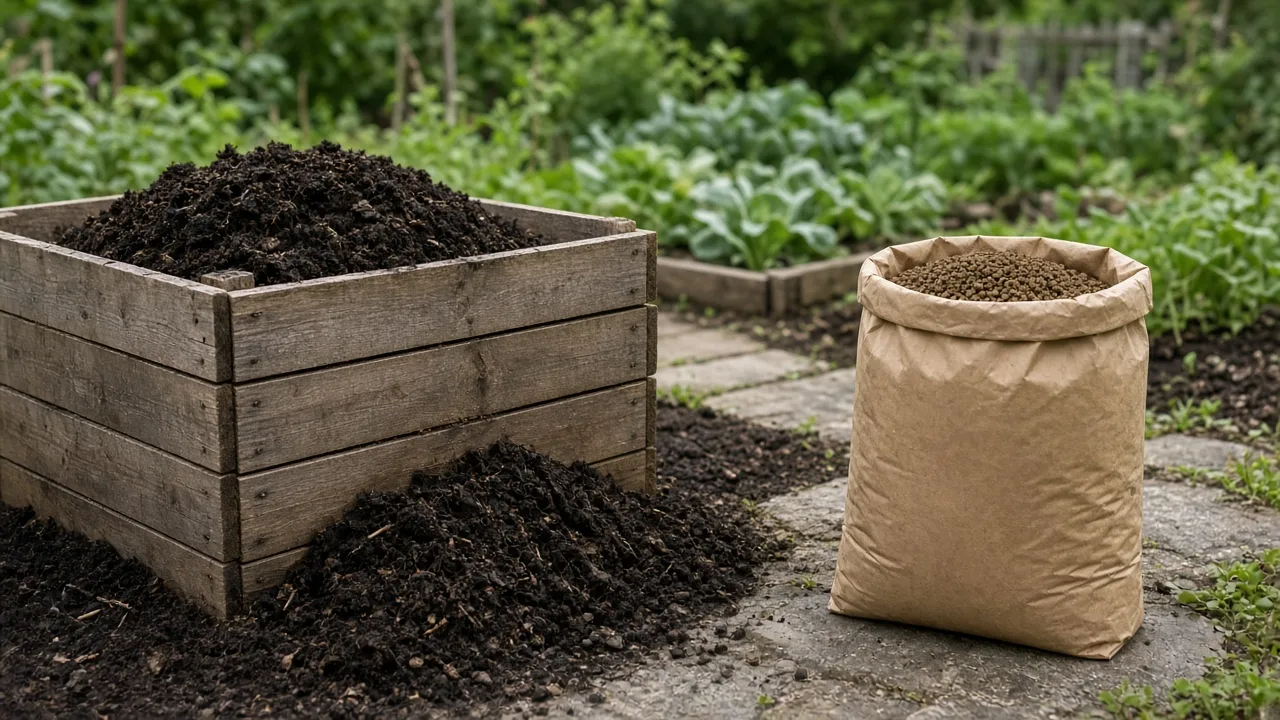
A good first compost pile does not need a thermometer, a purchased activator, or a perfect recipe. It needs a steady mix of plant scraps and dry material, enough moisture to support microbes, and enough air to keep the pile from turning sour. Start with those basics and adjust by what the pile feels and smells like.
For most homes with outdoor space, a lidded bin or a simple open pile is the easiest starting point. Collect dry leaves or shredded cardboard, add fruit and vegetable scraps beneath that dry layer, and keep the mix damp like a wrung-out sponge. You can turn it often for faster results, or leave it mostly alone and accept a longer wait.
Start simply: greens, browns, moisture, and air
Composting is the managed breakdown of organic material by microbes, fungi, and small soil organisms. The process needs two broad food groups—nitrogen-rich “greens” and carbon-rich “browns”—plus water and oxygen. If those ingredients are present in a loose, damp mix, the pile will decompose even if you do not measure exact chemistry.
A low-fuss routine works well for beginners: keep a supply of dry browns next to the bin, add kitchen scraps in modest amounts, cover every addition with browns, and water only when the center feels dry. Turn the pile when it becomes compacted or smells off, or turn it on a regular schedule if you want to speed decomposition. This is easier to maintain than following a rigid calendar from the start.
The main choice is how much time and attention you want to give the system. A hot pile can finish sooner, but it asks for a larger batch, careful moisture, and occasional turning. A cold pile is simpler but may take a year or longer; either can be useful if you know what finished compost looks and smells like.
What compost is—and what it does for soil
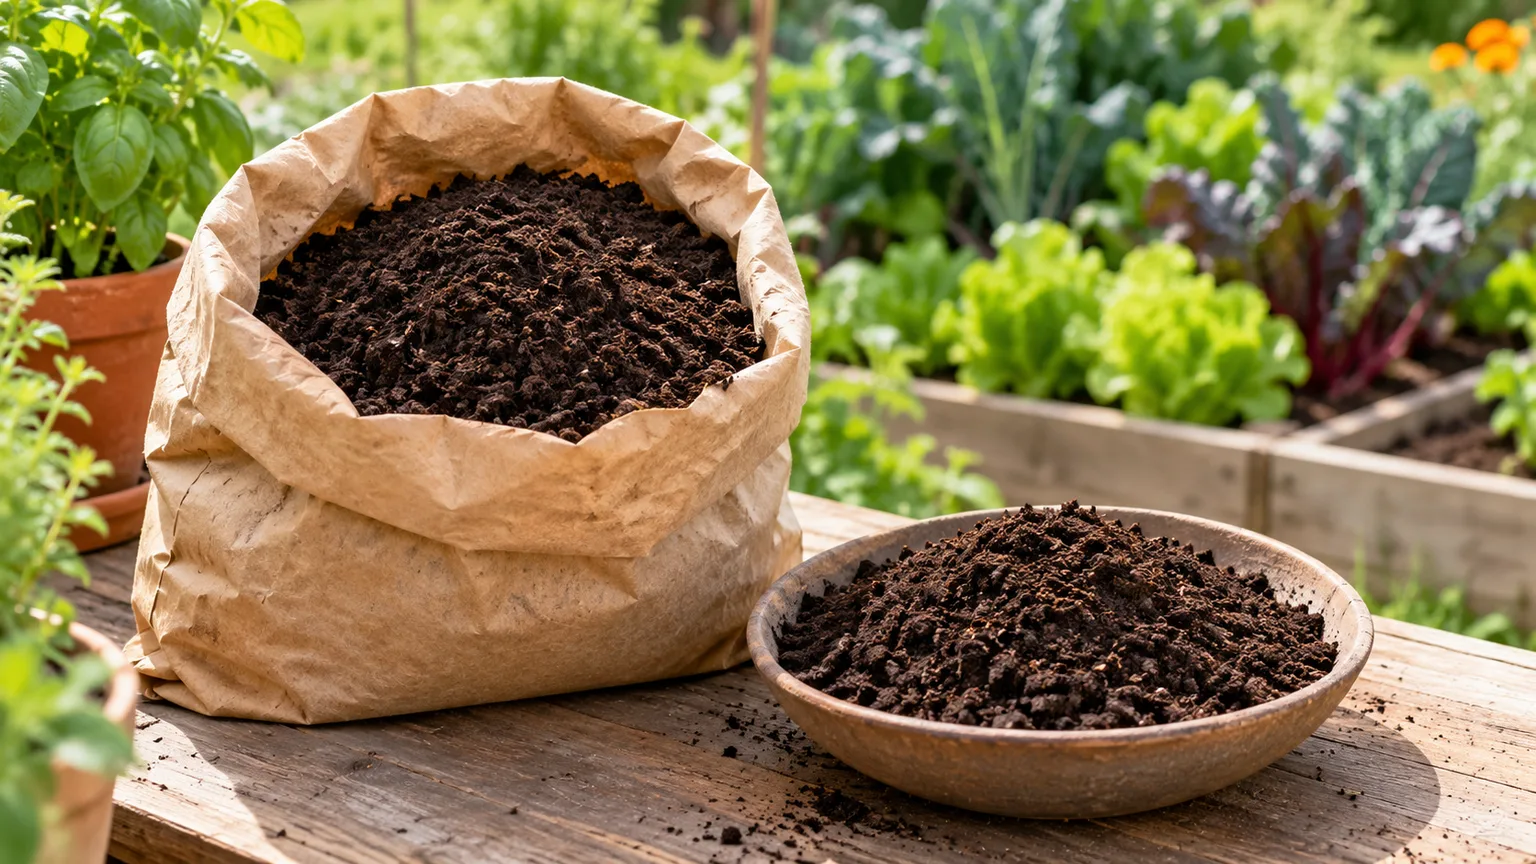
Finished compost is dark, crumbly organic matter made from decomposed leaves, food scraps, and other suitable plant materials. Mixed into garden soil or laid on its surface, it adds organic matter, supports soil life, and can improve how soil holds and drains water. The West Virginia University Extension composting guide describes these soil benefits, while Oregon DEQ’s residential composting guidance explains uses such as soil amendment and mulch.
Compost is not the same as a measured fertilizer. Its nutrient content varies with the ingredients and how they decomposed, so it cannot reliably correct a specific nutrient shortage on its own. Think of compost primarily as a soil amendment; use soil-test results and a plant’s actual needs to decide whether a separate fertilizer is also appropriate.
Composting also keeps some household and yard organic waste out of the trash stream. That can be a useful side benefit, but a home pile is not a universal waste bin: it is designed for selected organic materials, not all leftovers, packaging, or pet waste.
Choose a composting method you can keep up with
The best beginner method is the one that fits the amount of scraps you produce, the space you have, and your tolerance for maintenance. Most gardeners can begin with a backyard pile or stationary bin; specialty systems are useful when space, pests, or household rules make that setup impractical.
Backyard pile or stationary bin
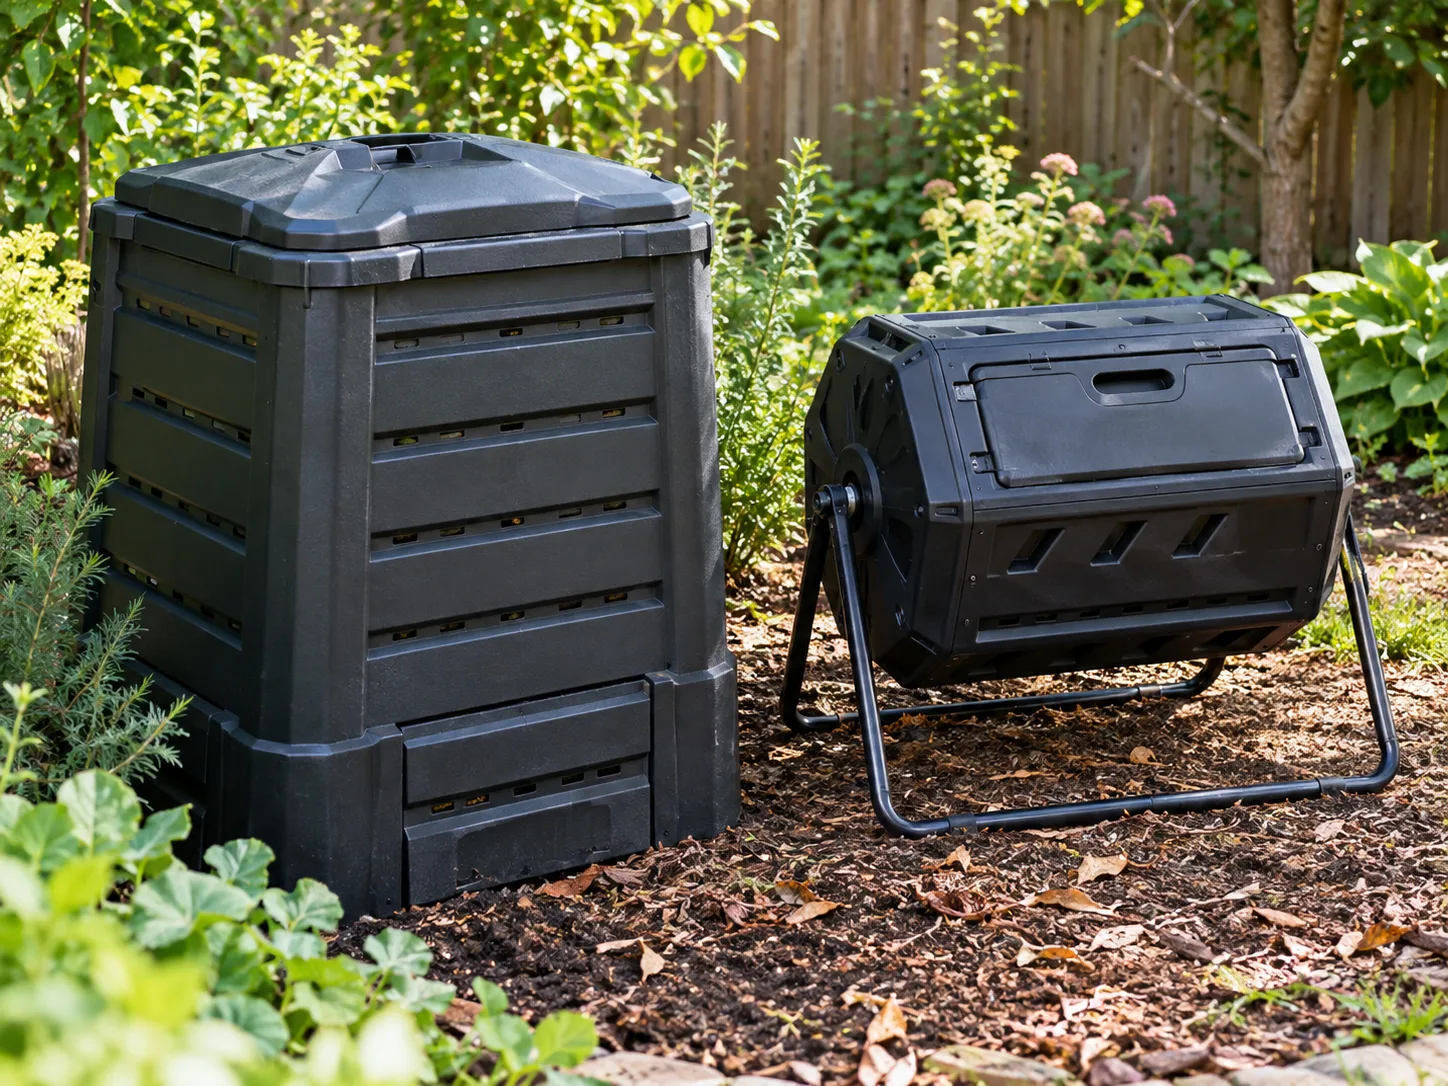
An open pile costs little and is easy to build, but it needs a corner with enough room to work and may be easier for animals to reach. A stationary bin keeps material contained and tidy. Choose a model with ventilation and access for turning or removing finished material; a bin that seals out all air can leave wet scraps stagnant.
For a hot pile, volume helps retain heat. WVU Extension recommends a pile about 3 feet in each dimension for faster decomposition, while smaller heaps can still break down more slowly. If you do not generate enough material for a large batch, there is no need to force a hot system: use a smaller bin and compost at a slower pace.
Compost tumbler
A tumbler contains scraps and makes turning convenient, which can be helpful in a compact yard or where rodents are a concern. Its capacity is limited, however, and a small drum can dry out or become too wet just like any other system. Rotation adds air; it does not fix a poor mix or guarantee finished compost in a set number of weeks.
If you choose a tumbler, a two-chamber model lets one batch rest while you keep adding scraps to the other. That separation solves a common beginner frustration: if fresh scraps are continually added to the same chamber, the whole batch never reaches a clear “finished” point.
Worm bin, Bokashi, or community collection
Vermicomposting uses composting worms in a ventilated bin and can work in a sheltered indoor or outdoor space. It is a good option for small amounts of kitchen scraps, but worms need suitable bedding, moisture, and a stable environment; they are not a shortcut for disposing of large quantities of yard debris.
Bokashi is a fermentation system that can handle some foods conventional backyard piles generally exclude, but the fermented material still needs a further step—usually burial in soil or addition to a composting system—before it behaves like finished compost. If you have no suitable outdoor area, check whether your city, apartment, or community garden offers food-scrap collection before buying equipment.
Choose a site and gather a small starter kit
Put an outdoor pile where you can reach it in ordinary weather and carry finished material to the garden without a long trek. A level, well-drained spot with access to water is practical. Keep it away from a building foundation and roof runoff; downspouts can flood the pile, and a wet heap against a structure can create an avoidable nuisance. In hot or dry climates, some afternoon shade helps the pile retain moisture.
Local rules vary. Check municipal requirements for bin type, distance from property lines, and accepted materials, especially if you live in a dense neighborhood. Where animals are common, use a fitted lid and a rodent-resistant base rather than relying on a loose open heap; the City of Eugene’s backyard compost guidance likewise recommends a rodent-proof container with a tight-fitting lid.
You can start with a bin or a designated pile area, a garden fork or shovel, a kitchen collection container, and a hose or watering can. Pruning shears help chop bulky stems, but a chipper is unnecessary. A long-probe compost thermometer is optional: it can show whether a large pile is heating, but touch, moisture, smell, and visible breakdown are enough to manage a small beginner system.
Before the first food scraps arrive, stockpile dry leaves, plain cardboard, or another dependable brown material. Kitchen scraps arrive year-round, but dry leaves often arrive in one season; storing them in a lidded can or breathable sack makes it easy to cover each new addition.
Balance browns, greens, air, and water
Greens supply nitrogen and tend to be moist; browns supply carbon and tend to be dry and bulky. Oxygen keeps decomposition aerobic, while water lets microbes stay active. The pile does not need laboratory precision, but it does need enough dry structure to prevent wet food scraps from packing into an airless mass.
A useful starting point is roughly 2 to 3 parts browns for every 1 part greens by volume. Count buckets or armfuls rather than trying to calculate the carbon-to-nitrogen ratio by weight. The recommended volume ratio varies across guides because materials differ in moisture, density, and carbon content; Growfully’s beginner guide explains why volume rules are practical approximations rather than exact chemistry. If the pile gets slimy or smells like ammonia, add more dry browns. If it remains dry and unchanged, add some greens and water.
Quick guide to common materials
| Material | Usual role | Beginner notes |
|---|---|---|
| Fruit and vegetable scraps | Green | Chop large pieces; bury or cover them to reduce flies. |
| Coffee grounds and paper filters | Green | Add in normal household amounts and mix with browns. |
| Fresh grass clippings | Green | Mix with dry material; thick clumps mat together. |
| Dry leaves and straw | Brown | Save extra leaves for covering food scraps and correcting wet piles. |
| Pine needles | Brown | Mix them with other materials instead of building a dense mat; they break down slowly. |
| Plain, non-glossy paper and cardboard | Brown | Tear or shred; avoid heavily coated or plastic-lined stock. |
| Untreated small wood chips or sawdust | Brown | Use sparingly because woody materials break down slowly. |
| Eggshells | Mineral-rich scrap | Rinse if needed and crush; shells may remain visible for a long time. |
The WVU Extension list of compostable materials and the practical material guidance from Better Homes & Gardens both include familiar kitchen scraps, coffee grounds, dry leaves, paper, and yard trimmings. Use the table as a starting point, not a requirement to collect every material.
Build your first compost batch step by step
-
Set the base. Lay a loose layer of twigs or coarse stems on soil to help air move through the bottom. If you are using a tumbler with no soil contact, follow its instructions and focus on balancing the mix; starter powder is not required.
-
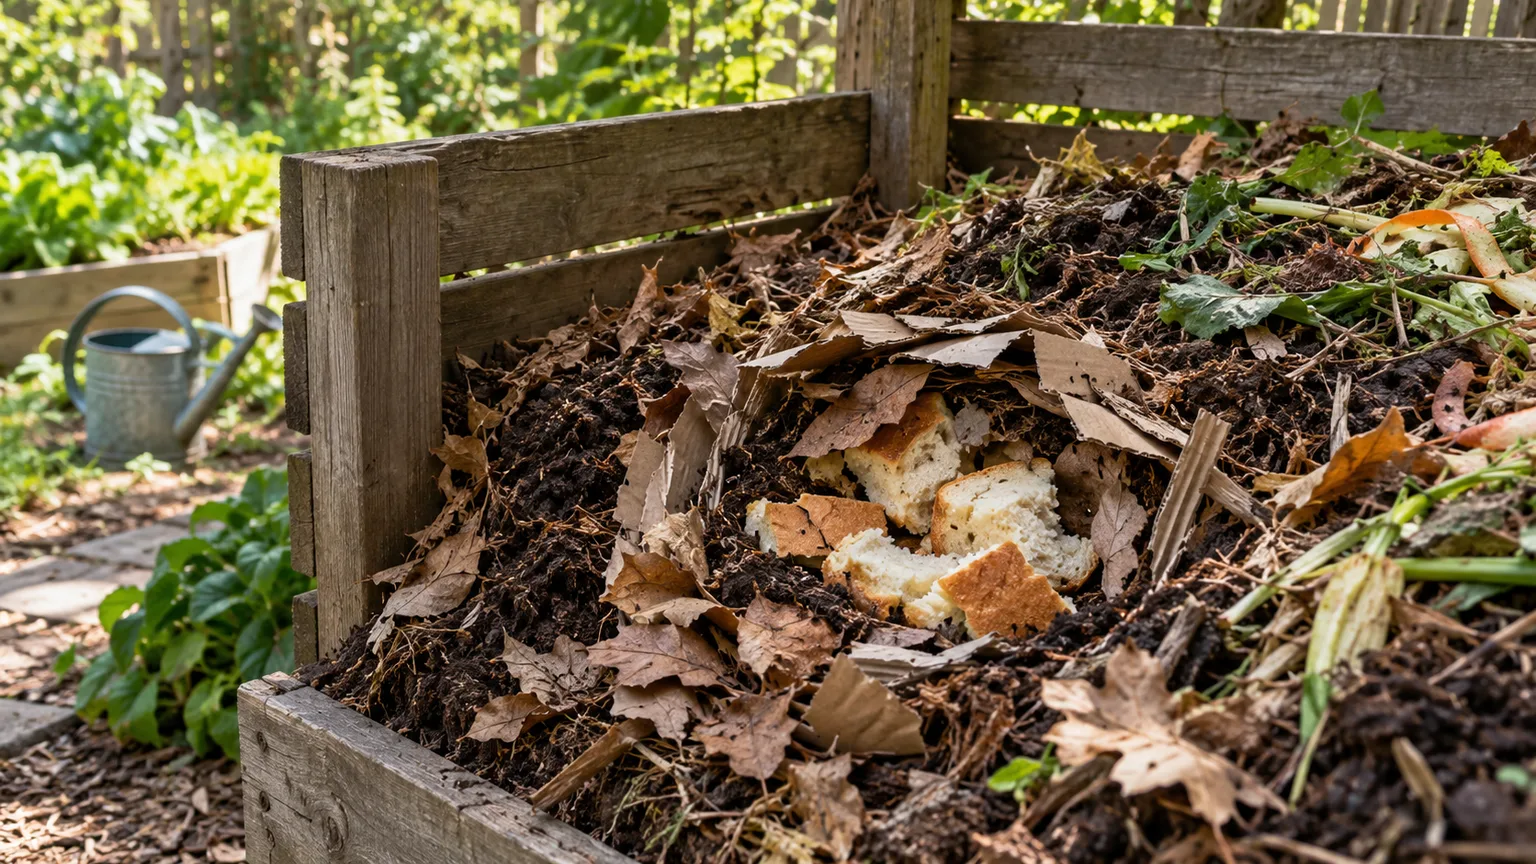
Add a brown layer. Spread several inches of dry leaves, shredded cardboard, straw, or a mix. This creates a buffer under the first food scraps and helps absorb extra moisture.
-
Add chopped greens. Tip in fruit and vegetable scraps, coffee grounds, or fresh plant trimmings. Smaller pieces break down sooner, but there is no need to puree them; a rough chop is enough for bulky pieces.
-
Cover the food. Mix the scraps with browns or cover them with a few inches of dry material. Do not leave a mound of food exposed on the surface, where it can attract flies and animals. Repeat the brown-green sequence as material accumulates.
-
Check moisture. The contents should feel like a wrung-out sponge: damp throughout, with no water streaming from a squeezed handful. If the pile is dry inside, sprinkle water while mixing. If it is wet and heavy, add dry leaves or torn cardboard and protect it from prolonged rain.
-
Make a batch decision. If you want faster hot compost, wait until you have enough material for a substantial pile, mix the ingredients, and then let that batch process. If you will add scraps continuously, keep feeding the pile and later stop adding to one section so it can mature while a second section receives new material.
This first build is deliberately forgiving. A pile that is a little heavy on browns will usually decompose slowly; a pile that is too green and wet is more likely to smell. It is easier to add nitrogen and water to a dry pile than to rescue a sodden, compacted mass, so beginners can lean slightly toward browns and adjust from there.
Maintain the pile with simple checks
Check the center every week or two during the growing season, and more often during hot, dry weather. Take a handful from below the surface: if it is dry and dusty, add water; if it is soggy or dripping, mix in dry browns. The surface can look dry while the middle is moist, so check inside before watering.
Turn a pile when it compacts, when the center smells unpleasant, or when you want to encourage faster decomposition. A garden fork or shovel is enough: move the outer material toward the center and the center toward the outside so the whole batch gets air. A weekly turn is an active schedule, not a rule. Turning less often can still produce compost, but the process will generally take longer; Better Homes & Gardens’ composting steps describe frequent turning as one way to keep a hot pile aerated.
A large hot pile may warm noticeably after it is assembled, then cool as its easiest food is used. Temperature is a useful progress signal, not a finish test by itself. A thermometer can help active composters decide when the center has cooled enough to turn, but do not assume a home pile has reliably sanitized every seed, disease, or pathogen simply because one spot became hot.
In winter, decomposition slows as temperatures fall; in hot, dry weather, the pile may need extra water or shade. If a batch freezes or pauses, leave it in place and resume checking when conditions moderate. Composting is a biological process, not a deadline-driven recipe.
What to leave out of a beginner compost pile
Keep meat, fish, dairy, bones, greasy foods, and cooking oil out of an ordinary backyard pile. They can create odors and attract animals, and small home piles are not designed to process them reliably. Bread and plain cooked grains can break down, but bury small amounts beneath browns and avoid adding food coated in oil, cheese, or meat sauce.
Do not add dog, cat, or human waste to a home garden compost pile. It can carry pathogens, and a backyard system is not a validated sanitation process. Leave out diseased plants, plants with mature seed heads, and aggressive weeds unless you have a reliably managed hot-compost system; a slow, cool pile may not destroy the problem you are trying to avoid spreading.
Be careful with grass clippings, hay, straw, manure, or leaves from a source that may have been treated with persistent herbicides. Some residues can survive passage through animals or decomposition and injure sensitive garden plants. WVU Extension advises checking the source of potentially treated hay, straw, manure, and clippings; when the history is unknown, keep the material out of compost intended for vegetable beds.
Also exclude plastic, glass, metal, chemically treated or painted wood, and glossy or plastic-coated paper. “Compostable” packaging belongs only in a facility that accepts it; a home heap usually does not maintain the controlled conditions needed to break down certified packaging.
How to tell when compost is finished
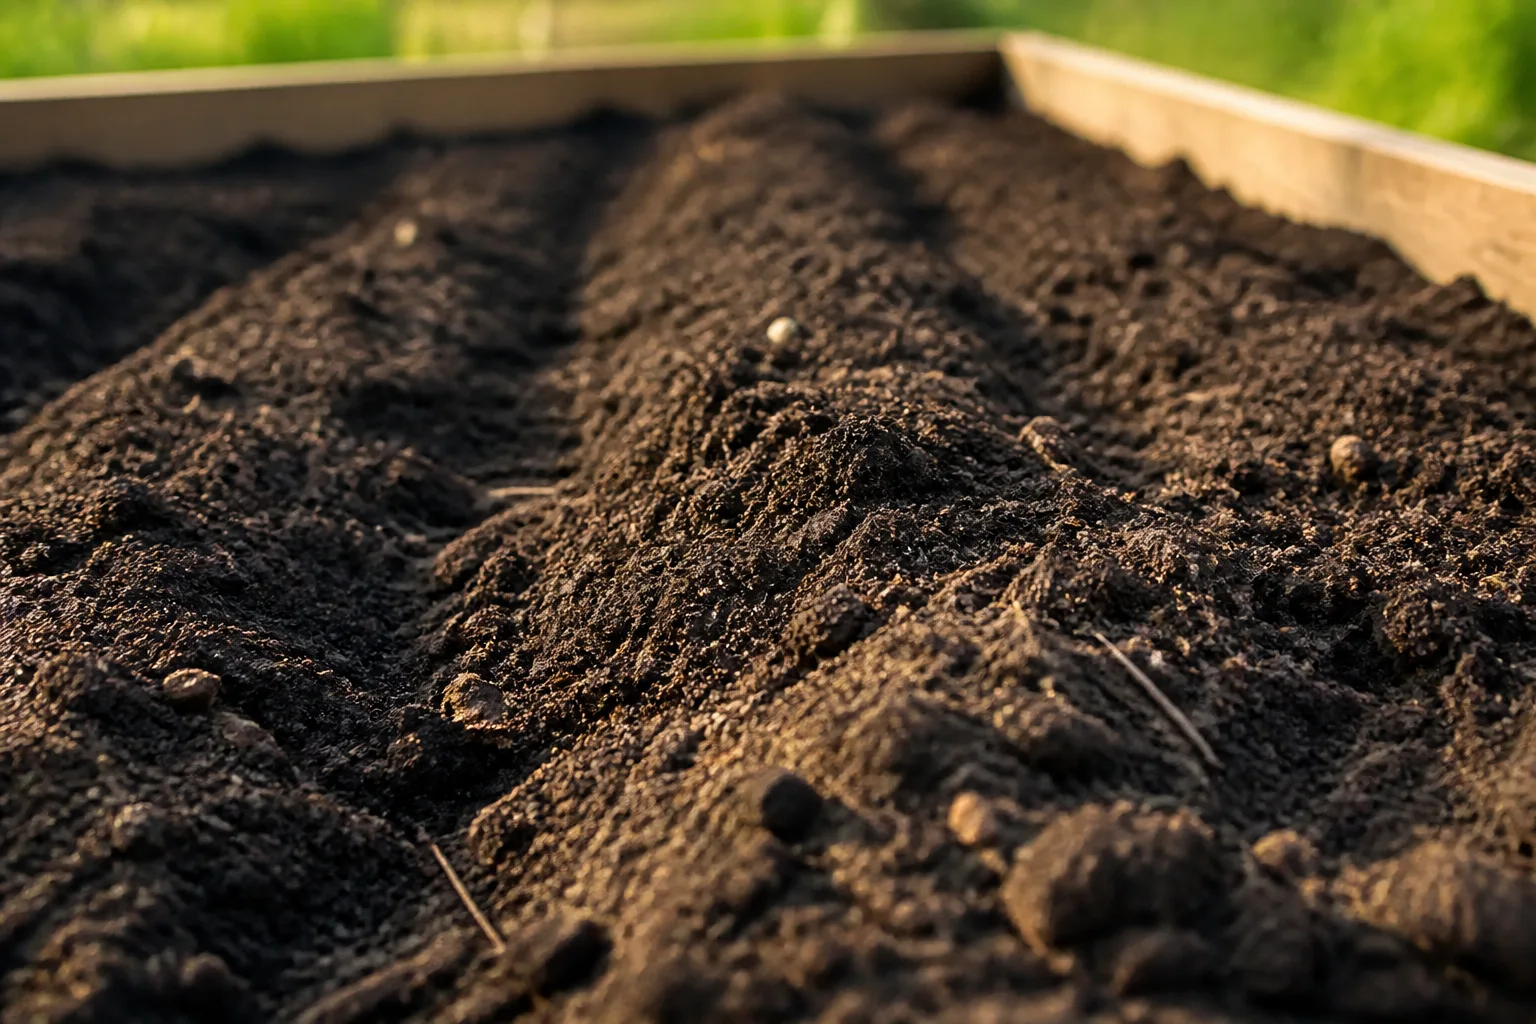
Finished compost looks and smells different from the ingredients you put in. It should be dark brown, crumbly, and pleasantly earthy, with little recognizable food or leaf material. A few slow-to-break-down twigs or eggshell fragments do not necessarily mean the batch failed; screen them out and return them to the next pile.
The pile should also have cooled close to the surrounding air temperature after its active heating phase. If the center is still hot or the material smells sour, let it rest and aerate it before using it around roots. The Growfully composting guide also uses appearance, texture, and smell as readiness checks; consider those signs together rather than relying on a single test.
Hot compost can be ready in a few months when the batch is large, well balanced, moist, and turned. A cold pile may take a year or more, and winter or large woody pieces stretch the timeline. Those estimates refer to a batch that is no longer receiving fresh scraps; when you keep feeding the same bin, the oldest material may be ready while the newest is not.
Use finished compost where it helps
Spread a thin layer of mature compost over garden beds before planting, or work some into the upper soil layer where you are preparing a bed. As a mulch, it can cover soil and gradually become part of it. Follow local extension guidance for crop and soil type; the Oregon Department of Environmental Quality’s application guidance gives separate recommendations for garden beds and lawns.
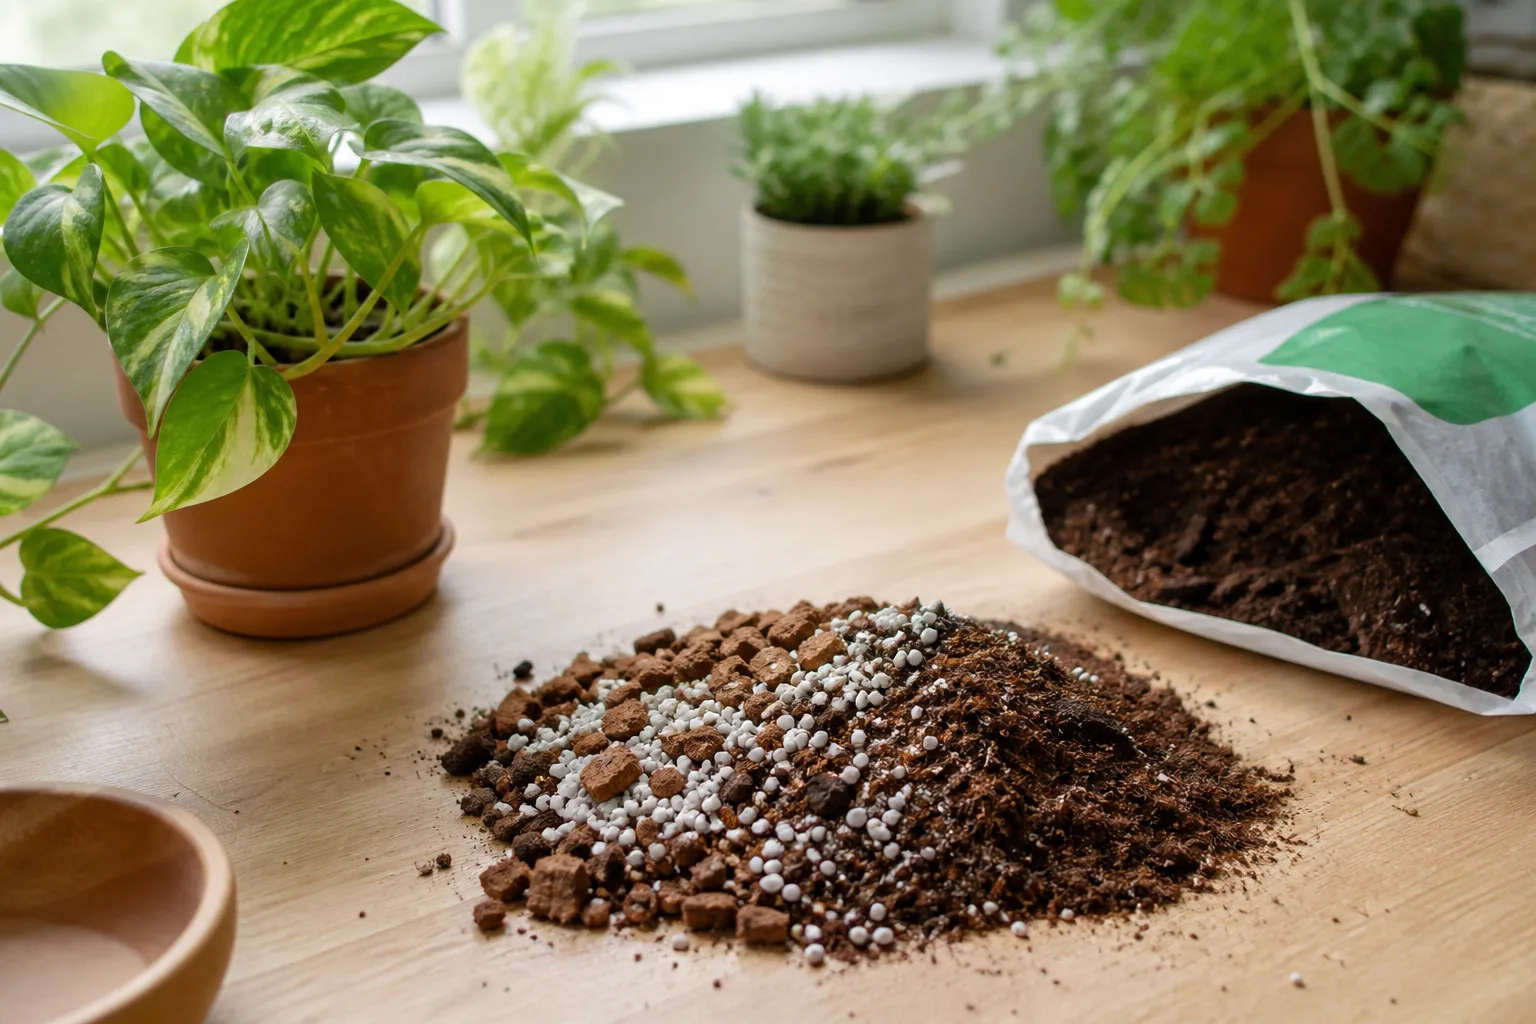
Do not treat compost as a complete fertilizer or as a direct replacement for potting mix. Its nutrient levels vary, and dense compost can reduce drainage when it makes up too much of a container mix. For pots, use a tested container medium and add only a modest amount of mature, screened compost when appropriate. If plants show a nutrient problem, test the soil or identify the cause before applying more compost or fertilizer.
If your garden is small, use compost where organic matter will make the biggest difference: a new bed, depleted soil, or a surface mulch around established plants. You do not need enough compost to cover every inch of the yard for home composting to be useful.
Fix common compost problems
Most beginner problems are a mismatch among moisture, air, and the mix of materials. Correct one cause at a time, then give the pile several days to respond. A compost pile does not need to smell sweet, but it should not smell like sewage or sharp ammonia.
Diagnose by smell, moisture, and temperature
| What you notice | Likely cause | First fix |
|---|---|---|
| Rotten, sour, or swampy smell | Too wet, compacted, or short on air | Turn the pile and mix in dry leaves, straw, or torn cardboard. |
| Sharp ammonia smell | Too many nitrogen-rich greens for the available browns | Add dry browns and mix them through the center. |
| Little heat or visible change | Pile is small, dry, cold, or mostly woody browns | Check the center; add water if dry and a modest amount of greens if the mix is mostly leaves or cardboard. |
| Fruit flies | Food scraps are exposed | Bury scraps and add a thicker dry-brown cover; use a tight lid if needed. |
| Rodents or raccoons | Food is accessible or the container has gaps | Stop adding animal products, secure the lid, and use a rodent-resistant base. |
| Leaves remain intact | Leaves are large, dry, or packed together | Shred them, moisten them, and mix with greens rather than leaving a mat. |
If the pile is small and will not heat, do not keep adding water and nitrogen indefinitely. Either collect enough material to build a larger hot batch, or treat it as cold compost and give it more time. If it is soggy after rain, cover it loosely from heavy downpours while leaving ventilation; sealing a wet pile can make the oxygen problem worse.
Conclusion
Start with a bin or pile that fits your space, save dry leaves or plain cardboard, and cover each addition of fruit and vegetable scraps. Aim for more browns than greens, keep the mix damp rather than waterlogged, and add air by turning when the pile compacts or smells wrong.
Choose an active hot batch if you have enough material and want a shorter wait; choose a low-maintenance cold pile if time and simplicity matter more. Use compost only when it is cool, crumbly, and earthy, and keep questionable wastes and treated plant material out. The first pile teaches you what your climate and household produce; the next one will be easier to manage.