How to Use Worm Castings in the Garden
Use worm castings for seedlings, transplants, containers, and garden beds. Get practical rates, storage tips, and a simple home bin method.
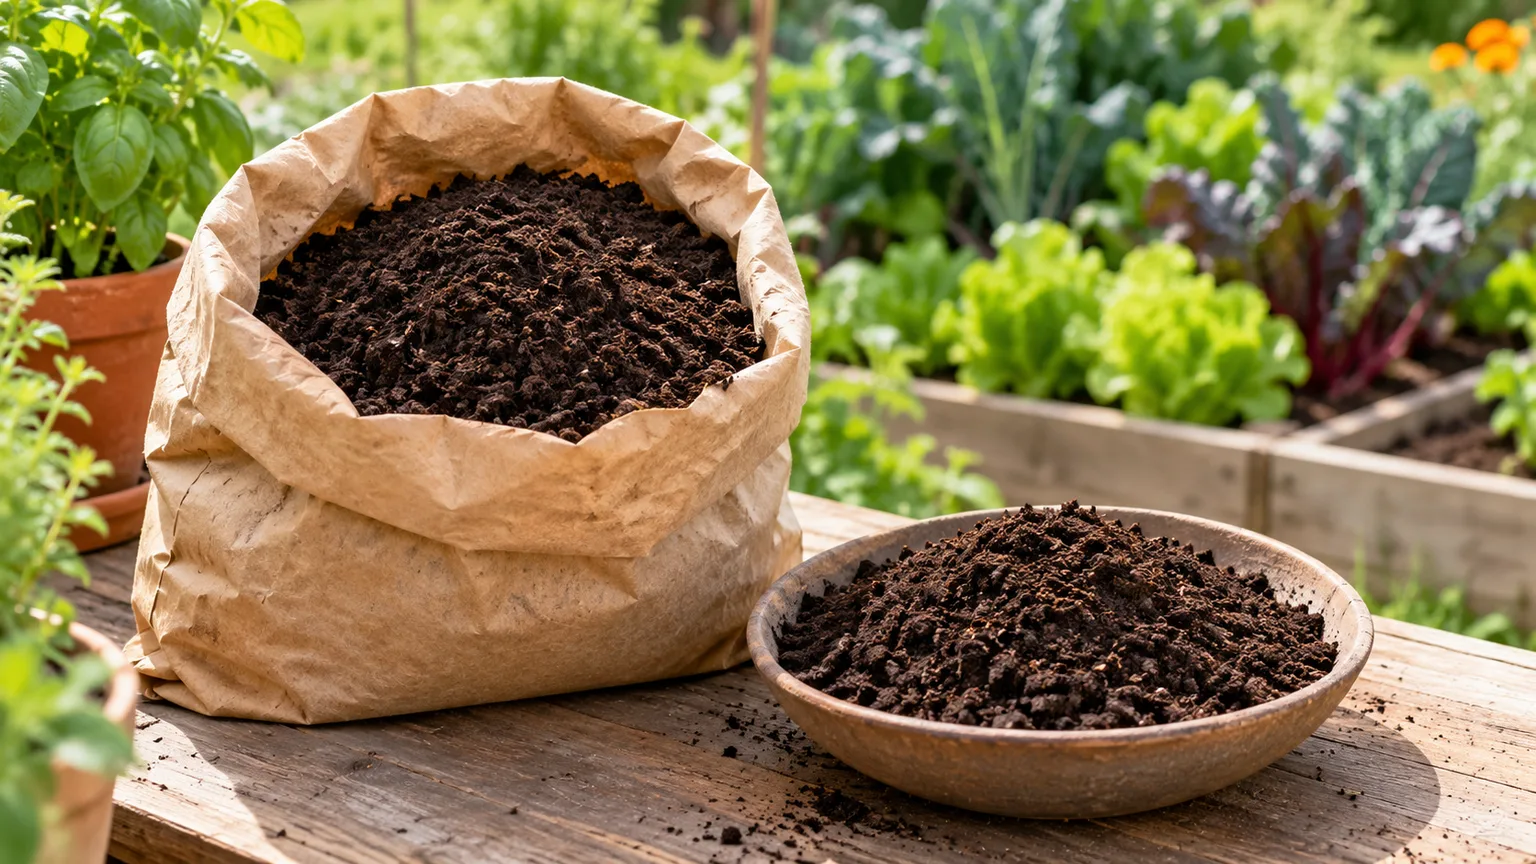
Worm castings are the nutrient-containing material left after earthworms digest organic matter. Gardeners use them as a mild soil amendment in beds, containers, seed-starting mixes, and around established plants. The useful part is not that castings act like a high-powered fertilizer; it is that a small amount can add organic matter and biologically active material to the root zone.
The simplest approach is to blend a modest amount into potting mix or use a thin top-dressing, then water. Product composition varies, and castings usually do not supply enough nitrogen, phosphorus, and potassium to replace a complete fertilizer program. Choose the application method first, check the bag or your soil test, and treat the rates below as starting points rather than a universal prescription.
Worm Castings and Vermicompost Are Related, but Not Identical
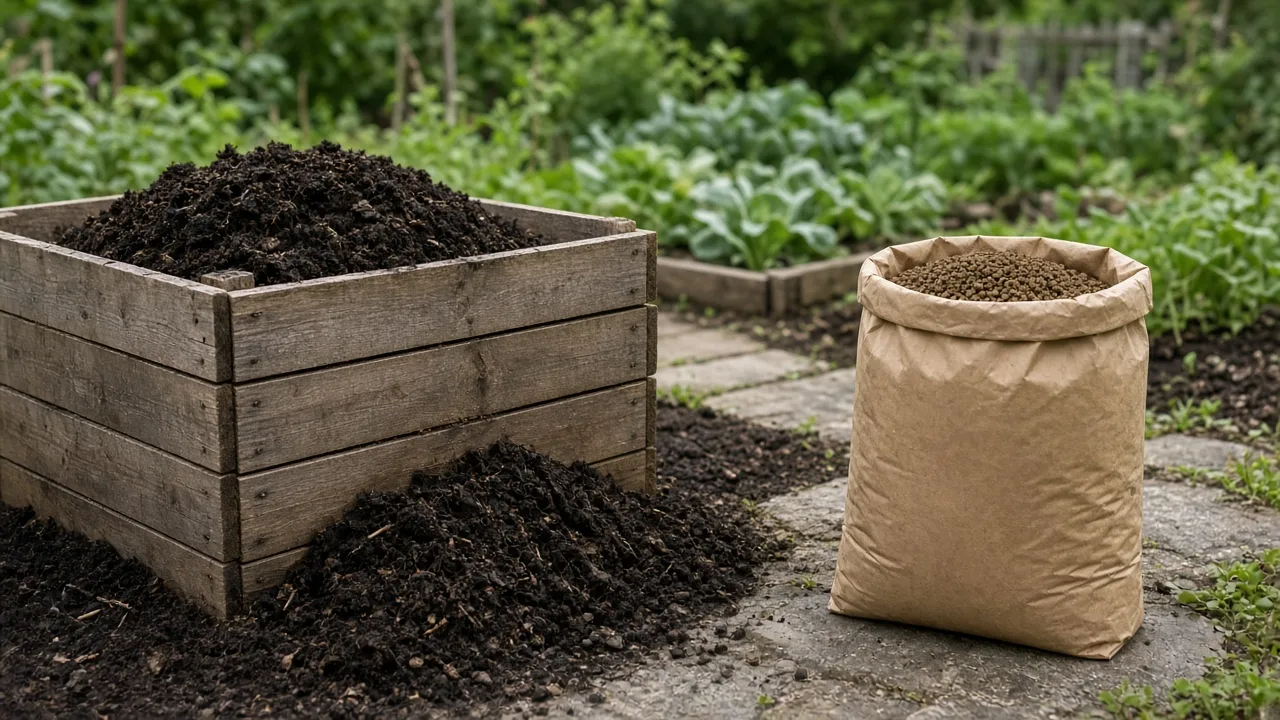
In the strict sense, worm castings are worm droppings. Vermicompost is the finished material from a worm-composting system and usually includes castings alongside decomposed bedding, tiny food remnants, and other organic matter. Garden-center products may use the terms loosely, so the label and ingredient description tell you more than the name alone.
That distinction matters most when you are mixing a growing medium. A bag of screened, fine material behaves differently from a home-bin harvest that still contains bits of paper, cardboard, or food. The latter can still be useful, but screen out large pieces and give anything that smells sour or strongly of ammonia more time to finish before putting it near roots.
Home bins rarely produce a bucket of perfectly pure castings, and they do not need to. A mature, crumbly blend is a practical soil amendment as long as the feedstock was suitable and the material is not wet, hot, or actively decomposing. Do not expect every bag to have identical nutrient content: what the worms ate, how the product was processed, and how much bedding remains all affect the final material.
What Worm Castings Improve—and What They Cannot Do
Castings contribute organic matter and nutrients, and they can support soil organisms that participate in nutrient cycling. In a greenhouse study of spinach, USDA Agricultural Research Service researchers found that vermicompost amendments improved several soil and plant measurements over a short trial; the strongest amendment treatment in that experiment was 10% by volume. That is useful evidence that a modest addition can help in a particular crop and medium, not proof that the same rate or response applies to every garden. The USDA Agricultural Research Service’s spinach study was limited to spinach grown under greenhouse conditions.
Used in a potting blend, castings can add fine organic material and help a mix hold moisture. In an outdoor bed, they can supplement organic matter close to the surface, where many feeder roots are active. Those effects are gradual and depend on the base soil, watering, crop, and amount used; castings will not turn compacted ground into loose loam after one application or fix poor drainage by themselves.
Some articles promise that castings prevent disease, repel pests, or make every plant grow faster. Treat those claims cautiously. A healthy soil community is useful, but worm castings are not a fungicide, insecticide, or guaranteed yield booster. Give plants the light, water, drainage, and nutrition they actually need, and use a named pest or disease treatment when diagnosis calls for one.
Why the NPK Number Is Often Modest
Many bags show a low NPK analysis, sometimes around 1-0-0, because castings are not concentrated in the same way as a soluble fertilizer. Actual values vary with feedstock and processing, so check the product label rather than assuming every batch has the same composition. Epic Gardening’s worm-castings guide also explains why castings are more useful as a soil amendment than as a high-analysis fertilizer.
Use a soil test to identify a nutrient shortage, then choose a fertilizer that supplies the missing element at a labeled rate. Castings can complement that plan, but they are not a substitute for a complete fertilizer when a crop needs more nitrogen or another nutrient. Avoid doubling fertilizer “for insurance”; too much nutrient can cause lush, weak growth or other problems even when the amendment is organic.
Choose a Use That Fits the Plant and the Growing Medium
Worm castings can be used around vegetables, herbs, flowers, and many houseplants, but the best method depends on how the plant is growing. A seed-starting tray needs an airy, consistent mix; an established tomato can take a surface feeding; and a cactus pot should not be loaded with fine, moisture-holding material. Match the amendment to the medium instead of applying the same scoop everywhere.
If the plant is in a container, preserve drainage and air space. If it is in a garden bed, keep amendments near the active root zone and avoid unnecessary deep digging. For edible crops, follow the package instructions and keep material off leaves and harvestable parts; wash produce before eating it.
Blend a Little Into Seed-Starting or Potting Mix
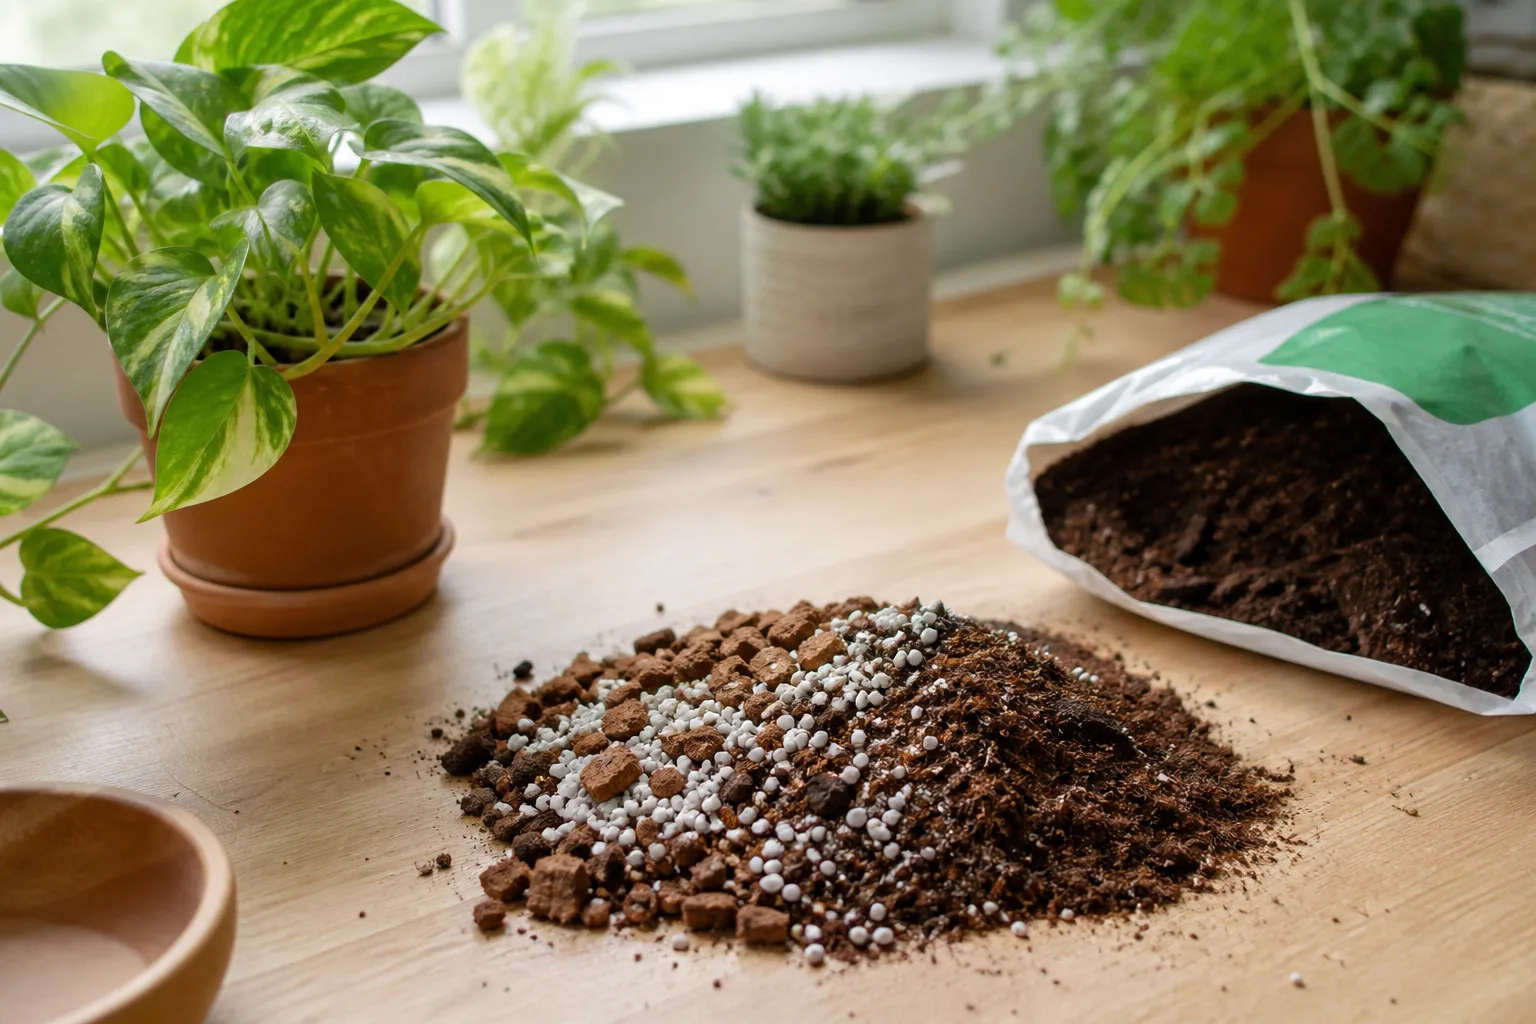
Seedlings benefit from a consistent, light mix rather than a rich pocket of amendment. For a homemade seed-starting or container blend, begin with about 5% to 10% castings by volume—for example, one part castings to nine parts base mix at the low end. Blend thoroughly so a small seedling’s roots do not encounter a concentrated clump, and keep the mix loose enough for water to drain.
The USDA spinach trial tested 5% and 10% vermicompost by volume, but it was not a seed-starting trial. Use that research as a reasonable starting range, not a guarantee for a specific crop or product. If you are sowing a sensitive species or using a purchased seed-starting mix that already contains fertilizer, follow the mix instructions and start at the low end—or skip the extra amendment until you transplant.
Do not use castings alone as potting soil. Fine organic material can hold water and collapse air spaces, while roots need both moisture and oxygen. Combine castings with a stable, well-draining base mix rather than replacing the whole medium.
Give Transplants a Gentle Start
For a vegetable or flower transplant, mix a small handful of castings into the soil you will return to the planting hole. Set the plant at its correct depth, backfill with the blended soil, and water thoroughly. Mixing the amendment into backfill avoids leaving a concentrated layer directly under the root ball, where it could settle or hold too much water in a heavy soil.
For a small seedling, start with a few tablespoons; for a larger transplant, a modest handful is usually enough unless the label gives a crop-specific amount. More is not automatically better. If the plant is already in a rich potting mix or recently fertilized, the transplant may not need an additional nutrient boost at all.
Side-Dress Established Vegetables and Flowers
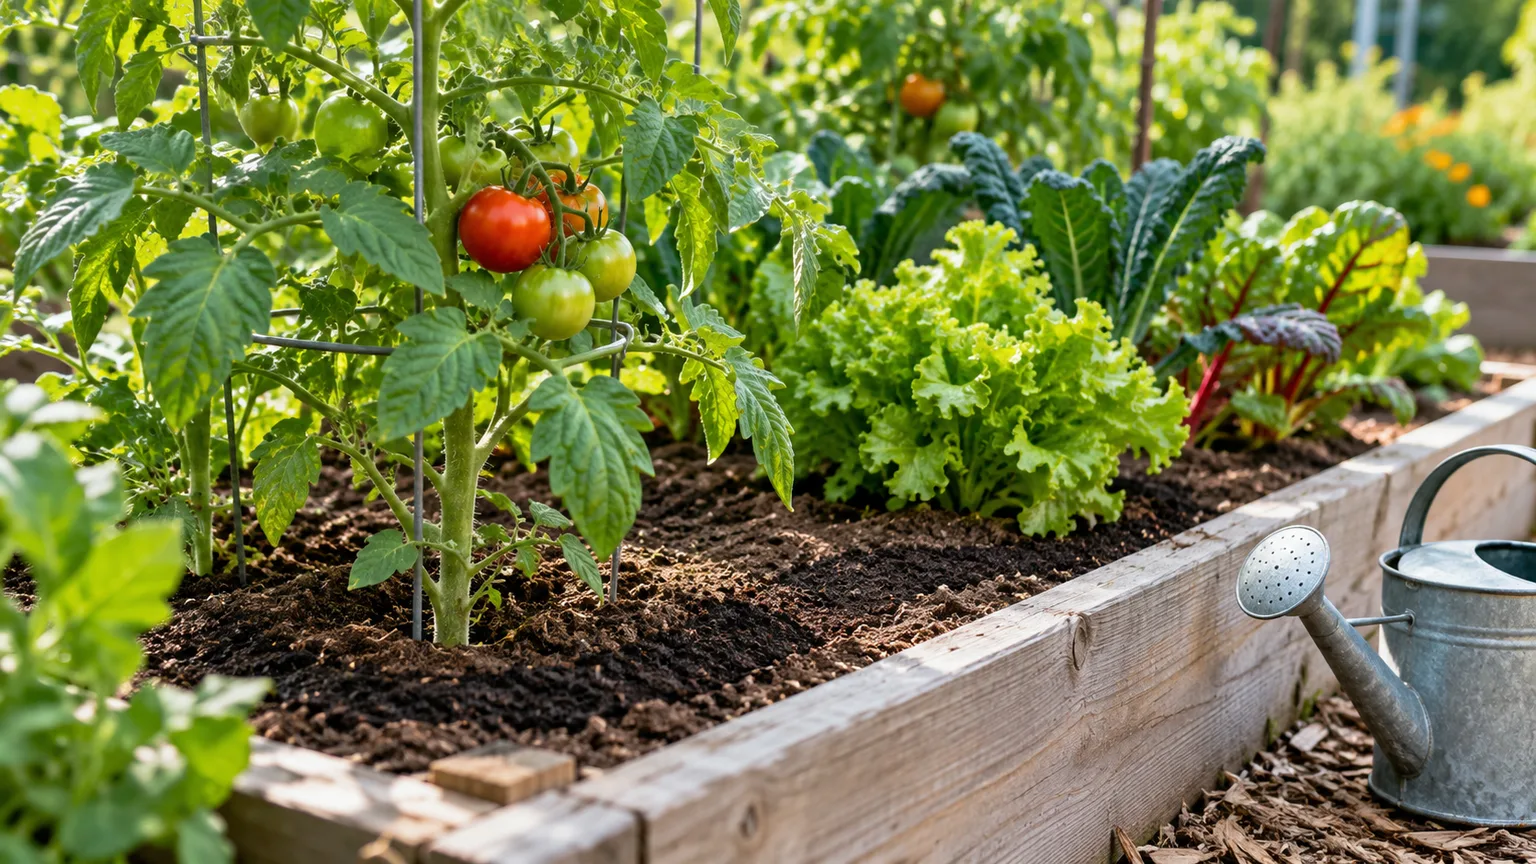
To feed an established plant, scatter a thin ring of castings over the soil around the root zone, keeping the material a few inches away from the stem. Lightly scratch it into the top inch of soil if that will not disturb shallow roots, then water it in. This approach works for many vegetables, annual flowers, and container plants because it keeps the amendment at the surface where watering can move soluble nutrients downward.
For a small indoor pot, a tablespoon or two is a sensible starting amount; a large container can take more. Size the dose to the pot, use less if the soil is already fertile, and follow the package rate when one is provided. If you are uncertain, use a thin layer once and observe the plant rather than repeating a heavy dose every week.
Refresh Old Containers and Garden Beds
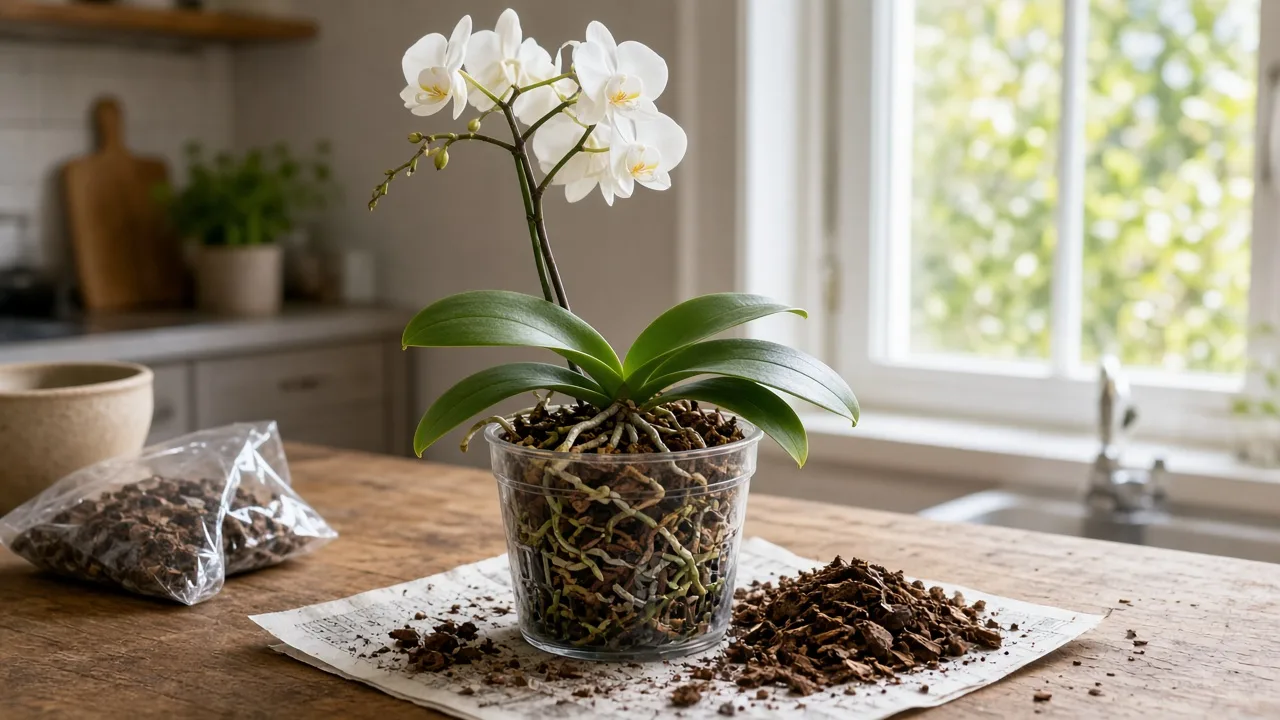
When refreshing potting soil, first remove dead roots and break apart compacted clumps. Blend a small proportion of castings into the old mix, but also restore the texture with fresh potting mix or the aerating ingredients your plants require. For succulents, orchids, and other plants that need fast drainage, use little or none unless the potting medium can still drain freely.
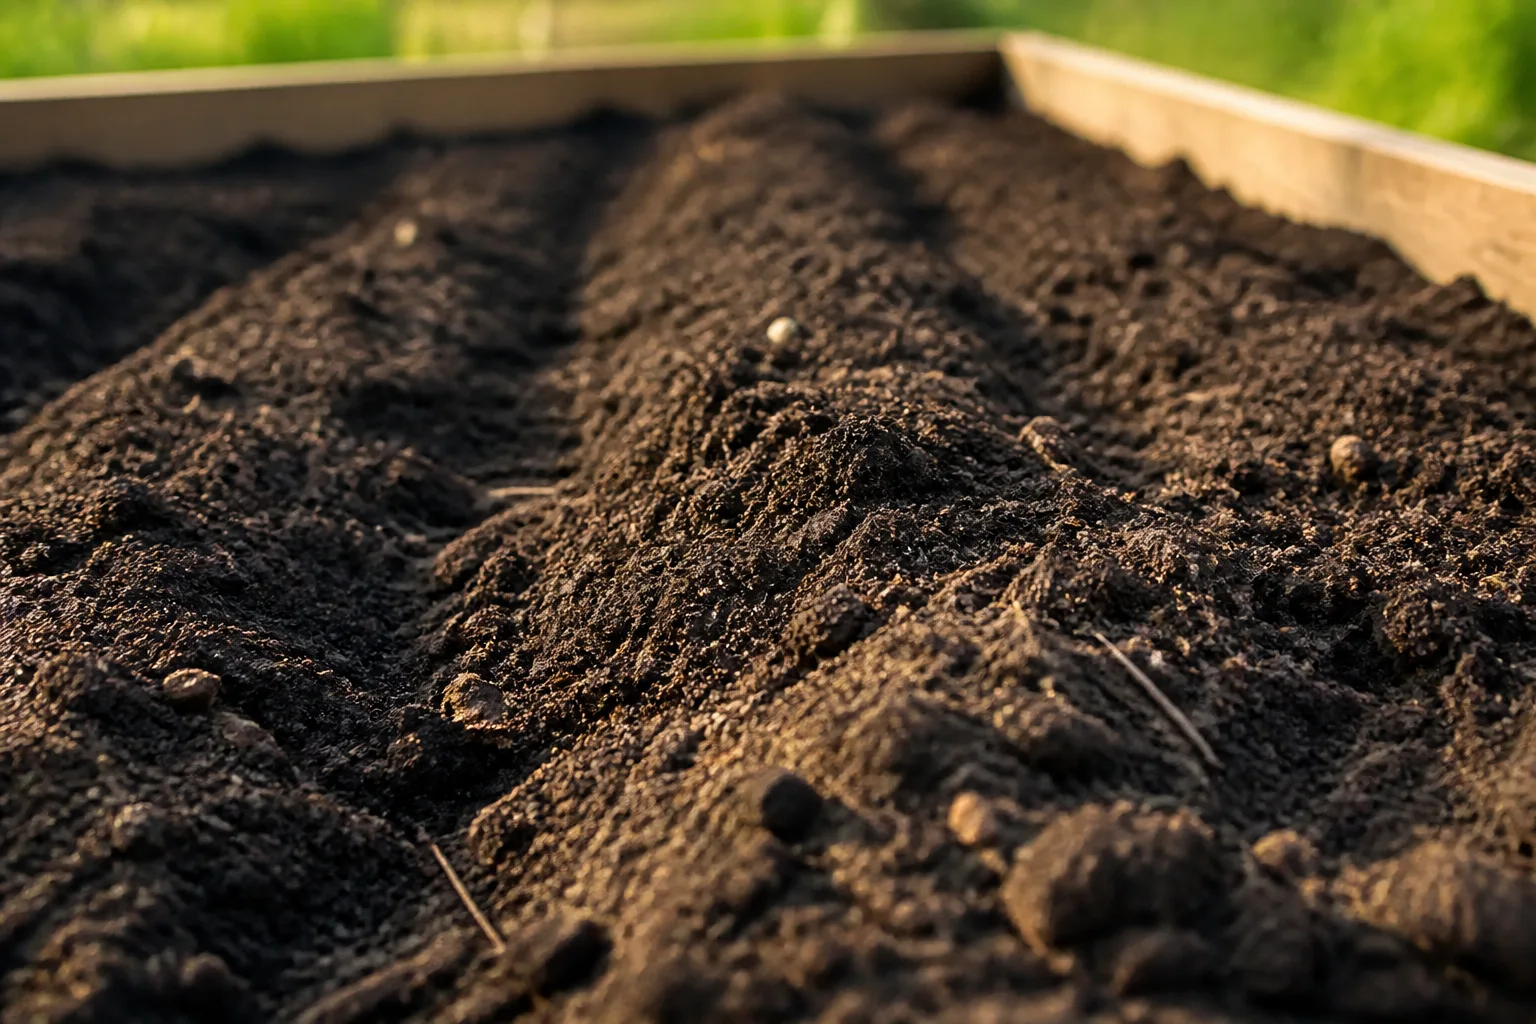
In a garden bed, a light top-dressing can be raked into the upper few inches before planting. For a large bed, it is often more practical to add mature compost and reserve purchased castings for seed trays, transplants, or plants where you want a targeted amendment. Castings can be expensive per volume, and a few handfuls spread across a big plot will not transform the whole soil profile.
How Much Worm Castings Should You Use?
There is no single dose for every brand because nutrient content and the proportion of true castings vary. Start with the product label when it gives a rate; if there is no rate, use the table as a conservative starting guide and adjust for plant size and soil condition. A soil test is more useful than guessing when your goal is to correct a nutrient imbalance.
| Use | Conservative starting point | Practical caution |
|---|---|---|
| Seed-starting or potting mix | 5% to 10% by volume | Blend evenly; preserve drainage and follow the base mix directions. |
| Small transplant | A few tablespoons mixed into backfill | Do not leave a dense layer against delicate roots. |
| Established small pot | 1 to 2 tablespoons as a light top-dressing | Use less if the potting mix already contains fertilizer. |
| Large container or vigorous plant | A few tablespoons, then reassess | Scale up gradually; do not assume more castings means more growth. |
| Garden-bed top-dressing | A thin, even layer over the active root zone | A Cornell extension specialist interviewed by Martha Stewart advises keeping a surface layer below about half an inch and basing use on soil nutrients and plant needs. Martha Stewart’s article with Cornell extension guidance summarizes that advice. |
For containers, the volumetric percentage is easier to repeat than a number of cups per plant. For beds, a broad application should stay thin; concentrate more material around transplants only if the label supports that use. If you see crusting, persistently wet soil, or a pot that dries much more slowly after adding castings, stop adding them and restore air space with an appropriate potting mix.
Apply Castings Evenly and Water Them In
For a top-dressing, clear loose mulch away from the plant, spread the castings over the root zone, and keep them off foliage and stems. Use a hand cultivator only where it will not cut shallow roots; a gentle surface scratch is enough. Replace mulch afterward if needed, then water so the amendment settles into the topsoil instead of blowing or washing away.
For a new bed, blend castings into the top few inches rather than placing them in a deep pocket. For container mixes, measure by volume and stir until no dense clumps remain. If you already use compost, a slow-release fertilizer, or a complete potting mix, count those inputs before adding more; the objective is a balanced root zone, not the largest possible dose of every amendment.
Keep a brief note of what you applied and when. If plant growth is still weak, diagnose light, water, roots, pests, and nutrient needs rather than repeating castings automatically. A soil test can tell you whether an actual deficiency exists and whether additional nutrients would be useful.
Worm Tea Is Optional; Bin Leachate Is Different
Worm tea usually means a water extract made intentionally from finished castings. Bin leachate is liquid that drains from a worm bin after excess water passes through decomposing food and bedding. They are not interchangeable: leachate can be oxygen-poor and its contents are unpredictable, so do not collect it and assume it is a ready-made fertilizer.
Most home gardeners can skip tea and apply castings directly to soil. If you choose to make a simple extract, use mature material and clean water, make only what you can use promptly, and apply it to soil rather than spraying edible leaves. Tea is not a reliable replacement for a fertilizer program, and a brown color does not prove that it contains a beneficial or balanced nutrient mix.
Avoid elaborate claims that bubbling a bucket guarantees disease suppression or plant growth. The castings themselves are already a practical amendment; a fresh extract may be convenient for watering several pots, but it is optional. If you see foul odor or slime, discard it and correct the conditions rather than trying to rescue it with more brewing.
Choose and Store Castings by Quality, Not by Color Alone
Dark color is common, but it is not a complete quality test. Look for a clear ingredient or product description, a batch or producer identity, and instructions that explain whether the material is screened or blended with other compost. If the bag lists a nutrient analysis, use that figure; if it does not, avoid treating the product as a concentrated fertilizer.
Finished material should generally feel crumbly and have a mild, earthy smell. Sour, rotten, or sharp ammonia odors suggest that material may still be decomposing or has been stored too wet. A single sensory check cannot certify safety or maturity, but it can tell you when to wait before using the product around seedlings or in a container mix.
Store castings cool, shaded, and slightly moist, with enough air exchange to prevent a sealed, waterlogged mass. If a bag is already damp, close it as directed and keep it out of hot sun; if it dries out, it can still contribute organic matter, though living microbial activity may be reduced. Use the product within the manufacturer’s stated storage period and do not leave an open bag where rain can soak it.
Make Vermicompost at Home in a Small Bin
A worm bin is worthwhile if you regularly have fruit and vegetable scraps, can check moisture now and then, and want a small amount of finished material for houseplants or a garden. It is not a fast way to produce bulk amendment for a large plot. California’s CalRecycle guidance notes that worm composting can be done indoors or outdoors and that a batch may take roughly 8 to 12 weeks; temperature, worm population, food size, and bin management change the timetable. CalRecycle’s vermicomposting guide covers suitable worms, bedding, food, and conditions.
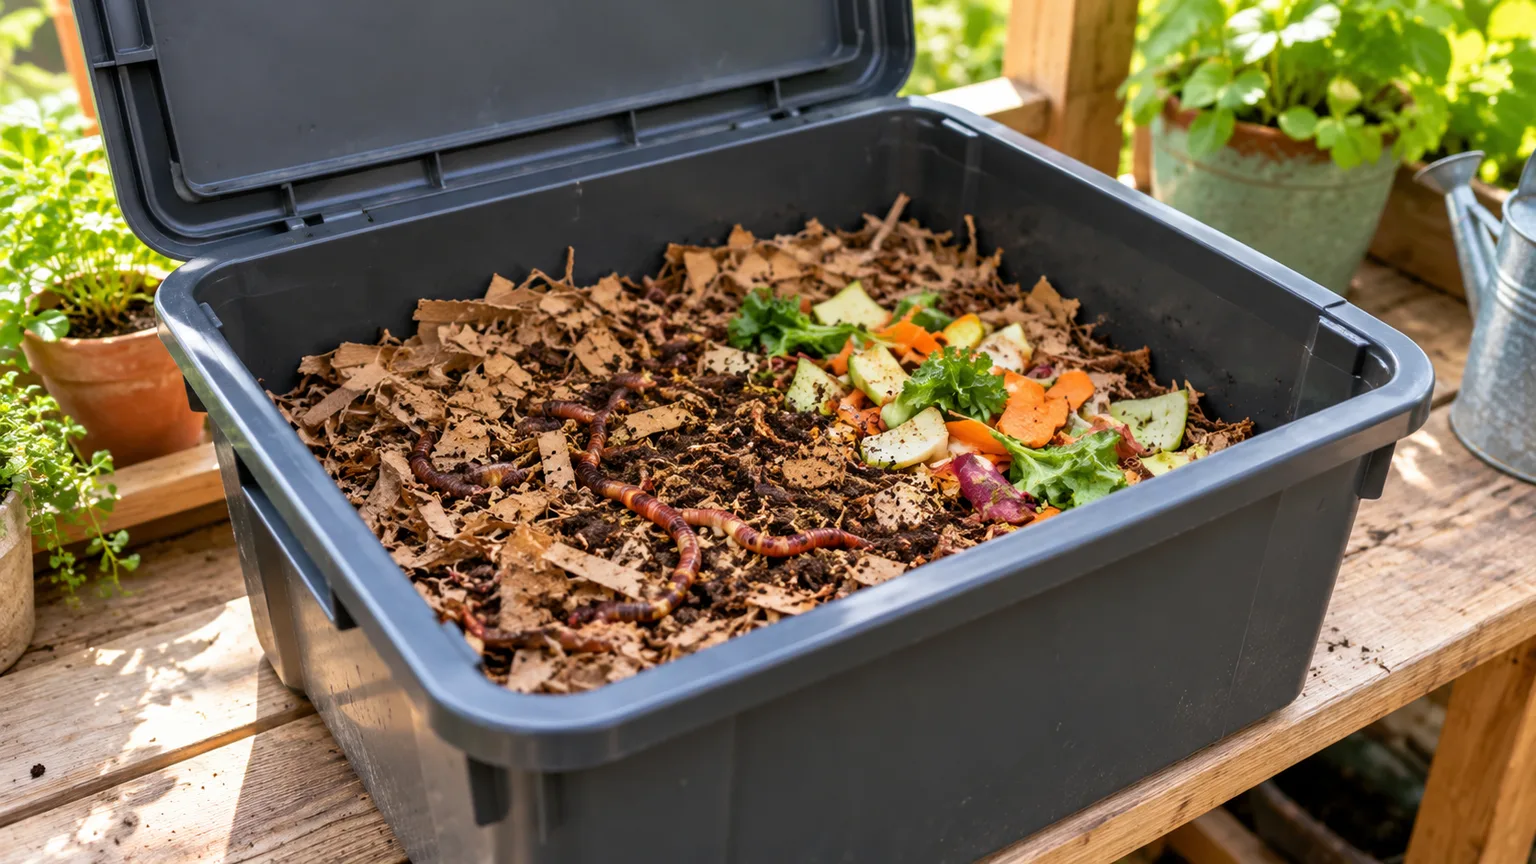
Choose a shaded, protected location where the bin will not overheat, freeze, or flood. Red wigglers (Eisenia fetida) are commonly used for composting because they live and feed in decomposing material near the surface, rather than behaving like deep-burrowing garden earthworms. Start with a modest bin and a manageable amount of food; a small, balanced system is easier to troubleshoot than a large bin that receives more scraps than its worms can process.
Set Up Bedding and Add the Right Worms
Use an opaque plastic tote or a purpose-built worm bin with ventilation and drainage. If you drill holes, keep them small enough to limit escapes and place a tray underneath to catch excess moisture. Add several inches of shredded, uncoated cardboard or paper, moisten it until it feels like a wrung-out sponge, and loosen it so air can move through the bedding.
Add composting worms rather than digging random earthworms from the garden. Bury a small portion of chopped vegetable scraps in one corner, cover it with bedding, and let the worms settle before feeding again. A handful of clean, gritty soil or an approved mineral grit can help the worms process food, but do not add garden soil that may contain herbicides or contaminants.
CalRecycle recommends damp bedding, darkness, and a moderate temperature around 55°F to 77°F (13°C to 25°C). A bin can tolerate some variation, but a hot garage or frozen outdoor container can stress or kill the worms. Check the bin location through the season and move it before extreme weather arrives.
Feed Slowly and Correct Bin Problems Early
Feed fruit and vegetable scraps, coffee grounds, tea leaves without plastic bags or staples, and small amounts of plain grains. For a beginner bin, leave out citrus along with meat, dairy, and oily food; these can create odor, attract pests, or make bin conditions difficult to manage. The exact acceptable foods vary by system, so follow the guidance for the bin and the worms you bought.
Bury each feeding under bedding and add more only after much of the previous food has disappeared. If scraps are still recognizable and the bin smells sour, stop feeding, remove the worst uneaten material, fluff the bedding, and add dry shredded paper or cardboard. A wet, compacted bin needs airflow and less water; a dry bin needs lightly misted bedding, not a puddle.
Fruit flies usually mean scraps are exposed, so bury them more deeply and keep a dry bedding layer on top. If worms gather at the lid or try to leave, check moisture, temperature, acidity, and drainage before adding food. A healthy bin should smell mild and earthy; persistent foul odor is a signal to correct the system, not a normal feature of vermicomposting.
Harvest When the Material Is Finished, Not Just on a Date
Do not harvest just because a calendar says eight weeks have passed. Look for dark, loose, soil-like material in which most bedding and food are no longer recognizable. A few larger fibers are normal and can be screened out; obvious scraps, sour smell, or active heating mean the batch needs more time.
To separate worms, move finished material to one side and place fresh bedding and food on the other side. Give the worms time to migrate, then collect the finished portion and return any visible worms, cocoons, or unfinished scraps to the bin. You can also spread small piles under bright light and remove the top layer as worms move down, but keep the remaining material moist and shaded while you work.
Time alone is not a guarantee of maturity. A peer-reviewed study of food-waste vermicomposting found that a material could appear stable by one measure while still showing moderate effects in a seed-germination assay. That is one study, not a reason to fear every home bin, but it supports waiting until material is well decomposed before using it in a sensitive seed mix. The peer-reviewed food-waste vermicompost maturity study is available through PubMed Central.
Common Mistakes and When Castings Are Not Enough
The most common mistake is using too much. A thick layer can make a container mix finer and wetter, and it costs more without guaranteeing a better harvest. Begin with a modest amount, blend it evenly, and reassess before repeating; if drainage slows, stop adding castings and restore the mix structure.
Another mistake is expecting castings to fix every soil problem. They cannot correct a pH problem by themselves, provide a reliable dose of a missing nutrient without knowing the analysis, or replace a complete fertilizer for a heavy-feeding crop. Test the soil when the same growth issue persists, then choose the right amendment for the result instead of piling on organic products.
Finally, do not treat fresh-looking black material as automatically finished, or worm-bin liquid as a safe tea. Feedstock and storage matter. If the material is sour, visibly unfinished, or came from an unclear source, keep it out of seed trays and edible-crop foliage until you know what it is and have given it time to mature.
Conclusion
Worm castings are best used as a modest, biologically active soil amendment: blend a little into a potting mix, work a small amount into transplant backfill, or apply a thin top-dressing around established plants. Their nutrients and effects vary, so use the product label and a soil test when you need a precise fertility plan, and do not expect castings to replace a complete fertilizer.
If you want to make your own, start with a small, shaded bin, damp bedding, composting worms, and slow feedings. Harvest when the material is dark, crumbly, and mostly finished—not just when a certain number of weeks has passed. Used that way, castings can make a useful contribution without becoming an expensive cure-all.