Dethatcher vs. Aerator: Which Does Your Lawn Need?
Dethatcher vs. aerator explained: learn how to test for thatch and compaction, choose the right tool, time the job, and help your lawn recover.
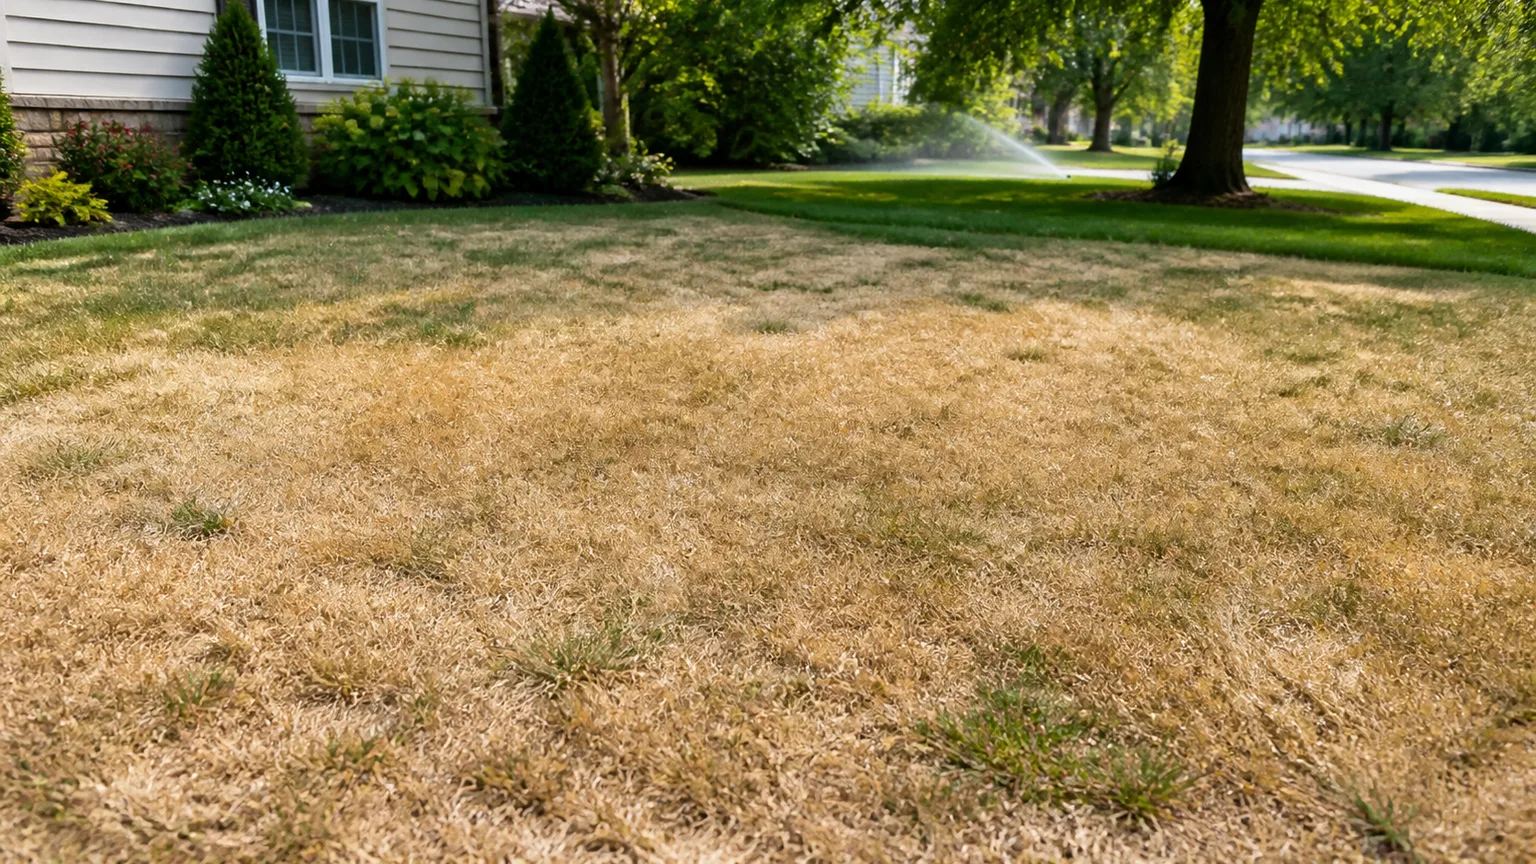
A lawn that feels spongy and a lawn that stays wet can need different repairs. Before you rent a machine, cut a small plug from the turf: if the problem is a thick brown layer above the soil, you are investigating thatch; if the soil itself is hard and the roots have little room, you are investigating compaction.
That distinction is the whole dethatcher-versus-aerator decision. A dethatcher pulls organic material out of the turf canopy. An aerator—specifically a core aerator—removes soil plugs to create air and water channels. The tools overlap slightly, but using one as a substitute for the other can stress the lawn without fixing the cause.
The short answer
Choose a dethatcher when a measured layer of dead stems, stolons, rhizomes, and roots has built up between the green blades and the soil. Choose a core aerator when foot traffic, clay soil, construction, mowing, or repeated wetting has compressed the soil and water cannot move into the root zone.
Choose both only when you can document both problems. In a neglected lawn, a light dethatching pass can expose the surface before core aeration, but a renovation project that is using the cores and amendments to rebuild the seedbed may deliberately aerate first and then use a vertical mower or slicer. The right order follows the job, not a universal calendar.
Diagnose the lawn before renting anything
Do not diagnose from color alone. Brown grass can be dormant, drought-stressed, diseased, scalped, shaded, or dead; neither a dethatcher nor an aerator repairs those causes. Puddling is also a clue rather than a verdict because water can collect in a low spot even when the soil is not broadly compacted.
Start with two small tests in the worst-looking area and one healthy-looking area for comparison. Avoid testing immediately after a storm, when every lawn will be soft, and do not walk heavy equipment across saturated soil.
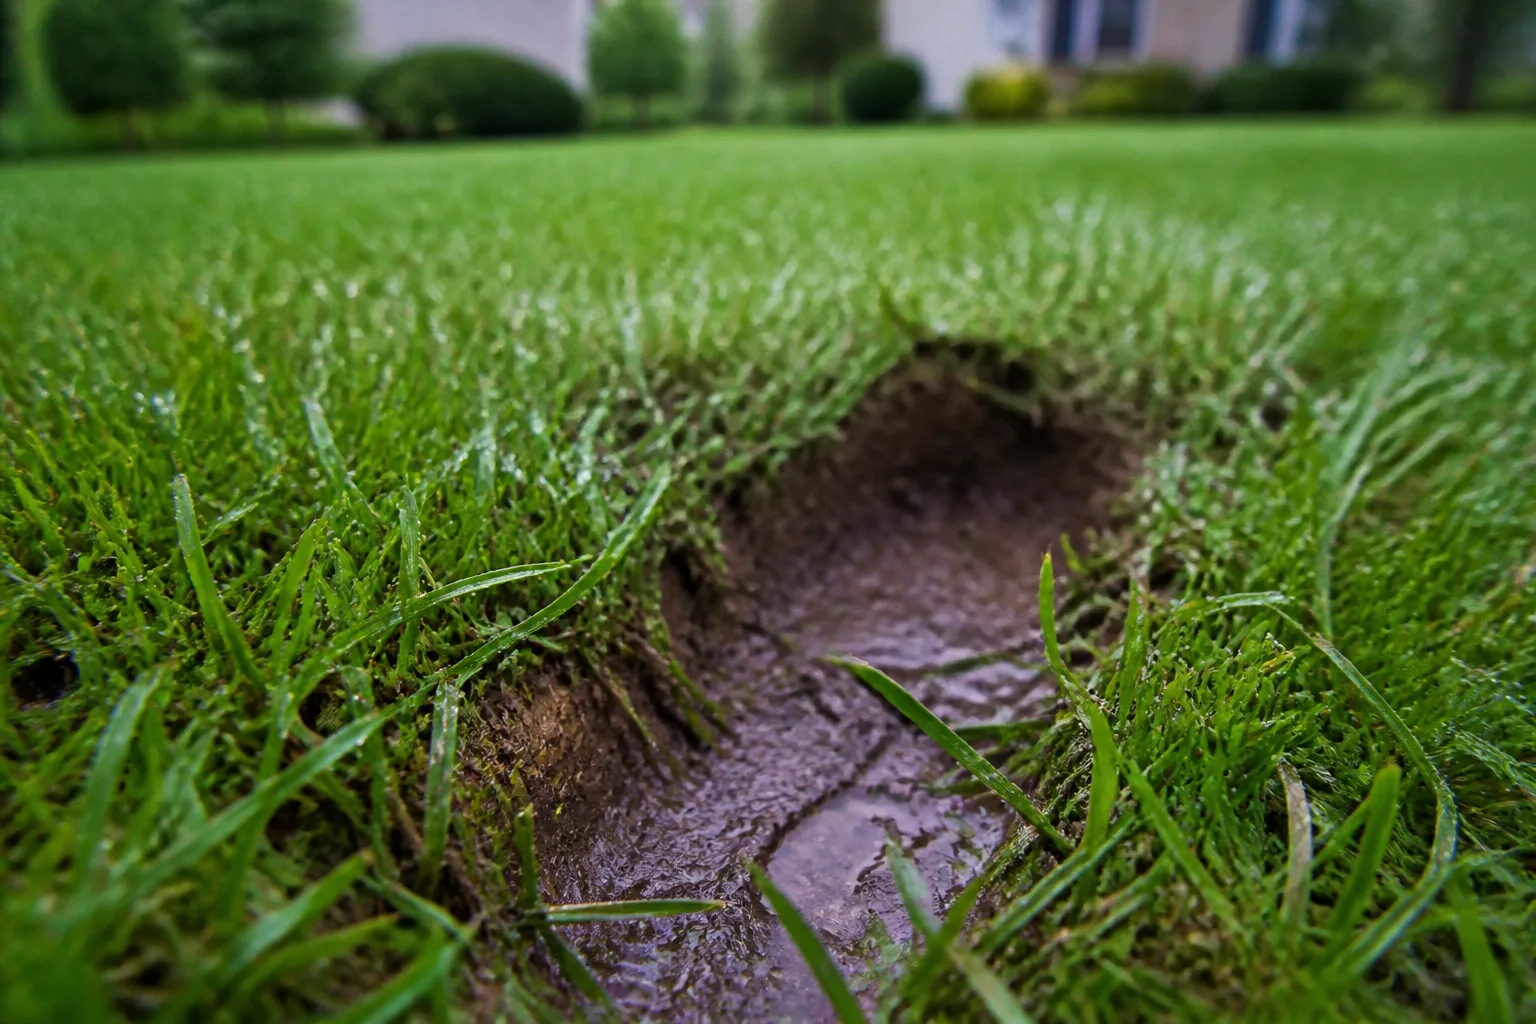
Cut a small plug and measure the thatch
Use a sharp spade or soil knife to cut a square about 3 inches deep. Lift it carefully, keeping the layers intact, and look for a distinct brown, felt-like layer between the green shoots and mineral soil. Measure only that layer—not the entire root mat, loose leaves, or mulch.
The number that should guide your decision is not perfectly universal. Illinois Extension’s lawn-thatch guidance and Utah State University Extension’s turfgrass guide describe up to about ½ inch as useful or acceptable, while Penn State Extension’s seasonal lawn guidance uses 1 inch or more as the point for mechanical removal. Iowa State University’s thatch-control guide places ½ to 1½ inches in the mechanical-removal range.
Treat those figures as a decision band, not a contradiction. Under ½ inch, leave the layer alone and improve the conditions that help it decompose. From ½ to 1 inch, inspect the turf’s vigor, grass type, and maintenance history before choosing a light rake, core aeration, or no removal. At about 1 inch or more—or when the plug shows roots concentrated in a thick, dry mat—mechanical thatch reduction becomes much more defensible.
The classic “bouncy” feel can support the diagnosis, but it cannot replace the plug. A thin thatch layer over compacted clay may still feel firm, while a thick root mat may feel springy even when water is not puddling. Measure first so you remove the least material that solves the problem.
Test for compaction separately
Push a screwdriver, soil probe, or the blade of a narrow hand trowel into moist—but not saturated—soil in the same area. Compare the force needed in the suspect spot with the healthy spot. Then look for traffic patterns: a shortcut across the lawn, a play area, a strip beside a driveway, or repeated mower turns often shows compaction before the rest of the yard does.
Compaction is more likely when water runs off instead of soaking in, puddles remain after the surrounding lawn has drained, roots are shallow, or overseeded patches never establish despite adequate moisture. UGA Cooperative Extension explains that aeration removes soil plugs and improves air, water, and nutrient movement, but a low grade, clogged drainage route, or dense construction subsoil may need regrading or deeper soil work instead.
What a dethatcher actually changes
A dethatcher works vertically through the turf canopy to pull out excess thatch. A hand thatching rake uses stiff tines; a power rake uses spring tines; a vertical mower, sometimes called a scarifier or verticutter, uses fixed blades or knives. All are trying to remove or open the organic layer, not create deep channels through compacted mineral soil.
Thatch is not simply the grass clippings left after mowing. Illinois Extension notes that returned clippings break down quickly when the lawn is mowed regularly and no more than one-third of the blade is removed. The layer that causes trouble is made mainly of slowly decomposing stems and roots, and it builds faster when growth is pushed hard by excess nitrogen or overwatering, or when poor soil conditions slow decomposition.
Dethatching tools and how aggressive they are
Use a hand rake for a small lawn, a thin layer, or a targeted patch where you can watch the tines. Use a power rake or vertical mower when the layer is extensive, but set the machine conservatively and make one controlled pass before deciding whether another is needed. Utah State University Extension cautions that vertical blades should not be set so deep that they touch the soil.
Mechanical dethatching can look dramatic because it pulls up a surprising volume of brown material. That does not mean the machine is working well; it may also be removing living crowns and roots that have grown into the thatch. Illinois Extension describes mechanical dethatching as highly destructive and notes that overseeding is often needed afterward.
The goal is not a bare, raked-looking lawn. Leave a small beneficial layer, remove the loose debris, and then correct the cause. If the grass is already drought-stressed, dormant, newly established, thin from disease, or growing in extreme heat, postpone the work rather than using a dethatcher as a rescue button.
What an aerator actually changes
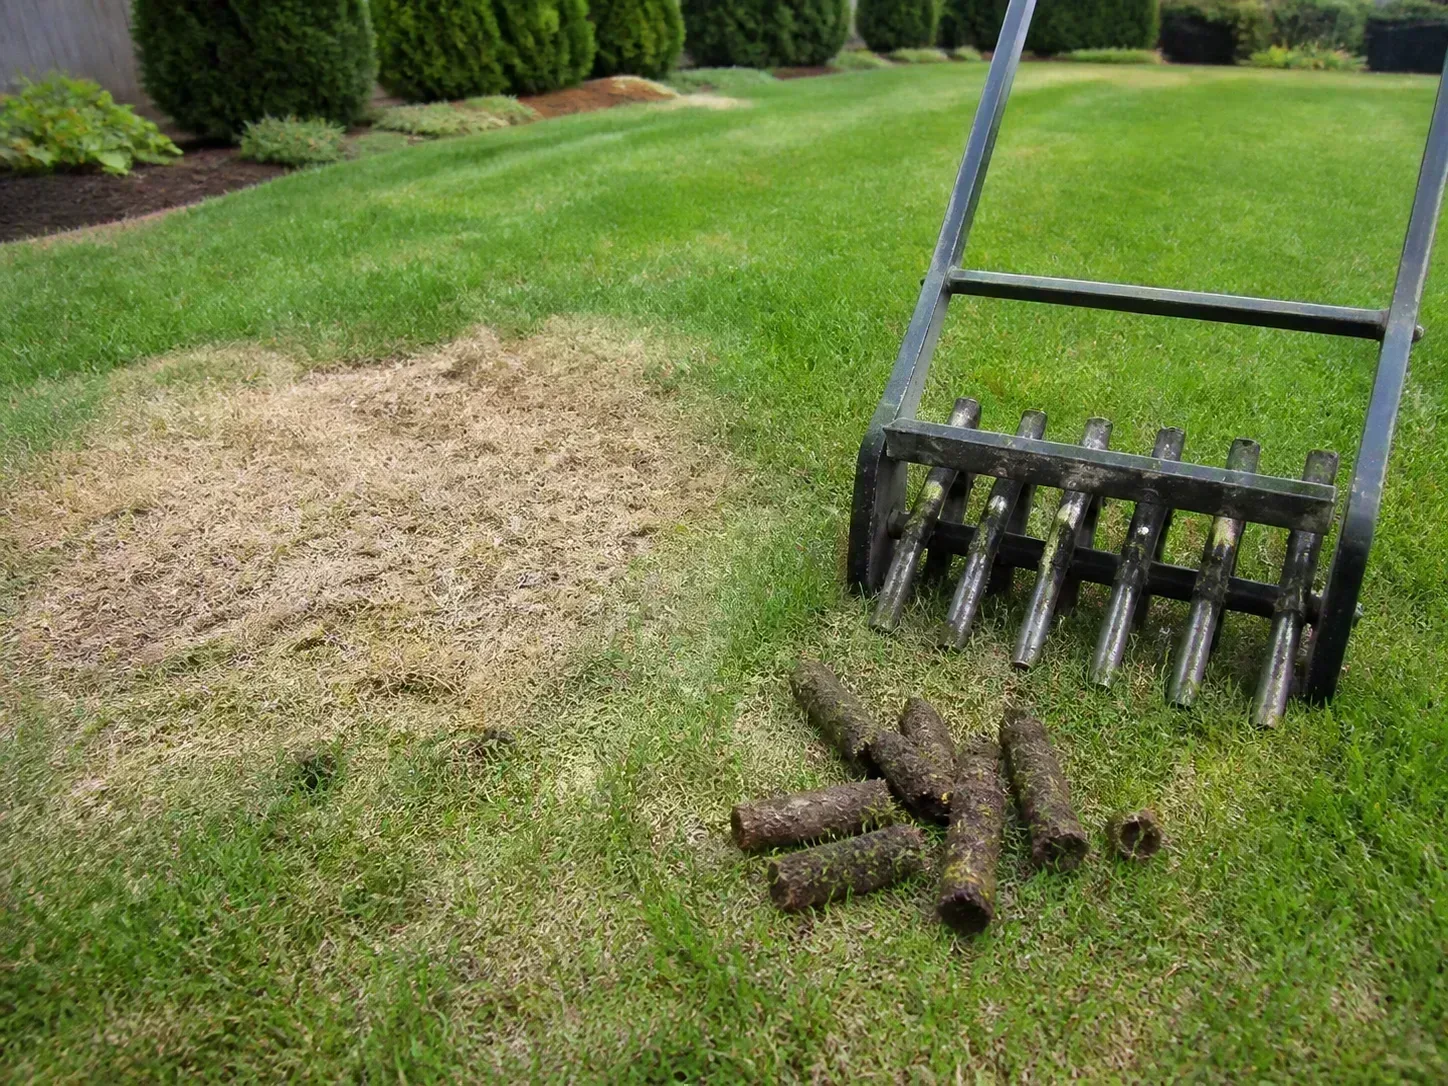
Aeration targets the soil profile. A core aerator has hollow tines that enter the turf and lift out plugs, commonly about 3 to 4 inches deep. The empty channels give roots a route into the soil and give water, air, nutrients, and topdressing a route down.
Core aeration also helps manage thatch indirectly. The soil cores left on the surface add mineral soil and microorganisms back into the organic layer, while the new openings improve the conditions for decomposition. It can reduce some thatch, but it is not a substitute for removing a very thick mat.
Core aeration versus spike aeration
A spike aerator uses solid tines to poke holes. A garden fork, rolling spike tool, or aerator shoe falls into this category. It can be useful for a small, lightly compacted patch or for opening the surface temporarily, but it does not remove a core and it does not create the same lasting change in the soil profile.
For significant compaction, rent or hire a hollow-tine core aerator. Penn State Extension specifically distinguishes core aerators from solid spikes, and Utah State University notes that solid-tine aeration is less effective at loosening soil and can increase compaction if used improperly.
Do not judge a spike tool by how many holes it leaves on the first day. The useful question is whether it changes the compacted root zone without squeezing the soil around each hole. For a lawn that puddles in a high-traffic strip, hollow cores are usually the more reliable tool.
Dethatcher vs. aerator: choose by symptom
Use this table as a starting point, then confirm with a plug. A lawn can have more than one symptom, and the same symptom can have several causes.
| What you observe | More likely problem | First tool to investigate | Why |
|---|---|---|---|
| A distinct brown, felt-like layer above the soil | Excess thatch | Dethatching rake or carefully set dethatcher | Removes the layer blocking contact with the soil |
| Lawn feels spongy and the plug shows a thick mat | Excess thatch | Dethatcher, followed by aftercare | Removes material that holds shallow roots |
| Soil is hard to penetrate in a traffic lane | Compaction | Core aerator | Pulls plugs and opens the soil profile |
| Water runs off or puddles across otherwise level turf | Compaction or drainage | Core aerator after checking grade | Opens compacted soil, but cannot correct a low spot |
| Thin grass with little thatch but hard soil | Compaction | Core aerator | Creates root-zone access without tearing out turf |
| Thatch is moderate and soil is compacted | Both | Light dethatch plus core aeration | Addresses the organic layer and the mineral soil |
| Brown grass is dormant, diseased, shaded, or scalped | Neither at first | Identify the underlying cause | Both machines can add stress without restoring grass |
The safest interpretation is often “aerate, not dethatch” when the layer is modest but the soil is clearly hard. Core aeration is usually less destructive than tearing through a lawn that has living roots near the surface, and it can improve the conditions that let a moderate thatch layer break down.
When should you dethatch?
Dethatch when the plug shows an excessive layer and the turf is actively growing with enough moisture to recover. Do not pick a date because a calendar says dethatching is due; pick a window when the grass can replace damaged leaves and roots.
For cool-season lawns, late summer to early fall is often the best recovery window because the grass is rebuilding after summer stress and can fill openings before winter. Early spring can work in some regions, but aggressive spring removal can leave slow-growing turf exposed just as weeds are germinating. BBC Gardeners’ World Magazine’s scarifying guidance likewise recommends spring or early autumn and warns that the lawn may look worse before it improves.
For warm-season lawns, wait until the grass has fully greened up and is growing strongly. Do not dethatch a warm-season lawn during winter dormancy or during a severe heat-and-drought period. The exact window depends on grass species and local weather, but active growth is the non-negotiable requirement.
If the thatch layer is only slightly above the maintenance range, try a less disruptive correction first: mow at the proper height, avoid excessive nitrogen and irrigation, reduce repeated traffic, and core-aerate when the soil is compacted. Dethatching is a treatment for excessive buildup, not a yearly badge of good lawn care.
When should you aerate?
Aerate when the soil is moist enough for hollow tines to penetrate and pull clean plugs, but not so wet that the machine smears the soil or collapses the holes. The best season is when the grass is actively producing roots and can close the openings afterward.
For cool-season grasses such as tall fescue, Kentucky bluegrass, and fine fescues, late summer or early fall is usually the strongest all-around window. Spring can be appropriate when the lawn needs it, but it can also open space for weeds and leave cool-season turf heading into summer with less recovery time.
For warm-season grasses, aerate during active summer growth after green-up. UGA Cooperative Extension uses a 4-inch soil temperature of at least 65°F and rising as a useful warm-season benchmark. That is more useful than a fixed month because spring arrives at different times in different regions.
High-traffic lawns may need aeration more often than lightly used lawns, but annual aeration is not automatically necessary. Soil type, traffic, drainage, turf species, and whether previous work actually solved the problem should determine the next interval. UGA Extension notes that an average home lawn can perform well with aerification every three to four years, while heavily used areas may need closer attention.
If your lawn needs both, use a deliberate sequence
Doing both jobs on autopilot is how a recoverable lawn becomes a bare one. Write down what the plug showed, mark the affected zones, and decide whether the main goal is repairing an established lawn or renovating and reseeding a poor stand.
A homeowner repair sequence
For an established lawn with a thick thatch layer and compacted soil, use this sequence:
- Mow slightly lower than the normal maintenance height only if the equipment instructions and grass type allow it; collect the clippings so you can see the thatch you remove.
- Dethatch lightly in the affected areas, not automatically across the entire yard. Stop when you reach the soil surface and most of the loose excess is out.
- Rake and remove the pulled thatch. Do not leave a thick windrow smothering the turf.
- Core-aerate the exposed, moist soil in two directions if the machine and lawn can tolerate it. The goal is consistent penetration, not as many passes as possible.
- Leave the cores on the lawn to dry, then break them up with a light rake or mower if they remain bulky. Penn State’s renovation guidance describes using dried cores and surface amendments as part of rebuilding the seedbed.
- Overseed bare openings with a grass suited to the site and season, then keep the seed zone evenly moist until seedlings establish.
There is a legitimate exception to that order. In a full renovation where you are applying a soil-test-based amendment and using a vertical mower or slicer to work it into the holes, extension renovation plans may core-aerate first and use the second machine to break up cores and mix the surface. That is a planned seedbed operation, not a reason to run two rental machines over every ordinary lawn.
Choose the right season for your grass
Seasonal timing is really a recovery calculation. The lawn should be growing, the soil should hold enough moisture for the tool to work, and there should be enough runway for new grass to root before the next predictable stress.
| Lawn type or situation | Dethatching window | Core-aeration window | Avoid |
|---|---|---|---|
| Cool-season grass | Late summer to early fall; spring only when recovery is reliable | Late summer to early fall, or suitable spring conditions | Summer heat, drought, and late fall just before winter stress |
| Warm-season grass | Active growth after green-up, often late spring to summer | Active warm-season growth; use soil temperature and turf growth rather than a fixed month | Dormancy, cold soil, and extreme heat or drought |
| Newly seeded or newly laid turf | Wait until the turf is established | Wait until roots are established enough to recover | Aggressive cultivation in the first season |
| Drought-stressed, diseased, or thin turf | Correct the stress or diagnosis first | Correct the stress or diagnosis first | Using a machine as a rescue treatment |
Penn State Extension advises mechanical thatch removal only in cool weather with adequate moisture and warns against high heat, drought, and late-fall removal. The same principle applies to aeration: a hole is only helpful if the surrounding grass can use it while it heals.
Tool choice, rental, and setup
For a small lawn, a hand rake and a manual hollow-tine aerator may be enough if you have time and the soil is workable. For a large lawn, a power rake or vertical mower is faster for a real thatch problem, and a walk-behind core aerator is usually the practical choice for widespread compaction. Renting is often sensible because these are seasonal machines that take storage space and require setup.
Before starting, locate irrigation heads, shallow cables, edging, tree roots, and rocks. Penn State’s lawn-establishment guidance specifically flags utilities, irrigation heads, tree roots, rocks, and existing thatch as hazards to check before renovation equipment enters the lawn. Read the rental manual, wear sturdy shoes and eye protection, and keep children and pets away from the operating path.
Do not run a core aerator over saturated clay. It can smear the surface, leave collapsed holes, and create a harder layer rather than a better root zone. Do not run a dethatcher so deep that it gouges bare soil; when the tines begin pulling up soil and healthy crowns instead of loose organic material, stop and reset the machine.
Recovery after either job
The lawn may look worse immediately afterward. That is normal after removing thatch or soil plugs, but “normal” does not mean you can abandon it.
After dethatching, remove the loose debris so light, air, and irrigation can reach the crowns. After core aeration, leave the plugs in place until they dry and crumble; they return mineral soil to the surface and help fill the openings. If you topdress, use a thin layer of compatible material rather than burying the turf. Illinois Extension describes roughly 1/8 to 1/4 inch of compatible topdressing as a light layer that can help address the conditions behind thatch.
Overseed only when the season matches the seed and the existing grass can recover. Cultivation creates seed-to-soil contact, but it also creates openings for weeds, so choose the seed and timing before you start the machine. Water to keep new seed from drying out, but do not turn the lawn into a continuously saturated sponge.
For the next several weeks, keep traffic off weak areas, mow with a sharp blade at the correct height for the grass, and watch the root zone rather than chasing color with extra fertilizer. If the same patch compacts again, change the traffic route or solve the drainage problem; repeating aeration without changing the cause is expensive maintenance, not a fix.
Mistakes that waste the work
Dethatching every year: A lawn with a normal thatch layer does not need aggressive removal. Excessive dethatching can remove living turf and leave a thin lawn that is more vulnerable to heat and weeds.
Calling every brown layer thatch: A thatch plug is a tight, horizontal layer between green growth and soil. Dead leaves on top of the turf, mower clippings, and surface mulch are different materials and should not be measured as thatch.
Using a spike tool for serious compaction: Holes that do not remove soil may close quickly, and solid tines can squeeze the soil around the hole. Use a hollow-tine tool when the root zone is truly compacted.
Working in the wrong moisture: Bone-dry soil may reject the tines; saturated soil can smear and collapse. Aim for workable moisture and test a small area before committing to the whole yard.
Ignoring grass type: A late-fall operation that works in one climate may leave another lawn entering dormancy with open wounds. Time the job around active growth and recovery, not a generic month from a rental-store flyer.
Skipping aftercare: Loose thatch left on the turf, unwatered seed, repeated traffic, or an overfertilized rebound can erase the benefit. The machine is one day of the repair; the following weeks determine whether the lawn keeps the improvement.
When neither tool is the real fix
Some problems mimic compaction or thatch. If puddling is limited to a low spot, the real fix may be grading, a drainage route, or a rain garden—not more holes. If only one strip is thin, investigate shade, foot traffic, mower scalping, a leaking irrigation head, pests, disease, or chemical spill before treating the entire lawn.
If a plug shows dense subsoil only a few inches below the surface, core aeration may help temporarily but will not create the deep, well-structured root zone that the site needs. Construction compaction, removed topsoil, and chronically wet clay may call for soil testing, compatible topdressing over time, or professional renovation.
Do not use dethatching or aeration to solve a lawn that is dormant by design. Warm-season grass can turn brown in cold weather, and cool-season grass can pause in summer heat or drought. Confirm that the plant is alive and that the season supports recovery before you disturb it.
Conclusion
The simplest answer to dethatcher vs. aerator is to match the tool to the layer that is failing. Cut a plug: a thick organic mat points toward measured, carefully timed dethatching; hard soil, runoff, and traffic-related puddling point toward core aeration. A modest thatch layer over compacted soil may need the gentler combination of better maintenance and core aeration rather than a full power-raking event.
When both problems are real, plan the sequence, protect the lawn’s recovery window, and adjust the order to the job—established-lawn repair is different from full renovation. The best result is not a yard that has been aggressively “worked”; it is a root zone with enough soil, air, water, and living grass to keep improving after the rental machine is returned.



