How to Keep Cut Flowers Fresh for Longer
Learn how to keep cut flowers fresh with clean water, sharp cuts, flower food, cool placement, and honest verdicts on viral vase hacks.
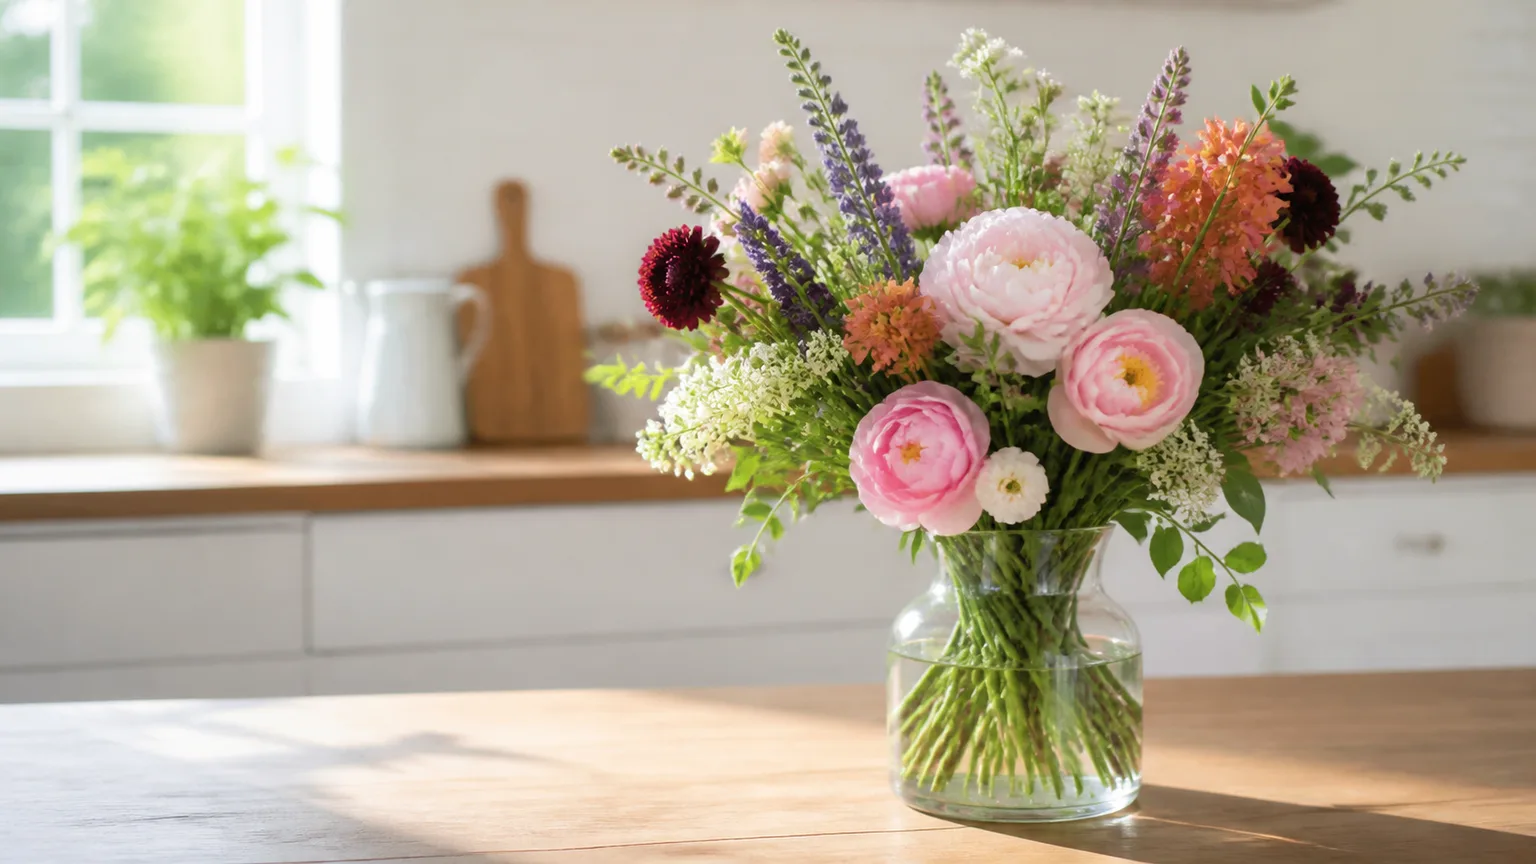
The quick verdict on the three vase methods
The surprise is that the “winner” is not really a viral hack. A copper penny may keep water looking clearer in some arrangements, and a pin prick can suit certain hollow-stemmed flowers, but neither one replaces clean water, a conditioned stem, and the right flower food. The soda-and-bleach combination is the method I would leave out altogether: it is difficult to dose consistently, the sugar is incomplete without proper sanitation, and bleach becomes a handling hazard when it is mixed carelessly.
If you want the shortest reliable answer to how to keep cut flowers fresh, start with a clean vase, fresh water, a sharp recut, no leaves below the waterline, commercial flower food, and a cool spot away from sun, heat, drafts, and ripening fruit. Those steps address the actual reasons bouquets fail instead of relying on one object or ingredient to do every job.
The three methods are still worth discussing because they reveal where flower-care advice goes wrong. A bouquet can look fine for two days while the water becomes a microbial soup, or a bloom can droop because the stem cannot move water even though the vase is full. The best routine is the one you can repeat every time you bring flowers home, regardless of whether they are roses from a supermarket, tulips from a florist, or stems cut in your own garden.
What cut flowers need after harvest
Once a stem is cut, the flower has lost its root system but is still alive. It must use stored carbohydrates to open and maintain its petals, while water must travel upward through narrow conducting tissue in the stem. Warm rooms accelerate aging, damaged stems lose water-conducting capacity, and leaves left underwater decay into the same solution the flowers are trying to drink.
That gives us three separate jobs. Water must be available and able to move, the flower needs enough energy to finish opening, and the vase environment needs to stay clean enough that microorganisms do not clog the stem or break down plant tissue. Commercial flower food is formulated around those jobs; plain water handles hydration but not the rest.
The University of Illinois Extension’s cut-flower-care guidance describes floral preservative as a combination of an acidifier, a bactericide, and sugars. That does not mean every household recipe is equivalent to a packet. The concentration, water volume, flower species, and product strength all matter, so a packet mixed according to its label is the most repeatable option.
Flower longevity also begins before the vase. The Gardening Know How guide to cutting flowers emphasizes healthy stems, clean cutting tools, cool conditions, and immediate placement into clean water. For garden flowers, Savvy Gardening’s harvest advice adds two useful details: cut when plants are well hydrated and avoid the heat of the day.
How to compare flower-preserving methods fairly
A side-by-side test sounds scientific, but it is easy to make the result misleading. If one vase has a different number of stems, a dirtier container, more foliage, or a warmer position, the additive gets credit or blame for conditions it did not create. Flowers also vary naturally: one rose may be older, one tulip may have a damaged stem, and one bunch may have been chilled or dehydrated during transport.
The fairest practical comparison uses stems from the same purchase, distributes varieties as evenly as possible, and gives every vase the same water volume, light, temperature, and stem preparation. It also records more than whether a bloom “looks fresh.” Track opening, stem angle, leaf firmness, water clarity, odor, brown or slimy stem ends, and the first day each flower becomes unsalvageable.
What to keep constant in a side-by-side test
Use identical, washed vases and mark the waterline before adding stems. Remove leaves that would be submerged, recut every stem with the same sharp tool, and arrange the same number of stems at similar spacing. If you compare an additive, include a plain-water control and, if available, a commercial flower-food control; otherwise you cannot tell whether a hack beats no treatment or whether it beats the ordinary option you actually need.
Repeat the test with different flowers before declaring a universal winner. A method that suits tulips may be irrelevant to roses, and an arrangement that holds up for seven days in a cool room may collapse in two days beside a sunny window. A single bouquet can produce an interesting observation, not a law of cut-flower care.
Method 1: Sprite and bleach
This recipe sounds plausible because it combines sugar from soda with an antimicrobial ingredient. In theory, sugar supplies energy to developing blooms while bleach slows microbial growth in the vase. In practice, a capful is not a meaningful measurement: “capful” varies by bottle, the soda concentration varies by product, and bleach strength changes by label and age.
The bigger problem is that the ingredients do not make a complete or forgiving system. A sugary solution can feed microorganisms as well as flowers if the antimicrobial dose is too low. Too much bleach can injure foliage and stem tissue, and any household experiment involving bleach demands careful separation from acids, vinegar, lemon juice, ammonia, and cleaning products. Never pour bleach directly into an acidic soda or combine bleach with vinegar; dangerous fumes can result.
The Koch & Co. cut-flower guide explains why flower food uses a balanced combination rather than sugar alone and stresses that bleach, when used in a formula, is added only after the other ingredients have been mixed with water. That is useful context, but it is not an endorsement to improvise a kitchen-measurement recipe with an unknown bleach product.
My verdict: skip Sprite and bleach as a casual home hack. Use the flower-food packet that came with the bouquet, or use clean water and a good maintenance routine if you do not have one. You get the intended benefits with less uncertainty and less risk of damaging the bouquet or creating a chemical problem on the counter.
Method 2: The pin-prick stem trick
The pin-prick method involves making a small hole through the stem just below the flower head. It is often presented as a universal way to let air out and water in, but stem anatomy makes the result much less predictable. A hollow stem and a solid woody stem do not respond to an opening in the same way.
For a hollow-stemmed flower such as a tulip, a tiny opening near the top may sometimes help relieve an air lock or support water movement. Tulips also continue to elongate after cutting, which is why they often need a tall vase and regular repositioning. The method is not a substitute for a clean cut at the base, and the hole itself becomes another injury that can collect microbes.
Where it can help: If tulips droop while the water is fresh and the stem ends are clean, first recut them and support them in a tall vessel. Only then might a pin prick be worth trying on a small number of stems, especially if you are comparing it with untouched stems. Sterilize the pin, make one small opening, and do not repeatedly stab the stem as the bloom changes position.
On roses, the case is weaker. Rose stems are comparatively solid, and a hole below the bloom does not magically create a new water channel. It can weaken the neck and increase the chance of a bent head, while the real problem may be dehydration before purchase, a crushed lower cut, warm water, or a dirty vase. My verdict: treat pin pricking as a flower-specific experiment, not a general freshness step.
Method 3: The copper penny
The penny hack is attractive because it is simple. Copper has antimicrobial properties in some contexts, so the idea is that a copper-rich coin might reduce the microbes living in vase water. The trouble is that the coin is not a calibrated floral preservative, and the water chemistry, coin composition, contact area, and microbial load all vary.
Older United States pennies contain more copper than modern copper-plated zinc pennies, which is why the hack usually specifies an older coin. Even then, a penny cannot provide the sugar and acidifier found in flower food, cannot clean a vase, and cannot repair a stem that was already crushed or dehydrated. A dirty coin can also add residue to the water, so cleaning the vase and trimming stems remain more important than hunting for a particular date.
What the penny can and cannot do: A clean copper-rich coin may be a reasonable low-effort addition if you like the experiment and the flowers are not sensitive to extra objects in the vase. Think of it as an optional variable, not the foundation of the arrangement. If the water clouds, smells sour, or develops a slippery film, remove the coin, wash the vase, recut the stems, and refill with a fresh solution.
The “winner” in a small test can be the penny vase because the water stays visually clearer, while the plain-water bouquet opens more fully. Those are different measurements. Clear water is helpful, but it is not the same as longer-lasting petals, stronger stems, or a better-looking arrangement at the end of the week. I would call the penny interesting, not proven, and never a reason to skip flower food or sanitation.
The reliable baseline: commercial flower food
If you have a flower-food packet, use it. The packet is designed for a known amount of water and combines several functions in one measured dose. It is especially useful for supermarket and florist flowers that were cut before full opening and still need energy to develop their blooms.
The packet is not magic, either. It cannot compensate for a vase with biofilm, a stem crushed by blunt scissors, a bouquet sitting over a heater, or leaves rotting below the waterline. Treat flower food as one part of a system: prepare the vase, condition the stems, keep the arrangement cool, and refresh the solution before it becomes visibly dirty.
What a flower-food packet actually does
Most floral preservatives use an energy source such as sugar, an acidifier to adjust the solution, and an antimicrobial component. Sugar helps support flowers that are still opening; acidification can improve water movement and make the water less friendly to some microbes; the antimicrobial component slows microbial growth. The exact formula differs by brand, so follow the packet rather than adding extra powder because the vase looks large.
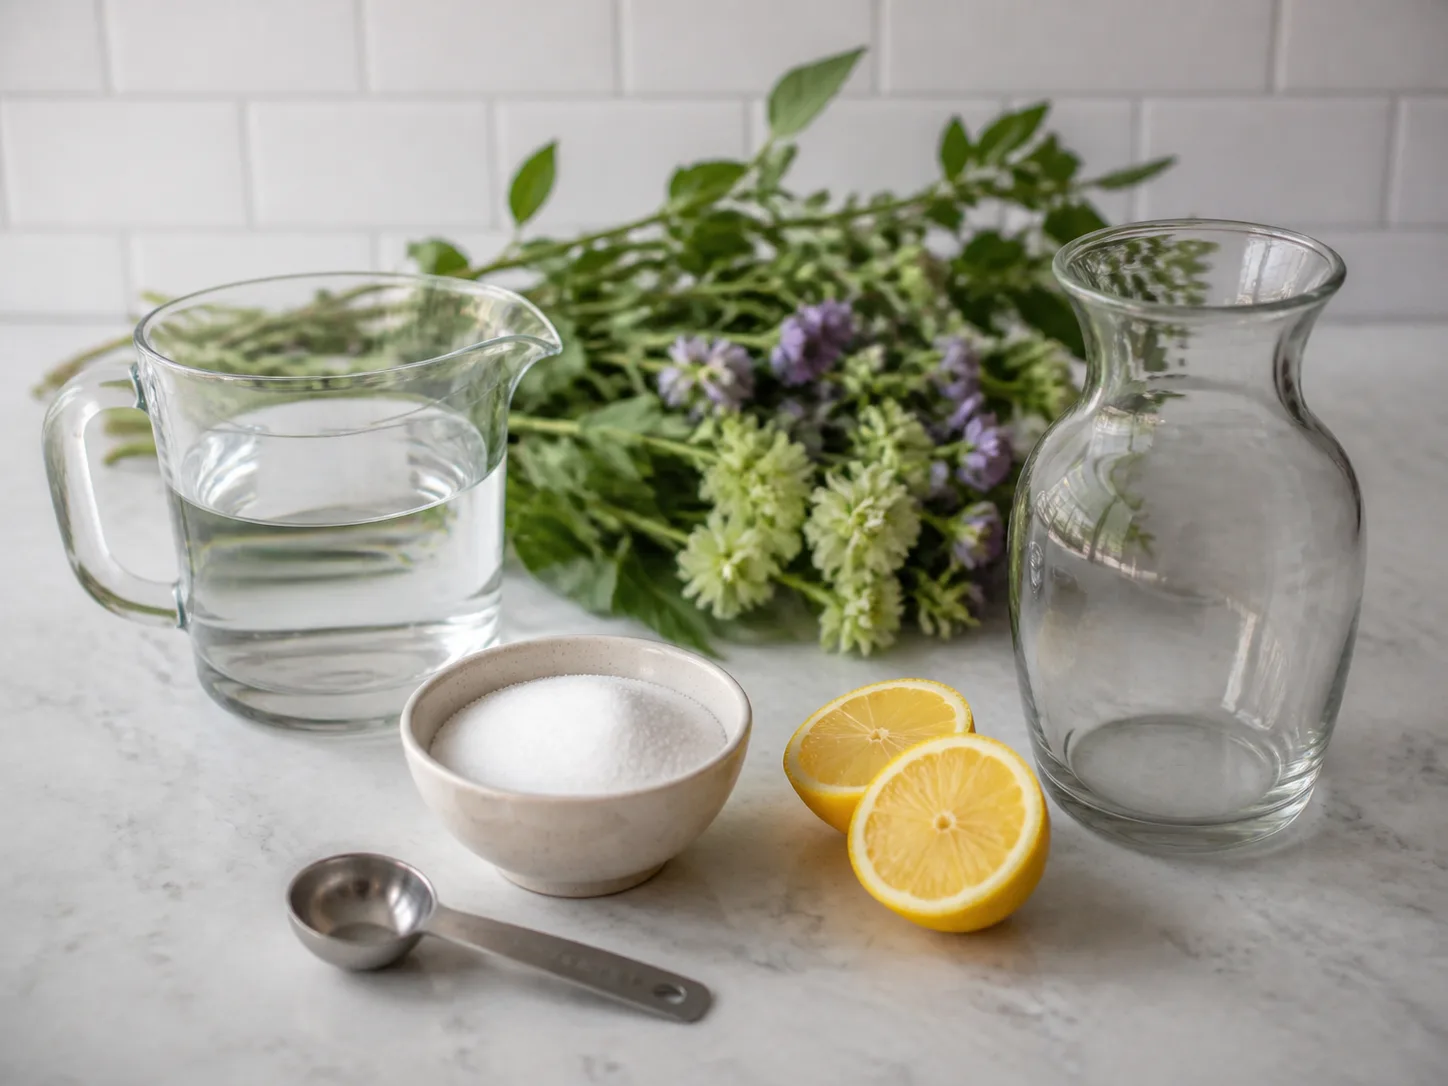
If the packet is missing, plain fresh water is safer than a strong homemade mixture you cannot measure accurately. A small amount of sugar or acid alone is incomplete, and bleach recipes create safety and dosing questions. The Grow with Dr Joanette cut-flower guide also recommends a clean vase, room-temperature or cool water depending on the desired opening speed, regular water changes, and flower food when available.
The first-hour setup that protects vase life
The first hour is when you can prevent several problems at once. Unwrap the bouquet, remove rubber bands or tight packaging that crushes stems, and inspect the cut ends. If flowers have been out of water during transport, give them a clean, full-depth drink before judging their final condition.
Wash the vase with hot, soapy water and rinse it thoroughly. A vase that looks clear can still have a slimy film on its inner wall; that biofilm is a better place for microbes to grow than a freshly washed surface. Fill the vase with the amount of water the flowers need, dissolve the flower food completely, and then add stems.
Recut stems and remove submerged foliage
Use sharp floral shears or a sharp bypass pruner to remove about half an inch to an inch from each stem. The angle is helpful because it keeps the end from sitting flush against the vase bottom, but the sharpness matters more than achieving a perfect 45 degrees. A blunt tool crushes tissue and can reduce water uptake.
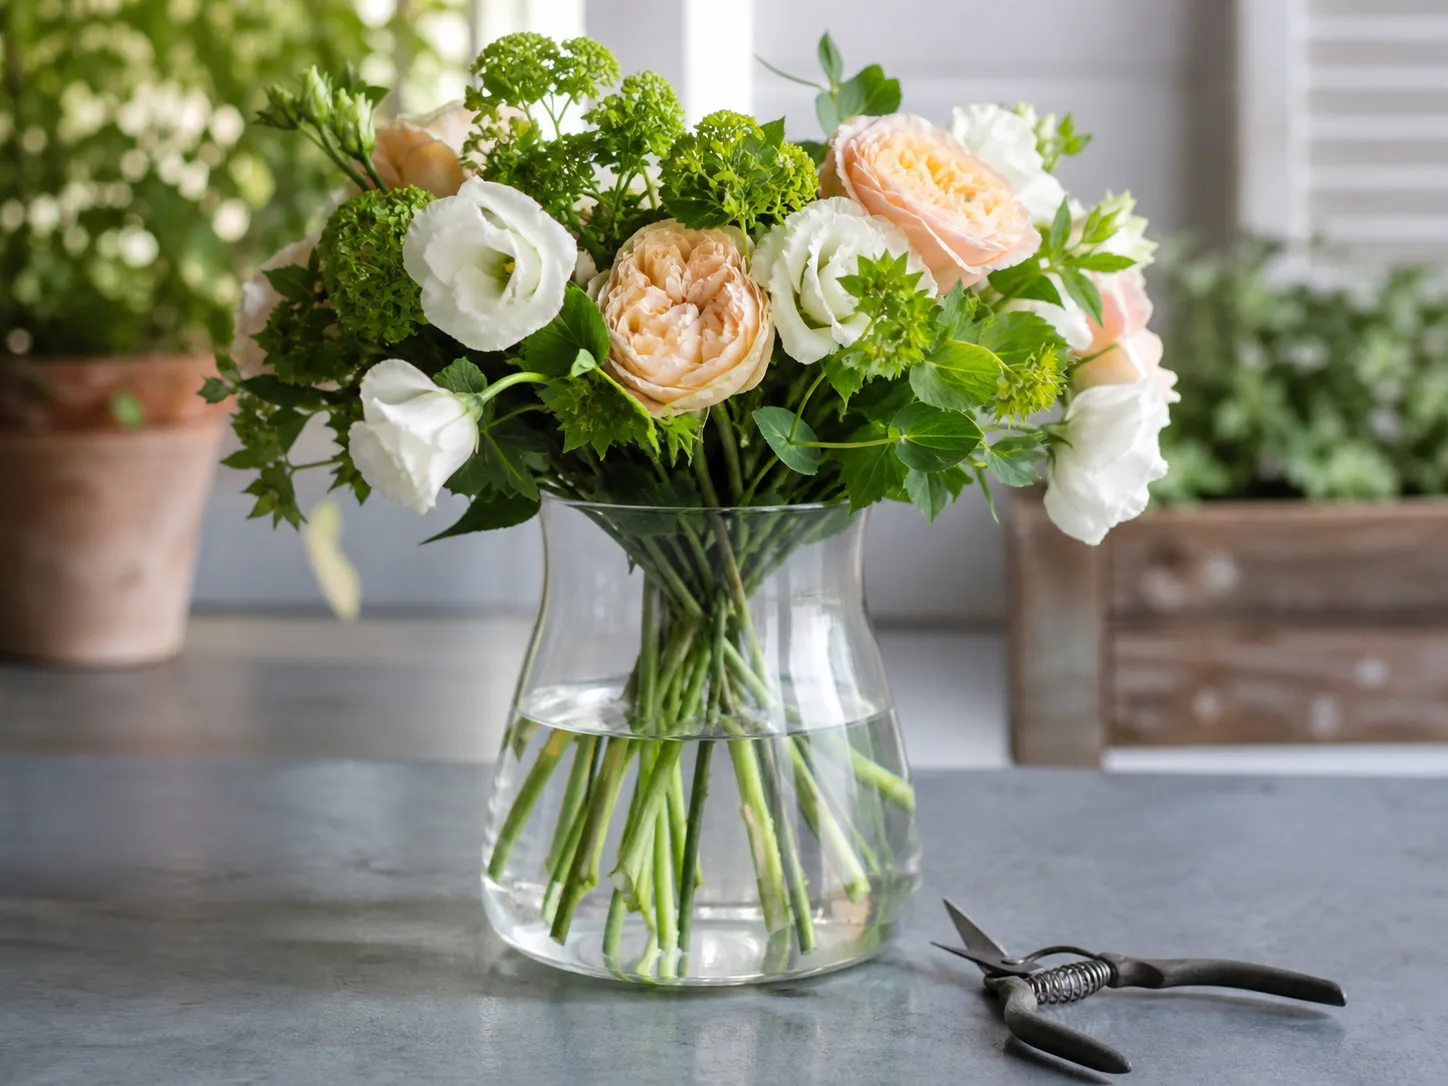
Strip off every leaf that would sit below the waterline. Do not strip the entire stem unless the flower requires it; leaves above water help the arrangement look full. Keep buds and damaged foliage out of the solution as well, because decaying plant material can cloud water quickly.
Place stems into water immediately after cutting. If you are cutting garden flowers, harvest in the cool morning or evening when plants are hydrated, keep the bucket shaded, and arrange them promptly. Savvy Gardening’s cut-flower harvesting guidance and Gardening Know How’s cutting advice both put clean tools, hydration, and rapid transfer into water ahead of novelty additives.
Where to place a vase for slower wilting
Put the arrangement in bright ambient light or gentle indirect light, not in direct afternoon sun. Sunlight warms the water and the flower tissue, increasing water loss and speeding development. A cool room generally buys more display time than a sunny windowsill, even if the window makes the bouquet look attractive for a photograph.
Keep flowers away from radiators, stovetops, fireplaces, heating and cooling vents, and strong drafts. Also move them away from bowls of ripening apples, bananas, avocados, and other fruit. Ripening fruit releases ethylene, a plant hormone that can accelerate aging in many cut flowers. You do not need to put the vase in a dark closet; you need to remove the avoidable heat and ethylene sources.
Crowding matters too. Give stems enough room to stand without being crushed together, and use a taller or narrower vase when long stems need support. If a mixed bouquet has one variety collapsing faster than the rest, remove the failing stems rather than letting their decay contaminate the shared water.
The water-change routine that makes the biggest difference
Check the vase every day, but plan a full refresh every 48 to 72 hours. Change the water sooner if it becomes cloudy, smells unpleasant, feels slippery, or contains fallen leaves and petals. Pouring fresh water into a dirty vase only dilutes the problem for a short time.
When you refresh the arrangement, take out every stem and wash the vase. Rinse away the film, make a fresh flower-food solution, and recut the stems. Remove any new foliage that has slipped below the waterline and discard stems with mushy, brown, or foul-smelling ends. The routine takes a few minutes but is more repeatable than trying a different kitchen ingredient every morning.
Re-trimming is not about removing a dramatic length each time. A small fresh cut can open usable conducting tissue, while taking too much shortens the bouquet and may remove the section that gives a stem support. If the base is firm and the water is clean, a modest recut is enough; if the base is slimy or discolored, cut above the damaged portion.
For a quick rescue, move drooping stems into a clean vessel with fresh solution, recut them, and let them hydrate in a cool place. Do not mist every type of flower indiscriminately, dunk delicate petals, or add a stronger dose of food to compensate for wilting. If the stem has collapsed or the petals are translucent and bruised, hydration may not reverse the damage.
Match the routine to the flower type
There is no single vase rule that fits every flower. The right temperature, support, water depth, and conditioning step depend on how the stem grows and what stage the bloom was cut at. Use the baseline routine first, then adjust one variable at a time.
Roses and other solid-stem flowers
Roses need a clean, sharp cut and good support because a heavy head can bend a dehydrated neck. Remove guard petals only if they are bruised or unattractive; stripping healthy outer petals wastes useful protection. For a drooping rose, recut the stem, place it in fresh water, and support the head in a tall vessel while it rehydrates.
The pin-prick trick is not my first choice for roses. A fresh base cut, a clean solution, and cooler placement address the likely causes more directly. Carnations and many other sturdy stems also respond well to sanitation and regular water changes, so do not assume a coin or needle is needed because a bouquet contains durable flowers.
Tulips and other hollow-stem flowers
Tulips keep growing after they are cut and naturally bend toward light. Use a tall vase, rotate it occasionally, and expect stems to change position as the flowers open. Cool water and a cooler room slow the display’s pace; warmer water can encourage faster opening when the buds are still tight.
If a tulip repeatedly droops despite a clean cut and fresh water, a small, carefully made pin prick can be tested on one stem. Compare it with an untouched stem rather than treating it as guaranteed. Support and temperature usually matter more than the hole, and the method is not a cure for a stem crushed during handling.
Hydrangeas and delicate fillers
Hydrangeas have large flower heads and can wilt quickly when they arrive dehydrated. Give them a clean recut and plenty of water, but avoid leaving damaged foliage submerged. Some florists also condition hydrangea stems with specialized techniques; test these on a few stems first because cultivar and freshness change the response.
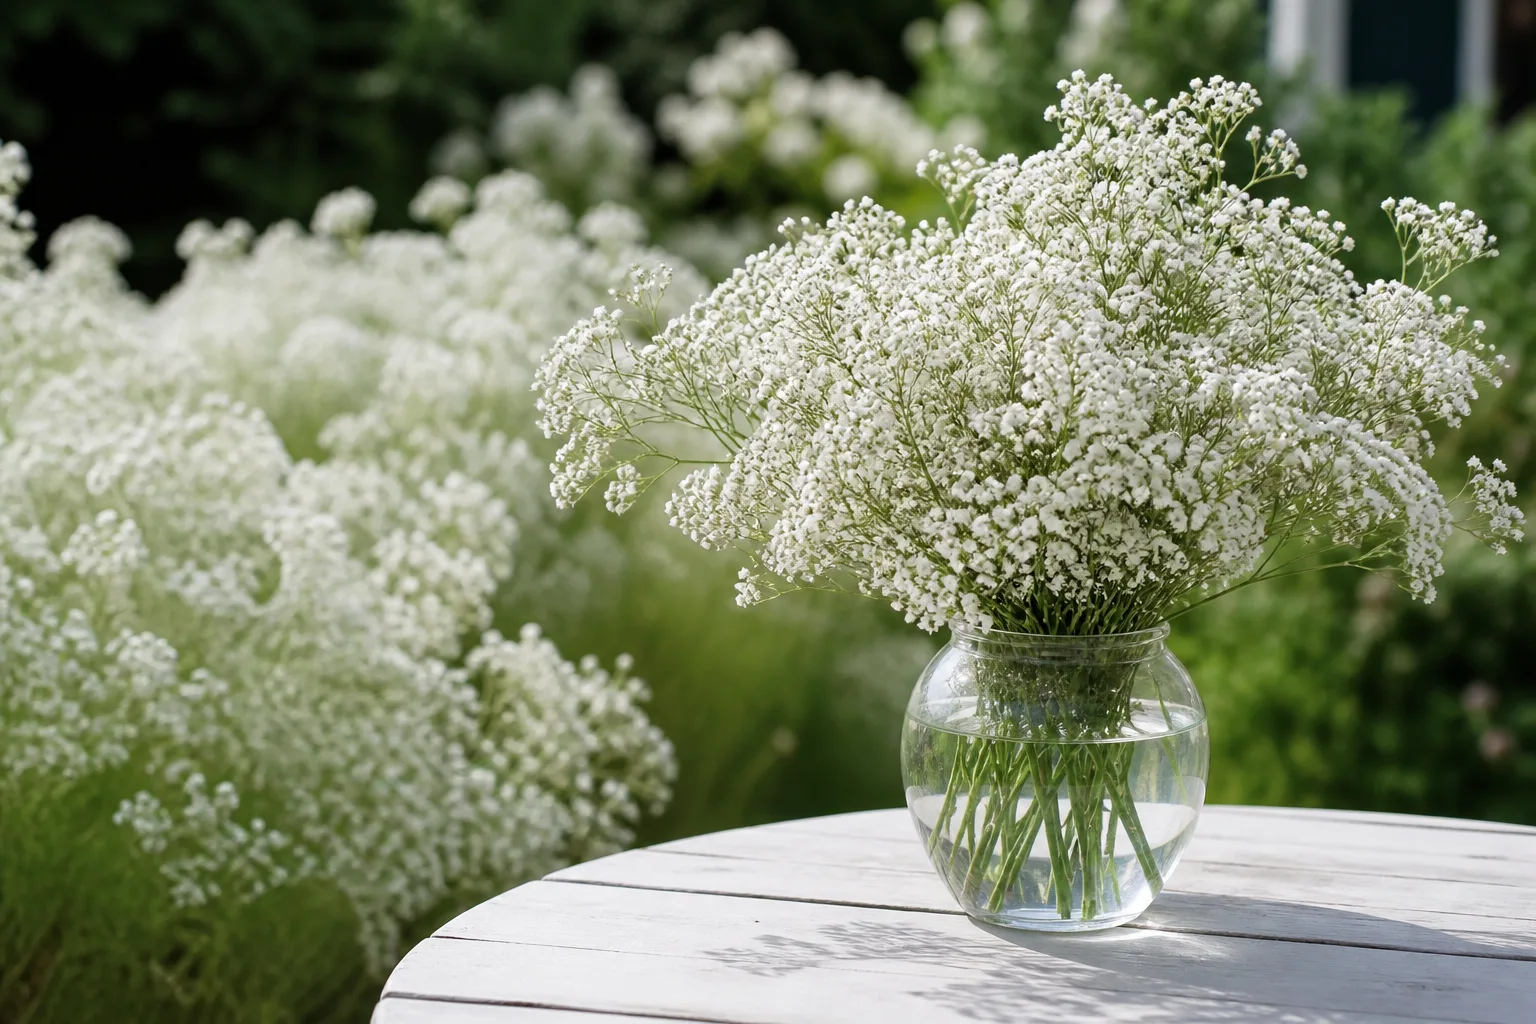
Baby’s breath and other fine-stemmed fillers can look dry before large focal flowers fail. Keep them hydrated from the moment they are cut, remove any stem material below the waterline, and separate severely declining filler from the main arrangement. A healthy filler can make a bouquet look fresh, while one decaying sprig can cloud the entire vase.
Common mistakes that shorten a bouquet’s life
The most common mistake is focusing on the additive while overlooking the vase. A penny cannot rescue a dirty container, and soda cannot make a crushed stem drink. Clean the vessel and recut the stems before you decide that a method failed.
Other mistakes are easy to avoid:
- Using blunt scissors: crushed ends have less usable conducting tissue than clean cuts.
- Leaving leaves underwater: submerged foliage decays and pollutes the solution.
- Overdosing flower food: more concentrate is not automatically more effective; follow the packet’s water ratio.
- Topping off cloudy water: refresh the whole solution and wash the vase.
- Putting flowers in direct sun: water warms and petals lose moisture faster.
- Keeping flowers beside fruit: ethylene can speed aging.
- Crowding the stems: tight bunches bend, trap debris, and make inspection harder.
- Changing several variables at once: you cannot learn whether the coin, water temperature, or new vase caused the difference.
- Treating every flower alike: tulips, roses, hydrangeas, and delicate fillers have different support and hydration needs.
- Mixing cleaners or bleach casually: never combine bleach with vinegar, lemon juice, ammonia, or an unknown household product.
If the water stays clear but the flowers still wilt, look at hydration, heat, stem damage, and flower age before adding another ingredient. If the water clouds quickly, look at vase sanitation, submerged foliage, and dead material before blaming the flower food. This simple diagnosis keeps you from repeating the same hack for the wrong problem.
Conclusion
The penny was the most surprising method because it can appear to win when the only score is water clarity. But the useful winner is the boring baseline: a clean vase, a fresh cut, submerged foliage removed, properly mixed flower food, cool indirect placement, and a water change every two to three days. That routine improves the conditions every cut flower shares, while the viral tricks depend heavily on species, dosage, and luck.
Use a pin prick only as a small, flower-specific experiment for a stubborn hollow-stemmed flower. Skip the Sprite-and-bleach shortcut, especially if you cannot measure the ingredients or keep chemicals safely separated. A bouquet lasts longest when you manage water uptake and microbial growth together, then adjust for the flower in front of you rather than asking one penny, soda, or needle to do the work of a florist.



