7 Garden Mistakes People Regret Most
Planning a garden? Learn seven choices that create extra work later—and the simple site checks, spacing rules, barriers, and maps that prevent them.
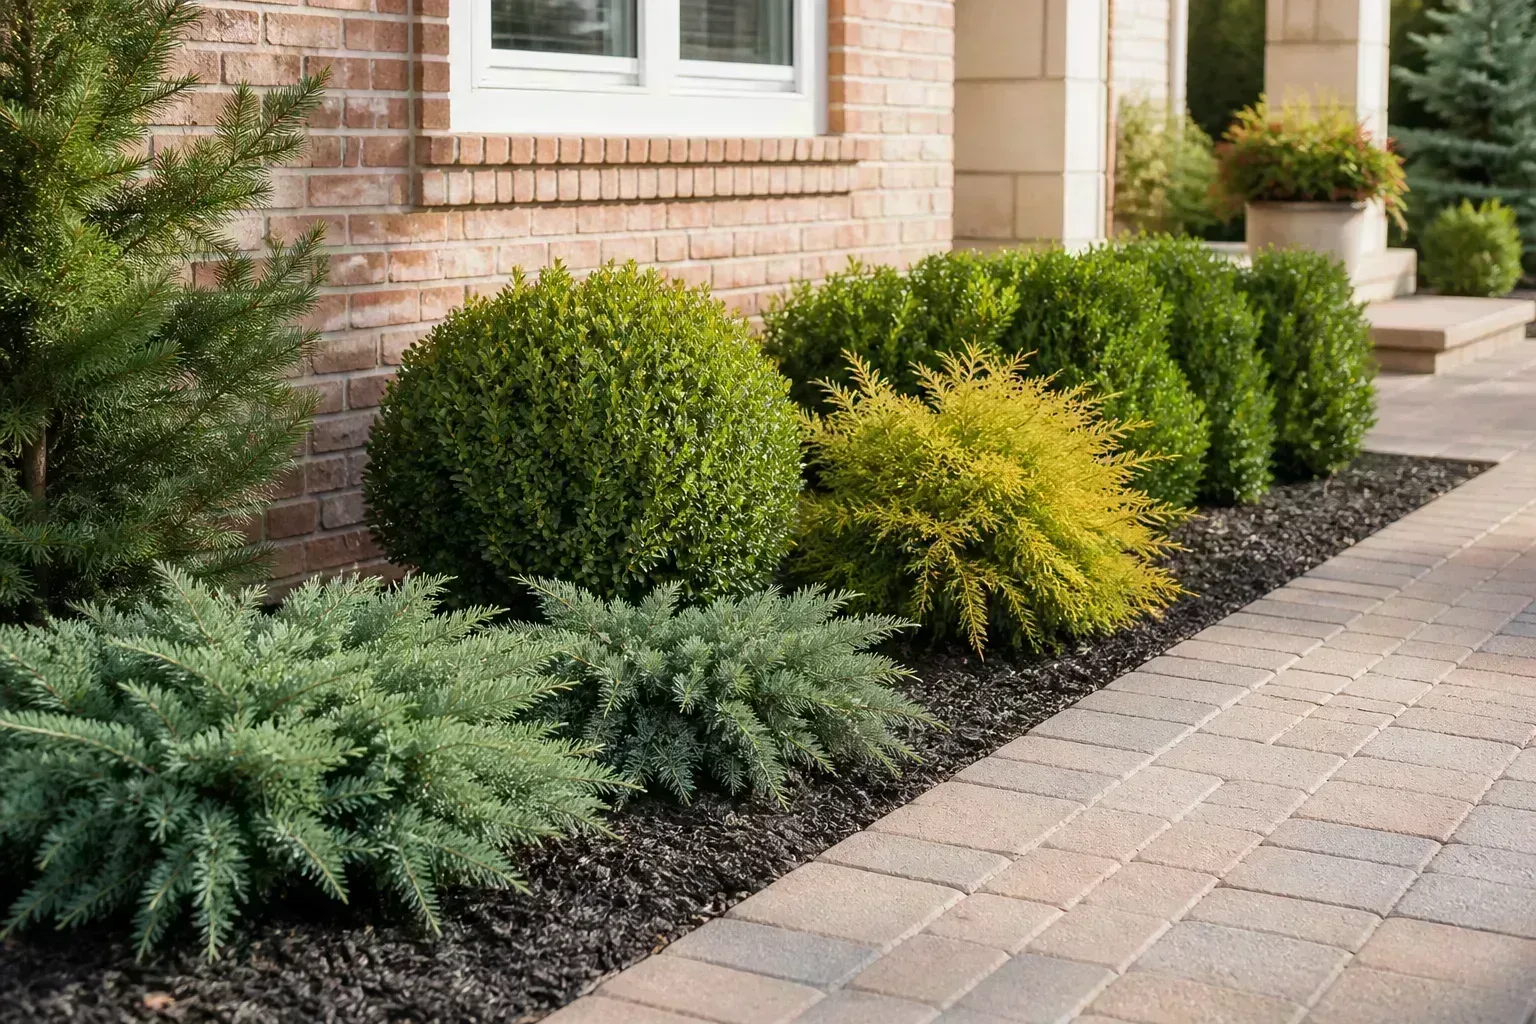
Most garden regret is not caused by one plant dying. It comes from choosing a project that is too large, putting the right plant in the wrong place, or discovering a predictable problem after money and effort are already sunk.
The encouraging part is that these decisions are usually visible before you dig. A ten-minute site check, a mature-size measurement, or a local invasive-species lookup can prevent a season of watering, pruning, fencing, or removal. The seven mistakes below apply to flower beds, foundation plantings, vegetable gardens, and mixed borders; the examples differ, but the decision pattern is the same.
Regret Usually Starts Before Planting Day
Treat each proposed plant or bed as a small commitment of time, space, water, and attention. Before buying, ask four questions:
| Question | What it reveals |
|---|---|
| How much space will it occupy at maturity? | Whether it will crowd paths, windows, utilities, or neighbors |
| What does this spot actually provide? | Whether sun, drainage, wind, and soil match the plant |
| What will protect it during its vulnerable stage? | Whether deer, rabbits, drought, or foot traffic can undo the planting |
| Can I identify and maintain it next year? | Whether the planting has a map, labels, and a manageable care routine |
The goal is not a mistake-proof garden. Weather, pests, and plant losses are part of gardening. The goal is to reserve your preventable failures for experiments you knowingly choose, not for basic information you could have checked at the nursery.
1. Starting Too Big
The first regret is often ambition disguised as enthusiasm: clearing three beds, ordering dozens of plants, starting vegetables indoors, and promising to water everything perfectly. A garden can be biologically simple and still be too much work for the person who has to maintain it.
The Old Farmer’s Almanac Garden Planner describes overcrowding as a problem that often appears only when plants approach full size, because roots compete for water and nutrients. The same delayed reveal happens at the project level: a bed may look exciting in April and become a weekly obligation in July. Its garden-planning guidance also recommends staggering sowings rather than putting every crop at risk at once.
How to Right-Size a First Season
Choose one defined area that you can reach with a hose and inspect in ten minutes. Then set a maintenance budget before you buy:
- Time: Decide how many minutes you can spend on an ordinary week, not on your most motivated weekend.
- Water: Confirm how far the hose reaches and who will water during travel or heat waves.
- Plant count: Start with a short list of plants that share similar light and moisture needs.
- Failure allowance: Leave open space for replacements, experiments, or a crop that performs better than expected.
For a beginner, a small bed planted well is a better test than a large bed planted in panic. Expand only after you have watched that first space through a full hot, wet, and pest-prone stretch of weather.
2. Choosing for Looks Before Choosing for the Site
A plant can be beautiful, healthy at the nursery, and still be a poor choice for your yard. The common mismatch is not simply “wrong zone.” A plant can be hardy enough for winter but fail because the foundation bed is dry, the afternoon sun is harsher than expected, the soil stays wet, or wind strips moisture from exposed leaves.
Think in terms of site fit: light at the planting spot, soil drainage, available moisture, winter exposure, mature size, and the amount of pruning you are willing to do. Native plants can be excellent choices when they fit those conditions, but “native” is not a synonym for “no maintenance.” A native wetland plant will not become a low-water plant just because it belongs to your region.
Build a Site Card Before You Shop
Write down the details that are easy to forget in a garden center:
- Morning, afternoon, or all-day sun; note seasonal shade from trees and buildings.
- Whether water drains quickly, remains damp, or runs toward the bed after rain.
- Soil texture and pH if you have a soil test; otherwise record whether it is compacted, sandy, or rich in organic matter.
- Wind, reflected heat from walls, salt exposure, and late-frost pockets.
- The mature height and width you can accommodate, plus access for pruning or repairs.
Match the plant to the card, not the card to the plant. If a plant needs conditions your yard cannot provide, move it to a container, choose a different cultivar, or leave it at the nursery. That is a successful decision, not a missed opportunity.
3. Planting an Invasive or Aggressive Species
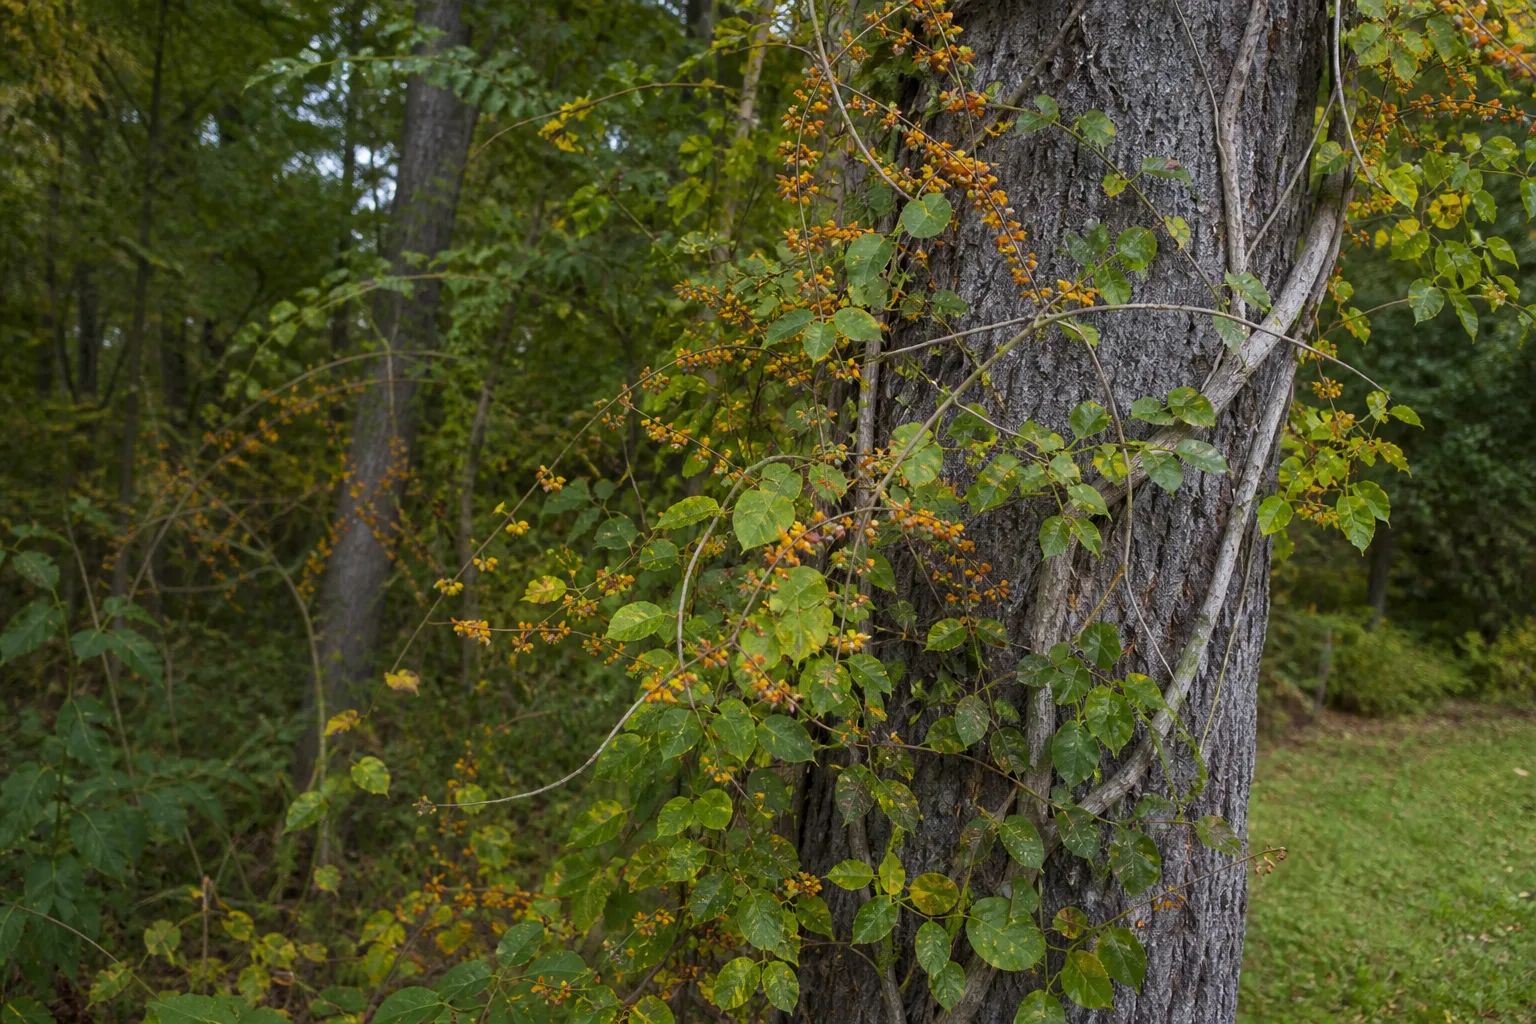
“It grows fast” is not enough information to classify a plant. Aggressive usually describes a plant that spreads or takes space readily in a garden. Invasive is a location-specific ecological or economic designation: NOAA defines an invasive species as a non-native organism that causes ecological or economic harm in a new environment. NOAA’s explanation notes that invasive species can reduce biodiversity, compete with native organisms, and alter habitats.
That distinction matters because a vigorous mint in a raised bed is a containment problem, while a seed-spreading tree or vine near natural land may become a much larger one. A plant’s status can also change by region. Garden Design points out that a plant can be invasive in one state or ecosystem and not in another, and that aggressive growth alone does not prove invasiveness. Its invasive-plant guide is useful for examples, but your local list should make the final call.
Check Local Lists and Swap With Intent
Before buying a shrub, vine, grass, or groundcover with a reputation for spreading:
- Record the scientific name from the plant tag; common names can cover several species.
- Search your state agriculture or natural-resources invasive list.
- Check your county Cooperative Extension or local Master Gardener resources.
- Ask how the plant spreads: seed, berries eaten by birds, runners, rhizomes, suckers, or fragments.
- Choose an alternative that provides the same job—screening, fall color, flowers, erosion control, or groundcover.
Penn State Extension’s native-replacement list illustrates that last step by pairing plants such as Bradford pear, burning bush, privet, and Japanese honeysuckle with regional alternatives. The list is Pennsylvania-focused, so use it as a model for the process rather than a universal shopping list.
If an unwanted spreader is already established, do not assume that cutting the top solves the problem. Identify how it regrows, prevent seed production where appropriate, and ask local Extension about removal methods before disturbing a large patch.
4. Waiting to Protect New Plants From Wildlife
Wildlife damage is easiest to prevent when a plant arrives, not after its first flush of leaves disappears. Deer, rabbits, groundhogs, and squirrels do not know which plants you consider precious. A new planting can be especially vulnerable because its stems are tender and it has not yet developed a root system that can recover from repeated browsing.
The right response depends on the animal and the scale of the pressure. Start by identifying tracks, tooth marks, browsing height, digging, or stem damage rather than treating every missing leaf as deer damage. Penn State Extension describes monitoring as the first step in an integrated approach and notes that deer repellents vary in results, may require repeat applications, and can be ignored when animals are hungry. Its deer-management guidance supports using fencing or repellents according to the severity of the problem.
Use a Barrier-First Plan
For a small, high-value bed, protect the perimeter before planting:
- Deer: A properly built physical fence is the most dependable option when pressure is high. Penn State notes that a conventional woven-wire barrier around 8 feet can exclude deer, though cost and appearance may make it impractical for a small residential yard.
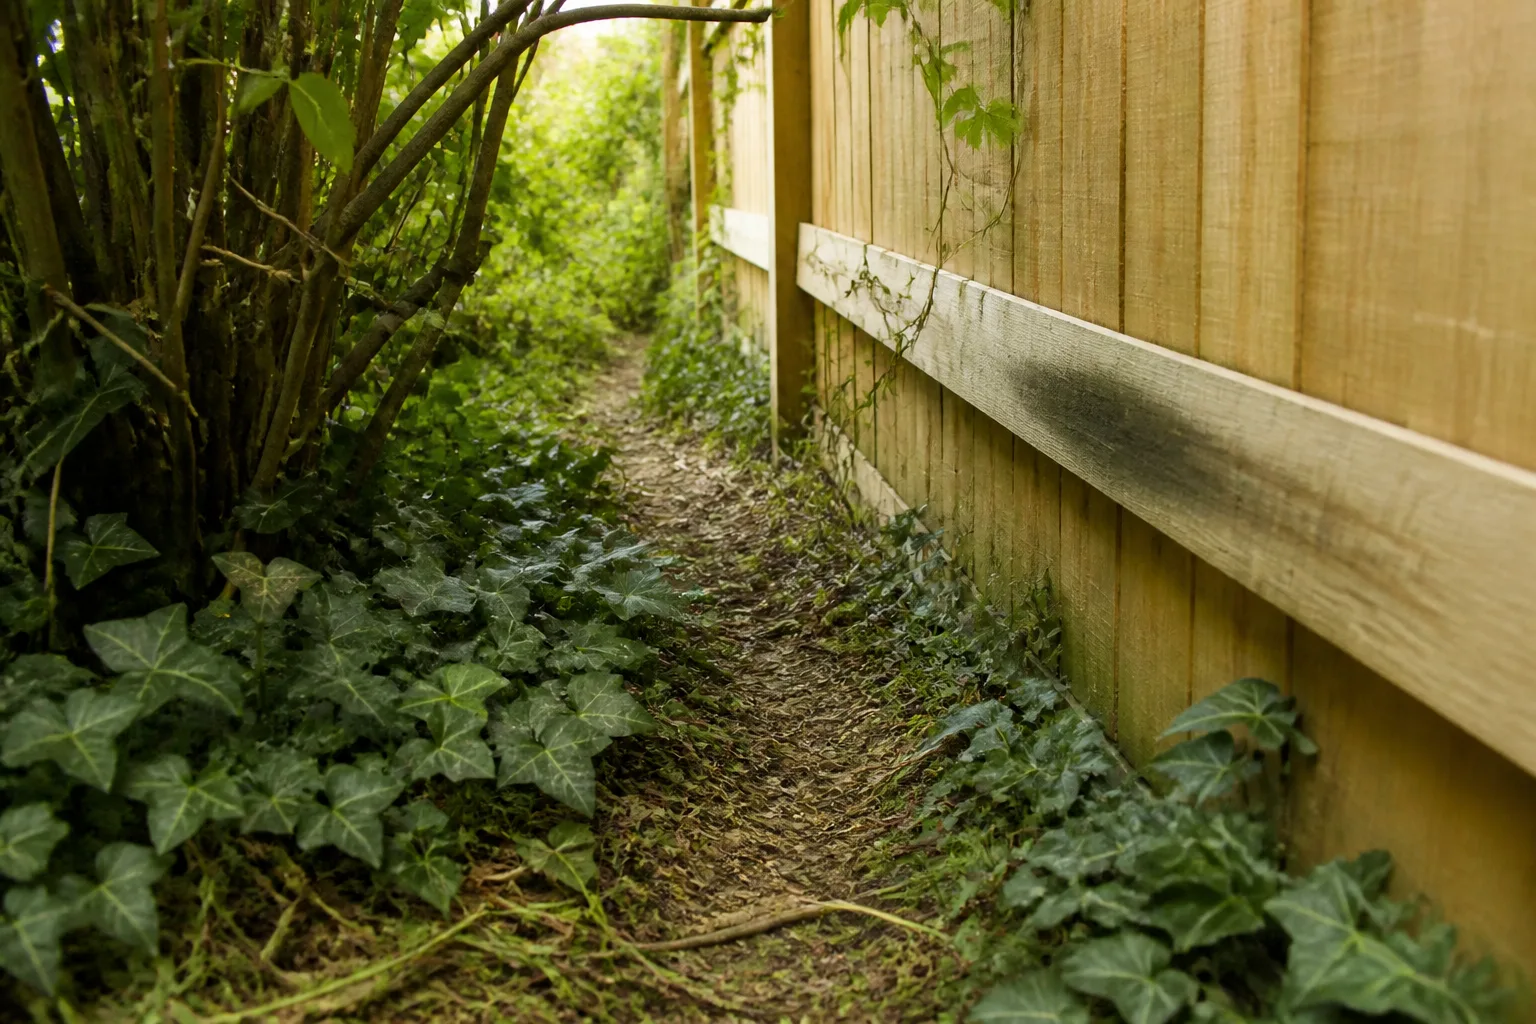
- Rabbits and groundhogs: Use a smaller-mesh barrier with the bottom secured to the soil or turned outward so animals cannot push under it.
- Squirrels: Protect containers and freshly planted bulbs with a cover or physical surface barrier; repellents alone are inconsistent.
- Light pressure: Try a labeled repellent as a supplement, applying it before browsing becomes a habit and reapplying as the product label directs.
You can also design with less tempting plants at the edge, but “deer-resistant” is not “deer-proof.” Hungry animals browse plants they normally ignore. Decide whether you are willing to protect a favorite plant every season before making it the centerpiece of the bed.
5. Ignoring Mature Size and Clearance
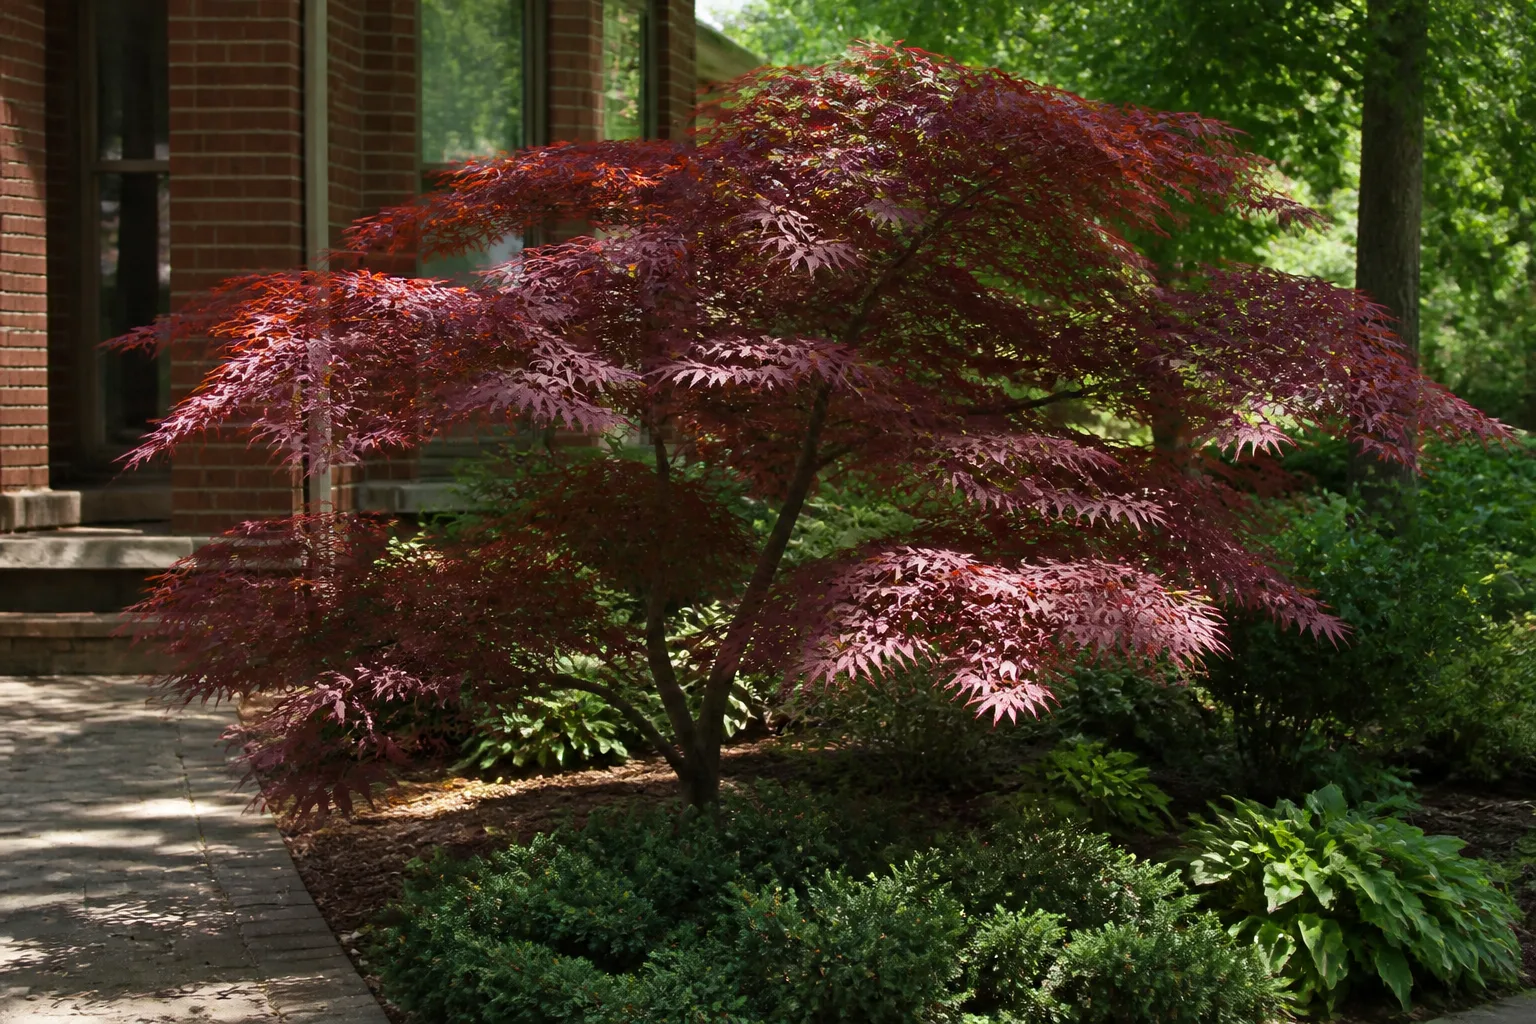
A nursery pot tells you what the plant looks like today. It does not tell you whether the mature shrub will block a window, swallow a path, touch siding, interfere with a utility line, or leave no room to prune. This is one of the most expensive mistakes because moving a young perennial is easy; moving an established shrub or tree may mean removing it.
The mature height and spread on a tag are estimates, not a promise that every plant will stop at a neat boundary. Soil, water, climate, pruning, and cultivar all affect growth. Use the tag as the minimum information needed to plan, then leave working room around the plant.
Measure the Future Canopy, Not the Nursery Pot
Before digging, convert the mature spread into a circle on the ground:
- Divide the listed mature width by two to estimate the radius.
- Mark that radius from the plant’s intended center with a rope, tape, or hose.
- Check the circle against the foundation, path, window, fence, overhead wires, and neighboring plants.
- Add access space where you will need to prune, clean gutters, paint, inspect siding, or walk past.
For a shrub listed at 8 feet wide, a 4-foot radius is the planning starting point—not a 2-foot gap because the nursery specimen is small. If the full circle does not fit, choose a truly smaller cultivar or a different plant. Do not count on repeated hard pruning to make an oversized plant behave like a compact one; that can create more work and a less natural form.
6. Planting One of Everything
Diversity protects a garden from looking monotonous and can create a longer season of flowers, fruit, and habitat. But a bed with one plant of every color and texture can be difficult to weed, water, and understand. The eye reads it as noise, while maintenance becomes a scavenger hunt.
The Old Farmer’s Almanac guidance on planning mistakes makes the related point that overcrowding is easy to miss until plants reach full size. Repeating a few well-chosen plants also makes spacing, irrigation, and seasonal cleanup more predictable. The trade-off is that a single-species block can be easier for some pests to find, so the answer is not a monoculture across the entire yard.
Design in Drifts Without Losing Diversity
Use a simple three-layer pattern:
- Repeat one to three structural plants for height or evergreen shape.
- Group perennials in odd-numbered drifts where the bed has room, rather than scattering one specimen at every turn.
- Add a second or third group with a different bloom time, texture, or habitat value.
Keep plants with similar needs together. A sunny, dry edge should not be mixed randomly with moisture-loving shade plants just to fill a color gap. If you love a plant that needs special care, give it one visible pocket instead of multiplying the obligation across the bed.
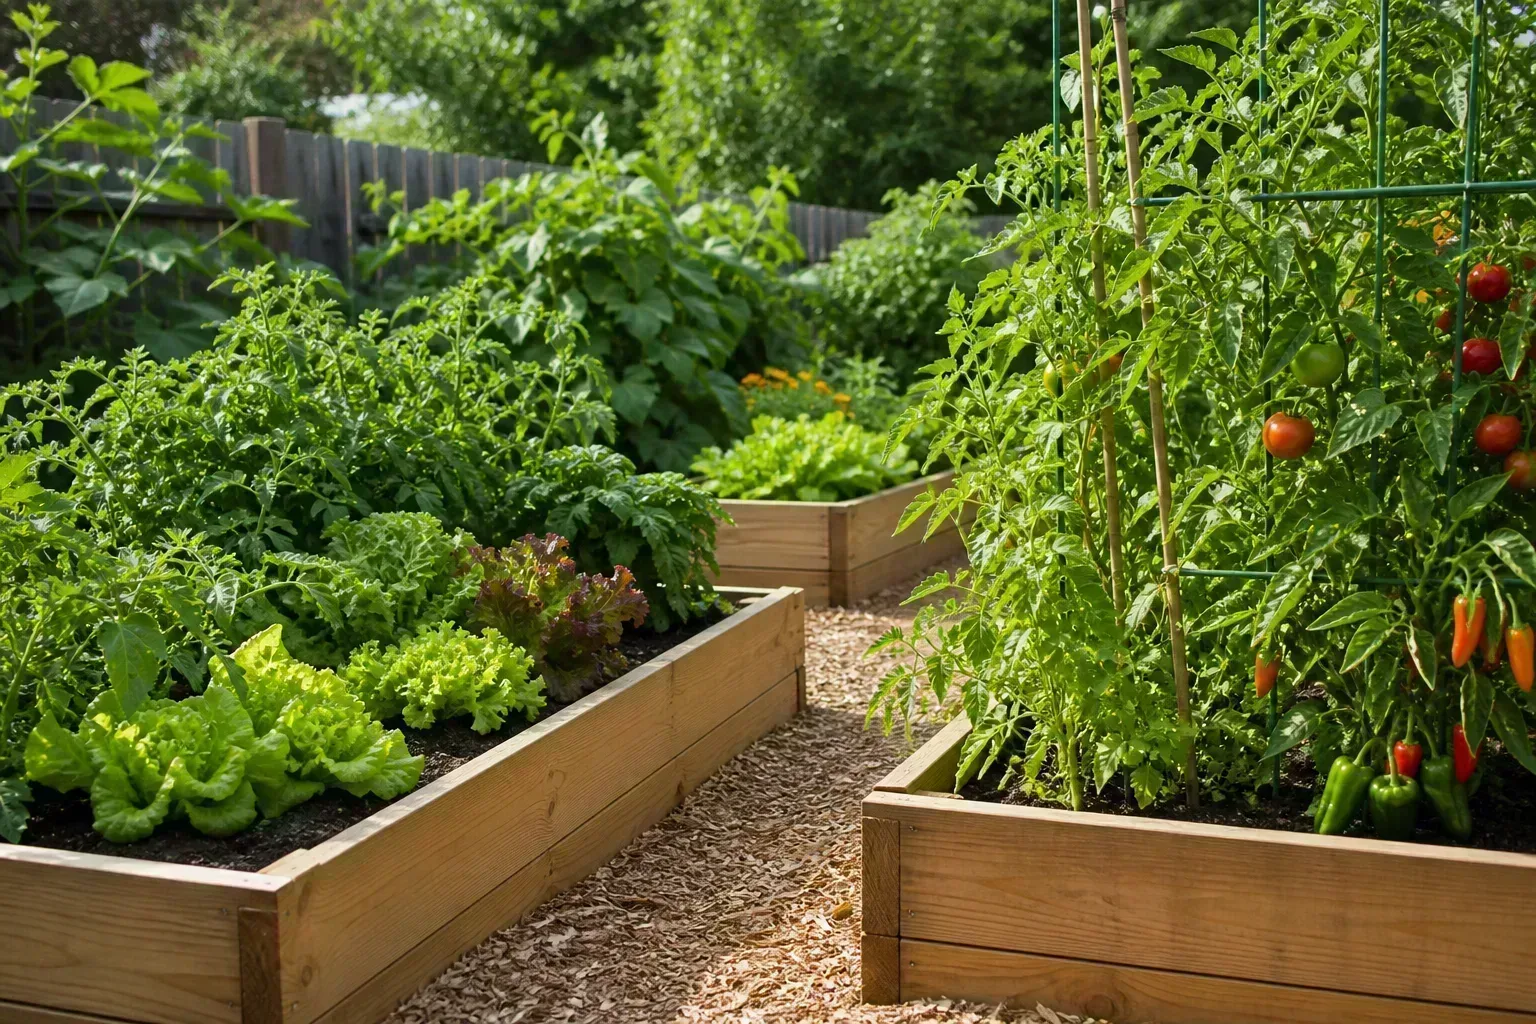
7. Failing to Label and Map the Garden
Every gardener thinks they will remember what went where. Then a perennial disappears underground, a bulb’s foliage dies back, a volunteer seedling appears, or two cultivars look identical. Without a record, you may dig up a dormant plant, buy a duplicate, prune at the wrong time, or forget which variety performed well.
A label is especially useful while a planting is young, but a map is more durable. Fine Gardening’s garden checklist includes planning and record keeping as ways to improve future seasons, not as bureaucracy. Its checklist also treats the garden as a sequence of seasonal jobs, which is a useful reminder to record observations while they are fresh.
Make a Garden Record That Survives Winter
Use whichever format you will actually update—a notebook, a printed bed sketch, or a phone note—but include:
- Plant name, scientific name if known, and cultivar.
- Bed or container location, using a fixed reference such as the patio or north fence.
- Purchase or planting date and the source.
- Mature height and spread, bloom season, and special pruning instructions.
- Sun, soil, and moisture observations.
- What browsed it, what failed, and whether you would plant it again.
Take one overview photo from the same spot each season and add close-ups of plant tags. Do not rely on a photo alone: a winter map with rough measurements is far easier to use when the bed is bare. Label the plant at planting time, not when you are already trying to remember it six months later.
A One-Hour Pre-Plant Regret Check
Use this audit before placing a large order or digging a new bed:
- Draw the boundary. Mark the bed, access path, hose reach, and the space you will still need for maintenance.
- Record the site. Note light, drainage, wind, heat, soil, and wildlife signs.
- Cut the list. Remove any plant that needs conditions or care you cannot reliably provide.
- Check names locally. Look up the scientific name on state invasive lists and ask Extension about uncertain plants.
- Measure maturity. Lay out the mature spread and check clearance from structures and paths.
- Group the work. Put plants with similar water, light, and pruning needs together.
- Plan protection. Install or prepare barriers before tender plants arrive.
- Create the record. Leave room on a sketch for the plant name, date, and future observations.
If the plan passes those checks, you still may lose a plant to weather or discover that you dislike its color. That is normal experimentation. The avoidable regret is discovering that every plant was in the wrong place, the fence was needed from day one, or the bed was twice as large as your available time.
Conclusion: Build the Garden You Can Maintain
The best garden decision is rarely the most ambitious one. Start with a space you can reach, choose plants for the conditions you actually have, verify local invasive status, protect vulnerable growth early, and leave room for mature plants instead of nursery-sized ones. Repeated groups make care clearer, while labels and a map turn each season into useful information.
A garden becomes easier when its design respects the gardener as much as the plants. Build the first version you can maintain through an inconvenient week, then let the successes—not the shopping impulse—decide what expands next.



