Replacing Grass With a Garden Bed: Plan the Layout
Plan a lawn-to-garden conversion by choosing a workable site, drawing the bed and paths, matching plants to conditions, budgeting materials, and phasing the work.
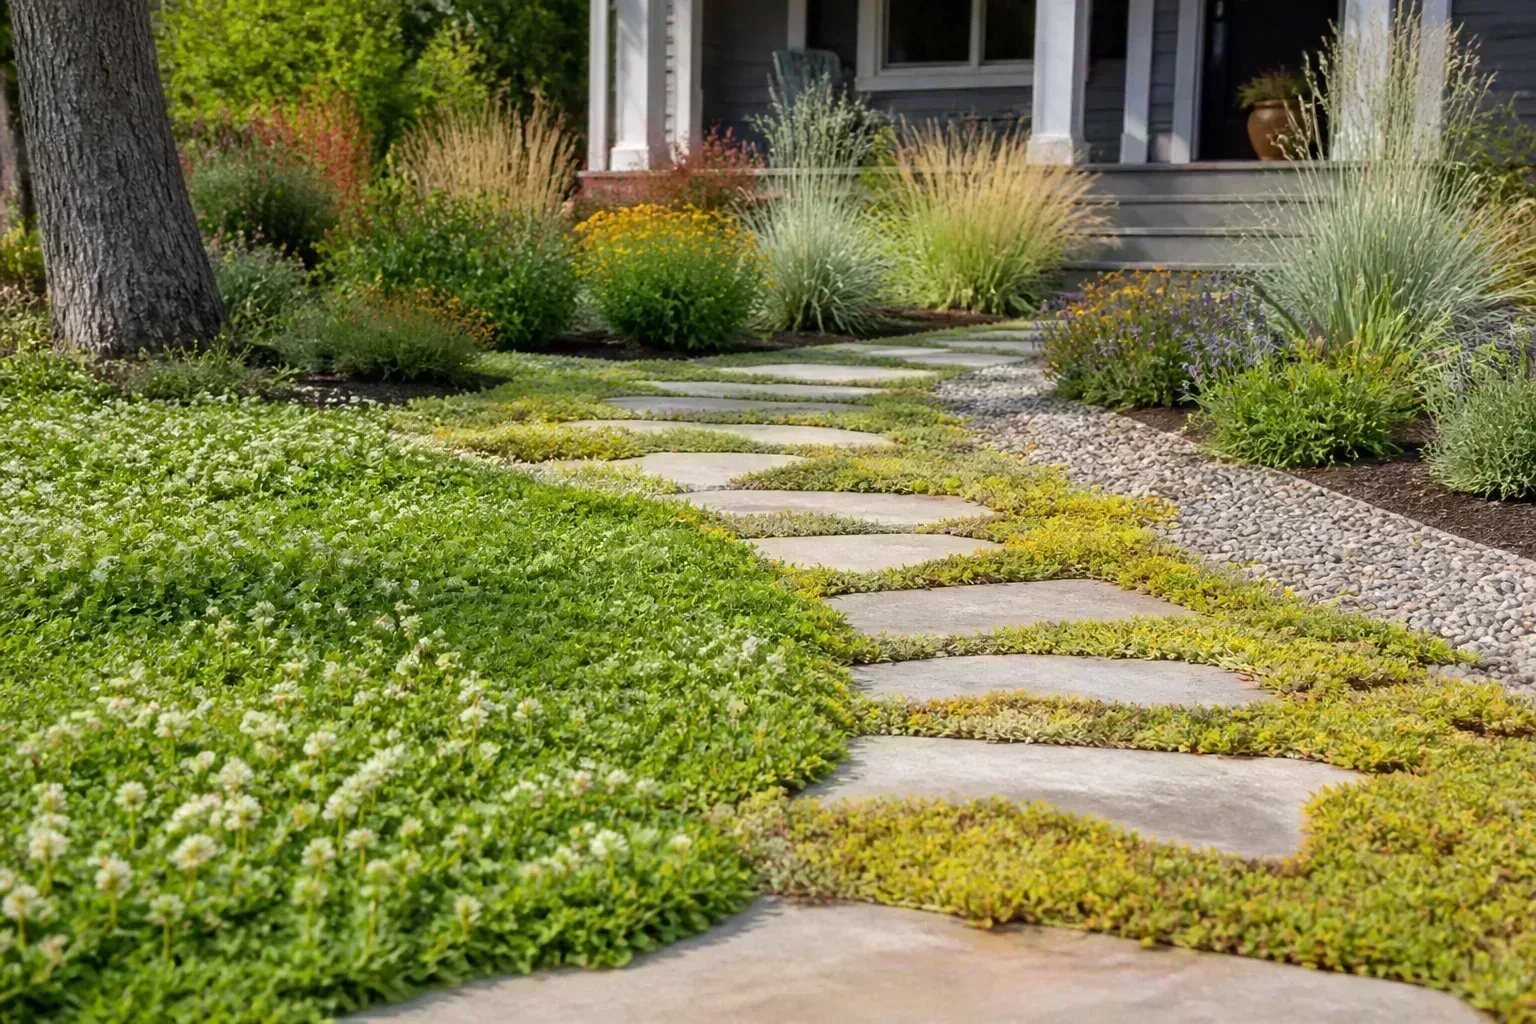
Before removing a square foot of turf, decide what you want the new garden bed to do and whether the site can support it. A little planning prevents common expensive do-overs: a sunny bed that is awkward to water, a border too narrow for mature plants, or a raised frame that blocks access to a hose or walkway.
A useful lawn-to-garden plan has eight parts: purpose, location, bed outline, access, plant list, soil and water, budget, and schedule. You do not need a landscape architect or a perfect drawing; a hose on the lawn, a measuring tape, a notebook, and a few observations can resolve most decisions before the grass is disturbed.
Decide what the new bed needs to do
Start with a simple sentence about the job of the space: grow vegetables for the kitchen, add flowering color near the entry, support pollinators, screen a view, or reduce the amount of lawn you mow. That purpose affects everything from the amount of sun the site needs to whether you want a narrow border, a reachable row garden, or an island bed visible from several directions.
A mixed-purpose bed can work, but choose one main use and one secondary use so the plan stays coherent. For example, a sunny path-side bed could combine native flowering perennials with a small group of herbs, while a shaded area below trees may be better for shade-tolerant foliage than for tomatoes or sun-loving flowers.
Match the bed’s purpose to the care you can provide
Be honest about the maintenance you can do during the busiest part of the year, not just on the day you draw the plan. Annual vegetables may need regular watering, harvesting, and replanting; a perennial border needs watering as it establishes, seasonal cleanup, and occasional division; a naturalistic planting may need less routine trimming but can look different from a clipped, formal border.
The Pennsylvania Horticultural Society’s lawn-conversion guidance describes gradual change as a practical option and encourages adapting a planting to wet, dry, sunny, or shady conditions. That is a useful design principle: choose a planting style that suits the site and your time, then convert one defined section at a time rather than starting a large bed you cannot finish or care for (Pennsylvania Horticultural Society).
Choose a site before you draw the outline
The easiest patch of lawn to reach with a shovel is not always the best garden site. Walk the yard at different times of day, after a soaking rain, and while carrying a hose or garden tool; note sun, standing water, slope, wind exposure, nearby tree roots, and where people already walk.
For a vegetable bed, sun and drainage can rule out a tempting location. Rutgers NJAES says site selection is the most important planning factor for a vegetable garden and advises choosing full sun, good drainage, and a place without standing water after heavy rain; it also highlights access to water, tools, and the kitchen (Rutgers NJAES). Ornamental beds have more flexibility, but they still need plants matched to their actual light and moisture conditions.
Check sunlight, drainage, water, roots, and utilities
Track direct sunlight at the proposed footprint, especially during the part of the day when the plants you want need it. Wisconsin Extension advises observing the site through the growing season because trees and buildings can cast changing shade; it also recommends avoiding areas where water puddles or runs heavily through the garden (University of Wisconsin–Madison Division of Extension). For edible crops, use crop-specific light requirements: leafy greens can tolerate less sun than fruiting crops, while fruiting vegetables generally need a brighter location.
Look at where rainwater goes, not only where it collects. A low spot may suit plants adapted to wet soil, but do not assume a garden bed will fix a drainage problem; raising the soil or redirecting runoff can send water toward a foundation, walkway, or neighboring yard. On a slope, consider erosion and access before placing a bed across a route where soil or mulch could wash out.
Tree roots compete for water and nutrients, and digging may damage roots that support a mature tree. Keep a proposed bed outside sensitive root areas when possible, and avoid cutting large roots to create a shape; ask a local arborist or Extension office if the site is close to a valuable tree. Before installing deep edging, posts, irrigation, or other features that require digging, contact the local utility-marking service and check local rules for easements or drainage areas.
Water access is a design feature. Stretch your hose to the farthest corner, including the route around a gate, patio, or fence; if it only reaches when pulled tight across a walkway, plan a different route or watering system before planting. A bed that is easy to water is more likely to receive consistent attention during hot, dry stretches.
Draw a footprint that fits the yard
Use a garden hose, rope, or flexible edging to mark the proposed bed directly on the lawn. Look at the outline from the windows, patio, sidewalk, and the area where you will mow; live with it for a day or two, then adjust curves that look awkward or create a narrow, hard-to-use strip.
Think about how the bed meets the rest of the yard. A long border can extend an existing foundation planting into the lawn, while an island bed should look intentional from all sides and leave a clear route around it. A triangular pocket near the meeting of a walkway and driveway may turn unused turf into planting space, but keep plants low enough to protect sightlines near streets and vehicle entrances.
A measured sketch can be simple: draw the house, paths, trees, hose spigot, and proposed bed, then write the bed’s length and widest points. For a rough area estimate, split an irregular outline into rectangles and triangles and add them; the estimate is accurate enough to compare material quantities before you order bulk soil, mulch, or edging.
Make the bed reachable and paths easy to use
Plan access before filling the space with plants. Stand at the intended edge and reach toward the center without stepping onto the soil; if you cannot reach the middle comfortably, narrow the bed, add a stepping route, or divide it into two planting zones. Reaching into wet beds compacts soil and can break stems, so “how will I weed, water, prune, harvest, and divide this?” is a better sizing test than “how many plants can fit?”
Map paths where people will actually walk: from the gate to the house, from the spigot to the bed, and between vegetable rows if you need to harvest from both sides. Keep the path surface and width suited to the people and equipment that will use it, whether that means a mower, wheelbarrow, mobility aid, or simply a pair of garden shoes. Avoid decorative paths that dead-end behind a bed or force you to step over plants to reach the other side.
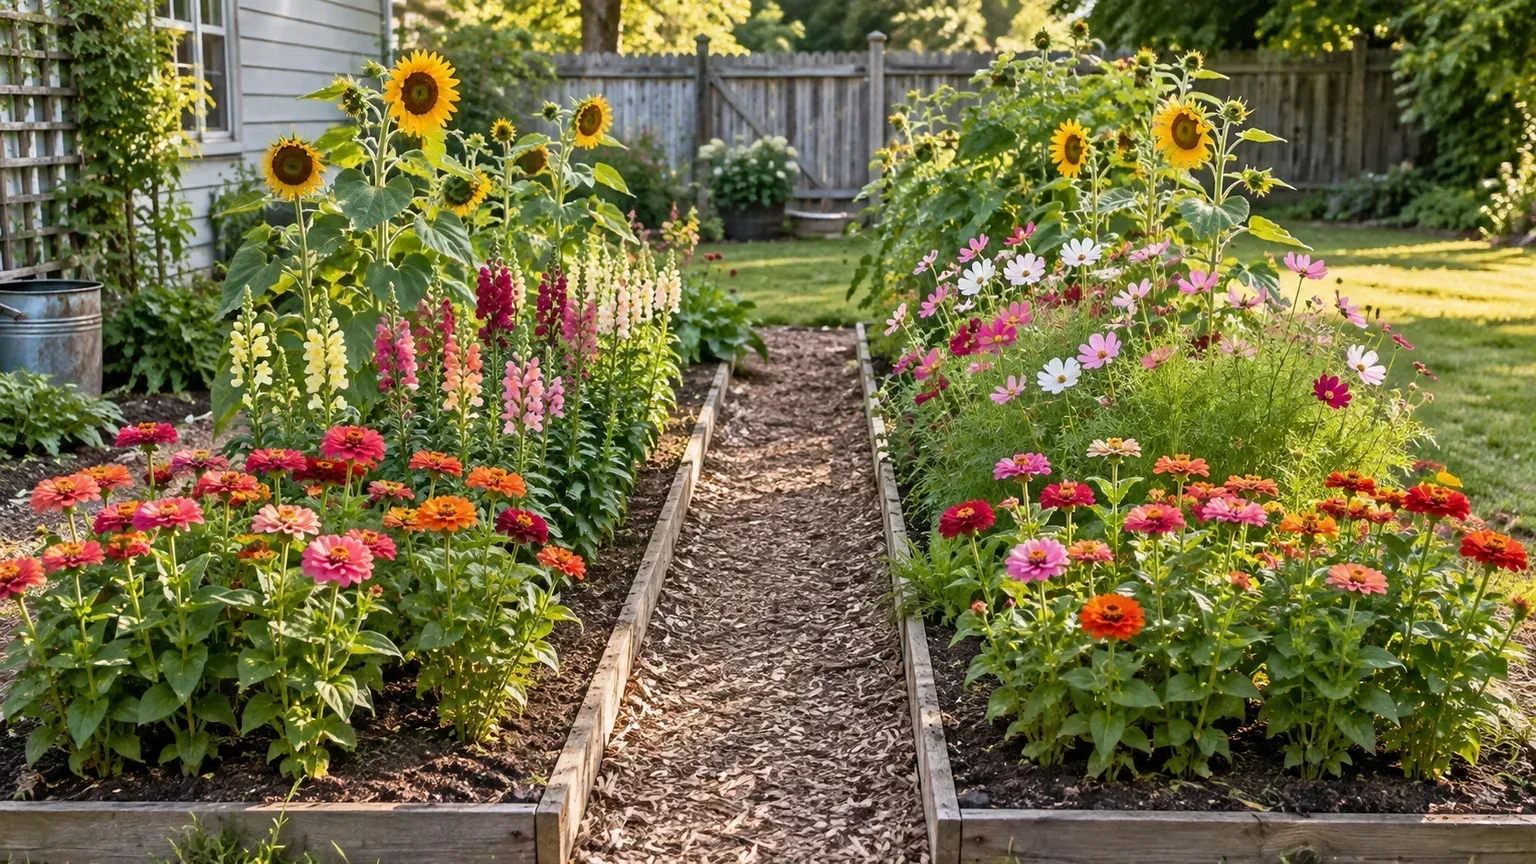
Use broad curves rather than a string of tight scallops if you want easy mowing and edging. Each narrow notch adds perimeter to maintain and can leave little pockets where grass grows back or mulch spills; a simpler outline often looks cleaner and is quicker to care for. Leave enough clearance for mature foliage at the edge so plants do not flop across a sidewalk or get clipped by a mower.
Choose plants before removing turf
Plants determine the useful footprint, not the other way around. Before buying, check the mature height and spread on a reliable label or regional plant guide, then sketch each plant at its mature size; the small pot on the nursery bench is not a dependable measure of the space a shrub or perennial will occupy in a few seasons.
Choose plants for the site you have, not the site you wish you had. Group species with similar sun, soil, and moisture needs so watering one thirsty plant does not leave its drought-tolerant neighbors constantly wet. If a section stays soggy or dry, select plants suited to that condition or resolve the underlying water issue before you plant a demanding species there.
Plan for mature size, height, and shared growing needs
In a border viewed from one side, place taller plants toward the back while keeping them away from windows, paths, and views. In a bed seen from all sides, taller plants can anchor the center, with shorter forms at the edges; for vegetable gardens, Rutgers recommends placing the tallest crops on the north side so they do not shade lower-growing plants. Give each plant room to reach its mature spread and enough airflow for routine care.
Think beyond bloom color. A mixed bed can use foliage, seed heads, evergreen structure, and plants that flower at different times so the area does not become empty after one short display. A pollinator planting can include locally appropriate native species with staggered bloom periods; ask a native-plant society or Extension office for recommendations suited to your region, since a species that thrives in one climate may be unsuitable or invasive in another.
If your goal is low maintenance, reduce the number of plant types and repeat small groups rather than purchasing one of everything. BHG Garden Editor and horticulturist Viveka Neveln’s garden-plan examples show practical ways to work with small corners, slopes, clay soil, and plants grouped by similar water needs; use the design logic, then confirm individual plant choices for your climate and exposure (Better Homes & Gardens). A manageable, repeated palette is easier to water, weed, and recognize than a crowded assortment.
Plan the soil, water, and bed structure
Decide whether you will plant into the existing ground or build a raised structure only after checking soil and drainage. In-ground beds usually require less purchased fill and can blend naturally into a landscape, but the existing soil may need a test or a plan for compaction, poor drainage, or contamination. A raised bed can make access easier or let you use a chosen growing medium, but the frame, delivery, and volume of fill can become a major part of the budget.
Do not assume that a layer of compost, topsoil, or a raised frame solves every soil problem. Wisconsin Extension recommends a laboratory soil test to learn about soil type, pH, organic matter, and nutrient levels before deciding what to add; it explains that amendments are more challenging after plants are in place. That is particularly useful for edible beds, where the crop plan should guide the soil recommendations rather than a generic fertilizer recipe.
Decide between in-ground and raised planting
An in-ground bed is often a good fit when the soil drains acceptably, the grade is manageable, and you want a larger planted area at a lower initial material cost. A raised bed may be easier to reach, useful where the existing ground is very compacted or poor, or helpful where a defined frame suits the design; it is not automatically the better choice if you cannot afford enough suitable fill or if it would obstruct drainage and access.
If the soil history is uncertain, test it before growing food and follow the lab’s interpretation. A raised frame filled with clean growing medium can separate the planting layer from questionable surface soil, but the frame itself does not prove the site below is safe or prevent every root from entering it. Consider the depth of fill, drainage at the bottom, pressure-treated material choices, accessibility, and the route for bringing soil to the site.
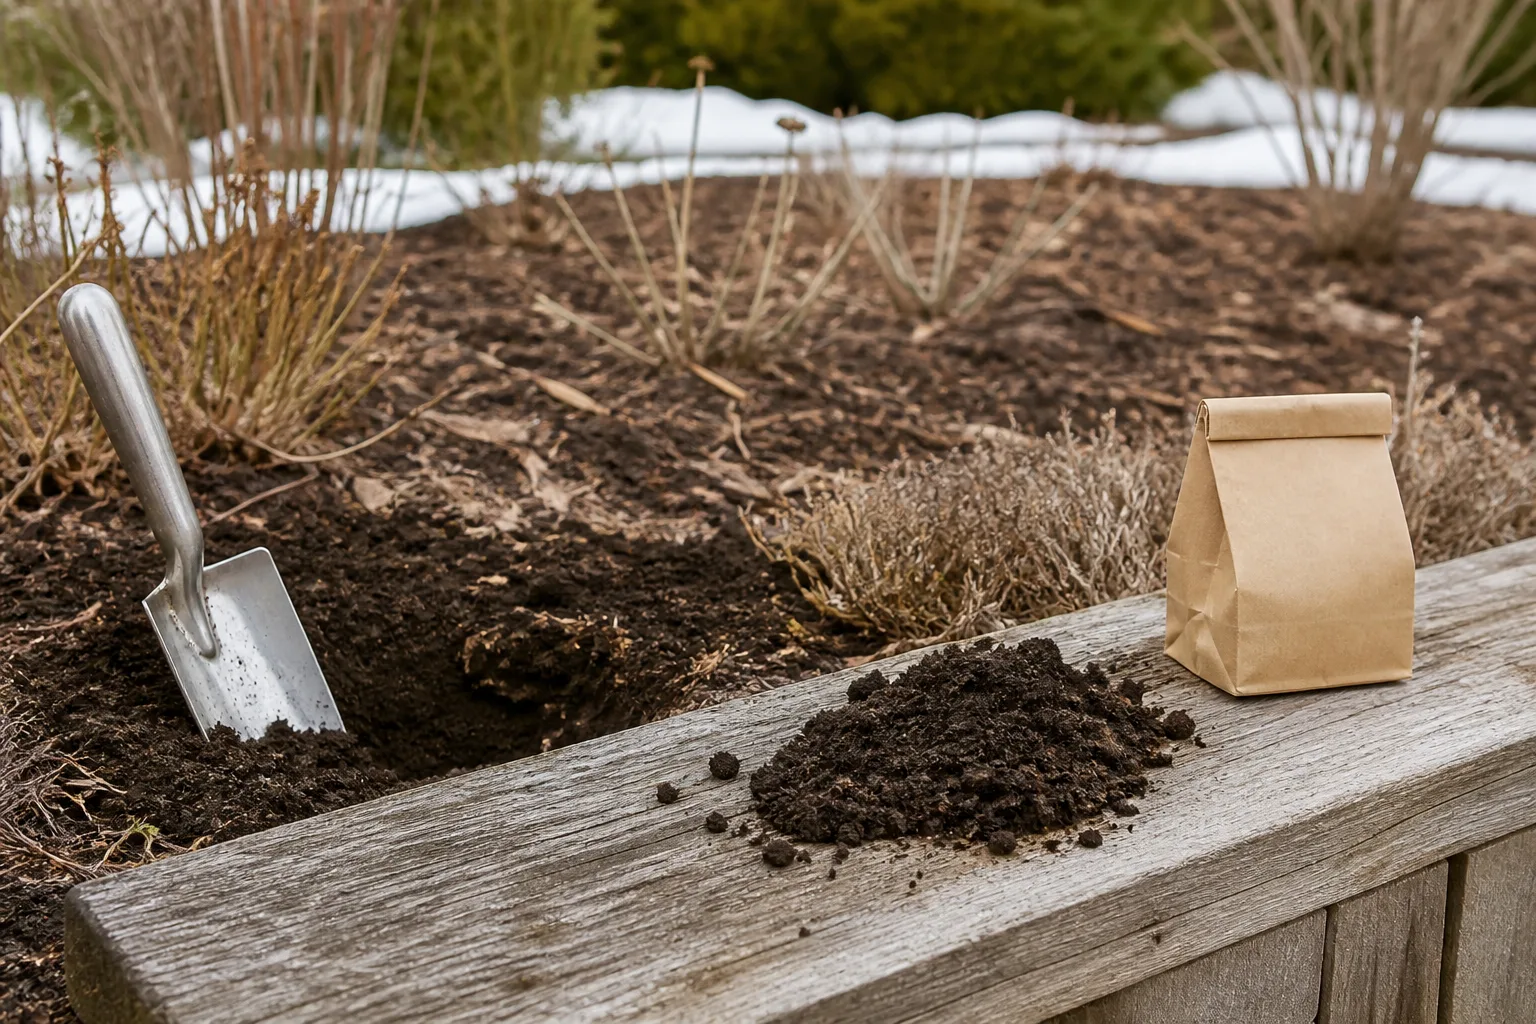
Plan irrigation before the conversion work. For a small bed, a hose and watering wand may be enough if the spigot is nearby; a longer border may benefit from a soaker hose or drip system, but the layout should leave room to inspect and repair it. Consider whether a path crosses the water line, whether a timer or shutoff is accessible, and how the system will be drained or protected in winter where freezing occurs.
Estimate the project before buying materials
Measure the project in quantities, not vague impressions. Calculate the planted area separately from paths; estimate edging by perimeter; list plants by the number of planned spaces; and note any existing materials or tools you can reuse. This prevents a common budget mistake: spending on plants first and discovering that the project still needs soil delivery, a path, water access, or a way to dispose of removed turf.
For soil or mulch sold by volume, estimate cubic yards with this formula: square feet × depth in inches ÷ 324 = cubic yards. For example, a 100-square-foot bed with a planned 2-inch layer needs about 0.62 cubic yard before accounting for settling, uneven grade, or delivery minimums. Treat this as a quantity estimate, not a recommendation to add a fixed layer; follow a soil test and the needs of the plants, and do not raise soil against siding or tree trunks.
Measure quantities and divide the work into phases
Make a short materials list with the likely cost categories: plants or seed, soil amendments, raised-bed lumber or masonry if used, fill, mulch, edging, path material, irrigation, tool rental, delivery, and disposal. Ask local suppliers for current prices because material costs and delivery charges vary by region, season, quantity, and access. If you hire help for excavation or grading, request a clear scope that distinguishes turf removal from drainage correction and finish work.
A sensible first phase is the smallest bed that can test your design assumptions. For instance, widen a foundation border by a few feet, or convert one sunny corner into a trial pollinator bed; note how quickly it dries, whether the path works, and how much edging and weeding it needs through the growing season. The Pennsylvania Horticultural Society also recommends thinking of lawn conversion as something that can be done gradually, which can keep the work and expense manageable without requiring a whole-yard redesign at once.
Schedule purchases around the work sequence. Mark the outline and arrange any utility checks first; finish the path, edge, and water route before filling the bed with plants; then buy plants in batches that match each completed phase. If you are using a slow turf-suppression approach, order plants for the date the soil is realistically ready, not for the weekend you first decide to make a garden.
Match a turf-conversion approach to the schedule
The planning question is not simply which method is fastest; it is what timeline, physical work, and site conditions you can accommodate without compromising the bed design. Sod removal can clear a footprint quickly but takes more labor and may remove some topsoil; sheet mulching uses a slower, lower-disturbance schedule; solarization depends on a hot, sunny period; and a raised-bed plan changes the fill and structure budget while still requiring a way to manage grass underneath or around it.
| Approach | Planning fit | Main trade-off |
|---|---|---|
| Lift or cut sod | A small or urgent area that needs a clear surface sooner | More physical work and possible soil loss |
| Sheet mulch | A bed you can plan months ahead | The cover must stay in place and may look unfinished for a while |
| Solarization | A sunny site with a warm-season window | Results depend on heat, weather, and time |
| Raised bed | A site where contained planting or easier reach is useful | Frame and fill add cost; turf still needs a plan |
These are planning-level comparisons, not a full removal procedure. Grass species, climate, bed size, and the desired planting date change the best choice; use the detailed guide to removing grass for a new bed for method selection and step-by-step turf-control details. Avoid scheduling planting based on a single generic number of weeks—confirm that the surface is ready and that the plants you chose are in season locally.
Design the first-season maintenance into the plan
A garden that is pleasant to maintain has room for people as well as plants. Before you settle the outline, picture the routine: where you will stand to weed, where a wheelbarrow can turn, how you will reach a hose, which side you will mow, and whether the path stays usable after rain. If the plan requires walking through the planting every time you water, change the plan before plants make that access problem permanent.
Make the edge visible and simple to maintain. A straight or broadly curved line is easier to mow along than a tight, irregular boundary; a mow strip or durable edging can be useful where it fits the landscape, but materials should not block drainage or create a trip hazard. Keep the planting line far enough inside the edge to allow mature leaves and stems to grow without being cut by the mower or flattening onto the path.
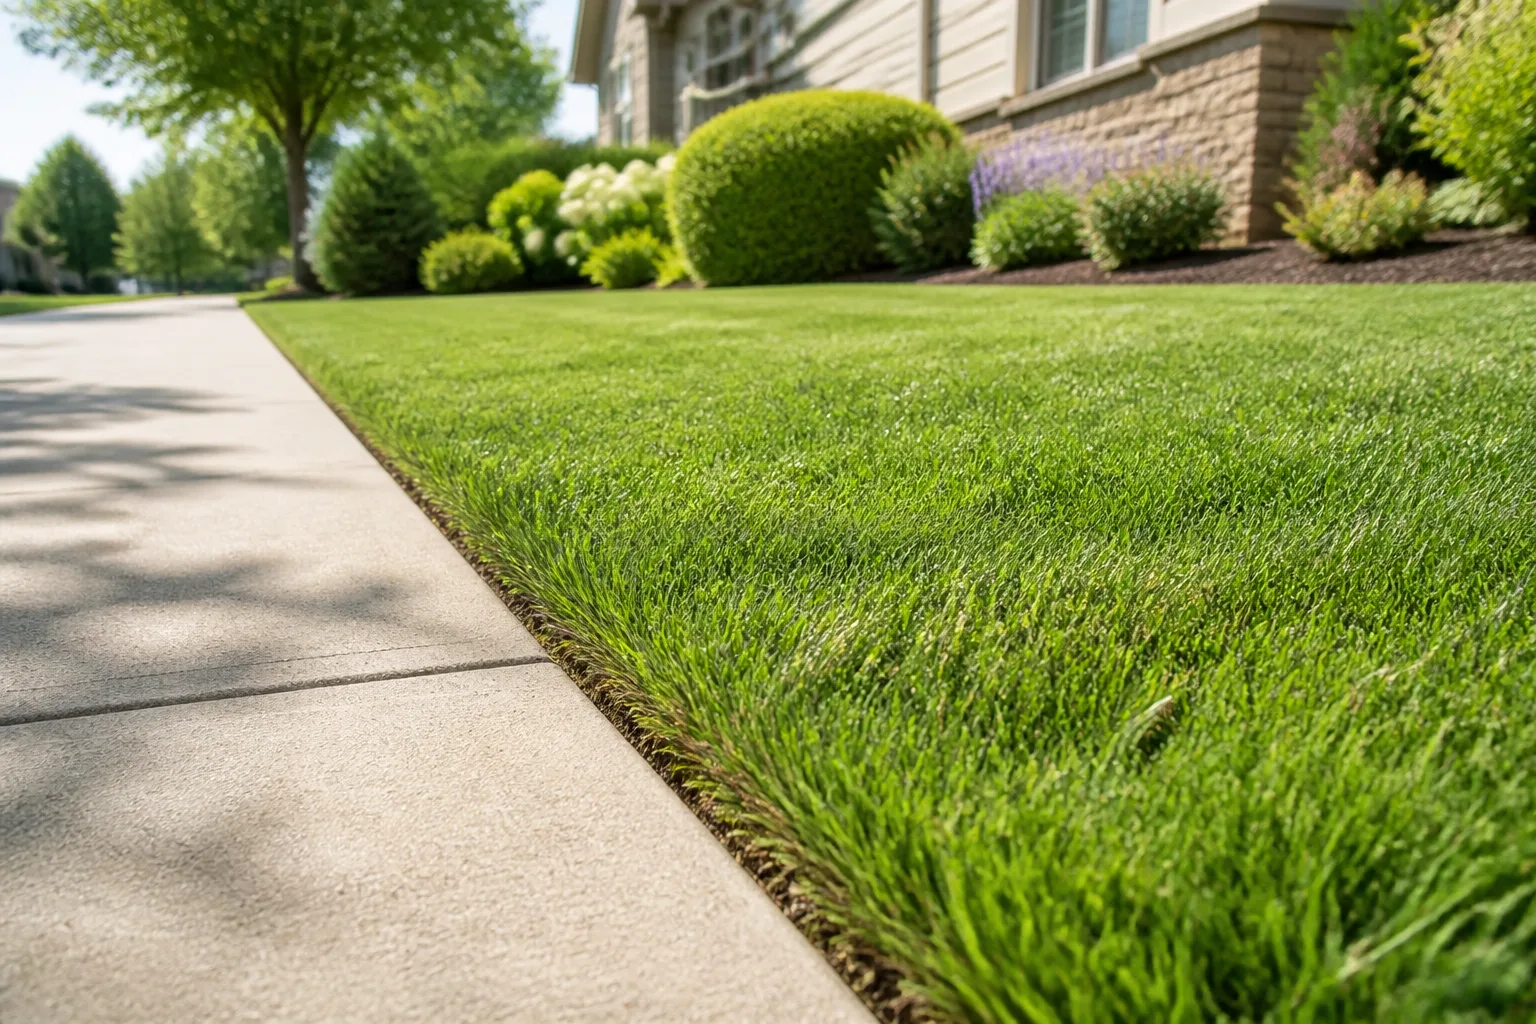
In the first growing season, expect to water new plantings as their roots establish, check for weeds, and adjust mulch or supports as needed. Group plants with similar water needs, keep the hose route clear, and check the bed after heavy rain for runoff or standing water; these observations tell you whether the site and plant choices are working. Keep a short record of what needed extra attention so you can alter the design before expanding the next phase.
Leave room for plants to reach mature size rather than filling every gap on planting day. Temporary open soil can be covered with an appropriate mulch, but it should not smother plant crowns or build up against structures. A first-season maintenance check is also the time to notice whether an edge is difficult to mow, a path is too narrow, or a plant has been placed where it blocks a view; correct those design issues while the bed is still easy to change.
Conclusion
A successful lawn-to-garden conversion starts with a bed that fits its location, intended use, access, and budget. Mark the outline before disturbing turf, verify sunlight and drainage, map paths and hose reach, choose plants for mature size and shared needs, and test soil before buying amendments or fill.
Then choose a grass-conversion timeline that works with the site and your schedule, and build a first phase small enough to maintain. A clear layout and a realistic aftercare plan do more to prevent rework than rushing to remove every blade of grass at once.



