How to Grow Hostas Indoors: Light, Care and Dormancy
Learn how to grow hostas indoors with the right cultivar, bright filtered light, well-drained soil, careful watering, and a cool winter rest each year.
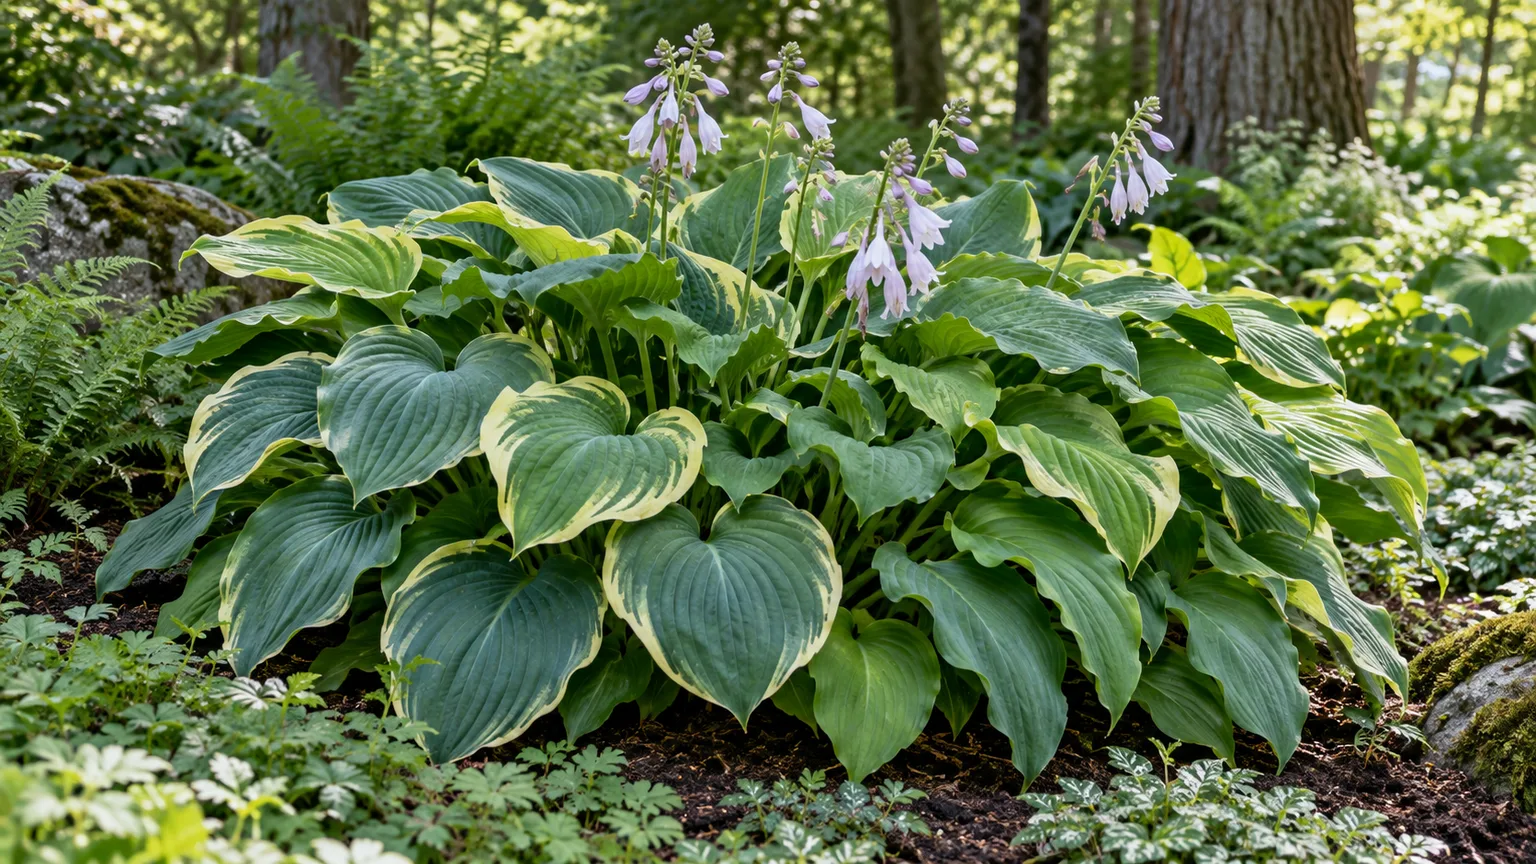
Hostas are temperate perennials, not tropical foliage plants, so indoor care works best when you follow their natural yearly rhythm. Give an actively growing plant bright filtered light, a container that drains freely, and soil that stays evenly moist; then let it rest in a cool place each winter. A warm living room can show off a potted hosta for a season, but keeping one vigorous for years means planning for dormancy before you bring it home.
Can hostas grow indoors year-round?
Yes, hostas can grow in indoor containers, especially compact cultivars, but “indoors” should not mean warm and actively growing every month. The plant’s leaves emerge in spring, expand through the growing season, and eventually yellow and die back as the crown prepares to rest. That leaf loss is part of its perennial cycle, not automatically a sign that the plant is failing.
The key limitation is winter. North Carolina State Extension describes hostas as needing a dormant period with temperatures below 40°F for a couple of months; a consistently heated room does not provide that seasonal cue. If you can offer a cool winter rest and return the pot to suitable light when growth resumes, indoor container culture is possible. If you need green leaves all winter or do not have a cool place for the pot, choose a tropical houseplant instead. (NC State Extension Plant Toolbox)
A hosta also needs more light than the phrase “shade plant” can imply. Outdoors, shade usually means a position under trees with open sky and changing light, not a dark closet. Indoors, the plant needs a bright window or filtered daylight to make enough energy for the next season’s growth.
Choose a compact hosta that fits a container
Start with the mature spread listed on the plant label, not the size of the nursery pot. Hosta cultivars range from miniature plants to large clumps that can occupy several feet, and a small plant may grow beyond a windowsill pot as its rhizome and crown expand. For indoor use, compact or miniature selections are easier to place, lift, water, and move into winter storage.
The RHS names miniature cultivars such as ‘Blue Mouse Ears’ and ‘Pandora’s Box’ as good choices where space is tight or for containers. That does not guarantee they will remain tiny in every home, but it gives you a more practical starting point than choosing a large landscape cultivar and trying to hold it in a small pot. Check the expected spread and mature height before buying, then leave enough space around the leaves for air to move and for you to inspect the crown. (RHS Hosta Growing Guide)
A thick or sturdy leaf can be less likely to tear when handled and can look composed in a pot, but avoid treating leaf texture as proof of indoor adaptability. The more important tests are compact growth, a healthy crown, a cultivar you can identify, and your ability to provide cool dormancy. If a seller cannot tell you the mature size, treat that missing information as a reason to choose another plant.
Match leaf color and cultivar to available light
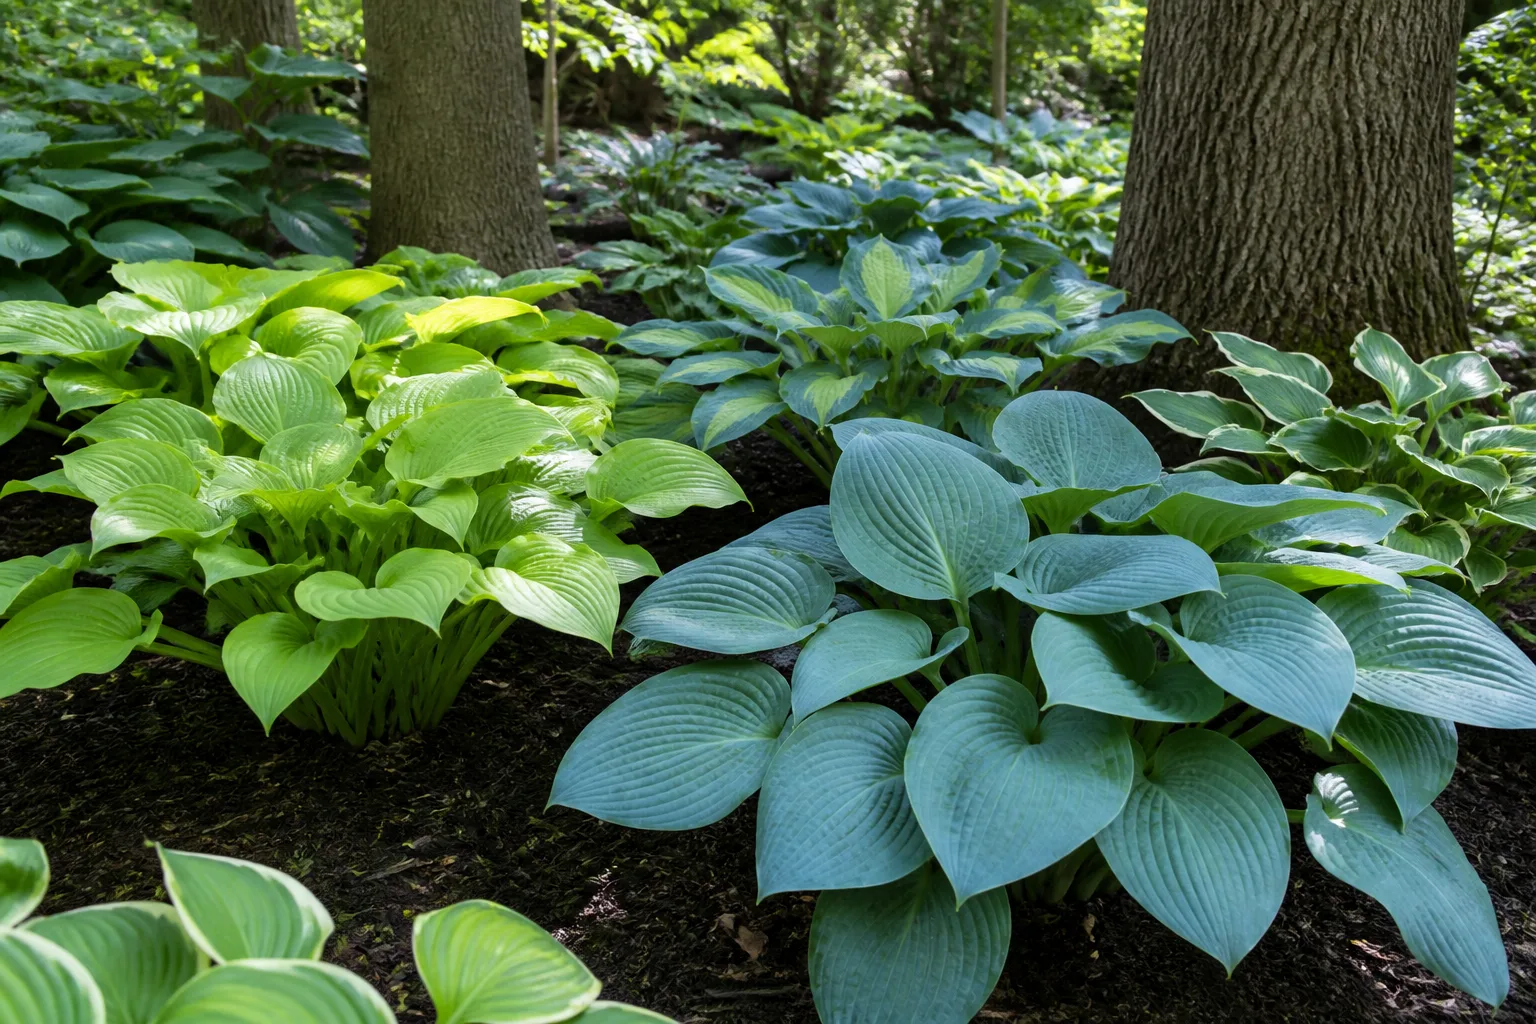
Hostas do not all respond to light in exactly the same way. Blue-leaved cultivars tend to hold their color in lighter shade, while many gold or yellow-leaved forms show better color with some gentle light; the RHS recommends matching cultivar color to garden conditions. Indoors, use this as a selection clue rather than a fixed sun-hour formula, because window direction, nearby buildings, season, and glass all change light intensity.
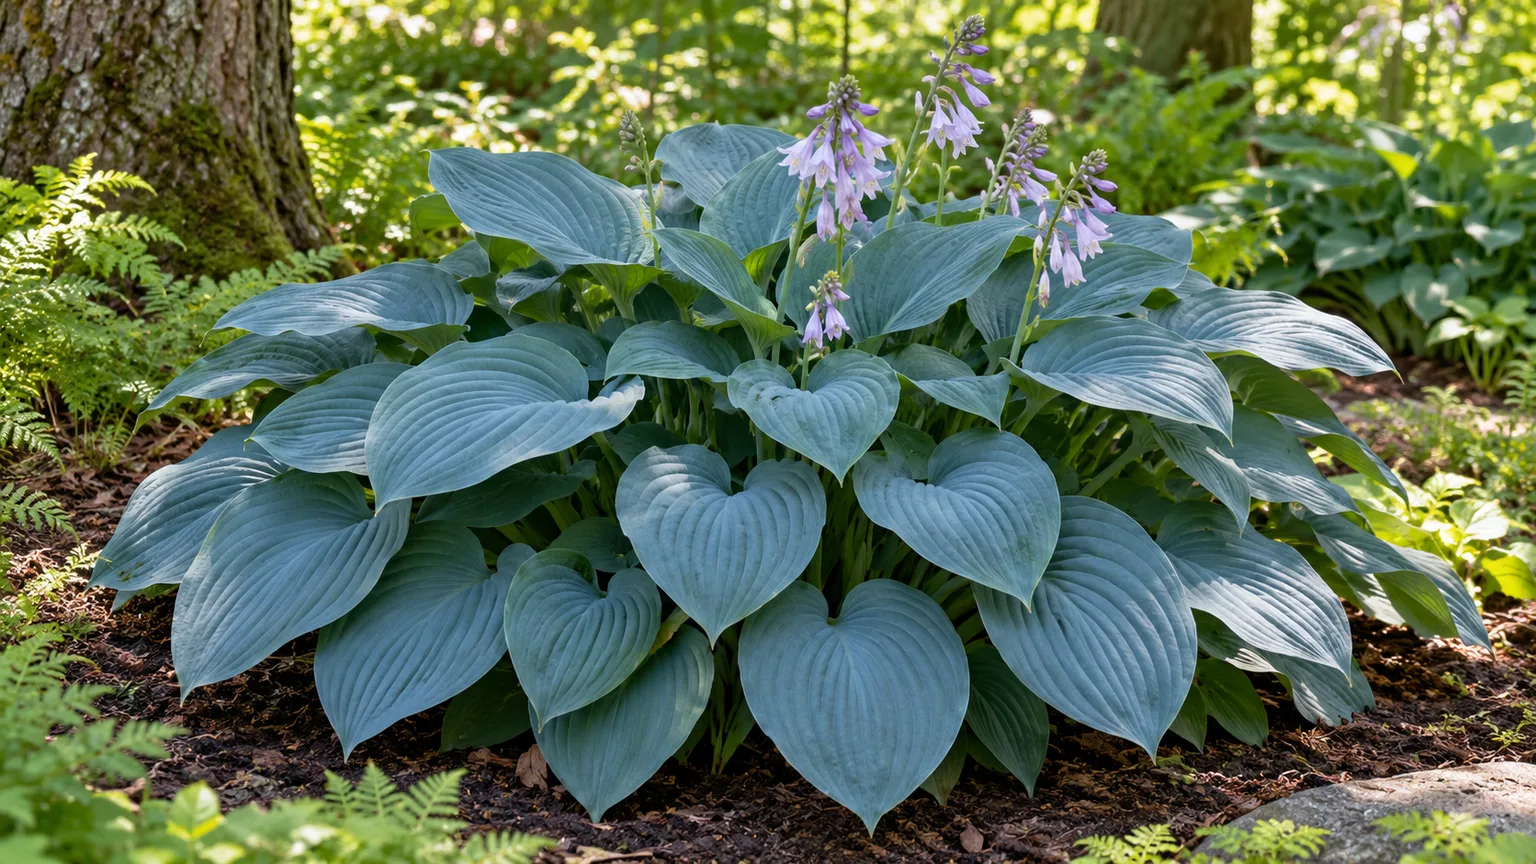
For a lower-light room, start with a green or blue-green cultivar and place it near the brightest indirect window available. A yellow or strongly variegated hosta may need brighter exposure to maintain its color, but harsh afternoon sun through glass can heat and scorch foliage. If the only available spot is dim, rotate the plant only if all sides receive similar light and consider a grow light rather than compensating with extra fertilizer.
Choose a pot that drains and leaves room
Use a stable pot with at least one unobstructed drainage hole. The pot should give the root mass room to expand while remaining manageable enough to lift to a cool dormancy location; choosing a container many sizes too large can leave a large volume of mix wet around a small root system. A practical starting point is a pot only a little wider than the root ball, then repot when roots fill the container or the crown has outgrown the surface.
Width matters because hostas expand as a clump, but the pot must also have enough depth to hold the roots without forcing them into a tight coil. A drainage hole is more important than a decorative cachepot: if you use an outer sleeve, remove the inner pot for watering and empty collected water afterward. Do not put a layer of gravel in the bottom to “improve drainage”; it cannot fix a blocked hole or dense mix, and it reduces usable root space.
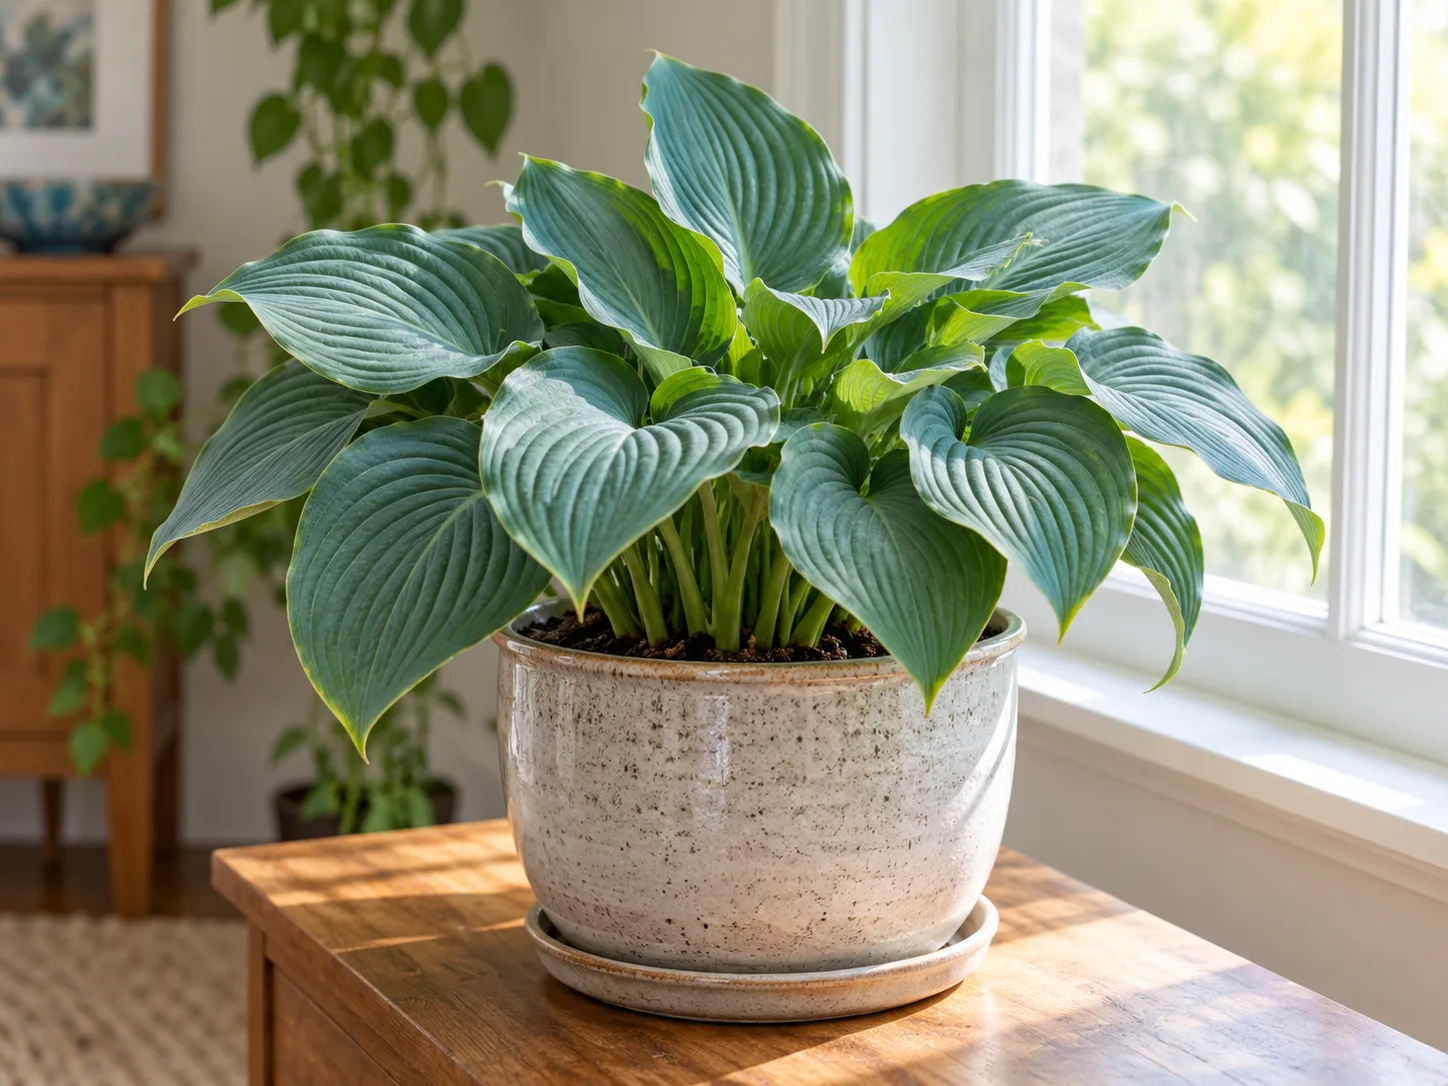
Container material affects handling and winter risk. Plastic is lighter and less likely to crack during cold storage; ceramic and terra-cotta can be attractive but heavy, and porous pots may dry faster. If the plant will spend winter outdoors or in a place that can freeze, protect the pot itself from repeated freeze-thaw damage and keep it from sitting in rain-soaked conditions. (Savvy Gardening, hostas in pots)
Use a moist, airy potting mix
Fill the container with a fresh, free-draining potting mix intended for containers. Garden soil is usually too dense for a pot and can compact around the roots, while a very coarse mix may dry before the hosta can use the available water. The goal is not a special hosta recipe: it is a mix that holds some moisture while allowing excess water to leave through the drainage hole.
RHS recommends fertile, moisture-retentive growing conditions for hostas, and Savvy Gardening’s container guidance likewise emphasizes potting mix and drainage. In a pot, you can use a quality general-purpose mix and blend in a modest amount of finished compost if the mix is very lightweight. Avoid adding fresh manure or fertilizer-rich amendments directly against the crown, and do not reuse old outdoor soil from a bed where the plant had root or crown problems. (RHS Hosta Growing Guide; Savvy Gardening, hostas in pots)
Set the hosta at the same depth it was growing before. Keep the crown—the point where the shoots meet the roots—at the soil surface rather than burying it deeply. Firm the mix gently to remove large air pockets, water it through, and make sure it drains completely before placing the pot in its display spot.
Place the plant in bright, filtered light
A bright north- or east-facing window is often a workable starting point, though the actual light in the room matters more than the compass direction. A hosta near an east window may receive mild morning sun; one in a dim hallway may receive almost none despite being close to a window in another room. Keep the plant close enough to the glass to receive useful daylight, while protecting it from hot, direct afternoon sun that can scorch leaves.
Gardening Know How recommends bright indirect light for indoor hostas and warns against intense direct exposure. If the leaves fade, growth is weak, or the petioles stretch toward the window, move the plant closer to brighter light or supplement with a grow light. If pale areas become bleached or crisp on the window-facing side, pull it back slightly or diffuse the strongest sun rather than moving it to deep shade. (Gardening Know How, indoor hosta care)
Do not use leaf color alone as a diagnosis. A blue hosta may become greener as its surface wax changes with age and weather; a variegated hosta can also look less vivid in low light. Compare the new leaves with earlier leaves, check whether the plant is producing a normal flush, and adjust one condition at a time.
Water to keep roots evenly moist
Hostas prefer consistent moisture, but a pot that stays saturated is a common route to root and crown trouble. Check the mix with a finger rather than watering on a fixed weekly schedule: when the top layer begins to feel dry, water slowly over the surface until excess runs from the drainage hole. Let the pot finish draining, then empty the saucer or cachepot.
The interval changes with pot size, room temperature, light, leaf area, and season. A small pot beside a bright window may dry quickly during active growth, while a large pot in a cool room may remain moist for days. Lift the container occasionally; a noticeably lighter pot is a useful signal that the root zone has used much of its stored water, but confirm by checking the mix before watering.
Avoid both extremes. If the mix repeatedly dries hard, leaf edges may brown and the plant may wilt; if it stays wet, roots can lose oxygen and the crown may soften. Water the soil rather than routinely wetting the foliage, and never leave the pot standing in water after a thorough drink. During winter dormancy, reduce watering sharply: the leafless crown uses far less water, but the roots should not be allowed to become completely dry. (Gardening Know How, indoor hosta care)
Keep active-season temperatures moderate
While the plant is leafing out, normal cool-to-moderate indoor temperatures are usually more suitable than intense heat. Keep it away from a radiator, fireplace, hot appliance, or an exterior door that delivers repeated temperature swings. Warm, dry air can make the pot dry faster and may stress foliage, while a drafty window can chill leaves or freeze the root ball.
Hostas are adapted to a temperate cycle, so do not try to keep them growing by maintaining tropical warmth through winter. Growth will slow as the season changes, and the leaves may yellow naturally. The right response is to prepare for dormancy, not to keep raising the thermostat or feeding to force new leaves.
Room humidity generally does not need to be treated like a tropical plant’s main requirement. If indoor air is very dry, consistent watering and avoiding hot drafts matter more than misting. Misting briefly wets the foliage without reliably changing the humidity around the plant, and a constantly wet crown can create its own problems.
Provide a real winter dormancy
An indoor hosta needs a seasonal cold period to remain vigorous over time. NC State Extension places the required winter rest below 40°F for a couple of months; that is a useful evidence-based guide, not a reason to expose a potted crown to severe freezing. The pot has less insulating soil than a garden bed, so the roots can be more vulnerable to repeated hard freezes than an in-ground hosta.
Let the plant enter dormancy naturally as days shorten and temperatures cool. The leaves often turn yellow and die back; wait until they are fully spent before removing them so they can finish returning energy to the crown. Then move the container to a cool, protected, unheated spot that stays below 40°F but does not freeze solid, such as a suitable garage or cold room. A dark location is fine once the plant is fully dormant.
Do not place a dormant hosta in a warm basement and expect it to receive the cold cue it needs. Likewise, do not store it in a wet corner where rain or condensation keeps the mix soaked. The useful winter target is a cold, mostly inactive root zone with enough moisture to prevent the crown and roots from desiccating. (NC State Extension Plant Toolbox; Gardening Know How, indoor hosta care)
Create a safe cold-rest setup
Before storage, remove dead foliage, check that the drainage hole is open, and make sure the mix is only lightly moist. If the pot is outdoors, move it to a sheltered area out of persistent rain and insulate the container when hard freezes are expected. If you use an unheated garage, confirm the temperature with a simple thermometer rather than guessing; a garage attached to a heated house may stay too warm.
Check the pot every few weeks. If the mix is dry several inches down, add a small amount of water around the root zone and let it drain; do not water to a monthly calendar if the soil is already moist. A dormant hosta should not be kept lush or continually wet. It is normal for the foliage to disappear while the crown remains firm and the plant waits for spring. (Plant Addicts, hostas in pots)
Transition the pot outdoors in spring
When the plant begins to show new shoots and the weather is settling, bring it back to bright filtered light. If you are moving it outdoors for the growing season, acclimate it over several days rather than placing tender new leaves immediately in full sun, wind, or a hot patio. Start with a sheltered shade location, then move it toward the final site if the cultivar needs more light.
Outdoor summering can make watering and light easier, but it also adds weather and pest exposure. Check the pot more often during warm, dry spells, raise it off a surface if drainage is blocked, and protect the leaves from strong afternoon sun. Before the first cold weather, inspect leaf undersides and the soil surface for slugs, snails, and other hitchhikers, then move the plant to its intended dormant location.
If the plant stays indoors year-round, follow the same seasonal rhythm: bright light and active care during growth, then a cool winter rest. A seasonal move is optional; the cold period is not. If you cannot provide a suitable cold location, growing the hosta outdoors in a protected container may be easier than forcing it into a heated room.
Fertilize while leaves are growing
Feed only while the hosta is actively producing leaves. A fresh potting mix may provide enough nutrition at first, so wait to see new growth before applying fertilizer. Then use a balanced liquid or controlled-release fertilizer labeled for container ornamentals, following its rate and frequency; do not combine two feeding programs because you worry that frequent watering has leached nutrients.
Garden Know How describes regular feeding during active growth, but a fixed biweekly schedule can be too much for a small indoor pot if the product is concentrated or the plant is growing slowly. Start at the lowest label rate appropriate for containers, and stop feeding as growth slows in late summer or before the plant enters dormancy. Fertilizer cannot compensate for inadequate light, poor drainage, a root-bound pot, or missing winter chill. (Gardening Know How, indoor hosta care)
If you see a white crust on the mix, burned margins, or a sudden decline after feeding, pause fertilizer and flush the pot with clean water only if the drainage is good. Let it drain fully. Resume at a reduced label rate only when healthy new growth returns.
Repot or divide when the root clump crowds the pot
A hosta does not need annual repotting just because the calendar says so. Look for roots circling densely, water passing through too quickly because the pot is packed, a crown spreading against the rim, or a root mass that has no fresh mix left to hold moisture. If the plant still grows normally and the pot drains, leaving it undisturbed is often better than repeated transplant stress.
Repot near the start of active growth, when new shoots are visible and the plant can rebuild roots. Move it into a container only modestly larger than the root mass, replace depleted mix, and keep the crown at its original depth. If the clump has become too large for the space, divide it rather than putting a mature hosta into a pot you cannot lift or overwinter.
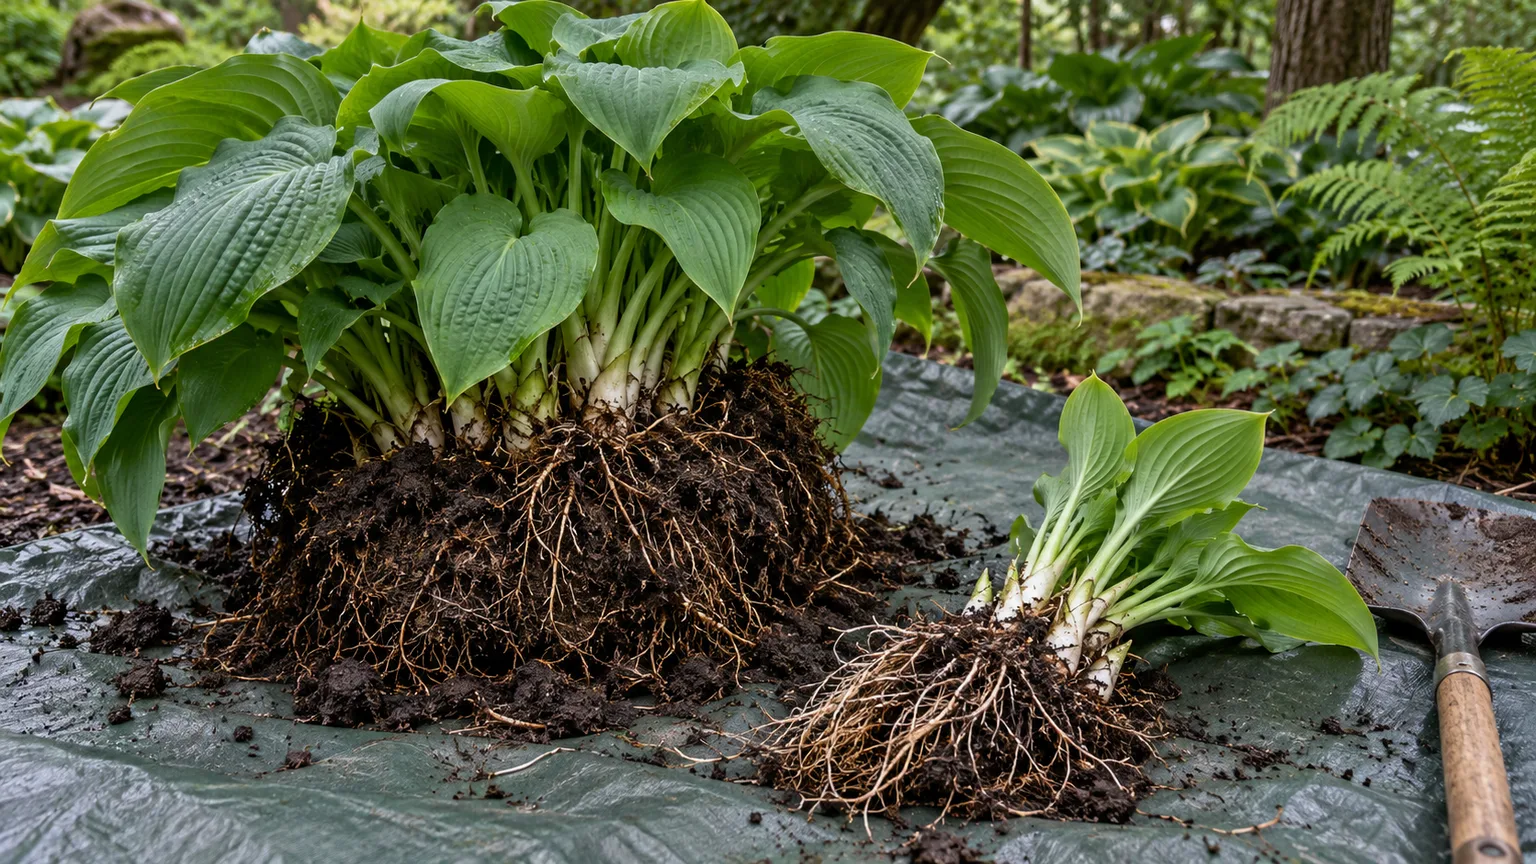
NC State Extension recommends dividing established hostas every three to five years in early spring as leaves emerge; the RHS also describes division in early spring or autumn. For a container plant, divide only when it is healthy and you have a clear plan for the extra divisions. Use a clean sharp knife to separate sections with healthy roots and at least one growing point, then pot each division at the same crown depth. (NC State Extension Plant Toolbox; RHS Hosta Growing Guide)
Read leaf changes before changing care
A single yellow leaf at the end of the growing season has a different meaning from a whole plant turning yellow in wet mix. Before changing fertilizer, water, or light, check the season, the soil moisture, the drainage hole, and the newest growth. A short diagnosis prevents a stressed hosta from receiving several unnecessary changes at once.
| What you notice | Check first | Practical next step |
|---|---|---|
| Leaves yellow and die back in fall | Season and whether the crown stays firm | Let foliage finish dying back, then prepare the cool rest |
| Several leaves yellow while the mix is wet | Drainage, standing water, and crown firmness | Empty the saucer, improve drainage, and inspect roots if decline continues |
| Leaves wilt and the pot feels very light | How dry the root ball has become | Water thoroughly, drain, and reassess before the next watering |
| Growth is weak or stretched | Window brightness and whether the hosta received winter dormancy | Increase useful light during growth and plan a true cold period |
| Brown, bleached areas face the window | Direct sun through glass or hot reflected light | Filter or reduce the strongest exposure and monitor new leaves |
Yellow leaves and weak growth
Yellowing is not a diagnosis by itself. Normal seasonal dieback usually affects the whole plant as fall approaches, while an isolated yellow lower leaf may simply be old. Yellow leaves combined with persistently wet soil, a sour smell, or a soft crown point toward root-zone trouble; yellow leaves during active growth can also follow drought or abrupt environmental change.
If the plant is still actively growing, first feel the mix and confirm the pot drains. Correct standing water before adding fertilizer, and move the hosta to brighter filtered light if the leaves are pale and growth is thin. Change one factor, then watch the new leaves; old yellow tissue will not become green again.
Brown edges, wilt, and soft crowns
Brown edges can follow a dry root ball, intense sun through glass, hot air from a vent, or accumulated fertilizer salts. Check where the damage appears: scorch is often strongest on the sun-facing side, while a pot that dries too far may wilt across the plant. A dry pot can recover after a thorough watering and full drainage, but damaged leaf edges will remain brown.
A soft or darkening crown is more serious than a dry tip. Remove the pot from any standing water, check that the drainage hole is open, and inspect the crown and roots if decline continues. Healthy roots are firm; black, mushy roots and a persistent sour smell suggest rot. Trim only dead tissue with clean tools, repot into fresh draining mix if needed, and do not resume fertilizer until healthy growth appears.
Check for pests and protect pets
A plant kept inside is less exposed to garden slugs, but it can still carry pests from a nursery, patio, or neighboring houseplant. Inspect leaf undersides, petiole bases, and the soil surface when you bring the hosta home and again after outdoor summering. Look for irregular holes, sticky residue, fine webbing, or small insects; isolate the pot if you find a problem so it does not spread.
For a small pest issue, remove affected leaves, rinse the foliage gently, and clean the pot area. If you use a pesticide, choose a product whose label permits the target pest and indoor ornamental use, then follow the label exactly and keep pets away as instructed. Do not apply a garden product indoors just because it is labeled for an outdoor hosta.
Hostas are toxic to cats and dogs according to ASPCA Animal Poison Control, which identifies saponins and lists vomiting, diarrhea, and depression among possible clinical signs. Keep leaves and flower stalks out of reach, especially if a pet chews plants. If a pet has eaten hosta, contact a veterinarian or animal poison-control service promptly rather than waiting for symptoms. (ASPCA Animal Poison Control, Hosta)
Trim spent foliage and flower stalks
Hostas do not need routine shaping. Remove yellow or damaged leaves once they are clearly spent, using clean scissors or pruners, and leave healthy green leaves in place because they are still supporting growth. At the end of the growing season, wait for natural dieback before clearing the foliage for winter storage; cutting green leaves early can reduce the energy available to the crown.
Hosta flower stalks can be left to bloom or removed after flowering if you prefer a tidier container. They do not need to be cut merely to make the plant grow more leaves. If the pot is small, prioritize the plant’s health over cosmetic trimming: remove only dead material and keep the growing points intact.
Conclusion
Growing hostas indoors works best when you treat the plant as a seasonal perennial rather than a year-round tropical houseplant. Choose a compact cultivar, give it bright filtered light and a draining pot, water when the mix begins to dry, and use fertilizer only during active growth. Then provide a cool winter dormancy below 40°F for a couple of months while protecting the container from freezing and waterlogging.
The main decision is whether you can manage that cold rest. If you can, an indoor display during the leafy season can be rewarding; if you cannot, let the hosta live outdoors in a protected container or choose a plant that stays evergreen in warm rooms. Watch new growth and the crown, not a rigid care calendar, to tell whether your routine is working.



